Your Guide to Handmade Cards That Actually Look Professional
I’ve been obsessed with papercraft for what feels like forever. I’ve designed custom stationery, led workshops, and filled stacks of journals with ideas. But honestly, through all of that, nothing beats the simple act of making a card for someone. It’s more than just folded paper; it’s a little piece of your time and care that you can physically hand over. It says, “I thought of you, and I made this.”
In this article
We all start somewhere, right? Often, that means construction paper and a bottle of school glue. And there’s absolutely nothing wrong with that! But if you’re ready to level up and create cards that feel substantial and look genuinely polished, it all comes down to the details. The difference between a flimsy, homemade card and a stunning, professional-looking one is in the weight of the paper, the sharpness of the fold, and how well you stick things together.
This guide is basically everything I wish I knew when I started. Trust me, I’ve made the mistakes for you—like that one time I folded a hundred holiday cards against the paper grain, cracking every single one. Ouch. We’re going to skip the heartache and get right to the good stuff.
The Quickest Win for Better Cards
Before we dive deep, here’s a little secret. Want to make your cards look ten times better instantly? It’s all about layering. Seriously. Just cut a panel of paper that’s slightly smaller than your card front (say, 4 inches by 5.25 inches for a standard card) and stick it on. That simple border adds depth and a touch of class. Done.
The Foundation: Getting Your Supplies Right
Your card’s quality is decided long before you make a single fold. It starts at the craft store (or, let’s be real, in your online shopping cart). Picking the right paper, adhesive, and tools is the most critical step. Good materials work with you, while cheap stuff will just fight you every step of the way, which is just frustrating.
Paper is Everything: Understanding Weight and Grain
If you only make one change, make it this: use better paper. It’s the single biggest upgrade you can make to your card-making game. You can find great cardstock at stores like Michaels or Jo-Ann, but dedicated online paper shops often have better variety and bulk pricing.
Cardstock Weight (GSM):
Paper thickness is measured in pounds (lb) or grams per square meter (gsm). You’re looking for something called “cardstock,” which is much heavier than the 20 lb printer paper in your office printer.
- 65-80 lb (176-216 gsm): This is a lighter cardstock, perfect for layering on top of a card base or for internal pop-up elements. It’s flexible but can feel a bit thin for the main card itself.
- 80-110 lb (216-300 gsm): This is the sweet spot. A pack of 100 lb cardstock, which you can usually get for about $10-$18, is your best friend for sturdy card bases that feel expensive. It holds up to embellishments without buckling.
- 110 lb+ (300+ gsm): This stuff is super thick, great for flat, postcard-style cards. Heads up! It can be tough to fold cleanly without proper scoring, and many home printers will jam trying to feed it. Quick Tip: Check your printer’s manual for its max ‘gsm’ or ‘lb’ rating. If you can’t find it, try feeding a single sheet through the manual feed tray to see if it works before you print a whole batch.
The Secret of Paper Grain:

Okay, this is a game-changer. Paper has a grain, just like wood, where all the little fibers line up in one direction. Folding with the grain gives you a beautiful, crisp crease. Folding against it breaks the fibers, leaving you with a cracked, ugly spine.
How do you find it? Gently bend a rectangular piece of paper one way, then the other. It will have more give and bend more easily in one direction—that’s with the grain. Try it now: Grab a piece of regular printer paper and feel the difference. Once you feel it, you’ll never forget it. I always put a tiny pencil mark on a new pack of paper to remind myself which way the grain runs.
Adhesives: Your Guide to Sticking Stuff Down
The wrong glue can ruin a beautiful card by warping the paper or failing over time. I keep a few different types on my desk, each with a specific job.
- PVA Glue (White Craft Glue): This is your basic, strong, all-purpose glue. Think Elmer’s or Aleene’s Tacky Glue. It’s cheap (around $5 a bottle) and holds heavy things like buttons well. The catch? It’s water-based. Use too much, and your paper will wrinkle as it dries. My advice: apply it with a toothpick to control the amount.
- Double-Sided Tape & Tape Runners: This is my go-to for paper-on-paper layering. It’s an instant, strong bond with zero drying time and zero risk of warping. A tape runner (around $8-$12) is super fast and clean. Always look for “acid-free” or “archival” tape to make sure your card doesn’t yellow over the years.
- Foam Tape: This is just double-sided tape with a layer of foam in the middle, and it’s pure magic. It lifts your layers off the card base, creating shadows and making everything look more dynamic and professional. A roll costs about $6 and is worth every penny.
- Glue Sticks: To be frank, most glue sticks are for kids’ crafts or temporary placement. They just aren’t strong enough for a lasting bond. I might use one to hold a stencil down, but never for final assembly.
Cutting and Scoring: For Edges That Look Sharp
Nothing screams “I made this with care” like clean cuts and crisp folds.
Cutting Tools: Ditch the scissors for straight lines. A good craft knife (like an X-Acto) and a self-healing cutting mat are essential. Paired with a metal ruler, you’ll get perfectly straight edges every single time. A key tip: a sharp blade is a safe blade because it cuts without requiring a lot of pressure, which is when you slip. I change my blade as soon as I feel it start to drag.
Scoring Tools: Scoring means creating a crease before you fold. This gives you that sharp, professional fold without any cracking. A dedicated scoring board is amazing, but you don’t need one to start. You just need a tool to make the indent.
- Bone Folder: The classic tool. It’s a small, smooth tool (traditionally made of bone, now usually hard plastic) used to score lines and burnish—or rub down—your folds to make them extra crisp. It’s a lifetime investment that will only set you back about $7-$15.
- DIY Options: In a pinch? The back of a butter knife or an empty ballpoint pen works just fine. You just want to create a dent, not cut the paper.
Common Frustrations & How to Fix Them
Let’s tackle the two biggest issues people face.
“My fold is still cracking!” This almost always means you’re folding against the grain. If you’re sure you’re folding with the grain and it’s still cracking, your cardstock is probably very thick. Try this: score two lines right next to each other, about 1/16th of an inch apart. This creates a small channel that helps the fibers fold without breaking.
“My liquid glue is warping the paper!” You’re using too much. When it comes to liquid glue, less is more. Apply a few tiny dots with a toothpick or a fine-tip applicator bottle instead of a thick line. Then, place a heavy book on top of your glued layers while they dry to ensure they stay flat.
Let’s Make Some Cards: Three Projects to Build Your Skills
The best way to learn is by doing. Let’s apply these skills to a few projects.
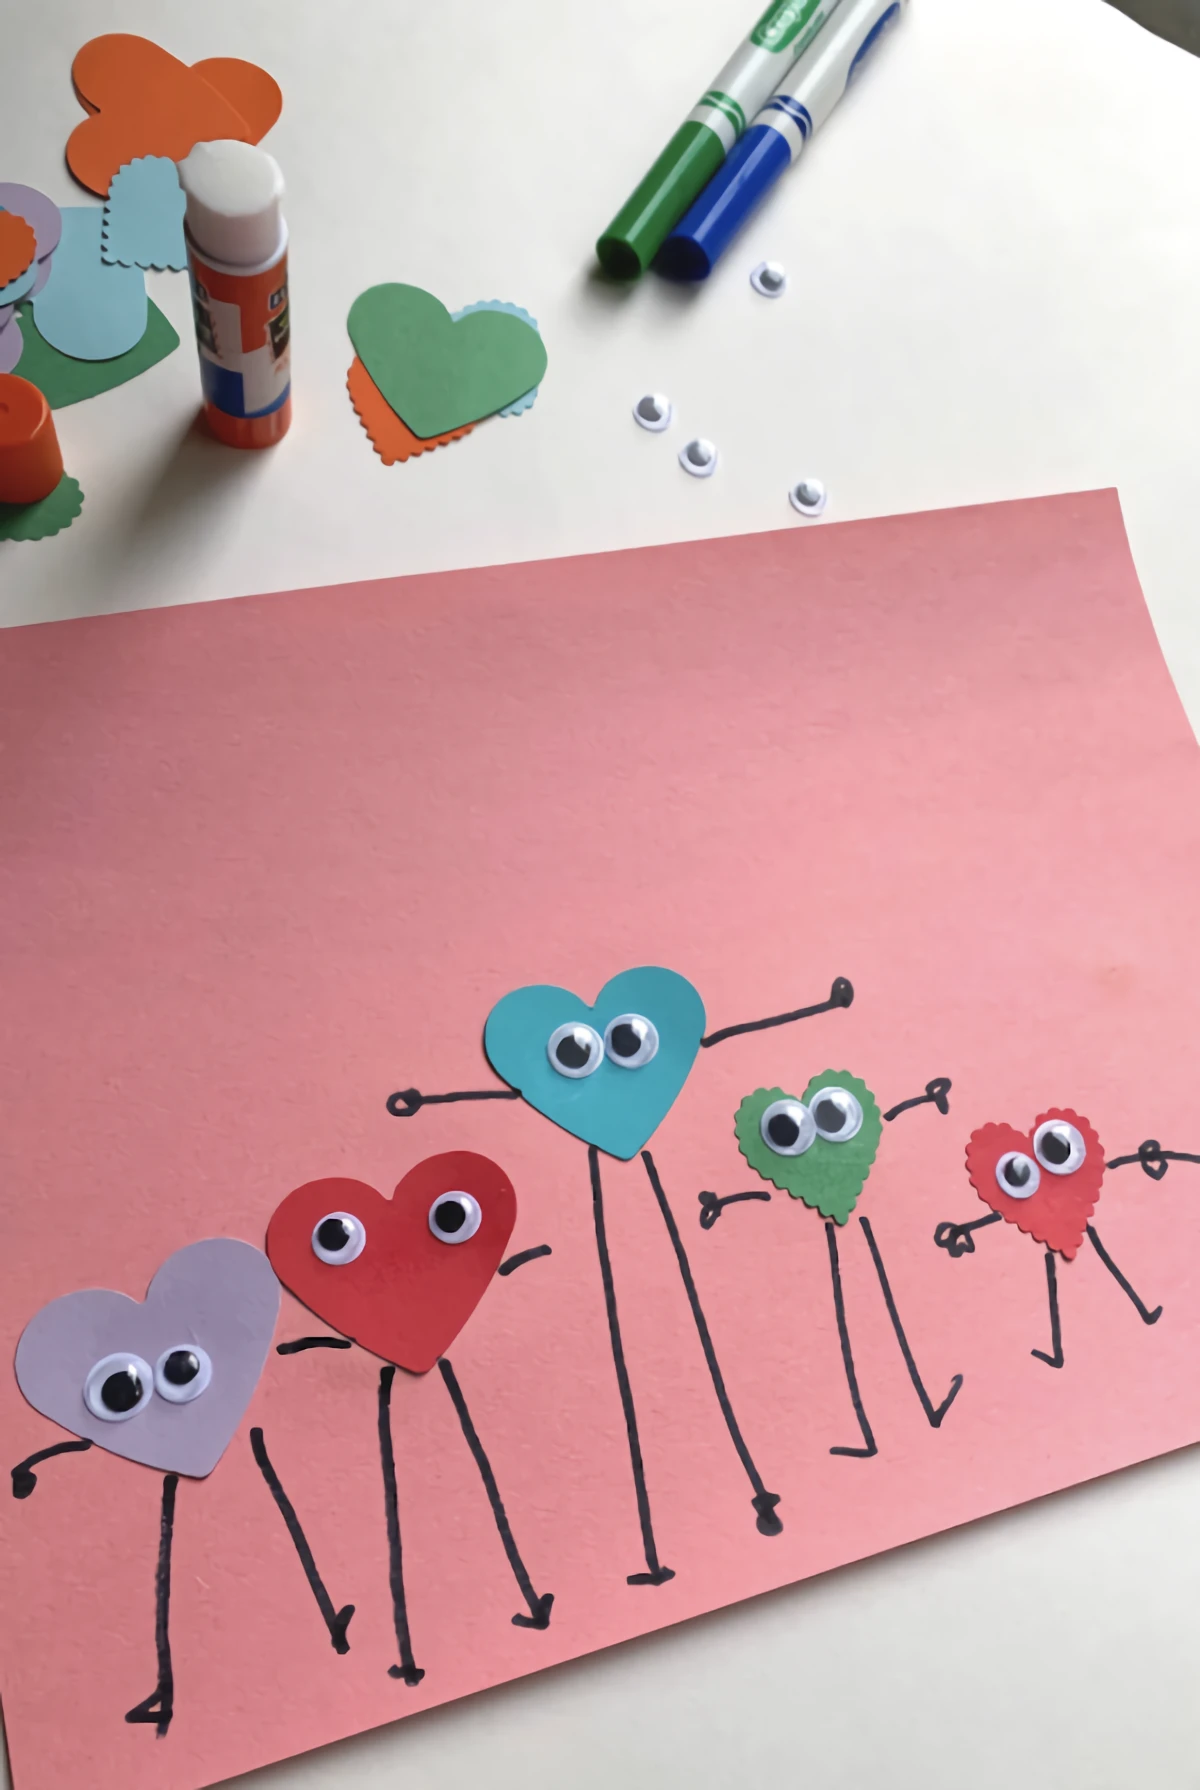
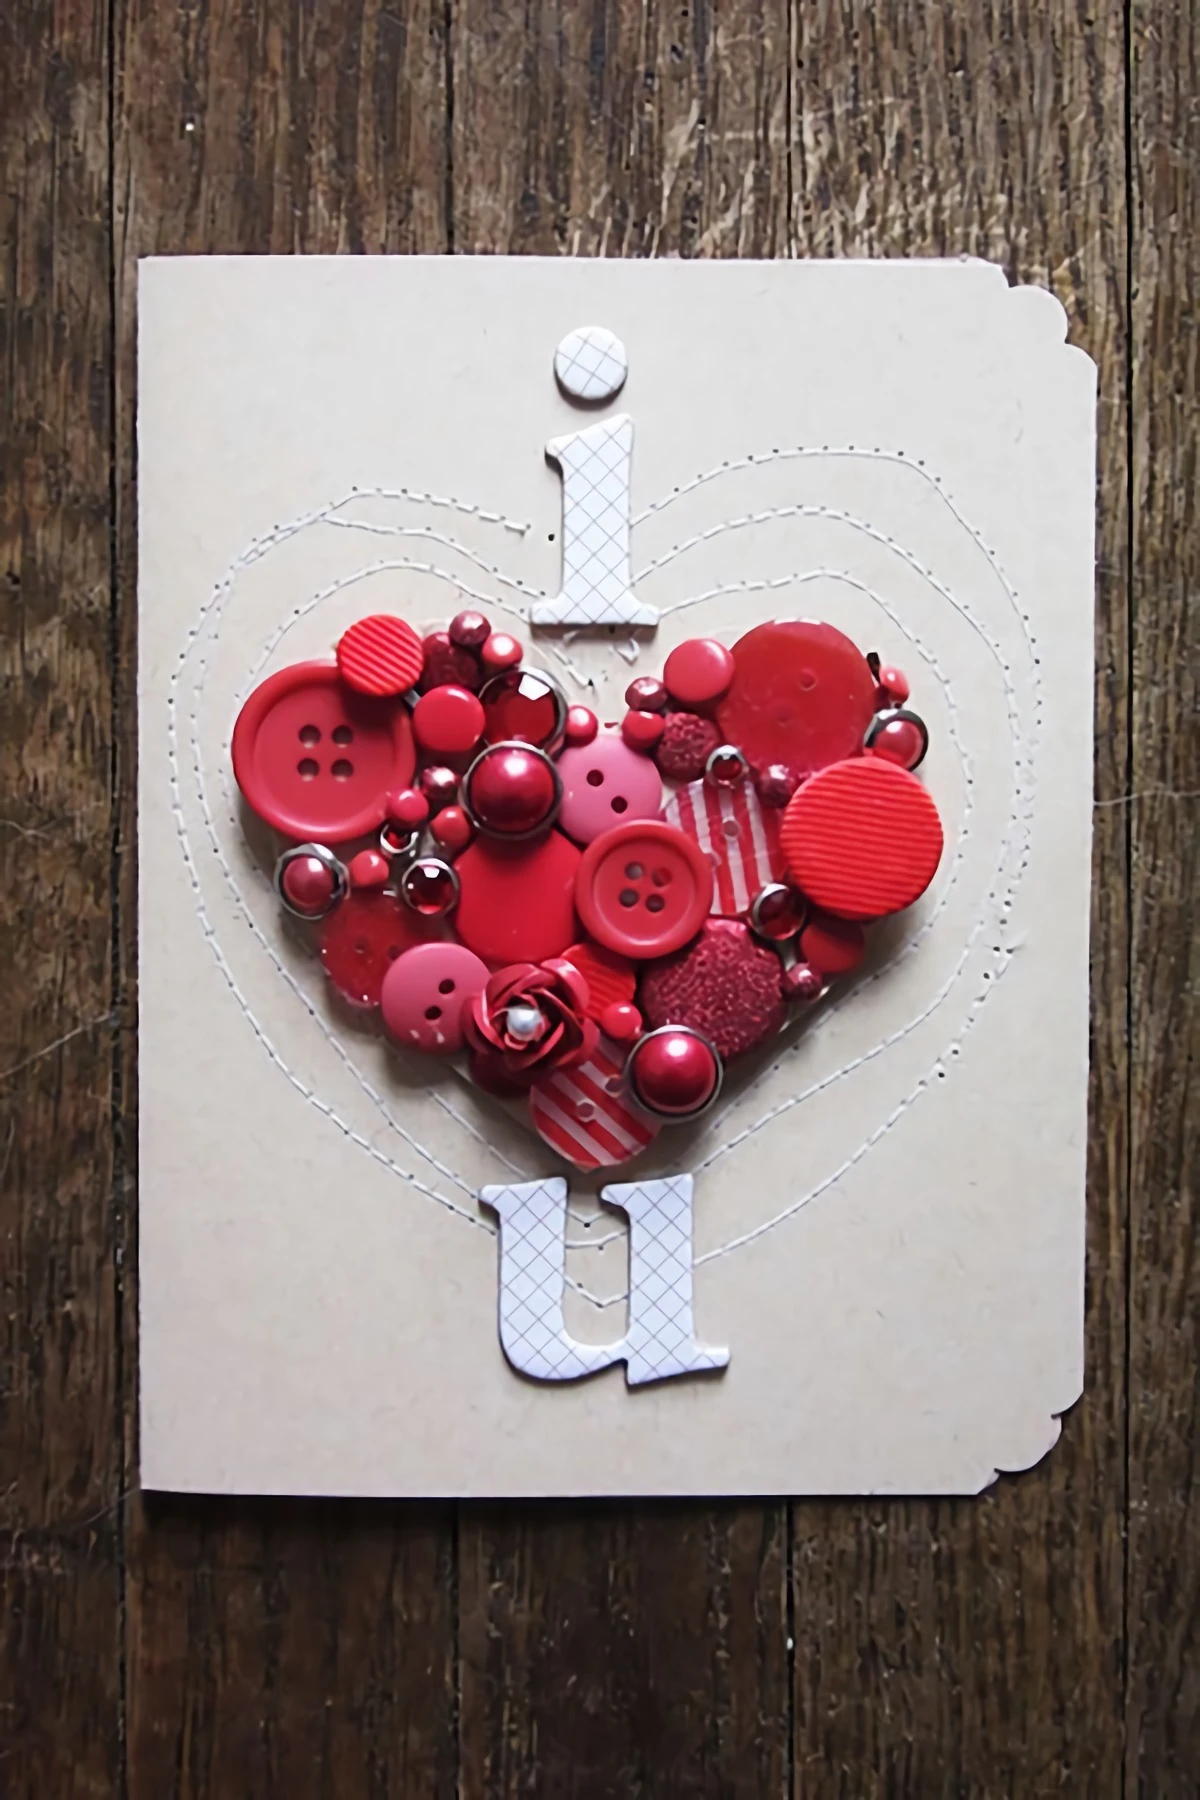
Project 1: The Refined Button Heart Card (Beginner)
This classic design is perfect for practicing careful placement and secure gluing. It takes a simple concept and makes it elegant.
Time Estimate: 20-30 minutes
Shopping List:
- 100 lb Cardstock (a pack of 25 sheets): $8-$15
- Bag of assorted buttons: $5-$10
- Strong, clear-drying craft glue: $6
- Craft tweezers (optional but helpful!): $5
How to Make It:
- Prep the Base: Start with an 8.5 x 5.5-inch piece of cardstock. Score it at the 4.25-inch mark and fold it. Rub the fold with your bone folder to make it sharp.
- Plan Your Design: Lightly sketch a heart on the card front. Now, arrange your buttons inside the heart without any glue. This is the most important step! It lets you get the layout just right before you commit.
- Glue It Down: Pick up one button at a time with your tweezers. Apply a tiny dot of glue to the back (too much will squeeze out and look messy) and place it back on the card.
- Dry Flat: Once all the buttons are on, gently erase your pencil lines. Let the card dry completely flat for a few hours so the buttons don’t slide.
Project 2: The Professional Shaker Card (Intermediate)
A shaker card is interactive and so much fun. The trick is building a sealed chamber so nothing leaks out.
Time Estimate: 45-60 minutes
Shopping List:
- A pre-folded card base
- A card panel (4 x 5.25 inches)
- Clear Acetate (buy sheets, or recycle clear product packaging): $5
- Double-sided foam adhesive tape: $6
- Shaker bits (sequins, beads, glitter): $3-$5 per pack
How to Make It:
- Create the Window: On your 4 x 5.25-inch panel, cut out a window shape (a circle, heart, square, whatever you like) with a craft knife or die-cutting machine.
- Add the “Glass”: Cut a piece of acetate slightly larger than your window. On the back of the panel, apply a thin line of strong tape or glue around the window’s edge and press the acetate on firmly.
- Build the Wall: This is the critical part. Using your foam tape, build a continuous, unbroken wall around the window on the back of the panel. Any gap will lead to a leak. I learned this the hard way after sending a card that left a glitter trail from the mailbox to my friend’s kitchen. For a better shake, use two layers of foam tape to make the chamber deeper.
- Fill ‘er Up: Place a small pinch of your shaker bits onto the center of the acetate window. Don’t overfill it, or nothing will move!
- Seal the Deal: Peel the backing off your foam tape wall. Carefully place your folded card base on top, pressing down to seal the chamber. Give it a shake!
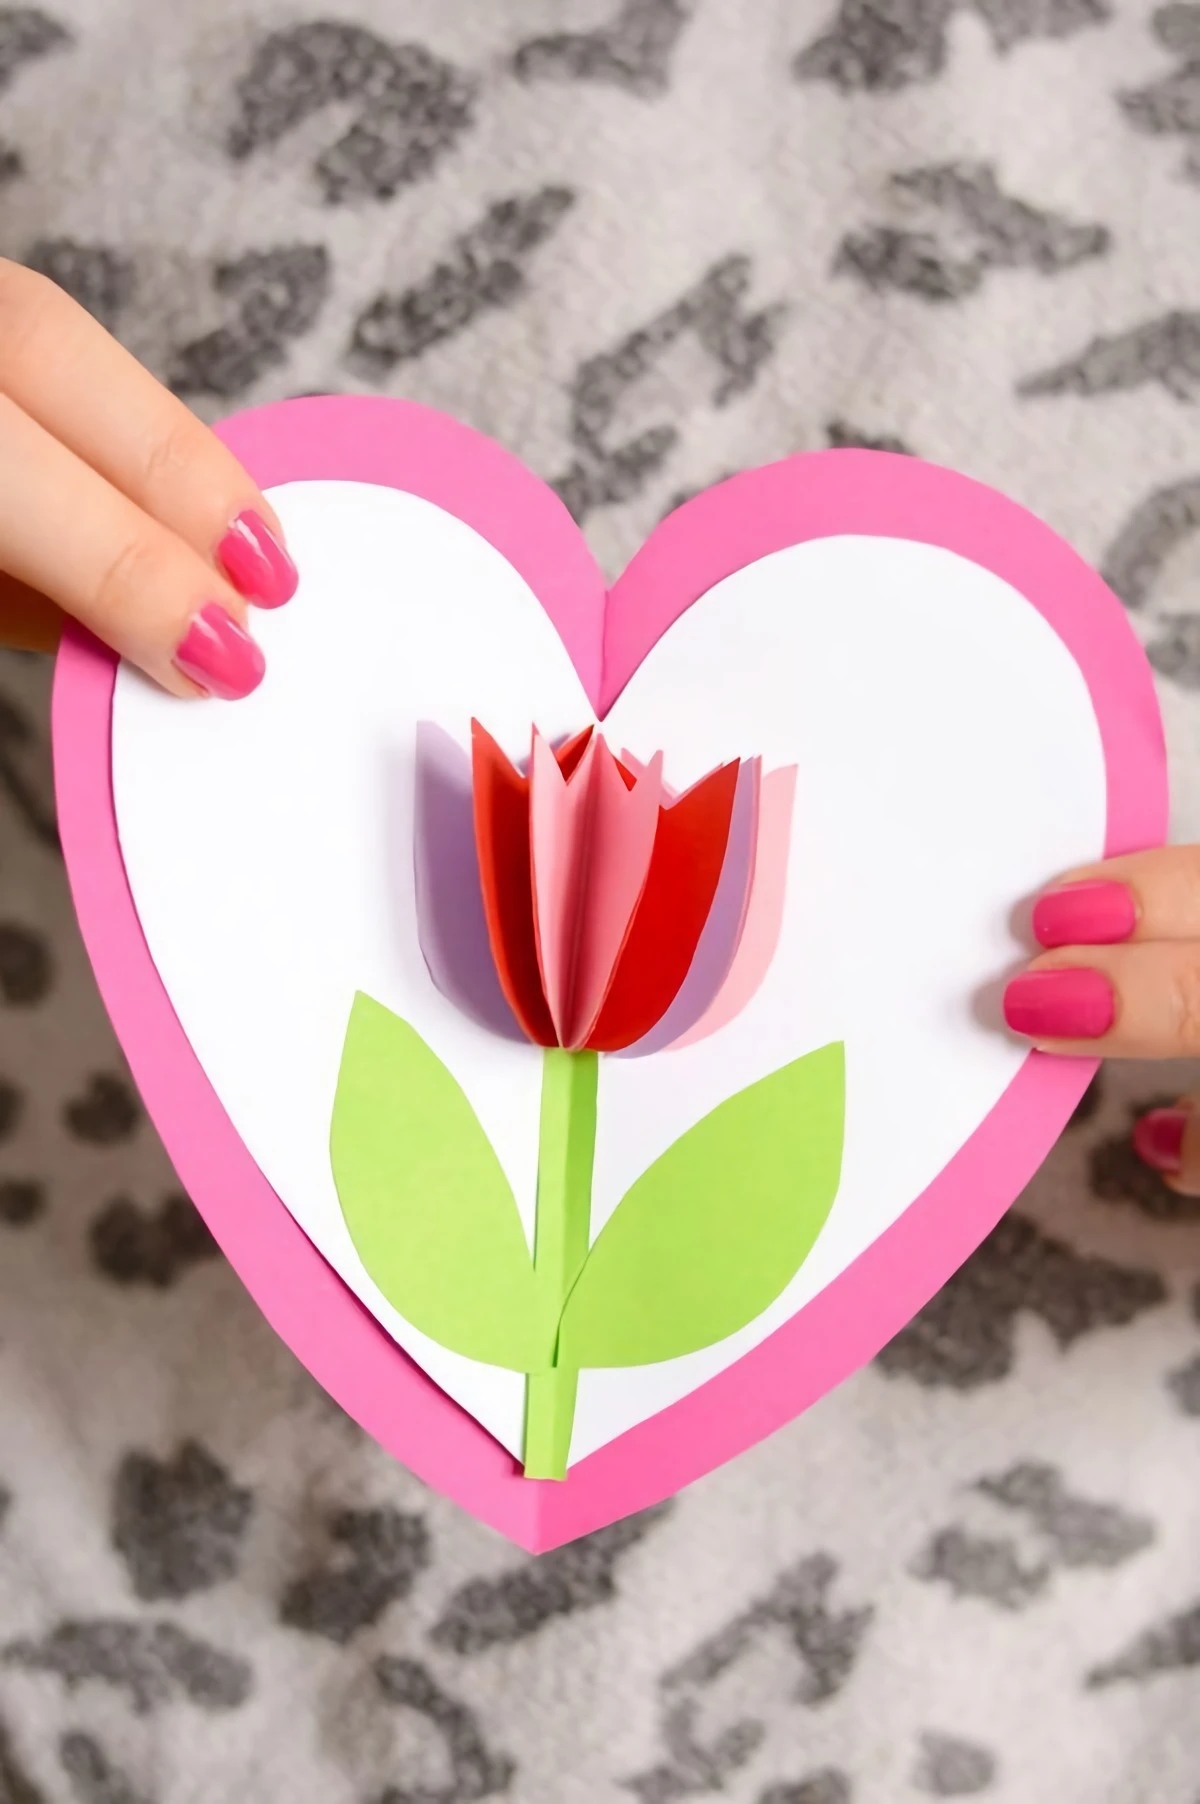
Project 3: The Elegant Pop-Up Flower (Advanced)
This looks complicated, but it’s based on a simple V-fold mechanism. It’s all about precision.
Time Estimate: About 1 hour (maybe more on your first try)
Shopping List:
- One 100 lb folded card base
- Lighter 65 lb cardstock in green and a flower color: $5-$8
- Liquid glue with a fine-tip applicator: $6
How to Make It:
- Create the Pop-Up Tab: Think of this like making a little pop-up “chair” inside the card for the flower to sit on. Fold a small piece of green paper (e.g., 2×4 inches) in half. From the folded edge, cut two parallel slits about an inch long. Open the paper and push that tab you just cut through to the other side. This is your pop-up base.
- Assemble the Flower: Cut out 3-4 simple flower shapes from your colored paper, each a bit smaller than the last. Glue them together in a stack to create one dimensional flower.
- Mount the Mechanism: Glue the pop-up base inside your main card, making sure the fold of the base lines up perfectly with the main fold of the card. If it’s not aligned, it won’t open smoothly.
- Attach the Flower: Apply glue to the front face of the pop-up tab. Carefully close the card, pressing down to stick the flower to the tab. Let it dry completely before you open it. When you do, the flower will pop forward!

A Few Final Pro Tips
Workshop Safety: Always cut away from your body, and retract or cover your craft knife blade when you’re not using it. And if you’re using a hot glue gun, keep a small bowl of cool water nearby—a simple safety tip for preventing nasty burns.
Mailing Your Masterpiece: If your card is bulky with buttons or bows, it needs protection from postal machines. Slip it into a padded bubble mailer or add a piece of stiff cardboard to a regular envelope. By the way, lumpy cards often require extra postage, so it’s worth checking at the post office.
Know When to Call for Help: I love making things by hand, but it’s good to be realistic. If you need 75 identical, intricate wedding invitations, doing it all by hand might drive you crazy. A professional stationer has the equipment for that kind of volume. The goal of a handmade card is to share a heartfelt message. Whether it’s a simple, elegant card or a complex pop-up, it’s the love you put into it that really counts.

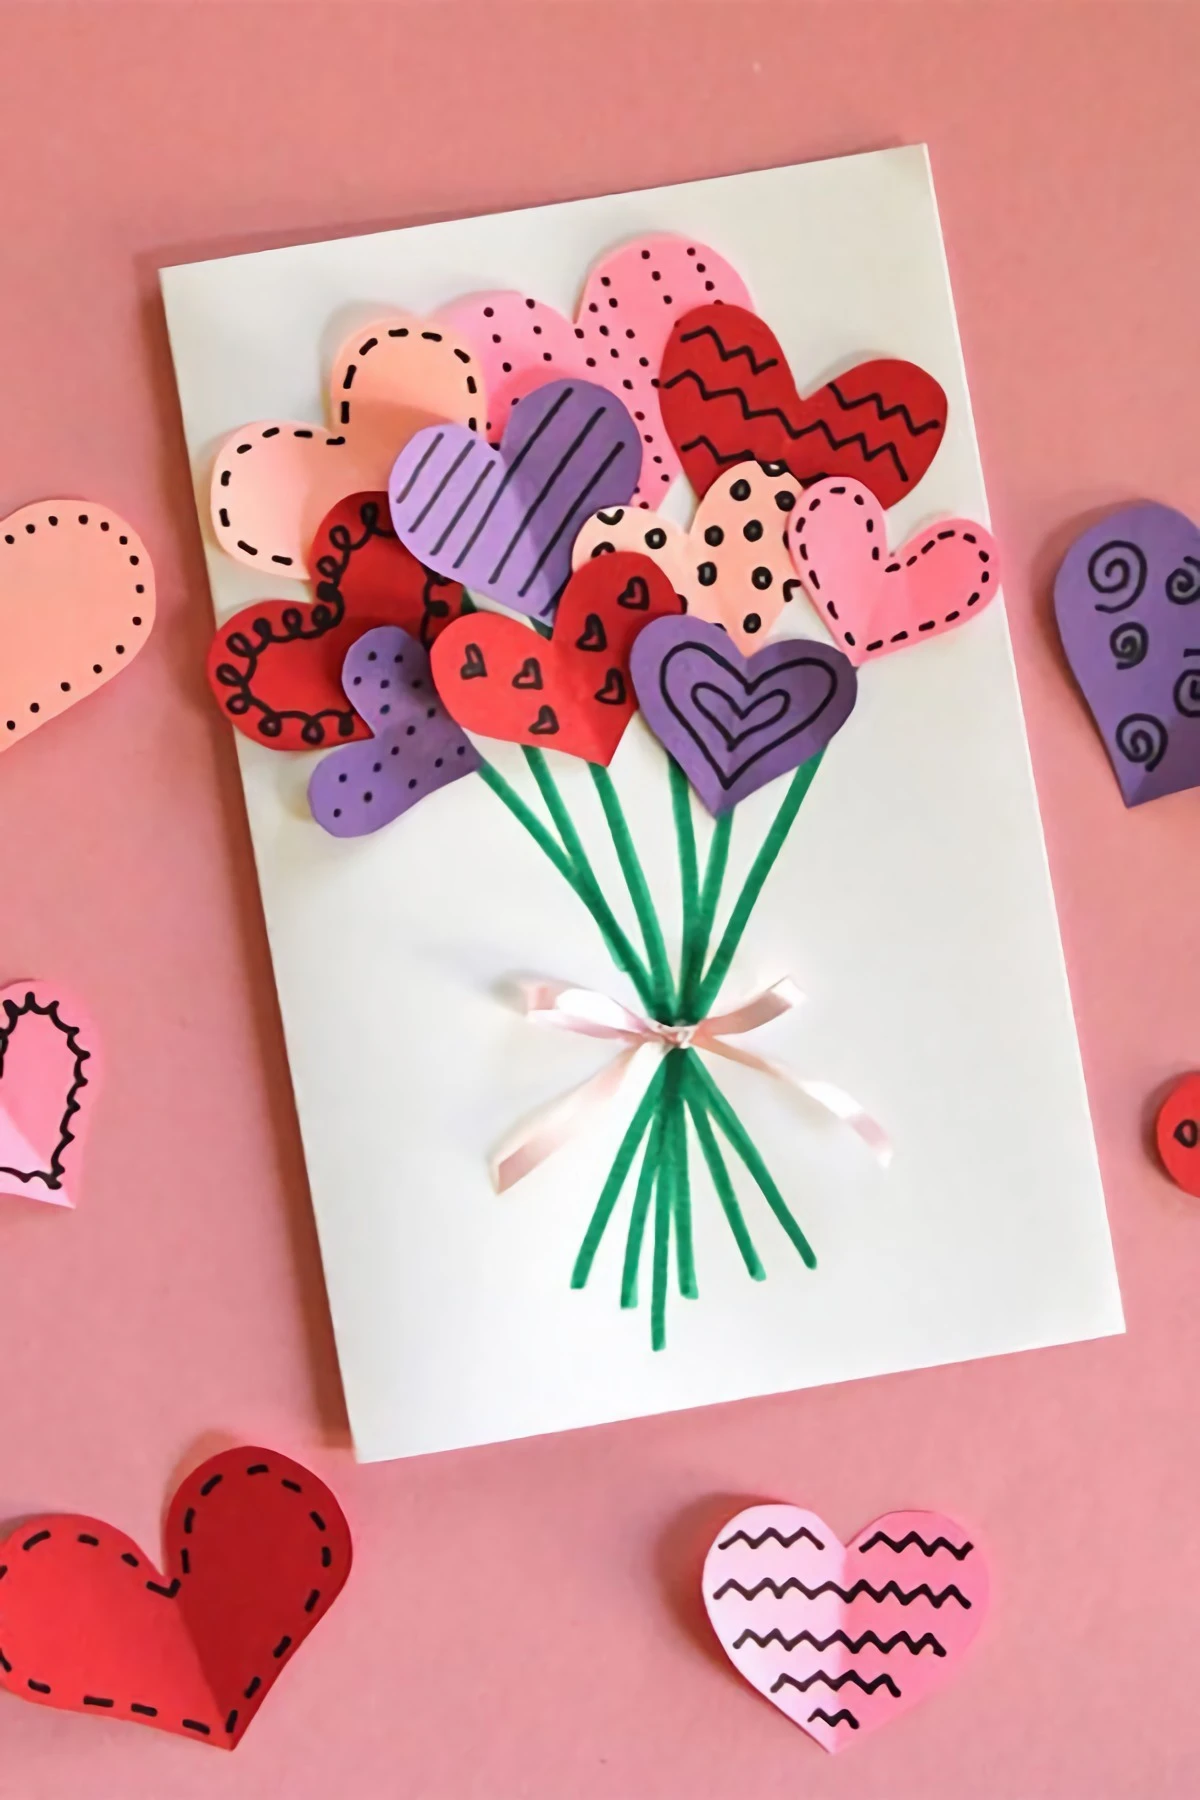
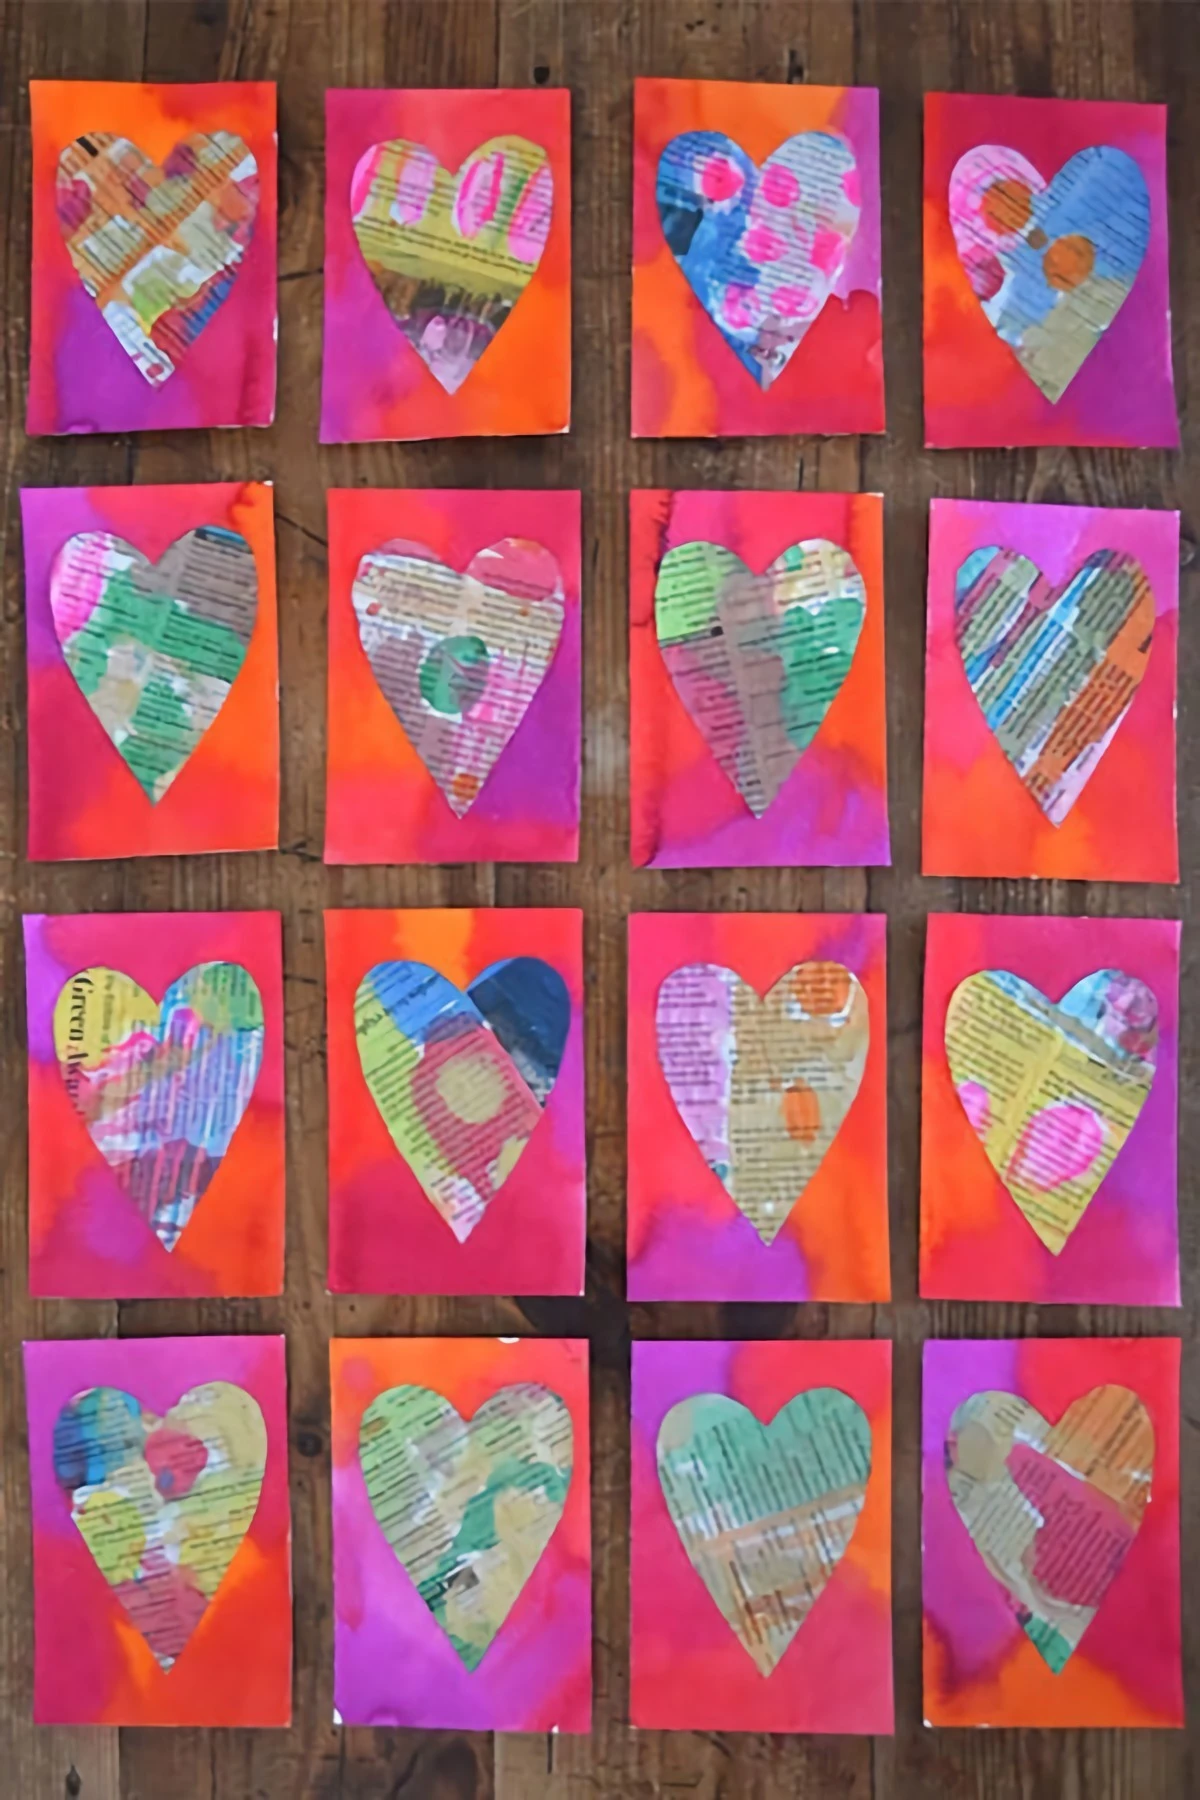
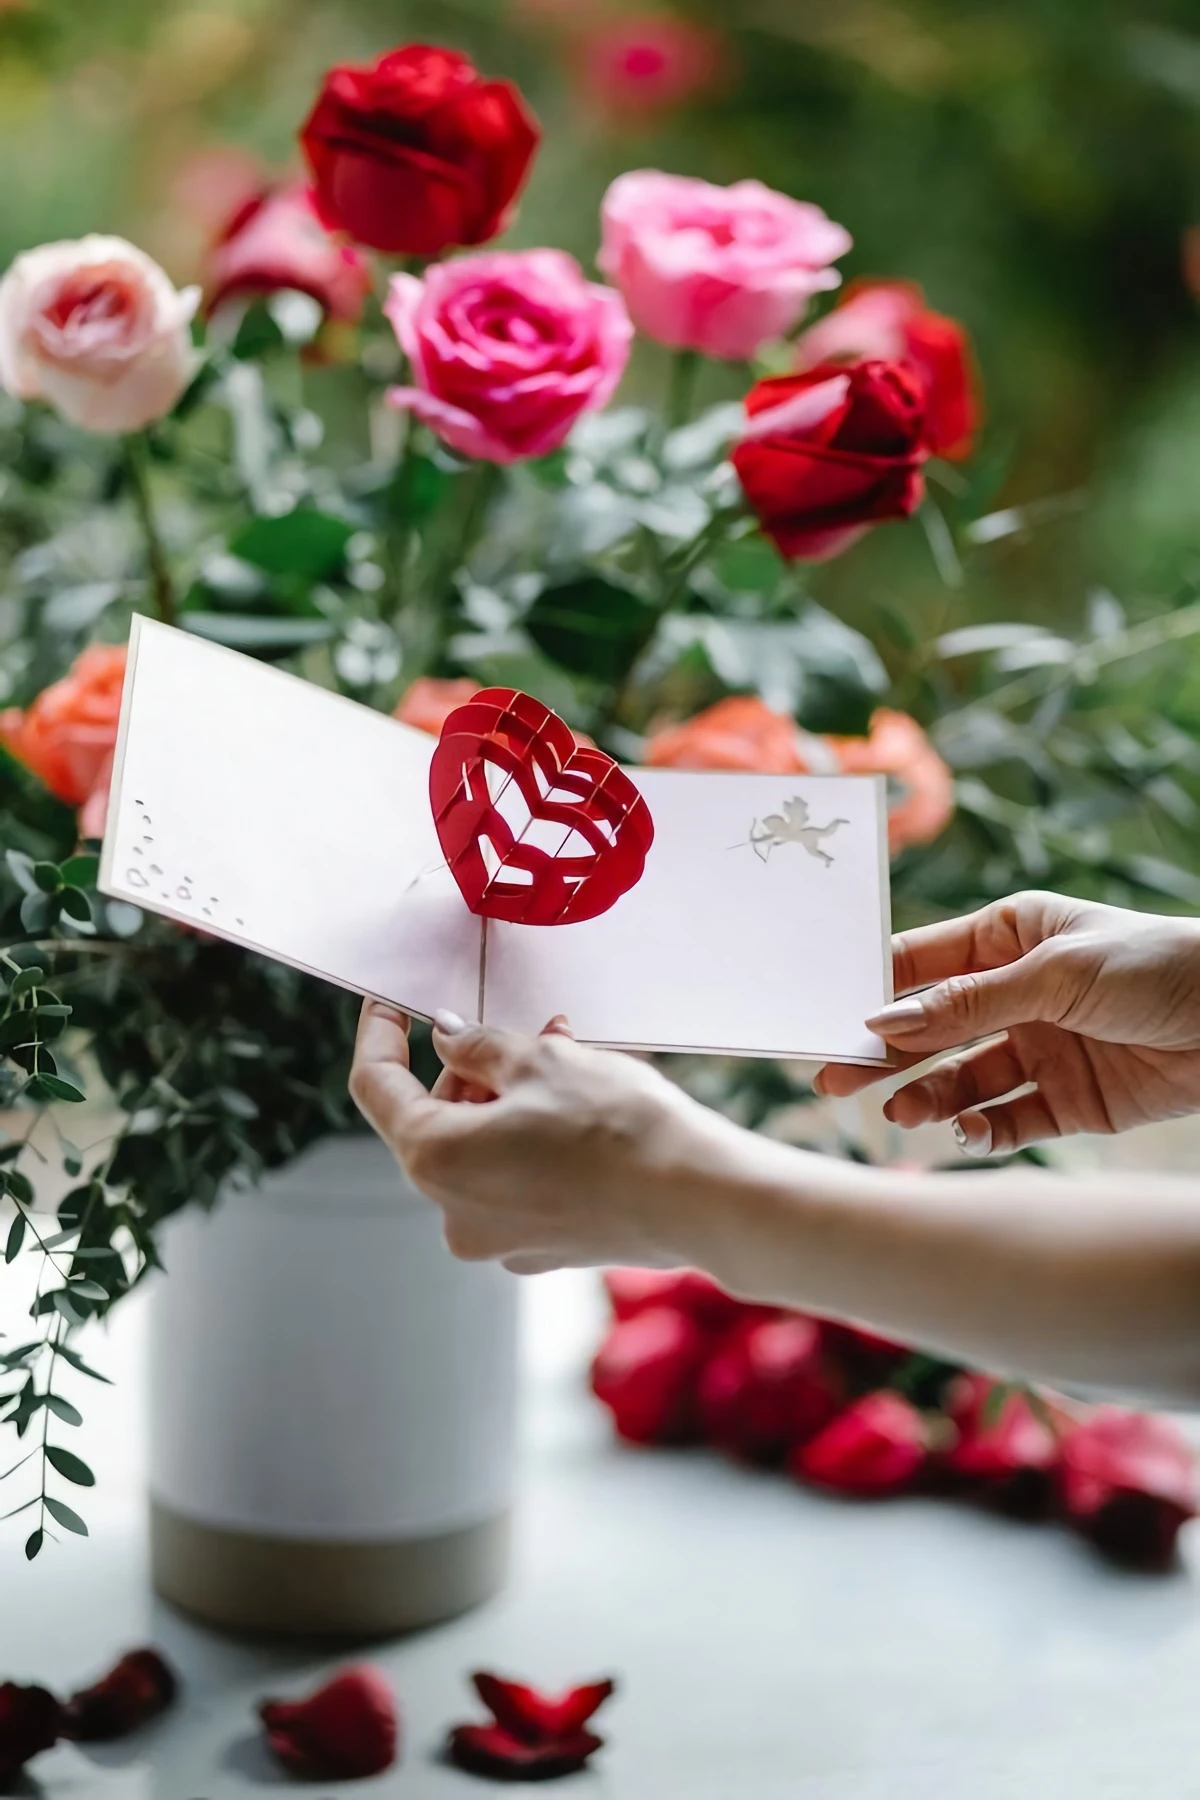
Inspiration:
Tape Runner: Perfect for instantly adhering paper layers without any drying time or warping. The Scotch ATG 700 is a cult favorite for its strength and precision, creating clean, invisible lines ideal for card panels.
Liquid Glue: Offers more
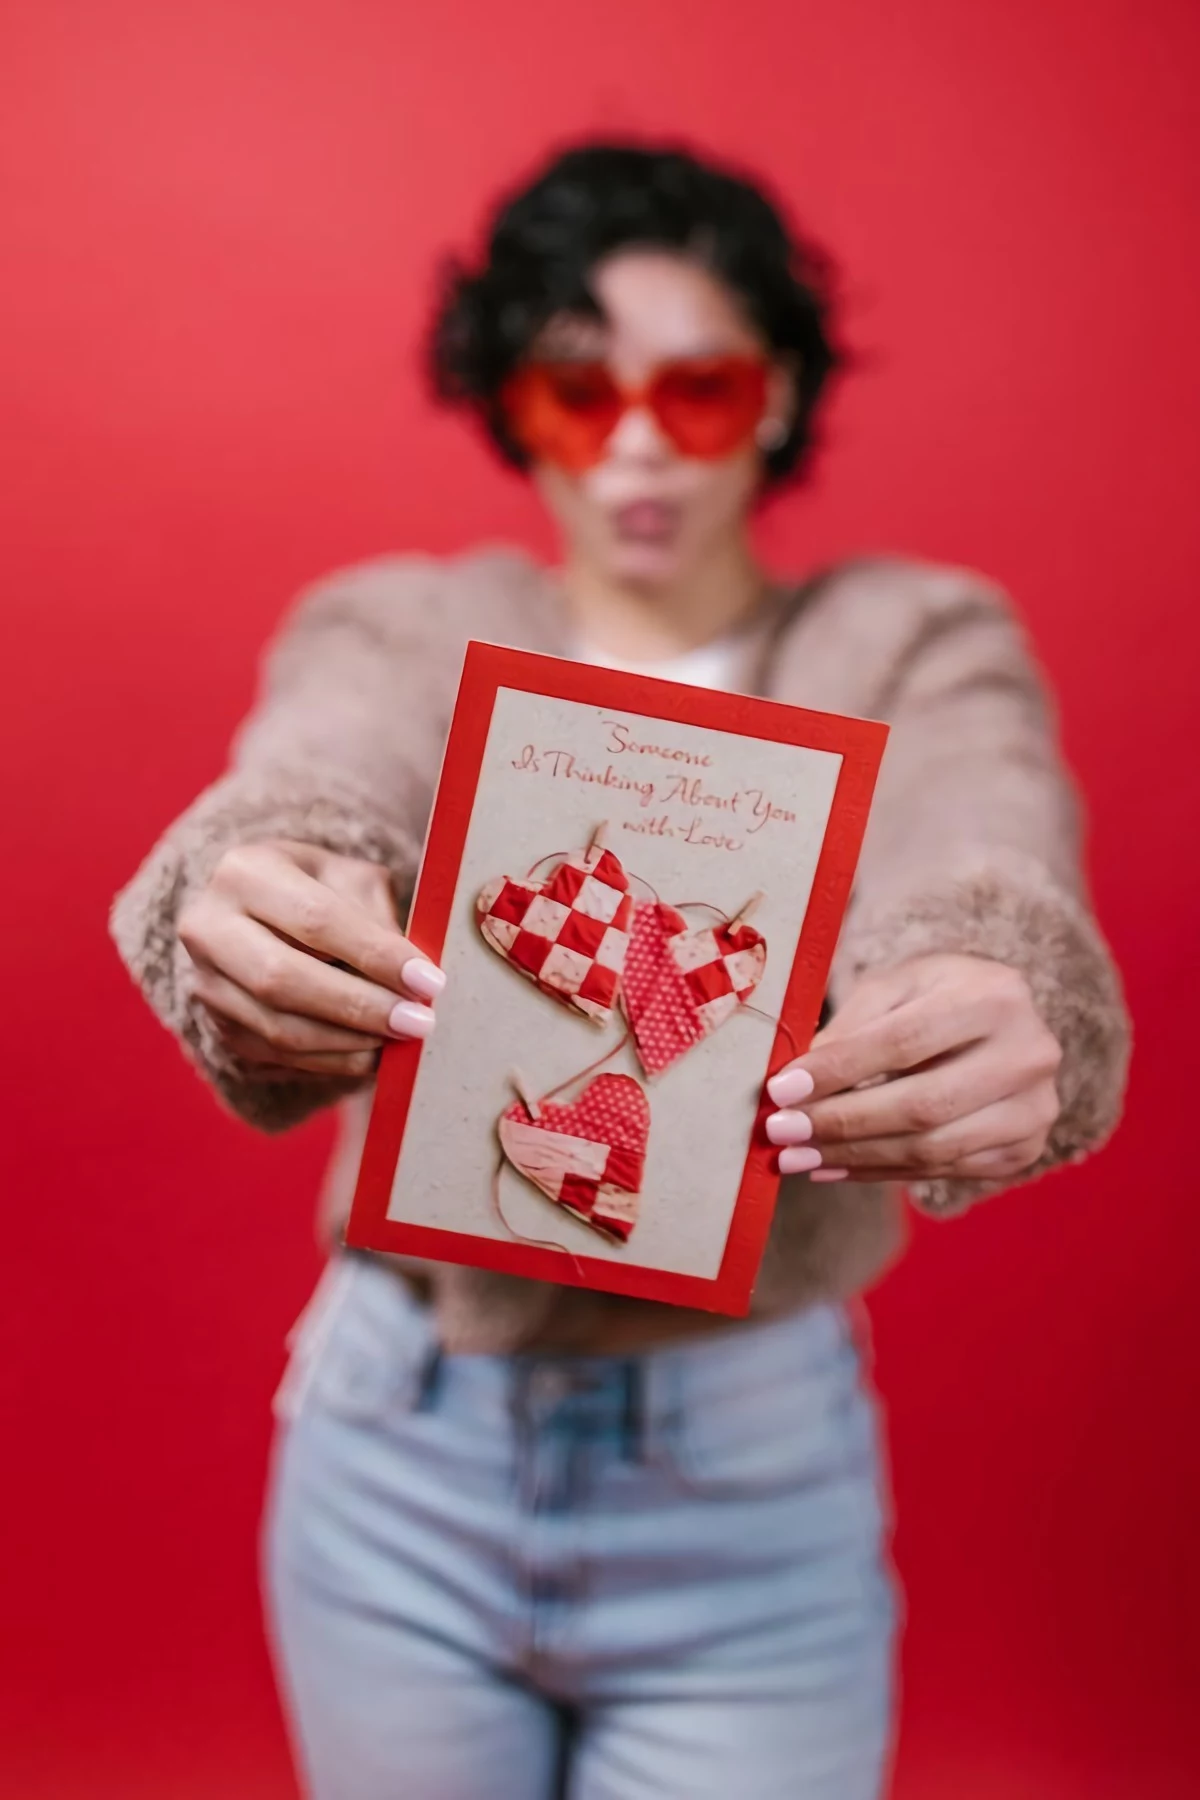
The most memorable cards often appeal to more than just sight. A small piece of twine, a swatch of linen fabric, or a line of hand-stitching introduces texture that invites touch and transforms the card into a tactile experience.
How do you get that dreamy, translucent vellum look without the unsightly glue marks?
The secret is clever adhesive placement. Instead of applying glue all over the back, hide tiny dots of a clear-drying liquid glue (like Ranger Multi Medium Matte) behind other opaque elements like a sentiment strip, a flower, or a few strategically placed sequins. Alternatively, for a full vellum overlay, a Xyron sticker maker can create an edge-to-edge adhesive layer that remains virtually invisible.
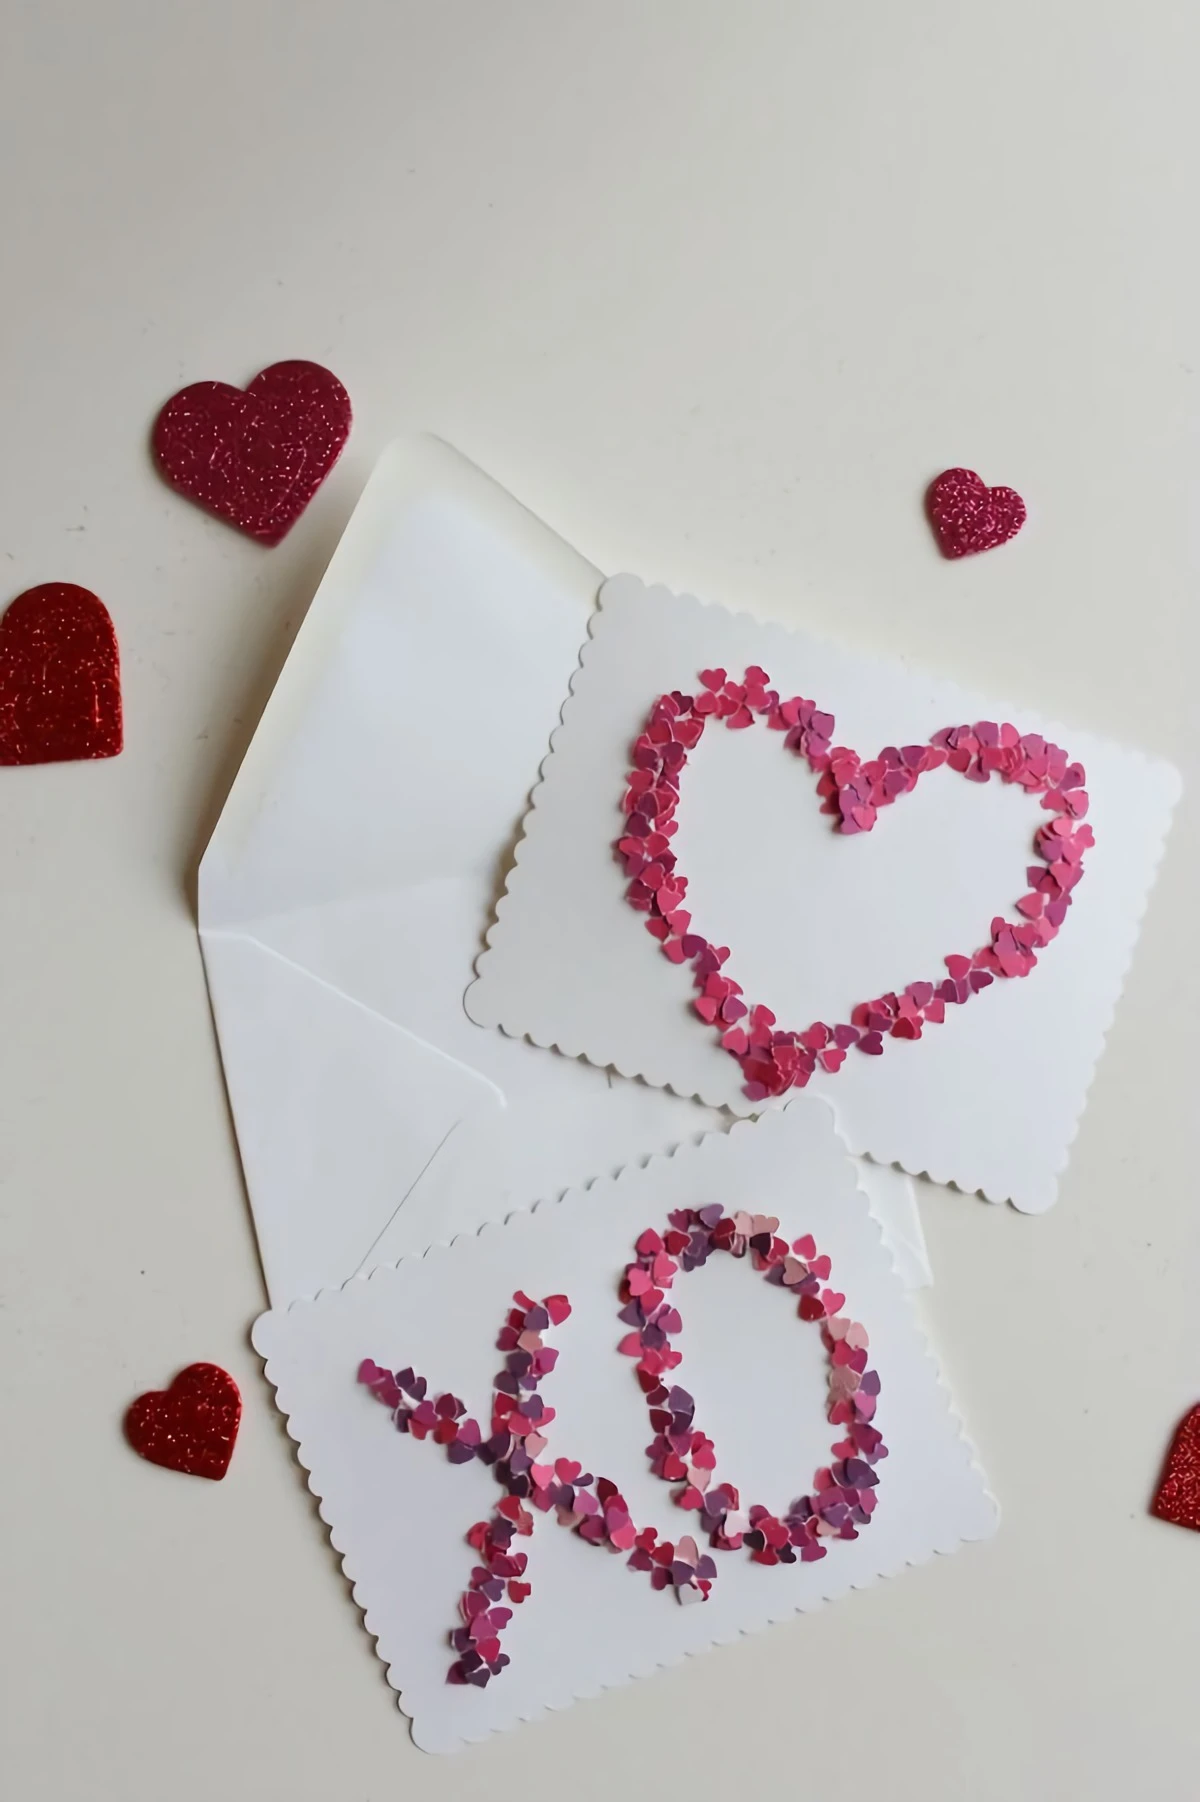
A simple rule for stunning composition: When adding embellishments like gems, enamel dots, or sequins, group them in odd numbers, typically three. Arranging them in a subtle triangle draws the viewer’s eye across the card, creating a dynamic and professional-looking design that feels balanced and intentional.


