This Humble Kitchen Staple is Secretly a Workshop Hero
I remember an old-timer in my family keeping a roll of wax paper in his workshop, right next to his sharpening stones. He wasn’t making sandwiches. He’d tear off a strip and run it over the sole of his hand plane or the teeth of a handsaw, saying it kept them clean and made them glide. As a kid, I just thought it was one of his quirks. Years later, after spending time in pro kitchens and running my own workshop, I finally got it. He knew this simple, cheap roll was so much more than just food wrap. It was a tool.
In this article
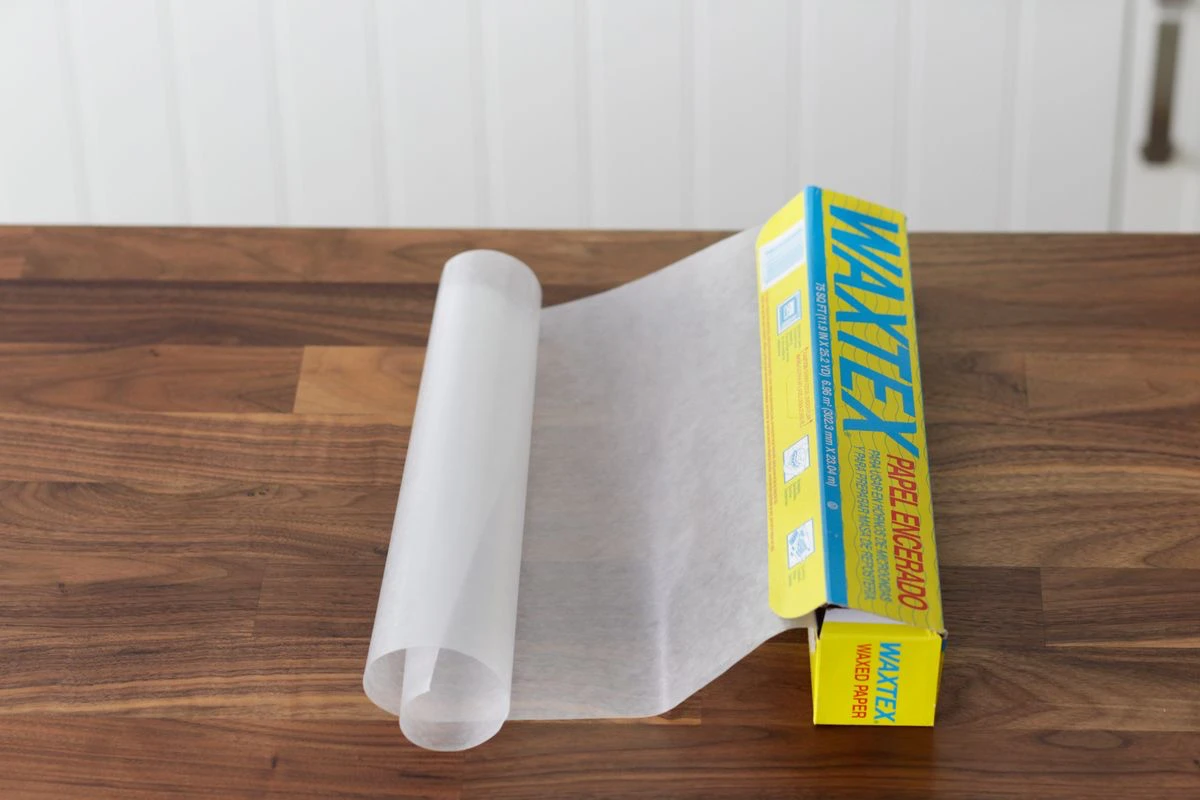
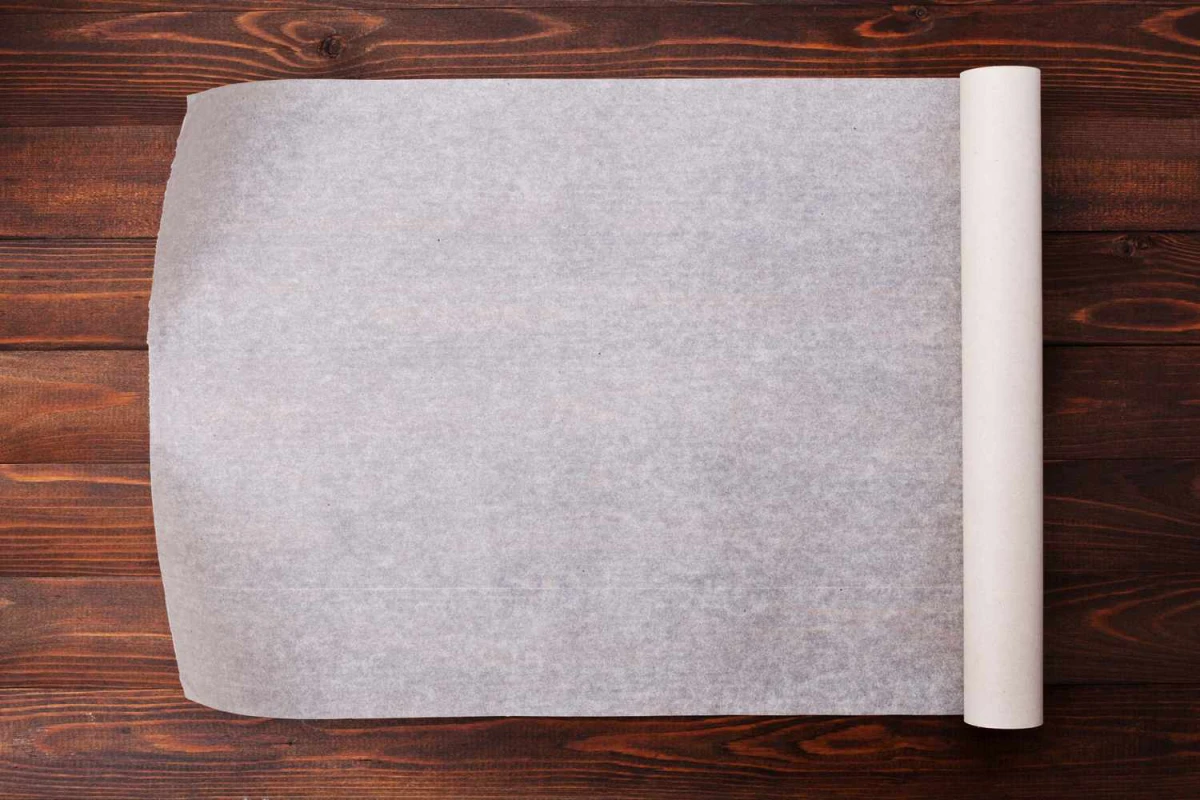
Chances are, you have a roll of wax paper stuffed in a drawer somewhere. Maybe you even bought it by mistake, thinking it was parchment paper. That’s a common mix-up, and one you only make once! The consequences can be… smoky.
Wax Paper vs. Parchment Paper: What’s the Real Deal?
Let’s clear this up right away, because it’s the most important lesson. Wax paper must never, ever go in a hot oven. The wax coating will melt, smoke, and can even catch fire. It’s a stinky, dangerous mess. Parchment paper, on the other hand, is coated with silicone, which makes it non-stick and heat-resistant up to about 450°F.
So, for baking cookies or lining a roasting pan? Always grab the parchment.
But what about the microwave? Good question. Wax paper is generally safe for microwave use. It’s great for covering a bowl to prevent splatters since it won’t melt from the short bursts of heat. It’s a non-stick, disposable lid. Parchment paper is also microwave-safe, but wax paper does the job just as well for a bit less money.
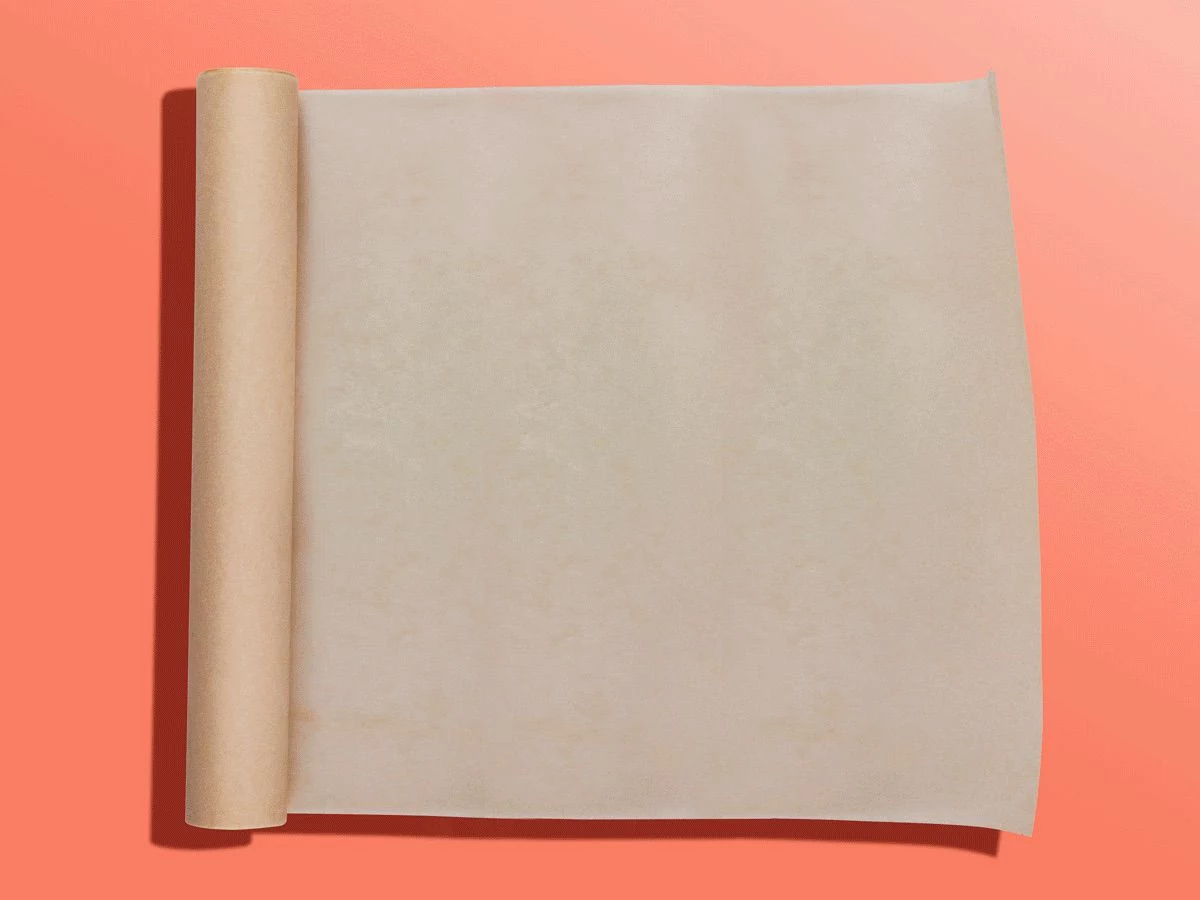
Once you understand its limits (no oven!), you can start to see its real strengths. This guide is all about moving past the lunchbox and exploring how this humble staple, which usually costs just $2 to $4 a roll, can solve problems all over your house.
In the Workshop: Your New Favorite Lubricant
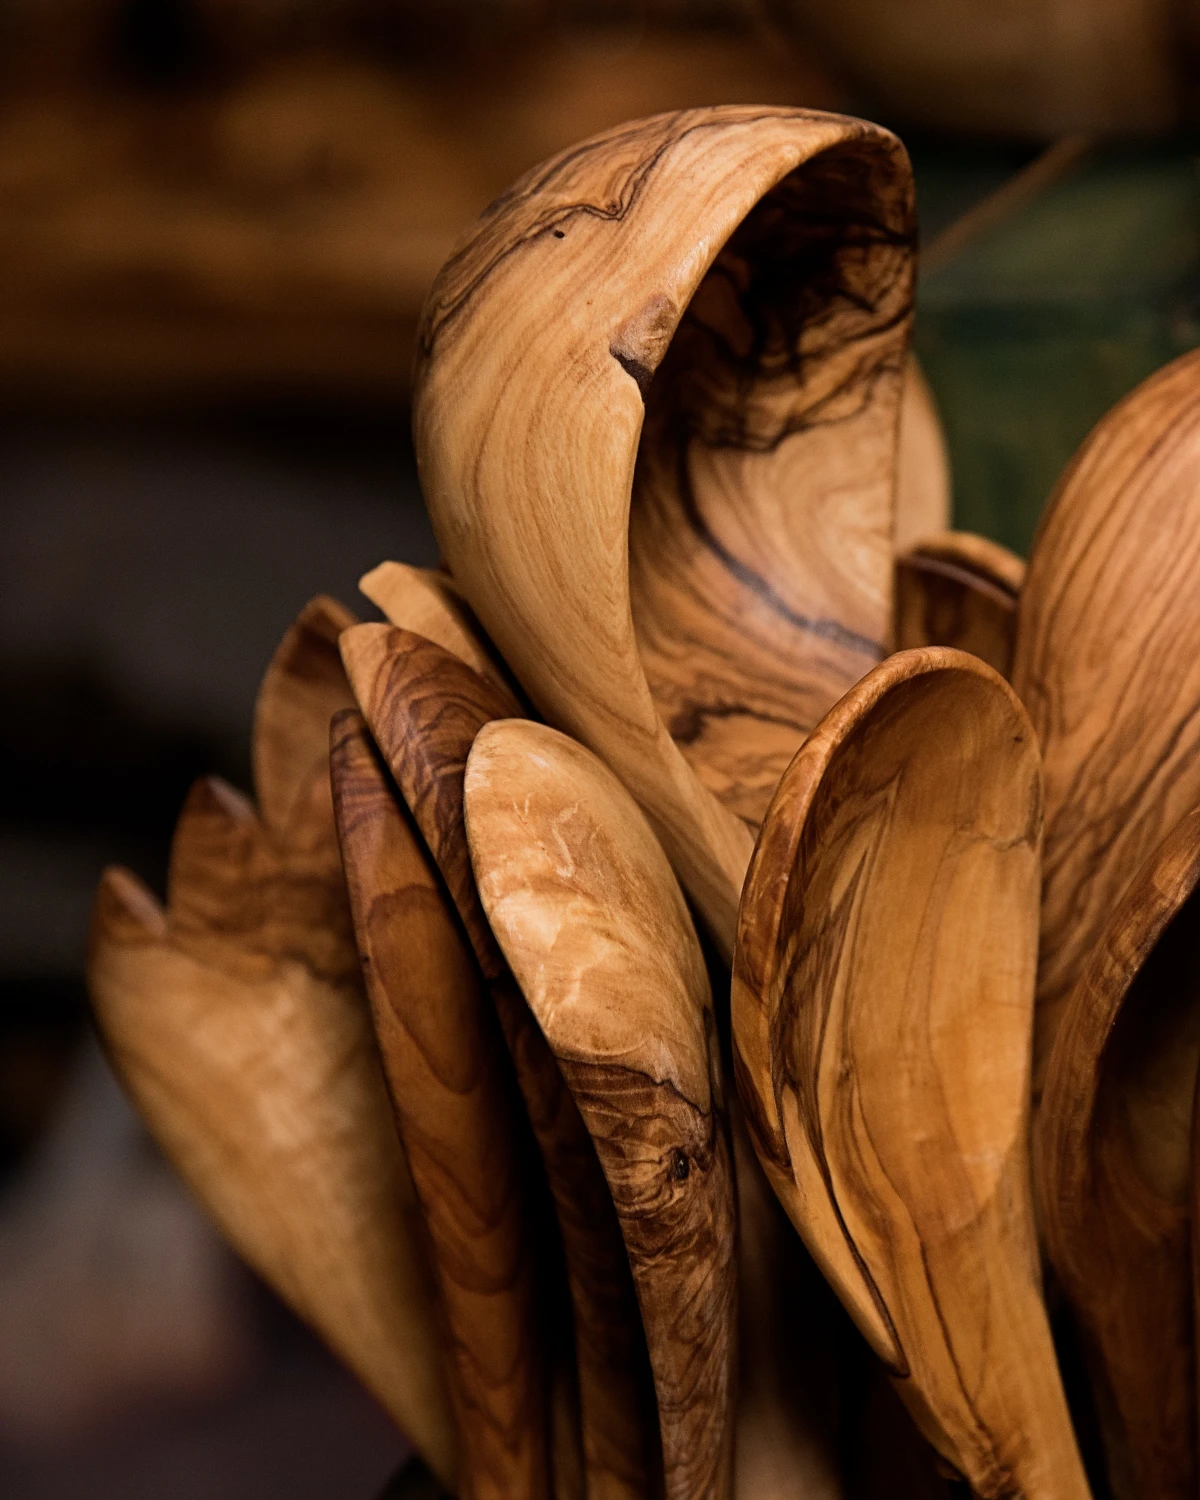
That old-timer was right. A roll of wax paper is one of the most useful things to have in a workshop. It’s a dry lubricant, a rust protector, and a clean-up aid all in one—and it’s a lot less messy than oils and sprays for small jobs.
Friction and rust are the enemies of good tools. After you clean your hand saws, chisels, or garden shears, just rub them down with a piece of wax paper. The wax leaves a micro-thin layer that repels moisture, helping to prevent that annoying surface rust from forming in storage. I do this with my garden pruners every fall. It takes 30 seconds and saves me an hour of scrubbing rust off in the spring.
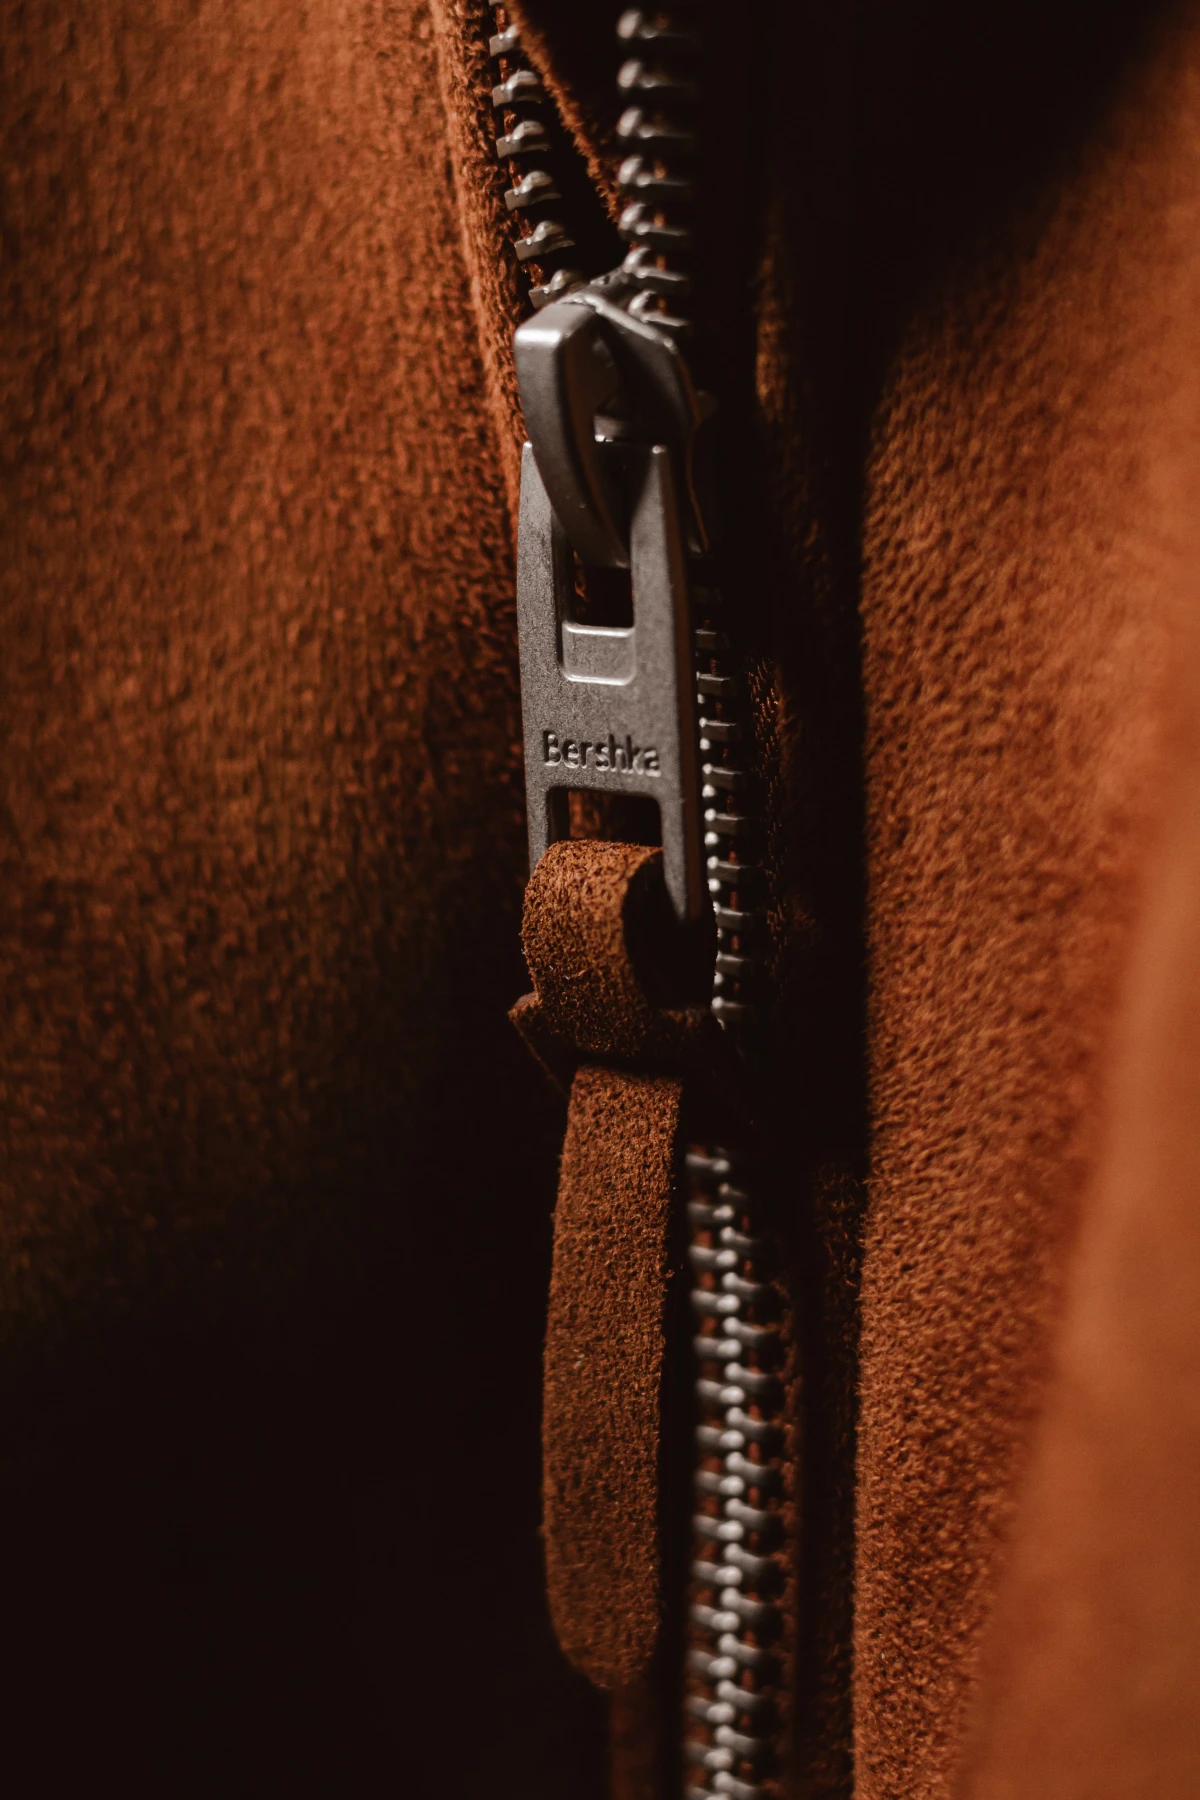
Oh yeah, and the lubrication is a game-changer. For hand saws or the sole of a hand plane, the wax reduces friction so your work feels smoother and takes less muscle. It’s especially noticeable on sticky, resinous woods like pine. A quick wipe and the tool just glides. You can also use this trick on sticky wooden drawers or old window sashes. Even a squeaky curtain rod can be silenced with a quick wipe. And heads up, it’s perfect for stiff zippers on tool bags or jackets—much cleaner than grease!
By the way, if you’re worried about wax buildup on your tools over time, don’t be. The layer is so incredibly thin it rarely causes an issue. But if you are concerned, a quick wipe with mineral spirits (a can of that is usually $10-$15 at a hardware store) once a year will take it right off.
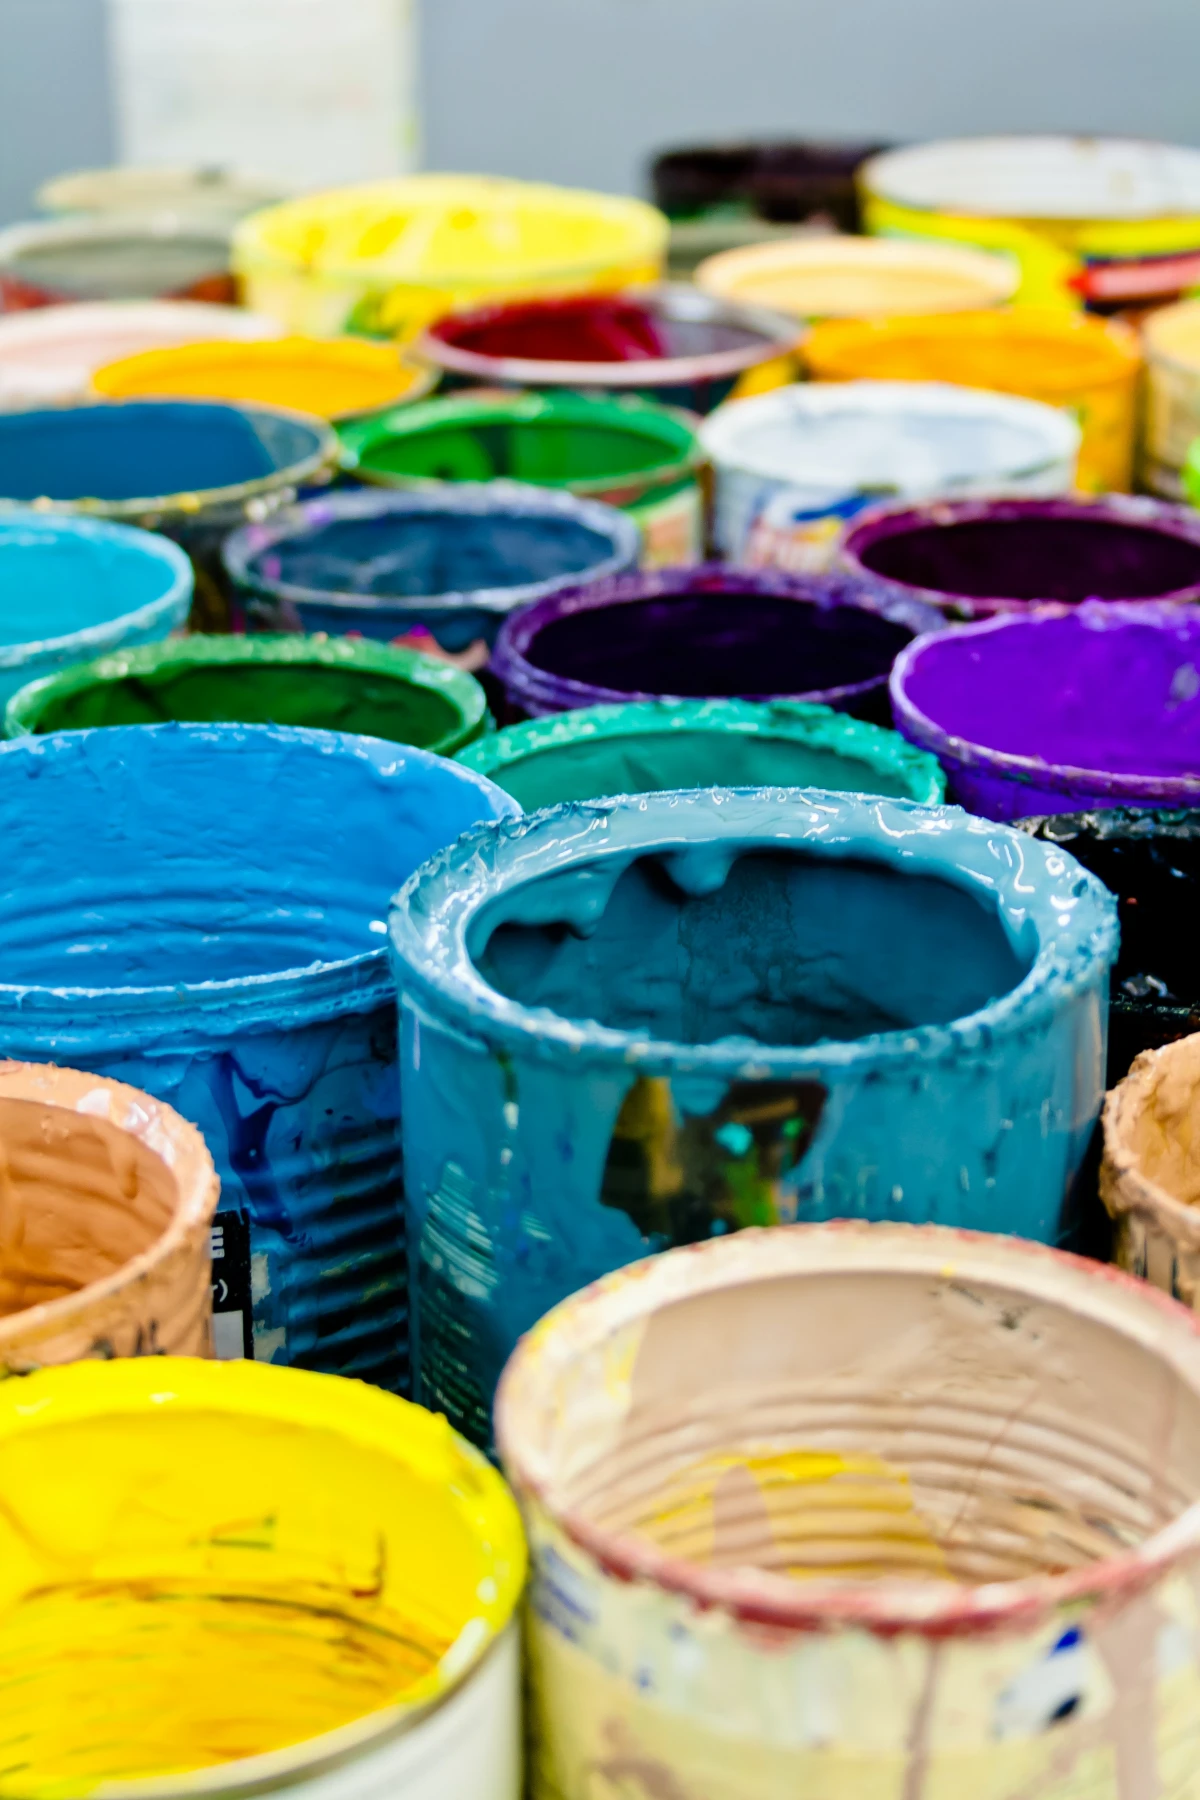
A Painter’s Best Friend
Ever take a break from painting only to come back to that gross, dry film on the surface of your paint? When you stir it in, you get crusty lumps all through your finish. Ugh.
Here’s a trick I learned from a crew of pro painters that has saved me countless hours of straining paint. Here’s how you do it:
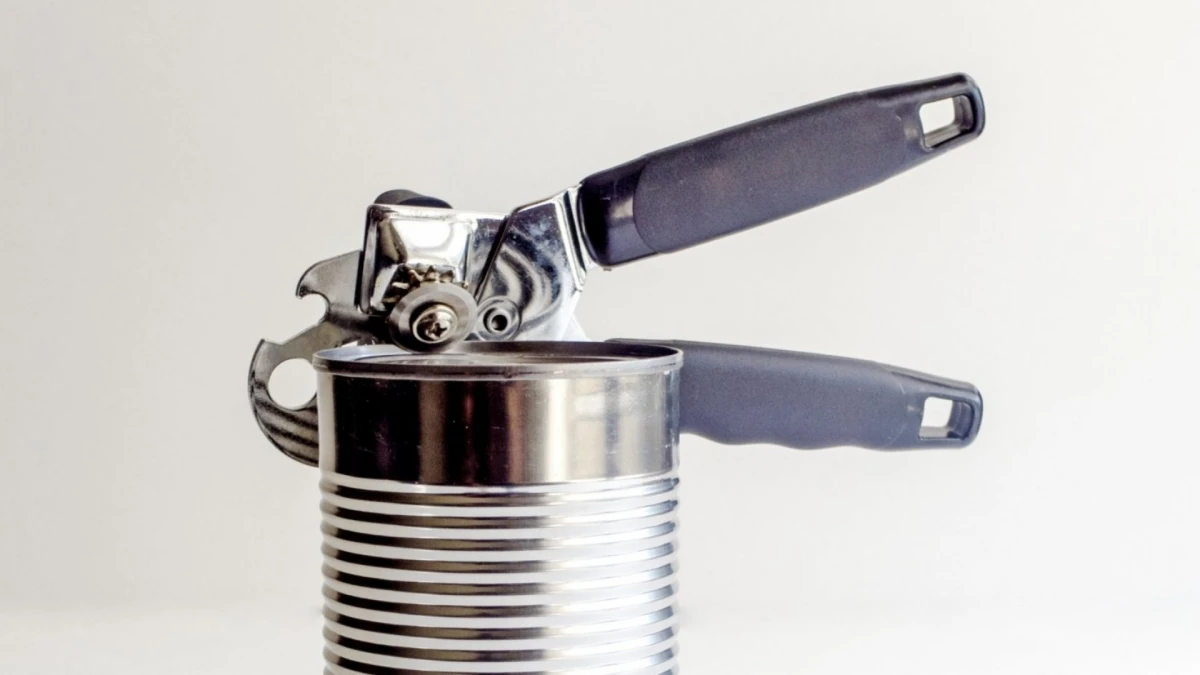
- Trace it: Before putting the lid on the can, place the can on a sheet of wax paper and trace around it with a pencil.
- Cut it: Cut out the circle, but make it about a 1/4 inch smaller than the line you drew.
- Float it: Gently lay the wax paper circle directly on the surface of the paint. It creates an airtight barrier. Then, seal the can.
When you come back, just peel the paper off. The paint underneath will be perfectly fresh. For shorter breaks, you can also wrap your wet brushes or rollers tightly in wax paper to keep them from drying out for a couple of hours. It’s a perfect lunch-break solution.
In the Kitchen: Prep, Storage, and Cleanup
In the kitchen, wax paper is king for anything that doesn’t involve heat. Its non-stick surface simplifies dozens of tasks.
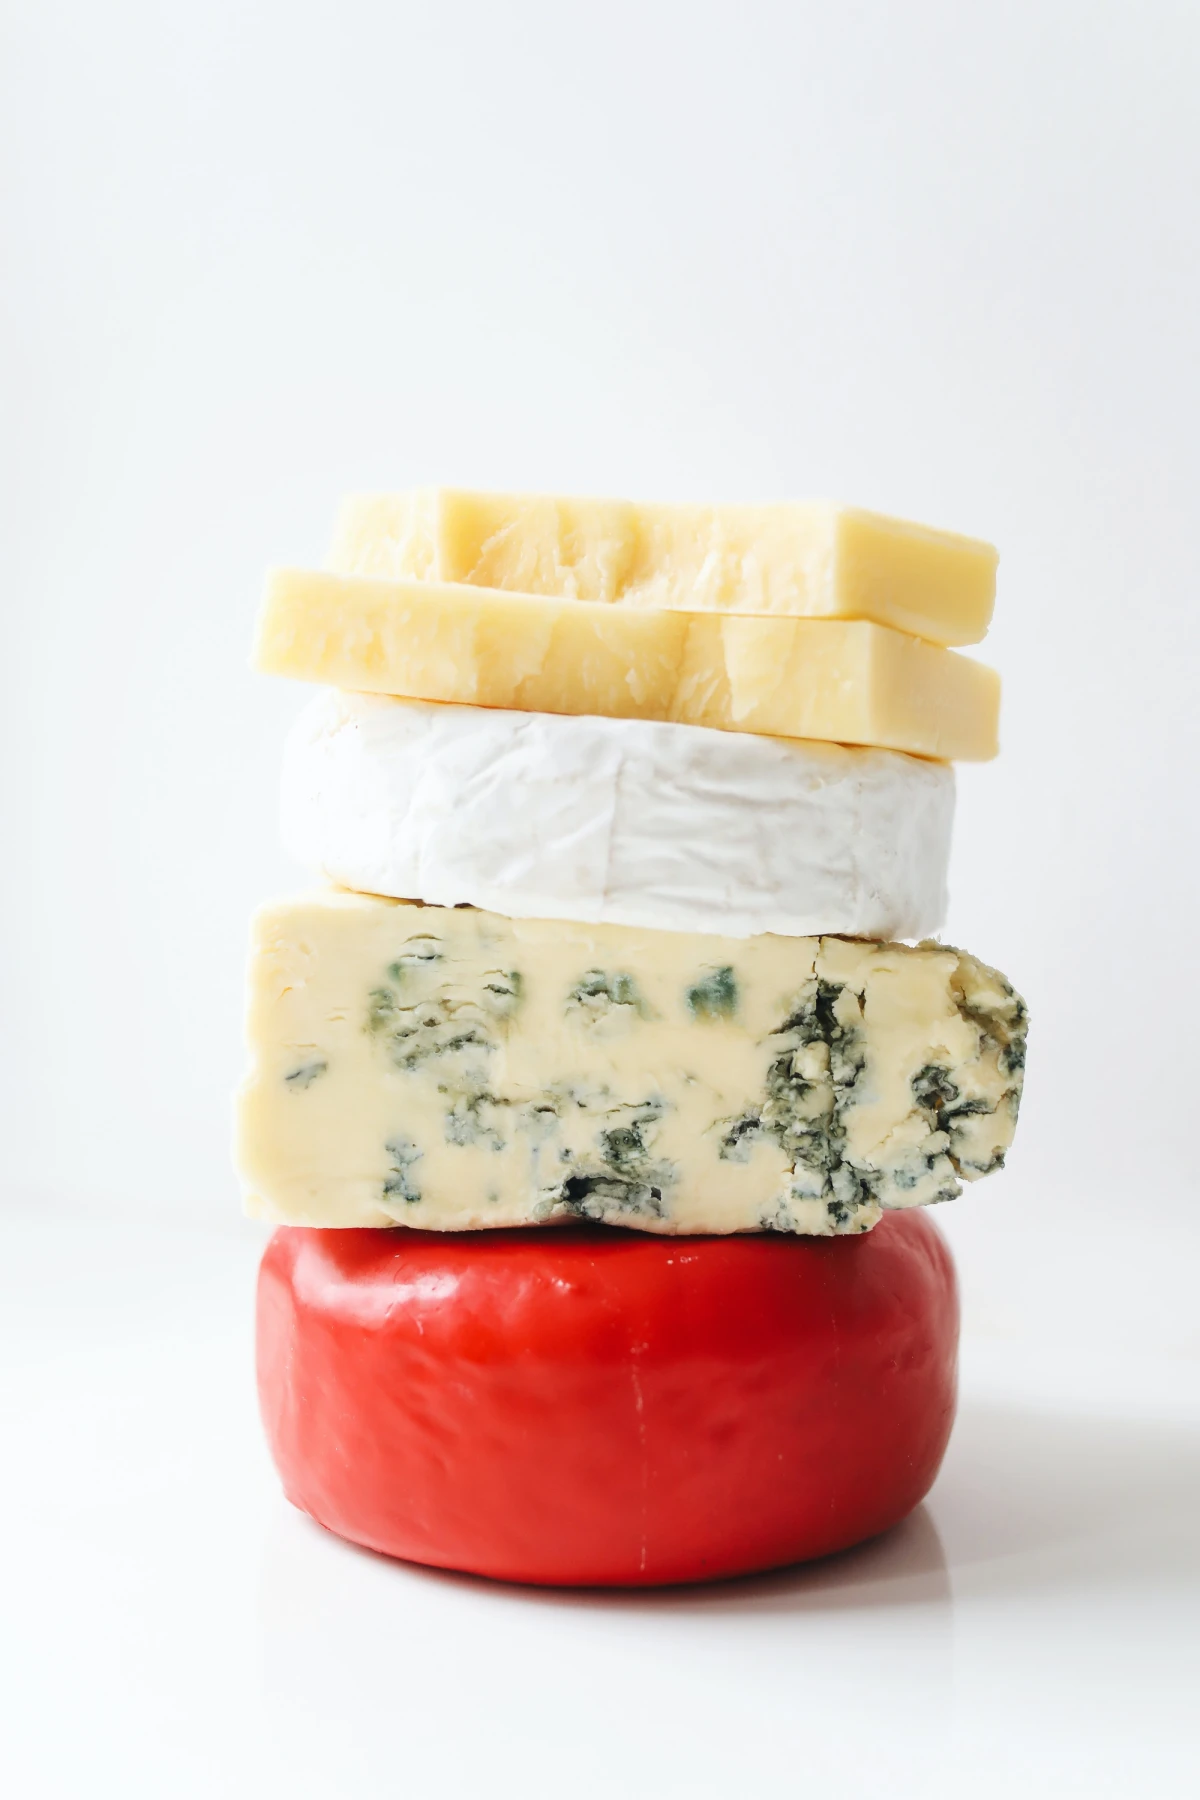
One of the best uses? Storing cheese. Please, I’m begging you, never store good cheese in plastic wrap. Cheese needs to breathe, and plastic suffocates it, trapping moisture and ammonia, which makes it taste funky and get slimy. Professionals use special cheese paper, but wax paper is the perfect substitute. Here’s how to wrap it like a pro using a classic “drugstore fold”:
Place your wedge of cheese on a large sheet of wax paper. Fold the paper over the cheese, then make a series of sharp, one-inch folds, creasing it tightly with each fold, until the paper is snug against the cheese. Then, just fold the ends under like you’re wrapping a gift. This method allows the cheese to breathe while stopping it from drying out. For soft cheeses, it’s a good idea to re-wrap with a fresh piece after each use.
It’s also my go-to for messy prep work. When I’m breading chicken, I lay out three sheets: one for flour, one for egg, one for breadcrumbs. Cleanup involves just rolling them up and tossing them. Done. It’s also perfect for placing dipped chocolates or decorated cookies on to set—they’ll lift right off without a fight. And for freezing, it’s a lifesaver. Stack hamburger patties or pancakes with squares of wax paper in between so they don’t become a frozen brick.
Crafts, Cleaning, and Other Clever Hacks
Ready for some next-level uses? Wax paper is fantastic for crafts. You’ve probably seen it used to preserve autumn leaves. Just sandwich a leaf between two sheets of wax paper, place a thin towel over it (this is crucial!), and press with an iron on a medium, no-steam setting. Think the ‘wool’ or ‘silk’ setting, around 300°F / 150°C. The heat melts the wax, sealing the leaf inside and creating a beautiful, translucent effect.

A quick tip I learned the hard way: I once melted wax all over an iron by forgetting the protective towel. If this happens to you, don’t panic! Let the iron cool completely. Then, fill a bowl with ice cubes and rest the iron’s soleplate on the ice. The cold will make the wax brittle, and you can usually scrape most of it off with a plastic spatula or an old credit card. To get the last bits, set the iron to low and run it over a few paper towels to absorb the remaining residue.
Here are a few more quick-fire ideas:
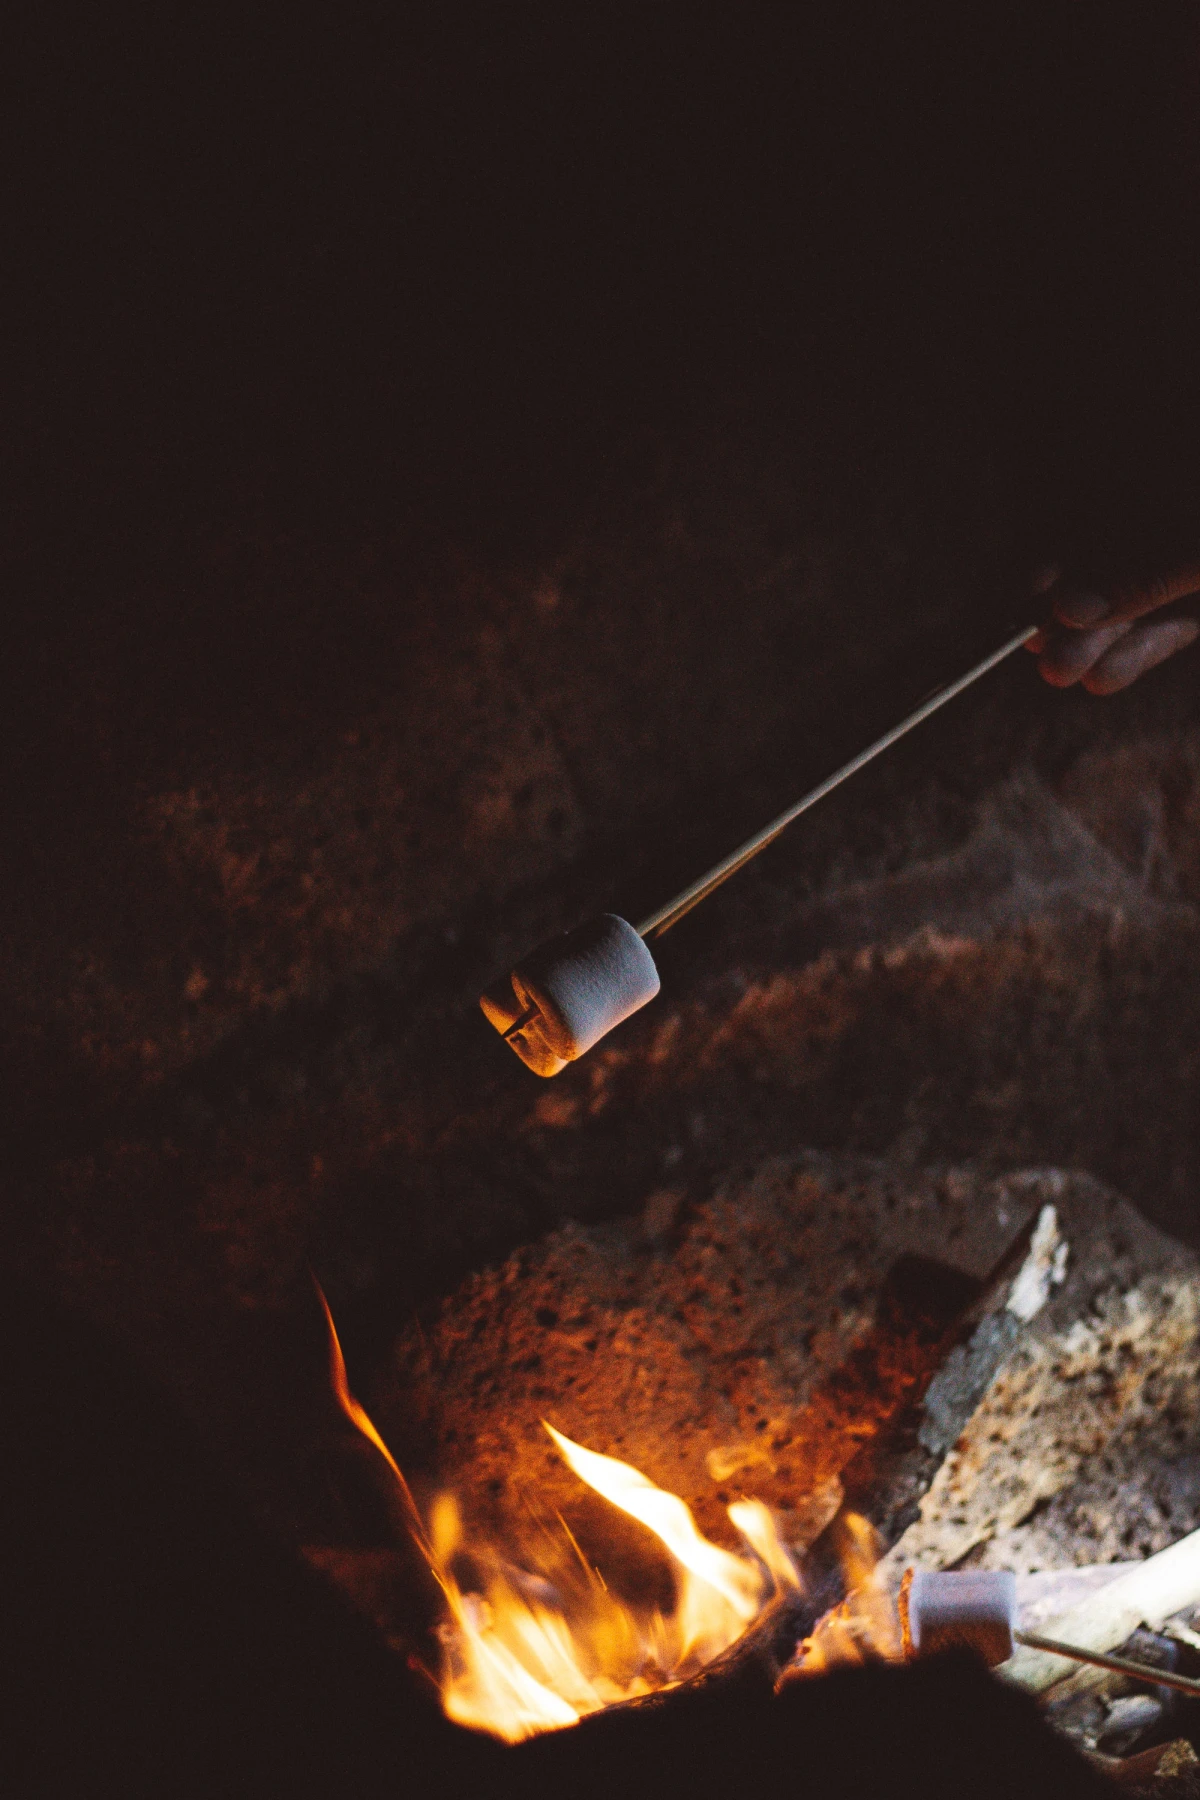
- Reliable Fire Starter: For outdoor use ONLY. A tightly rolled or shredded piece of wax paper is an amazing fire starter for campfires, especially in damp conditions, because the wax burns hotter and longer than paper alone.
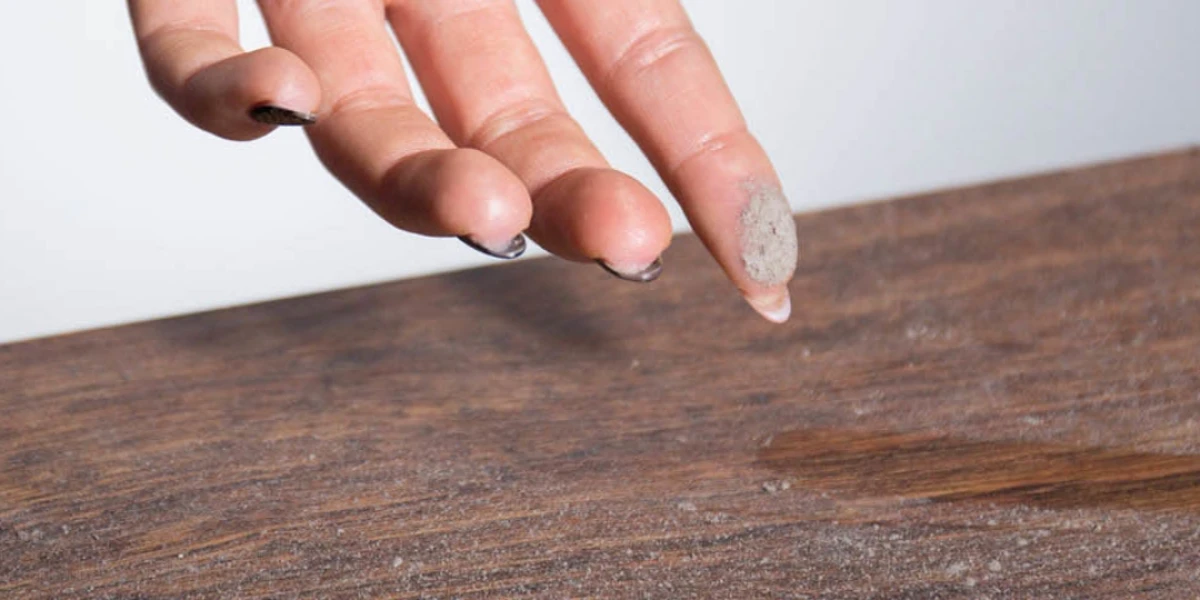
- Dust Magnet: A crumpled piece of wax paper is great for dusting baseboards and furniture. It picks up dust instead of just pushing it around, and the tiny bit of wax it leaves behind helps repel future dust.
- Quick Polish: After cleaning your chrome faucets, rub them with wax paper. It buffs away water spots and fingerprints and helps prevent new ones from forming.
A Final Word: Sustainability and Safety
It’s good to be mindful of what we use. To be frank, most wax paper is not recyclable or compostable because the paraffin wax coating doesn’t break down easily. Some newer brands use soybean wax and claim to be compostable, so check the box if that’s a priority for you.
But remember the golden rule: wax paper’s value is tied to using it correctly. It’s an amazing, versatile material, but it is not heat-proof. Keep it out of the oven, and it will earn its place as a quiet hero in your home.
So, here’s a little challenge for you this week: find one sticky drawer or squeaky door in your house and fix it with wax paper. It’ll take you less than a minute. Let me know how it goes!
Inspiration:
That stubborn wooden drawer that always sticks? Or a zipper on a vintage jacket that refuses to glide smoothly?
Before reaching for messy oils or sprays, grab your roll of wax paper. For drawers, simply rub a folded piece along the wooden runners and the bottom edges of the drawer itself. The wax coating provides a low-friction surface that lasts for weeks. For zippers, rub the paper firmly over the teeth (both sides, with the zipper open). It lubricates without staining the fabric, making it a perfect quick fix for everything from coats to backpacks.

- Keep your chrome faucets and fixtures gleaming and spot-free.
- Make dusting high-gloss furniture or shelves a breeze.
- Prevent dirt and grime from sticking to the top of your kitchen cabinets.
The secret is a final wipe-down with a small piece of wax paper. The invisible wax residue repels water droplets and makes it harder for dust to settle, extending the life of your cleaning efforts.
Most household wax paper is coated with paraffin, a petroleum by-product, and is not compostable.
However, the tide is turning. For a more eco-conscious choice, look for brands like If You Care or PaperChef, which use 100% unbleached paper coated with natural soybean wax. This type is fully biodegradable and safe for your home compost pile, allowing you to enjoy all the benefits without the environmental footprint. It’s a small switch that makes a big difference.
Unlock your inner artist—or just keep the kids busy on a rainy afternoon. The translucent and waxy nature of this paper makes it surprisingly versatile for crafts.
- Leaf & Flower Pressing: Place a leaf between two sheets of wax paper and press with a warm (not hot!) iron to create beautiful, preserved botanical art.
- DIY Stickers: Draw a design on regular paper, place wax paper over it, and then cover with clear packing tape. Cut out your design, and the wax paper acts as a peel-off backing.
- Watercolor Transfers: Paint with watercolors on wax paper, then press it onto a fresh sheet of art paper for a unique, mottled effect.
Standard Paraffin Wax Paper: This is the classic, most common type, found in brands like Reynolds Cut-Rite. It’s excellent for its water resistance and lubricating properties. Its affordability makes it a go-to for workshop and cleaning tasks where compostability isn’t a concern.
Soybean Wax Paper: A more recent, eco-friendly alternative. The wax is derived from soybeans, making it biodegradable. It performs similarly for most tasks but offers peace of mind for those looking to reduce plastic and petroleum use in their home.
For general-purpose use and tool care, either works. For tasks involving food or composting, soy is the clear winner.
The simple idea of coating a surface with wax for protection is a timeless one. Long before this paper roll existed, sailors were waxing canvas to make it waterproof for sails and gear. This heritage lives on in iconic, durable outerwear from brands like Barbour and Filson, whose waxed cotton jackets are prized for their weather resistance and longevity. The humble roll of wax paper in your drawer is a direct descendant of this same practical, resourceful thinking—applying a simple, effective barrier against the elements.


