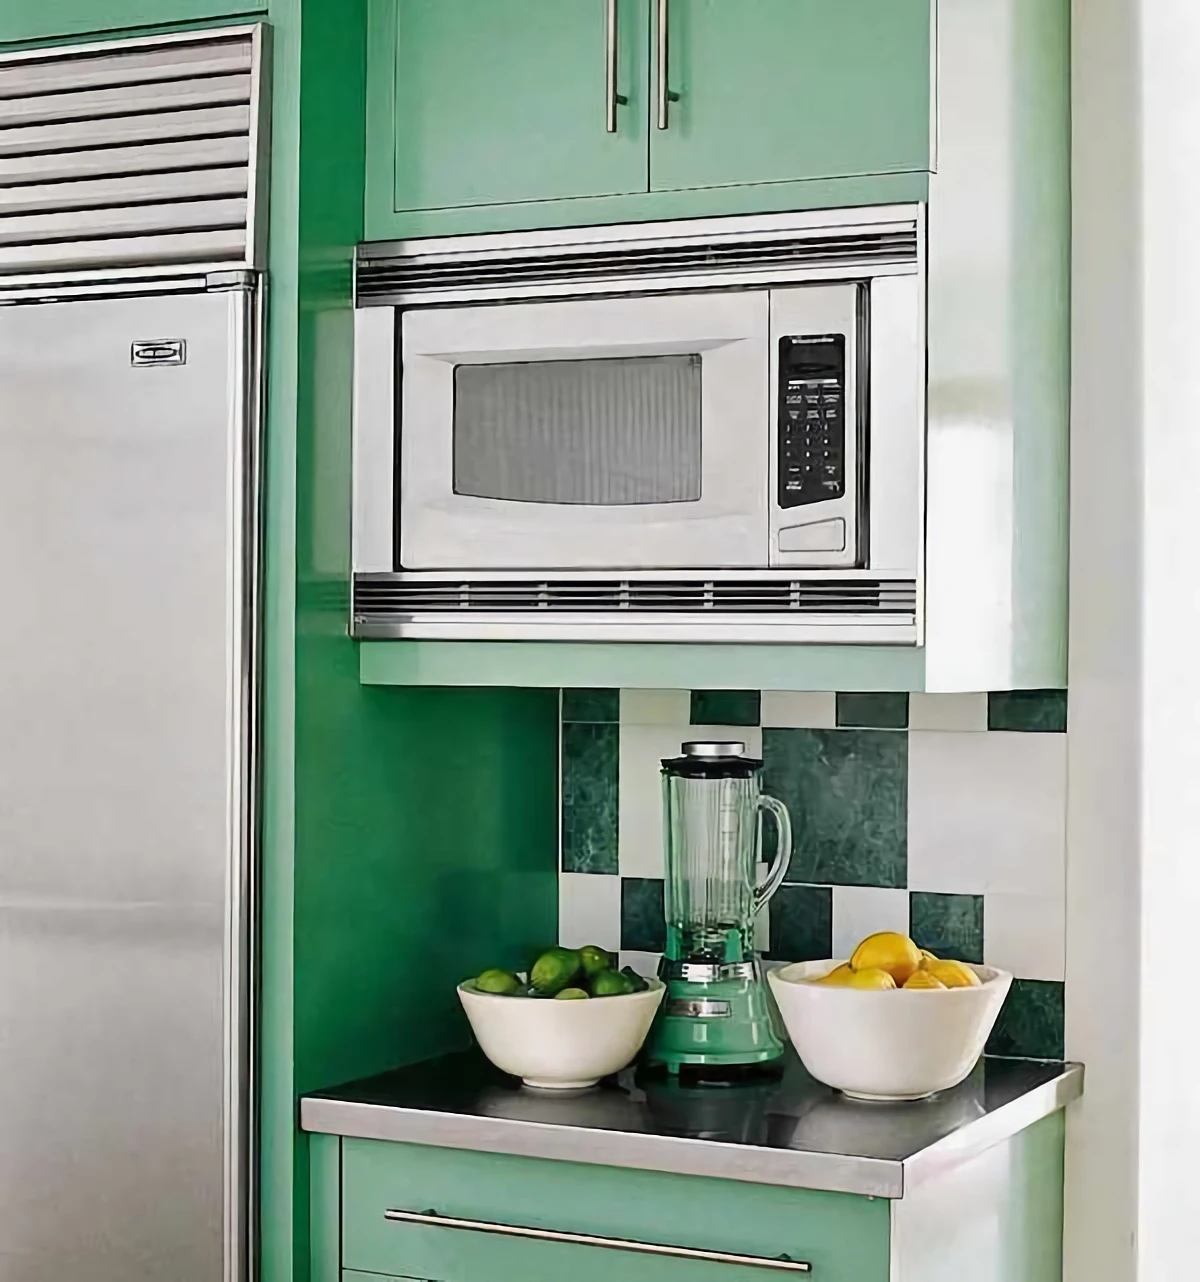
Your Microwave Is a Secret Weapon. Here’s How the Pros Use It.
I’ve spent years working in all kinds of kitchens, from the chaos of a dinner rush to the quiet of a test kitchen, and I’ve seen it all. The one thing that always surprises me is how even talented young cooks view the microwave. To most, it’s just the box for reheating last night’s takeout or warming up their coffee. They’re always shocked when they see me using it for actual food prep.
In this article
But here’s the thing: a microwave isn’t just a convenience machine. It’s a serious tool that uses a unique form of energy to cook food. Once you get how it works, you can control it to do some pretty amazing things that save a ton of time without making your food taste like cardboard. What if I told you that in the next few minutes, you could learn a trick to get 30% more juice from a lemon, or peel a whole head of garlic in 20 seconds flat? Stick with me. This isn’t just a list of party tricks; it’s a real-deal guide to using your microwave with purpose.
First, A Quick Peek Under the Hood
To really master any tool, you have to know what makes it tick. A microwave is totally different from your oven or stove, which cook with direct heat. Instead, a microwave uses energy to make food heat itself from the inside… sort of.
Basically, a little device inside called a magnetron shoots out invisible waves. These waves are perfectly tuned to make water molecules go absolutely bonkers. Since pretty much all food has water in it, the molecules start vibrating millions of times a second. This friction creates heat. So, your microwave isn’t beaming heat into the food; it’s telling the water in the food to create its own heat. It’s a key difference that explains why some things get soggy and others turn out perfectly steamed.
Understanding Hot and Cold Spots
Ever notice how a burrito can be molten on the ends and still frozen in the middle? That’s because those microwaves don’t fill the space evenly. They bounce around, creating high-energy zones (hot spots) and low-energy zones (cold spots). That’s why the turntable is your best friend. It keeps the food moving through all those zones for more even cooking.
Heads up! If your turntable is broken, you have to do its job manually. Stop the microwave halfway through the cooking time and give the dish a good half-turn. Trust me, it makes all the difference.
The “Inside Out” Myth
A lot of people think microwaves cook from the inside out. Not quite. The waves only really penetrate the food about an inch or so deep. That outer layer gets hot first, and then the heat travels to the center through good old-fashioned conduction, just like in a regular oven. This is why microwaves are brilliant for smaller portions but struggle with a big, dense roast.
The Most Important Rule: What Can (and CAN’T) Go Inside
Okay, let’s get serious for a moment. Using the wrong container in a microwave can, at best, ruin your food. At worst, it can destroy your dish or even start a fire. In a pro kitchen, getting this wrong isn’t an option, and it shouldn’t be in yours either. There are no shortcuts with safety.
What’s Safe to Use:
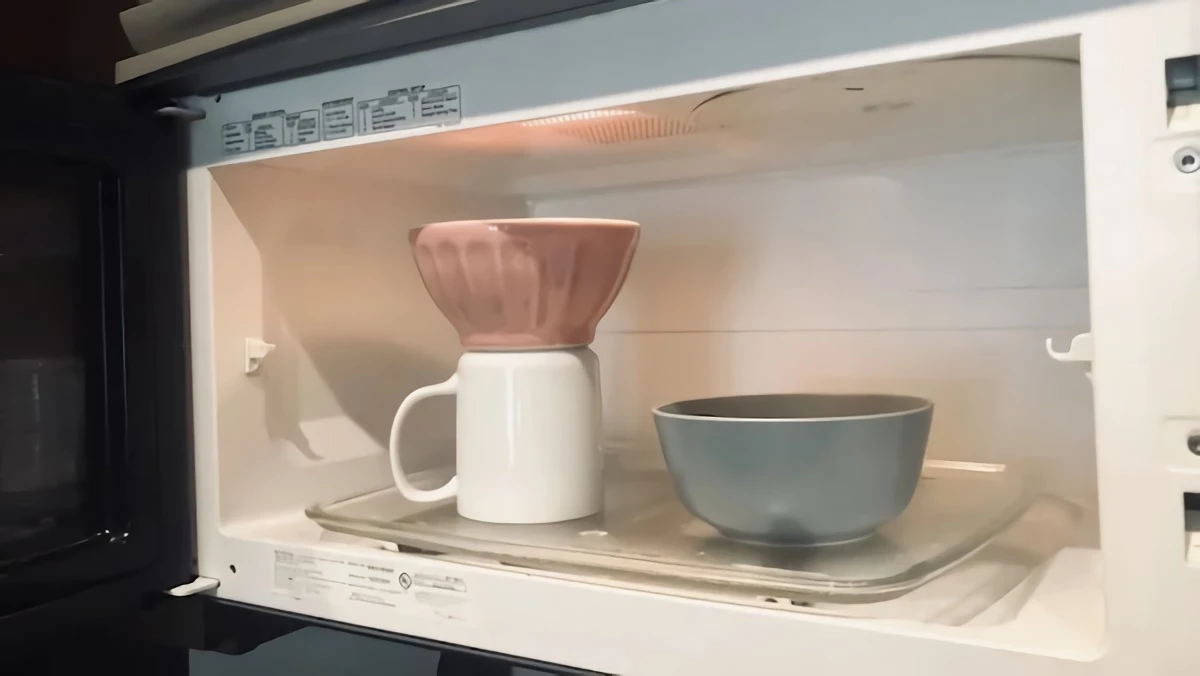
- Glass and Ceramic: These are your go-to champions. Microwaves pass right through them, so they don’t get dangerously hot on their own. They’re perfect for everything from reheating soup to steaming vegetables evenly. Just make sure there’s no metallic paint or trim—that’s a big no-no.
- Microwave-Safe Plastic: Always, and I mean ALWAYS, look for the “Microwave Safe” label (it’s usually a little symbol with wavy lines). This means it’s been tested and won’t melt or leach nasty chemicals like BPA into your food. I only use containers from reputable brands, which you can find at places like Target or online for about $15-$30 for a good set.
- Plain White Paper Towels: Perfect for covering food to stop splatters or for wrapping a potato before cooking. Make sure they’re plain white, as some inks on decorative towels can be unsafe when heated.
- Parchment Paper: This is a fantastic and cheap tool. It’s non-reactive and heat-resistant, making it great for lining dishes or covering food. A roll usually costs just a few bucks at any grocery store.

What to NEVER Put In:
- Metal: The number one rule. This includes aluminum foil, stainless steel travel mugs, and those little twist-ties. Metal reflects the microwaves, which can cause sparks (a fire hazard called “arcing”) and can even bounce energy back and damage your oven permanently.
- Styrofoam: Most takeout foam containers are a huge no. They can melt, warp, and release chemicals into your food. Only use them if they are explicitly marked as microwave-safe. When in doubt, just transfer the food to a real plate.
- Brown Paper Bags: They can contain tiny metal fragments from the recycling process and are a genuine fire risk. Plus, the glue can release fumes you don’t want anywhere near your lunch.
- Single-Use Plastic Tubs: Containers from yogurt, margarine, or sour cream are not designed for reheating. They can melt and leach chemicals in seconds. I once saw a rookie cook try to melt butter in an old takeout sauce cup. The plastic melted right into the butter, stinking up the whole kitchen. Lesson learned: always use the right tool for the job.
Good to know: If you’re ever unsure, you can look up the official FDA guidelines on microwave-safe materials with a quick online search. It’s better to be safe than sorry!
Unlock a Secret Feature: Your Microwave’s Power Level
Did you know you can change your microwave’s power? Most people just hit ‘start’ and let it blast at 100% power. But controlling the power level is the key to going from a basic reheater to a master user. Look for a button that says “Power” or “Power Level.”
Here’s a quick guide:
- 100% (High): This is the default. Use it for tasks that need intense heat fast, like boiling water, cooking vegetables, or steaming fish.
- 50-70% (Medium): Perfect for gently reheating leftovers where you don’t want to overcook the edges while the middle gets warm. Think pasta dishes or casseroles.
- 30% (Low/Defrost): This is your setting for delicate jobs. It delivers gentle, even heat ideal for softening butter without melting it into a puddle, melting chocolate without it seizing, or de-crystallizing that jar of honey.
Pro Techniques You Can Use Tonight
Alright, now for the fun part. Here are some of the exact techniques I use that will completely change how you see your microwave.

1. Perfectly Steamed Fish and Veggies
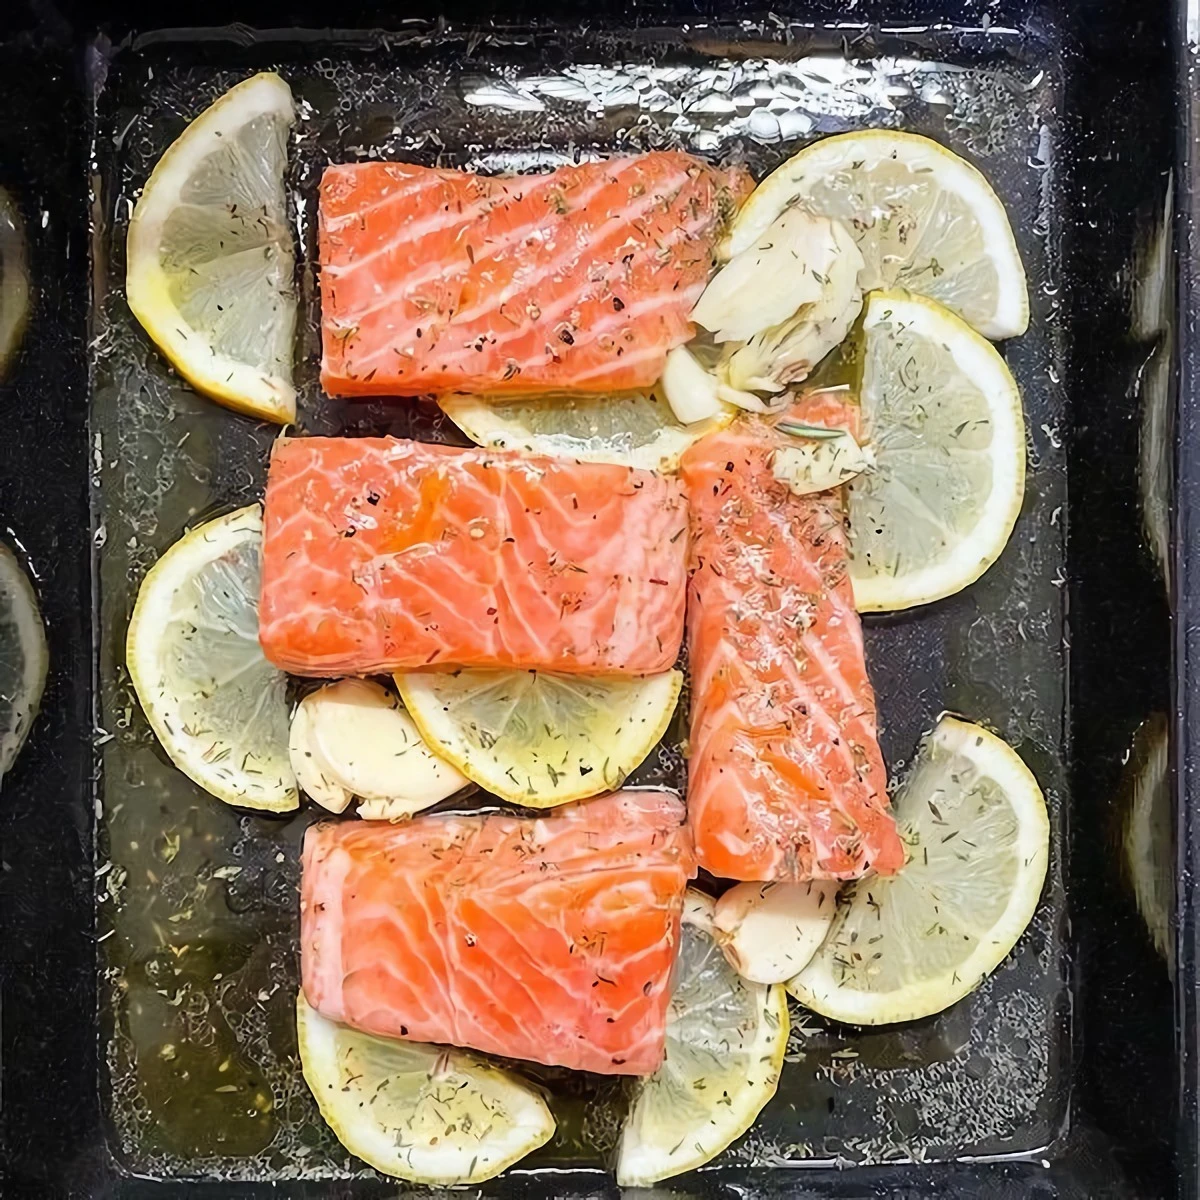
Steaming is one of the microwave’s superpowers. It’s incredibly fast and keeps more nutrients in your food compared to boiling. For the most even cooking, I recommend using a shallow, round dish.
- The Method: Put your veggies (like asparagus or broccoli) or a thin fish fillet (like cod) in the dish. Add a couple of tablespoons of liquid—water, broth, or even a splash of white wine. For extra flavor, throw in a lemon slice or a sprig of thyme! Cover the dish tightly with a microwave-safe lid or plastic wrap. If you use plastic wrap, poke one small vent hole.
- Timing: Asparagus might take 2-3 minutes; denser broccoli needs more like 4-6 minutes. A 6-ounce fish fillet is usually perfect in 3-4 minutes.
- Common Pitfall: Be incredibly careful when you remove the cover. That trapped steam is dangerously hot. Always lift the lid away from your face to avoid a nasty burn.
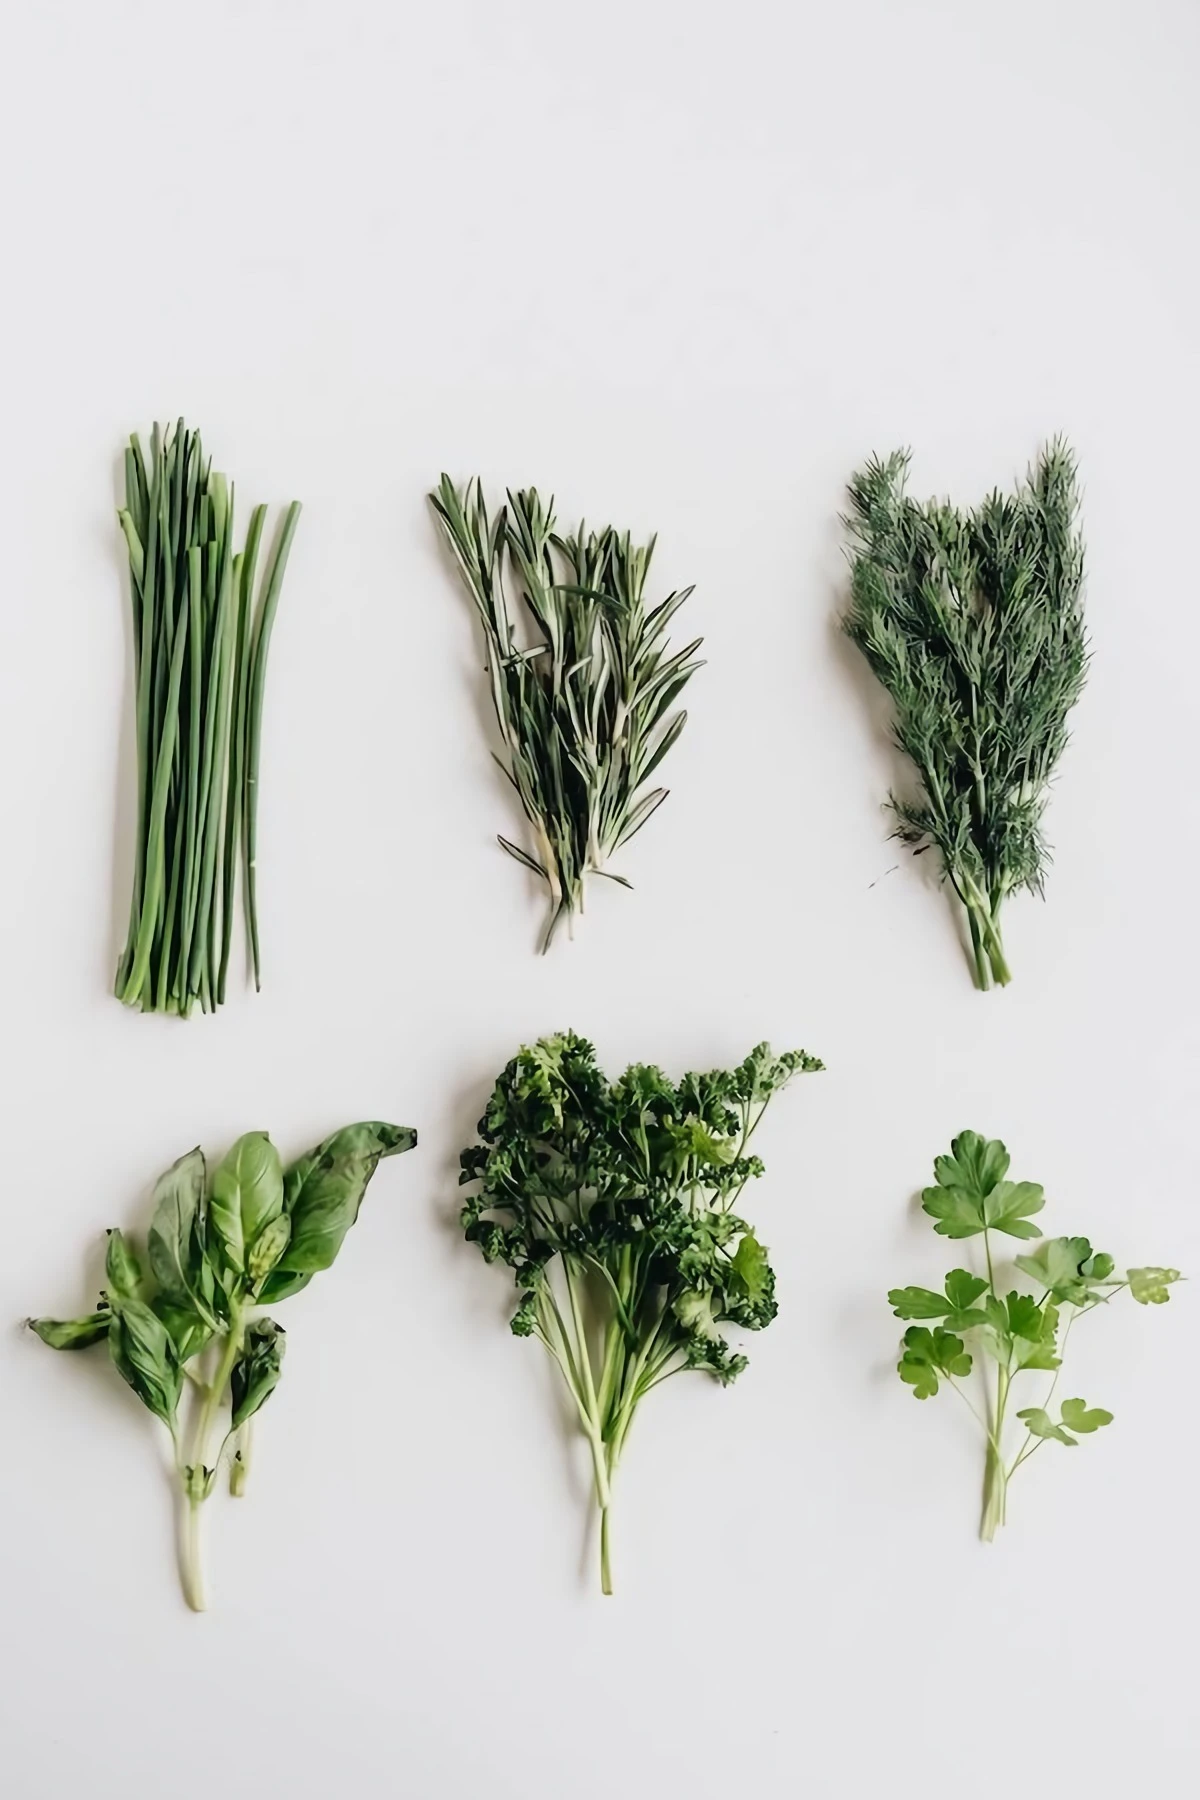
2. Drying Fresh Herbs in a Flash
This is a great trick for sturdy herbs like rosemary, thyme, and oregano (it doesn’t work as well for delicate herbs like basil or cilantro, which just turn brown).
- The Method: Sandwich a single layer of herbs between two plain white paper towels. Microwave on High in 30-second bursts. They’re done when they feel brittle and crumble easily.
- Common Pitfall: Don’t just set it for two minutes and walk away! The herbs can go from dry to scorched in an instant. Check them every 30 seconds.
3. Get 30% More Juice from Lemons and Limes
This is a classic kitchen and bar trick. Warming citrus softens the membranes inside, making them release way more juice.
- The Method: Pop a whole lemon or lime in the microwave for 15-20 seconds on High. You just want it warm, not hot. Then, roll it firmly on the counter with your palm before cutting and squeezing. I’ve tested this, and you can easily get 25-30% more juice. It’s a game-changer for cocktails or dressings.
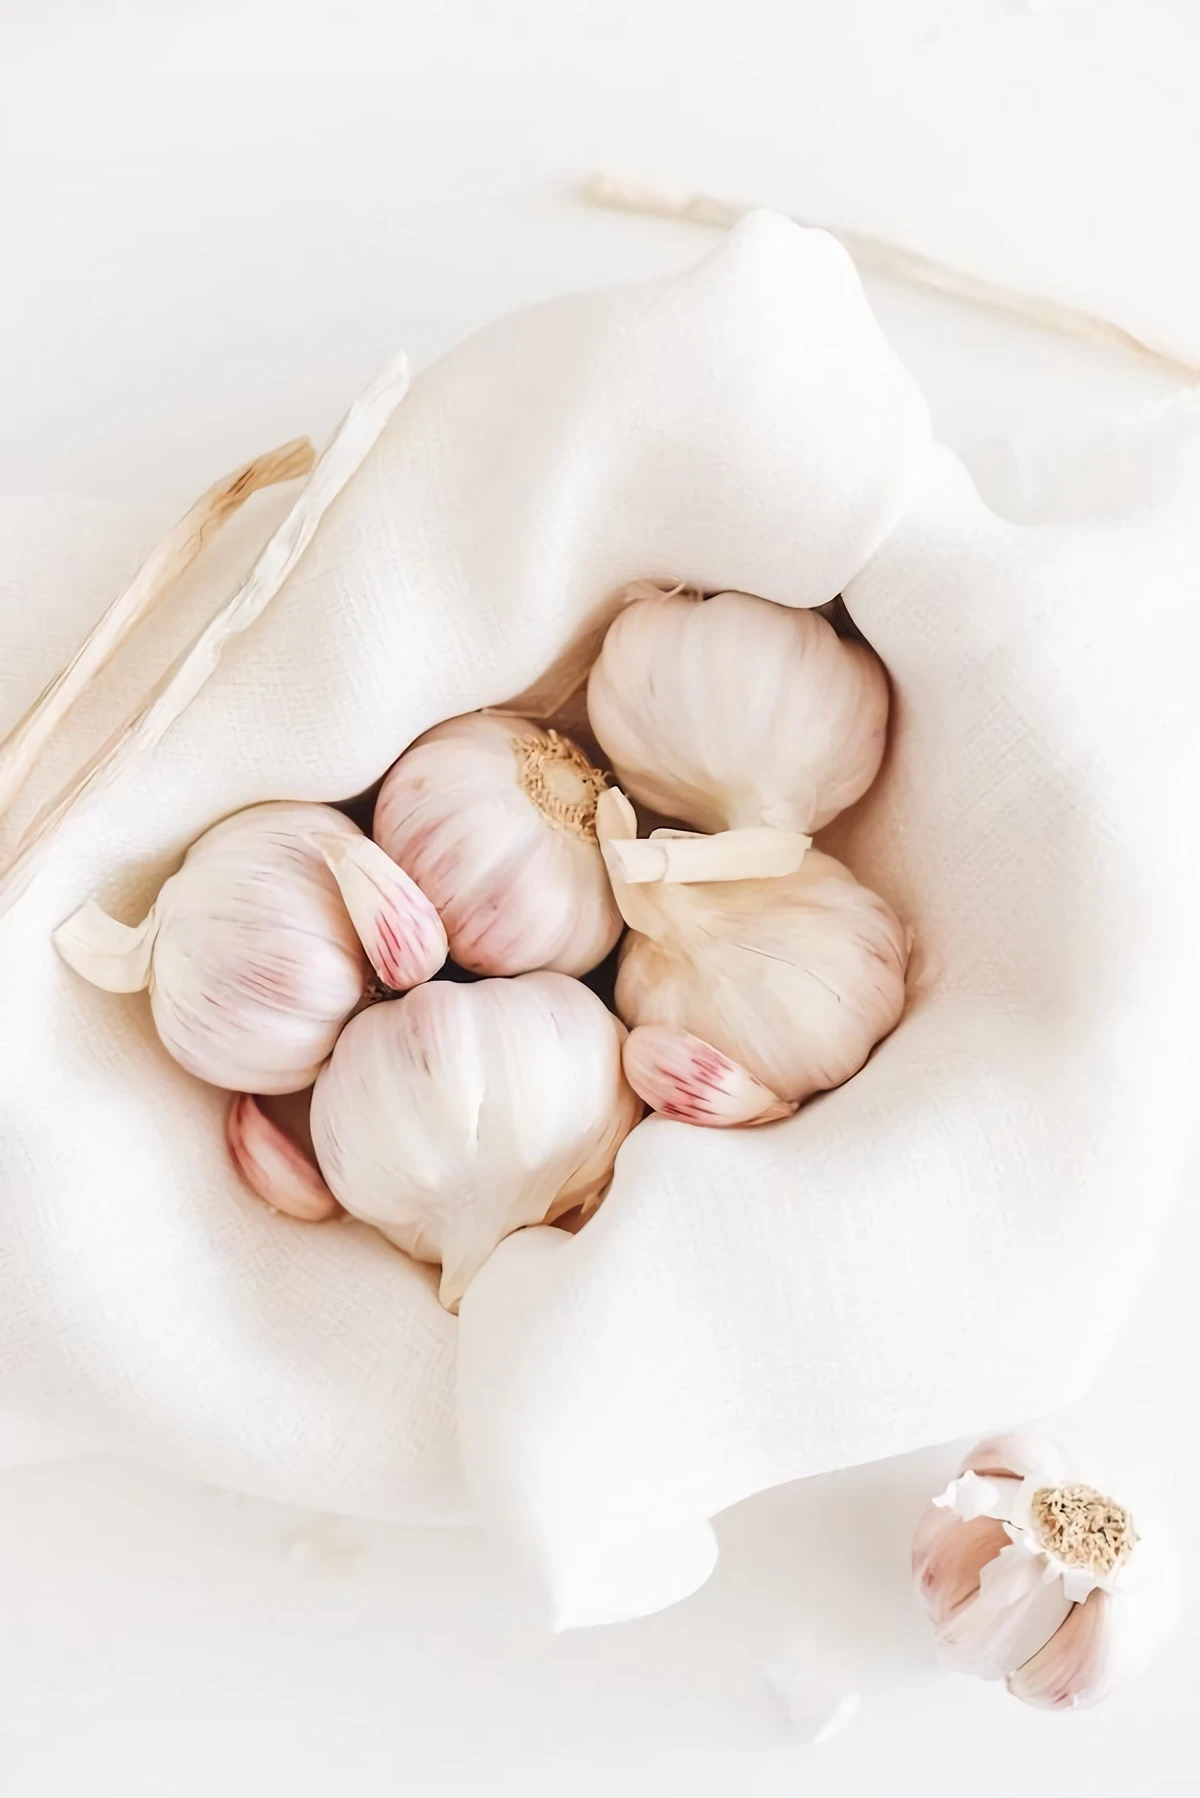
4. Peel a Head of Garlic in Seconds
Peeling a mountain of garlic is one of the most tedious kitchen jobs. Not anymore.
- The Method: Put the whole, unpeeled head of garlic in the microwave for 15-20 seconds on High. The moisture inside turns to steam, which neatly separates the skin from the clove. Let it cool for a second, and the cloves will slip right out.
- Common Pitfall: Do not go over 20 seconds! You’ll start to actually cook the garlic, making it soft and mushy instead of just easy to peel.
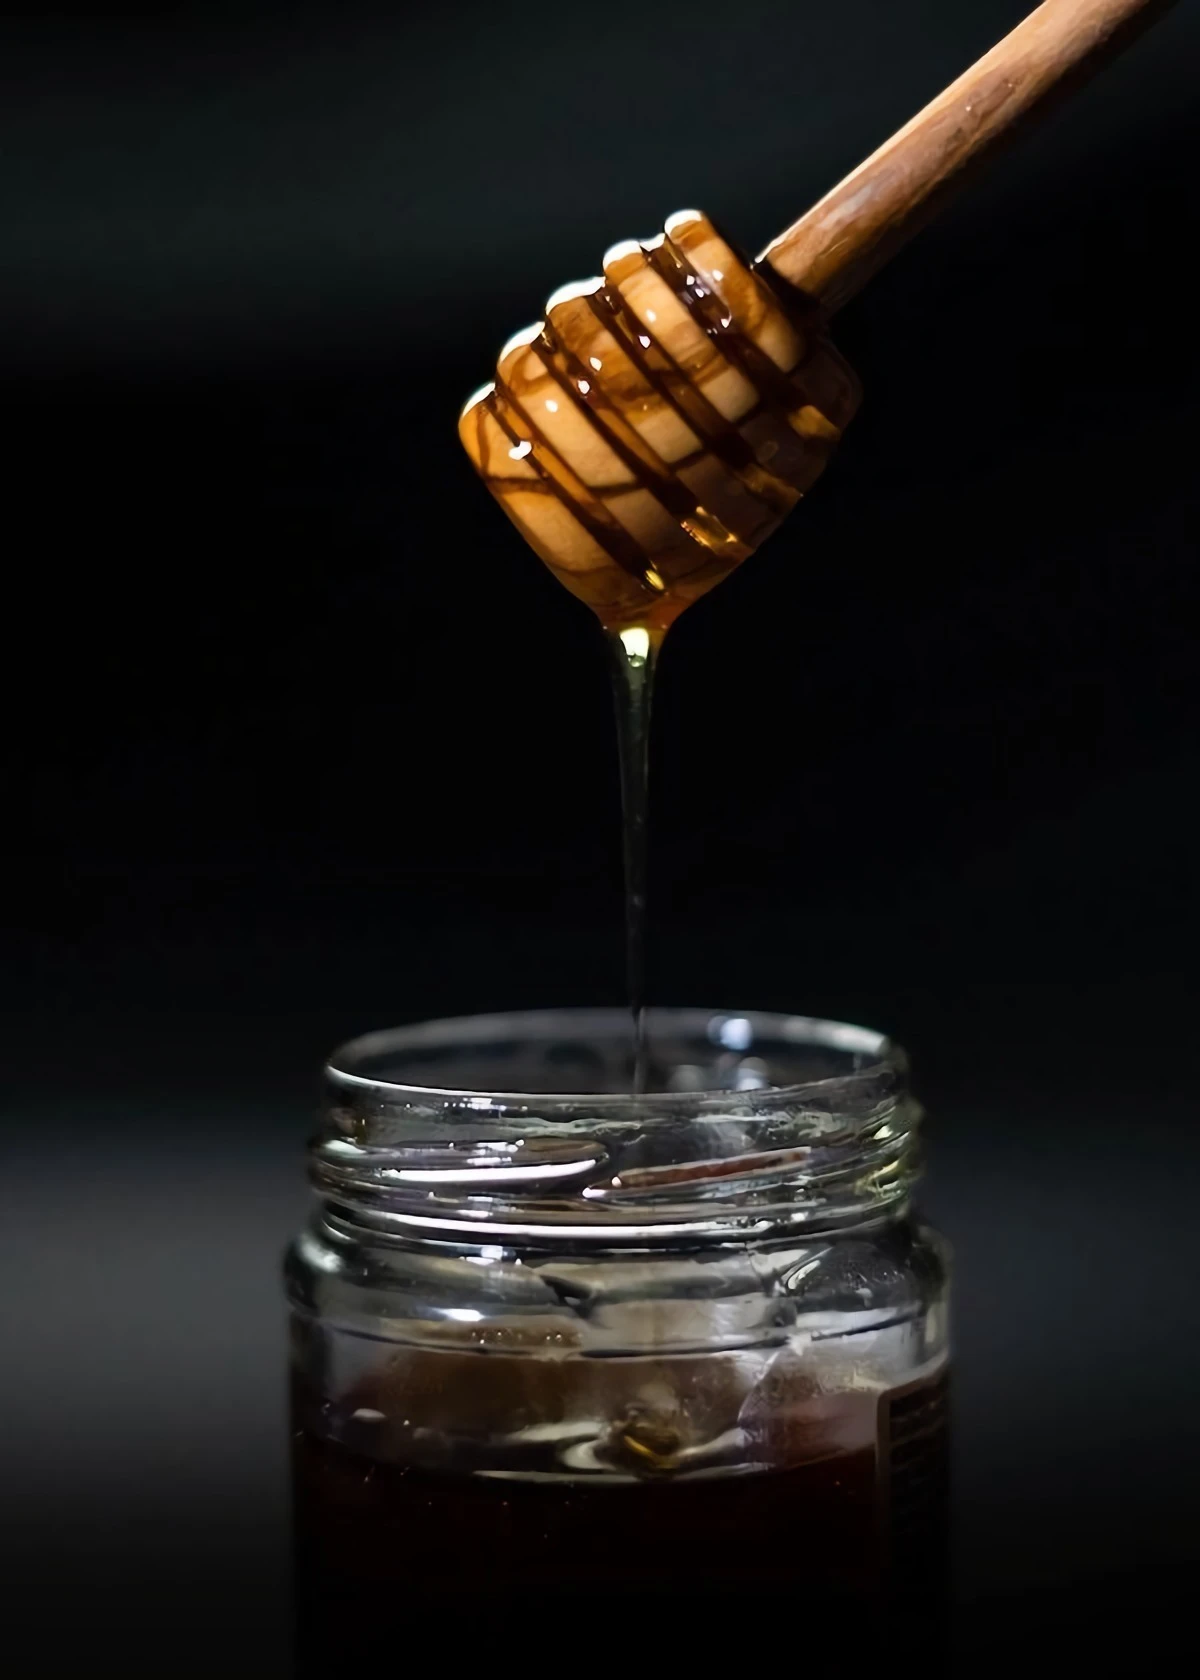
5. Bring Crystallized Honey Back to Life
When honey gets old, it crystallizes. It’s still perfectly good, but a pain to use. Here’s where your new power level knowledge comes in handy.
- The Method: Make sure your honey is in a glass jar and remove the metal lid. Set your microwave to 30% power (or the defrost setting). Heat in 30-second intervals, stirring in between, until the crystals dissolve. Using low power is crucial to avoid scorching the honey and ruining its delicate flavor.

The Art of the Reheat: Bringing Leftovers Back to Life
Let’s be honest, we all use it for leftovers. But there’s a right way and a wrong way. Here’s how to do it right.
- For Pizza: To avoid a soggy, chewy crust, place a paper towel under the slice to absorb excess moisture. For a little extra magic, put a small, half-full cup of water in the microwave alongside it. The steam keeps the toppings from drying out while the base heats up.
- For Pasta: Dry, hard pasta is the worst. Drizzle a tablespoon of water or sauce over it, cover the dish, and use Medium (50%) power. Stop and stir halfway through to distribute the heat and moisture.
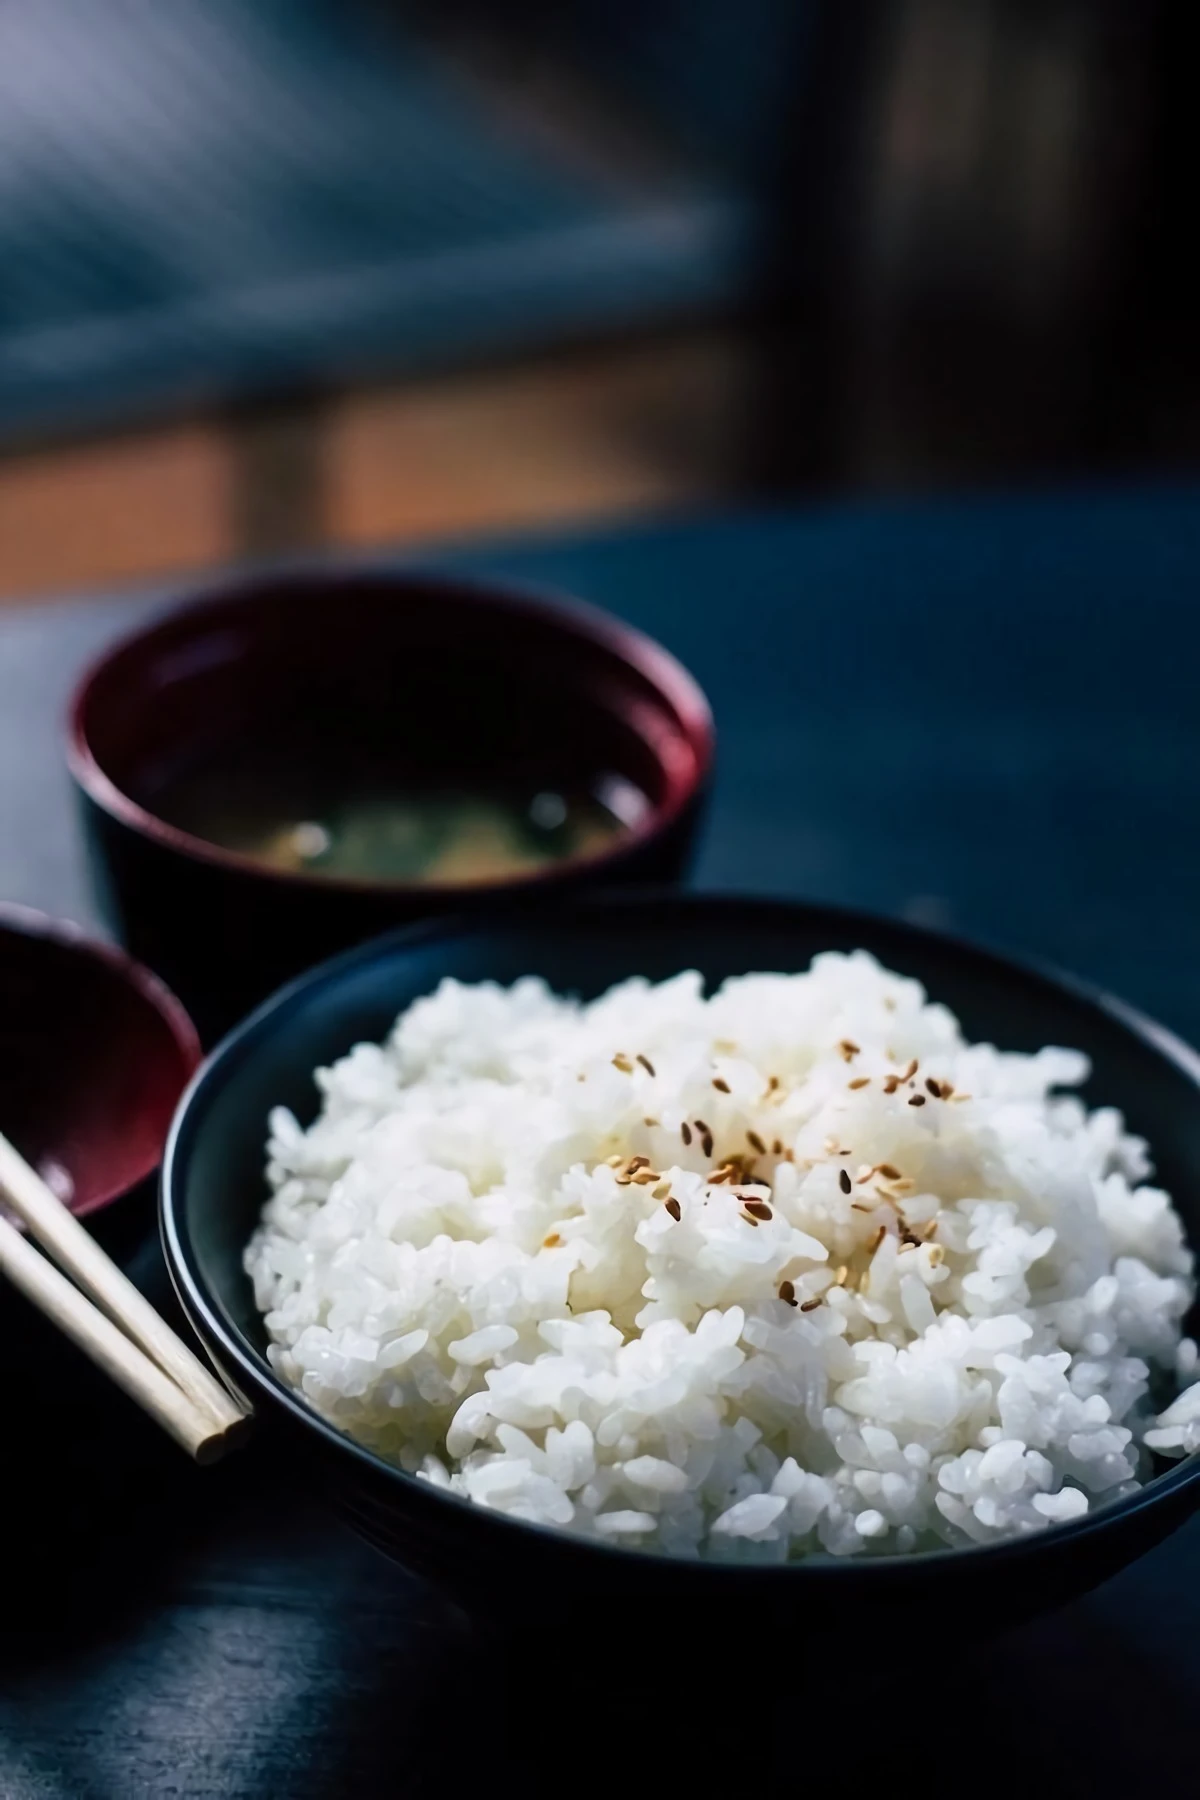
- For Rice: Rice gets dry and clumpy when reheated. The best trick is to place a damp paper towel over the top of the rice before heating. It re-steams the grains perfectly, making them fluffy again.
Even More Advanced Tricks
Once you’re comfortable with the basics, you can try some truly next-level stuff.
Perfectly Melted Chocolate: Seized, grainy chocolate is a baker’s nightmare. To melt it perfectly, chop it into small pieces, place it in a glass bowl, and microwave at 30% power for 30-second intervals. The key is to stir it thoroughly between each interval, even before it looks fully melted. The residual heat will do the rest of the work, leaving you with a smooth, glossy finish.
Proofing Bread Dough: Need your dough to rise faster? Place your dough in a large bowl and a separate cup of water in the microwave. Heat on the absolute lowest power setting for 3 minutes. Then, turn the microwave off and leave the door shut. You’ve just created a warm, humid proofing box that can cut your rising time in half.
So, go ahead. It’s time to see that humble box on your counter for what it really is: one of the most versatile and under-appreciated tools in your kitchen.
Inspiration:
Think the power level setting is just a gimmick? It’s the single most important tool for going from reheating to actually cooking.
Setting your microwave to 50% power doesn’t mean it emits weaker waves. Instead, the magnetron cycles on and off. This pause gives the heat time to travel from the hot spots to the colder spots, resulting in far more even cooking. It’s the secret to defrosting chicken without getting grey, rubbery edges, or gently melting butter or chocolate without a scorched mess.
Did you know that the first commercial microwave oven was nearly 6 feet tall and weighed over 750 pounds?
Unveiled by Raytheon in 1947, the


