Wood vs. Metal Sheds: What the Big Box Stores Won’t Tell You
I’ve been building and fixing sheds for what feels like a lifetime. In all that time, I’ve seen just about everything. I’ve watched gorgeous, pricey wood sheds rot from the ground up in just a few years, and I’ve seen flimsy metal sheds get crumpled by a single winter storm. But I’ve also seen both types stand strong for decades, doing their job perfectly. The difference? It’s not just about wood versus metal. It’s about picking the right material for your climate, your needs, and, honestly, how much work you’re willing to put in.
In this article
So many people ask me a simple question: which one is better? The answer is never that simple. A shed isn’t just a box you plop in the yard; it’s a small building. The choice you make impacts the cost, how long it lasts, and how useful it actually is. My goal here isn’t to sell you on one or the other. It’s to share what I’ve learned out in the field so you can make a smart decision based on real-world factors, not just a sales pitch.
First Things First: The Foundation Is Everything
Before we even get into walls and roofs, we have to talk about what’s underneath. The single biggest mistake people make is obsessing over the shed itself and treating the foundation as an afterthought. A bad foundation will ruin any shed, wood or metal. Guaranteed.
I once got a call to check on a 10×12 wood shed that was only a few years old. The doors wouldn’t close right, and the window glass was cracking under pressure. The owner had just dropped it on some cinder blocks set on the dirt. The spring rains came, one corner sank nearly a foot into the mud, and the whole structure twisted like a pretzel. That was a costly, difficult fix that could have been completely avoided.
Heads up! Before you dig a single shovelful of dirt, call 811 (or your local “Call Before You Dig” number). It’s a free service that marks your underground utility lines. Hitting a water or power line will ruin your weekend, trust me.
Your shed needs a stable, level, and well-drained base. You’ve got a few solid options.
The Classic Gravel Pad
This is the go-to for most kit sheds. It involves building a level frame, usually from pressure-treated 4×4 or 6×6 timbers, and filling it with crushed stone. To do it right, you need to dig out the sod and topsoil about 4 to 6 inches deep. Then, lay down some heavy-duty landscape fabric to stop weeds. Finally, you fill it with crushed gravel, tamping it down as you go. The gravel is key because it lets water drain away, which is the number one enemy of any shed.
Good to know: How much does this actually cost? For a typical 10×10 pad, you can expect to pay around $70 for the timbers, maybe $120 for two tons of crushed stone delivered, and another $25 for the landscape fabric. So you’re looking at around $215 in materials, not including your own sweat. As for time, plan on this being a solid weekend project for one person; with a helper, you might knock it out in a long afternoon.
The Unbeatable Concrete Slab
If you’re storing really heavy stuff like a riding mower or a ton of tools, a concrete slab is the best choice. It provides a rock-solid floor and a perfect anchor. A 4-inch thick slab using a 3,500 PSI mix is plenty for most sheds. The trick is to have a good gravel base underneath and reinforce the concrete with wire mesh to prevent cracking. A poorly poured slab will just crack and heave with the frost.
By the way, many towns have rules about sheds. A quick tip: just Google “[Your Town Name] Building Department” and look for info on “accessory structures.” You’re looking for setback rules (how far from the fence) and whether you need a permit, which is often required for sheds over 100 or 120 sq. ft.
Concrete Piers for Slopes
If your yard is on a hill, piers are the way to go. You dig holes below the frost line, fill concrete form tubes, and set metal brackets in the top. This raises the whole shed off the ground, which means amazing air circulation and zero ground moisture problems.
A Closer Look at Wood Sheds
A wood shed is the traditional choice for a reason. It just looks right in a backyard and gives you incredible flexibility. From my perspective, building one is like framing a mini-house. This gives you amazing control, but it also comes with some responsibility.
Here’s the deal with wood: it’s a natural material that absorbs and releases moisture. This constant swelling and shrinking is what makes paint peel and doors stick. The whole game with a wood shed is managing that moisture.
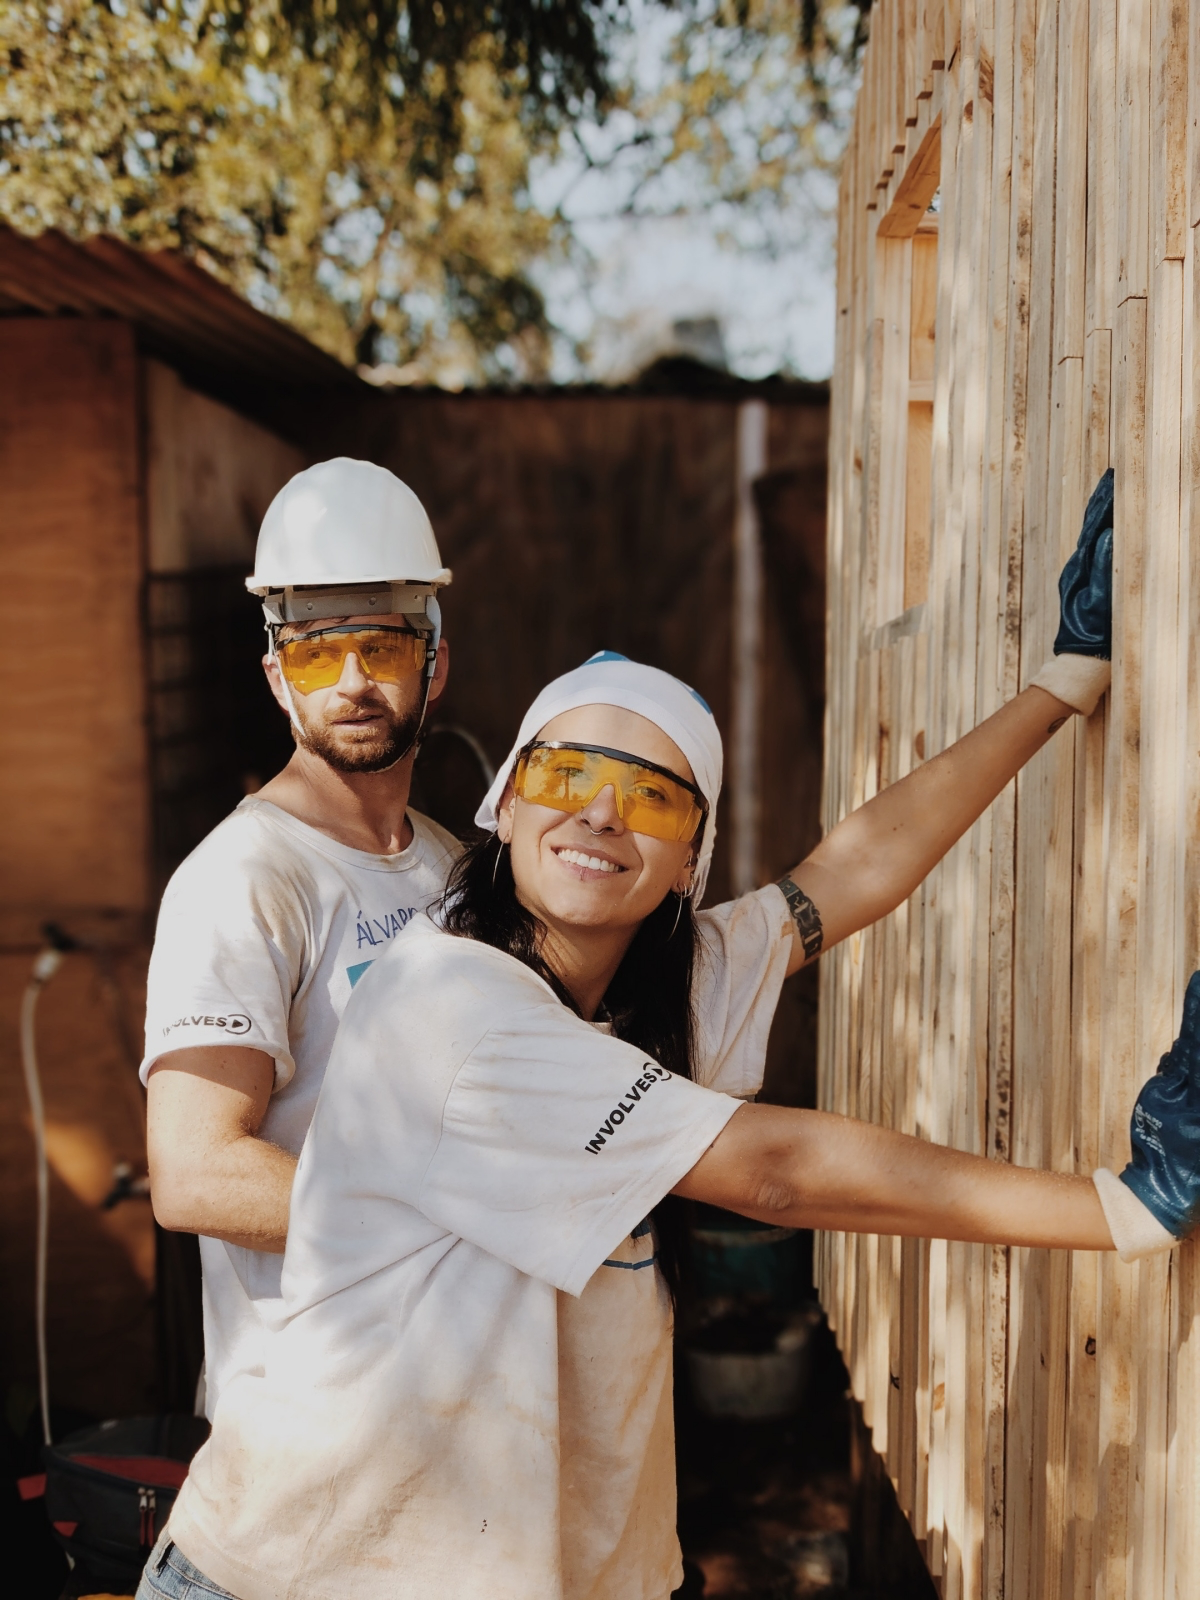
- The Floor Frame: This is non-negotiable. The entire floor structure that touches the foundation MUST be pressure-treated (PT) lumber. This wood is chemically treated to resist rot and bugs. A quick safety note from experience: always wear a good dust mask, glasses, and gloves when cutting PT wood. The dust contains chemicals you really don’t want to breathe in.
- Walls and Roof: For the studs and rafters, standard kiln-dried lumber is fine. But here’s a pro tip: a lot of cheap kits frame the walls 24 inches apart. I always frame 16 inches apart. The extra cost in lumber—maybe $50 on a whole shed—is minimal for the massive gain in strength. Your walls will be solid enough to hang heavy tools and shelves without worry.
- Siding and Skin: For the outer skin, you can use OSB (cheaper, but swells like a sponge if it gets wet) or plywood (more expensive, but handles moisture way better). For siding, you can go with anything from classic cedar to modern fiber cement board.
A little trick of the trade we always use: prime all your cuts. When you cut a piece of siding or trim, you expose the raw end grain. That end grain will suck up water like a straw. We keep a can of quality primer on-site and dab every single cut before it’s installed. Also, use the right nails. Hot-dip galvanized or stainless steel nails won’t rust and leave ugly black streaks down your siding like the cheaper ones will.
Finally, a wood shed has to breathe. We always install vents to create natural airflow that pulls damp air out and keeps the inside dry.
The Reality of Maintenance
Let’s be real: a wood shed isn’t a “set it and forget it” deal. You need to give it a once-over every year. Look for peeling paint or cracked caulk. Plan on putting a fresh coat of quality paint or stain on it every 3 to 5 years. That protective layer is its main defense against the elements.
A Practical Take on Metal Sheds
Metal sheds are all about utility. They’re usually cheaper than wood and are designed for quick assembly. But the quality varies wildly, and they have their own unique quirks.
Most metal sheds are made from galvanized steel, which means they’re coated in zinc to prevent rust. The thickness of that steel is measured in gauge—and here’s a critical detail: the lower the gauge number, the thicker and stronger the steel. A lot of budget-friendly kits use flimsy 28 or 30-gauge steel that you can literally bend with your hands. A better shed will use 24 or 25-gauge steel. It makes a huge difference.

Assembly and Anchoring: Do Not Skip This!
Assembling a metal shed can test your patience. The instructions are often just diagrams with a zillion screws. My advice? Lay out every single part and organize the hardware before you start. And get a friend to help. Trying to align a wall panel while holding a roof beam is a recipe for disaster.
But the single most important step is anchoring. I cannot stress this enough. I once saw a brand-new metal shed get picked up by a 60 mph gust and tossed into a neighbor’s pool. Why? The owner skipped the $50 anchor kit. Don’t be that person. The anchor kit might be sold separately, but it is NOT optional.
The Hidden Condensation Problem
Here’s the biggest secret problem with metal sheds: they sweat. On a cool night, the metal walls get cold, and the moisture in the air inside condenses on them. It can literally rain inside your shed, dripping all over your tools. Good ventilation helps, but here are a couple of other tricks I’ve used.
For a simple fix, hang a few of those mesh bags of moisture-absorbing crystals you can get for closets. For a super cheap DIY solution, an open bucket of plain charcoal briquettes (the kind without lighter fluid!) can work as a makeshift dehumidifier.
The Real Cost: It’s More Than the Price Tag
Let’s be honest about the costs, because the price on the box is just the beginning.
For that $1,800 10×12 wood shed kit you see at the big box store, you should budget more. Plan on another $400 for a proper gravel foundation, $150 for good architectural shingles, and $120 for quality primer and paint. Your real starting cost is closer to $2,470, plus a couple of weekends of your time.
For a metal shed kit, the price might seem low, but you still need to add the cost of a foundation—either a wood platform or a concrete slab. Most don’t come with a floor. Then add the mandatory anchor kit (around $50-$80) and some quality silicone caulk to seal the seams. Oh yeah, and you’ll likely need to build or buy freestanding shelves, since the walls can’t support much weight.
So, Which Shed Should You Get?
After all that, there’s still no single right answer. It really comes down to you. To make it easier, let’s break it down:
- Cost: Metal wins on the initial sticker price, but the ‘all-in’ cost gets closer to wood once you add a proper foundation and floor. A well-built wood shed is a bigger investment upfront.
- Maintenance: Metal is the clear winner here. A quick wash is usually all it needs. Wood requires a commitment to regular painting or staining to keep it protected.
- Durability: A well-maintained wood shed is a fortress that can last a lifetime. A quality metal shed is tough, but cheaper models are prone to dents and wind damage if not anchored perfectly.
- Assembly: A metal shed can typically be assembled in a day with two people (after the foundation is prepped). A wood shed is a construction project that will take several days or a couple of full weekends.
- Customization: Wood wins, hands down. You can paint it any color, add windows, build custom shelves, and modify it easily. With metal, what you see is what you get.
So, here’s my final word. Choose a wood shed if you want a custom look, plan to use it as a serious workshop, want to finish the interior for a studio or office, and you’re ready for the maintenance.
Choose a metal shed if your main goal is secure, low-cost storage, you want something with minimal upkeep, and you’re diligent enough to build a great foundation and anchor it for dear life.
Before you buy anything, go look at the display models. Shake the walls. Open and close the doors. See how thick the materials feel. A good shed is an investment that should serve you well for 20 years or more. A little extra effort upfront will save you from major headaches down the road. Take it from someone who’s fixed more broken sheds than he can count.
Inspirational Gallery with Photos
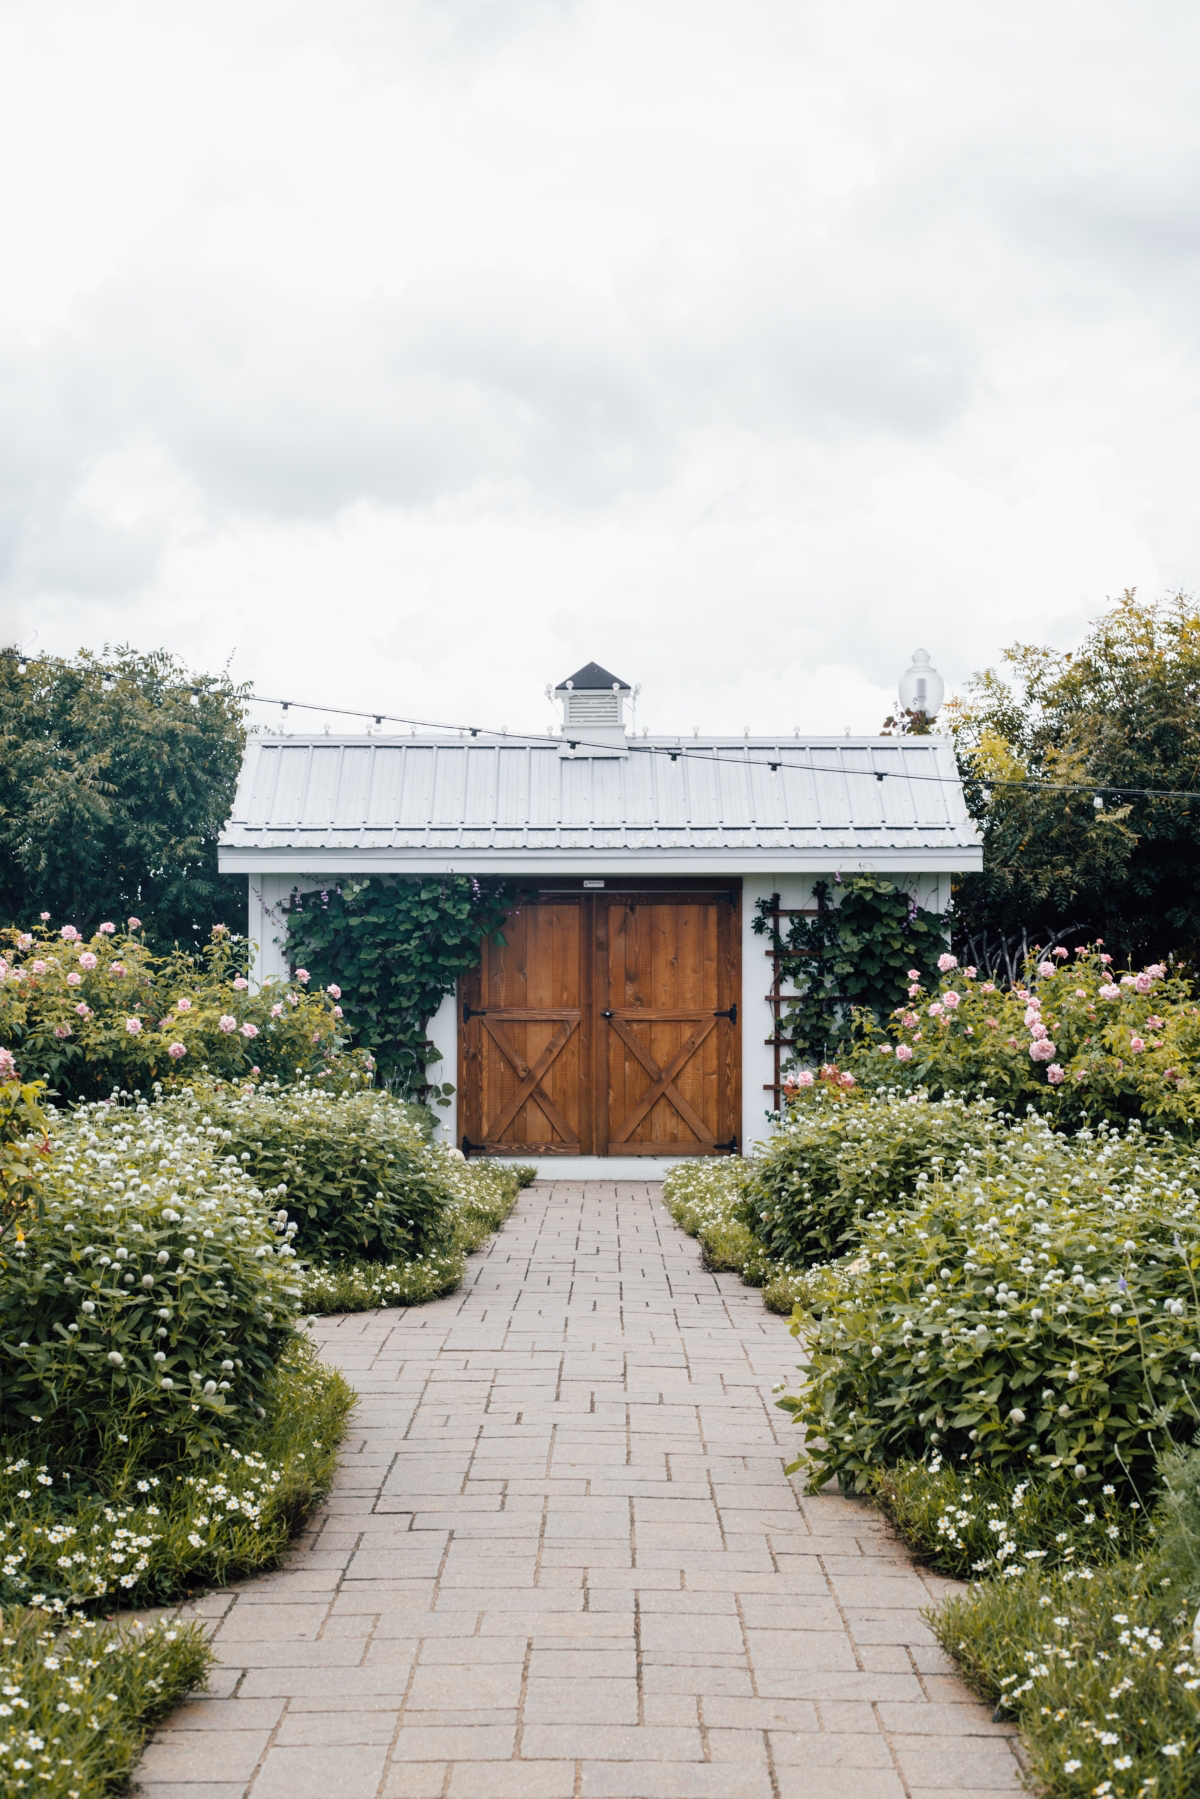
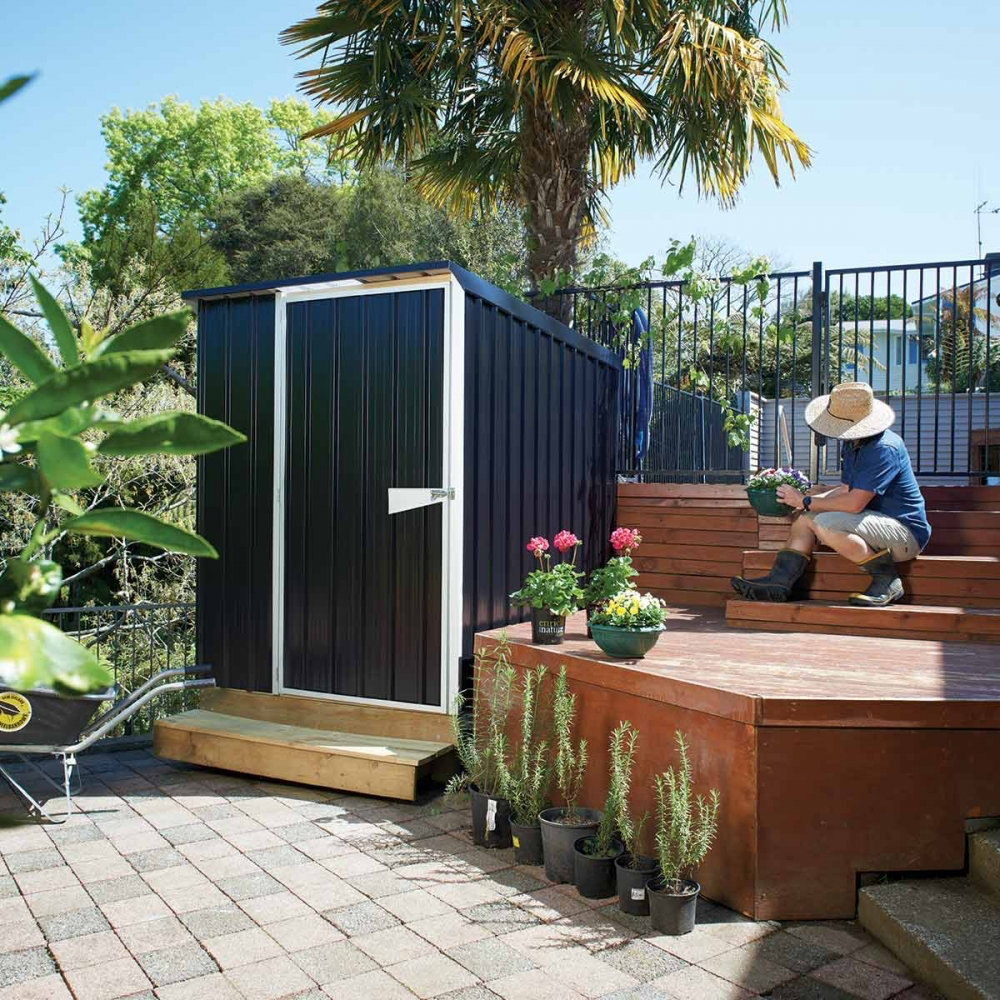
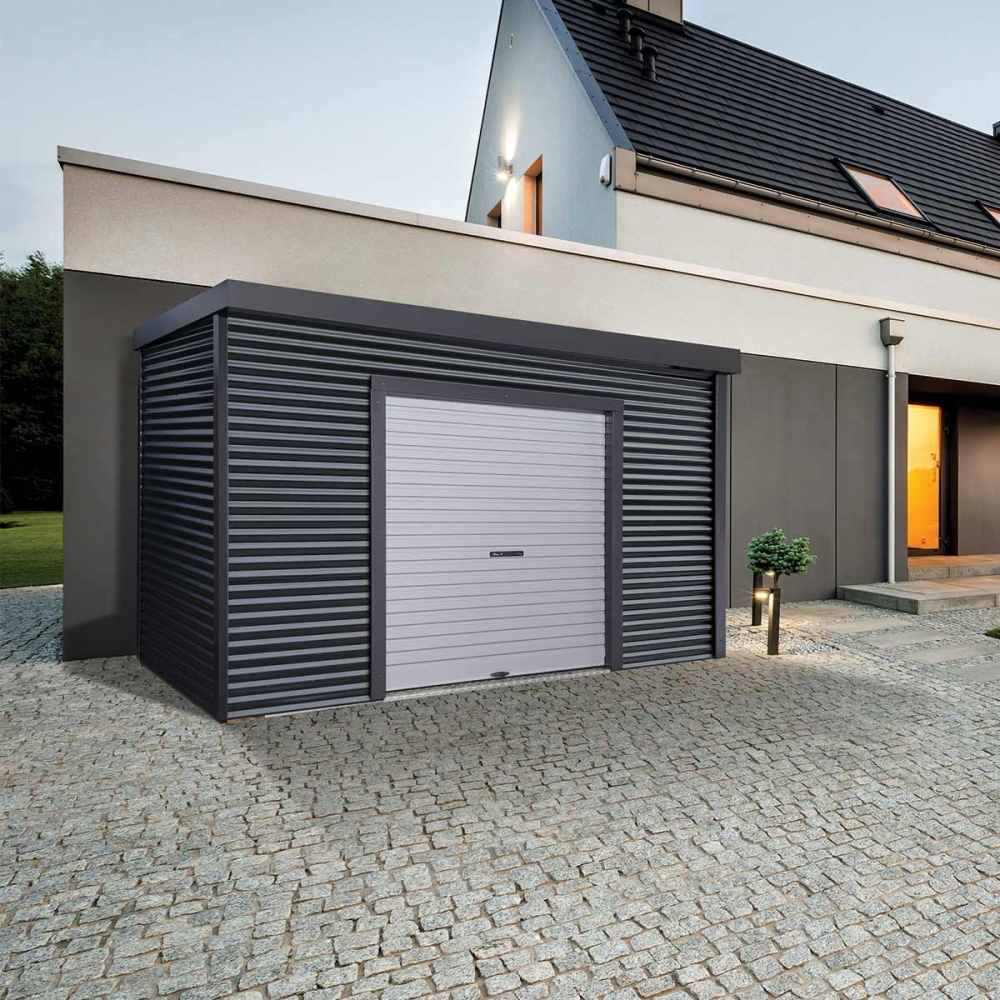
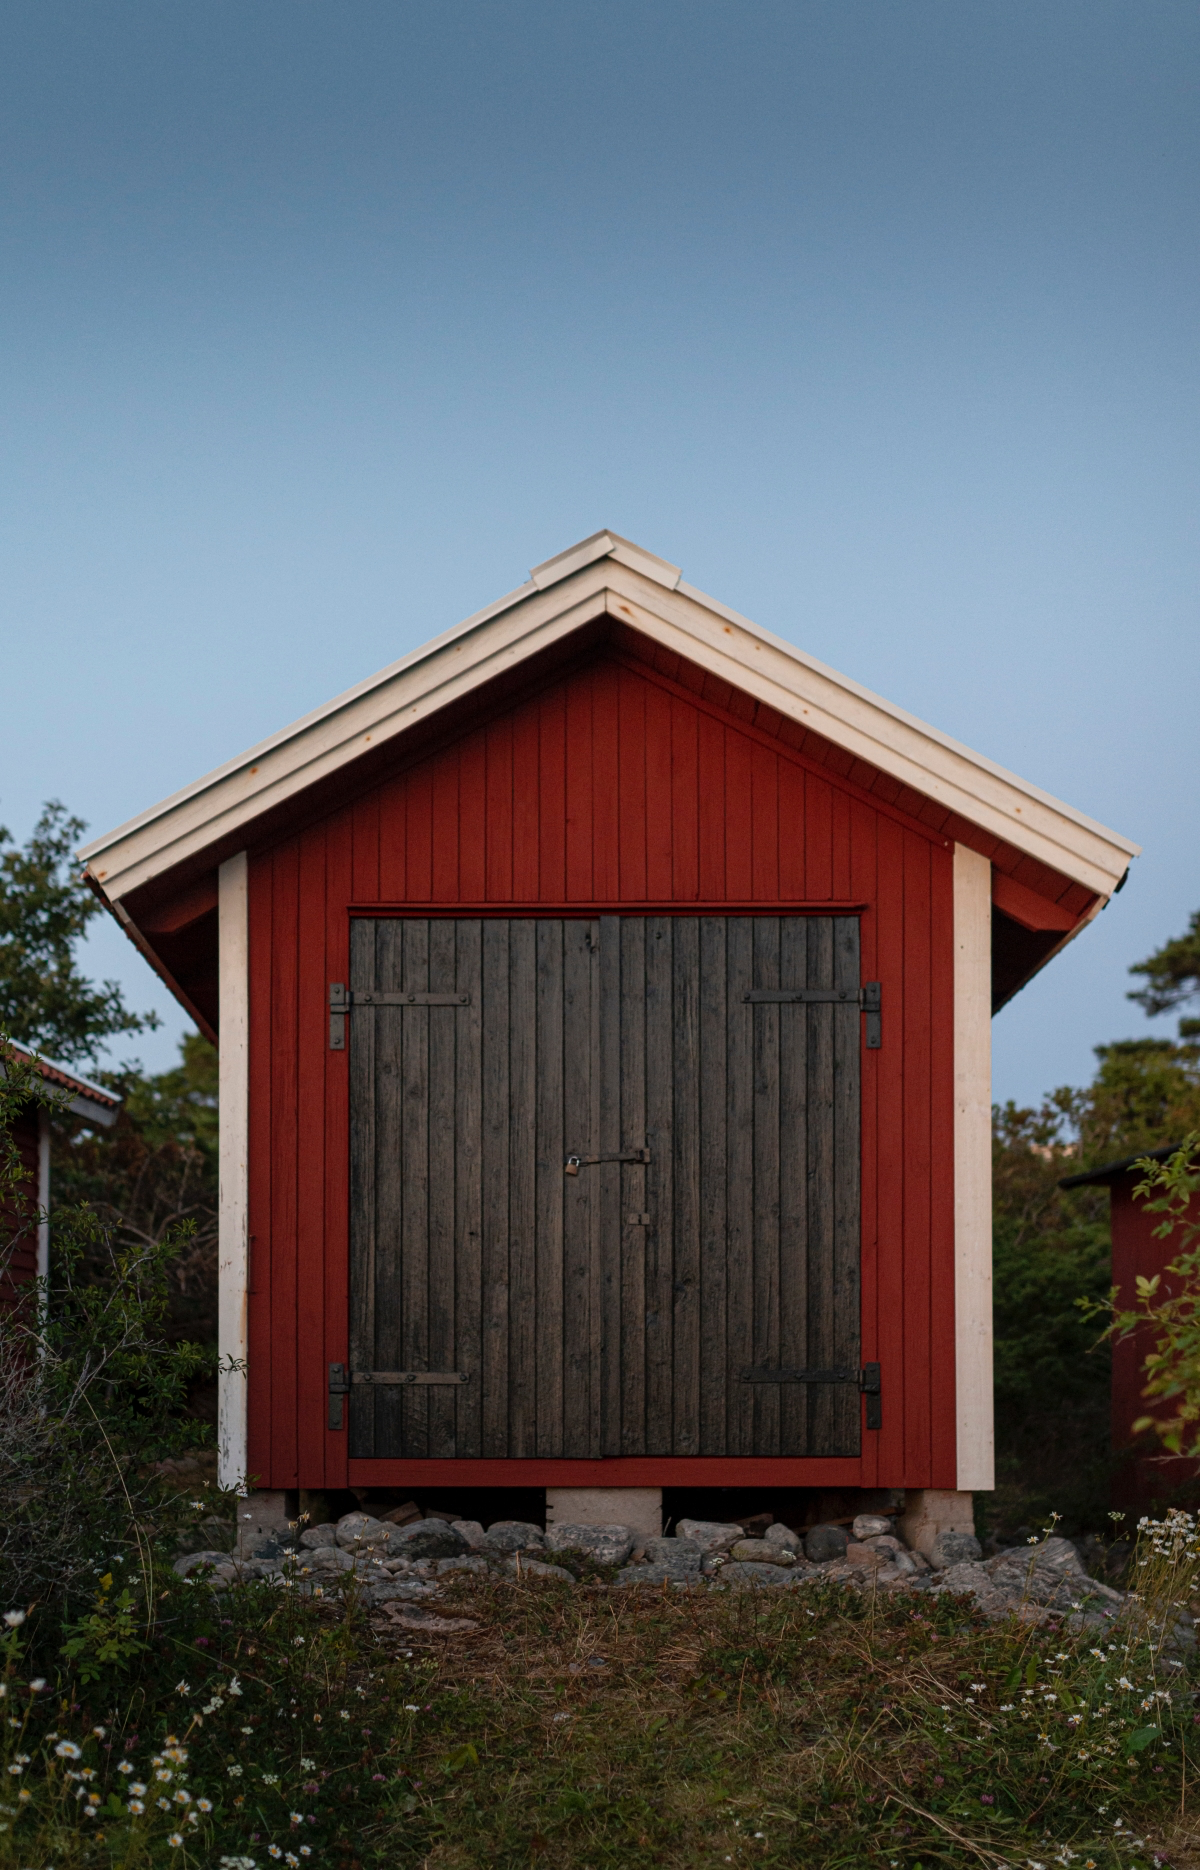
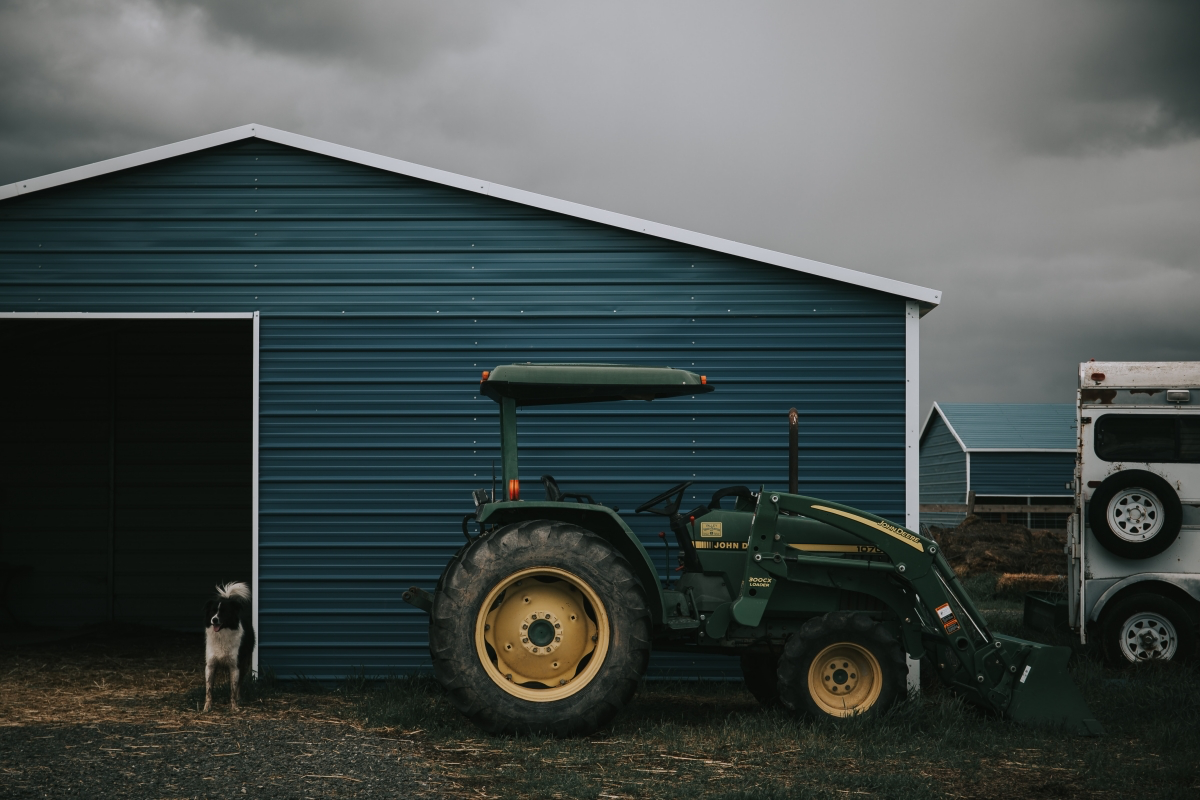
Don’t just paint your shed to match the fence. Think of it as an accent piece in your garden’s design. A deep charcoal or navy blue can make the surrounding greenery pop, while a classic barn red offers a timeless, rustic feel. For a high-quality finish that withstands the elements, consider an exterior acrylic latex paint like Behr Ultra or Sherwin-Williams Emerald.
Think beyond the floor: Your shed’s vertical space is prime real estate for storage. A simple French cleat system allows you to hang heavy tools, cabinets, and shelves securely, and you can easily rearrange them as your needs change. It’s a far more versatile solution than just drilling hooks directly into the wall studs.
- Check and tighten all screws, nuts, and bolts, especially after the first season.
- Clear roof and gutters of leaves and debris to prevent water damage.
- Lubricate door hinges and lock mechanisms with a silicone spray.
- Inspect the base for any signs of shifting, rot, or pest intrusion.
A quick 30-minute annual checkup can add years to your shed’s life.
The average galvanized steel used in modern metal sheds contains at least 25% recycled content, making it a surprisingly sustainable choice.
This process not only reduces landfill waste but also requires significantly less energy than producing steel from raw materials. When choosing a metal shed from brands like Arrow or Duramax, you’re often opting for a product with a strong ecological backstory.
Is a pre-fabricated shed kit really a good value?
For many, yes. Kits from companies like Tuff Shed or Lifetime provide all the necessary pre-cut materials and hardware, drastically reducing construction time and eliminating material waste. However, the tradeoff is often in customization and material quality. While convenient, the lumber or panel thickness might be less robust than what you’d choose when building from scratch. It’s a balance between convenience and long-term durability.
One of the most overlooked enemies of any shed is condensation. Without proper airflow, moisture gets trapped inside, leading to mold on your stored items, mildew on wood surfaces, and premature rust in metal sheds. The solution is simple: ensure your shed has vents. Installing two vents—one low on one wall and another high on the opposite wall—creates a natural cross-breeze that keeps the interior dry and fresh.
Classic T1-11 Plywood Siding: This is a traditional, cost-effective option that gives a classic rustic look. It’s essentially a sheet of plywood with grooves, easy to install and paint. Its main vulnerability is to moisture along the bottom edge if not properly sealed and maintained.
LP SmartSide Engineered Wood: A more modern alternative, this treated wood composite is engineered to resist rot, termites, and fungal decay. It often comes pre-primed and holds paint better than traditional wood, but it comes at a higher initial cost.
For high-moisture climates, the investment in engineered wood can pay for itself in reduced maintenance.
A study by the Office for National Statistics in the UK found that sheds and garages are a primary target for burglars, with nearly 60% of victims losing tools.
Don’t make it easy for them. Upgrade the flimsy clasp that comes with most sheds to a heavy-duty hasp and a quality padlock. A simple battery-powered, motion-activated LED light placed over the door is an effective and inexpensive deterrent.
The new generation of vinyl and resin sheds, like those from Suncast or Keter, are carving out a significant market share. They are virtually maintenance-free—no painting, no rust, no rot. They won’t dent like thin metal or be susceptible to termites like wood. While their plastic appearance may not suit every aesthetic, their UV-resistant construction and easy snap-together assembly make them an incredibly practical choice for homeowners who prioritize ease over traditional materials.
A shed doesn’t have to be a dark, forgotten corner of the yard. By strategically placing a couple of polycarbonate windows or a small skylight, you transform it into a usable workspace. This is especially key for potting sheds or workshops, where natural light reduces eye strain and makes the space feel larger and more inviting. For a finishing touch, a simple solar-powered pendant light provides illumination for those evening trips to find the garden tools.


