Stop the Spring Cleaning Panic: A Pro’s Guide to a Genuinely Clean Home, All Year Round
We’ve all been there. It’s that first warm day of spring, you throw open the windows, and suddenly you see it: a year’s worth of dust, sticky kitchen grime, and general clutter that seems to have appeared overnight. The thought of tackling it all at once is completely overwhelming, right? This is why the whole idea of a single, massive “spring clean” is, frankly, a bit flawed. It turns maintaining your home into a dreaded annual project instead of what it should be: a manageable, ongoing system.
In this article
Think of your home as a living, breathing space. It’s constantly collecting dust, cooking grease, and moisture. Waiting a full year to deal with all that is like waiting for your car’s engine to make a scary noise before you change the oil. By then, the gunk has set in, and the job is ten times harder—and sometimes, more expensive. There’s a much smarter way to do this. It’s a four-season approach that breaks up the deep cleaning into logical, bite-sized chunks. This keeps your home consistently clean and helps you spot small issues before they become huge, costly headaches.
The Real Science of Grime (And Why It Gets So Stubborn)
To really win the war on dirt, you have to know your enemy. And it’s not just loose dirt—it’s a mix of stuff that literally changes over time, bonding to your home’s surfaces. Understanding this is what separates frustrating scrubbing from effective cleaning.
That Sticky Gunk in the Kitchen
You know that yellowish, tacky film that builds up on top of kitchen cabinets? That’s not just old grease; it’s something called polymerized grease. When you cook, tiny oil droplets float around and settle everywhere. At first, they’re easy to wipe up. But with exposure to heat, light, and air, those oil molecules start linking together, forming tough, chain-like structures called polymers. It’s a process that basically turns liquid oil into a hard, varnish-like coating. A simple spray-and-wipe isn’t going to cut it. After a year, you’re not just cleaning; you’re trying to scrape off a layer of plastic. We often have to use powerful solvents and a lot of elbow grease, which can easily damage the finish. But if you clean it every few months? It’s a simple wipe-down.
The Secret Life of Dust
Dust isn’t just dirt from outside. It’s a nasty cocktail of skin cells, pet dander, fabric fibers, pollen, and pollutants. Your HVAC system kindly circulates it all through your house, where humidity helps it stick to every surface imaginable. Over time, these layers get compacted, creating a buffet for dust mites and trapping moisture against your walls and furniture. What could have been handled with a damp microfiber cloth in January becomes a job that needs a vacuum and serious scrubbing by May.
The Slime in Your Bathroom… It’s Alive!
That pink or orange slime in the shower or the slick film in your sink drain has a name: biofilm. It’s a whole community of bacteria that builds a protective slimy shield to stick to surfaces. This shield is surprisingly tough and protects the bacteria from most cleaners. If you just spray and wipe, you’re only skimming the top layer. The base remains and grows right back. To really get rid of it, you need a one-two punch: a cleaner that can break down that slimy matrix, followed by the physical action of a scrub brush to dislodge the colony. The longer you let it grow, the stronger that shield gets.
The Four-Season Cleaning System: Your Year-Round Game Plan
Instead of one big, painful cleaning marathon, let’s break it down by season. Each season has a focus that just makes sense with how you’re using your home at that time. It’s so much more manageable this way.
Early Spring (March-April): The Great Thaw & Refresh
Winter keeps us cooped up, letting dust and grime settle. Spring is all about airing out the house and washing away that winter residue. Plan for a weekend to tackle this, maybe 4-6 hours total.
- Windows and Screens: Wash interior and exterior glass for that amazing crystal-clear view. A pro tip: use a good squeegee. My favorite cleaning solution is dead simple: a bucket of warm water with about half a teaspoon of blue Dawn dish soap. It helps the blade glide perfectly. For screens, pop them out and gently scrub with the same soapy water and a soft brush, then rinse well. Let them dry completely before putting them back in.
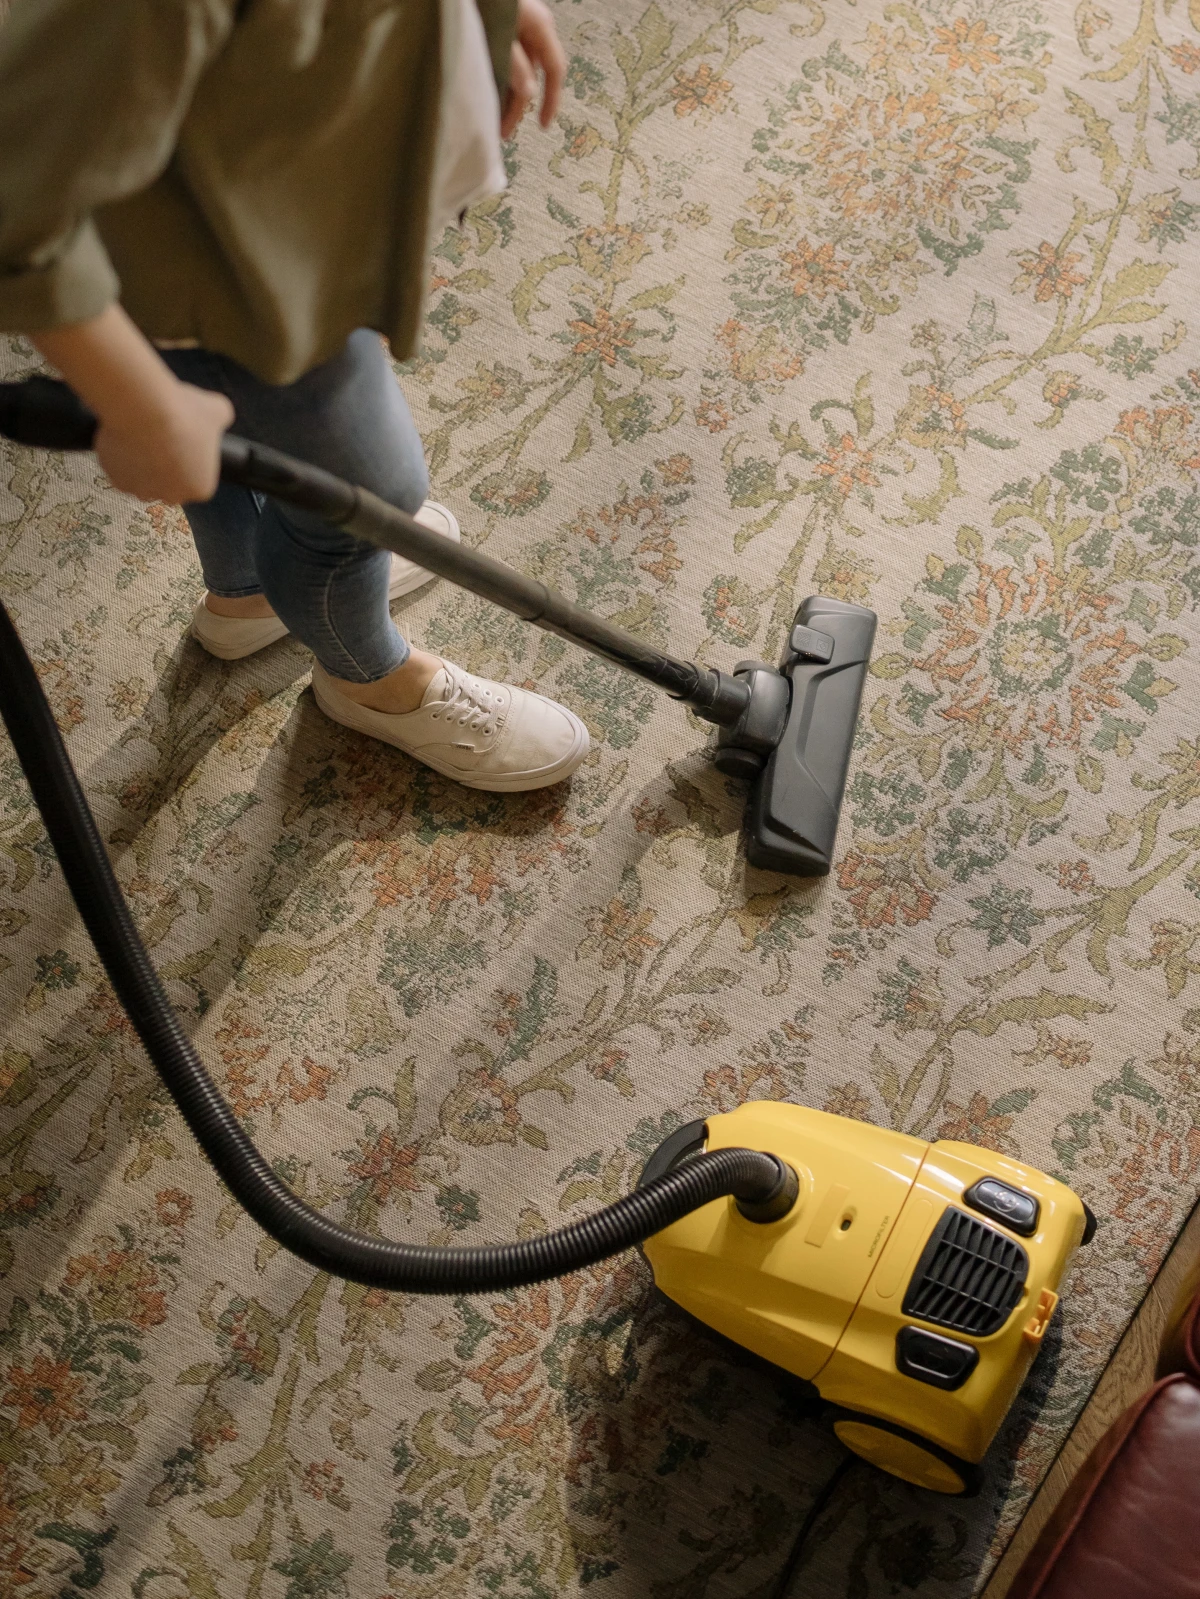
- Deep Carpet and Rug Cleaning: Your carpets have been trapping salt, sand, and all the gunk from winter boots. This stuff is abrasive and grinds down the fibers. Renting a good quality carpet cleaner from a place like Home Depot (around $35 for 24 hours) is a great DIY option. Go slow, and do a second pass with just suction to pull out as much water as possible.
- HVAC Check-Up: At the very least, change your furnace/AC filter. It’s non-negotiable for air quality. Take a quick walk outside and clear any leaves and debris from around your outdoor AC unit to ensure it can breathe when you fire it up for the first time.
- Quick Win (If you only have 30 minutes): Just change that HVAC filter! It takes five minutes and has the biggest impact on your indoor air quality as seasons change.
Mid-Summer (July-August): Taming Outdoor-Indoor Grime
Summer means open windows, more foot traffic, and a whole lot of pollen and dust. The focus here is on high-traffic zones and the exterior. This can be broken up over a couple of afternoons.
- Ceiling Fans and Light Fixtures: These are dust magnets. Here’s a trick I swear by: grab an old pillowcase, slip it over a fan blade, and pull it back slowly. All the dust gets trapped inside the case instead of raining down on you and your furniture. Genius!
- Exterior Power Wash: Decks, patios, and siding can get pretty grimy with pollen and mildew. A word of caution if you DIY with a power washer: start with a low-pressure setting and a wide nozzle. Too much pressure can gouge wood or strip paint right off.
- Garage & Entryway Reset: These spots become dumping grounds for summer gear. Spend an hour sweeping, organizing, and clearing the clutter before it migrates into the house.
- Quick Win (If you only have 15 minutes): Do the pillowcase trick on your ceiling fans. It’s fast, incredibly effective, and weirdly satisfying.
Early Fall (September-October): Prepping for Hibernation
The weather is cooling down, and you’re about to spend a lot more time indoors. This season is all about preventative maintenance before the holidays hit. This is another 4-6 hour job, but crucial.
- Gutters and Downspouts: This is a critical safety task. Clogged gutters cause water to back up, leading to roof damage and nasty ice dams in the winter. If you’re not 100% comfortable on a ladder, please hire a pro for this. It typically costs between $150 and $300 and is worth every penny to avoid a serious fall.
- Kitchen Appliance Deep Dive: Before the holiday cooking craze begins, give your oven a deep clean. Pull the fridge out and vacuum the coils on the back—this helps it run more efficiently and can even prevent fires.
- Chimney and Fireplace Check: If you use your fireplace, getting it professionally swept is a must. That black stuff, creosote, is highly flammable. This is not a DIY job. A certified chimney sweep will run you about $125 to $250 and ensure your fireplace is safe for the winter.
- Upholstery and Curtains: Vacuum your couches and chairs thoroughly (use the crevice tool!). Take down curtains and wash or dry-clean them to get rid of a summer’s worth of dust and odors.
- Quick Win (If you only have 1 hour): Clean out the pantry. Toss expired food and wipe down the shelves. It makes holiday meal prep so much easier.

Mid-Winter (January-February): Improving Your Indoor Air
With the house sealed up tight, indoor air quality can plummet. This clean is all about tackling the dust and allergens that have been trapped inside with you.
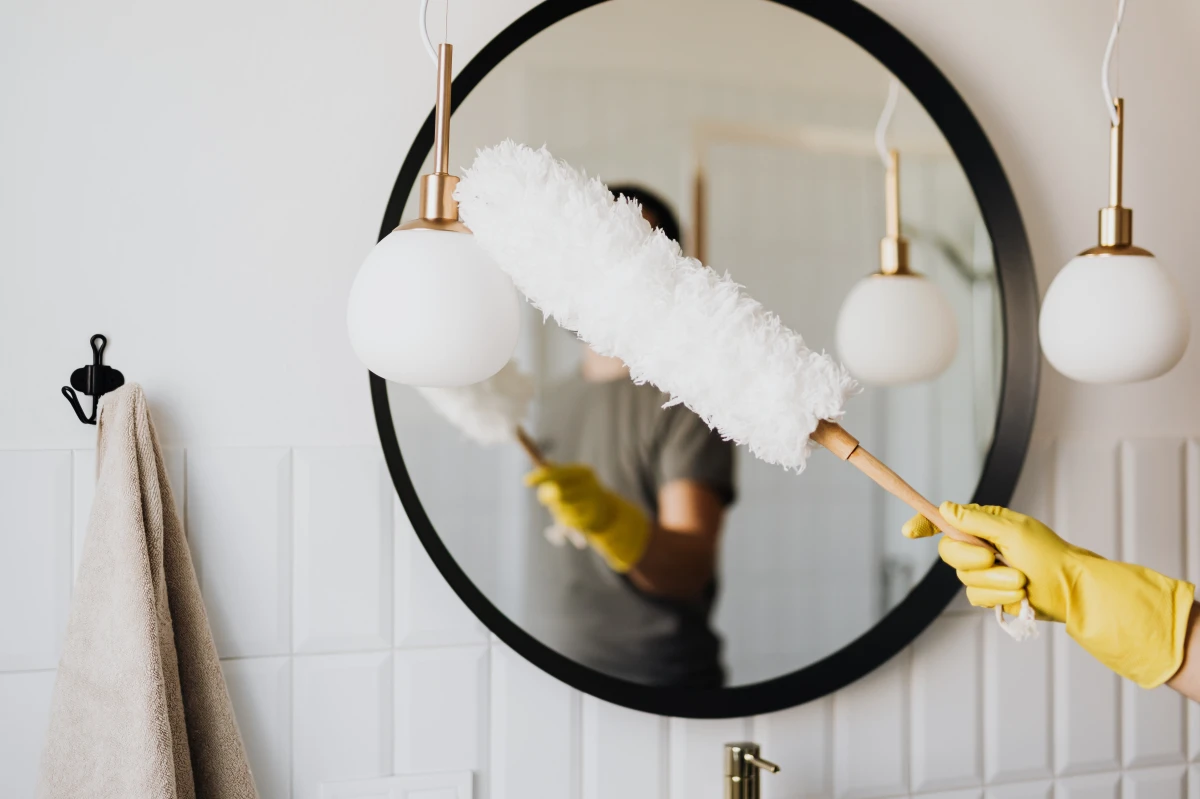
- Attack High and Low Dust: This is the time to get the spots you always miss. Use an extension duster for the tops of cabinets, high shelves, and door frames. Then, wipe down all your baseboards with a damp cloth. You’ll be shocked at what you find.
- Mattress and Bedding Refresh: Strip your bed and vacuum your mattress with an upholstery attachment. Wash everything you can—mattress pad, duvet, pillows—to cut down on the dust mites and allergens where you sleep.
- Closet Purge: Winter is perfect for indoor projects. Spend an afternoon going through one or two closets. A well-organized space feels cleaner and is much easier to keep that way.
- Quick Win (If you only have 30 minutes): Wipe down all your baseboards in one or two main rooms. It’s a small detail that makes the whole space feel cleaner and brighter.
When to DIY vs. When to Call a Pro
I’m a huge fan of empowering homeowners, but some jobs are best left to the professionals, either for safety reasons or because they require expensive, specialized gear. Here’s a quick rundown.
- Gutter Cleaning: As I mentioned, you can DIY this for the cost of a few tools (maybe $25) and 2-3 hours of your time. But if you have a two-story house, the risk of falling is significant. A pro will charge $150-$300 and do it safely. For me, the pro is a no-brainer here.
- Chimney Sweeping: This is a firm ‘call a pro.’ They have the right tools to remove flammable creosote and can spot potential issues inside your chimney. The $125-$250 fee is a small price for fire safety.
- Professional Carpet Cleaning: While you can rent a machine for about $35, a professional service (around $50-$75 per room) uses much more powerful equipment that extracts more water and dirt, leading to a deeper clean and faster drying times.
- Significant Mold: If you find a moldy area larger than a dinner plate, don’t try to clean it yourself. You could spread the spores. Call a licensed mold remediation specialist.
Your Pro-Level Toolkit (It’s Simpler Than You Think)
You don’t need a whole truck of supplies. Most pros rely on a handful of high-quality basics.
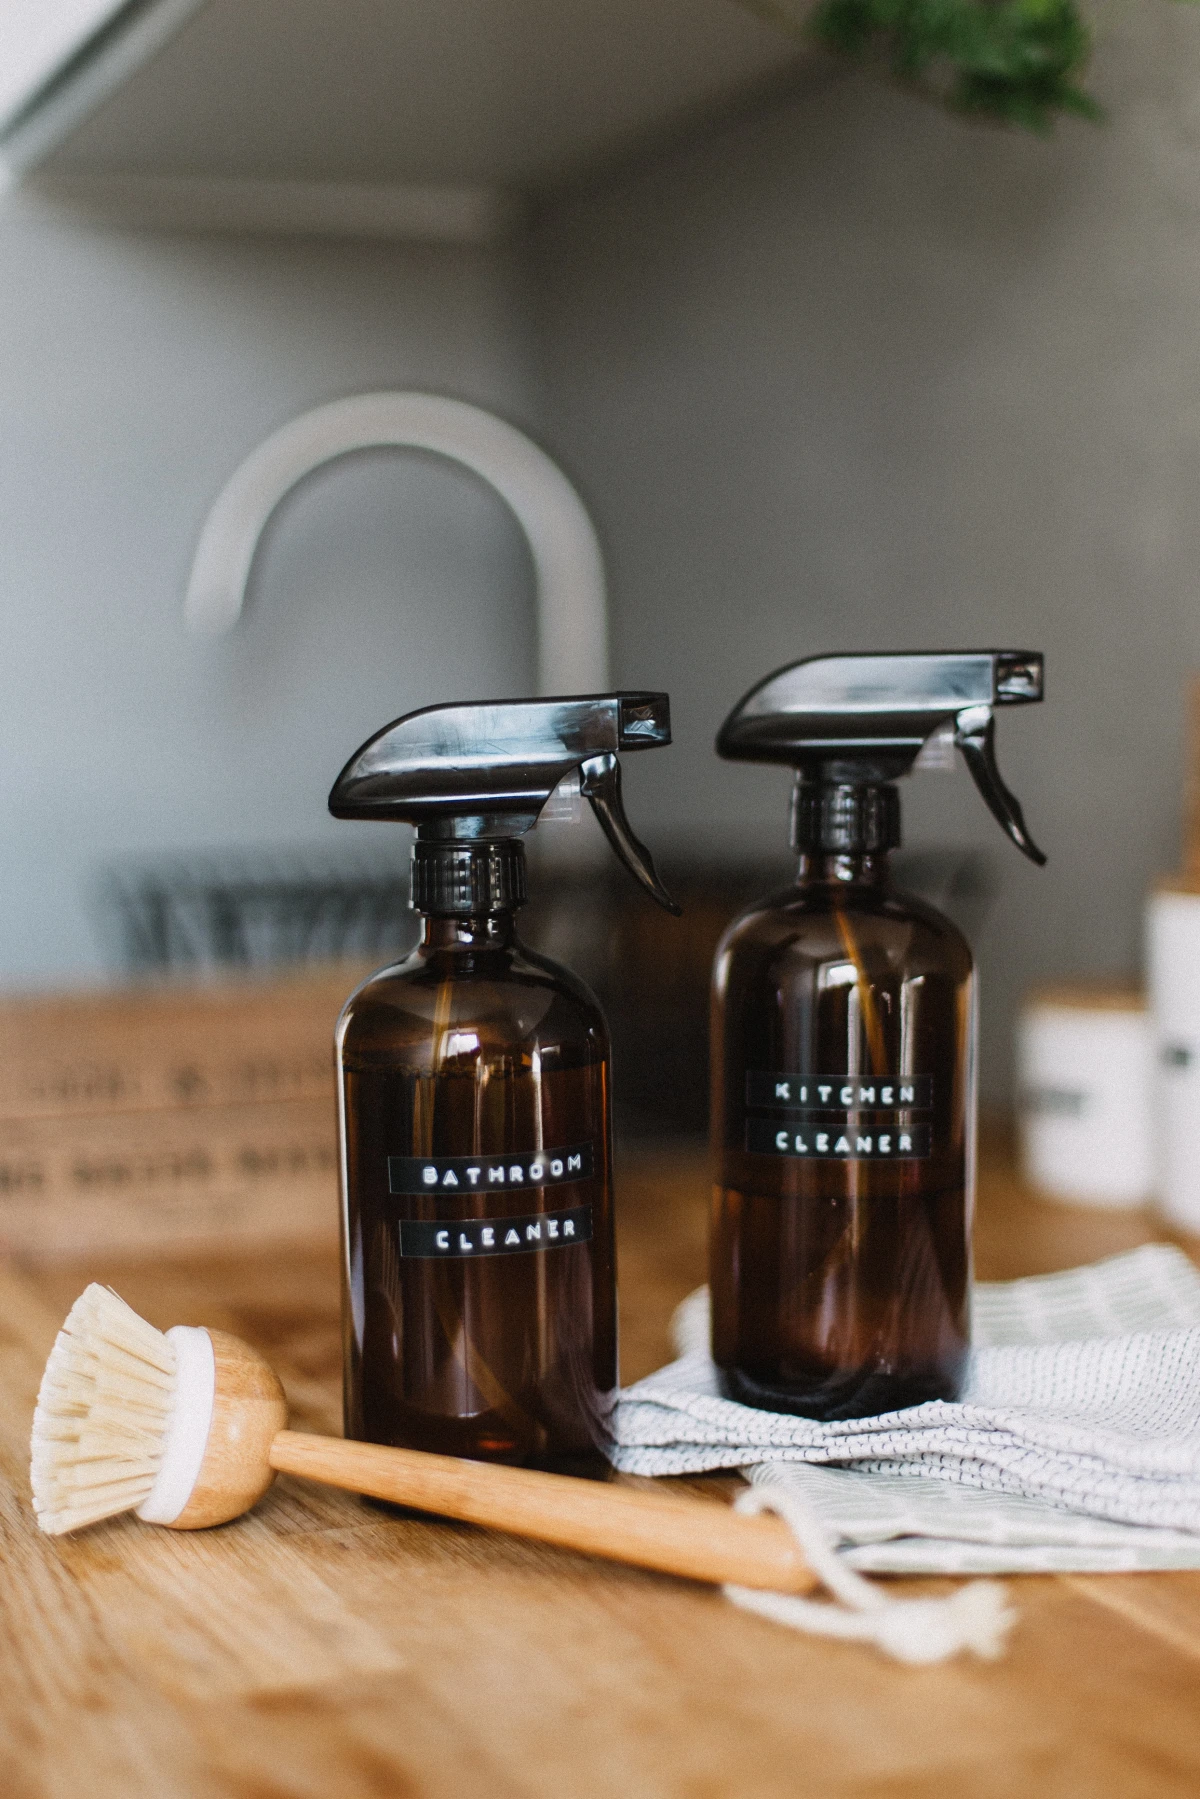
- Microfiber Cloths: This is your number one tool. They trap dust instead of just pushing it around. A good 12-pack will only set you back about $15 on Amazon or at a hardware store. Consider using a color system to avoid cross-contamination (e.g., blue for glass, green for general use, red for bathrooms).
- A Good Vacuum with a HEPA filter: This is an investment, but crucial for trapping allergens. Make sure it has attachments: a crevice tool, a dusting brush, and an upholstery tool are essential.
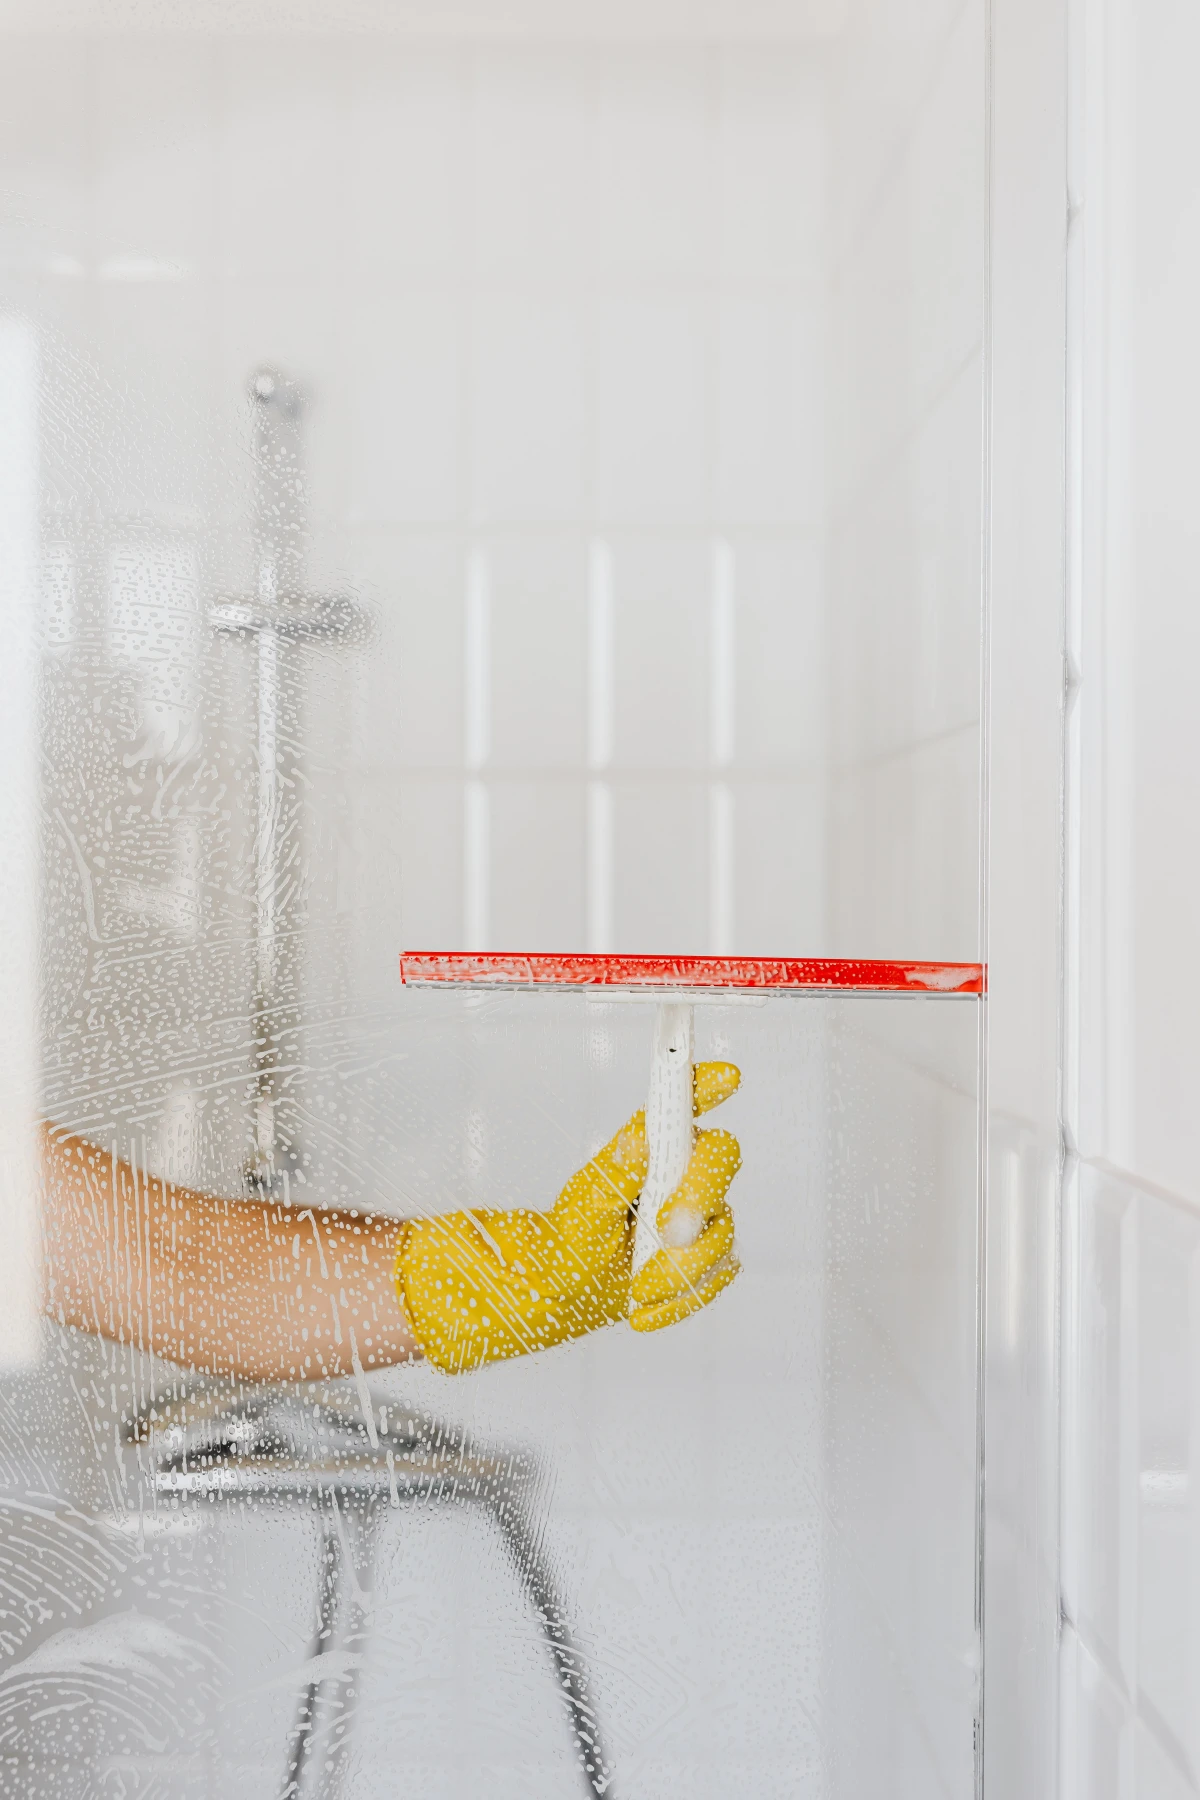
- A Quality Squeegee: For streak-free windows and shower doors. A 12-inch model from a brand like Ettore costs around $20 and will last forever.
- A Stiff Scrub Brush: Absolutely necessary for grout and tough grime. Don’t cheap out—get one with firm bristles.
A Final Word on Safety
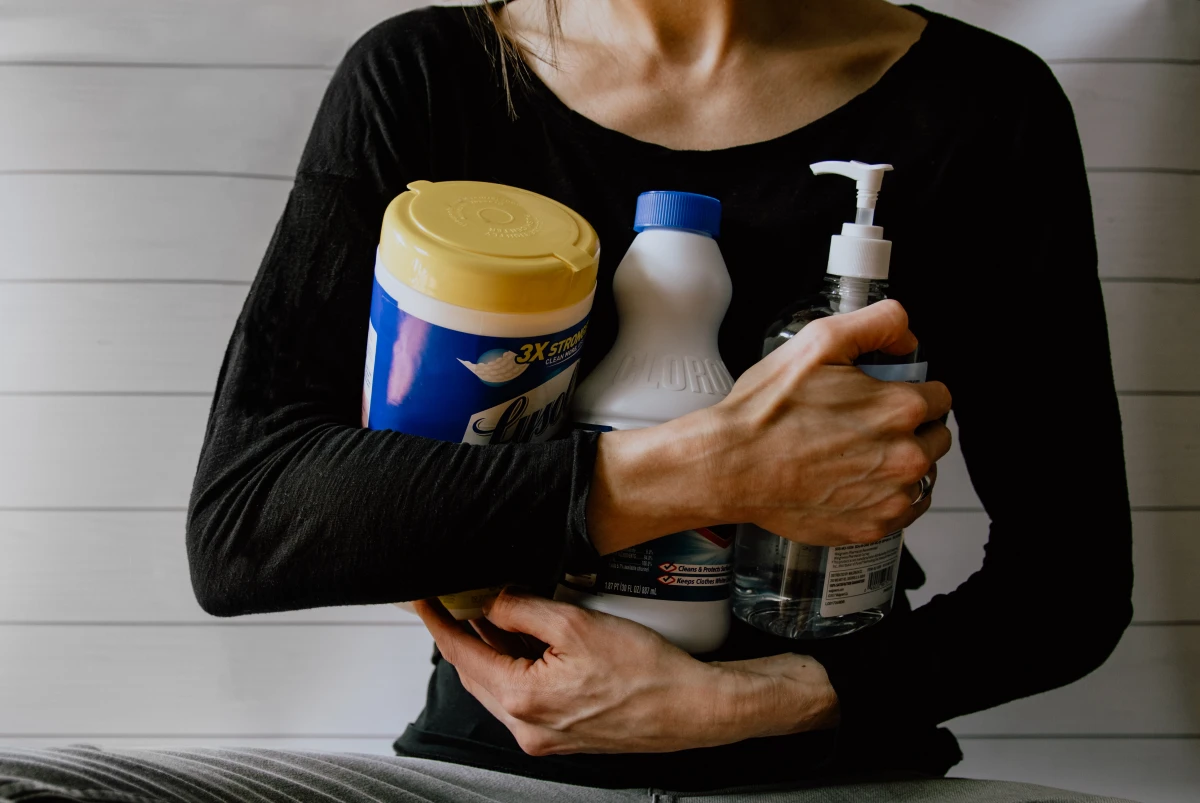
This is the most important part. I once walked into a client’s home where they had tried to clean a small bathroom by mixing bleach and an ammonia-based cleaner. The toxic gas they created was so bad we had to air out the entire house for an hour before it was safe to even enter. Please, be careful.
- Chemicals: NEVER, ever mix bleach with ammonia. It creates a dangerous toxic gas. Always read product labels, work in a well-ventilated area, and wear gloves.
- Electricity: Unplug appliances before you start cleaning their mechanical parts. Water and electricity are a deadly mix.
- Physical Safety: Use a proper step stool, not a wobbly chair. Wet floors are slippery. Lift heavy things with your legs, not your back.
Adopting this four-season approach really does change the game. It turns a massive, dreaded chore into a satisfying, manageable routine. You’re not just cleaning; you’re proactively taking care of your biggest investment, and that’s a feeling that’s worth the effort.


