Don’t Swing That Hammer Yet: The Real-Deal Guide to a Renovation You Won’t Regret
After walking through countless homes on the brink of a renovation, I’ve seen it all. I’ve seen the sheer excitement in a homeowner’s eyes, but I’ve also felt the anxiety bubbling right below the surface. Let’s be honest: a home renovation is a huge deal. It’s so much more than picking out pretty tiles or fancy cabinets; it’s a complicated dance with a ton of moving parts. When you get it right, you add incredible joy and value to your home. But when it goes wrong? It quickly becomes a nightmare of stress and financial strain. I’ve been the one called in to fix those jobs, and believe me, it’s always harder and more expensive to do it the second time around.
In this article
- 1. The Vision: Getting Clear on Your Project’s True Scope
- 2. The Reality Check: Building an Honest Budget (and How to Fund It)
- 3. Assembling Your Dream Team
- 4. Navigating the Rules: Permits and Building Codes
- 5. The Master Plan: Sequencing Your Renovation
- 6. Prepping the Site: Logistics and Sanity
- Your Renovation’s Success Starts Right Now
- Inspiration:
So, this isn’t just another checklist. Think of this as the foundational blueprint I walk my own clients through, long before we even think about signing a contract or ordering a single 2×4. It’s built on years of experience, from simple bathroom refreshes to gutting entire houses. We’ll cover how to plan, who to bring on board, and what you should actually expect. This is the foundation work for your project, and a strong foundation is the only way to make sure the finished product stands tall.

1. The Vision: Getting Clear on Your Project’s True Scope
Every great renovation starts with a dream. But a successful one? That starts with a clear, written plan. So many homeowners come to me with a phone full of saved images, which is a fantastic starting point for style, but it’s not a scope of work. A scope of work is the nitty-gritty document that outlines exactly what’s going to happen. Without it, you get “scope creep”—that sneaky, slow addition of new tasks that completely blows up your budget and timeline.
First, Figure Out Your Needs vs. Your Wants
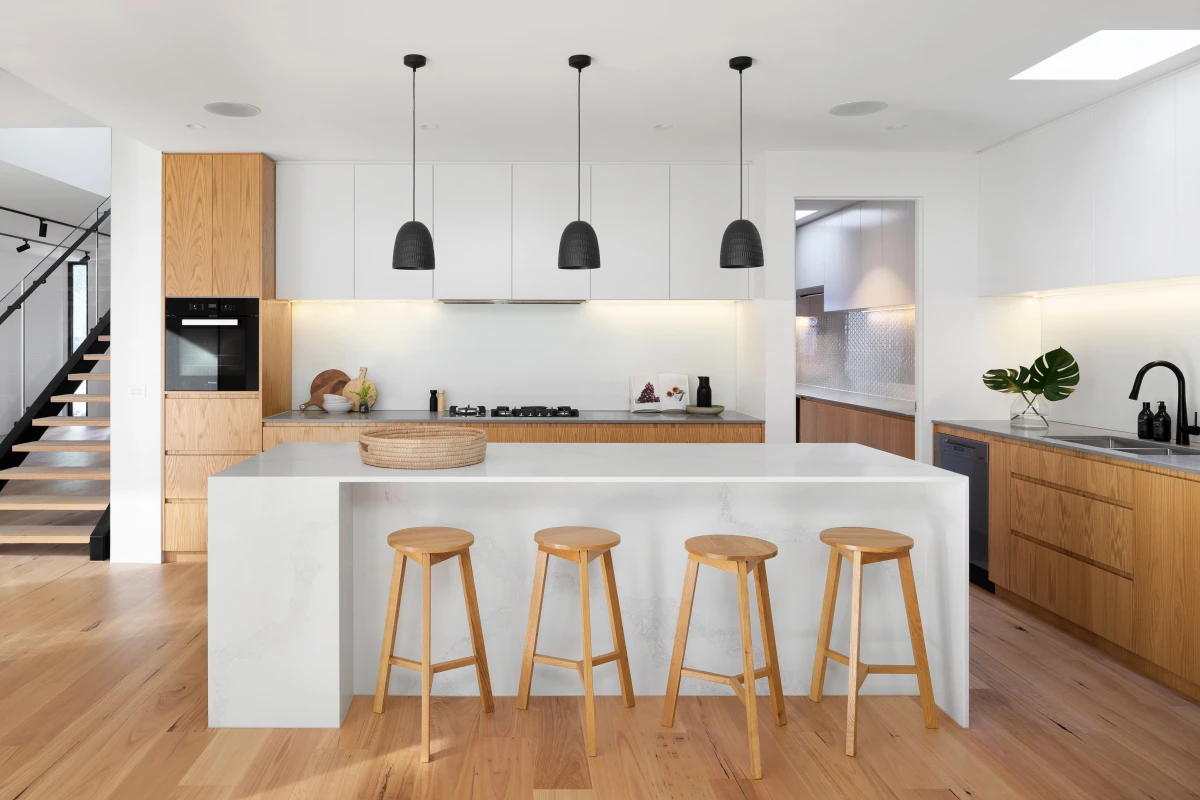
Before you do anything else, grab a piece of paper and draw two columns: Needs and Wants. And be brutally honest with yourself. A “need” is a functional must-have. For instance, “We need a third bedroom for our growing family,” or “We need to fix this leaky shower before it ruins the subfloor.” A “want,” on the other hand, is a lovely upgrade. Think, “I want those heated floors in the bathroom,” or “I want that dramatic waterfall island in the kitchen.”

This little exercise is crucial. Why? First, it forces you to set priorities. When budget questions pop up (and trust me, they will), you’ll know exactly where you can cut back without sacrificing the whole point of the reno. Second, it gives your team a crystal-clear picture of your goals. We can then design a project that nails your needs first and layers in your wants wherever the budget allows.
Actionable Step: Seriously, stop reading for 10 minutes and actually make this list. It might be the most important 10 minutes you spend on this entire project. Go on, I’ll wait.
The ‘Why’ Behind It All
I always ask my clients, “So, why are you really doing this?” The answer tells me everything. Are you planning to sell the house in a couple of years? If so, we should be focusing on updates with a high return on investment, like kitchens and bathrooms with neutral, crowd-pleasing finishes. Or is this your forever home where you plan to age in place? In that case, we should be talking about universal design. That could mean a curbless shower for easy access, wider doorways for future mobility, and better task lighting for aging eyes. Understanding the long-term goal makes sure the work we do today still serves you perfectly tomorrow.

2. The Reality Check: Building an Honest Budget (and How to Fund It)
Alright, let’s talk about money. It’s nobody’s favorite part, but it’s the absolute most important. A poorly planned budget is the #1 reason renovations fail. And a real budget is way more than just one big number; it’s a detailed breakdown of every single cost you can think of.
First, Where Does the Money Come From?
Before you can budget, you need the capital. Most people don’t have a giant pile of cash just sitting around. Common ways to fund a major renovation include:
- HELOC (Home Equity Line of Credit): This is like a credit card that uses your home as collateral. You can draw money as you need it, which is great for the unpredictable costs of a renovation. Interest rates are usually variable.
- Home Equity Loan: With this option, you borrow a lump sum and get a fixed interest rate. It’s predictable, but you start paying interest on the full amount right away.
- Cash-Out Refinance: You replace your current mortgage with a new, larger one, and you take the difference in cash. This makes sense if you can also get a better interest rate on your mortgage.
- Good Old-Fashioned Savings: If you’ve been saving up, paying with cash is the simplest way to avoid interest and debt.
The Unskippable 15-20% Contingency Fund

Here it is, the most critical piece of financial advice I can offer: Your budget MUST include a contingency fund of 15-20% of the total estimated cost. This isn’t a “nice-to-have”; it’s for the surprises hiding in your walls. I’ve opened up drywall to find rotted framing from a hidden leak or pulled up flooring to find serious termite damage. These aren’t planning failures; they’re just the reality of remodeling. On a $50,000 bathroom job, that’s an extra $7,500 to $10,000 you need to have liquid and ready. We once found old, corroded pipes that had to be replaced for about $2,000. Because the client had a contingency fund, it was a simple approval, not a project-stopping panic.
What a Real Budget Looks Like
Ever wonder where all the money goes? For a major kitchen renovation, the breakdown often looks something like this. To make it real, let’s use a hypothetical $80,000 project:

- Labor: 20-35% (around $16,000 – $28,000). This is the biggest chunk and a huge red flag if a bid is suspiciously low.
- Cabinetry and Hardware: 30% (around $24,000)
- Appliances: 10-15% (around $8,000 – $12,000)
- Countertops: 10% (around $8,000)
- Flooring: 5-7% (around $4,000 – $5,600)
- Lighting and Electrical: 5% (around $4,000)
- Plumbing and Fixtures: 5% (around $4,000)
- Permits & Design Fees: 3-5% (around $2,400 – $4,000)
A Quick Word on ‘Allowances’ and ‘Change Orders’
Your contractor’s detailed bid will likely include “allowances.” For example, it might say, “$5,000 allowance for tile.” This means they’ve budgeted that amount. If you fall in love with a handmade tile that costs $7,000, that extra $2,000 comes directly out of your pocket (or your contingency fund!). It’s not a sneaky charge; it’s just how they budget for items you haven’t picked yet. Be sure you understand what the allowances are and if they’re realistic for the look you want.
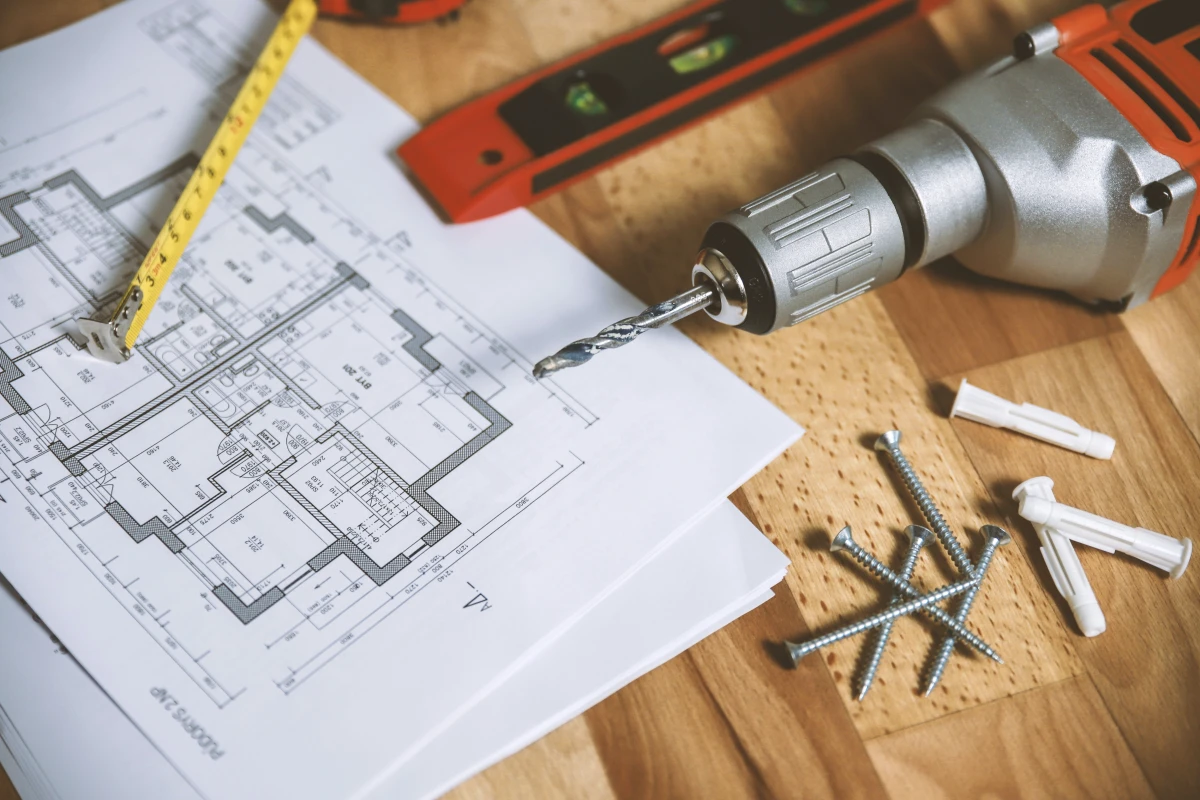
And what happens if you change your mind or a surprise pops up? That’s what a “change order” is for. It’s a formal, written document that details a change to the original plan and the new cost associated with it. Whether you decide you want brass faucets instead of chrome or the crew discovers that a support beam needs to be replaced, a change order protects everyone. It should always be a clear, signed document—never just a surprise on the final bill.
3. Assembling Your Dream Team
Your choice of contractor will absolutely make or break your project. You’re not just hiring labor; you’re hiring a partner to manage a complex, expensive, and invasive project in your home. This is where you prioritize trust, skill, and communication over getting the rock-bottom price.
Who’s on the Team?
- General Contractor (GC): This is your project’s quarterback. They hire and schedule all the pros (plumbers, electricians, painters), handle permits, and oversee the entire job. For any project involving more than one trade, a GC is essential.
- Architect: If you’re moving load-bearing walls, adding on, or changing the home’s structure, you need an architect to draw up safe, code-compliant plans.
- Interior Designer: A designer focuses on the look, feel, and function of the space—from layouts and material selections to lighting and furniture.
A Quick Comparison: Design-Build vs. Architect + GC

You’ll often hear about two main approaches. A Design-Build Firm puts all these services under one roof. The major pro here is streamlined communication; the designer and the builder are on the same team from day one, which can simplify the process and potentially speed things up. The main con? You have fewer independent choices, as you’re committed to their construction services when you sign on for the design.
The more traditional route is hiring an Architect/Designer and a General Contractor separately. The biggest advantage here is having an independent designer who acts as your advocate. You can also get competitive bids from multiple GCs based on one set of plans. The potential downside is that it requires more coordination, as you’re the one managing two separate contracts.
The Pro’s Vetting Checklist
- License and Insurance: Ask for their state license number and proof of insurance. Don’t just glance at the paper—call the insurance agent to confirm their general liability and worker’s comp policies are active. If an uninsured worker gets hurt in your home, you could be on the hook.
- Talk to Recent References: Don’t just take a curated list of happy clients. Ask for their three most recent projects. Then ask those homeowners pointed questions: “How did they handle problems when they came up?” “Was the final cost close to the bid?” “Was the job site kept clean?”
- Review Their Workmanship: Look at their portfolio for consistent quality. If you can, ask to visit a current or recently finished job. Look at the little things: the crispness of paint lines, the evenness of grout, the alignment of cabinet doors. Details tell the story.
- Check Their Communication Style: This is a big one. During the bidding process, do they explain things clearly? Do they return calls and emails in a timely way? You’re going to be talking to this person almost daily. Make sure you can communicate effectively.
- Get a Detailed Bid: A one-page bid with a single price is a giant red flag. A professional bid is a multi-page document that breaks down costs for labor, materials, and those allowances we talked about. This transparency is your best friend.

I know, I know—permits can feel like a bureaucratic headache. But from a professional’s standpoint, they are a non-negotiable shield. Permits and the inspections that follow are there to ensure all the work is done safely and to a minimum standard. They protect you, your family, and your home’s future value.
Building codes aren’t just arbitrary rules; they are safety standards written from decades of experience, often in response to tragedies. Electrical codes are there to prevent fires. Structural codes, like those that dictate the size of a beam we use when removing a wall, are there to keep your second floor from sagging. Plumbing codes ensure your drinking water stays safe. Working without permits is playing with fire. If there’s an electrical fire and your insurance company finds unpermitted work, they can legally deny your claim. It’s just not worth the risk.

5. The Master Plan: Sequencing Your Renovation
A renovation is a carefully choreographed dance. If the painter shows up before the drywall is sanded, the whole production grinds to a halt. A good GC is the choreographer who makes sure everyone knows their steps and when to perform them. While every job is a little different, most follow a standard sequence:
1. Demolition and Structural: The loud, messy part where we tear out the old and frame the new. 2. The Rough-Ins: This is the hidden-but-critical work. Plumbers, electricians, and HVAC techs run all the new pipes, wires, and ducts through the open walls. This phase ends with crucial city inspections before anything gets covered up. 3. Insulation and Drywall: Once inspections pass, the walls get insulated and closed up. Then comes taping, mudding, and sanding—get ready for a lot of fine dust. 4. Finishes: This is the fun part where the vision comes to life! Flooring, cabinets, countertops, tile, and trim all go in. 5. The Finals: We install light fixtures, faucets, and appliances. The final coat of paint goes on, and we handle the punch list of small adjustments. This all wraps up with a final inspection from the building department.
Heads up! The Long-Lead-Time Trap
Here’s a pro tip that separates the seasoned pros from the rookies: some materials take forever to arrive. Custom windows can take 12-16 weeks. Semi-custom cabinets might be 8-10 weeks. A specific high-end appliance could be backordered for months. These items must be ordered long before demolition even starts. A good contractor works backward from the installation date on the schedule to create an ordering deadline. This is the single most common cause of major, frustrating delays.
6. Prepping the Site: Logistics and Sanity
Your home is about to become a construction zone. Preparing for the disruption is the key to keeping your sanity.
To Stay or to Go?
If it’s just a single bathroom reno, you can probably live in the house. But for a full kitchen teardown or a major addition? I strongly advise my clients to find a temporary place to live if they can. The constant noise, dust, and lack of a kitchen or bathroom is more stressful than you can imagine. The cost of a short-term rental is often a worthy investment in your peace of mind. Plus, work can go faster when the crew isn’t trying to clean up to a “livable” state every single night.

A Lifesaving Tip: The Temporary Kitchen
If you have to stay, do this before demo day: set up a makeshift kitchen in another room. A microwave, a coffee maker, a toaster oven, a small dorm fridge, and a big water cooler can be an absolute game-changer. Don’t forget paper plates and utensils!
Safety is Everything
A work site is a dangerous place. In older homes, there’s a high chance of encountering lead-based paint or asbestos in things like old vinyl flooring or ceiling tiles. These are serious health hazards that require certified professionals for testing and safe removal. Never, ever let a contractor just start sanding or scraping old painted surfaces without proper containment protocols. And it should go without saying, but a construction zone is absolutely no place for children or pets. I’ve seen a client’s curious dog dart into a work area and step on a board with an exposed screw. It’s a completely avoidable disaster. The work zone is for workers only—no exceptions.

Your Renovation’s Success Starts Right Now
A great renovation gets built twice. First, it’s built on paper, with a crystal-clear vision, an honest budget, and a rock-solid plan. Only then is it built in your home. The time you invest in this planning phase is the single most valuable work you will do. It lays the groundwork for a smoother process, a better outcome, and a space that brings you joy for years to come. It’s how you turn anxiety into pure, excited anticipation.
Inspiration:

According to the 2023 Houzz & Home survey, a staggering one in three homeowners who renovated in the past year ended up going over budget.
This isn’t just about choosing more expensive tiles. The real budget-busters are often the costs you never thought to include. Think beyond the materials and labor. Have you accounted for municipal permit fees, which can run into the hundreds or even thousands? What about the cost of a dumpster rental for demolition waste? If your kitchen is out of commission for six weeks, the cost of eating out adds up fast. And the biggest unknown is what lies behind the walls. Discovering outdated knob-and-tube wiring or a rotted subfloor can add unexpected thousands to your project, turning a well-planned budget into a financial scramble.


