I’ve been the guy people call about clogged drains for years, and let me tell you, I’ve seen it all. From a simple hair clog in a bathroom sink to a kitchen line so packed with grease it was basically solid. The first thing I always explain is that a clog is just a symptom. Your real job isn’t just to clear it, but to figure out what’s causing the jam in the first place.
This isn’t about some flashy ‘hack’ you saw online. This is the methodical process the pros use. We start with the simplest, least invasive fix and only move on to the next step if that one doesn’t work. Following this order will solve ninety percent of common clogs, and more importantly, it’ll keep you from turning a small headache into a seriously expensive repair.
First Things First: What’s Hiding Under Your Sink?
Before you can fix the problem, you gotta know the players. Understanding what these parts do is the difference between blindly guessing and actually diagnosing the issue. It’s the first thing I do on any job.
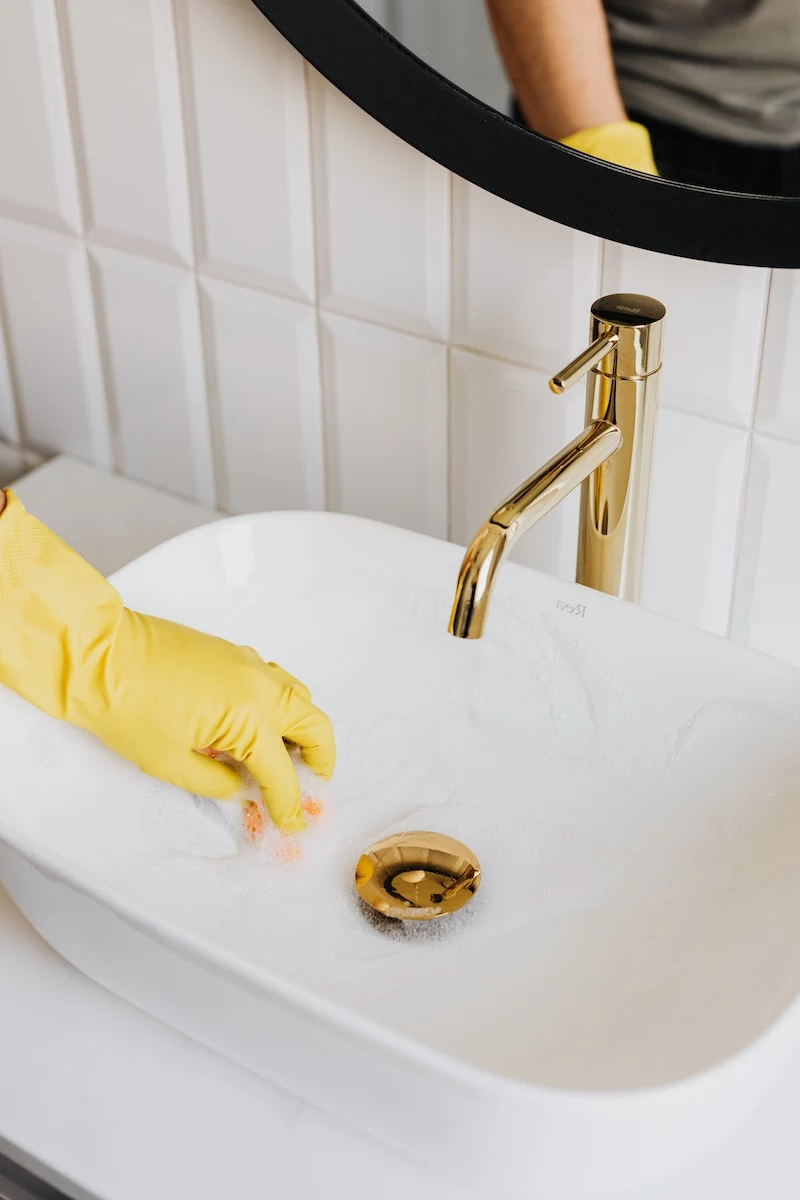
Drain Opening & Stopper: Pretty obvious, this is where water goes down. In the bathroom, you’ve probably got a pop-up stopper. In the kitchen, it’s that strainer basket. Honestly, these are the top suspects for a clog.
Tailpiece: This is the straight pipe that drops right down from the sink drain. The bathroom version often has the little rod for the pop-up stopper inside, which is an absolute magnet for hair and soap scum.
The P-Trap: That U-shaped bend in the pipe isn’t just there to catch your wedding ring (though it’s great at that). Its main job is to hold a small amount of water all the time. This little water plug acts as a seal, blocking gross sewer gases from stinking up your house. It’s a non-negotiable part of any modern plumbing system for a reason.
Trap Arm: This is the horizontal pipe that runs from the P-trap into the wall. If a clog gets pushed past the P-trap, this is usually where it gets stuck next.
Vent System: This is the invisible part of the system. Inside your wall, the drain connects to a pipe that goes all the way up through your roof. This vent lets air into the pipes so water can flow freely. You know when you try to pour liquid from a jug too fast and it glugs and sputters? A gurgling drain is doing the same thing, and it often points to a venting problem.
Safety Briefing: My Non-Negotiable Rules
Okay, before we even think about touching a tool, let’s talk safety. That water is nasty, full of bacteria, and you have no idea what’s been poured down there. These rules come from experience, and trust me, you don’t want to learn these lessons the hard way.
Rule
1: NO Chemical Drain Cleaners. Ever.
I’m serious. I will not work on a drain if a client just poured chemicals into it. That stuff is incredibly dangerous, usually made of lye or acid that can cause severe chemical burns. I once saw a colleague get a splashback from a drain full of that junk, and it meant an emergency room visit and permanent scars. On top of that, the heat it generates can soften and warp PVC pipes or eat away at older metal ones. And the worst part? If it doesn’t even clear the clog, you’re left with a pipe full of toxic sludge, making the real fix a hundred times more hazardous.
Rule
2: Gear Up.
At a bare minimum, you need two things: waterproof gloves and safety glasses. The gloves protect you from the gunk, and the glasses protect your eyes from the inevitable splash. When a stubborn clog finally gives way, water can spray in directions you’d never expect.
Rule #3: Be Smart About Boiling Water.
Everyone recommends pouring boiling water down a drain, but there’s a huge catch. This is ONLY safe if you have solid metal drainpipes. If you have plastic PVC pipes, which are common in most modern homes, boiling water is a disaster waiting to happen. It can soften the plastic and, more importantly, weaken the glued joints. I’ve seen P-traps literally deform and start leaking after this.
Heads up! Not sure what you have? It’s easy to tell. PVC is plastic and is usually white, grey, or black. Older pipes look like metal and are often painted over. If you have plastic pipes, just use hot tap water—it’s much safer.
The Pro’s Playbook: Fixing Your Clog, Step by Step
Alright, let’s get to it. We’re going to work from the easiest fix to the most involved. Do not skip steps! The goal is to solve this with the least amount of drama possible.
Step 1: The 5-Minute Fix (Stopper & Strainer Clean-Out)
Time Needed: 5-10 minutes Cost: $0
You would be shocked at how often this simple step solves the problem, especially in bathrooms. In fact, here’s a little challenge: go clean your bathroom pop-up stopper right now. It takes five minutes, costs nothing, and I guarantee you’ll be both disgusted and satisfied.
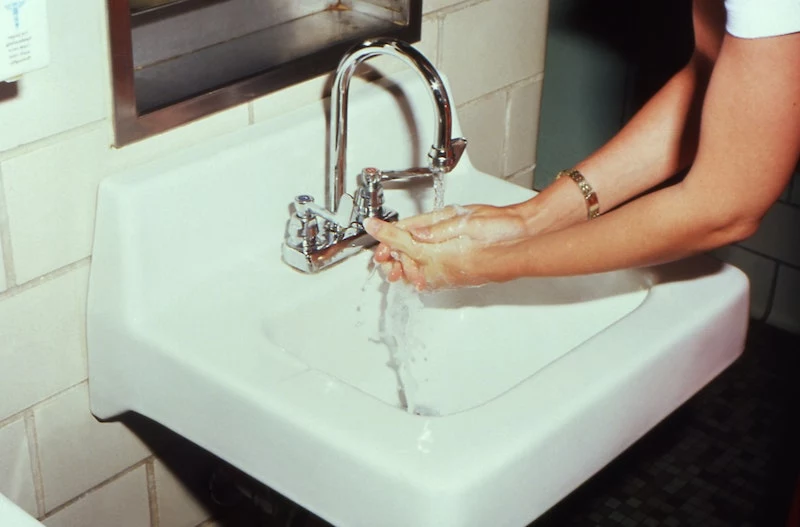
For Bathroom Sinks: Peek under the sink and find the horizontal rod that sticks into the back of the drainpipe. It’s held on by a little nut. Put a small bucket underneath, unscrew that nut, and pull the rod straight out. Now you can lift the stopper out from the top of the sink. Prepare to be grossed out by all the hair and gunk. Clean it off, then reassemble everything. Just hand-tighten the nut and give it a tiny extra nudge with pliers.
For Kitchen Sinks: Just pull the strainer basket out and peer into the drain with a flashlight. Sometimes a big piece of food or a random object (I once found a toy car) is right there for the taking.
Run hot water for a minute. If it drains like a champ, you’re done! Grab a coffee.
Step 2: Bring in the Plunger (The Right Way)
Time Needed: 10-15 minutes Tools: A flat-bottomed cup plunger ($5-$10 at any hardware store)
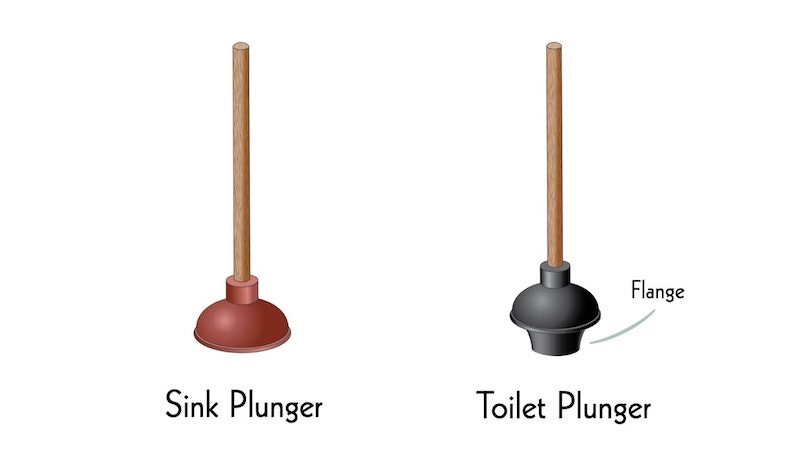
If the clog is still there, it’s time for a plunger. But technique is everything. Make sure you’re using a simple cup plunger, not the flanged kind meant for toilets.
Seal the Overflows: Every sink has an overflow hole to prevent spills. You HAVE to block this, or all your plunging pressure will just escape. Stuff a wet rag firmly into that hole. If you have a double kitchen sink, plug the other drain, too.
Add Water: A plunger needs water to work. Fill the sink with a few inches of water, enough to cover the plunger’s cup. Plunging a dry sink does absolutely nothing.
Get to Plunging: Get a good seal over the drain. The first push should be gentle to get the air out. Then, start pumping vigorously for about 20 seconds. You’re using both pressure (pushing) and suction (pulling) to jiggle the clog loose. To be frank, the pulling motion is often what does the trick.
The Moment of Truth: Quickly pull the plunger off the drain. If you were successful, the water will rush down with a satisfying whoosh. If not, give it two or three more tries before moving on.
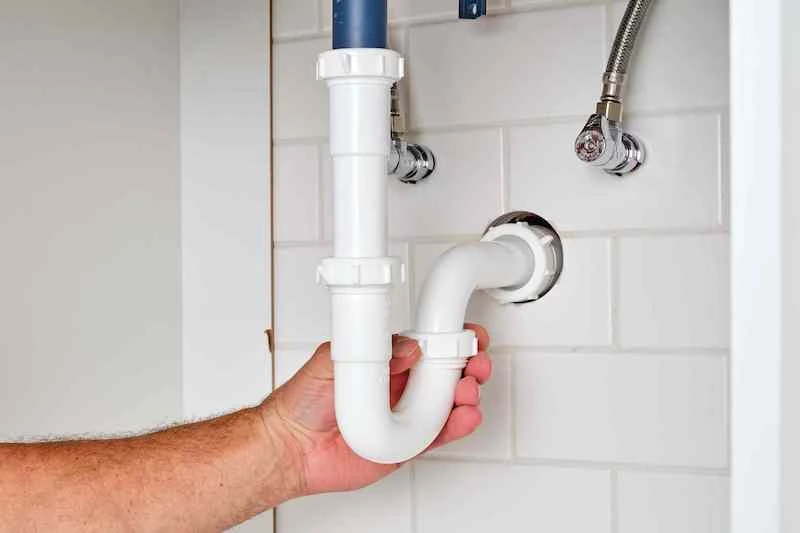
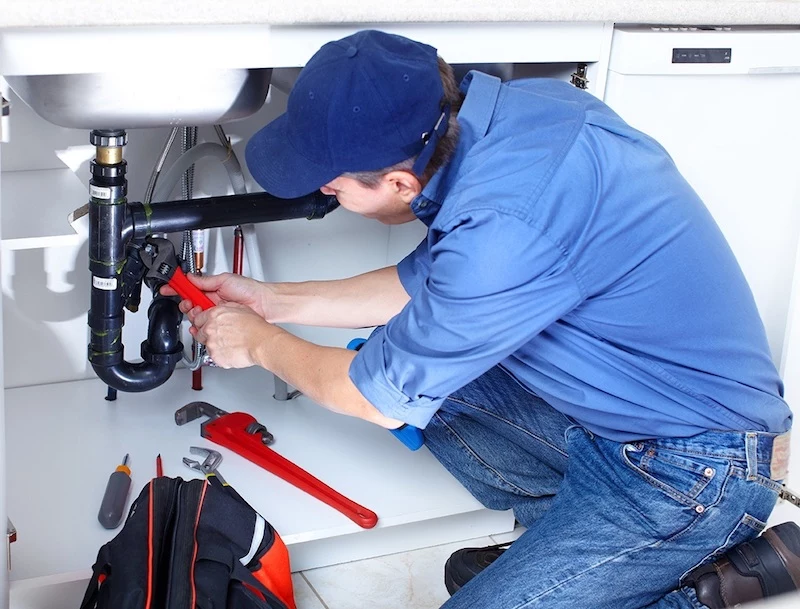
Step 3: Taking Apart the P-Trap
Time Needed: 20-30 minutes Tools: Bucket, channel-lock pliers ($15-$25 for a decent pair), gloves, rags.
If plunging didn’t work, the clog is probably solid and stuck in that U-shaped P-trap. This is the most common spot for a serious blockage. It’s a bit messy, but totally manageable.
Bucket Duty: Place a bucket or a big pan directly under the P-trap. It’s going to catch water and whatever else is in there, so don’t skip this.
Loosen the Nuts: You’ll see two large nuts holding the P-trap in place. If they’re plastic, you can often loosen them by hand. If they’re metal or just stuck, use your channel-lock pliers. Turn them counter-clockwise (righty-tighty, lefty-loosey).
Remove and Clean: Once the nuts are loose, the trap will drop down. Empty the disgusting contents into your bucket. The smell will be… memorable. That’s normal. Take the trap and clean it out thoroughly.
Pro Tip on Washers: Inside those nuts are little plastic or rubber washers. If they look cracked or warped, replace them. Most bathroom sinks use 1 1/4-inch washers and kitchen sinks use 1 1/2-inch. Just take the old one with you to Home Depot or Lowe’s to be sure—they only cost a buck or two and are critical for preventing leaks.
Quick Check: Before you put it all back together, stick a finger into the open pipe going into the wall. You might be able to pull out more gunk from there.
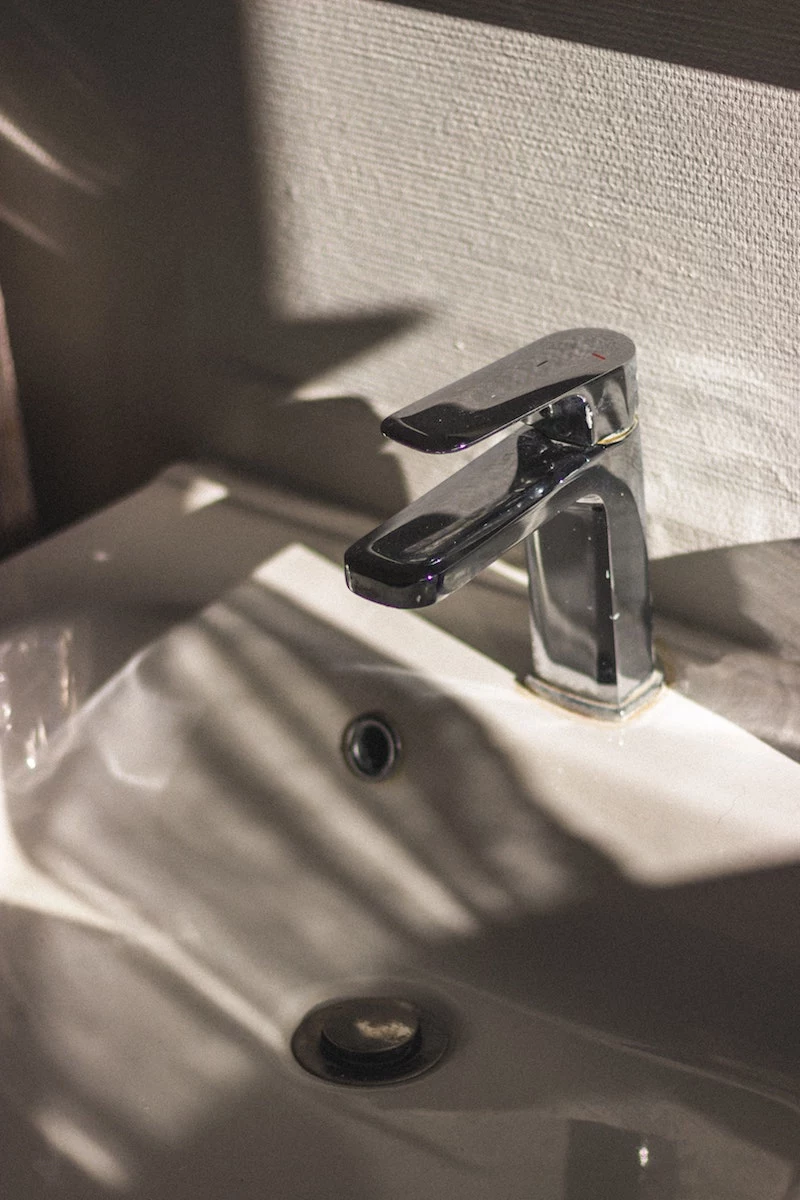
Reassemble & Test: Put the trap back, making sure the washers are seated correctly. Hand-tighten the nuts, then give them a final quarter-turn with pliers. Don’t go crazy and overtighten, or you could crack them. Lay a dry paper towel underneath and run the hot water for a full minute to check for any drips.
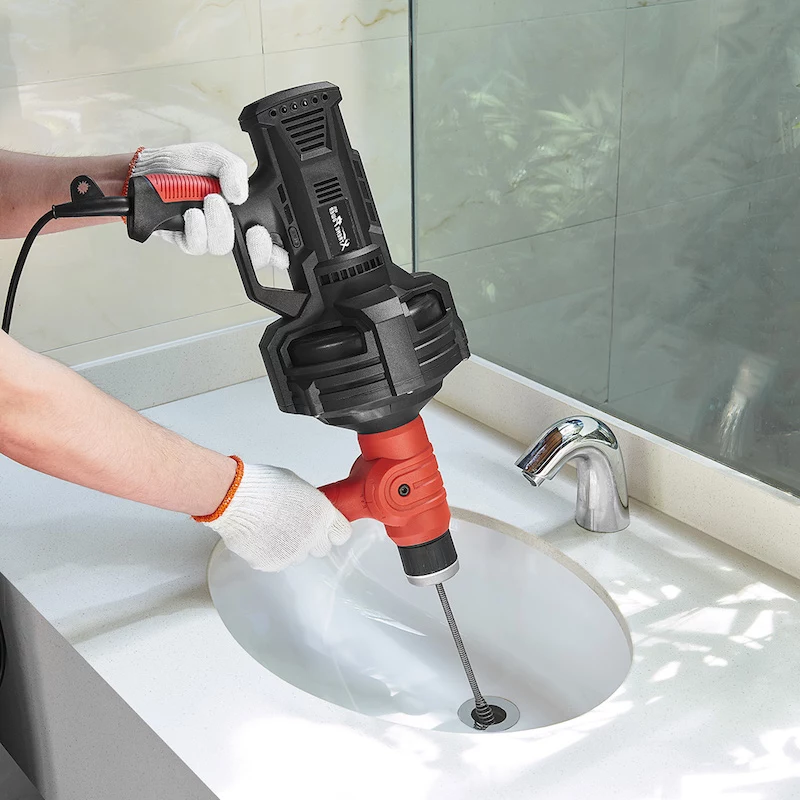
Step 4: The Final DIY Step—The Drain Auger
Time Needed: 20-40 minutes Tools: A hand auger, or drain snake. A 25-foot drum auger is a great investment for about $30-$50 and will pay for itself the first time you use it.
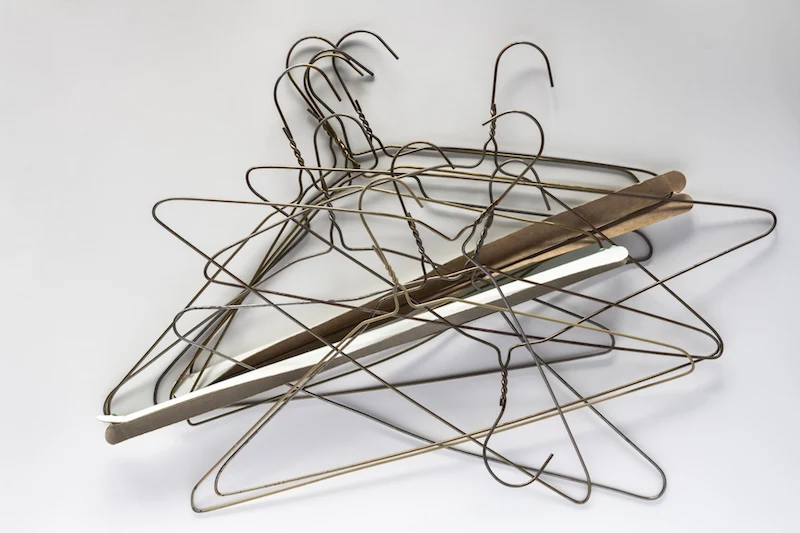
If you’ve cleaned the P-trap and it’s still clogged, the blockage is further down the line. It’s time for a drain auger. And please, do not use a wire coat hanger. I’ve had to rescue countless stuck coat hangers from pipes, which is a much bigger job.
Get Access: You’ll need to remove the P-trap again (sorry!) to feed the snake directly into the trap arm in the wall.
Feed the Snake: Push the auger cable into the pipe by hand until you feel it stop.
Engage the Clog: Pull out about six more inches of cable, then tighten the thumbscrew on the auger to lock it.
Crank and Push: Now, start turning the crank handle clockwise while applying gentle forward pressure. The corkscrew tip will either break up the clog or work its way through it. You might feel a little lurch as it breaks through.
Retrieve the Prize: Once you feel you’re through, retract the cable, cranking as you pull. You’ll likely pull back a nasty clump of whatever was causing the problem. Clean it off and repeat if necessary.
Flush It Out: Reassemble the P-trap and run hot water for several minutes to flush any remaining debris down the line.
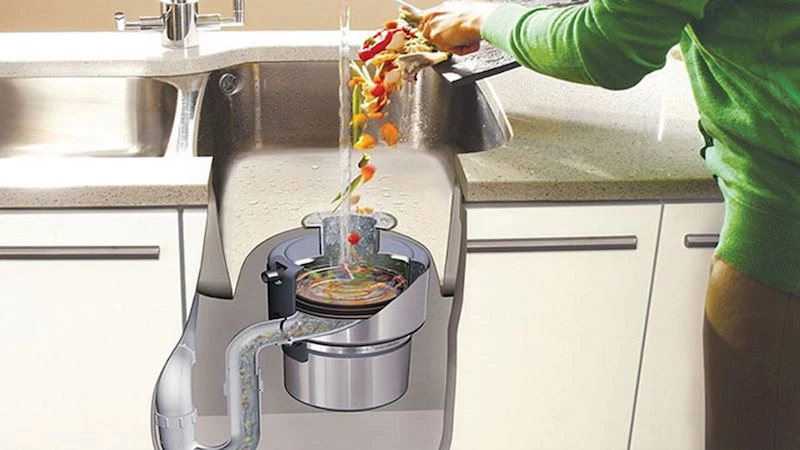
A Word on Kitchen Disposals & Old Pipes
Garbage Disposals: If your kitchen sink is clogged and you have a disposal, check it first. If it just hums, it’s jammed. If it’s silent, the reset button probably popped. First, turn off the power at the breaker panel. NEVER put your hand in the disposal. Then, find the small reset button on the bottom of the unit and press it. There should also be a small hexagonal hole on the bottom. Use an Allen wrench (usually a 1/4-inch size) to manually crank the blades back and forth to free the jam. Then you can restore power and test it.
Older Pipes: If you live in an older home, you might have cast iron or galvanized steel drainpipes. These can get corroded and brittle over time. If you’re snaking these pipes, you have to be much gentler. Being too aggressive can break off a chunk of corroded metal and cause a pipe to fail completely. If you have an old house and the clog is past the P-trap, it might be time to call in a pro.
Know When to Fold ‘Em: Calling a Plumber
There’s no shame in calling for backup. It’s time to pick up the phone if:
You’ve done all of the above and the clog won’t budge.
Multiple drains (like a sink and a toilet) are backing up at once. This points to a main sewer line clog, which is a job for heavy-duty equipment.
You hear gurgling in other drains when you run water.
You’re just not comfortable doing this yourself! A standard service call, which might run between $150 and $350, is way cheaper than fixing a flooded bathroom.
The Best Fix is Prevention
Honestly, the easiest way to deal with clogs is to not get them in the first place.
In the Kitchen: Scrape food into the trash, not the sink. Never, ever pour grease or oil down the drain—pour it into an old can, let it solidify, and toss it. Coffee grounds and eggshells are also bad news.
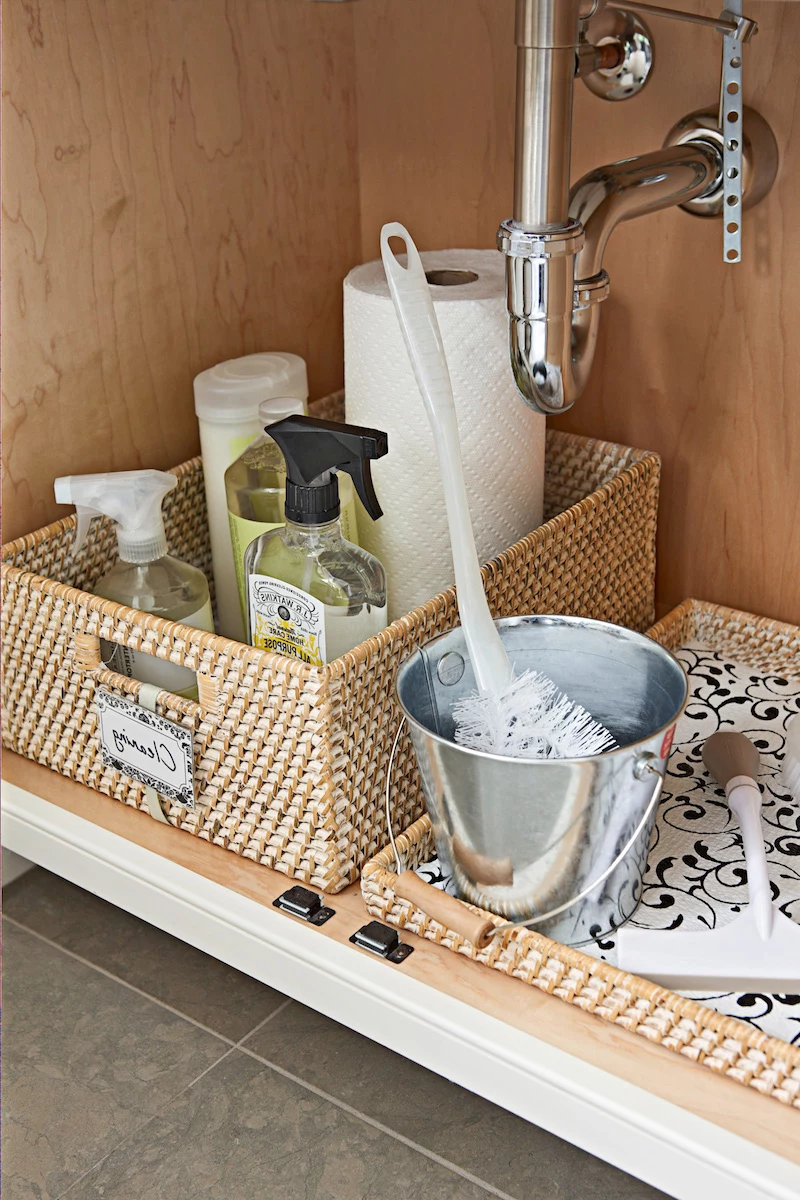
In the Bathroom: Get a mesh drain screen. It’s the single best thing you can do. They cost a few bucks online or at a hardware store and will save you so much trouble.
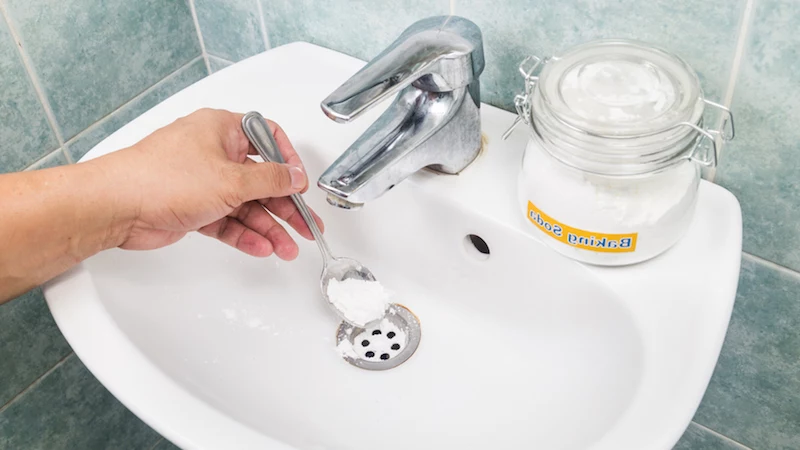
Monthly Maintenance: Once a month, flush your drains with a big pot of hot tap water followed by a squirt of dish soap. This helps dissolve greasy buildup before it becomes a problem. Oh, and that baking soda and vinegar trick? It’s a decent deodorizer, but its fizzing is way too weak to clear a real clog.
Working on your own plumbing can be really satisfying. Just work smart, stay safe, and know when the job is bigger than you are.
Inspirational Gallery
Chemical Cleaners (like Drano Max Gel): These use harsh chemicals like sodium hydroxide to rapidly dissolve hair and soap scum. They’re a fast fix but can be tough on older metal pipes and are not ideal for septic systems.
Enzymatic Cleaners (like Bio-Clean): These use natural bacteria and enzymes to slowly consume organic waste. They’re safer for all types of plumbing and the environment, making them perfect for maintenance, though less effective for immediate, total blockages.
For an emergency, chemicals can work. For long-term pipe health, go enzymatic.
Grease and fat are responsible for an estimated 47% of all sewer blockages in the United States.
That liquid bacon grease you pour down the drain might seem harmless, but as it cools it solidifies into a sticky wax. This traps other food particles and debris, creating stubborn clogs deep within your pipes. Always pour cooled grease into a container and throw it in the trash. It’s the single best thing you can do for your kitchen drain.
My drain is just running slow, not completely blocked. What’s the first move?
Before you take anything apart, try the hot water flush. Slowly pour a kettle of boiling water down the drain to melt any initial grease buildup. Follow it with a generous squirt of a strong dish soap like Dawn, which is designed to cut through grease, and then flush with more hot water. This often clears minor slowdowns without any tools.
To prevent the next clog, treat your sink less like a trash can. Absolutely never put these items down the drain:
Coffee grounds
Fats, cooking oil, or grease
Eggshells
Pasta, rice, or other expandable foods
Fibrous fruit and vegetable peels
The Hand-Tight Rule: When you’re reassembling the P-trap after cleaning it, resist the urge to grab a wrench for those plastic slip nuts. They are designed to be sealed by hand. Using a tool is the fastest way to crack the nut or the pipe, turning a simple clog into a leak. Tighten them firmly by hand, and that’s it. It’s all you need.
Eliminates those unpleasant, musty odors from your sink.
Prevents slow drains from escalating into complete stoppages.
The secret? A simple monthly maintenance routine. Just pour a cup of baking soda followed by a cup of white vinegar down the drain. Let it fizz and work its magic for about 15 minutes, then flush thoroughly with very hot water. It’s the cheapest plumbing insurance you can get.
Knowing when to quit is a skill. If you’ve cleaned the P-trap and a 25-foot drain auger doesn’t clear the clog, it’s time to call a professional. This likely means the blockage is further down in the main branch line. Other red flags that demand a pro’s help are water backing up in other drains (like the shower when a sink drains) or gurgling sounds from the toilet. These are symptoms of a larger system problem that a simple snake can’t fix.
John combines 12 years of experience in event planning, interior styling, and lifestyle curation. With a degree in Visual Arts from California Institute of the Arts and certifications in event design, he has styled luxury weddings, corporate events, and celebrity celebrations. John believes in creating memorable experiences through innovative design and attention to detail.
To provide the best experiences, we use technologies like cookies to store and/or access device information. Consenting to these technologies will allow us to process data such as browsing behavior or unique IDs on this site. Not consenting or withdrawing consent, may adversely affect certain features and functions.
Functional
Always active
The technical storage or access is strictly necessary for the legitimate purpose of enabling the use of a specific service explicitly requested by the subscriber or user, or for the sole purpose of carrying out the transmission of a communication over an electronic communications network.
Preferences
The technical storage or access is necessary for the legitimate purpose of storing preferences that are not requested by the subscriber or user.
Statistics
The technical storage or access that is used exclusively for statistical purposes.The technical storage or access that is used exclusively for anonymous statistical purposes. Without a subpoena, voluntary compliance on the part of your Internet Service Provider, or additional records from a third party, information stored or retrieved for this purpose alone cannot usually be used to identify you.
Marketing
The technical storage or access is required to create user profiles to send advertising, or to track the user on a website or across several websites for similar marketing purposes.