Your Buried Water Tank: An Insider’s Guide to Keeping It Clean & Safe
I’ve spent the better part of my career crawling around properties, siting new water tanks, and peering into old ones. Honestly, I’ve seen it all. I’ve come across sturdy old concrete tanks from decades ago that were still in amazing shape, and I’ve also had to replace brand-new plastic tanks that failed in under a year. The difference almost always boils down to one thing: proper care.
In this article
- First, Why Bother? Understanding What Your Tank is Up Against
- The Professional’s Inspection Routine
- The Full Clean-Out: How the Pros Do It
- Let’s Talk Tank Materials
- Water Quality, Testing, and Your Final Defense A clean tank is the foundation, but testing and filtration are what guarantee your water is safe to drink. Test Your Water, Don’t Just Look at It Clear water isn’t always safe water. I can’t stress this enough. I strongly recommend anyone with a private water system get a water test from a certified lab annually. It’s not expensive—a basic potability test usually runs between $100 and $150—and the peace of mind is priceless. You can find a lab by searching online for “EPA certified water testing lab near me.” A good test should check for, at a minimum: Coliform bacteria/E. coli, nitrates, pH, and total dissolved solids (TDS). Choosing the Right Filters A good filtration system is your last line of defense. I consider it essential. Sediment Filter: This is stage one, catching sand and silt. Carbon Filter: This is for taste and odor, removing chlorine and other chemicals. UV Sterilizer: For me, this is non-negotiable for drinking water. A UV light unit zaps any bacteria or viruses that might have slipped through, without adding chemicals. It’s your ultimate safety net. A good residential UV system can cost between $400 and $800, but it’s a worthy investment. And remember, filters need to be changed! Use a Sharpie to write the installation date right on the filter housing so you don’t forget. Know Your Limits: When to Call for Help
- A Final Word
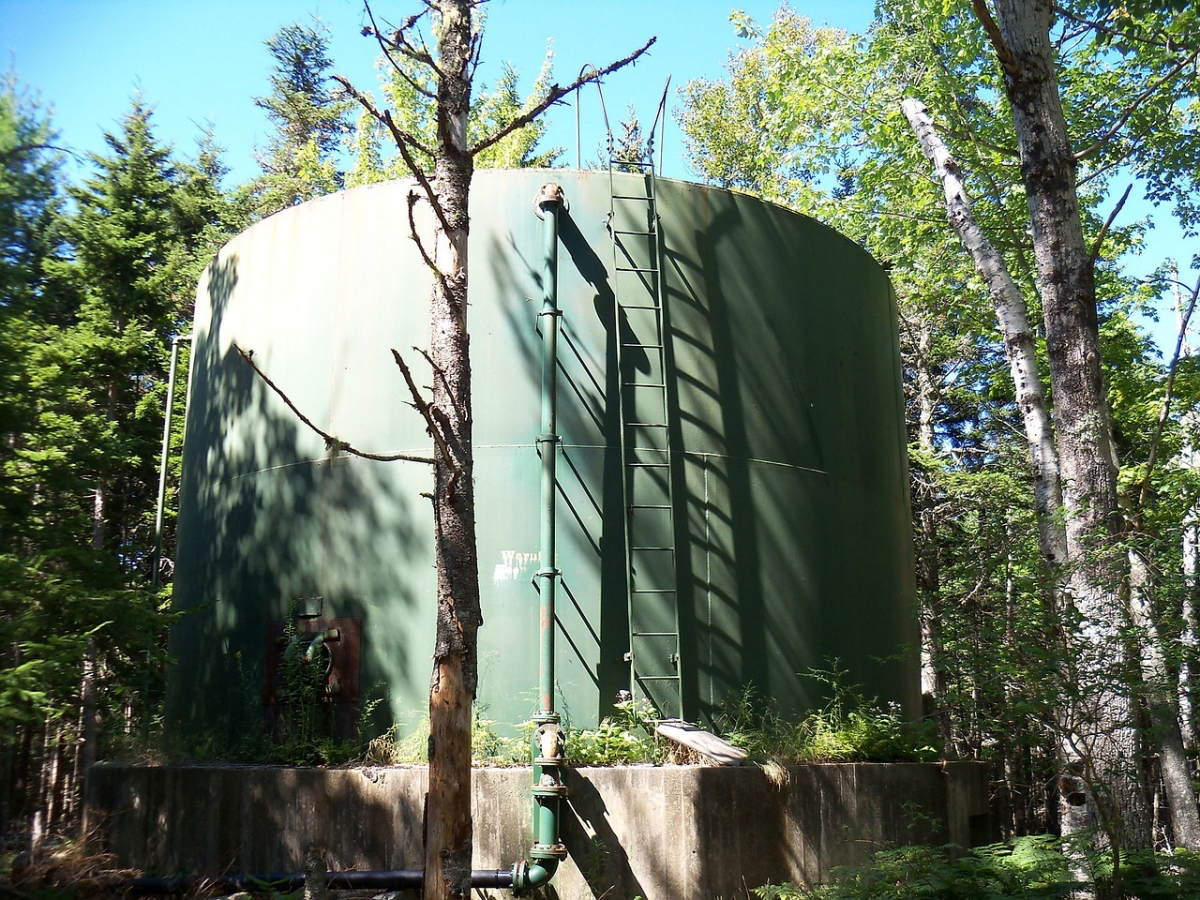
Your underground water tank is so much more than a big container buried in the yard. It’s the heart of your water independence, whether you’re catching rain or pulling from a well. Keeping it in good shape isn’t just about making sure the water tastes fine; it’s about protecting a major investment and, more importantly, the health of your family. Neglect can lead to some seriously expensive headaches, like structural failure, or even water contamination that can make people sick.
So, think of this as my brain dump of everything I’ve learned in the field. This isn’t a list of generic tips you can find anywhere. We’re going to get into the nitty-gritty of professional-level maintenance—the inspection routines, the right way to clean and sanitize, and the critical safety rules you absolutely cannot bend.
First, Why Bother? Understanding What Your Tank is Up Against
To take care of your tank, you first need to respect the forces working against it 24/7. An underground tank is in a constant, slow-motion battle with the ground it lives in. Knowing a little bit about the science here makes it crystal clear why some of these maintenance steps are non-negotiable.
The Invisible Giant Crushing Your Tank
The number one thing to understand is hydrostatic pressure. That’s just a fancy term for the pressure of groundwater in the soil pushing in on your tank from all sides. When your tank is full, the water inside pushes out, creating a nice balance. But what happens when you drain it to clean it?
If the ground is soaked from a week of heavy rain, that external pressure can be huge. For a lighter polyethylene or fiberglass tank, it can be enough to literally crush the sides or—and I’ve seen this happen—pop the empty tank right out of the ground like a bottle cork. I once consulted on a job where a homeowner drained his 1,500-gallon plastic tank during the wet season. The next morning, it was sitting three feet higher than it should have been, having snapped all its pipes. It was a complete write-off. This is exactly why the pros always schedule a tank cleaning during a dry spell.
How the Bad Stuff Sneaks In
Even a sealed tank has weak points. Contaminants are sneaky, and knowing their favorite entry points is half the battle.
- The Lid & Riser: This is, without a doubt, the most common culprit. A cracked lid or a bad seal is an open invitation for dirt, insects, and runoff. I once opened a tank to find a thick sludge of decomposed leaves and a poor frog’s skeleton at the bottom. The reason? The owner had used a piece of plywood as a “temporary” lid for months. Your access lid needs to be bolted down with a high-quality, intact gasket. No exceptions.
- Pipe Seals: Every spot where a pipe enters or exits the tank is a potential leak point. Over time, the rubber gaskets or sealant can get brittle and fail, allowing groundwater to seep in.
- Cracks in the Tank: Concrete tanks, as tough as they are, can get hairline cracks as the ground settles. Even a tiny fissure is a highway for bacteria. Plastic and fiberglass can also crack if they were installed improperly with stress points.
- Backflow: If the plumbing isn’t set up right, it’s possible for water from your irrigation system or another source to flow backward into your pristine tank. This is why check valves are absolutely critical.

The Slime and Sludge Living Inside
Look inside a neglected tank, and you’ll find two main unwanted guests: sediment and biofilm. Sediment is the layer of dirt, silt, or minerals at the bottom. It’s not just harmless grit; it’s a five-star hotel for bacteria, keeping them safe from any disinfectants in the water.
Biofilm is that slick, slimy coating on the tank walls. And it’s not just algae. It’s a complex, fortress-like community of bacteria that have glued themselves to the surface. This slimy matrix is incredibly tough and resistant to chlorine. You can’t just dump in some bleach and call it a day; you have to physically scrub that stuff off the walls.
The Professional’s Inspection Routine
Regular check-ups are the best way to catch small issues before they become wallet-emptying disasters. I recommend a quick walk-around every few months and a more detailed look once a year.
The 10-Minute Quarterly Check
Once a season, just take a quick stroll around your tank area. You’re just looking for anything that’s changed.
- The Ground: Is the soil sinking over the tank? That could signal a leak that’s washing away the dirt supporting it. Do you see any soggy spots or patches of unusually green grass, especially when it’s been dry?
- The Access Point: Look at the riser and lid. Are there cracks in the concrete collar? Is the lid itself damaged? Are the bolts tight? Check for roots from nearby plants trying to creep in.
- Visible Plumbing: Eyeball any pipes and connections you can see. Look for drips, rust, or any signs of wear and tear.
The Annual Peek Inside
Once a year, it’s time to open the hatch and see what’s going on in there. This is when you’ll decide if it’s time for a full clean-out.
Heads up! A CRITICAL SAFETY WARNING: Never, ever, under any circumstances, stick your head or body inside an underground tank. They are classified as confined spaces for a reason. Oxygen can be low, and decomposing gunk can release toxic gases like hydrogen sulfide (which smells like rotten eggs, but can deaden your sense of smell quickly). Professional crews use gas monitors and follow strict safety rules. For you, the rule is simple: STAY OUT. Use a powerful flashlight or a waterproof camera on a pole to do your inspection from the safety of the surface.

Here’s what you’re looking for:
- Water Quality: Does the water look clear, or is it cloudy? Any oily film on the surface? Give it a sniff from the hatch. Any earthy, rotten, or chemical smells are a red flag.
- Sediment Check: Shine your light toward the bottom. A tiny dusting of sediment is normal, but if you see an inch or more of sludge built up, it’s time to schedule a cleaning.
- Wall Condition: Scan the walls. In a concrete tank, look for dark lines that could be cracks. In a plastic or fiberglass one, look for any discoloration, blisters, or fine, spiderweb-like cracks.
- The Leak Test: This is the best way to find a slow leak. If possible, shut off the inlet and outlet to isolate the tank. Fill it to a specific point and make a clear mark. Leave it sealed for 24 hours. If the water level has dropped more than a quarter-inch, you’ve got a leak that needs attention.
Your 5-Minute Win: To be frank, if you do nothing else, go check your tank lid right now. Is it bolted down tight? Is the gasket intact? Just clearing debris off the lid and making sure it’s sealed is the single best thing you can do—it prevents probably 80% of common contamination issues.
The Full Clean-Out: How the Pros Do It
A full cleaning is a big job. I often suggest people hire a pro for the first time just to watch the process. But if you’re a confident DIYer, here’s the step-by-step method. Expect this to be a full-day job for a standard 1,500-gallon tank, maybe stretching over a weekend to allow for proper sanitizing time.
But wait, what do we do for water? This is a huge, practical question! If your tank will be offline for 24 hours, you need a plan. The easiest solution is to buy a few 5-gallon jugs of drinking water from the store for cooking and drinking. For flushing toilets, you can fill up a few buckets (or even your bathtub) before you start draining the tank.
Step 1: Planning, Timing, and Shopping
- Check the Forecast: As we discussed, timing is everything. Plan the job for a dry week when the ground isn’t saturated.
- Get Your Gear: You’ll need to either own or rent some equipment. Here’s a typical shopping list:
- Submersible pump to drain the tank (around $100-$150 to buy)
- Pressure washer (renting one costs about $50-$75 a day; a 1500-2000 PSI model is perfect)
- Long-handled, soft-bristle brushes
- A good wet/dry shop vacuum
- Safety gear: goggles, waterproof gloves, rubber boots
- Sanitizer: Get regular, unscented household bleach. Make sure it has an NSF/ANSI 60 certification on the label—this means it’s approved for drinking water systems. A gallon costs around $5.
Step 2: Draining the Tank
Drop your submersible pump to the bottom and run the discharge hose to a safe spot. Quick tip: Pump this initial water onto a gravel area or a dry patch of your yard, far away from wells, streams, or storm drains. You can’t legally or ethically dump chlorinated water (from the final rinse) into waterways, so plan your drainage path now.
Step 3: The Scrub-Down
Once the tank is empty, it’s time to get cleaning. Start at the top of the walls with the pressure washer and work your way down. Use a 25-degree fan tip—don’t use the pinpoint zero-degree tip, as it’s strong enough to damage the surface. The goal is to blast off all the visible slime. After the power wash, get in there with the long-handled brushes and manually scrub everything. This is the step most people skip, but it’s crucial for breaking up that invisible biofilm.
Step 4: Rinse and Sanitize
Rinse all the gunk you just scrubbed off down to the floor. Use the wet/dry vac to suck out the last of the dirty water and debris. The tank should look spotless.
Now, for the sanitizing. The standard is a 200 parts per million (ppm) chlorine solution. A good rule of thumb is to mix about a quarter cup of 8% bleach with 5 gallons of clean water. Use a garden sprayer to coat every single interior surface—walls, floor, and ceiling. Don’t be shy with it.
The magic ingredient here is contact time. Close the lid and let that chlorine solution sit and work for at least six hours. I personally prefer to let it sit overnight to be absolutely sure everything is sanitized.
Step 5: Final Rinse and Refill
After the wait, you have to rinse all that chlorine out. If you don’t, your house water will be like a swimming pool. I do at least two full rinses with clean water, pumping the tank completely dry each time. Before you reconnect everything, refill the tank and use a simple pool test strip to check the free chlorine level. It should be close to zero. If it’s still high, you might need to drain and refill a portion of the tank one more time to dilute it.
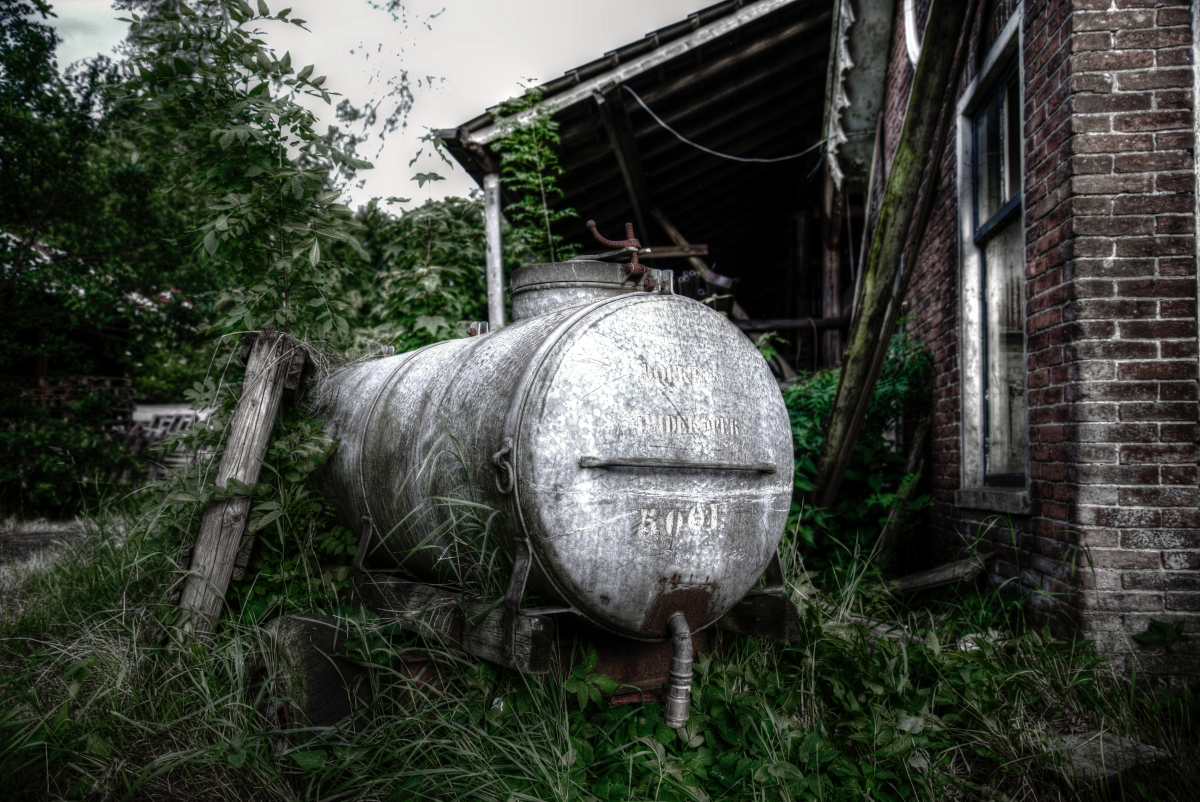
Let’s Talk Tank Materials
The type of tank you have changes the game a little. What works for one might not be best for another.
Concrete: These are the classic, heavy-duty tanks. They’re incredibly durable and can last for generations if they are well-made. The downside? Concrete is porous and can leach lime into the water, which raises the pH, especially when the tank is new. They can also develop cracks over time. A professional repair usually involves applying a fresh, waterproof cement or epoxy coating on the inside, which is not a simple DIY job.
Polyethylene (Plastic): These are the most common choice today. They’re relatively cheap, lightweight, and won’t rust. Their main weakness is structural; they really depend on the surrounding soil and the water inside for their shape and strength. As we covered, they are the most vulnerable to being crushed by groundwater pressure when empty. They are a great, affordable option for stable, well-drained soil.
Fiberglass: Think of these as a premium upgrade from plastic. They are much stronger and more rigid, so they resist ground pressure better. They won’t corrode and are less likely to be crushed when empty. They do cost more upfront, but their strength makes them a great choice for areas with shifting soil or high water tables. Their biggest enemy is improper installation that creates stress points, which can eventually lead to cracks.
Water Quality, Testing, and Your Final Defense
A clean tank is the foundation, but testing and filtration are what guarantee your water is safe to drink.
Test Your Water, Don’t Just Look at It
Clear water isn’t always safe water. I can’t stress this enough. I strongly recommend anyone with a private water system get a water test from a certified lab annually. It’s not expensive—a basic potability test usually runs between $100 and $150—and the peace of mind is priceless. You can find a lab by searching online for “EPA certified water testing lab near me.” A good test should check for, at a minimum: Coliform bacteria/E. coli, nitrates, pH, and total dissolved solids (TDS).
Choosing the Right Filters
A good filtration system is your last line of defense. I consider it essential.
- Sediment Filter: This is stage one, catching sand and silt.
- Carbon Filter: This is for taste and odor, removing chlorine and other chemicals.
- UV Sterilizer: For me, this is non-negotiable for drinking water. A UV light unit zaps any bacteria or viruses that might have slipped through, without adding chemicals. It’s your ultimate safety net. A good residential UV system can cost between $400 and $800, but it’s a worthy investment.
And remember, filters need to be changed! Use a Sharpie to write the installation date right on the filter housing so you don’t forget.
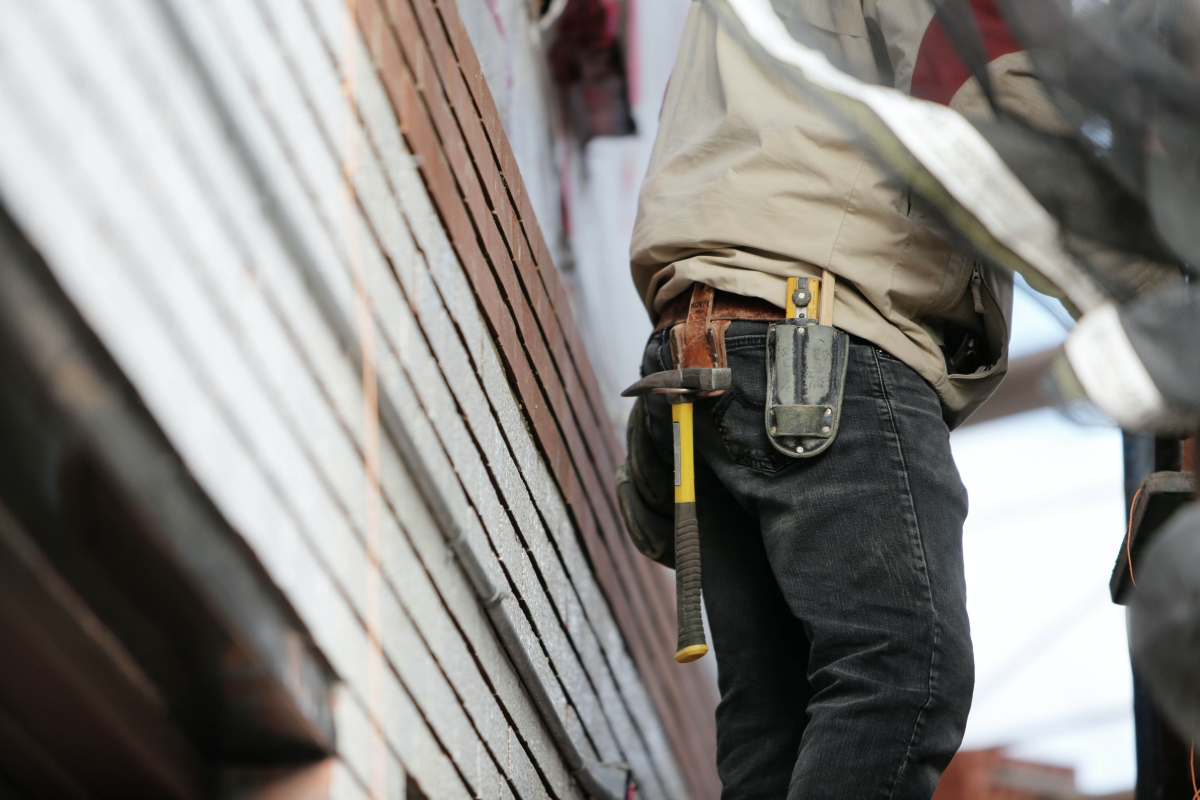
Know Your Limits: When to Call for Help
Some jobs are great for a weekend warrior. Others are absolutely not. Trying to save a few bucks can end in a disaster that costs thousands.
Good DIY Tasks:
- The quarterly walk-around and visual checks.
- Changing out simple screw-on water filters.
- Performing the 24-hour static leak test.
Call a Pro, No Questions Asked:
A professional cleaning service might cost anywhere from $400 to $900, depending on the tank size and how dirty it is. When you get a quote, you’re not just paying for the cleaning; you’re paying for their expertise and safety.
- Suspected Structural Damage: If you see a big crack or a bulge in the tank wall, call someone. Patches require specialized materials to hold up under pressure.
- Entering the Tank: I’ll say it one last time. If a task requires a person to go inside the tank, you MUST hire a certified crew. It’s not worth risking your life.
- Electrical or Pump Work: A submersible pump is a high-voltage device in a wet hole. This is a job for a pro.
By the way, when you’re looking to hire someone, ask them these questions: “Are you fully insured?” and “Are you and your crew certified for confined space entry?” If they hesitate on either of those, find someone else.
A Final Word
Your buried water tank is a fantastic asset that gives you security and control over your water. It’s a responsibility, for sure, but with the right knowledge, it’s a completely manageable one. A little bit of consistent attention will keep your system running safely for decades to come. Take care of your tank, and it will definitely take care of you.


