Your House Needs a Winter Coat, Too: A No-Nonsense Guide to Getting Ready for the Cold
For as long as I can remember, I’ve been helping folks batten down the hatches for winter. I got my start in property management, learning from seasoned pros who really understood how a house breathes and shifts with the weather. Now, I find myself teaching the same lessons to new homeowners. And the biggest lesson is this: getting your home ready for fall isn’t just about cozy sweaters and pumpkin spice. It’s about protecting your single biggest investment from the brutal reality of winter.
In this article
So many people think of fall prep as just another chore list. Dust the shelves, put away the flip-flops. But honestly, the work that really saves you from a world of hurt—and a ton of money—happens on the outside of your house and deep in its mechanical guts. A burst pipe in the dead of night or an ice dam ripping your gutter right off the roof is a harsh, expensive way to learn. I’ve seen the aftermath, and trust me, you don’t want to.
This guide is built from those real-world experiences. We’re going beyond a simple checklist to get into the nitty-gritty techniques that make a real difference, whether your house is brand new or has seen a few decades.
Your Home’s Exterior: The First Line of Defense
Before you even think about the inside, you have to button up the outside of your home. Winter’s main weapons are water and cold, and every tiny gap is an open invitation for them to come in and cause chaos. I always start my fall jobs outside, no matter what. It’s that important.
Gutter and Downspout Duty
Let’s be real, nobody enjoys cleaning gutters. But they are your absolute best defense against water wrecking your roof, siding, and even your foundation. When they get clogged with fall leaves, water has nowhere to go. It backs up, freezes, and creates massive blocks of ice called ice dams. I once had a client who ignored his gutters for a couple of seasons. The ice dam that formed literally pushed water back up under his roof shingles, destroying the attic insulation and causing the ceiling in his bedroom to collapse. A totally avoidable, five-figure repair.

What You’ll Need: A sturdy ladder, heavy-duty gloves, a bucket, and a garden hose. A plastic gutter scoop is a great $10 tool that makes the job way easier. Plan on this taking a couple of hours on a weekend morning.
- Safety, Seriously: If you’re not 100% comfortable on a ladder, please don’t do this. A professional gutter cleaning typically costs between $150 and $350, depending on the size of your house. That’s a tiny fraction of an ER bill. If you do it yourself, make sure your ladder is on stable ground and always keep three points of contact (two feet and a hand, or two hands and a foot).
- The Process: Start clearing debris at a downspout and work your way away from it. This keeps you from jamming everything into the drain. Scoop all that gunk into a bucket—don’t just toss it onto your lawn, as it can smother the grass and clog storm drains.
- Flush it Out: Once the big stuff is gone, use a garden hose with a spray nozzle to flush everything clean. If the water backs up at the downspout, you’ve got a clog. A plumber’s snake can usually break it loose. You want to see water flowing freely out the bottom.
- Quick Inspection: While you’re up there, take a look around. Are the gutters sagging? Are there any visible rust spots, holes, or seams pulling apart? These are easy fixes now but will become big leaks later. Also, check that your downspouts empty at least three to five feet away from your foundation. If not, you can grab some simple extensions at any hardware store.
Securing Your Water Lines
One of the most common—and most destructive—winter disasters is a pipe bursting from a forgotten garden hose. When water freezes, it expands with incredible force, easily splitting copper or PVC pipe. I’ve seen this lead to basement floods that go unnoticed for days, causing thousands in damage.
Heads up! This is a five-minute task that can save you a fortune.
- Step 1: Disconnect Everything. Take off all garden hoses, splitters, and fancy watering timers from every single outdoor faucet. Drain the hoses before you store them so they don’t crack in the cold.
- Step 2: Find the Shut-off Valve. For each outdoor faucet, there should be a shut-off valve inside your house—usually in the basement, a crawl space, or a utility closet. It will have a small, oval-shaped handle or a little lever.
- Step 3: Turn It Off and Drain. Turn that interior valve clockwise to shut it off completely. Then, go back outside and turn the faucet handle to the ‘on’ position. A little bit of trapped water will drain out. Just leave the outdoor faucet open all winter. This gives any remaining water droplets room to expand if they freeze, preventing a pipe burst.
- What if you can’t find a shut-off valve? Don’t panic. Many older homes don’t have them. Head to Home Depot or Lowe’s and buy a hard foam faucet cover for about $5. It’s not a perfect solution, but it provides a good layer of insulation and is way better than doing nothing.

Checking Windows, Doors, and Siding
Tiny air leaks are like little holes in your wallet, letting all that expensive heat you’re paying for escape. A quarter-inch gap under your front door can leak as much cold air as leaving a small window wide open.
What You’ll Need: A caulk gun (about $10), a tube or two of exterior caulk ($8 each), and maybe a roll of foam weatherstripping ($15).
- The Pro Leak Test: Here’s a trick I teach all the new techs. On a cool, windy day, light an incense stick and hold it near the edges of your windows and doors. If the smoke wavers or gets blown into the room, you’ve found a leak. No incense? No problem. Just wet your hand and run it along the frames; you’ll feel the cold air instantly.
- Seal Those Gaps: For gaps around window and door frames, you want a good “siliconized acrylic latex caulk” for exterior use. It’s flexible, handles the weather, and cleans up with water. For gaps under doors, install a new door sweep or replace the worn-out weatherstripping. Modern peel-and-stick foam tape is incredibly easy to use.
- Walk the Perimeter: Take a slow walk around your house. Look for any cracks in the foundation, gaps in the siding, or cracked mortar in the brickwork. Sealing these now stops water from getting in, freezing, and turning a small crack into a huge one.

Interior Systems: The Heart and Lungs of Your Home
Okay, with the outside all sealed up, it’s time to head inside. Your furnace is about to go from zero to sixty, and ignoring it is a bad idea. A little preventative maintenance is key for safety and efficiency.
Furnace Prep
Your heating system has been snoozing all summer. It needs a little TLC before it starts its winter marathon.
- Change the Filter. Period. This is the easiest and most important thing you can do. A clogged filter chokes your furnace, making it work harder, waste energy, and even overheat. I tell my clients to change it every 90 days, but it’s smart to check it monthly when the heat is running constantly.
- A Quick Word on MERV: Filters have a MERV (Minimum Efficiency Reporting Value) rating. A higher number means it traps smaller particles. But be careful—a super-high-rated filter (like MERV 13+) can be too restrictive for some home systems, kind of like trying to breathe through a coffee filter. For most houses, a MERV 8 to 11 filter is the sweet spot between clean air and good airflow.
- Call in the Pros: I strongly advise getting your furnace professionally serviced every single fall, especially if it runs on gas or oil. This is not a DIY job. A certified tech will clean the burners, check for cracks in the heat exchanger (which can leak deadly carbon monoxide), and test all the safety controls. A service call will likely run you between $80 and $200. Think of it as cheap insurance for your family’s safety.
- Give it Space: Make sure the area around your furnace and water heater is totally clear. Never, ever store flammable things like paint, gasoline, or cleaning supplies nearby. A 30-inch clearance is the standard rule.

Fireplace and Chimney Safety
A roaring fire is one of winter’s great joys, but a dirty chimney is one of its biggest hazards.
- Hire a Certified Chimney Sweep: This is non-negotiable. A professional chimney sweep costs between $150 and $400, depending on your location and how dirty things are. That might sound like a lot, but it’s nothing compared to the cost of a house fire. A pro will do a thorough inspection of the chimney structure, liner, and firebox while cleaning out the dangerous gunk.
- The Danger of Creosote: When you burn wood, it leaves behind a flammable, tar-like residue called creosote. As it builds up, it can easily catch fire, creating a blaze inside your chimney that can spread to the rest of your house.
- Burn the Right Wood: Only burn seasoned (dry) hardwood. Wood should be properly stacked and dried for at least six months to a year before you burn it. Green, wet wood creates way more smoke and creosote.

Smoke and Carbon Monoxide Detectors
With the house sealed up and the heat on, the risk of fire and carbon monoxide (CO) poisoning goes way up. I once got a call from a family that was feeling mysteriously sick. Turns out, the battery in their CO detector was dead, and their furnace had a cracked heat exchanger leaking the odorless, deadly gas into their home. They got incredibly lucky.
- Test, Test, Test: Push the test button on every single smoke and CO detector in your house. If you don’t hear a piercing alarm, change the batteries right away.
- Annual Battery Swap: Just make it a fall ritual. When you turn your clocks back, change the batteries in all your detectors. It costs a few bucks and takes minutes.
- Check the Expiration Date: These devices don’t last forever. Most need to be replaced every 7-10 years. The date of manufacture is printed on the back. If it’s expired, its sensors aren’t reliable anymore. Get a new one.

Deep Cleaning for a Cozy, Healthy Winter
Once the house is safe and sealed, the final step is a good deep cleaning. This is all about getting rid of the dust, pollen, and allergens that have built up, so you can breathe easy during the months you’ll be spending inside.
Tackle the Textiles
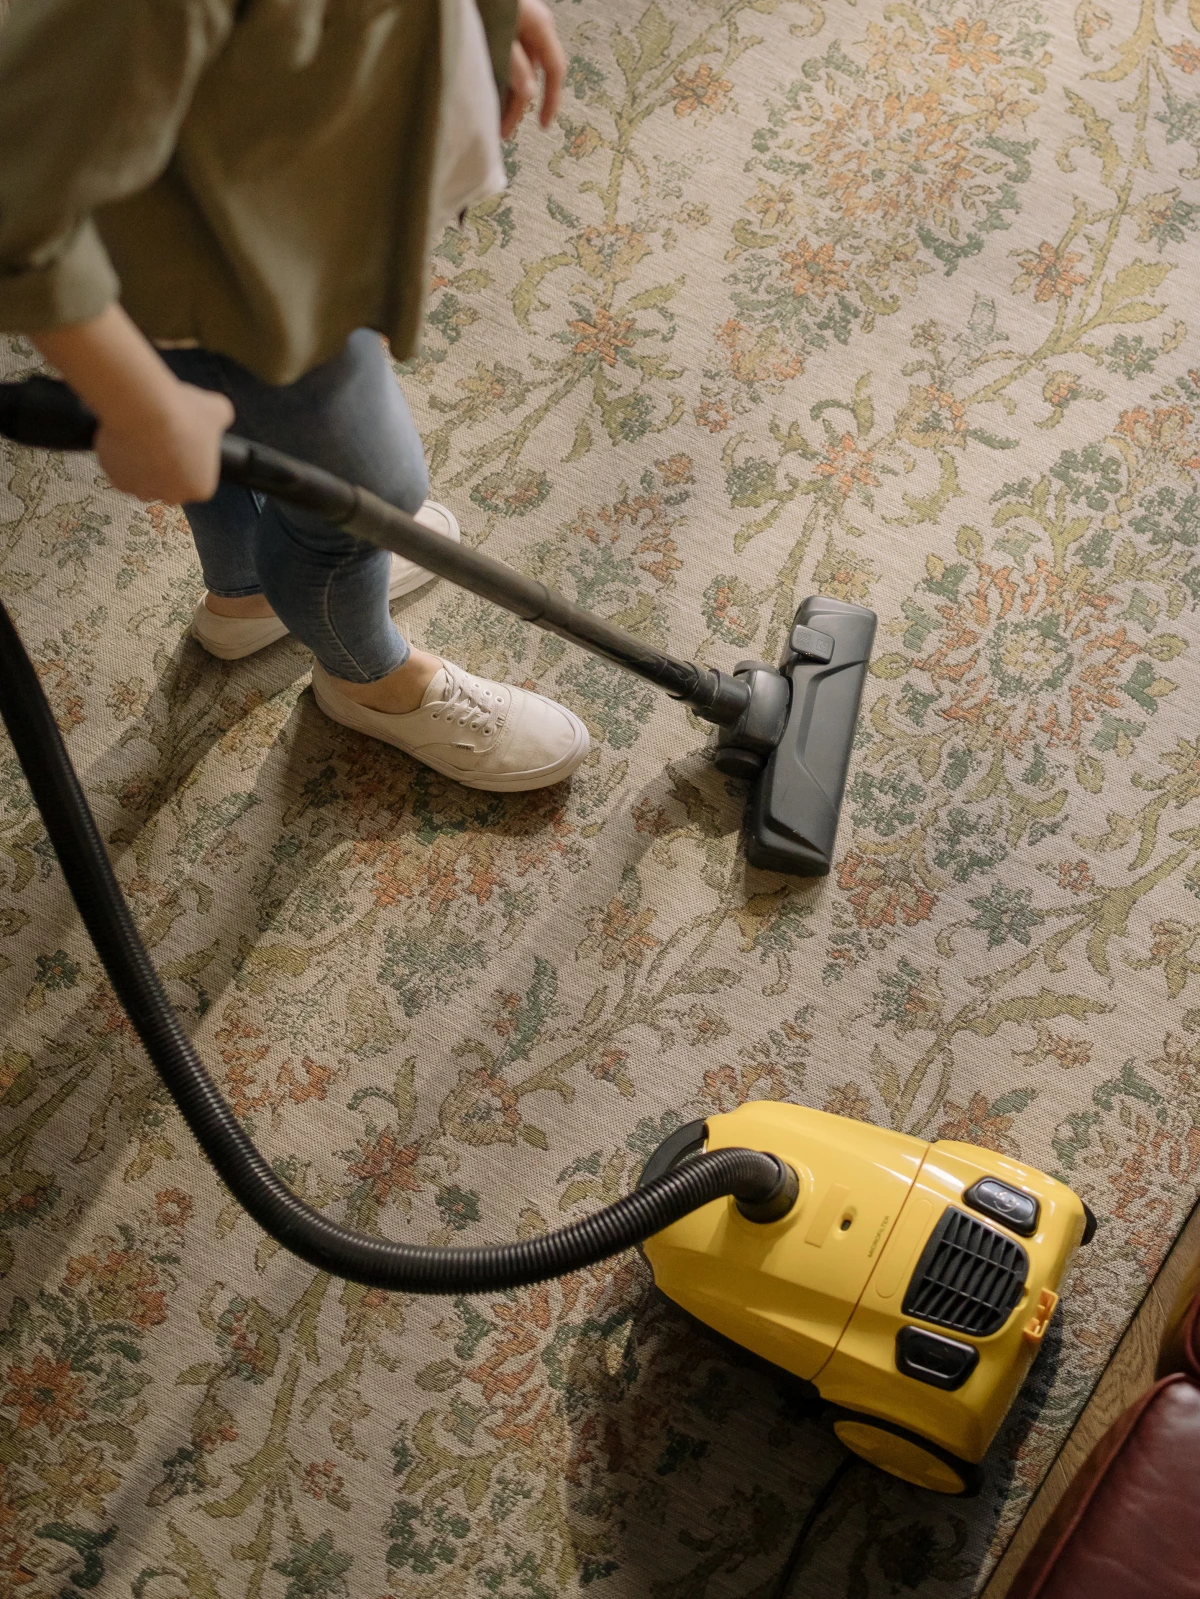
Your carpets, furniture, and curtains are basically giant air filters, trapping all sorts of gunk. A fall cleaning does wonders for your indoor air quality.
- Carpets and Rugs: I recommend a professional hot water extraction (steam cleaning) once a year. The rental machines from the grocery store are okay in a pinch, but they often leave behind soapy water that just attracts more dirt.
- Upholstery and Curtains: Check the cleaning tag first! A ‘W’ means water-based cleaners are fine, ‘S’ means solvent-only, and ‘X’ means vacuum only. A friend of mine once machine-washed her beautiful linen curtains that were dry-clean only. They shrank six inches. An expensive mistake!
- Mattress Refresh: Strip the bed, then vacuum the mattress with an upholstery attachment. Sprinkle it with baking soda, let it sit for a few hours to deodorize, then vacuum it all up.
Prep the Kitchen for Holiday Feasts
The kitchen is about to become command central for the holidays. A deep clean now will make your life so much easier later.
- Fridge and Freezer: Pull everything out. Toss expired food. Wipe down all the shelves and drawers. If you’re feeling ambitious, pull the fridge away from the wall and vacuum the coils on the back. Clogged coils make it work harder and waste electricity.
- The Oven: The self-clean function works, but it can create some intense fumes. If you use it, open the windows. For a manual clean, here’s an old-school trick for the racks: put them in a heavy-duty trash bag, add a half-cup of ammonia, seal the bag tight, and leave it outside overnight. The next day (open the bag outside, the fumes are strong!), the baked-on grease will wipe right off. Wear gloves!
- Tops of Cabinets: That sticky, greasy dust on top of your cabinets and fridge is the worst. A good degreasing cleaner or a simple mix of hot water and strong dish soap will cut right through it.
DIY vs. Pro: Knowing When to Call for Backup
Look, I’m a big believer in a homeowner’s ability to get things done. But it’s just as important to know when to put the tools down and pick up the phone.
- Gutter Cleaning: This is perfectly fine to DIY if you have a one-story home and are comfortable on a ladder. It’ll cost you maybe $20 in tools and take a few hours. But for a two-story house or if you have a fear of heights, paying a pro $150-$350 is a smart, safe investment.
- Furnace Tune-Up: This is a pro-only job. Period. You don’t want to be messing with gas lines, electrical components, and carbon monoxide. The $80-$200 for a certified technician to do it right is money well spent.
- Chimney Sweep: Just like the furnace, leave this to a certified professional. They have specialized cameras and tools to spot cracks and hazards you’d never see. The $150-$400 fee is for your safety.
Only Got an Hour This Weekend?
Feeling overwhelmed? Don’t be. If you only have a little bit of time, just tackle these three things. They’ll give you the most bang for your buck in terms of safety and prevention.
The Quick Wins List:
1. Disconnect all your garden hoses and cover the faucets.
2. Go inside and change your furnace filter.
3. Test every smoke and carbon monoxide detector in your house.
And that’s it. A well-maintained home isn’t just about being clean and organized. It’s about creating a safe, efficient, and reliable shelter that’s ready to keep you and your family warm and comfortable, no matter what winter throws at it.
Inspirational Gallery
What’s the big deal with my outdoor faucets?
It’s one of the most common causes of a winter catastrophe. Water trapped in the pipe leading to the outdoor spigot can freeze, expand, and burst the pipe *inside* your heated wall, causing a major flood. Before the first hard frost, disconnect all hoses. Then, find the shut-off valve for each spigot (usually in the basement or a crawl space), turn it off, and open the outdoor spigot to let any remaining water drain out completely.
A study by the U.S. Department of Energy found that air leaks can account for 25% to 40% of the energy used for heating and cooling a typical home.
That’s like leaving a window open all winter long. Sealing these gaps is the single most cost-effective way to reduce your heating bills. A few tubes of a quality exterior caulk, like GE’s Supreme Silicone Window & Door Sealant, can pay for itself in a single season.
Don’t just look for drafts; hunt them down. Your best tools are surprisingly simple:
- An incense stick: On a calm day, light it and hold it near window frames, door frames, and electrical outlets. If the smoke wavers or gets blown sideways, you have a leak.
- A flashlight: At night, have someone shine a bright light on exterior window and door seals from the outside while you look for light coming through on the inside.
- Your hand: Simply feeling for cold spots is often the quickest way to find the biggest culprits.
Foam Tape: A self-adhesive foam strip, like those from Frost King, is inexpensive and easy to install. It works by compressing to fill gaps, but it can wear out in a couple of seasons in high-traffic areas.
V-Strip (Tension Seal): This durable vinyl or metal strip springs open to block airflow. It’s more durable than foam for windows and doors but requires a bit more care to install correctly.
For most windows, V-strips offer a longer-lasting solution.
There’s a unique sense of peace that comes from listening to a winter wind howl while you’re tucked inside a home you know is secure. This feeling isn’t just about cozy blankets; it’s the deep comfort of knowing the hatches are truly battened down, that the cold stays outside, and that your fortress is ready for the storm. That peace of mind is the real reward for your fall prep work.
- It can lower your heating bill by up to 15%.
- It lets you adjust the temperature from your phone.
- It learns your family’s schedule to avoid heating an empty house.
The secret? A smart thermostat. Upgrading from a manual or programmable model to a learning thermostat like the Google Nest Thermostat or an ecobee Smart Thermostat is a modern winterization step that provides immediate comfort and long-term savings.
A crucial pre-winter task: Get your furnace or boiler serviced by a professional. Don’t wait for it to break down on the coldest night of the year. A certified technician will clean essential parts, check for carbon monoxide leaks, and replace worn-out components. At the very least, you should replace the furnace filter yourself—it’s a five-minute job that ensures proper airflow and efficiency.
Did you know? A single cubic foot of solid ice weighs over 57 pounds (about 26 kg).
When an ice dam forms in your clogged gutters, it can mean hundreds of pounds of ice straining your roof’s edge, bending gutters, and forcing water back under your shingles. This isn’t just a maintenance issue; it’s a fight against a massive structural threat.
When you shovel, resist the urge to pile snow up against your home’s foundation. While it seems harmless, that snow bank can cause serious problems:
- Moisture Intrusion: As the snow melts, it saturates the ground and can seep into your basement or crawlspace through tiny cracks in the foundation.
- Pest Invitation: Pests and rodents can use the snow cover to hide from predators while they search for warm ways into your home.
- Frost Heave: The repeated freeze-thaw cycle can cause soil to expand and put pressure on your foundation walls.
The Scandinavian concept of


