Thinking About Microcement? A Pro’s Unfiltered Guide to Getting It Right
I’ve been in the world of decorative concrete and custom floor coatings for a long time—long enough to see plenty of design trends come and go. Some are just fads, but others have real staying power. When microcement started popping up on design plans, a lot of us in the business were pretty skeptical. It promised the moon: a totally seamless concrete look, applied super thin, that could go almost anywhere. Honestly, we’d heard that song before with other products that ended up cracking or peeling away after a few years.
In this article
- What Exactly Is This Stuff? (Hint: It’s Not Just Concrete)
- Prep Work Is 90% of the Job—No, Really
- The Art of a Hand-Troweled Finish
- Microcement vs. The Other Guys: A Quick Comparison
- Let’s Talk Money: The Real Cost of Microcement
- Living With Your Floor: Maintenance and Repairs
- DIY or Hire a Pro? A Reality Check
- How to Find a Good Installer (and Avoid a Bad One)
But microcement was different. After finishing a few projects, I saw that when it’s treated as a complete system, it really works. It’s not magic, though. When it’s done right, it’s a masterpiece. When it’s done wrong? It’s a costly nightmare to fix.
So, let’s go beyond the perfect, glossy photos you see online. I want to walk you through what it actually takes to get a beautiful microcement finish that lasts. This is the stuff I teach my own crew and the frank discussion I have with homeowners before we even think about opening a bucket.

What Exactly Is This Stuff? (Hint: It’s Not Just Concrete)
First things first, let’s clear up a huge misconception. Microcement is NOT just a thin layer of concrete you slap on the floor. Thinking that way is the fast track to failure.
At its core, true microcement is a high-tech blend of very fine cement and liquid polymers. Think of the polymers as a powerful, flexible glue. This is the secret sauce. This polymer-rich mix is what allows us to trowel it on at just 2-3 millimeters thick without it just chipping off. It also gives the surface just enough flex to handle tiny movements in a building or temperature shifts, which is huge for preventing cracks.
Respecting this chemistry is everything. For example, if an installer adds too much water to the mix to make it spread easier, they’re watering down the polymers. The whole system gets weaker. I learned that the hard way on a job where a new guy mixed a batch too wet. It looked okay at first, but a few months later, the homeowner called saying it was scratching and scuffing like crazy. We had to grind the whole section out and redo it. That was an expensive lesson in getting the mix right.

Prep Work Is 90% of the Job—No, Really
I say this to every single client: Your beautiful new floor is only as good as the surface underneath it. You could have the best installer in the world, but if they apply microcement over a bad foundation, it will fail. This is where most of the labor and time goes. Trying to cut corners here is the single biggest mistake you can make.
First, we have to assess what we’re working with. Going over concrete is different from going over tile.
For a concrete slab, our number one enemy is moisture. We use a professional moisture meter to test deep inside the slab. If there’s too much moisture vapor trying to escape, it will push the microcement right off, causing bubbles and peeling. If we find high moisture, we have to apply a special moisture-blocking epoxy primer first. It’s an extra step and adds to the cost, but it’s non-negotiable.
Going over existing ceramic tiles? The challenge is the grout lines. If you just trowel over them, you’ll eventually see faint outlines of the tiles appear through the new floor—we call it “ghosting.” To do it right, we have to grind the shiny glaze off the tiles, fill every single grout line so the surface is flat, and then apply a primer and embed a fiberglass mesh for reinforcement. It’s a process.
Heads up! Applying microcement over a wooden subfloor is extremely risky. Wood moves, and microcement doesn’t like to. That movement is a recipe for cracks. We almost always insist on installing cement backer board over the wood first, screwed down tight, to create a stable base.
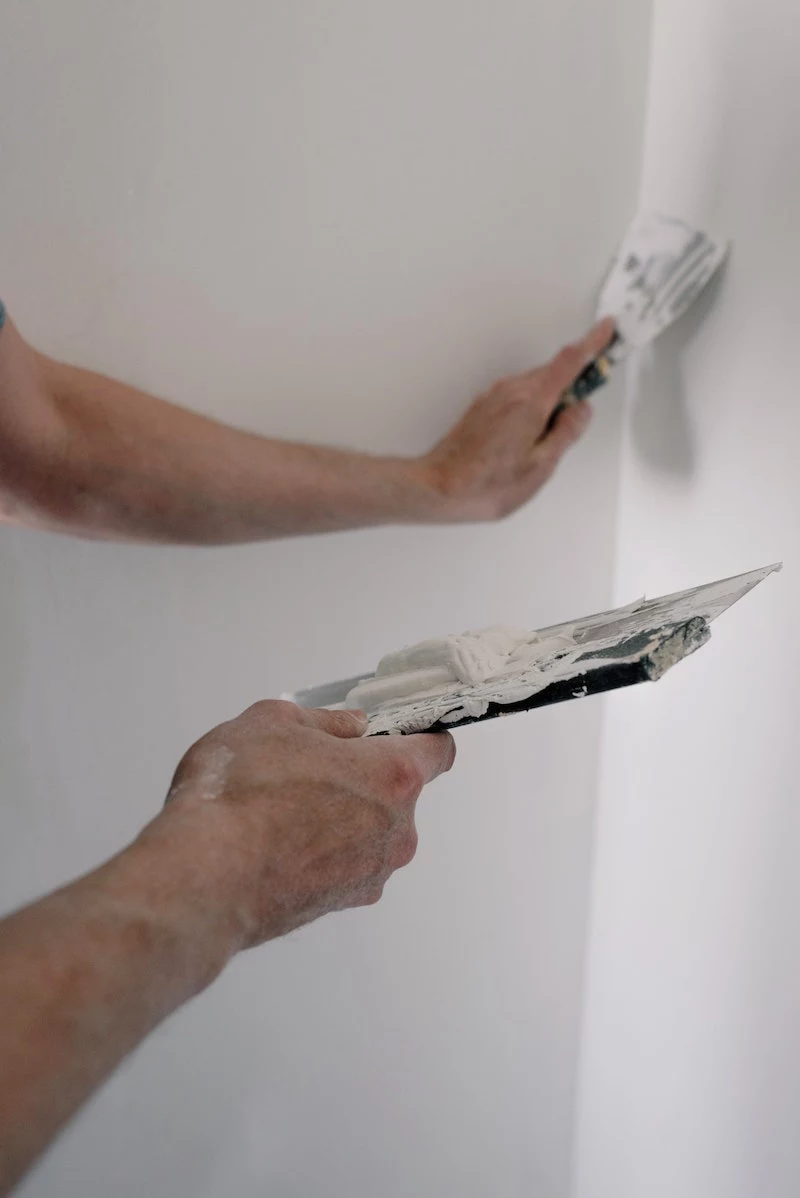
The Art of a Hand-Troweled Finish
Applying microcement is a true craft. It’s all done by hand with a trowel, and the final look is a direct reflection of the installer’s skill and technique. Every floor is unique, like a signature.

A proper system involves several thin layers, usually at least six:
- The Primer: This is the glue that sticks everything to the subfloor.
- Base Coat
1 (with Mesh):
A thick layer of microcement goes down, and we embed a fiberglass mesh into it while it’s wet. This acts like rebar in concrete, giving the whole floor tensile strength and preventing hairline cracks. It’s a cheap insurance policy against future problems. - Base Coat
2:
This second coat covers the mesh and creates a smooth, flat canvas for the final look. - Finish Coats (
3 and
4):
This is where the artistry happens. We use a finer grade of microcement for these layers. The way the installer moves the trowel creates the final pattern—from a cloudy, varied effect to a smoother, more uniform one. We always make sample boards for the client to approve first. - The Sealer: An unsealed microcement floor is a sponge for stains. The sealer is its armor. For a bathroom, we use a heavy-duty waterproof polyurethane. For a kitchen, it has to be a food-safe sealer. We always apply two or three thin coats. After sealing, the floor needs to cure for a few days before you can walk on it, and a full week before getting it wet or putting furniture down.

Microcement vs. The Other Guys: A Quick Comparison
So, how does microcement stack up against other popular modern floors? Let’s break it down without a complicated chart.
When you think of Polished Concrete, you’re talking about grinding and polishing the actual structural concrete slab of the building. It’s incredibly durable but what you see is what you get—cracks, stains, and all. You can’t change the color much, and it’s only an option if your existing slab is in great condition. Microcement, by contrast, is an overlay. It gives you that concrete look but with way more control over the color and finish, and it can go over different surfaces, not just a perfect slab.
Then there’s Epoxy. Epoxy floors are known for being seamless and tough, often seen in garages and commercial kitchens. They tend to have a more uniform, plastic-like sheen. While durable, they can be prone to scratching and can yellow over time with UV exposure. Microcement offers a more natural, stone-like matte finish with subtle variations that many people find more aesthetically pleasing for a living space.
Let’s Talk Money: The Real Cost of Microcement
Alright, let’s get to the question everyone wants to ask: What does this stuff actually cost? Microcement is a premium, artisan-installed product. It is absolutely not a budget alternative to laminate or vinyl.
To be frank, you should expect to pay somewhere between $15 and $30 per square foot for a professionally installed microcement floor. In high-cost-of-living areas or for more complex jobs (like a shower with lots of details), it could be even more.
Why so much? Remember, more than half of that cost is labor for the painstaking prep work. It’s a multi-day process with drying times between layers. The materials themselves are also sophisticated and expensive. If you get a quote that seems way too good to be true, they are almost certainly cutting corners on prep, materials, or both.
Living With Your Floor: Maintenance and Repairs
So you’ve got this beautiful, seamless floor. How do you take care of it? It’s actually pretty simple.
The key is the sealer. It’s doing all the protective work. For cleaning, just use a damp mop with a pH-neutral cleaner. Please, whatever you do, do NOT use vinegar, bleach, or other harsh chemicals, as they can eat away at the sealer.
A few pro tips for keeping it looking great:
- Wipe up spills like wine, oil, or coffee right away. Don’t let them sit.
- Put felt pads on the bottom of all your furniture legs. This is the #1 way to prevent scratches.
- Use a good doormat to trap grit and dirt before it gets tracked onto the floor.
What if you do get a scratch or a chip from dropping something heavy? It happens. Minor scratches can often be hidden by applying a bit of wax or a sealer refresh. For a deeper chip, a skilled pro can often patch the area. The patch might not be 100% invisible, but the handmade nature of the floor often makes repairs blend in pretty well.
DIY or Hire a Pro? A Reality Check
I see the kits online, and I get it. The temptation to save money and DIY is strong. So, can you do this yourself?
Honestly, for 99% of people, I would say no. This isn’t like painting a wall or laying a floating floor. It’s a game of technique, timing, and temperature. The mix has a specific working time, the trowel work takes hundreds of hours to master, and understanding how to troubleshoot issues on the fly is critical.
Think about the tools, too. A pro isn’t just using a bucket and a trowel from Home Depot. We use specialized low-speed mixers (to avoid whipping air into the mix), specific types of flexible steel and plastic trowels for different coats, HEPA-filtered vacuums for the dust, and spiked shoes to walk on wet layers. It’s a serious investment.
My advice? Save yourself the potential heartbreak and cost of a failed DIY job and hire someone who does this for a living.
How to Find a Good Installer (and Avoid a Bad One)
Since this is a pro-installed product, finding the right person is everything. Here’s what you should ask any potential installer to vet them:
- “Can I see a portfolio of your finished microcement work?” Not just photos, but ask if you can see a floor in person or talk to a past client.
- “What professional microcement system do you use?” They should be able to name a reputable manufacturer and explain why they use that system. If they just say “oh, it’s a special mix I make,” be wary.
- “What is your exact process for preparing my specific subfloor?” They should ask you questions and give you a detailed answer about moisture testing, grinding, priming, and using a mesh. If they say they can just go right over the top, run away.
- “What sealer do you recommend for my kitchen/bathroom, and why?” Their answer will tell you if they understand the crucial final step of protecting the floor for your specific needs.
Doing your homework on the installer is the best thing you can do to ensure you end up with a floor you’ll love for years to come.


