Thrifting Like a Pro: How to Find High-Quality Treasures (and Avoid the Junk)
I’ve spent a huge part of my life sourcing unique items for homes. While I’ve worked on some big-budget projects with professional designers, let’s be honest—the pieces I treasure most, the ones with real soul, almost always came from a dusty corner in a thrift store. So many people think thrifting is just about scoring a bargain. It’s not. It’s about finding a level of quality that, frankly, is incredibly rare and expensive to buy new today. It’s a hunt for real materials and solid craftsmanship from before everything became mass-produced.
In this article
And here’s the secret: success isn’t about luck. It’s about knowing what you’re looking at. It’s about training your eye to see a future classic hiding under a coat of ugly paint or some truly questionable fabric. It’s about understanding what makes something last. I learned these lessons the hard way, by talking to seasoned craftspeople and by restoring hundreds of pieces myself. So, I want to show you how to spot that hidden quality, skip the common pitfalls, and bring some lasting character into your home without breaking the bank.
First Things First: Know Your Materials
Before you can find a hidden gem, you need to speak the language of stuff. The big-box stores today are full of furniture made from particleboard and plastic. Thrift stores, on the other hand, are a time capsule of solid wood, real brass, and durable ceramics. Spotting the difference is your superpower.
Wood: The Soul of Great Furniture
The very first thing I look at on any wooden piece is how it’s built. This tells you way more than the style or the finish ever will.
So, what’s the deal with wood? Well, solid wood furniture is exactly what it sounds like—made from solid pieces of timber. It’s heavy, super strong, and you can sand and refinish it over and over again. Veneer is a bit trickier; it’s a very thin slice of a beautiful wood (like walnut or mahogany) glued onto a cheaper core. That core could be sturdy plywood, which is fine, or it could be particleboard, which is basically sawdust and glue. Particleboard is the enemy—it swells up like a sponge if it gets wet and, once it’s damaged, it’s pretty much game over. A lot of older furniture is also made from old-growth wood, which grew slowly, making its grain dense and incredibly stable. That’s why a table from decades ago is often in way better shape than one from five years ago.

Here’s how to tell them apart on the fly:
- The Lift Test: Good furniture has some heft to it. If you can easily lift a six-drawer dresser by yourself, it’s almost certainly made of particleboard. Solid wood is heavy. Simple as that.
- Check the Edges: Look at the edge of a tabletop or drawer front. On a solid piece, you’ll see the wood grain pattern continue from the top surface and wrap around the side. If you see a thin, perfectly straight line and a different material underneath, that’s a dead giveaway for veneer.
- Examine the Joints: How a piece is held together screams quality (or lack thereof). Look inside the drawers for dovetail joints—they look like little interlocking puzzle pieces. For chairs and tables, check for mortise and tenon joints where the legs meet the frame. These are signs of true craftsmanship. If you just see a bunch of staples and glue, walk away.
Quick tip for scratches: Don’t let a few surface scratches scare you off a solid wood piece! My 15-minute fix is a product called Howard’s Restor-A-Finish. You can grab it for about $10 at any hardware store. Just apply it with some super-fine #0000 steel wool (another few bucks), follow the grain of the wood, and wipe it clean. It hides most minor scratches and water rings like magic. It’s my number one secret weapon.

I learned this the hard way, by the way. Early on, I found this gorgeous sideboard for a steal. The veneer looked perfect. I got it home, and then I noticed a tiny chip on a back corner had flaked off, revealing… particleboard. A few humid months later, that corner started to swell and crumble into sawdust. The whole thing was a total loss. Now, I check every surface, especially the hidden ones.
Metal: How to Spot the Real Deal
The metal goods aisle can be a total goldmine, but it’s also full of fakes. Knowing how to tell precious from plated is key.
Genuine sterling silver is an alloy with 92.5% pure silver, which is why it’s often stamped “925.” It’s valuable, has this wonderful warm glow, and lasts forever. Silver plate, on the other hand, is a microscopic layer of silver coated over a base metal like copper or nickel. It looks nice for a while, but it eventually wears off. The same goes for brass. Solid brass is a heavy, warm, yellow-toned alloy that isn’t magnetic. Plated brass is just a steel or zinc core with a thin brass coating.
- Look for Hallmarks: Real sterling is almost always stamped. Carry a small magnifying glass or a jeweler’s loupe (you can get one for under $10 online) to look for tiny marks like “Sterling,” “925,” or other maker’s symbols.
- Check for Wear: On plated items, look at the high-traffic spots—the heels of forks, the edges of trays. You’ll often see spots where the plating has rubbed off, revealing a coppery or yellowish base metal underneath. If it’s flaking, it’s plated.
- The Magnet Test: This is my go-to for brass. Keep a small, strong magnet in your bag. Run it over that lamp or candlestick you’re eyeing. If the magnet sticks, it’s brass-plated steel, not solid brass.
A little pro tip: Don’t be afraid of tarnish! Sometimes the ugliest, most blackened pieces are actually solid sterling silver. People don’t know how to clean them, so they get donated. A bit of good silver polish (not the harsh dips!) can reveal an absolute treasure.
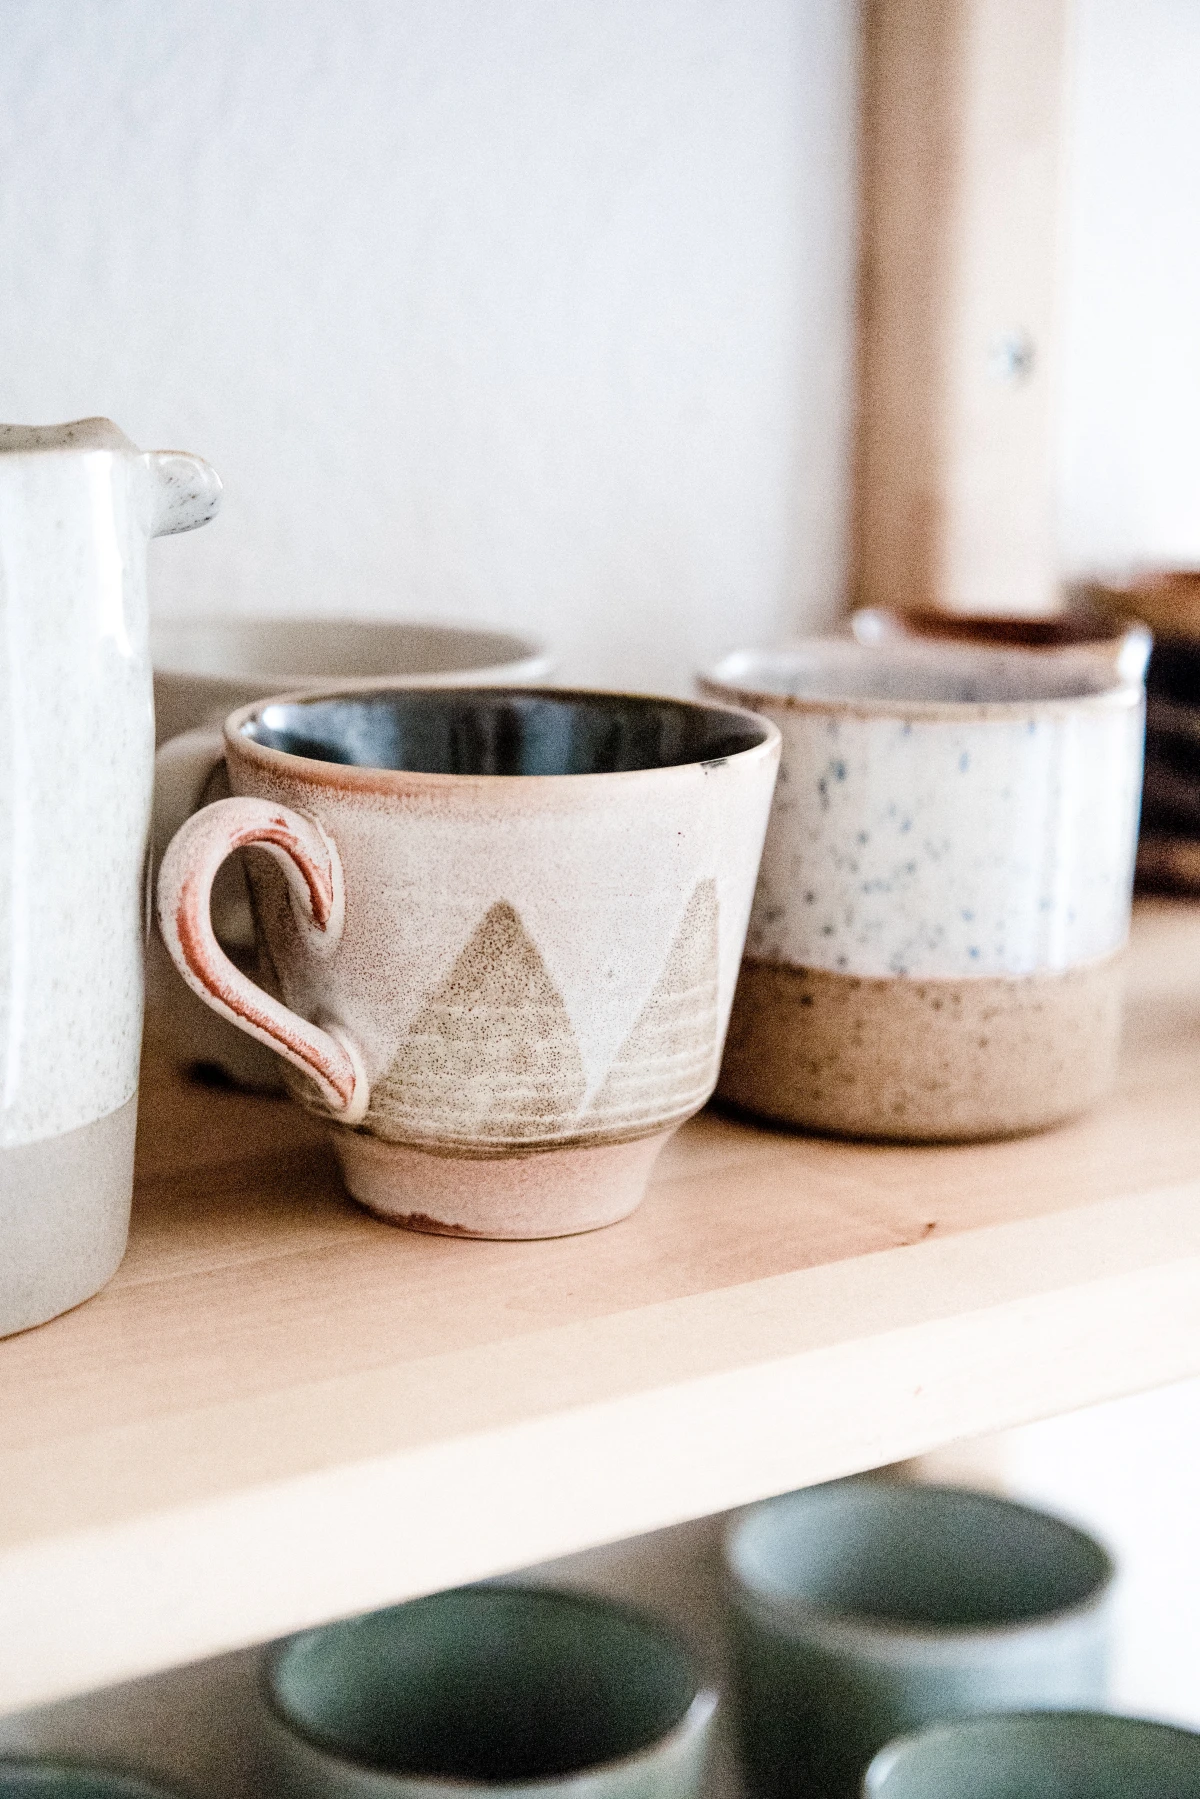
Ceramics and Glass: Finding Strength and Style
The housewares shelves are an absolute jungle. Your mission is to find the pieces with integrity, not just a pretty pattern.
There’s a big difference in durability. Earthenware is porous and chips easily. Stoneware is fired at a higher temperature, so it’s tougher and waterproof. Porcelain is the king—fired at the highest temps, it becomes incredibly strong and almost translucent. As for glassware, older pieces are often heavier and might have tiny imperfections like small bubbles, which are actually a cool sign of older manufacturing methods.
- Flip It Over: The bottom of a piece tells the story. Look for a maker’s mark or a country of origin. Marks from reputable potteries are a good sign of quality.
- The Ring Test: Gently tap the rim of a cup or bowl with your fingernail. It should make a clear, bright ringing sound. A dull “thud” usually means there’s a hairline crack, even if you can’t see it. (Go try it now! Gently tap a coffee mug in your cabinet. Hear that clear ring? That’s the sound of an undamaged piece!)
- Feel the Rim: Carefully run your finger along the rim of any glass or plate. It’s the best way to feel for tiny nicks or chips that your eyes might miss. A chipped drinking glass is basically useless, so this is a must-do.
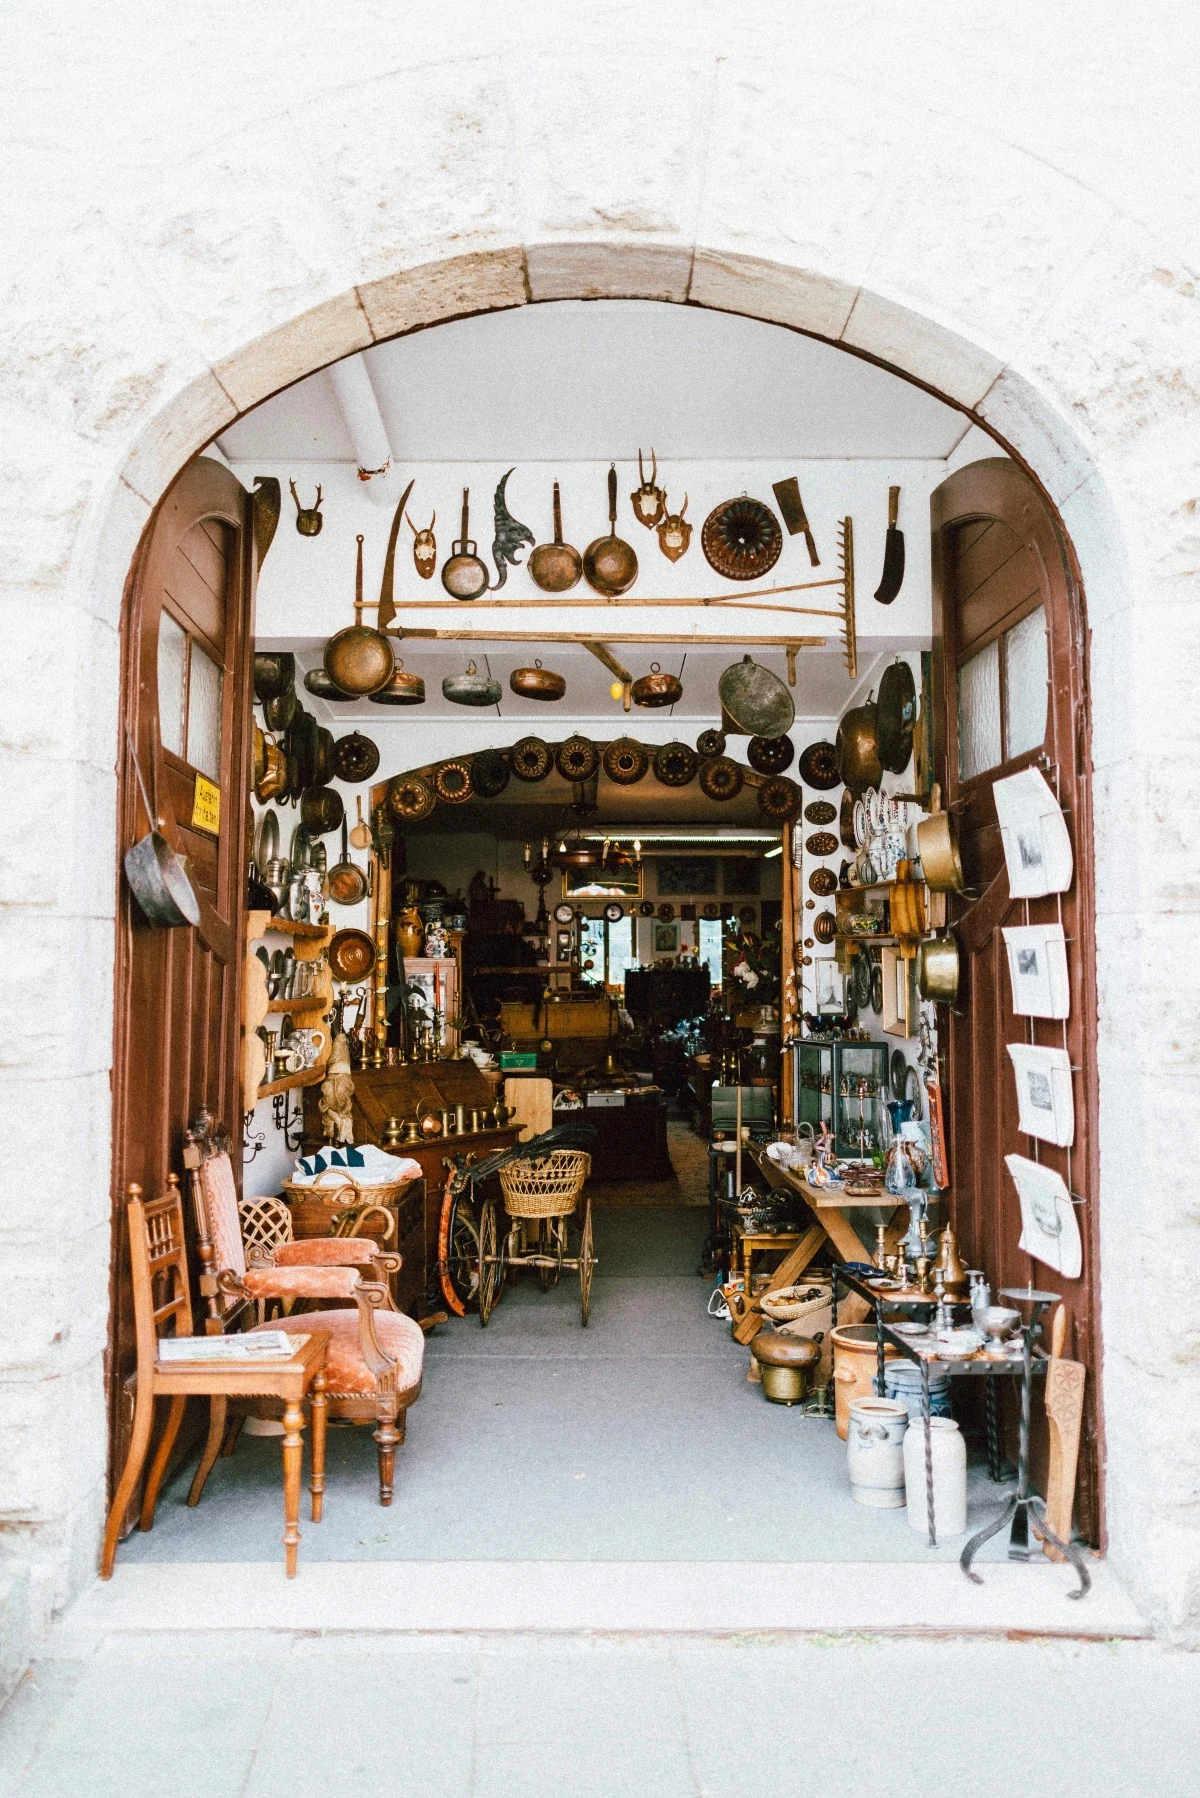
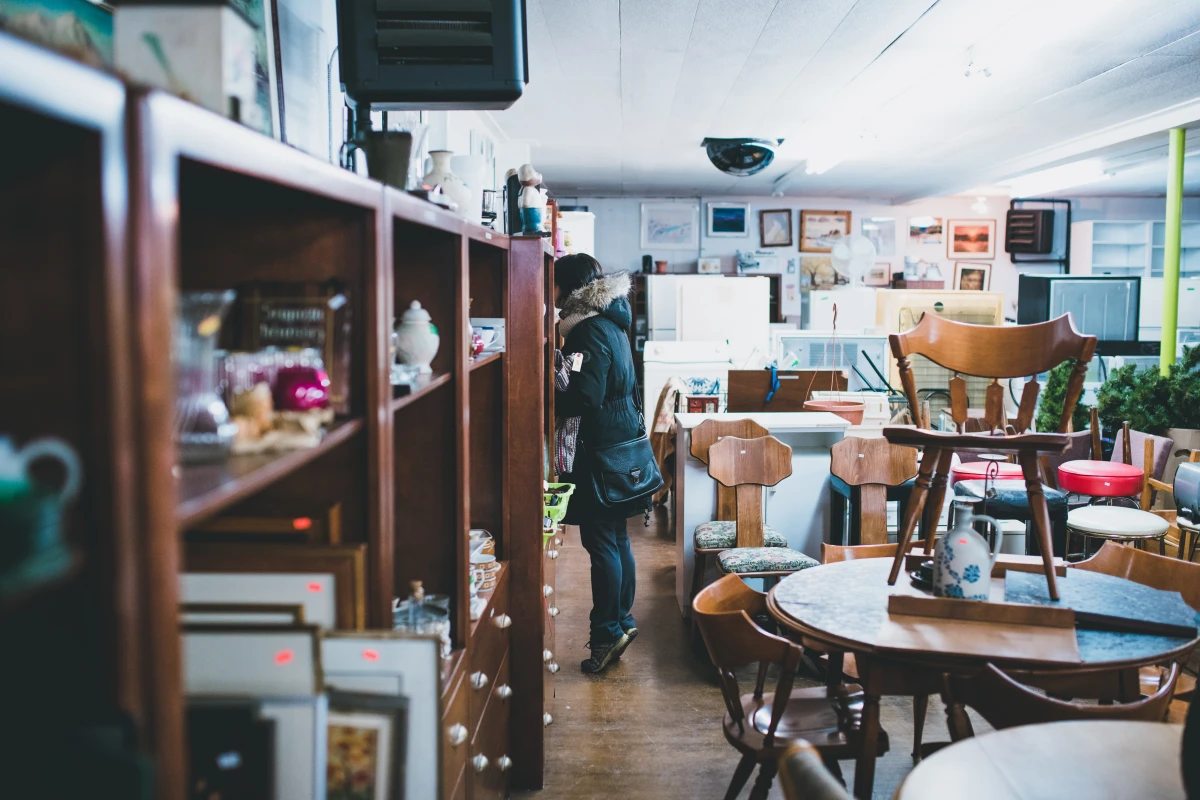
My Go-To Categories: What I Always Hunt For
Once you know your materials, you can start hunting. I have a mental checklist I run through in every single store.
1. Solid Wood Furniture (the smaller stuff)
I usually walk right past the massive dining sets and sofas. They’re a pain to move and can hide a lot of problems. I focus on smaller, more versatile pieces like end tables, nightstands, small bookcases, and wooden chairs. These were often built with more care and are easier to integrate into your home.
And don’t worry about a faded finish—that’s fixable. Worry about deep gouges, broken legs, or wobbly joints. A wobbly chair can often be fixed with some wood glue and clamps, but make sure the joint itself isn’t completely shattered. A $20 table with a scratched top? Totally worth it for $15 in supplies. A $10 chair with a shattered leg? That’s probably a pass, as a professional repair could be costly.
Heads up! The most important check: Pests. Before you even think about buying, you HAVE to check for pests. For bedbugs, inspect every seam and crevice with a flashlight, looking for tiny black spots or shed skins. For wood, look for tiny, perfectly round holes—a sign of woodworms. My personal method is the “Pest Quarantine”: I put any new-to-me furniture on an old white sheet in my garage for at least a week. The white sheet makes it easy to spot any new droppings or bugs that fall off. After a week of seeing nothing, I feel safe bringing it inside. A $20 chair is NOT worth a $2,000 pest control bill.
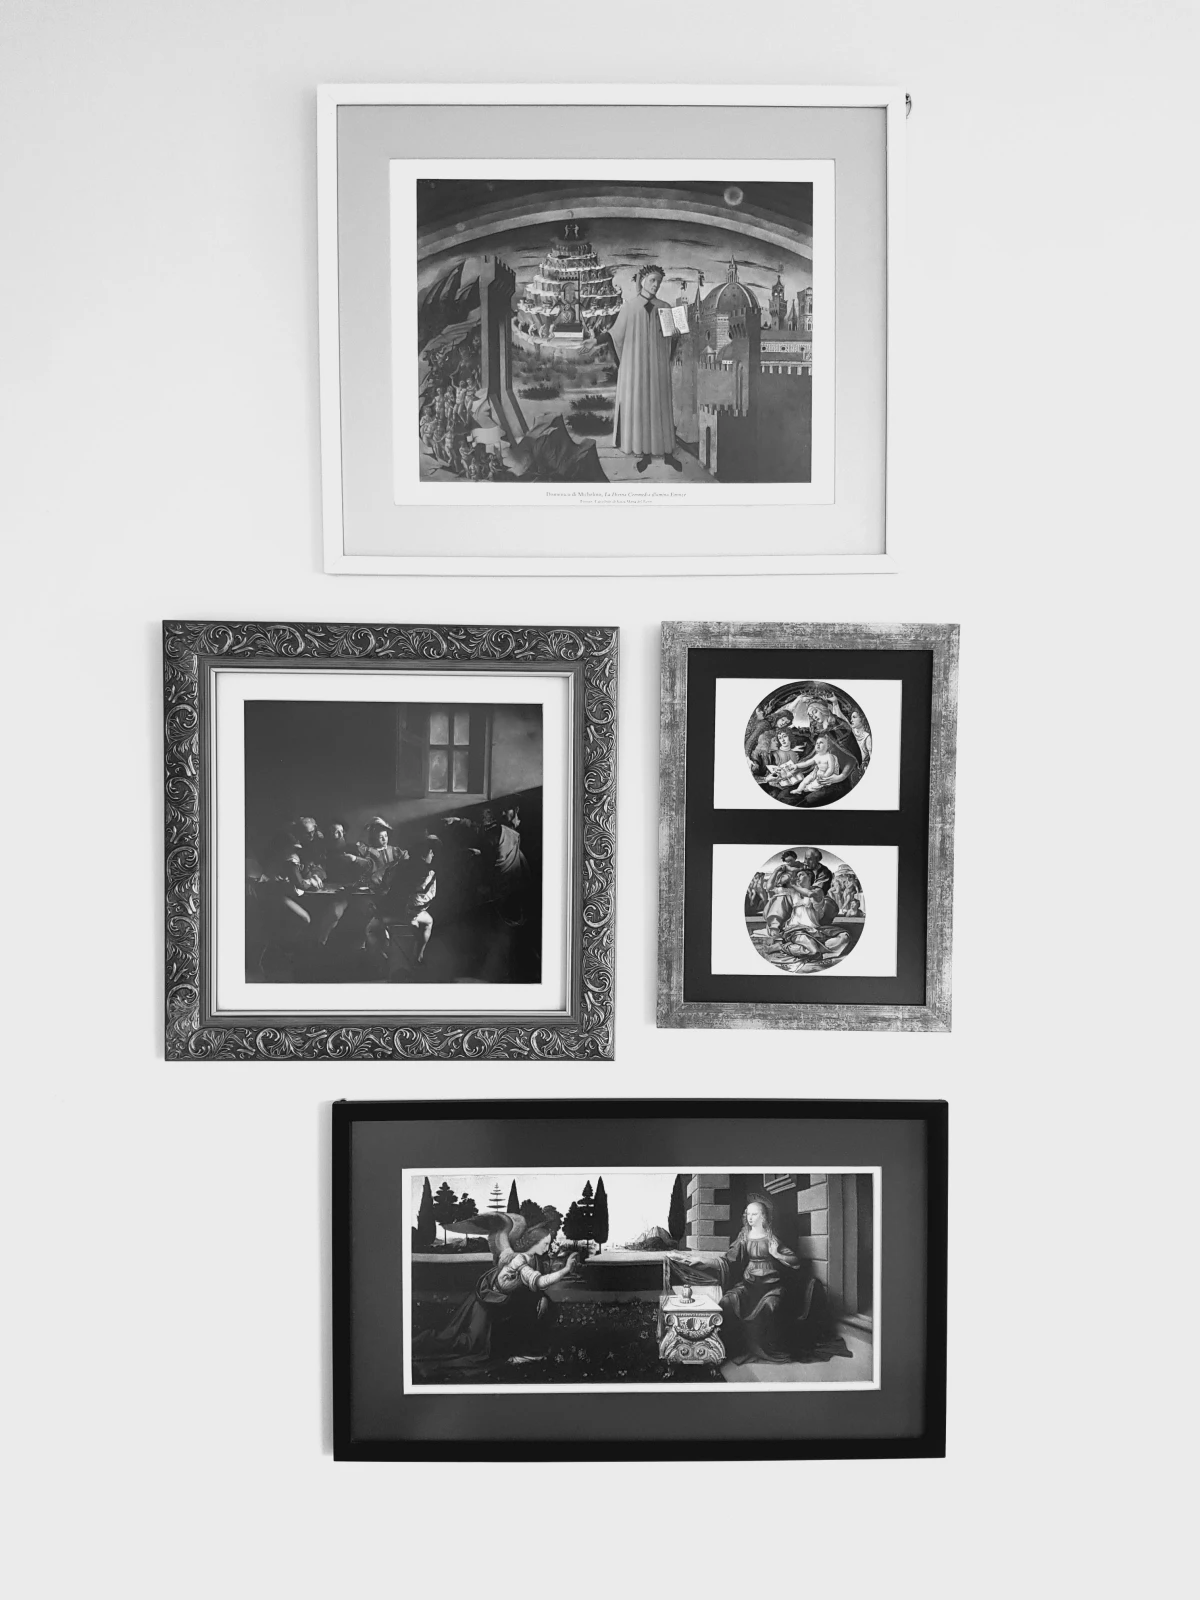
2. High-Quality Picture Frames
Custom framing costs a fortune. Thrift stores are, without a doubt, the best place to find high-quality frames for pennies on the dollar.
My rule is to ignore the art and inspect the frame. I look for solid wood, not plastic. Ornate, gilded, or heavily carved frames are an amazing find. Check that the corners are tight and secure. And don’t be turned off by ugly art—it’s easy to replace. A little gold Rub ‘n Buff (about $8 at a craft store) can bring a faded gilded frame roaring back to life. I once paid $40 for a massive, ornate frame holding a faded sea captain print. To have that frame custom-made would have easily been $800.
3. Unique Lighting
Lamps set the mood, and thrift stores are packed with unique shapes and quality materials you just can’t find anymore. Focus on the lamp base. Is it heavy ceramic, solid brass, or carved wood? Ignore the shade, harp, and finial—those are all cheap and easy to replace. The value is in the body.
CRITICAL SAFETY WARNING: Always, always assume the wiring on a vintage lamp is a fire hazard. Old cords get brittle and sockets fail. My strict rule is to never plug in a thrifted lamp until I’ve rewired it. It sounds intimidating, but it’s not! You can get a simple lamp rewiring kit at Home Depot or Lowe’s for about $12. All you need is a screwdriver and maybe some wire strippers. It’s a 20-minute job, and there are tons of YouTube videos to guide you. It’s a non-negotiable safety step.
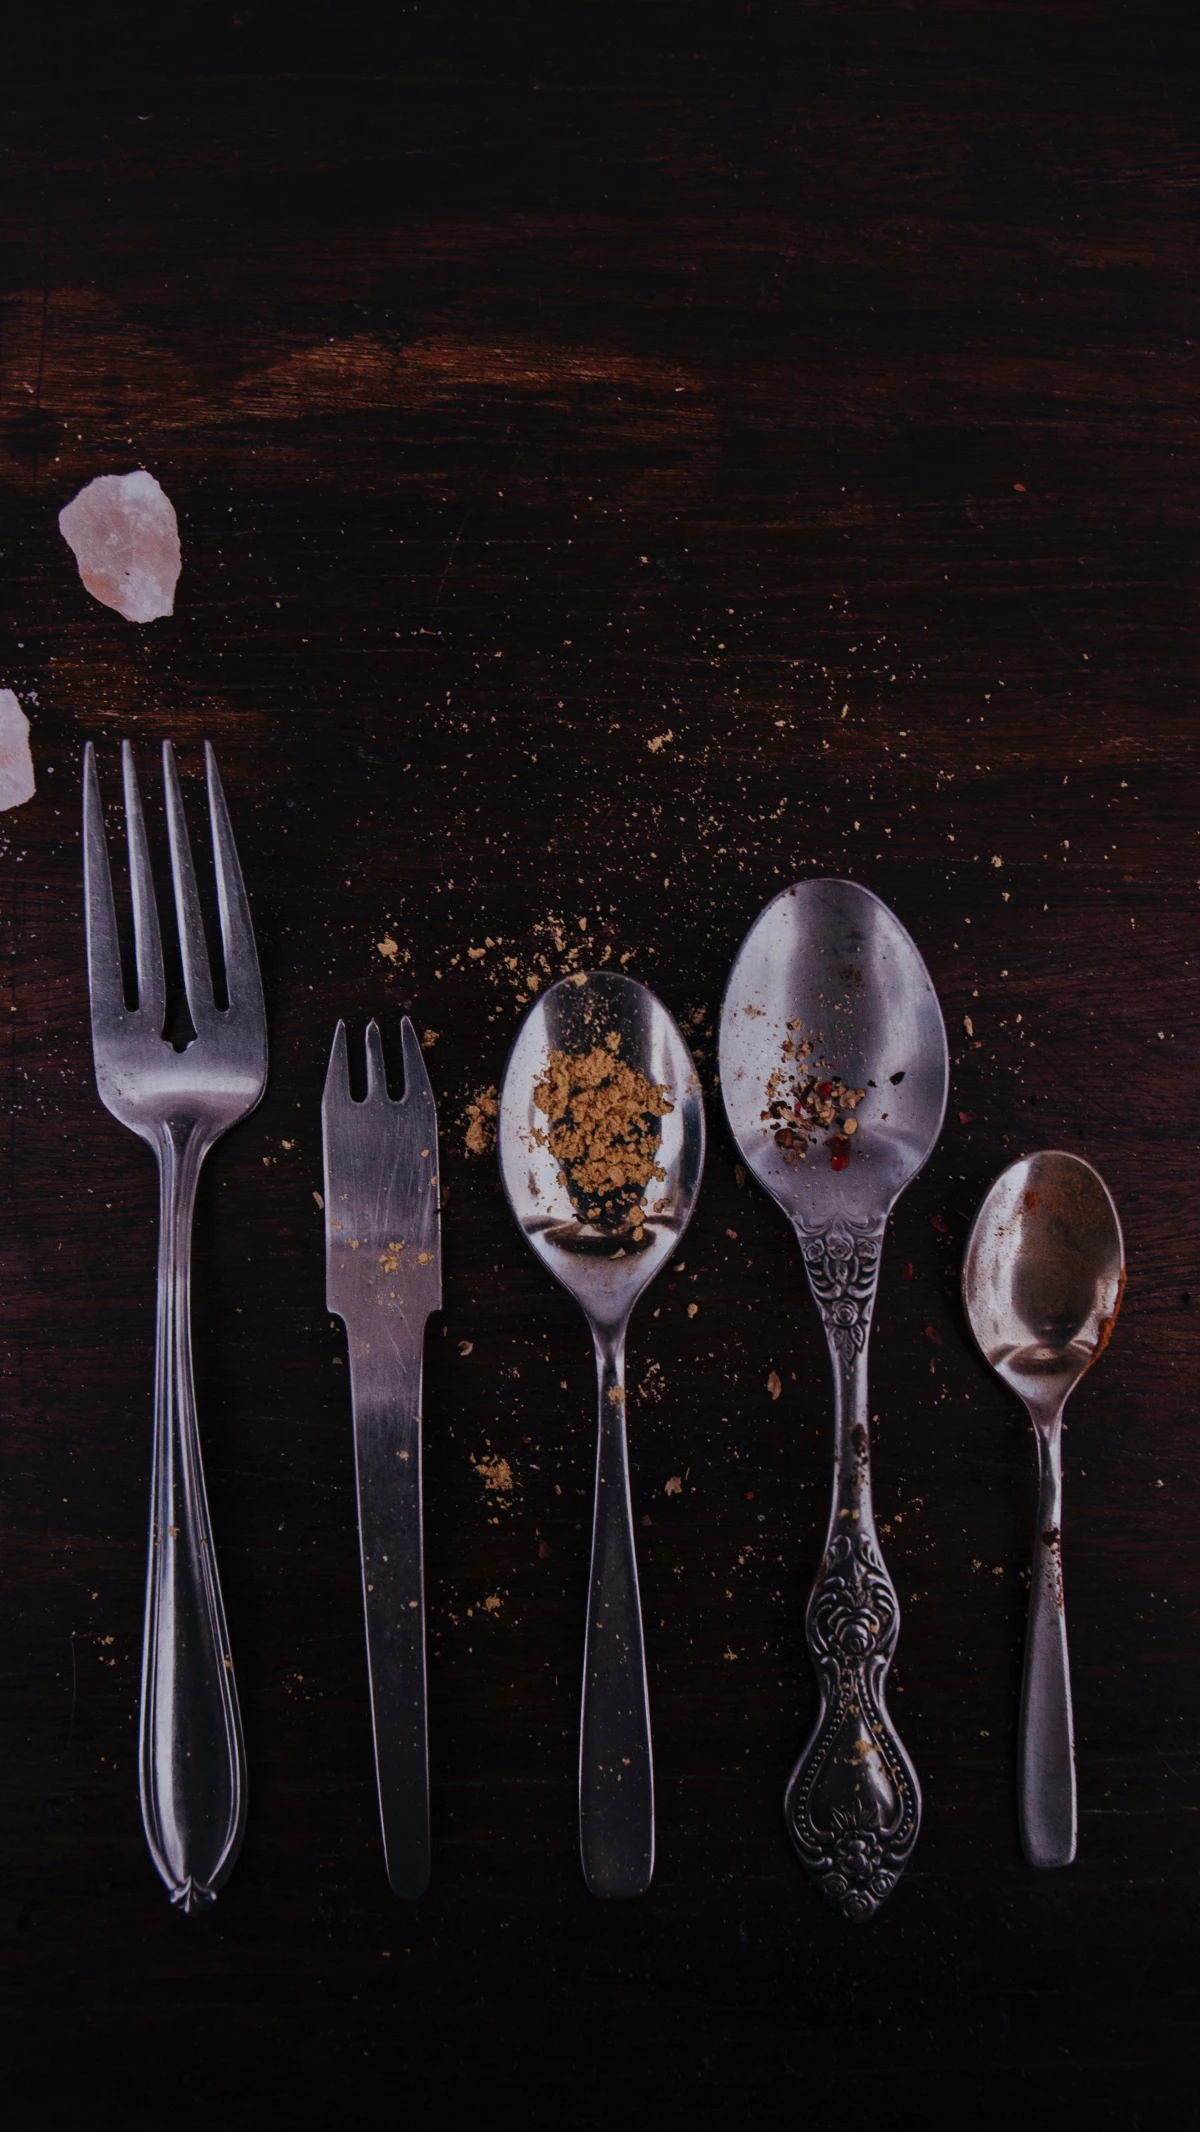
4. Real Silverware
A set of real silverware has a weight and warmth that stainless steel just can’t match. It’s more common to find individual pieces than full sets, so check the loose cutlery bins carefully. This is where your magnifying glass comes in handy for spotting that “Sterling” or “925” mark. A mismatched set of sterling can be incredibly charming and way more interesting than a boring, uniform set.
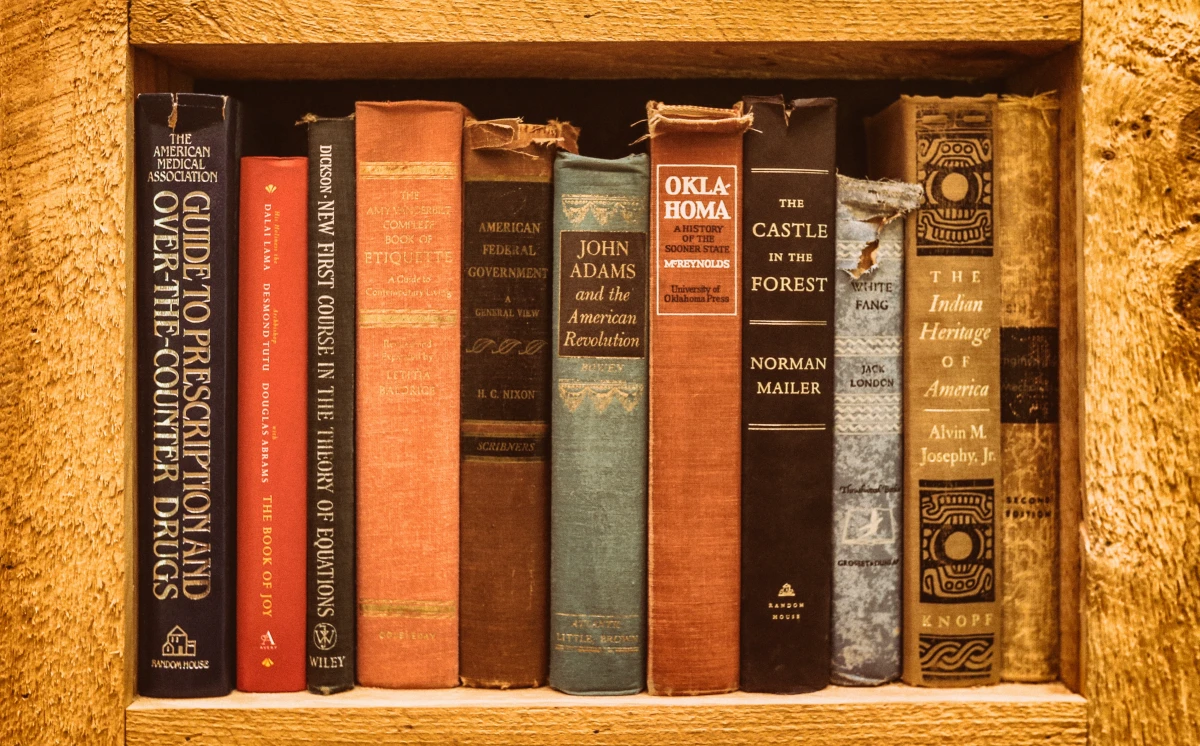
5. Hardcover Books for Decor
I rarely thrift books to read them—I hunt for them as decorative objects. I look for interesting cloth or leather bindings, beautiful embossed covers, or old art books with high-quality paper. A collection of books in a similar color palette can look amazing on a shelf. But here’s the most important tip: the smell test. Open the book and take a good whiff. If it smells strongly of must or mildew, leave it. That smell is nearly impossible to get rid of and can mean you’re bringing mold spores into your home.
My Game Plan: The Thrifting Process
Having a system keeps you from feeling overwhelmed. Here’s the process I’ve perfected over the years.
1. Gear Up First
I never go thrifting empty-handed. Here’s what’s in my “Pro Thrifter’s Go-Bag”:
- A tape measure ($5)
- A small magnet (free, from your fridge!)
- A jeweler’s loupe ($8 on Amazon)
- A small, bright flashlight ($10)
- A list of measurements for any spaces I’m trying to fill at home.
For under $25, you’re officially equipped like a pro. Also, think about location. Stores in wealthier areas often have newer, brand-name stuff. Stores in older neighborhoods are better for true vintage pieces.
2. The Three-Pass System
I never wander. I work the store in three distinct passes.
- Pass One: The Big Scan. I walk the entire store quickly, just scanning for shapes, colors, and large forms that catch my eye. I’m not looking at details yet.
- Pass Two: The Deep Dive. I circle back to the promising sections. Now I start pulling things off shelves, checking out the furniture I flagged, and browsing with more focus.
- Pass Three: The Final Inspection. I gather the handful of items I’m serious about. Now I use my tools. I measure the furniture. I check for hallmarks. I do the wobble test. This is where the final decisions are made.
3. The Final Gut Check
Before I head to the register, I ask myself three questions about every single item:
- Is the foundation solid? (Solid wood, intact frame, etc.)
- Is the problem something I can actually fix myself? (A simple rewiring, yes. Complicated upholstery, probably not.)
- Is the price right for the work it needs?
This little checklist has saved me from so many impulse buys and ensures I only bring home things with real potential.
A Final Word of Encouragement
Thrifting is a skill, and you get better with practice. You will make mistakes—I know I have! I’ve bought things that were beyond repair and overlooked treasures that someone else snagged two minutes later. It’s all part of the learning process.
But with every trip, your eye gets sharper. Soon, you’ll be able to tell the difference between real wood and laminate just by touching it. You’ll spot quality from across the aisle. Don’t get discouraged if you go home empty-handed. A successful trip is about learning, not just buying. The goal is to slowly fill your home with objects that have history, character, and a level of quality that makes them worth keeping for years to come.


