Building a Spanish-Style Dream: A Builder’s Unfiltered Guide to Getting It Right
I’ve been building things for over thirty years, and I’ve got a real soft spot for classic techniques. The first time I was hired to restore a true Spanish-style home, I honestly thought I had it all figured out. Red tiles, white walls, a few arches… how hard could it be? Well, I learned fast that the real thing is a world away from the knock-offs. It’s not just a look; it’s a complete system designed to master a warm climate long before air conditioning was even a thought.
In this article
The sheer weight of the materials, the way the walls are meant to breathe, the genius of pulling air through a central courtyard—these aren’t just pretty details. They’re time-tested solutions. So, this guide isn’t about slapping on some stucco and calling it a day. It’s about understanding the core principles. I’m going to share what I’ve learned from my own projects, including the mistakes that taught me the most valuable lessons.

More Than Just a Pretty Face: The Built-In Climate Control
Most people see a Spanish-style home and admire its romantic charm. But a builder sees a cleverly designed, passive climate-control machine. To build or restore one correctly, you have to grasp the simple science that makes it all work. Trust me, none of these key features are random.
The Thick Wall Advantage
The most important concept to wrap your head around is thermal mass. Traditional homes in this style have incredibly thick walls, sometimes 12 to 24 inches deep. Originally, these were adobe brick or stone. Today, we often mimic this with double-framed walls or concrete masonry units (CMUs). The whole thing is then wrapped in a heavy, three-coat stucco finish.
Here’s the magic. On a blazing hot day, the sun pounds the exterior. It takes hours and hours for that heat to slowly creep through the dense wall. By the time that warmth finally reaches the inside surface, the sun has set and the evening air is cool. The house then gently releases that stored heat overnight. In the morning, the walls are cool again, ready for another day’s battle with the sun. It’s a simple bit of physics that keeps the inside comfortable, even on triple-digit days. Next time you’re outside on a hot, sunny day, touch a brick wall and then a metal car door. The brick feels cooler, right? That’s thermal mass at work. Your house walls are doing the same thing on a bigger scale.
A Roof That Breathes
That iconic red clay tile roof is doing a lot more than just looking good. The curved profile of the tiles, often called ‘Mission’ or ‘Spanish’ tiles, creates a continuous air channel between the tiles themselves and the roof deck below. As the sun heats the tiles, the air in that channel gets hot and rises, pulling cooler air in from the eaves. This creates a constant, gentle flow of air—a convection current that acts like a heat shield, preventing a huge amount of solar heat from ever cooking your attic. It’s a massive upgrade over standard asphalt shingles, which just absorb and transfer heat directly into your home.
The Courtyard: The Lungs of the Home
The central courtyard or patio is the heart of the design, but it’s also the lungs. By creating a shaded, cool zone in the middle of the house, you create a natural temperature and pressure difference. Hot air in the surrounding rooms wants to rise and escape through high windows, and when it does, it pulls the cooler, denser air from the courtyard through the house to replace it. Add a small fountain in the center, and the evaporative cooling effect makes this process even more powerful. I’ve seen a well-designed courtyard drop the temperature in a home by a noticeable 5 to 10 degrees without a single watt of electricity.
Techniques the Pros Use (And You Should, Too)
Building one of these homes right requires a level of craftsmanship that’s getting harder to find. Modern shortcuts can ruin not just the look, but the way the house actually functions. Here are a few things we always insist on.
The Art of a Real Stucco Finish
Let’s be clear: there is a night-and-day difference between real, traditional three-coat stucco and the synthetic, one-coat systems (often called EIFS) you see on so many tract homes. For durability and authenticity, the three-coat process is the only way to go.
- The Scratch Coat: This is the first layer, a Portland cement mix about 3/8-inch thick, troweled onto a metal lath. We then literally scratch it with a special rake to create deep grooves. This gives the next coat a solid mechanical bond to grip onto.
- The Brown Coat: The second layer, another 3/8-inch of a cement-based mix, is all about getting the wall perfectly flat and true. This is where a skilled plasterer earns their money, using a long straightedge called a ‘darby’ to work the surface. A wavy brown coat means a wavy, amateur-looking final wall.
- The Finish Coat: This is the thinnest layer, only about 1/8-inch thick, and it’s where you get the texture. A classic hand-troweled finish has subtle variations that catch the light beautifully. You can see and feel the difference compared to a cheap, uniform spray-on texture.
A hard-learned lesson: Early in my career, a client insisted on a synthetic stucco system to save some money. Big mistake. Within five years, we were back for major repairs. The system had trapped moisture against the wood framing, causing significant rot. A real stucco system is designed to breathe—it can absorb moisture and then dry out. Trapping it is a recipe for disaster. That was an expensive lesson in why you don’t compromise on core materials. Oh, and by the way, be prepared for both the cost and the timeline. A proper three-coat job is labor-intensive; you could be looking at anywhere from $15 to $25 per square foot installed. And it’s not a quick job. For an average house, the whole process, including the essential curing time between coats, can easily take several weeks.

How to Handle Terracotta Tiles the Right Way
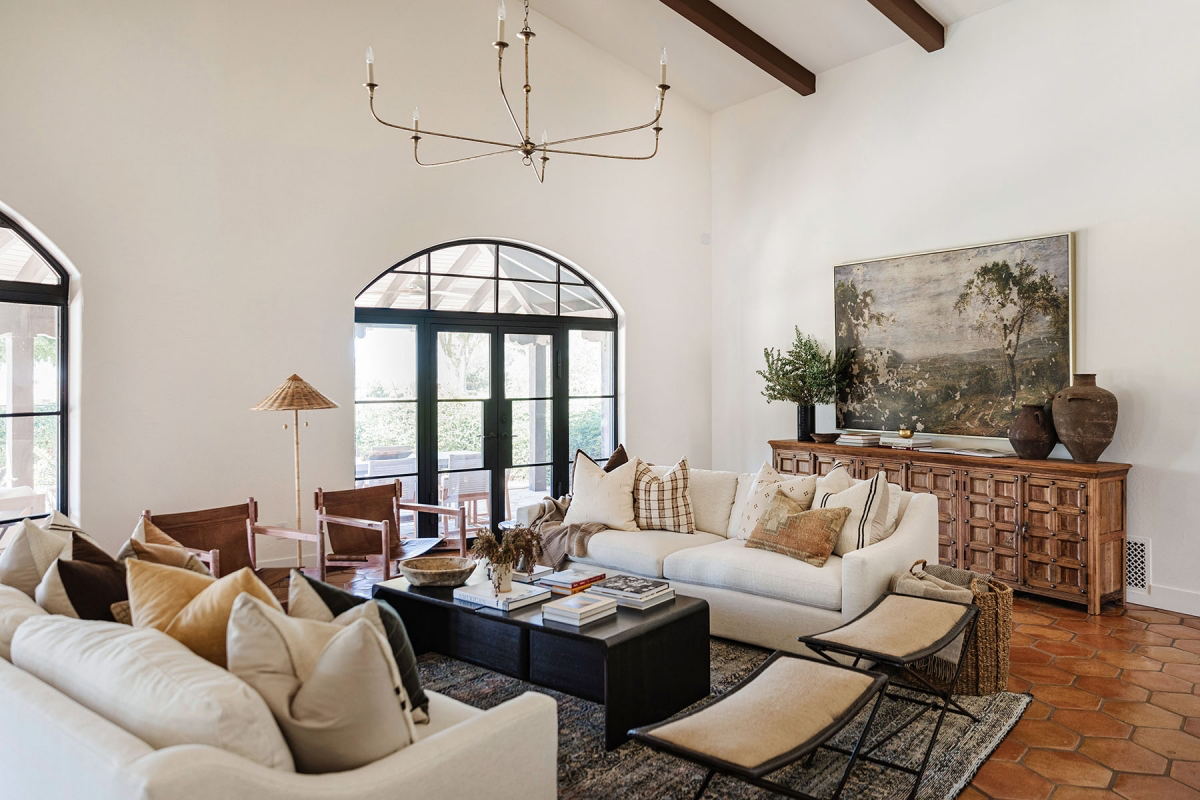
Nothing says ‘Spanish-style’ quite like terracotta floor tiles, especially the handmade Saltillo tiles from Mexico. They’re gorgeous, but they are a beast to work with—soft, incredibly porous, and all slightly different in size and thickness.
Heads up! You absolutely MUST seal the tiles before you grout. I can’t say this enough. If you don’t, the pigment from the grout will bleed into the porous clay and permanently stain them. We lay them all out, apply a good penetrating sealer to the top, and then set them with a thick-bed mortar to level out all their irregularities. Standard thin-set won’t cut it. And embrace the wide grout lines—often 1/2-inch or more. It celebrates the tile’s rustic nature. After the grout cures, the entire floor gets several more coats of sealer.
Quick Tip: Buy at least 15-20% extra Saltillo tile. Because they’re handmade, you’ll have a high percentage of broken, warped, or flawed tiles you can’t use. You will absolutely need the extra material. When budgeting, don’t forget this is a premium installation. Factoring in the tile, specialized mortar, sealers, and the painstaking labor, you could easily be looking at $20 to $40 per square foot, all said and done.
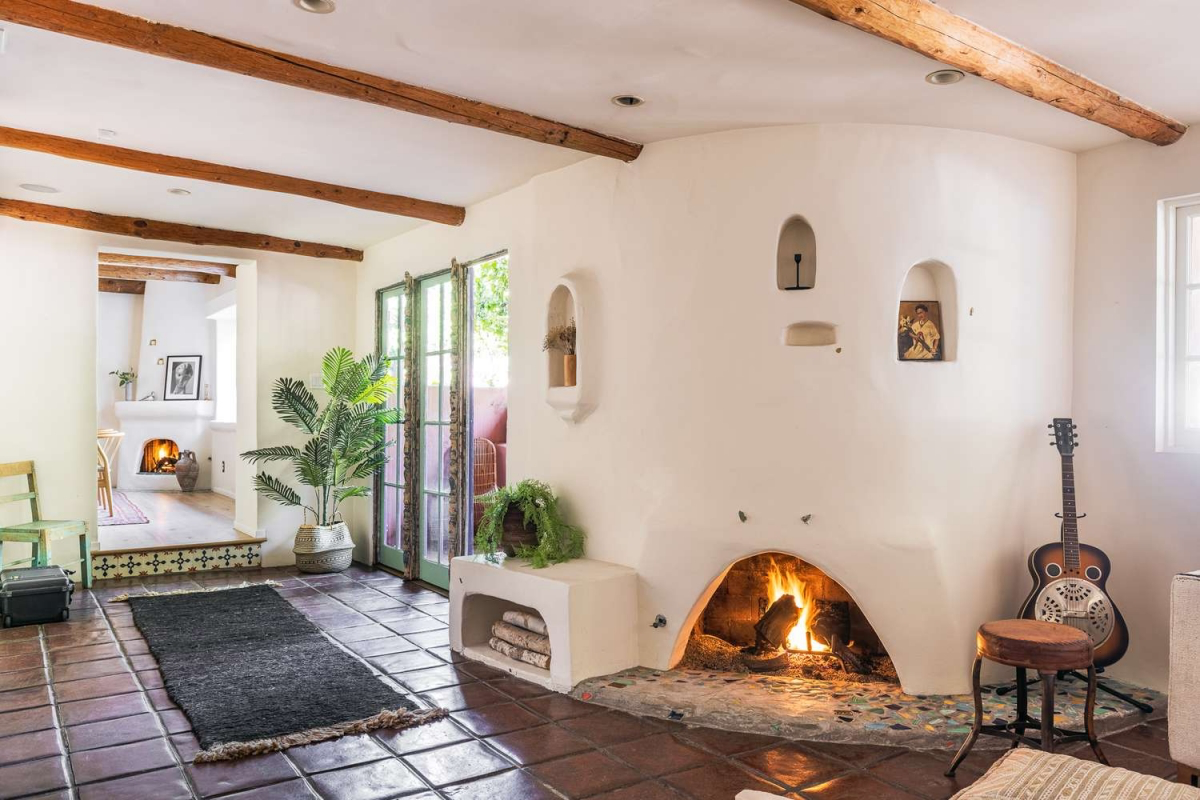
Working with Heavy Timbers
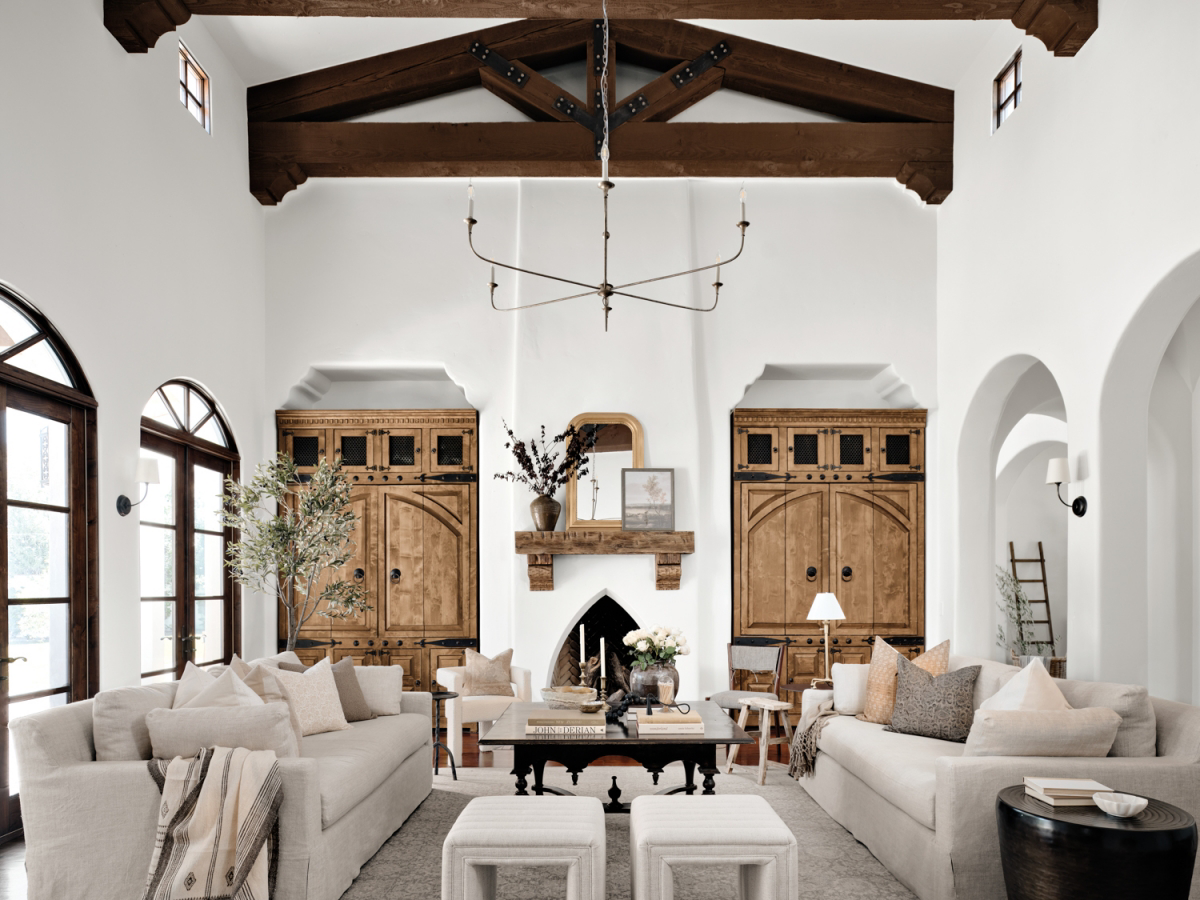
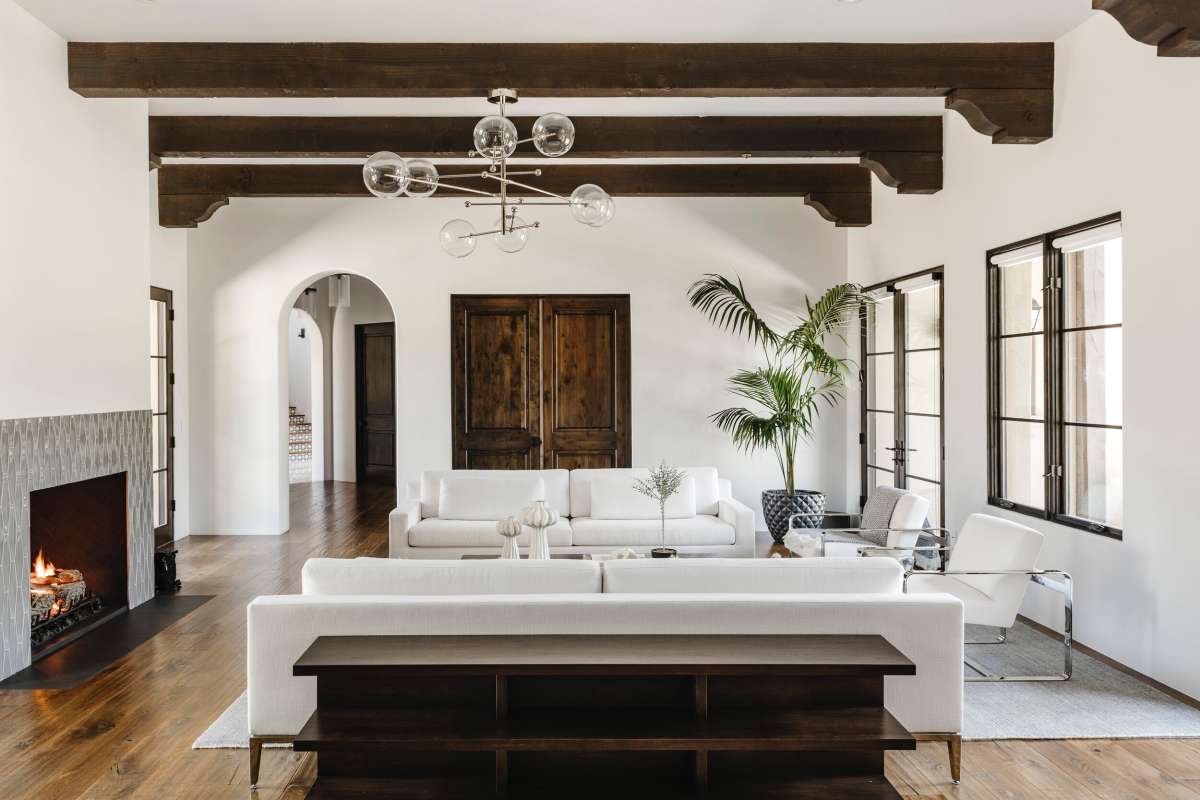
Those big, exposed wood beams aren’t just for show. In original homes, they were the actual structure. When we use them today, we use solid, heavy timbers—not the hollow box beams that feel light and fake. The key is the joinery. We often use traditional mortise and tenon joints held with wooden pegs. The wood is usually stained dark to pop against the white plaster, and the finish should never be glossy. A hand-rubbed oil or wax gives it a deep, soft luster that feels ancient from day one.
It’s Not All the Same: Regional Flavors of Spanish Style
The term ‘Spanish Style’ is actually a pretty broad umbrella. The vibe you find in a humid, coastal area is different from a dry, desert region. These variations popped up because of local climates, available materials, and cultural cross-pollination.
- Mediterranean Revival: In places with high humidity and lots of rain, like Florida, the style often gets more elaborate. It pulls from Italian and North African influences, too. You’ll see more ornate stucco details and decorative tile work, all designed to manage a lot of water while promoting airflow.
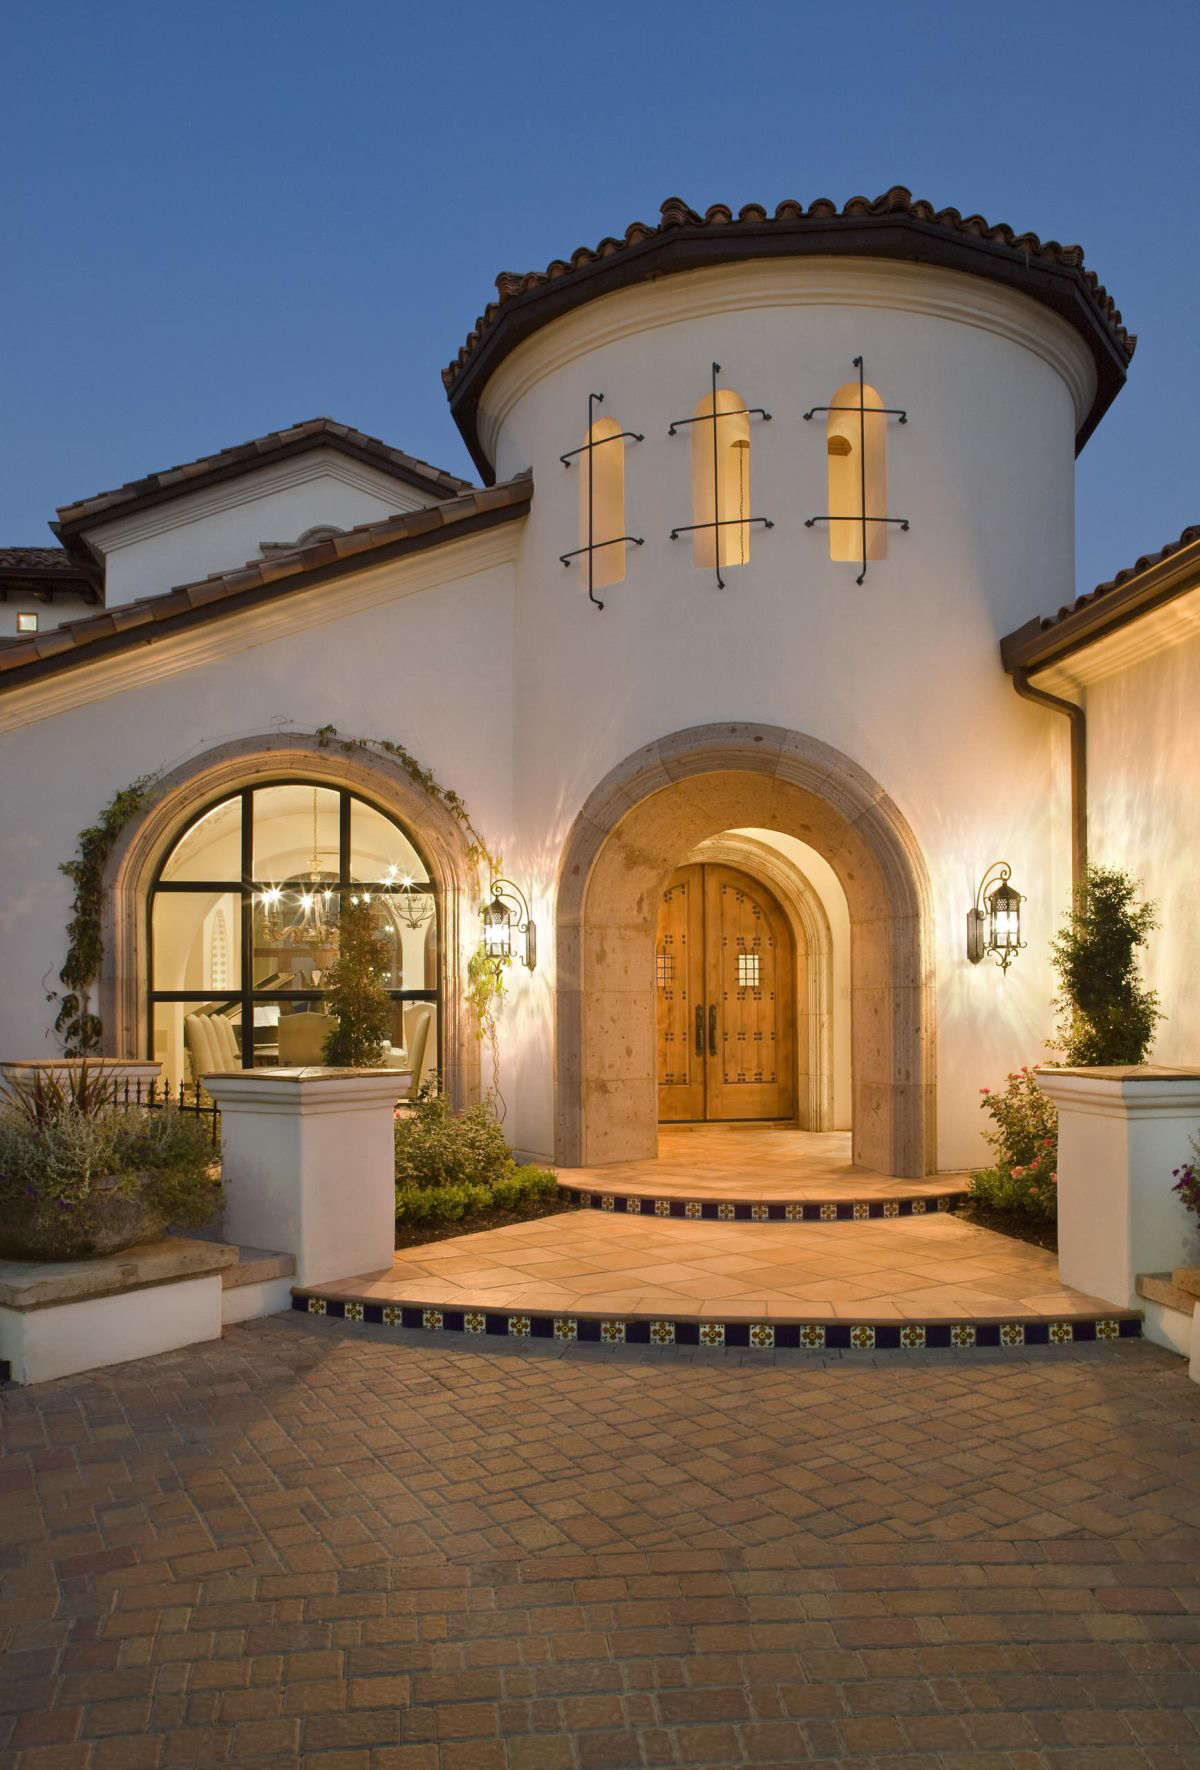
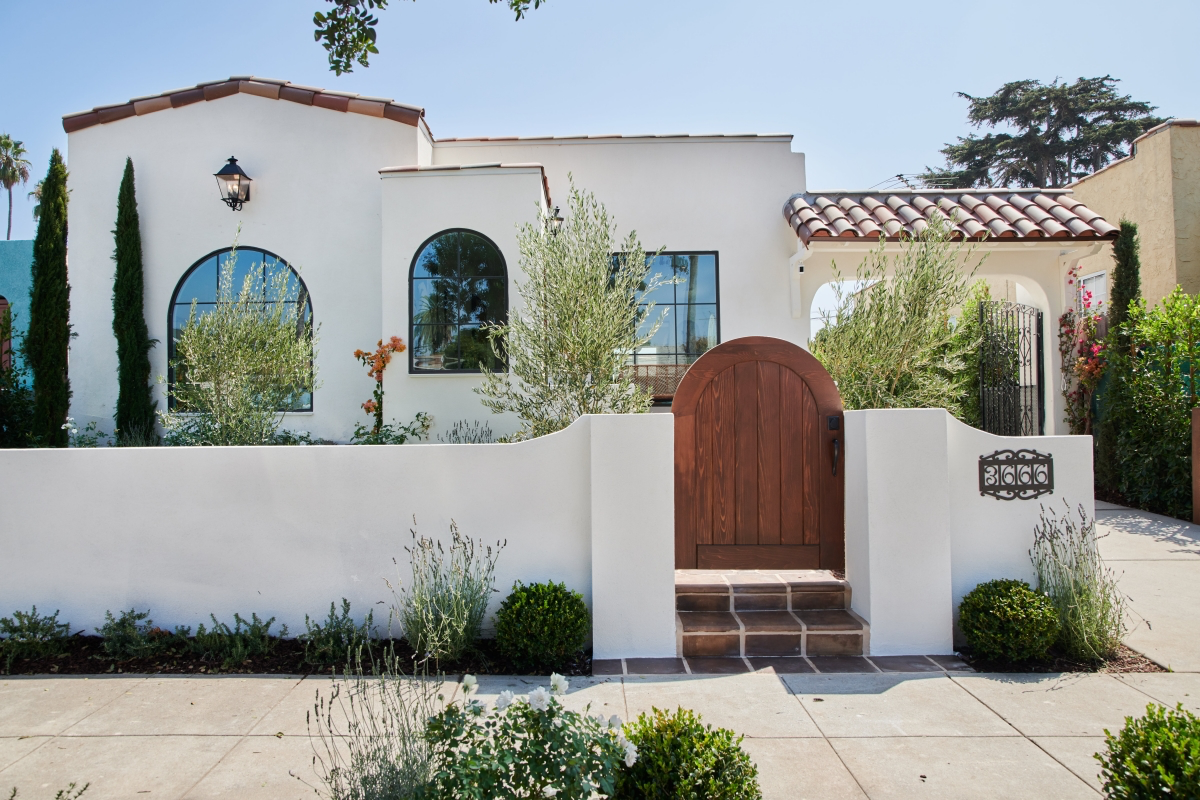
- Spanish Colonial Revival: On the West Coast, particularly in California, the style is often simpler and more rustic, drawing inspiration from historic missions. It’s a clean-cut interplay between smooth white walls, red roofs, and dark wood. Courtyards here are as much about private outdoor living as they are about cooling.
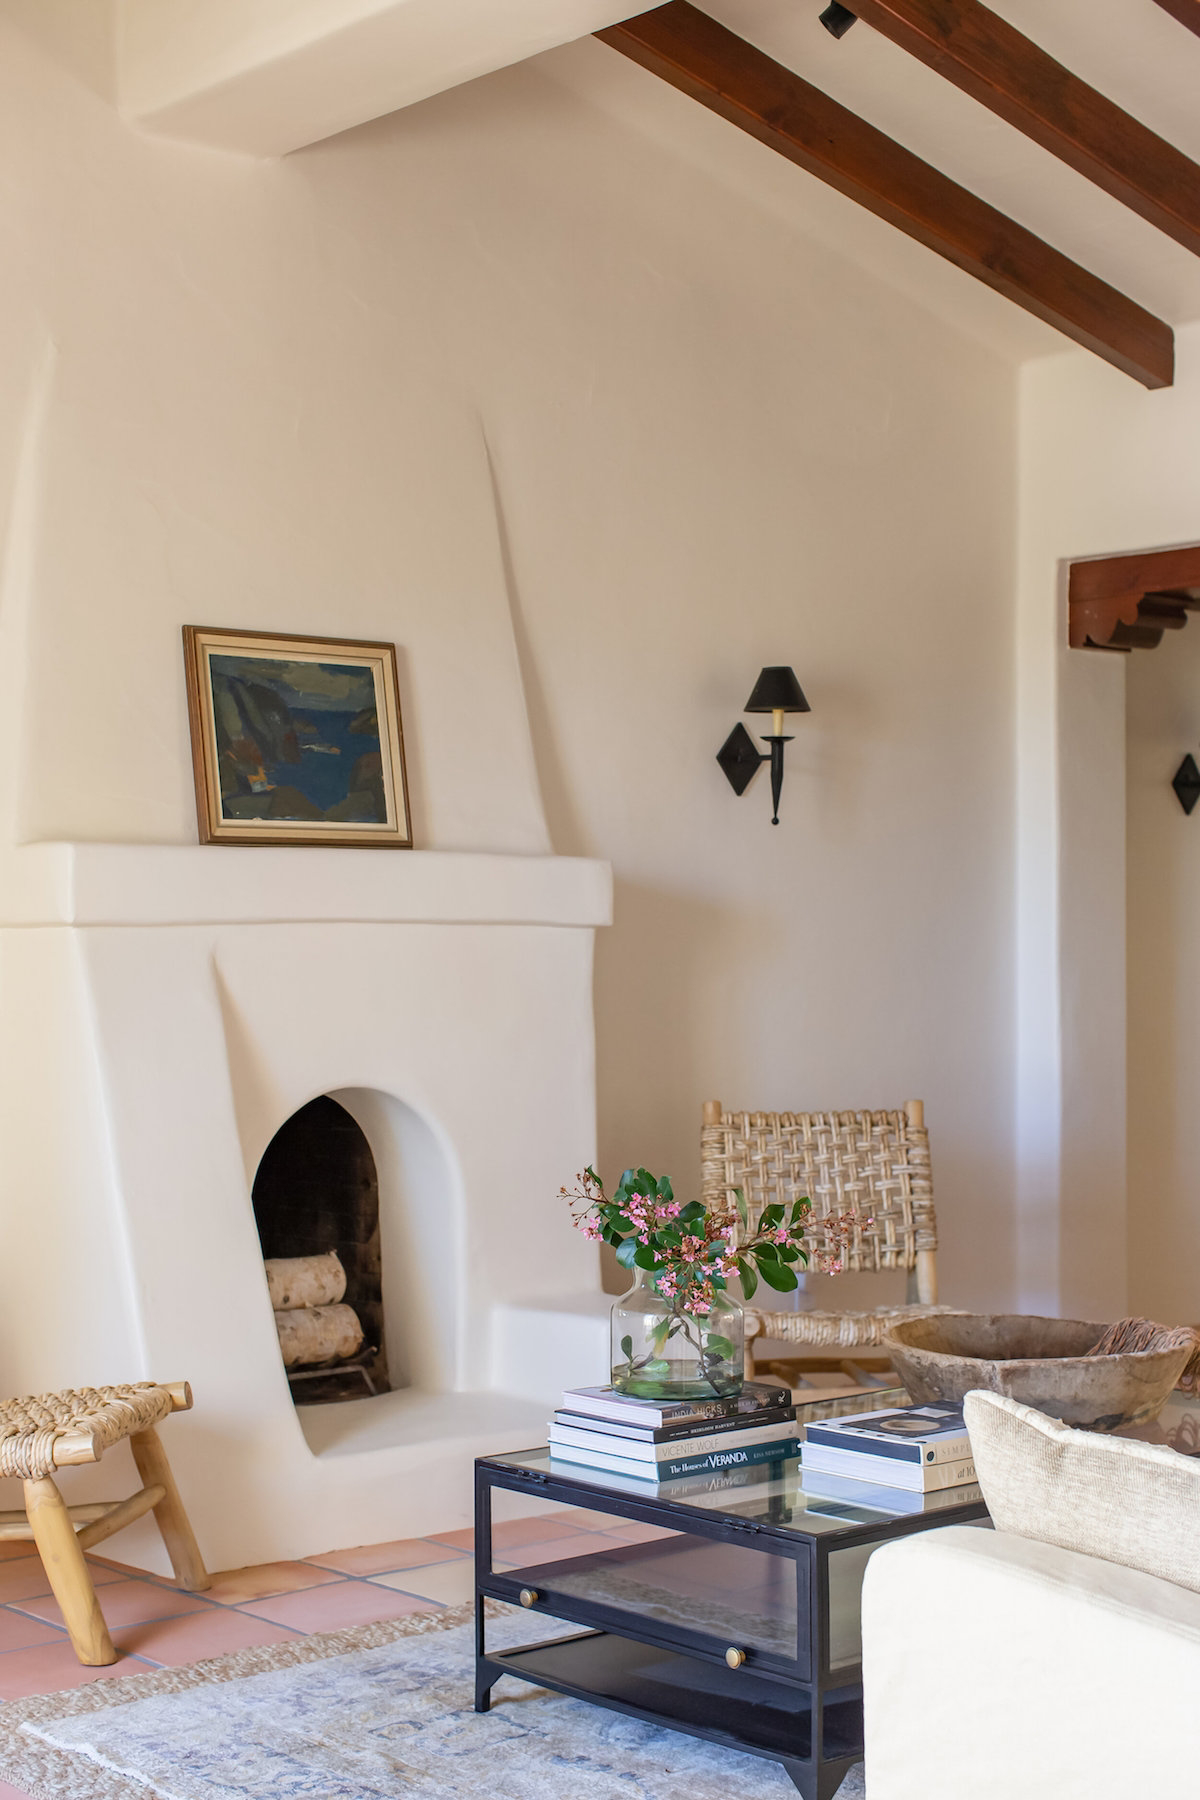
- Pueblo Revival: In the desert Southwest, the Spanish influence blended with native Pueblo building traditions. This means thick, rounded adobe-style walls, flat roofs with parapets, and exposed roof beams called ‘vigas’ that poke through the exterior walls. The color palette is all earth tones—browns, tans, and ochres pulled from the desert itself.
The Real World: Budgeting Your Build or Renovation
Authenticity isn’t cheap. A real clay tile roof and a three-coat stucco job are major investments. So how do you get the spirit of the style without an unlimited budget?
Where to Spend and Where to Save
If you’re building new, the two places you can’t skimp are the roofline and the wall finish. They define the entire look. If real clay tile is a budget-buster (it can easily be $20-$30+ per square foot, versus $5-$8 for asphalt shingles), consider a high-quality concrete tile. It gives you a similar weight and profile at a lower price point.
You can save money on the interiors, at least initially. For flooring, instead of true Saltillo, look for a high-quality porcelain tile that mimics terracotta. A lesser-known trick: find porcelain tiles with high color variation (look for a ‘V3’ or ‘V4’ rating on the box) and un-rectified, slightly irregular edges. This combo does a fantastic job of faking that authentic, handmade feel. You can also use a warm white paint on standard drywall instead of pricey plaster, and add decorative details over time.
When to Absolutely Call a Professional
Some things just aren’t DIY jobs. Roofing is number one. The weight of the tiles and the complexity of waterproofing require a specialist. A bad stucco job will crack and leak, so hire a plasterer who is a true artist. And if you’re adding arches or heavy beams, you MUST consult a structural engineer first. Never mess with the bones of a house without a pro.
Your Long-Term Care and Maintenance Plan
These homes demand a little more TLC than your average build, but the payoff is a home that lasts for generations. Maintenance is not optional.
A CRITICAL Safety Warning: I have to say this in all caps. YOU CANNOT SIMPLY PUT A TILE ROOF ON A HOUSE FRAMED FOR SHINGLES. A tile roof weighs 800 to 1,200 pounds per 10×10 foot square. Shingles weigh 250 to 400 pounds. The entire structure, from the rafters down to the foundation, must be engineered for that immense load. Trying to do this without proper engineering is a dangerous and catastrophically expensive mistake.
Here’s a simple maintenance mindset:
- Annually: Do a walk-around. Look for any new, significant cracks in the stucco. Get up on a ladder (safely!) and inspect the roof for any cracked or slipped tiles that could cause a leak.
- Every 2-3 Years: Your terracotta floors in high-traffic areas will likely need to be resealed. For regular cleaning, use a simple pH-neutral cleaner and a damp mop. Harsh or acidic chemicals will eat away at your sealer.
- Every 7-10 Years: Plan on repainting the exterior. A good coat of quality paint is your first line of defense, sealing any hairline cracks that have formed in the stucco and keeping it looking fresh.
Taking care of these details is the best way to protect your investment. A well-maintained Spanish-style home isn’t just a house; it’s a legacy.
Galerie d’inspiration

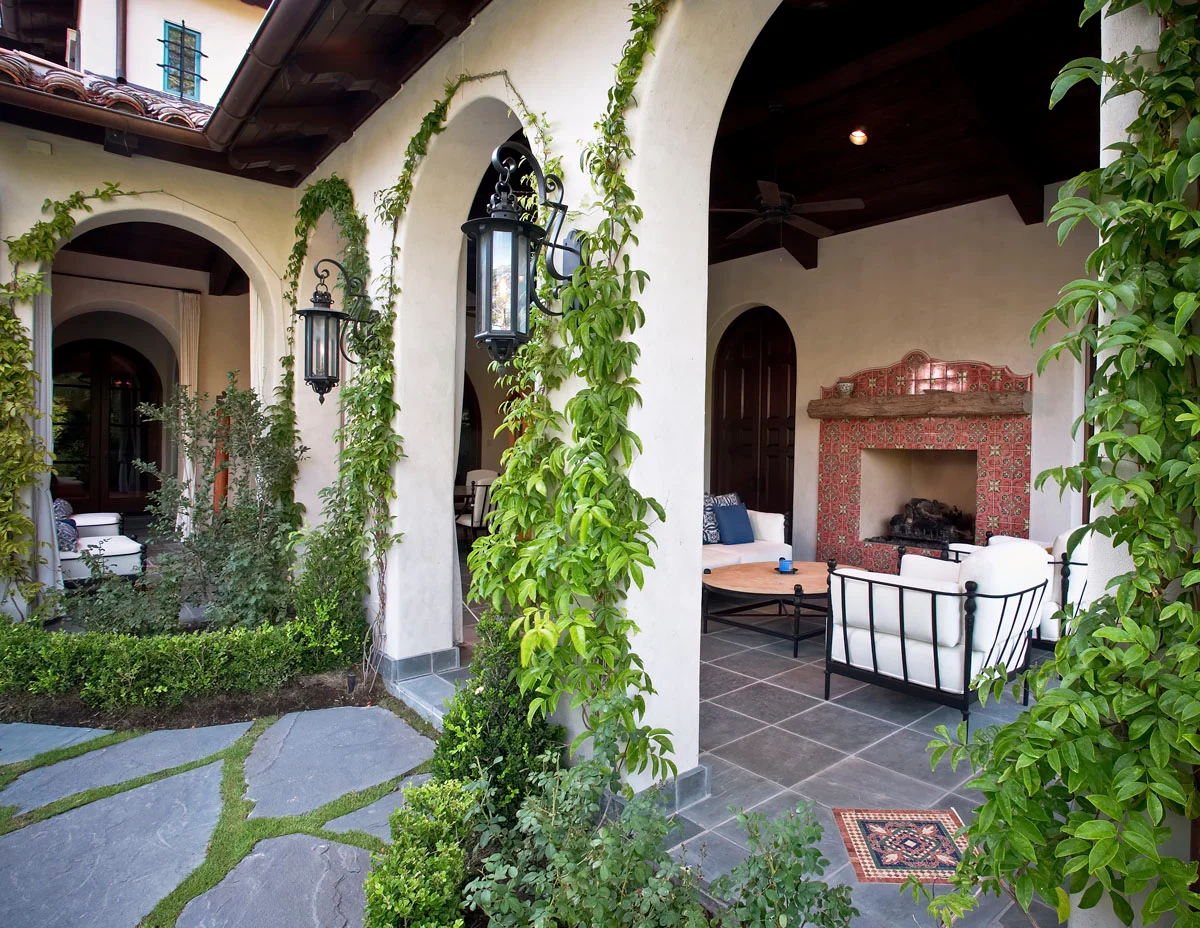
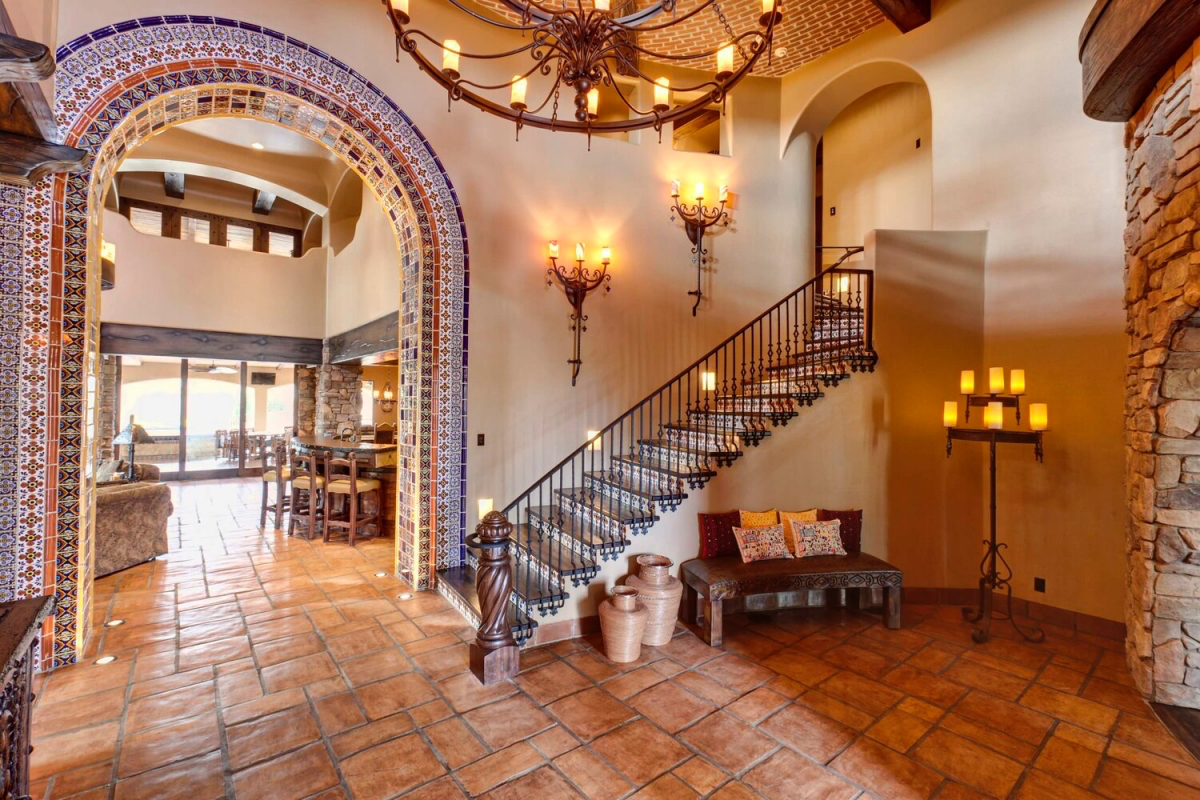
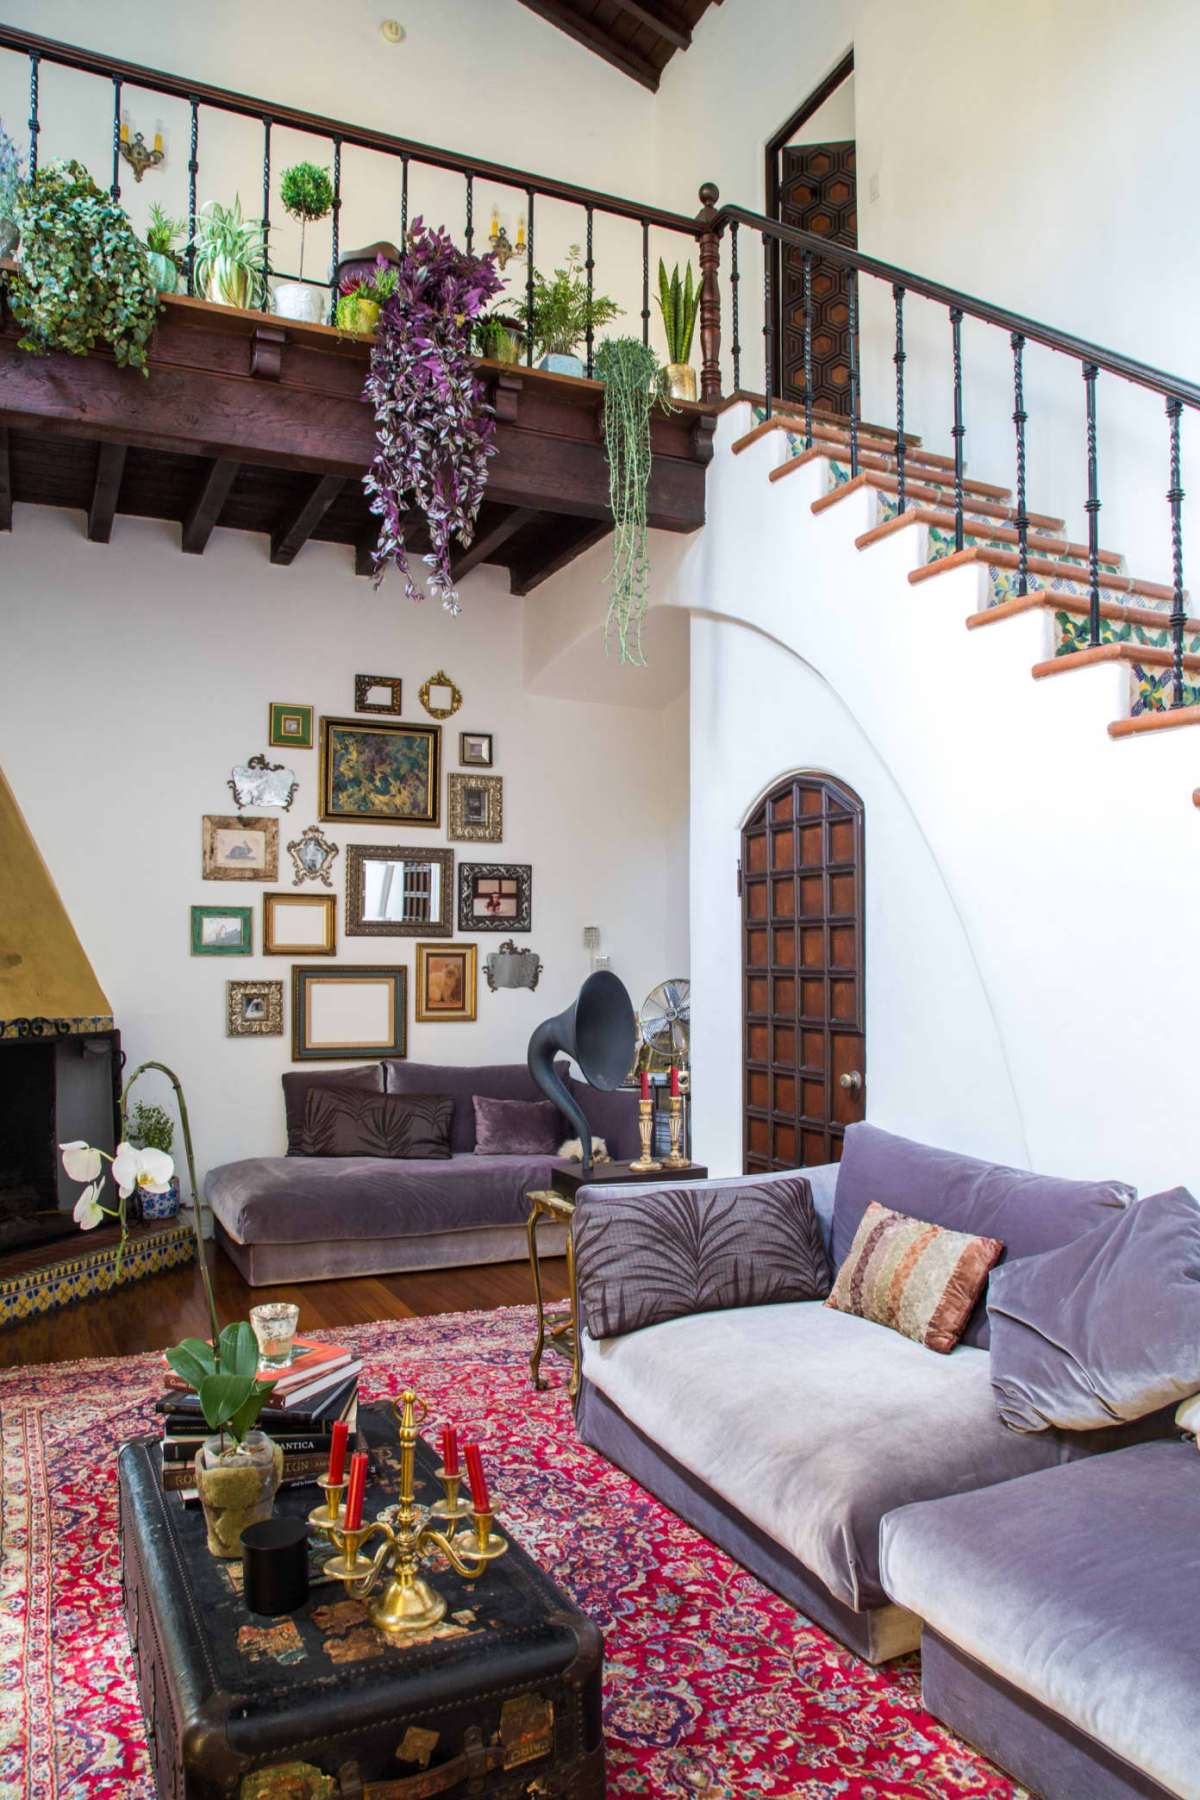
Wrought iron is the quintessential metal of Spanish design, but authenticity lies in the details. Look for hand-forged pieces with subtle imperfections. For lighting, railings, or window grilles, a matte black or dark bronze finish provides a timeless look. Avoid glossy paints and thin, machine-made elements, as they lack the visual weight this style demands.
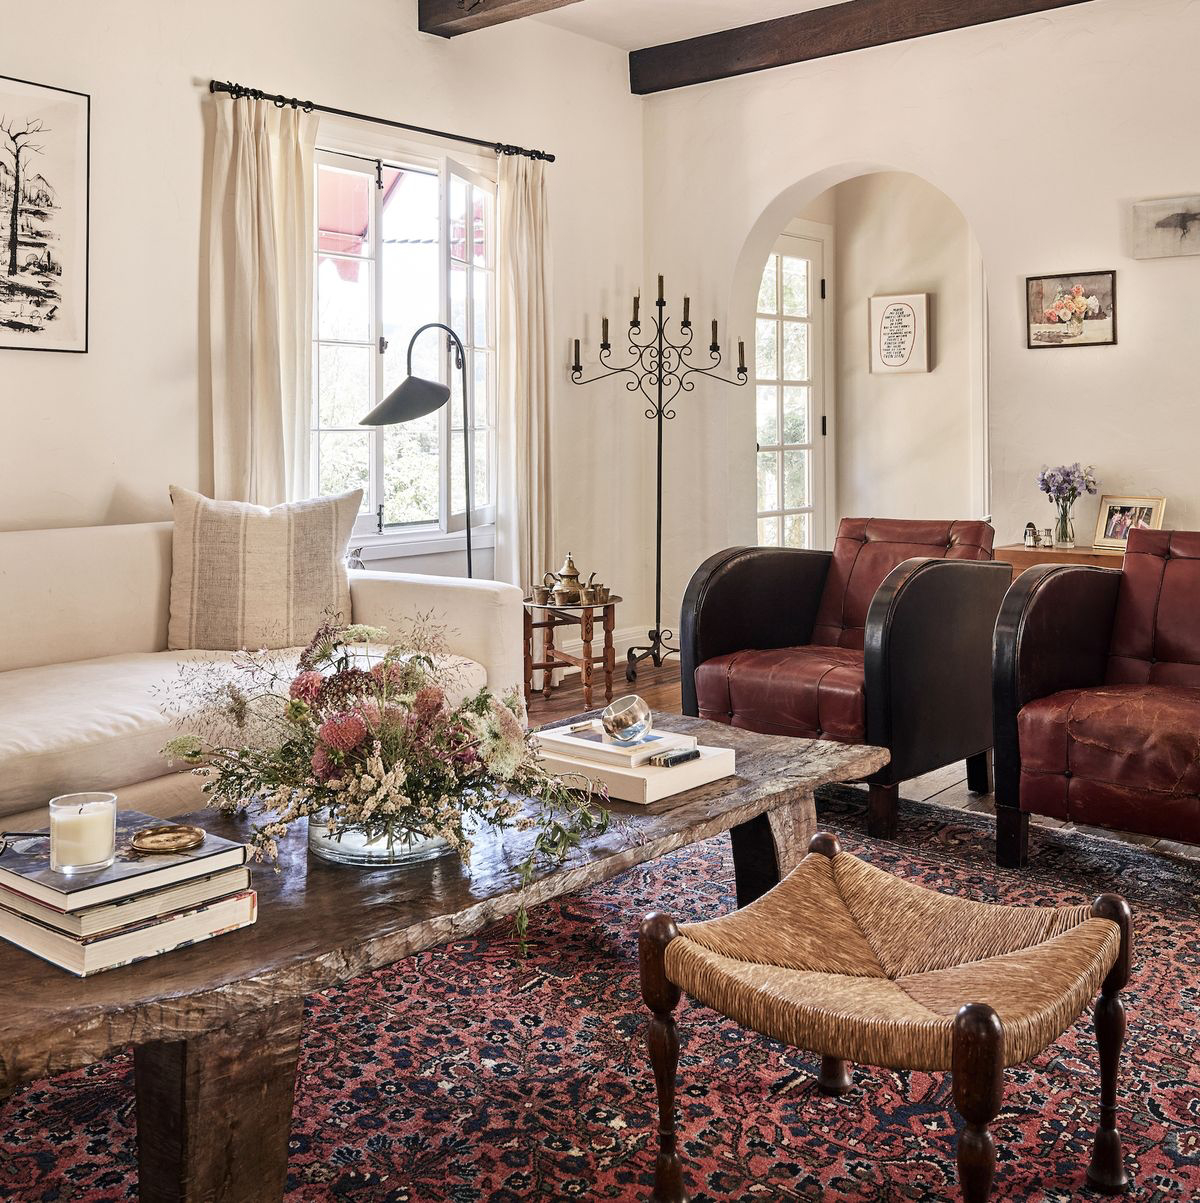
A critical mistake: Choosing a stark, brilliant white paint for the walls. True Spanish and Mediterranean homes historically used lime-wash paints, which resulted in softer, warmer off-whites. A pure white can look jarring and cheap. For a modern yet authentic feel, consider shades like Benjamin Moore’s ‘White Dove’ or ‘Swiss Coffee’ which have subtle warm undertones that complement natural materials.
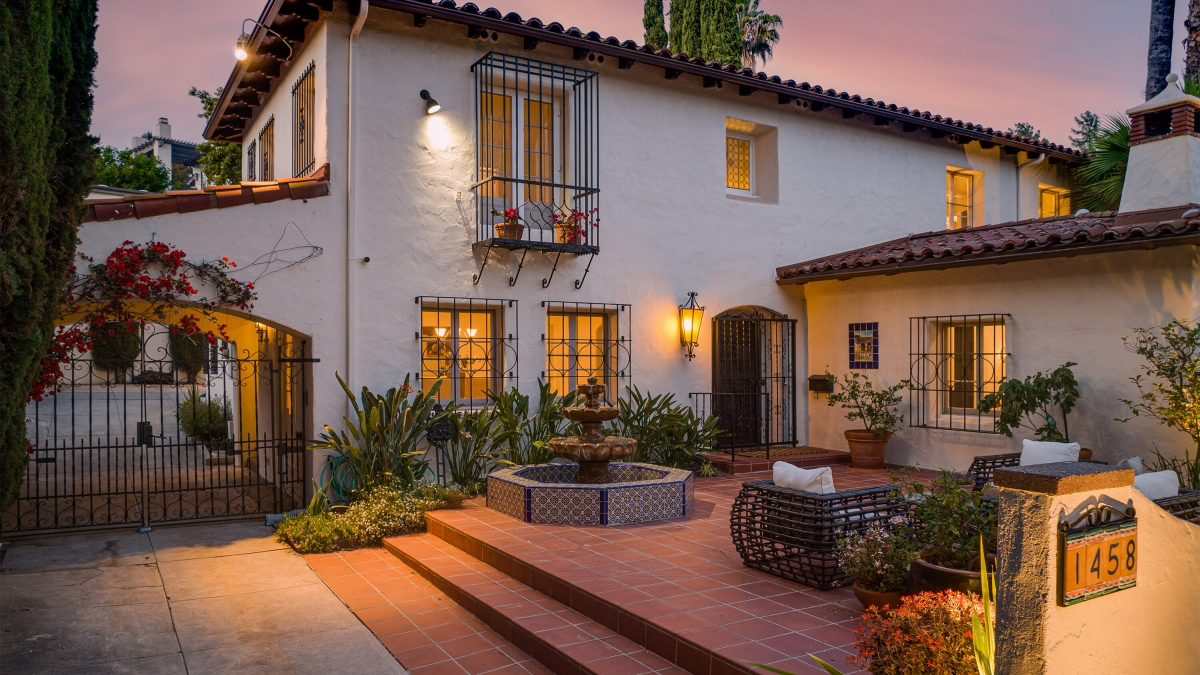
- Create a cool, private outdoor sanctuary.
- Draw natural light and air into the core of the home.
- Provide a gentle, soothing auditory backdrop with a water feature.
The secret to achieving all this? A central courtyard or ‘patio’. It’s not just a backyard; it’s the architectural heart and the original climate control system of a true Spanish-style residence.
Did you know? Authentic Saltillo tiles are traditionally sun-dried, not kiln-fired.
This centuries-old process is what gives each tile its unique color variations, from deep terracotta to warm yellow, along with charming imperfections like chips or even the occasional animal footprint. This rustic character is a hallmark of the style and cannot be replicated by mass-produced ceramic tiles.
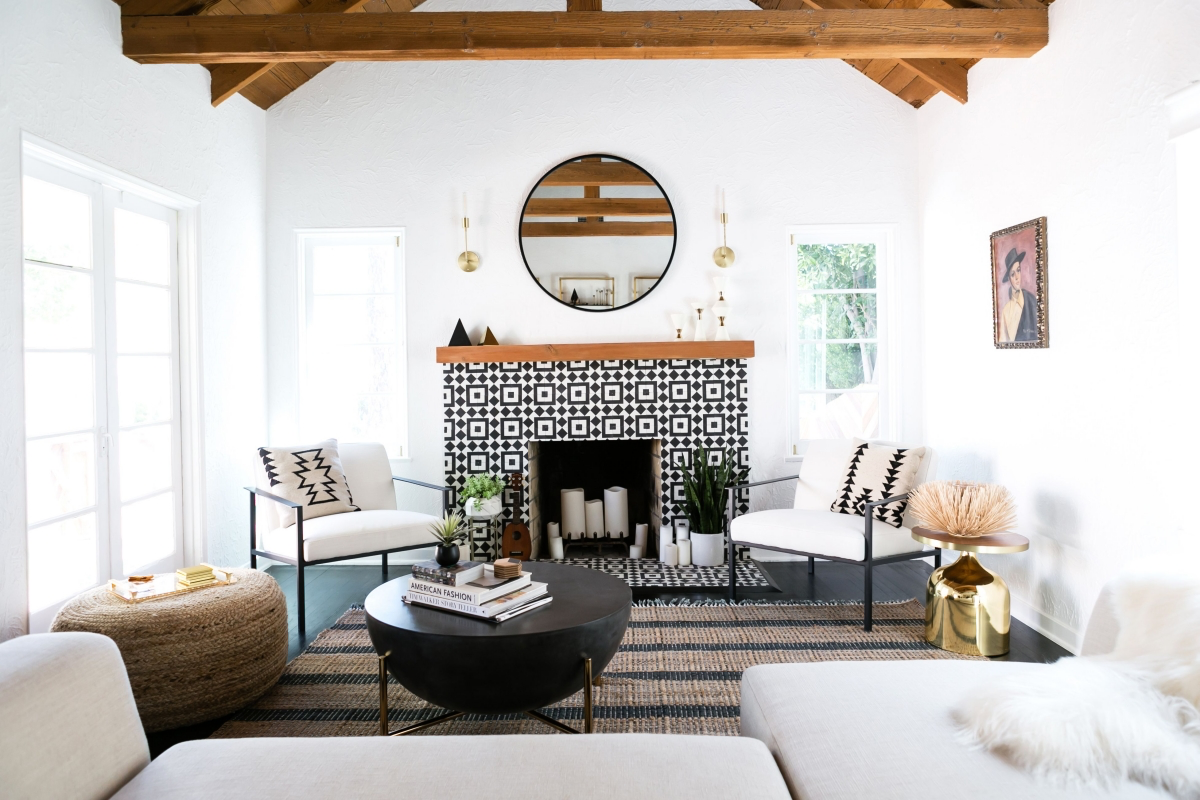
Are heavy, dark wood beams a must-have?
Not necessarily. While classic Spanish Revival homes favor dark-stained walnut or oak beams for a dramatic, rustic effect, modern interpretations offer more flexibility. For a brighter, more coastal feel, consider leaving structural beams in a natural, lighter wood finish like Douglas fir. You can even paint them the same color as the ceiling to add texture and architectural interest without darkening the space.
The right roof tile is about more than just the color red. To truly honor the style, you need to consider shape and finish. Here’s what to look for:
- Barrel Tiles (Mission Style): These half-pipe shaped tiles create a classic scalloped pattern, essential for the most authentic look.
- S-Tiles: A more modern, interlocking alternative that mimics the barrel look with a single piece, often simplifying installation.
- Matte Finish: Avoid glossy, uniform tiles. The beauty lies in the subtle color variations and non-reflective finish of natural clay, like those from manufacturers such as Boral or Ludowici.
Tile Showdown: Floors vs. Accents
Saltillo Tiles: These are your workhorses. Made from raw clay, they are porous, rustic, and perfect for flooring. Their earthy warmth grounds a room, but they must be properly sealed to resist stains.
Talavera Tiles: These are the jewels. They are hand-painted, glazed ceramic tiles, bursting with color and intricate patterns. Use them for high-impact accents on stair risers, kitchen backsplashes, or as a fountain surround—never for high-traffic floors.
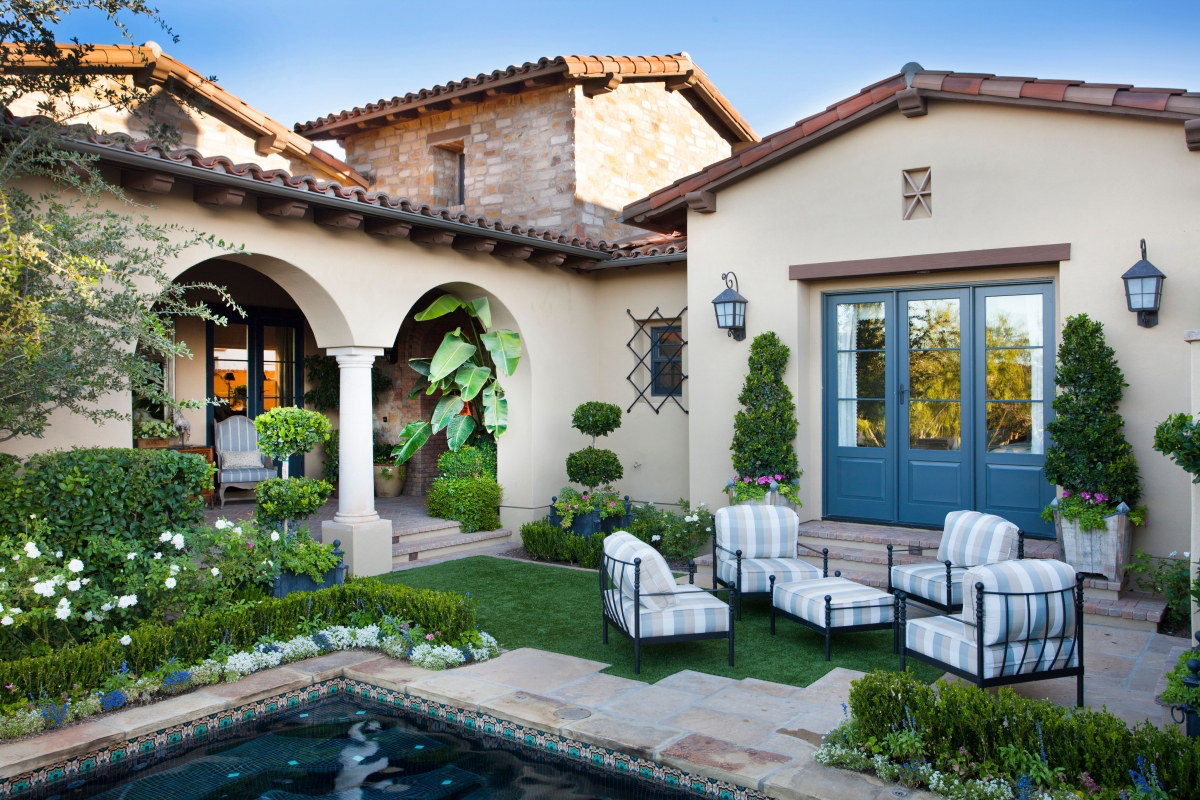
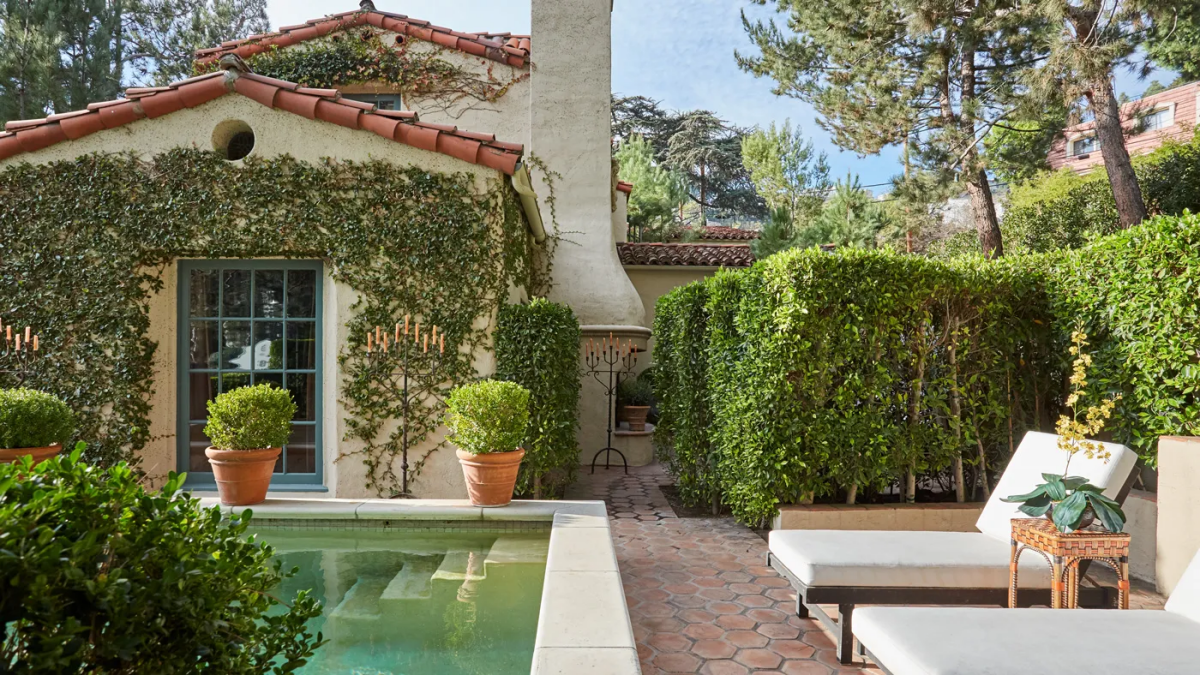
Don’t overlook the garden. The landscape is an extension of the home’s architecture. Instead of a manicured lawn, think in terms of texture and drought-tolerance. Incorporate gravel pathways, large terracotta pots overflowing with bougainvillea or geraniums, and strategic plantings of olive trees, citrus, or fragrant rosemary. It’s a sensory experience that completes the illusion of being in the Mediterranean.
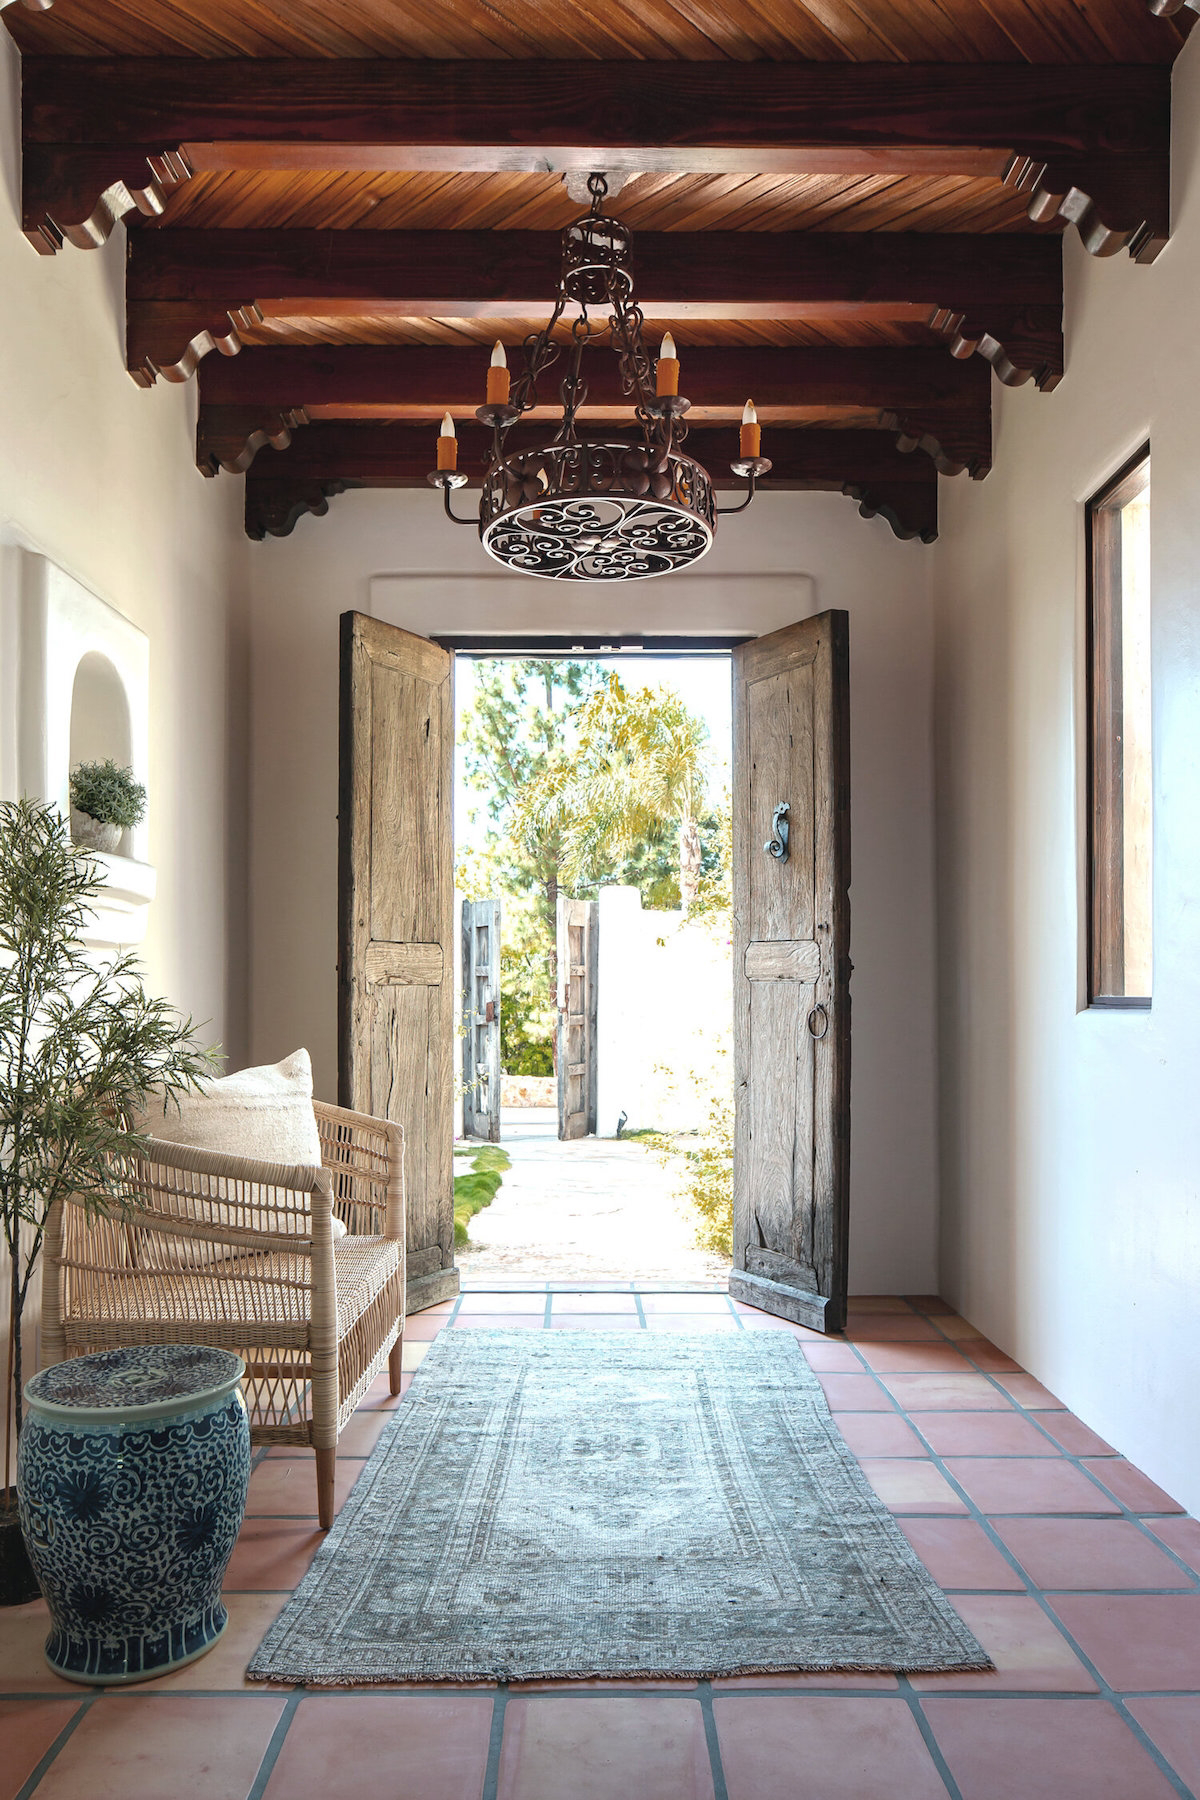
The arched passageway, or ‘zaguán’, is a key feature connecting the street to the interior patio. More than a simple hallway, it’s a deliberate transition. It compresses the space, often leaving it slightly darker, to create a dramatic sense of arrival and relief when one emerges into the bright, open-air courtyard. It’s a masterful touch of architectural storytelling.
To achieve the characteristic textured walls on a budget, look into modern plastering techniques. A hand-troweled finish, even on standard drywall, can mimic the look of traditional stucco. Ask your contractor about applying a ‘skip trowel’ texture. This technique creates subtle, irregular high and low spots that catch the light beautifully, adding the depth and character essential to the style without the cost of a full three-coat stucco system.


