Don’t Ruin Your Hats! A Pro’s Guide to Storing Them the Right Way
I once saw a gorgeous, custom-made straw hat completely ruined by a single metal hook. A client had hung it by the door for a season, and by the end of one humid summer, the hook had left a permanent, rusty dent in the inner band. The hat went from crisp and elegant to, well, garbage. It’s a sad story, but honestly, it’s a super common one. We invest in quality headwear but totally forget about the last, most crucial step: how to store it.
In this article
And let’s be clear, this isn’t just about being tidy. It’s about preservation. A well-made hat has a specific shape and structure that the makers painstakingly created. Gravity, humidity, light, and pressure are its natural enemies, constantly trying to undo that work. So, my goal here is to share the real-deal techniques I’ve learned over the years for keeping hats in perfect shape—whether it’s your favorite baseball cap or a pricey felt fedora.
What’s Actually Happening to Your Hat in the Closet?
To store a hat right, you need to know what you’re up against. It’s really just a battle against basic physics and the environment. Once you get the ‘why,’ the ‘how’ makes a lot more sense, and taking care of your hats stops feeling like a chore.
The Materials vs. The Elements
Every hat material has a weakness. Knowing it is half the battle.
- Wool and Fur Felt: Think of your classic fedoras and Western hats. Felt is basically matted fibers, and its biggest enemy is moisture. High humidity makes it go soft and floppy. Even worse, it’s a magnet for mold and mildew, which leave behind stains and a musty smell that’s nearly impossible to get out. Direct sunlight is also a problem, as UV rays will bleach the color right out of the felt.
- Straw: Hats made from natural plant fibers need a balanced environment. If it’s too dry, the straw gets brittle and can literally crack, especially along the creases of the crown. I once saw a vintage hat shatter at the brim because it was kept in a hot, dry attic. But if it’s too damp, the straw sags and gets musty, just like felt.
- Cotton and Canvas: These are the tough guys of the hat world, used for bucket hats and baseball caps. They’re pretty durable, but they will fade in the sun. And a heads-up: sweat stains can set in for good if you don’t clean them before storing them away for a season.
- Leather and Suede: These materials absolutely have to breathe. Storing them in a plastic bin is a death sentence—it traps moisture and invites mildew. They also hate direct heat, which dries them out and causes them to get stiff and crack.
The Unseen Forces: Gravity and Pressure
A hat’s shape is set using steam and pressure. Gravity is always working to undo that. Storing a hat the wrong way puts stress on all the wrong places.
For instance, the crown—the top part of the hat with all the character—is the most fragile. Laying a fedora flat on its crown will slowly but surely flatten its signature creases. Always support a shaped hat from its base, allowing the crown to float freely.
Oh yeah, and here’s a lesser-known trick: Always handle a fedora by its brim, not the pinched part of the crown. The oils on your hands can weaken and stain the felt over time, right where it’s most visible. It’s a small habit that makes a huge difference.
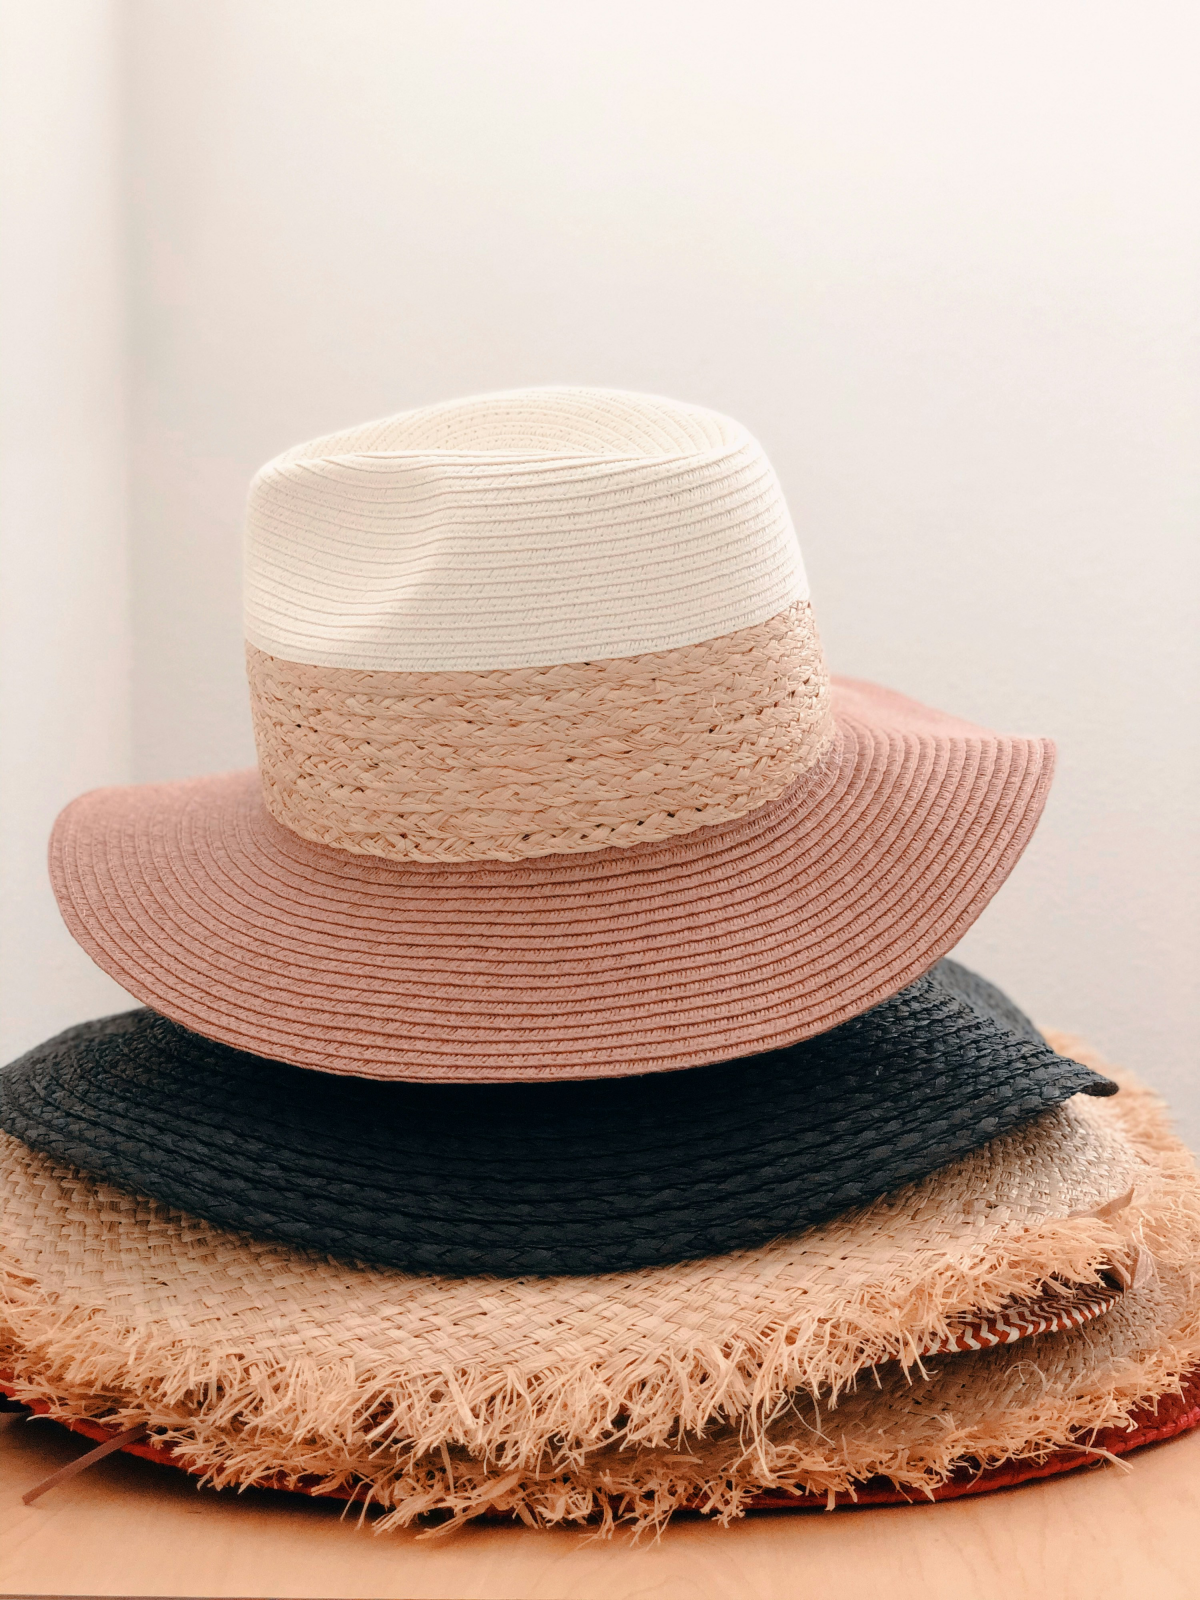
And that wide, flat brim on your sun hat? It needs to rest on a flat surface. If you hang it on a peg, the brim will droop and get wavy. Trust me, you can’t easily fix that without professional tools. Stacking hats is another common mistake. It seems so efficient, but it crushes the crown of the hat on the bottom. Every shaped hat needs its own personal space.
The Four Golden Rules of Hat Care
Before we get into specific setups, these are the four non-negotiable rules for any hat, from a $10 beanie to a $500 custom piece.
- Store it Clean: Always, always clean your hats before putting them away for a while. Dust and sweat attract pests and break down fabrics. For felt and straw, a soft-bristled hat brush works wonders. For sweatbands, gently wipe them down. A common question I get is, “Can I just use a baby wipe?” Please don’t! They often contain oils and lotions that can stain leather or fabric. Instead, a simple mix of 1 cup of cool water with just a couple of drops of clear, gentle dish soap on a clean cloth is perfect. Dab gently, don’t soak it, and let it air dry completely.
- Keep it Cool, Dark, and Dry: The perfect spot is a closet with stable temperature and humidity, away from sunny windows. Basements are often too damp, and attics are too hot. Museum conservation experts aim for around 65-70°F with 45-55% humidity. You don’t need to be that precise, but it gives you a good target.
- Support the Shape: The crown must be untouched, and the brim should be resting evenly on a flat surface. No exceptions for your good hats!
- Let it Breathe: Hats need airflow. Sealing them in plastic containers for months is a recipe for mildew, especially if you live somewhere humid. Cardboard boxes or open shelves are much better.
Smart Storage Setups for Your Collection
Alright, let’s turn those rules into practical action. Here are the best ways to store your hats, from the pro-level options to some clever hacks.
Method 1: The Hat Box – The Gold Standard
For valuable or delicate hats, a proper hat box is, without a doubt, the best choice. This is how the pros do it. The box protects from dust and light, but the real trick is what you do inside. You need to create a support for the hat. Take 3-4 sheets of acid-free tissue paper (the regular stuff can transfer ink or acids), crumple them loosely, and form a “donut” or ring. The hat then rests on this donut, which supports it right where the crown meets the brim. This takes all the pressure off the brim itself. You can also loosely stuff the crown with more tissue to help it hold its shape.
- Best For: Fine felt fedoras, delicate straw Panamas, vintage pieces, and long-term seasonal storage.
- The Cost: A good, archival-quality hat box will run you between $25 and $50. You can find them at places like The Container Store or online art supply shops. A big pack of acid-free tissue paper is about $10. It’s a worthy investment for a hat you love.
Method 2: Open Shelving – For Your Daily Rotation
For the hats you wear all the time, open shelving in a closet is perfect. It keeps them accessible and ensures great airflow. The key here is shelf depth. The shelf must be deep enough to support the entire hat, brim and all. A brim hanging over the edge will eventually sag. I’d recommend a minimum depth of 12 inches, but for wide-brimmed sun hats, you might need 16 inches. Measure your biggest hat before you buy or build anything!
- Best For: Any shaped hat you wear often, and for organizing a growing collection.
- Pro Tip: This can be a cheap DIY project. But if you’re not handy, a handyman can probably install a few shelves in under an hour. Just make sure they’re anchored properly.
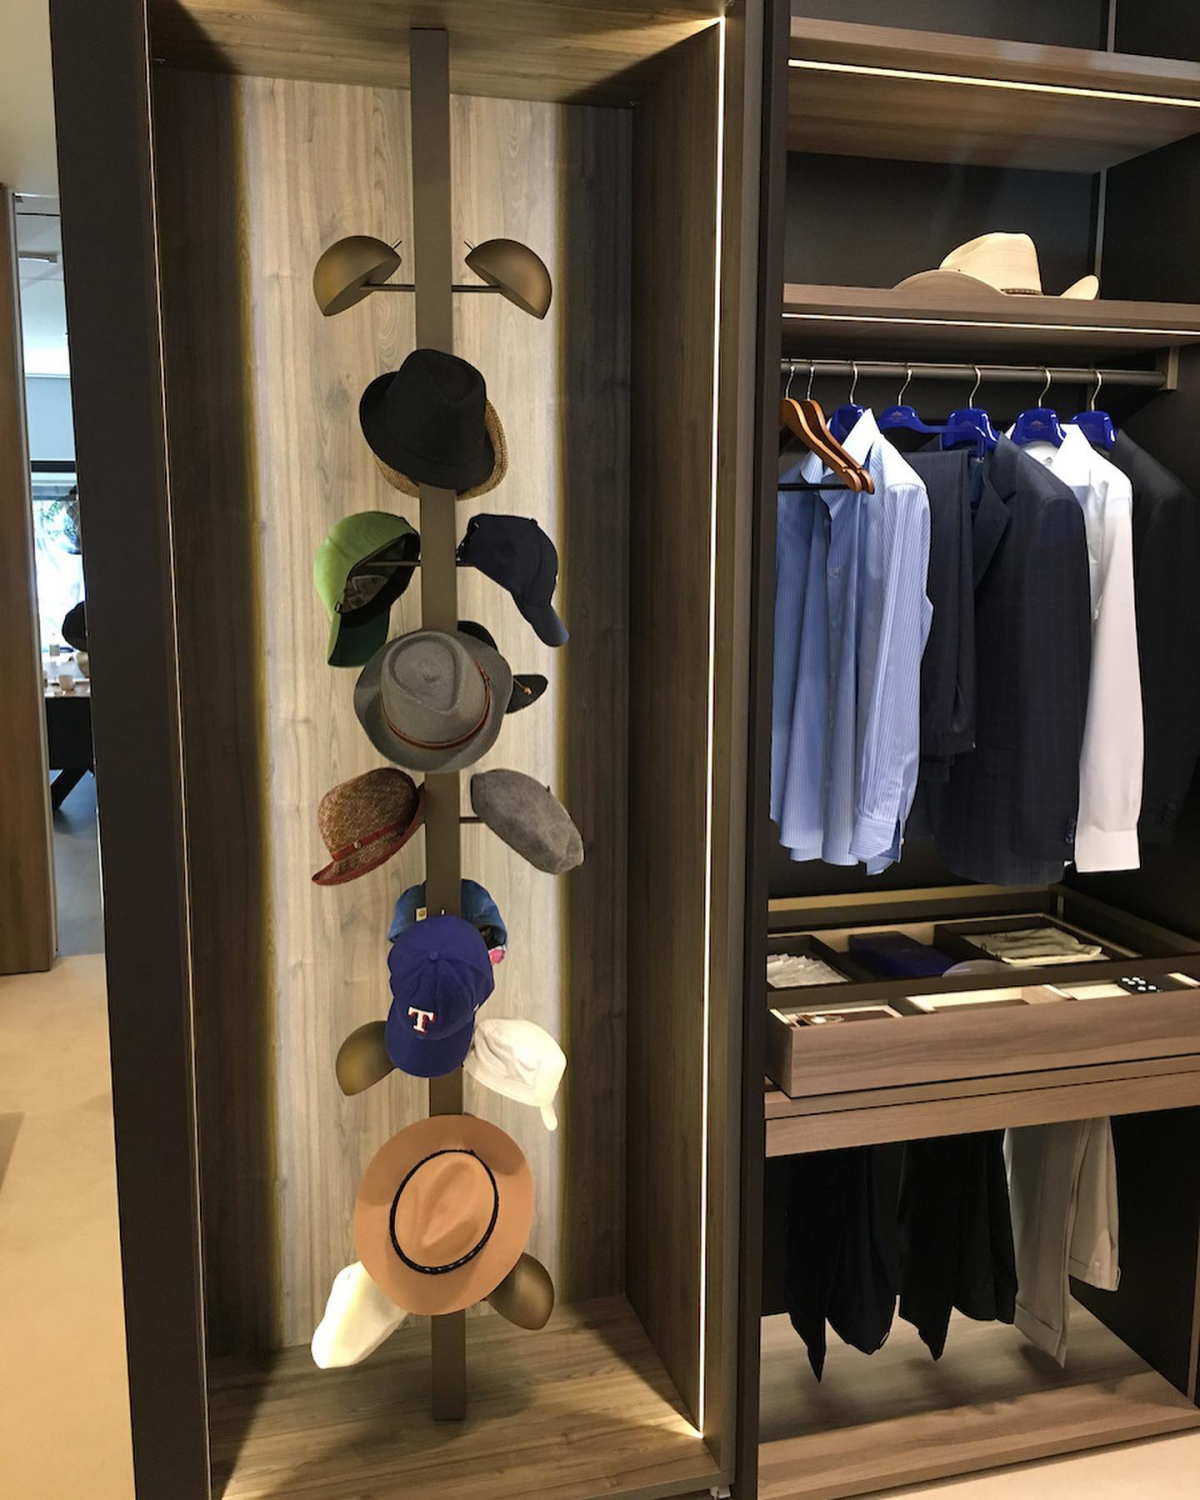
Method 3: Wall Pegs & Hooks – Proceed with Caution!
I know, I know—hat walls look amazing on Pinterest. But from a preservation standpoint, this is the riskiest method. I generally tell people to avoid it for any nice, structured hat. However, if you must, choose wide, smooth wooden pegs instead of sharp metal hooks. A wider surface spreads the pressure. The only hats that are truly safe on pegs are ones without a rigid structure.
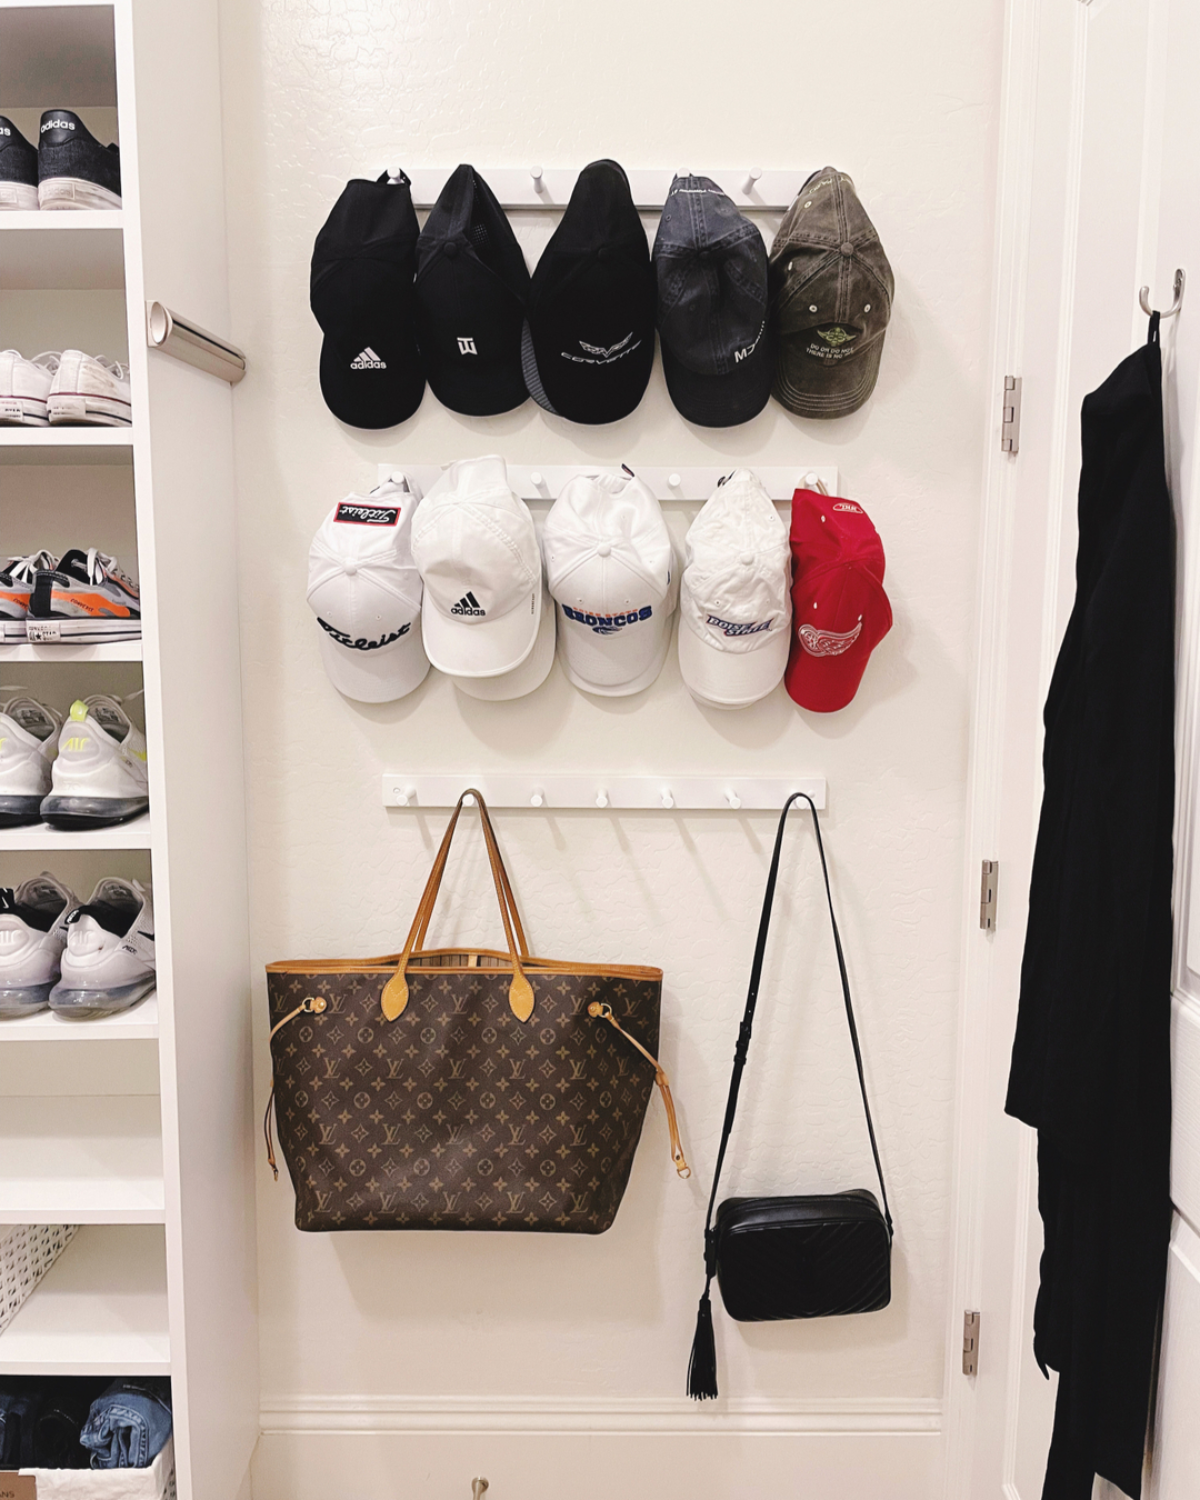
- Best For: Baseball caps (hang by the back strap), beanies, and other soft, crushable hats.
- Stern Warning: Please, do not hang a felt fedora or a nice straw hat on a peg. It will create a permanent dent over time. The cool look isn’t worth ruining a $200 hat.
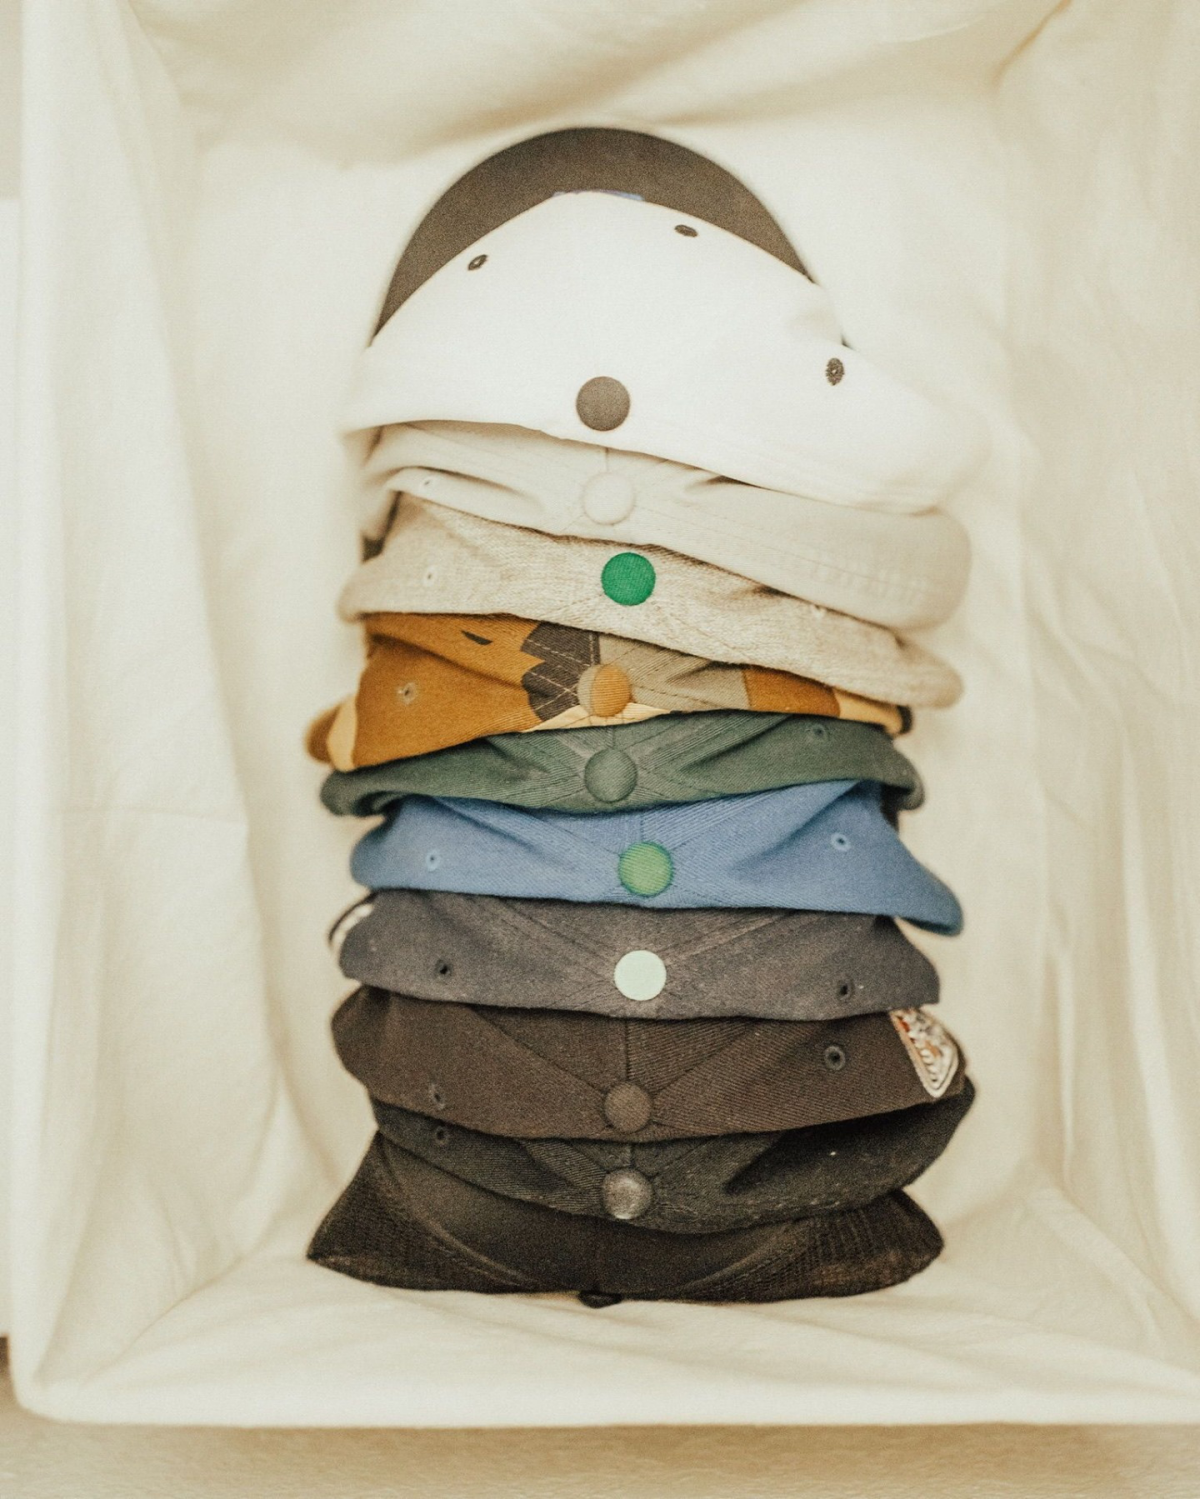
Method 4: Baskets & Bins – The Go-To for Soft Hats
For your beanies, berets, and fabric caps, baskets are a fantastic way to keep things organized. Just choose a breathable container, like a canvas bin or a woven basket. This allows air to circulate. Simply fold or roll your soft hats and place them inside. Don’t overstuff the bin, or you’ll stretch them out.
- Best For: Beanies, berets, fabric newsboy caps, and any other hat that’s meant to be crushable.
- Good to know: If you live in a really humid area, like the coast, even wicker can sometimes get mildew. In that case, an open wire-mesh bin is an even safer bet for maximum airflow.
Budget & Small-Space Solutions
What if you’re in a tiny apartment with zero closet space? Don’t worry, you’ve got options. You don’t need a custom walk-in closet to do this right.
- Under the Bed: Grab a shallow, rolling under-bed storage container. If it’s plastic, just make sure your hats are completely dry before they go in. You can use the same acid-free tissue paper donut trick inside the container to keep them supported.
- DIY Hat Boxes: You don’t necessarily need a fancy archival box. A sturdy shipping box from another purchase can work perfectly well for a hat you wear semi-regularly. Just make sure it’s clean and create your tissue paper support inside.
- The Top of a Bookshelf: The highest shelf on a bookshelf or armoire is often unused space. It’s high, dry, and out of the way—a perfect spot to lay a hat or two on its brim.
How to Travel With a Hat (Without Crushing It)
This is a huge one. Packing a nice hat feels impossible, but it’s not. Here’s how to do it:
- Start by stuffing the crown of the hat with soft items. Socks, underwear, or t-shirts work perfectly. This helps the crown hold its shape from the inside.
- Place the hat upside-down in the middle of your suitcase.
- Now, pack your other clothes around the hat, tucking them in snugly to support the brim from underneath. The brim should be level and supported by the surrounding clothes.
- Finally, pack more soft items on top, making sure nothing hard is pressing down on the hat. It should be nestled securely in its own little cocoon.
For crushable hats like canvas bucket hats or some travel-specific styles, you can of course just roll them up. But for a fedora or sun hat, this packing method is a lifesaver.
“Help! My Hat Is Already a Little Messed Up”
Okay, what if the damage is already done? Don’t panic. Sometimes you can fix minor issues.
- For a Minor Dent or Misshapen Crown: Often, a little steam is all you need. The steam from a regular clothing steamer (or even a kettle held at a safe distance) can make the fibers pliable again. Gently steam the affected area and try to reshape it with your fingers. Let it cool and dry completely before wearing. Be careful not to get it too wet!
- For a Small, Oily Stain on Felt: If you catch it early, you can sometimes use cornstarch. Sprinkle a generous amount on the spot, let it sit for a few hours to absorb the oil, and then gently brush it off with your soft hat brush. For serious stains, it’s best to consult a professional hat cleaner.
A Final Word of Advice
Your hat collection is part of your personal style. Taking care of your hats ensures they’ll be around for years to come. It’s so much easier (and cheaper) to prevent damage than to try and fix it later.
So here’s your 5-minute fix for today: If you have a nice hat hanging on a wall hook right now, go rescue it. Just lay it flat on a shelf for the time being. You’ve already saved it from a future dent. Taking these small, deliberate steps is what makes all the difference, and you’ll appreciate it every time you grab a hat and find it in perfect, ready-to-wear condition.
Galerie d’inspiration

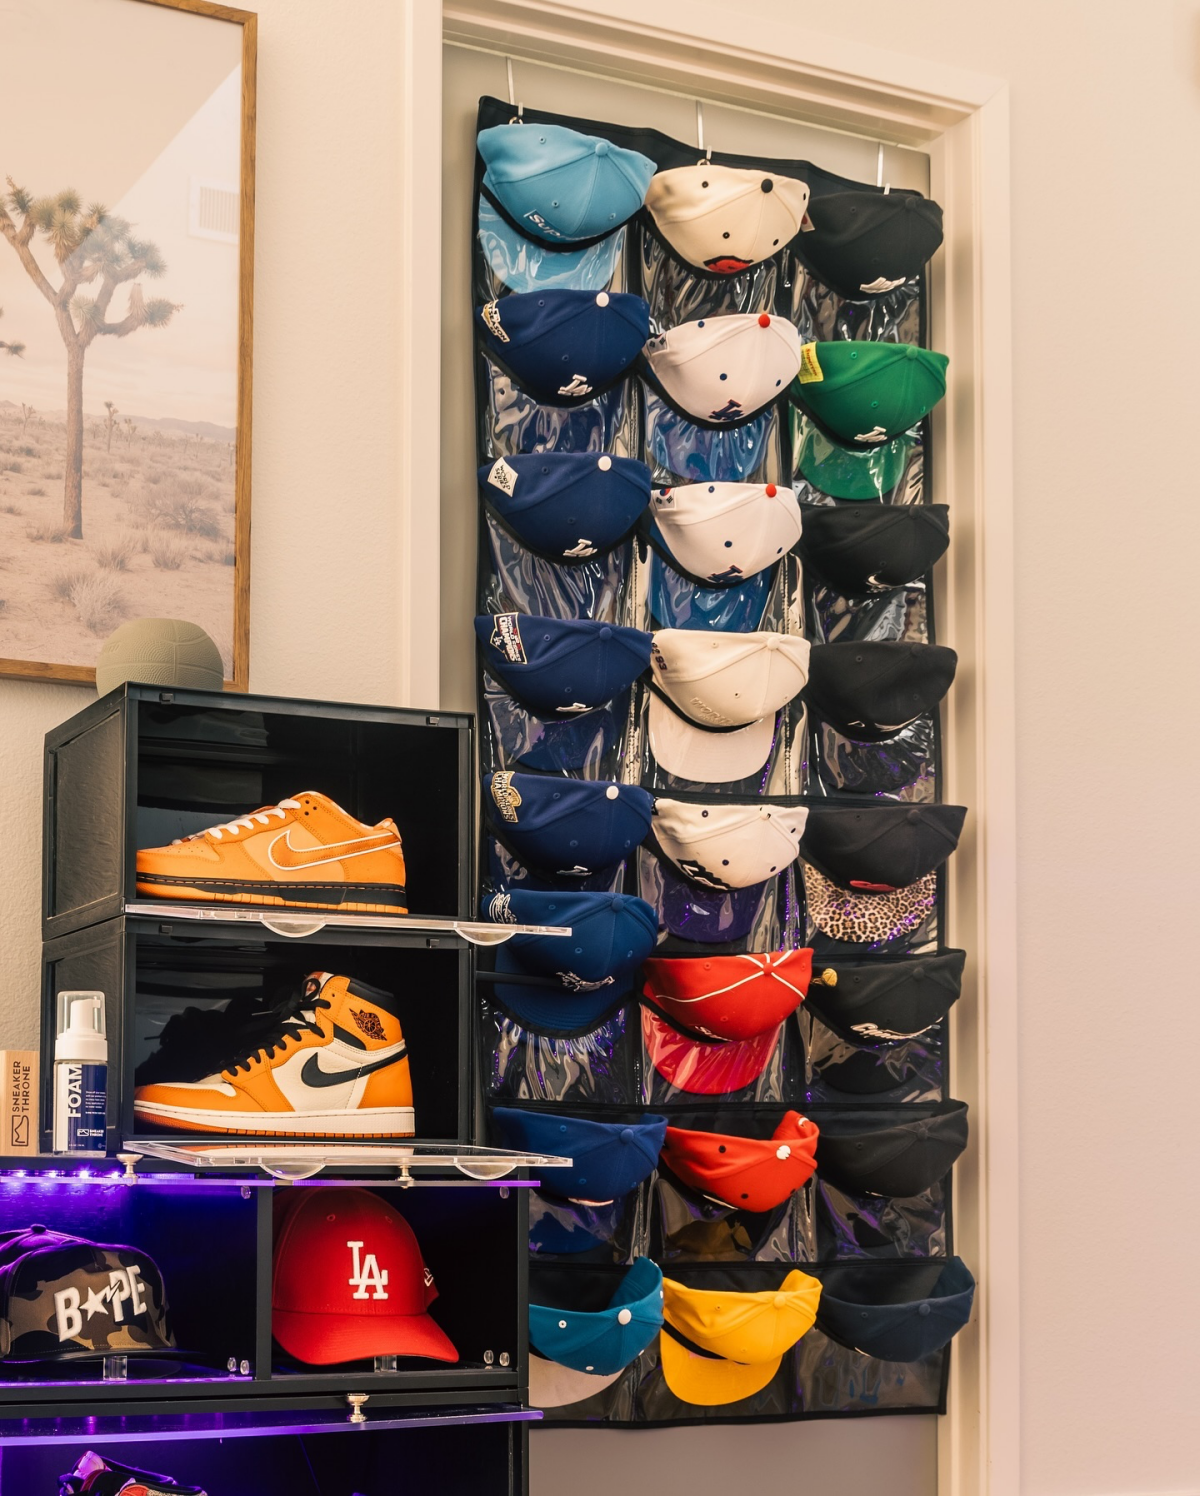
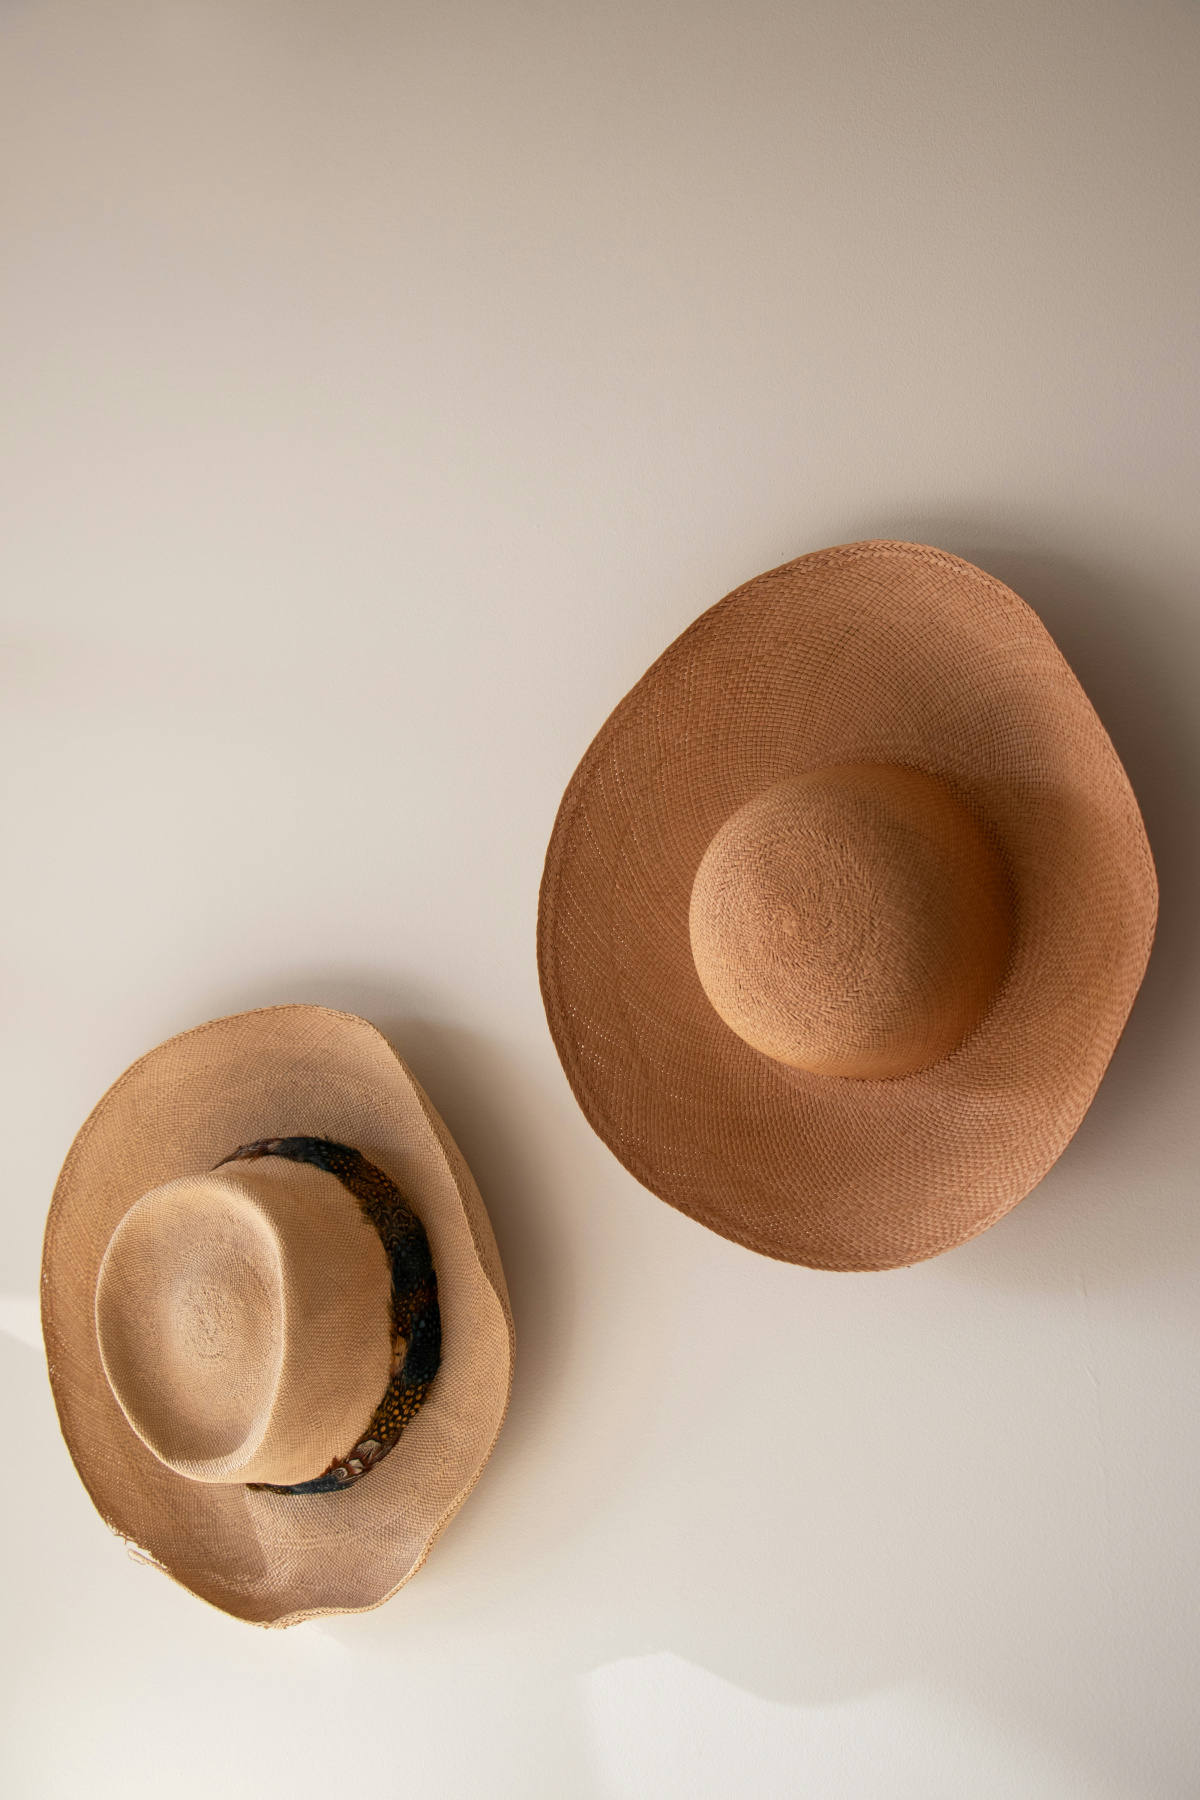
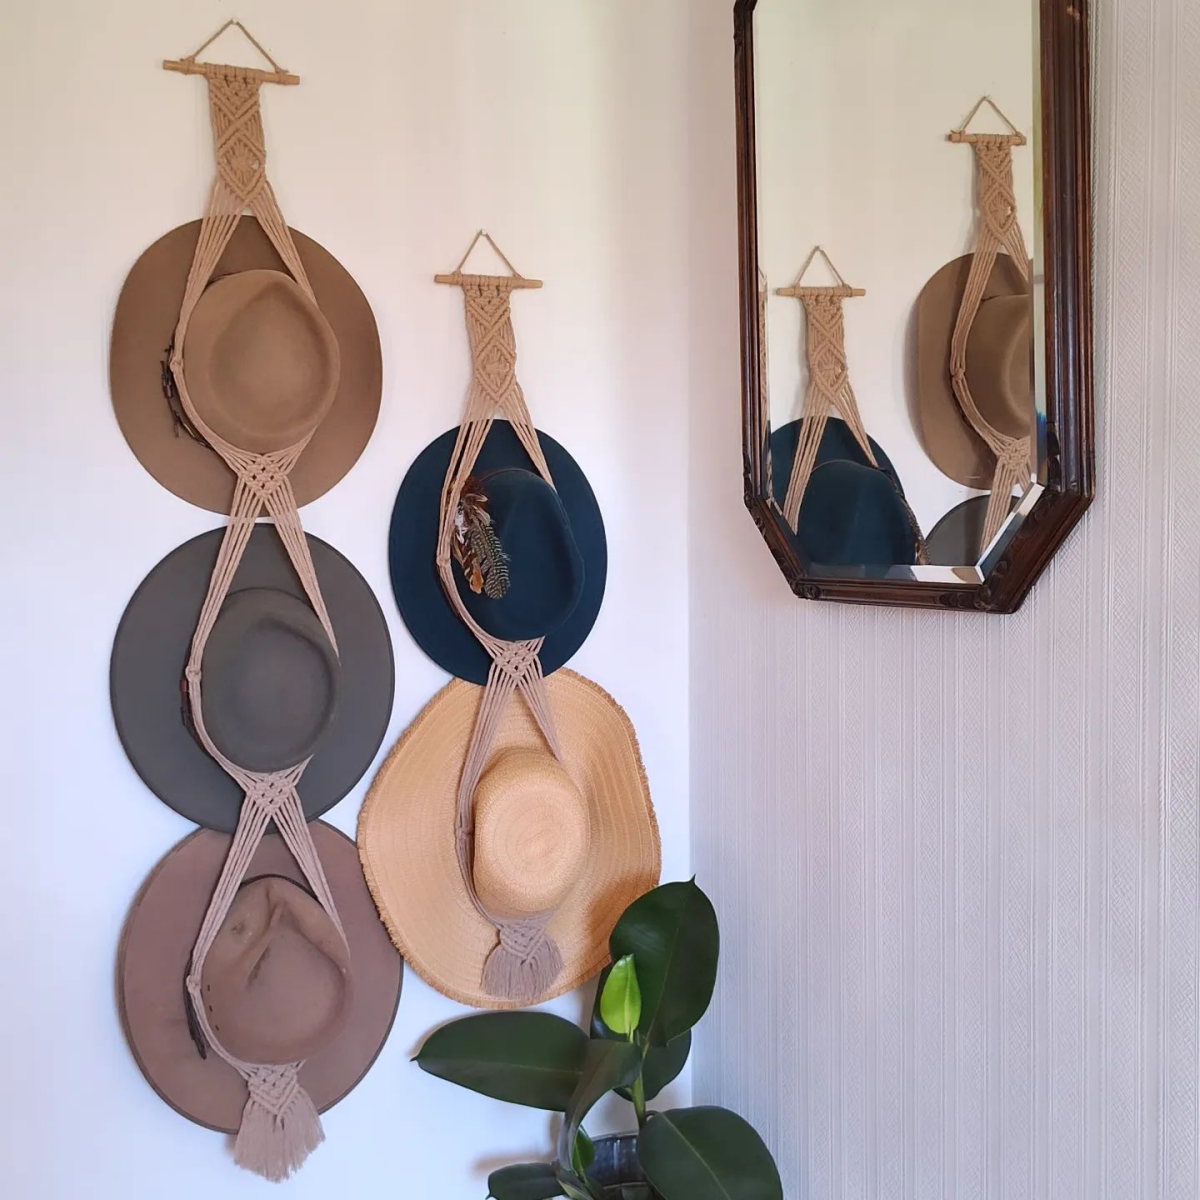
- Keeps brims perfectly flat and crowns uncrushed.
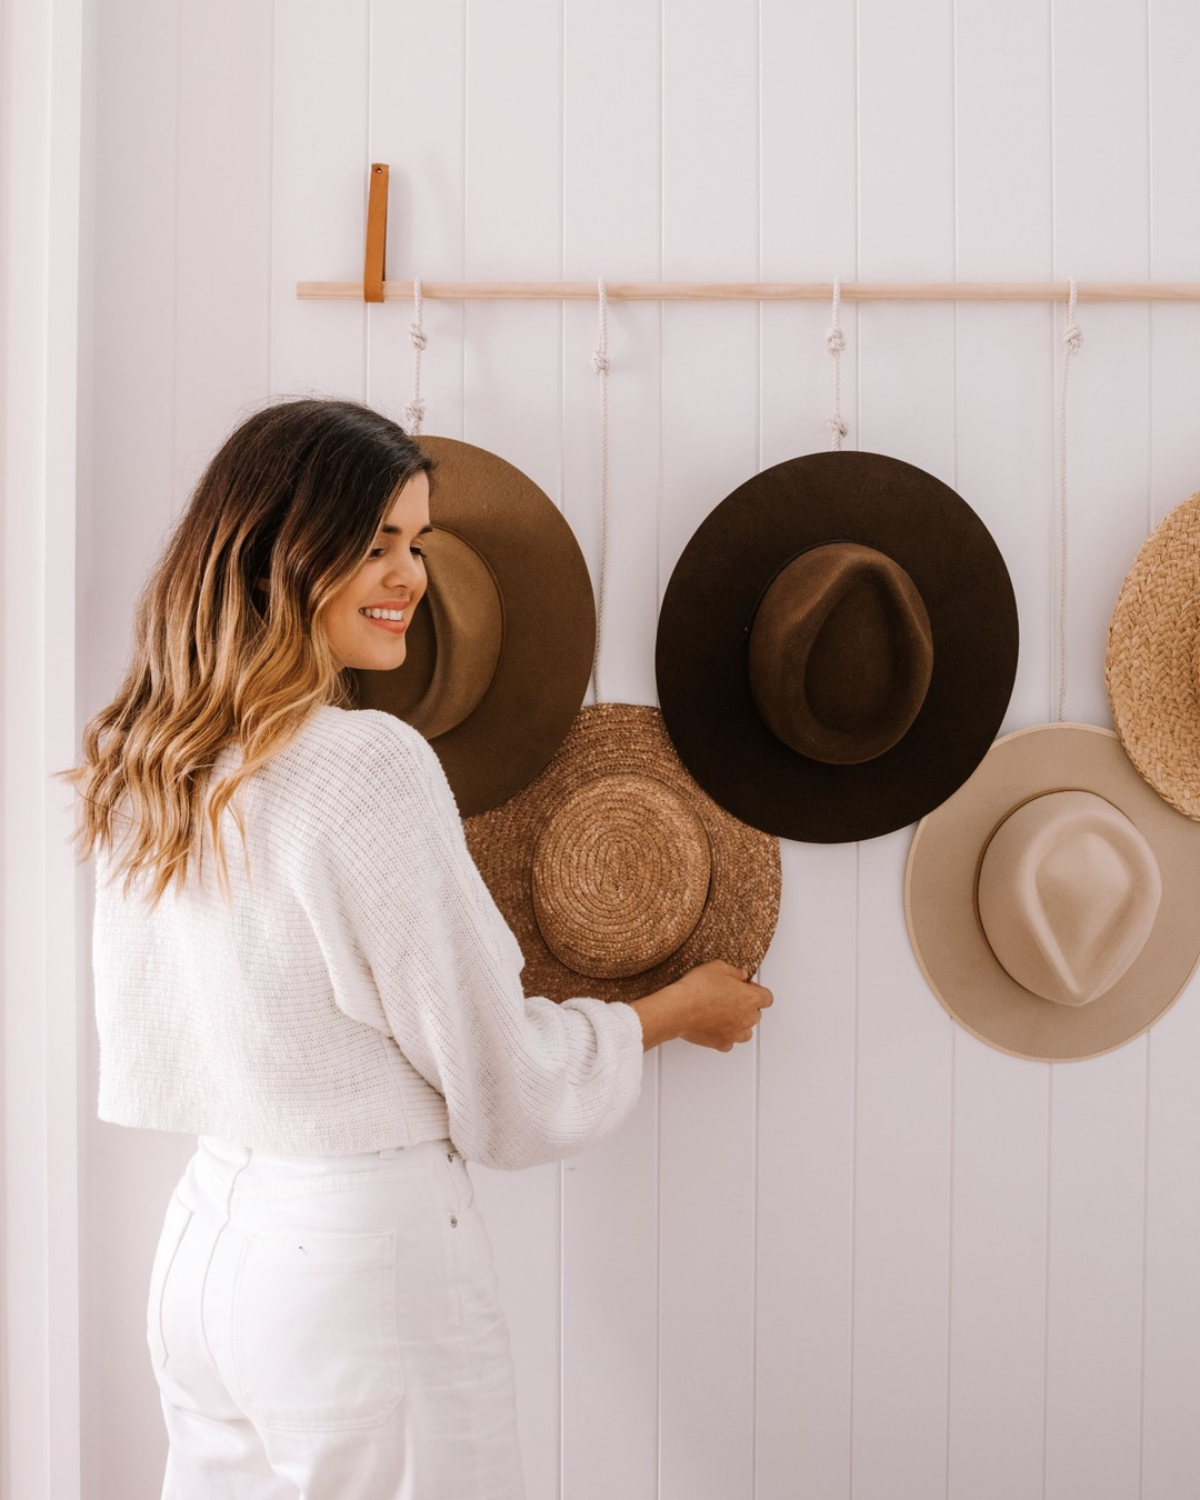
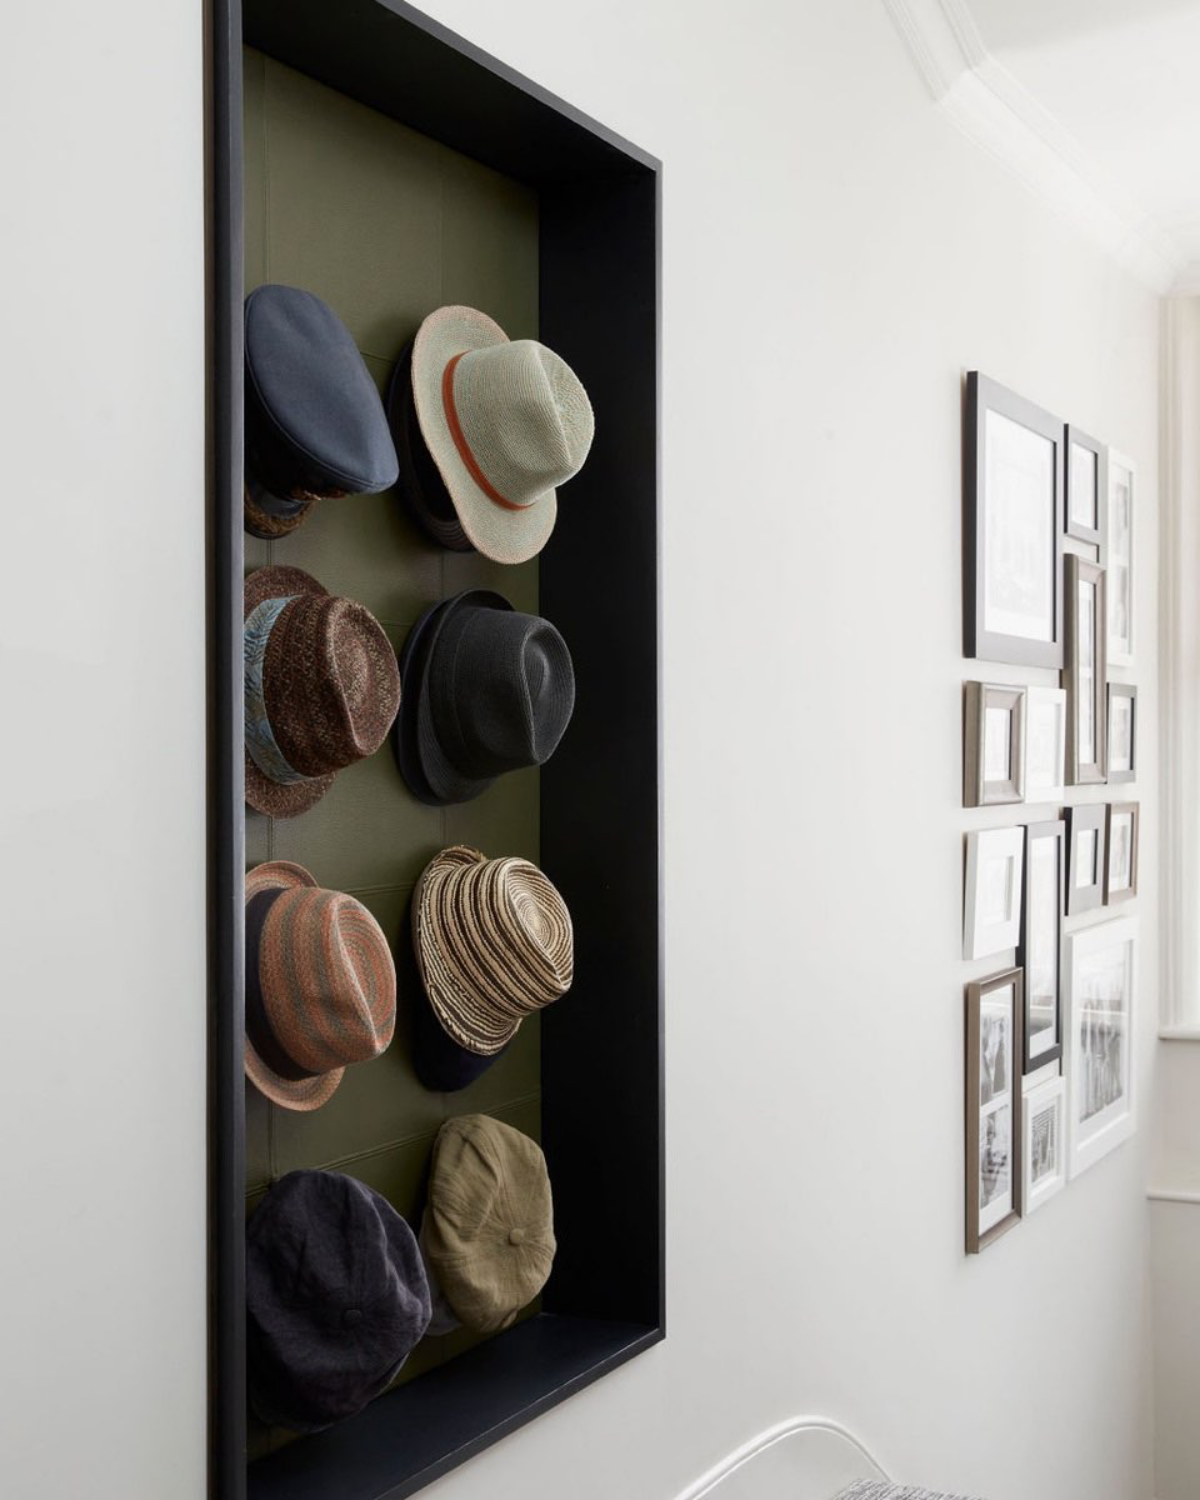
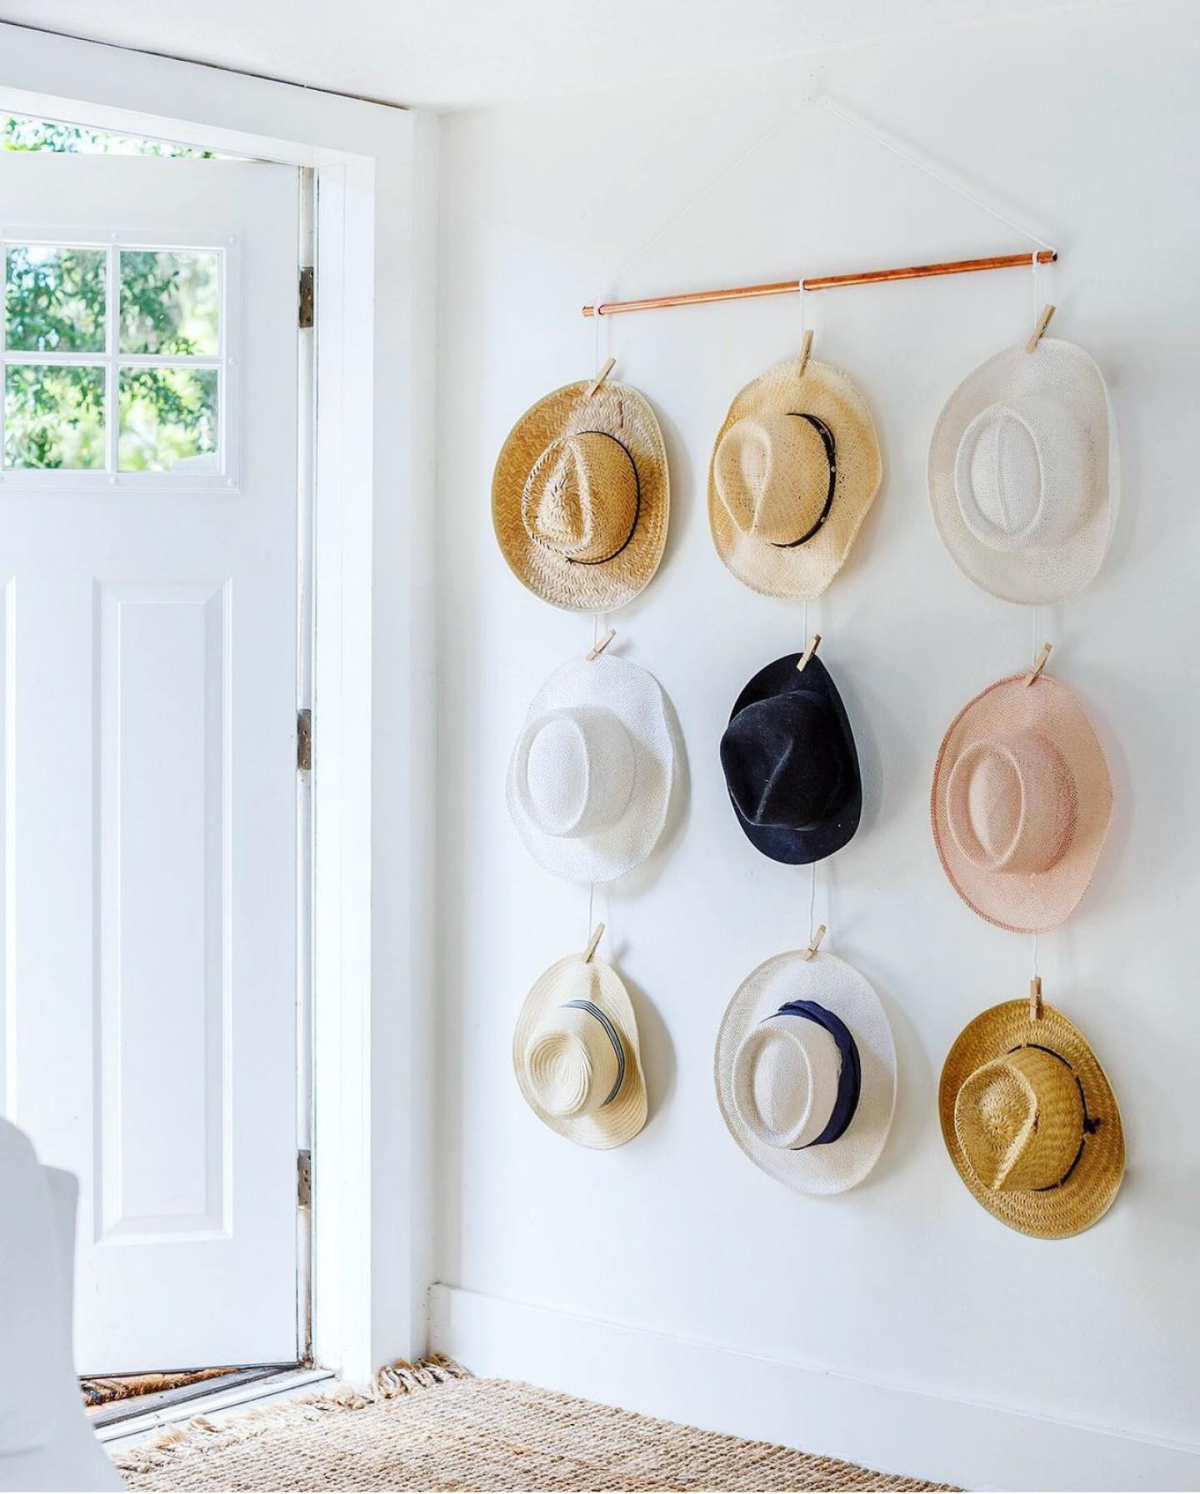
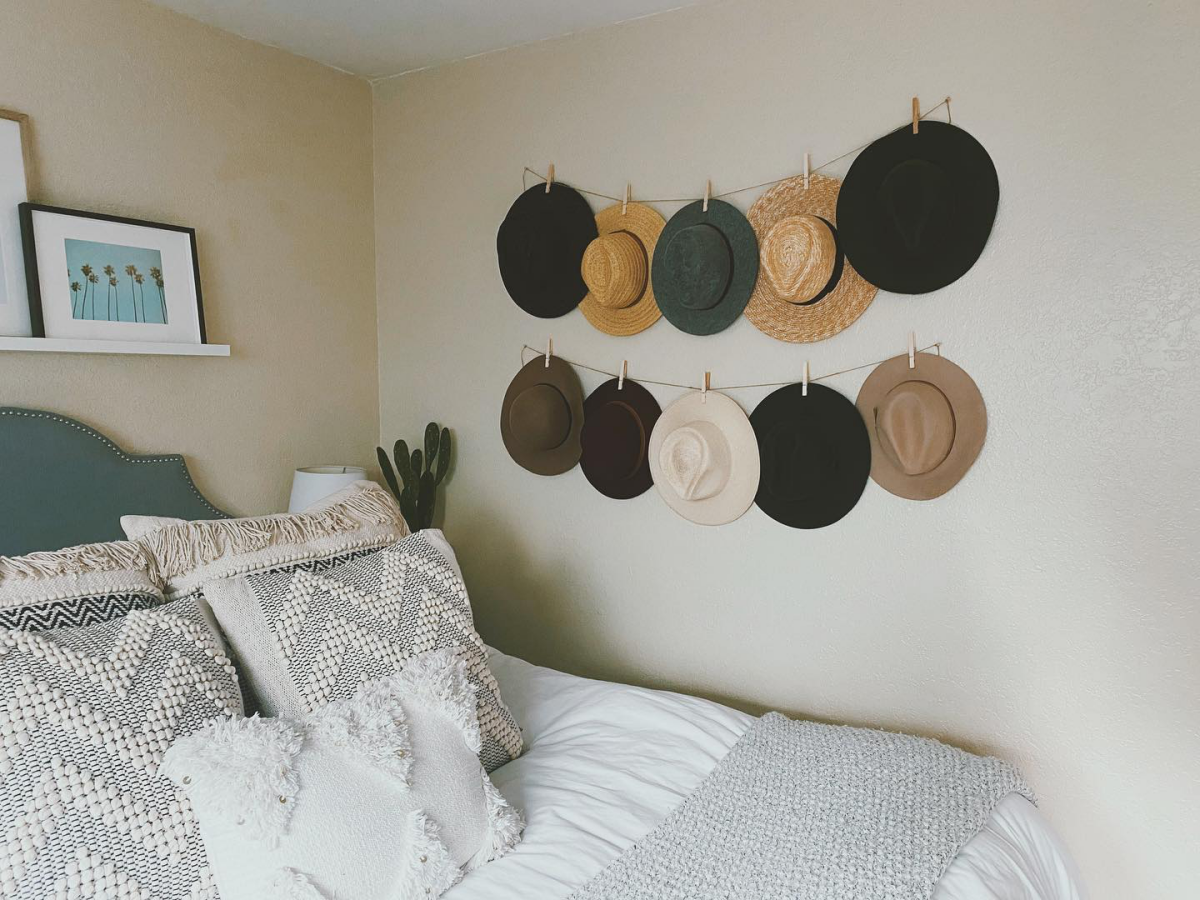
- Turns your favorite hats into a rotating art display.
The secret? A minimalist wall display. Simply string a sturdy cord or a decorative leather strip across a wall and use gentle, wide wooden clothespins to hang your hats by the brim. It’s a damage-free solution that’s both chic and incredibly simple, especially for lighter straw and felt hats.
Did you know? Most standard cardboard boxes are acidic and release chemical fumes that can yellow and weaken delicate fibers like straw and felt over just a few seasons.
For a truly cherished hat—perhaps a vintage find or a family heirloom—think like a museum archivist. Invest in an archival-quality, acid-free box. Look for brands like Archival Methods that specialize in preservation. Before boxing, gently stuff the crown with unbuffered acid-free tissue paper (not regular tissue!) to maintain its shape. This small investment ensures that a special hat will last for generations, not just a few years.
What about hats you travel with?
Packing a structured hat without crushing it is an art. The best method is to first stuff the crown firmly with soft items like socks or t-shirts to support its shape. Place the hat upside down in the middle of your suitcase, then pack your remaining clothes around it, making sure the brim is supported and lies flat. For extra protection, consider a dedicated hard-shell hat carrier, like those from The Hattery, which acts as a mini-suitcase just for your headwear.


