Your Cutting Board Is Wrecking Your Knives. Here’s How to Choose the Right One.
I’ve spent more time in professional kitchens than I can count, and the very first thing you learn isn’t some fancy knife technique. It’s respect for your tools. And honestly, right after a good chef’s knife, your cutting board is the most important piece of gear you own. I’ve seen it all—brand new cooks destroying a $200 knife on a cheap glass board, and gorgeous maple boards cracking right in half from simple neglect. But I’ve also seen a well-cared-for end-grain board last over a decade, looking better with every meal prepped on it.
In this article
Choosing a cutting board isn’t just about what looks good on your counter. It’s a serious decision that impacts how sharp your knives stay, how safe your food is, and frankly, how much you enjoy cooking. The wrong surface will dull a sharp blade in minutes. Bad cleaning habits can turn your board into a bacterial nightmare. This guide is everything I’ve learned from my own trial and error, from the pros who trained me, and from the food safety rules we live by.
Why Your Board’s Surface Is a Big Deal
Before we even get into wood versus plastic, let’s talk about what’s happening on a microscopic level. A truly sharp knife has an incredibly fine edge. When you press that edge into a surface, one of two things has to happen: either the surface gives a little, or the knife edge does. A good cutting board is designed to be the one that gives way.
This is why materials like glass, marble, or granite are such a disaster for your knives. They are incredibly hard. When your steel blade hits them, the edge has nowhere to go, so it rolls over, chips, or just gets smashed dull. You can actually hear it—that awful, high-pitched scraping sound. That’s the sound of your knife dying a slow death. A quality wood or plastic board, on the other hand, has just enough give. The knife edge sinks into the material just a tiny bit, which protects the blade and keeps it sharper, longer.
The Gold Standard: Wood Cutting Boards
For any serious cook, a wood board is the go-to for most daily prep. But hold on, not all wood boards are the same. The way they’re built and the type of wood used make a world of difference in performance and price.
Edge-Grain vs. End-Grain: What’s the Difference?
When you look closely at a wood board, you’ll see it’s made from smaller pieces of wood glued together. How those pieces are oriented is what separates a good board from a great one.
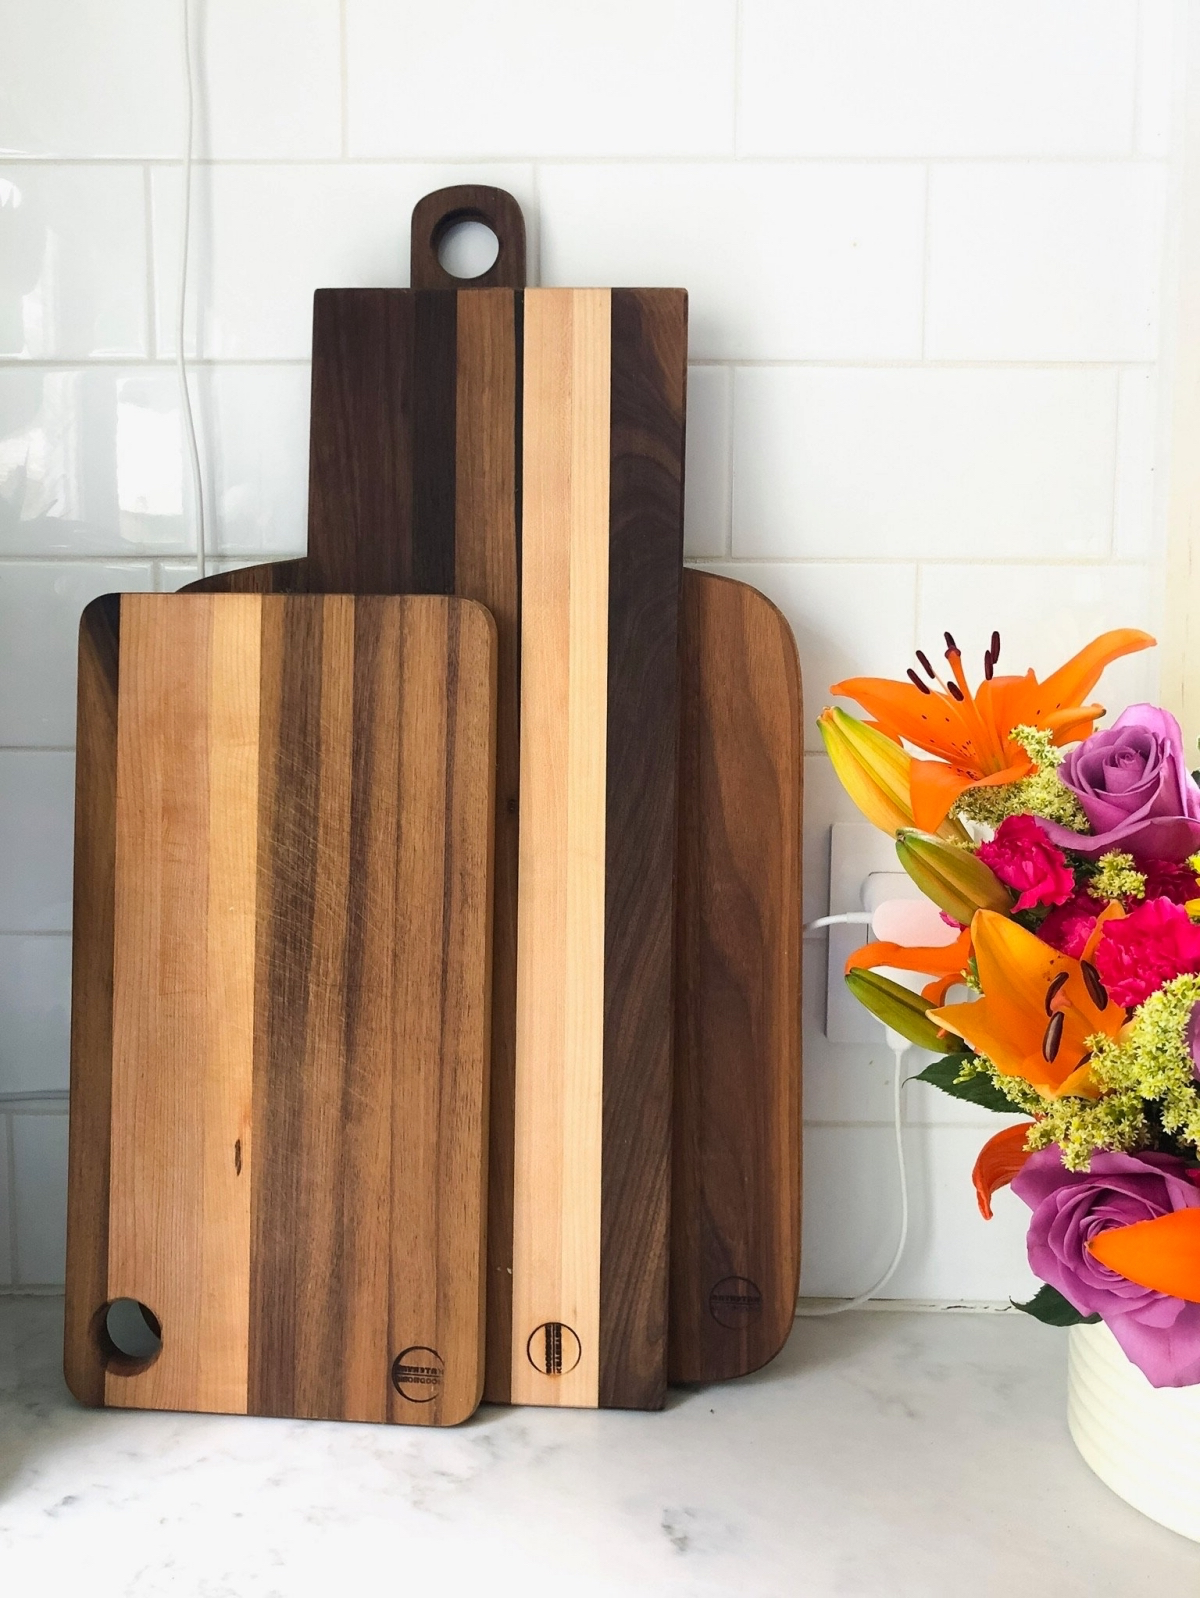
An edge-grain board is made from long strips of wood laid down parallel, so you’re cutting along the side of the wood grain. These are the most common type of quality wood board. They’re very durable, look fantastic, and are relatively affordable. For most home kitchens, a thick edge-grain board made of maple or walnut is a perfect choice. Expect to pay somewhere between $50 and $100 for a solid one that will last for years. The only real downside is that they tend to show knife marks a bit more over time.
Then you have end-grain boards. You can spot these by their classic checkerboard pattern. They’re made from short blocks of wood stood on their ends and glued together, so you’re cutting directly into the top of the wood fibers. Think of it like cutting into a tight bundle of straws—the knife edge slips between the fibers, and when you pull the knife away, the fibers close back up. This is what people call a “self-healing” surface.
This self-healing magic makes end-grain boards incredibly gentle on your knives. They are the premium, top-tier choice. But that comes with a couple of trade-offs. First is the price; the complex construction means they can cost anywhere from $150 to over $300. Second is the maintenance. Because the ends of the wood fibers are exposed, they soak up moisture (and oil) like a sponge, so they need more frequent conditioning to keep them from drying out and cracking.
Oh yeah, I learned that lesson the hard way. My first truly great board was a beautiful end-grain maple. I loved that thing. But I was young and didn’t take the oiling seriously. After about six months in a dry kitchen, I came in one morning to find a thin crack running right down a glue seam. A tough lesson, but a good one: wood is alive. It reacts to its environment, and you have to treat it right.
The Best Woods for the Job
You want a wood with a tight, closed grain and the right hardness—not too hard, not too soft. Here are the top contenders:
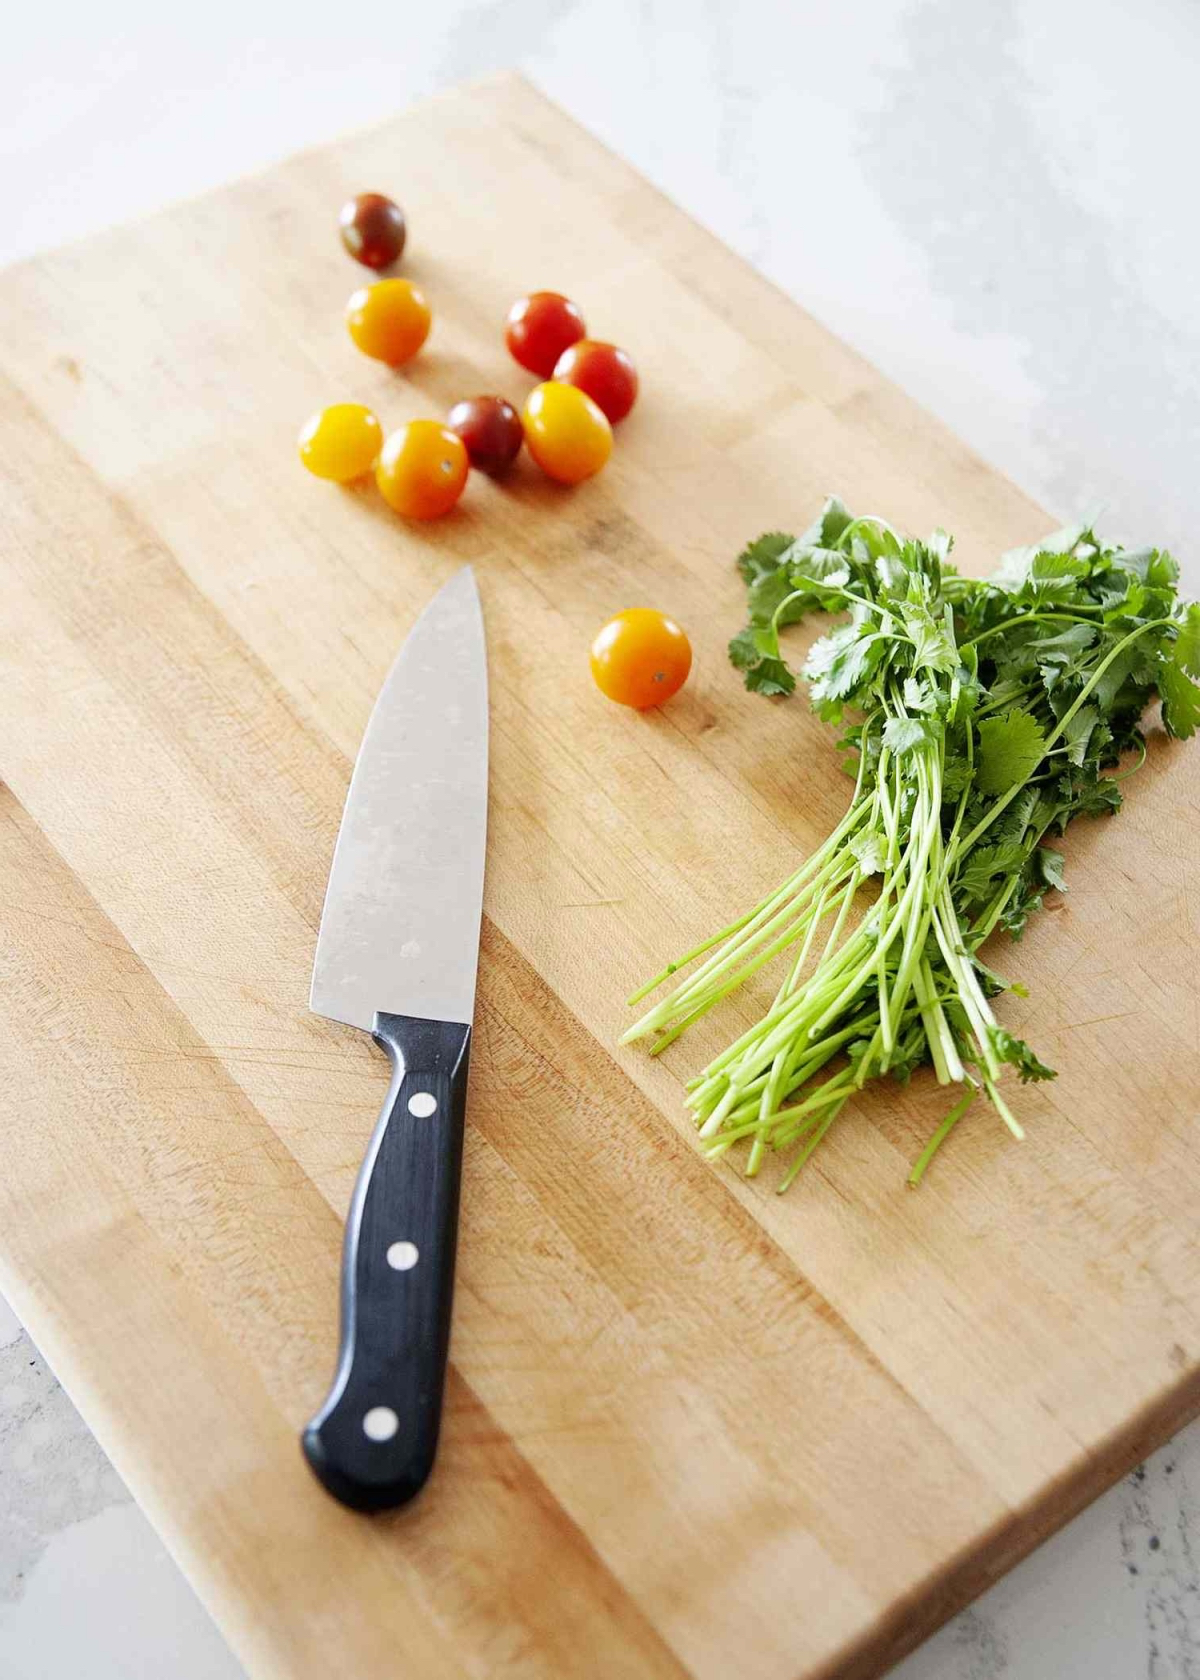
- Maple: This is the industry standard for a reason. It’s hard, dense, durable, and naturally resists bacteria. It’s also pretty affordable. When you think of a classic, heavy butcher block, it’s almost always maple.
- Walnut: A little bit softer than maple, which makes it even gentler on your knives. Its gorgeous dark color is a huge plus because it does a great job of hiding stains from things like beets or red wine. It’s a fantastic choice, though usually a bit pricier than maple.
- Cherry: A beautiful wood with a rich, reddish hue that gets deeper and darker over time. It’s softer than both maple and walnut, making it very knife-friendly, but it will also show dents and dings more easily.
- Teak: This one is a bit controversial. On one hand, teak is loaded with natural oils that make it super resistant to water and warping. On the other hand, it also has a high silica content (think microscopic bits of sand), which can dull knives faster than other hardwoods. It’s a trade-off between board durability and knife maintenance.
Quick tip: When choosing a size, a 12×18 inch or 15×20 inch board is the sweet spot for most home kitchens. It gives you enough space to work without chasing your chopped veggies off the edge, but it’s still small enough to fit in your sink for cleaning.
How to Actually Care for a Wood Board (So It Doesn’t Crack)
People are often intimidated by wood, but care is actually simple once you get the routine down.
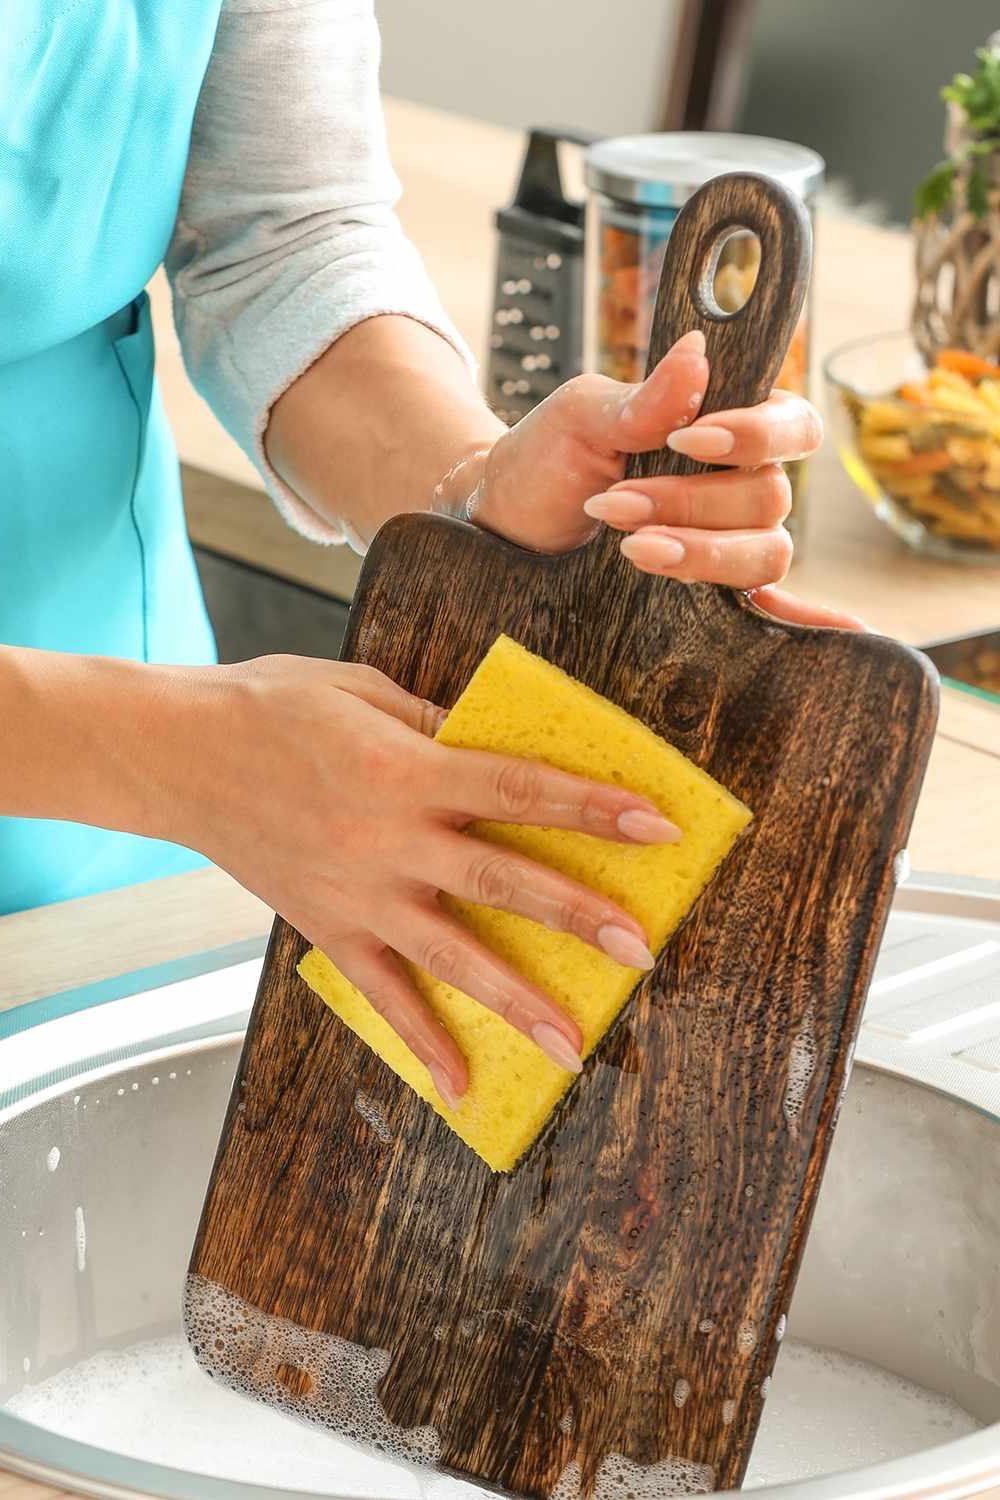
For daily cleaning, especially after prepping raw meat, just follow these steps. Scrape off any food bits, give it a quick wash with a little bit of hot, soapy water, rinse it, and—this is the most important part—wipe it completely dry with a towel immediately. Then, let it air dry standing on its edge. Never, ever put a wood board in the dishwasher or let it soak in the sink. That’s a guaranteed way to warp or crack it.
About once a month, or whenever it looks pale and dry, it’s time to oil it. This is crucial. Get yourself some food-grade mineral oil, which you can find for a few bucks at any pharmacy or hardware store. Do NOT use cooking oils like olive or vegetable oil—they’ll go rancid and make your board smell funky.
Here’s how you do it: Pour a generous amount of oil onto the clean, dry board. Using a soft cloth, rub it into all surfaces—top, bottom, and sides. Let it soak in for at least a few hours, or even better, overnight. The next morning, just wipe off any excess. That’s it!
Not sure if your board is thirsty? Here’s a little trick: splash a few drops of water on it. If the water beads up, you’re in great shape. If it soaks in immediately and darkens the wood, it’s time to oil it.
The Workhorse for Raw Meat: Plastic Boards
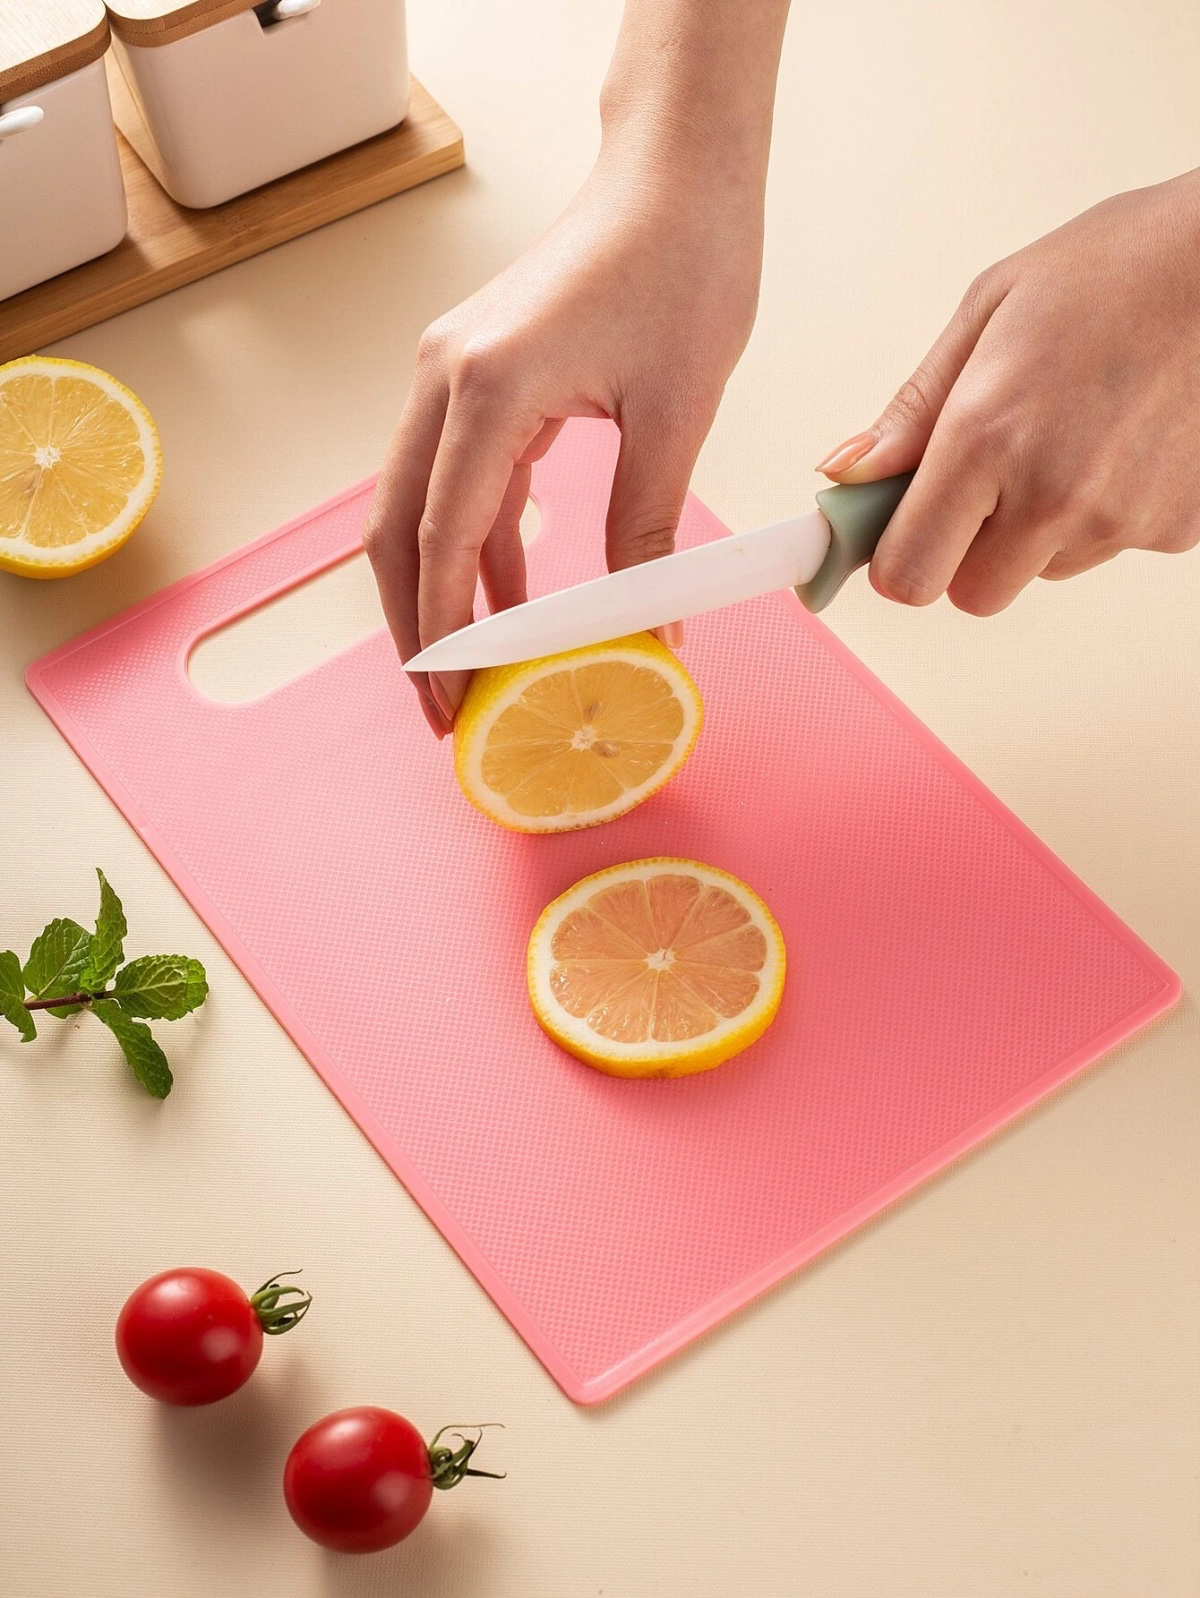
While I adore my wood board for veggies and bread, no professional kitchen would ever be without plastic boards. We’re not talking about those thin, flimsy mats; we mean thick, heavy-duty High-Density Polyethylene (HDPE) boards.
The main advantage of plastic is that it’s non-porous and can be completely sanitized, which is why it’s the king of food safety. In a pro kitchen, we use a color-coded system to prevent cross-contamination: red for raw meat, yellow for poultry, blue for seafood, green for produce, and so on.
For your home kitchen, you don’t need the whole rainbow. But here’s your homework: go buy ONE dedicated plastic board for raw proteins. Get a red or yellow one so it’s impossible to mix up. A good one will only set you back about $20-$30 at a store like Target or online. This single, simple change will make your kitchen dramatically safer.
Plastic boards can go right in the dishwasher for a high-heat sanitizing cycle. The main downside? They wear out. Over time, your knife will create deep grooves and scratches that are impossible to fully clean, and those scratches can harbor bacteria. Once your plastic board gets heavily scarred or feels fuzzy to the touch, it’s a liability. Throw it out and get a new one.
Other Materials: The Good, The Bad, and The Ugly
You’ll see a few other options out there. Here’s my take.
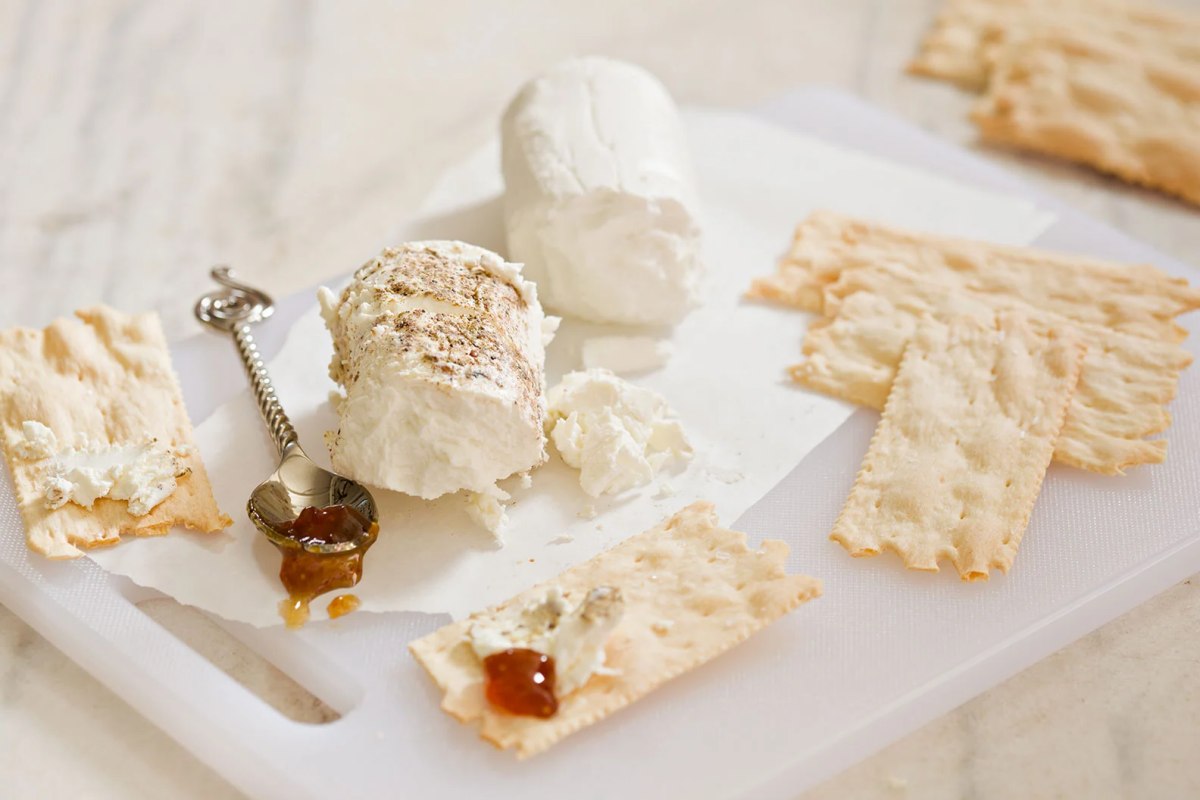
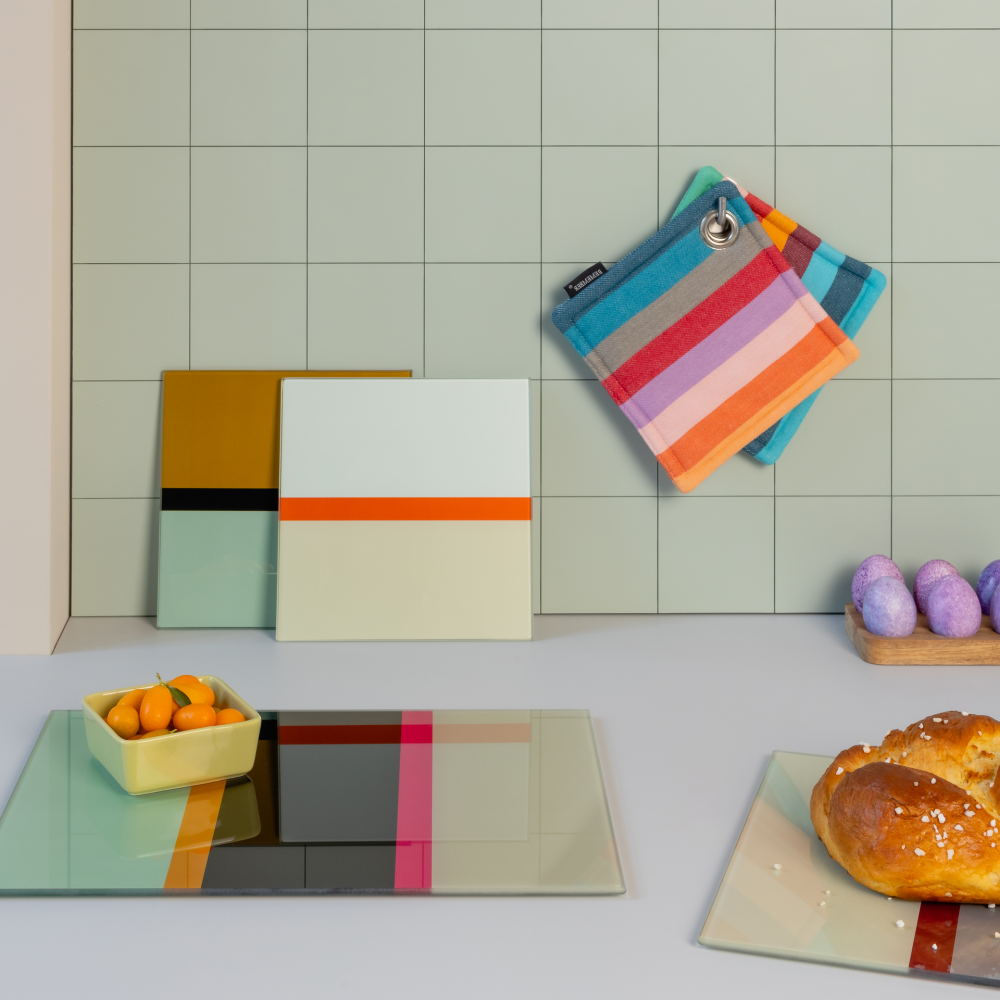
First, Glass and Stone (Marble, Granite). Just don’t. Period. They are beautiful for serving cheese or for rolling out pastry dough, but as a cutting surface, they are a knife’s worst enemy. If anyone ever tries to sell you a glass cutting board, walk away. They clearly don’t care about your tools.
Bamboo is often marketed as an eco-friendly choice. It’s a fast-growing grass, which is great, but I’m not a fan for serious chopping. Bamboo boards are made by compressing and gluing strips of grass together, and the glues used are often very hard. This results in a surface that, in my experience, can be just as tough on a knife’s edge as a cheaper plastic board.
Finally, you have Composite Boards. These are made from wood fibers and resin, pressed together under intense heat and pressure. They’re a popular modern option because they offer a kind of hybrid experience—they’re slim, lightweight, and dishwasher-safe like plastic, but they feel a bit more like wood and are gentler on knives than plastic. They’re a solid middle-ground, though a good hardwood board is still the kindest surface for a high-end knife.
Inspiration:
Over 70% of a wood cutting board’s self-healing and antibacterial properties come from proper hydration. A dry board is a brittle, porous board.
This is why oiling your wood board isn’t just for looks; it’s a health and longevity ritual. Once a month, apply a generous layer of food-grade mineral oil or a specialized conditioner like Howard Butcher Block Conditioner. Let it soak in overnight. The wood will drink up the oil, swelling the fibers to close up knife scores and creating a hydrophobic barrier that repels moisture and bacteria. The next morning, you’ll have a board that’s not just beautiful, but safer and more resilient.

Worried about cross-contamination but don’t want to give up your beautiful wood board?
Adopt the two-board system, a standard in professional kitchens. Invest in one high-quality end-grain wood board (like a Boos Block or a Larch Wood) for all your fruits, vegetables, bread, and cheese. Its kindness to knives and aesthetic appeal make it your daily workhorse. For raw meat, poultry, and fish, use a separate, inexpensive plastic or composite board. We recommend the OXO Good Grips Carving & Cutting Board; it’s non-porous, dishwasher-safe for high-heat sanitation, and its non-slip feet provide stability for tougher jobs.
The secret to a pristine, odor-free board? Natural cleaning agents.
- For deep cleaning: Sprinkle the board with coarse salt and scrub with half a lemon, cut-side down. The salt acts as an abrasive, and the lemon’s citric acid helps lift stains and neutralize odors, especially from garlic or onion.
- For quick sanitizing: After washing, spray your board with white vinegar. Its acetic acid is an effective, food-safe disinfectant. Let it sit for a few minutes before wiping it dry.
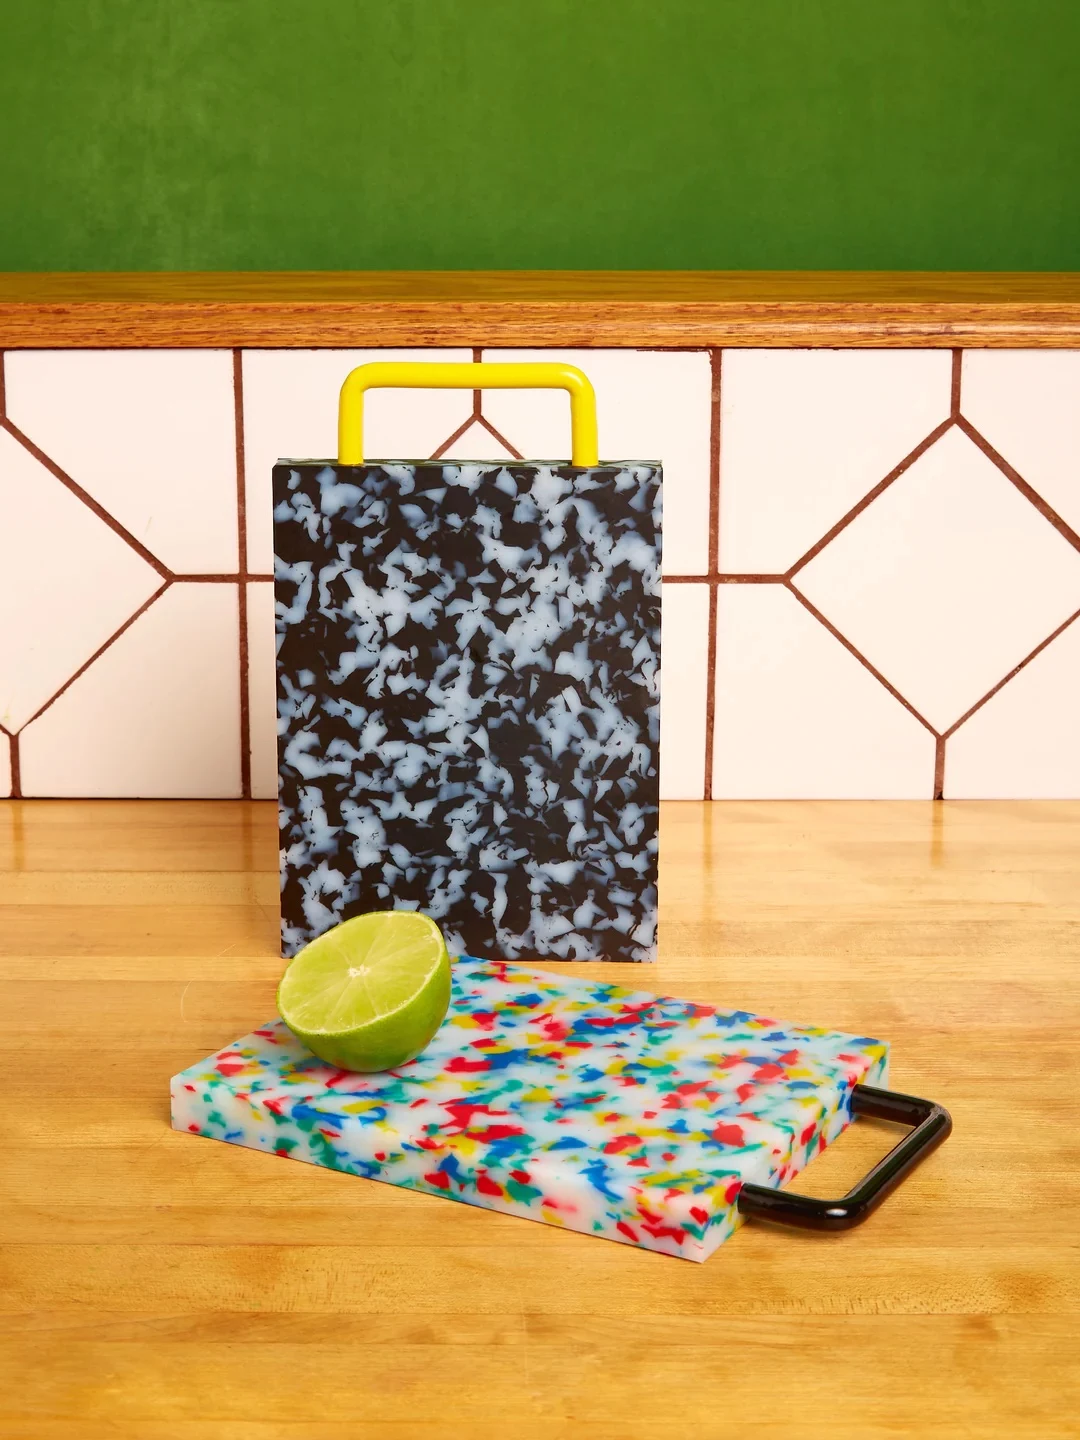
Wood/Plastic Hybrid: The rise of composite boards like those from Epicurean offers a compelling middle ground. Made from wood fibers compressed with a food-safe resin, they are non-porous and dishwasher-safe like plastic.
Pure Plastic: Models from brands like Material or Joseph Joseph are affordable, lightweight, and can be sanitized at high temperatures. However, they show knife scars more easily and need replacing when they become heavily grooved.
Ultimately, composite boards are tougher on knife edges than wood but far gentler than plastic, making them a durable, low-maintenance choice for the busy home cook.


