Your Guide to Cooking Oils: Stop Guessing and Start Cooking Like a Pro
I spent my early days in a professional kitchen where the head chef, a tough but brilliant guy, had one non-negotiable rule. You didn’t just grab “the oil.” You had to know exactly which fat to use for every task, and more importantly, why.
In this article
I once tried searing scallops in a gorgeous, peppery extra-virgin olive oil he’d just gotten in. The whole kitchen filled with this awful, acrid smoke. The scallops were completely ruined. The lesson was sharp, immediate, and has stuck with me my entire career: cooking fat isn’t just an ingredient; it’s a tool. Choosing the right one is as fundamental as keeping your knives sharp.
Walk down the grocery store aisle and it’s easy to see why people get confused. The shelves are packed, and the labels can feel misleading. The most common question I get is, “What’s the single best oil to use?” To be frank, there isn’t one. It’s like asking a carpenter for their single best tool. A hammer is great for nails but useless for cutting a board. It’s the same deal in the kitchen. So, let’s break these fats down and understand them as tools, so you know exactly what to grab whether you’re frying, roasting, or just dressing a salad.
The Simple Science That Changes Everything
To pick the right oil, you have to know what’s actually happening in the pan. A little bit of science is what separates a cook who just follows recipes from one who truly understands cooking. It’s the difference between guessing and knowing.
It’s All About the Smoke Point
You’ve probably heard the term “smoke point.” It’s simply the temperature where a fat stops shimmering and starts to smoke. This is your visual cue that the oil is breaking down. When this happens, a couple of bad things are going on. The fat is decomposing, creating a nasty chemical called acrolein. That’s the stuff that gives off that sharp, bitter smell and taste—the very smell that filled the kitchen when I torched that beautiful olive oil. It will ruin the flavor of your food in an instant.
Beyond just bad flavor, heating oil past its smoke point creates harmful free radicals and destroys any of the good stuff in the oil, like antioxidants. The bottom line? Smoking oil is a sign of failure. You want to cook your food in hot oil, not in burning, decomposing oil.
Refined vs. Unrefined: The Most Important Thing to Know
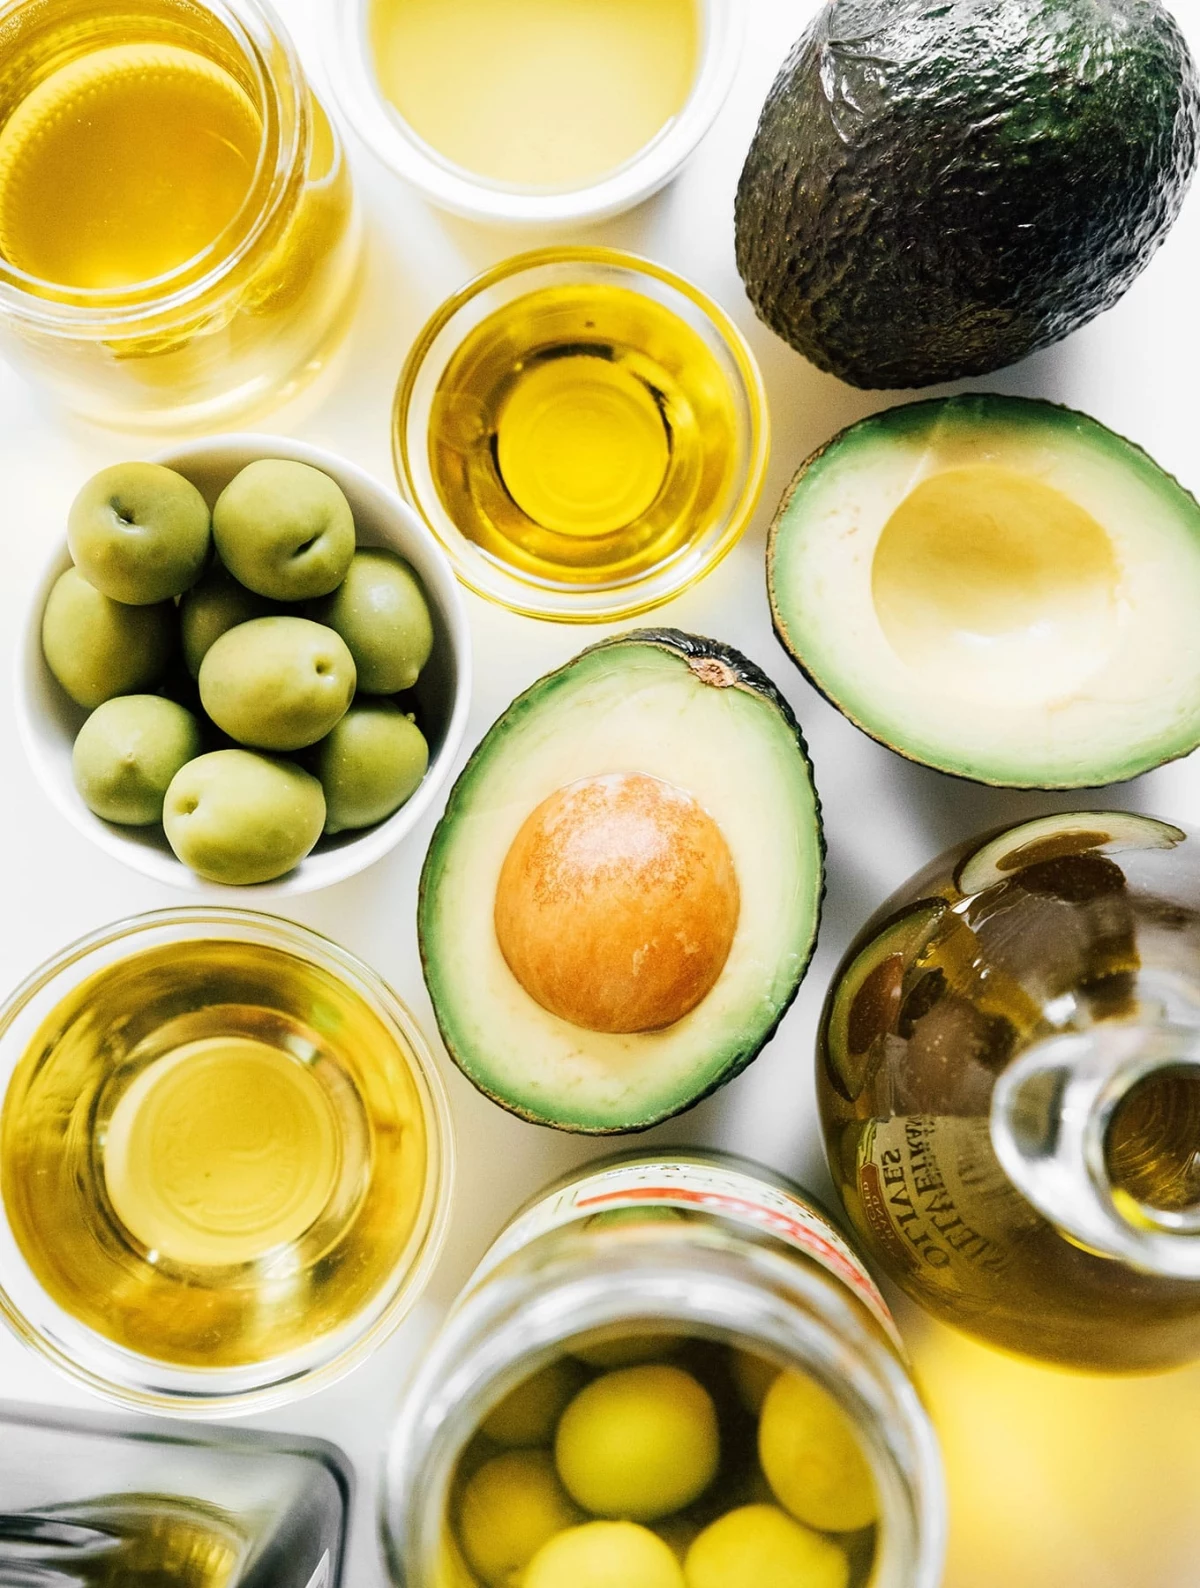
Honestly, this is the concept most home cooks miss, and it’s a game-changer. The same type of oil, say avocado or olive, can be sold in two totally different forms:
- Unrefined Oils: Often labeled “virgin,” “extra virgin,” or “cold-pressed.” These are basically just pressed and filtered. They keep all their natural flavor, color, and nutrients. Think of the spicy bite of a great EVOO. Because they have all those natural bits and pieces, they generally have lower smoke points. These are your flavor oils.
- Refined Oils: These have been processed—often filtered, bleached, and deodorized—to create a neutral-tasting oil with a much longer shelf life. This process removes all the “impurities” that give unrefined oils their character. But by removing those, you also raise the smoke point. A lot. These are your workhorse oils for high-heat cooking.
So, when you hear that “avocado oil has a high smoke point,” people are almost always talking about refined avocado oil. The unrefined stuff is bright green and has a much more moderate smoke point.
A Pro’s Guide to Common Kitchen Fats
Alright, let’s get practical. Here are the fats I always have on hand and exactly what I use them for. This is the stuff that makes a real difference.
For High-Heat Searing & Frying (Above 400°F / 205°C)
This is for getting that deep, dark crust on a steak, for deep-frying, or for wok cooking. You need an oil that won’t wave the white flag under intense heat.
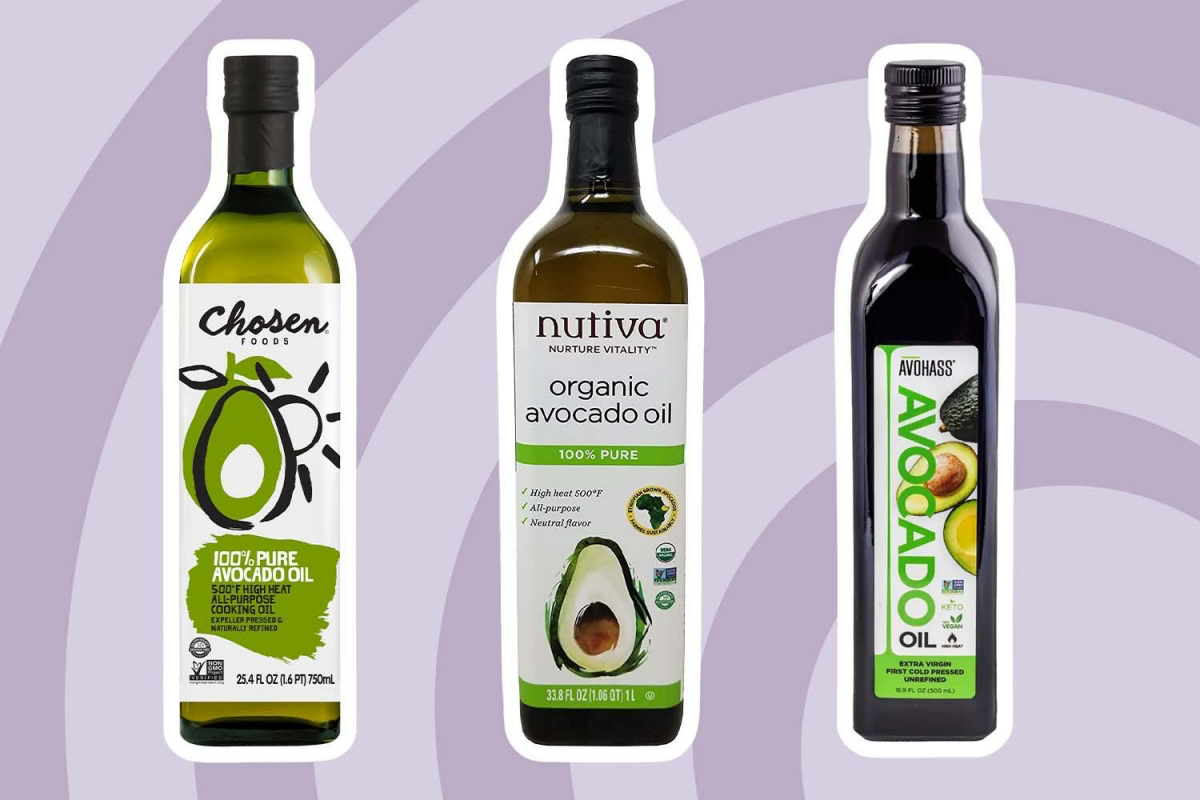
- Refined Avocado Oil: This is my go-to for high heat, hands down. With a smoke point way up around 520°F (270°C), it’s incredibly stable. Its flavor is totally neutral, so it lets the food shine. It’s a bit pricier, often running between $15 and $25 for a decent-sized bottle at a major grocery store, but for its performance, it’s worth it.
- Ghee (Clarified Butter): Ghee is a staple in many cuisines for a good reason. It’s just butter that has had its milk solids and water removed, leaving pure butterfat. Those milk solids are what burn, so without them, ghee has a high smoke point of about 485°F (250°C) and a fantastic, nutty flavor. By the way, it’s surprisingly easy to make your own. Just melt unsalted butter slowly in a pot, skim off the white foam (the milk solids) that floats to the top, and then carefully pour the golden liquid into a jar, leaving the watery stuff at the bottom. Done.
- “Light” or Refined Olive Oil: Don’t confuse this with extra virgin! “Light” refers to the color and flavor, not the calories. It’s a refined product with a high smoke point (around 465°F / 240°C) and a very mild taste. It’s a great, more affordable high-heat alternative to avocado oil, usually costing between $8 and $12.
For Everyday Sautéing & Roasting (Medium-High Heat, 325-425°F / 165-220°C)
This is where most of us cook day-to-day. You have more flexibility here and can start choosing for flavor.
- Extra Virgin Olive Oil (EVOO): Let’s bust a myth. You can absolutely cook with good EVOO. The idea that it’s only for salads is just wrong. A quality EVOO has a smoke point between 375°F and 405°F, which is perfect for most sautéing. I use it constantly. The key is to use a fresh, quality oil. When you’re buying a bottle, look for a harvest date if you can find one—fresher is always better.
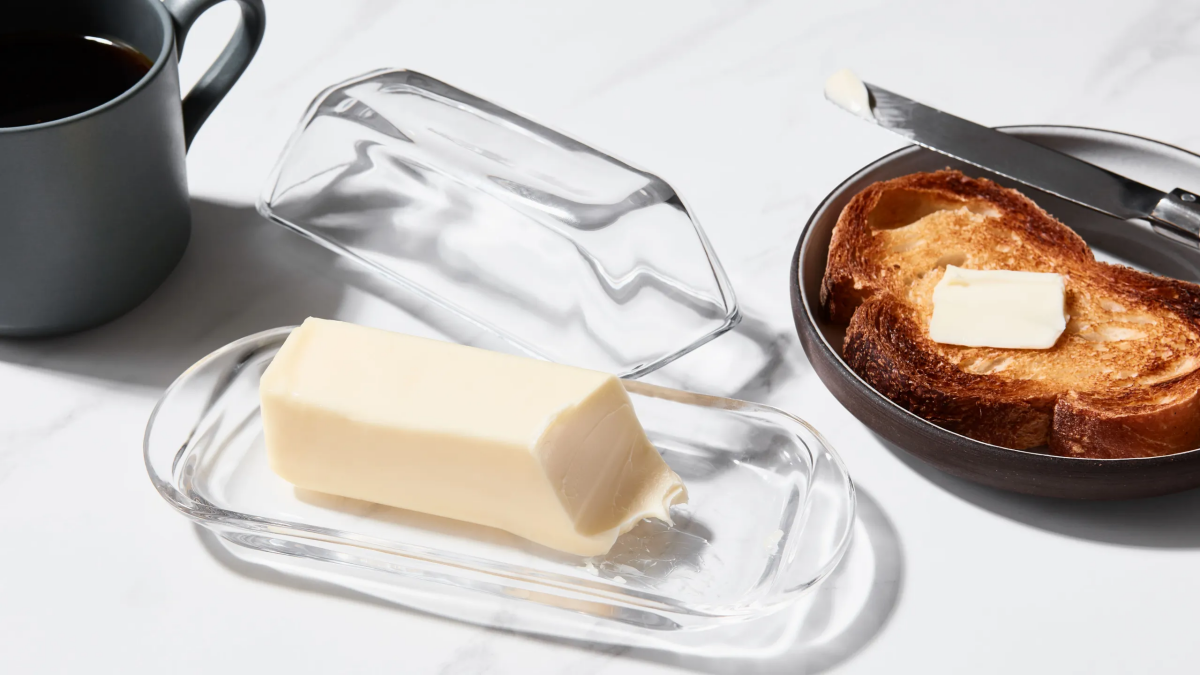
- Butter: For pure flavor, nothing beats it. Its smoke point is low (around 300°F / 150°C), so it can burn fast. But for gently scrambled eggs or browning mushrooms, that flavor is king. A classic pro technique is to mix butter with a bit of oil. The oil raises the overall smoke point. I usually go for about a 50/50 mix, or just a good glug of oil into the pan with a knob of butter.
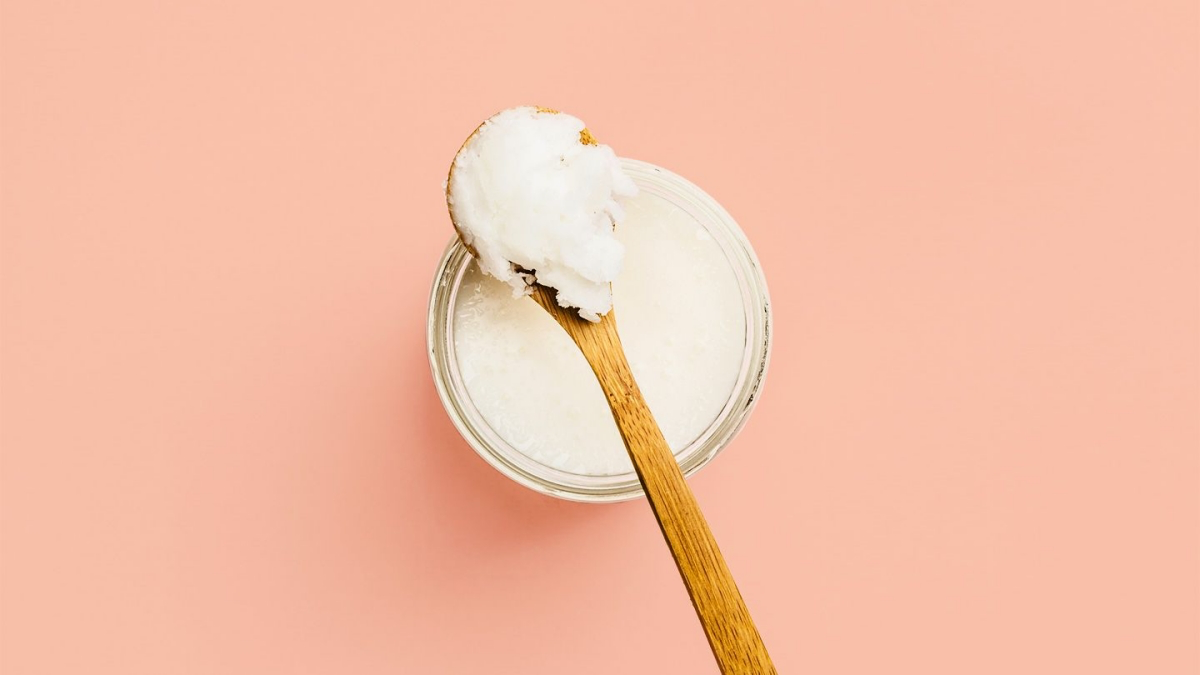
- Virgin Coconut Oil: This one brings a very distinct, tropical flavor. With a smoke point around 350°F (177°C), it’s good for medium-heat baking and sautéing, especially in curries or Southeast Asian dishes where you want that flavor.
For Finishing, Dressings, & No-Heat Uses
These oils are delicate and all about flavor. Heat is their enemy. Use them at the end of cooking or in cold preparations.
- High-Quality EVOO: A truly great, peppery, or grassy extra virgin olive oil is a condiment. Drizzle it over finished soup, grilled fish, or fresh tomatoes. This is where you spend a little extra for a small, dark bottle.
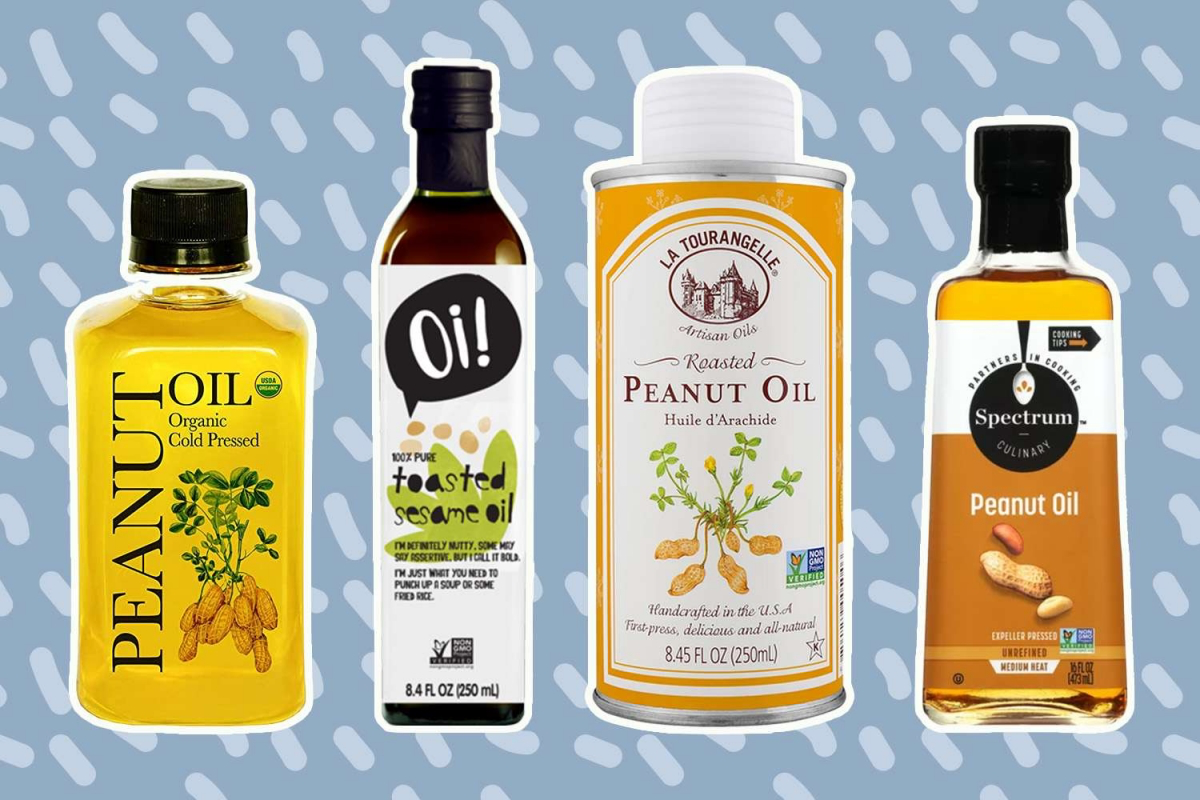
- Toasted Sesame Oil: A powerhouse of nutty flavor. A little goes a very long way. Never use this as your main cooking oil; you’ll just make it taste bitter. Drizzle it on a stir-fry after it comes off the heat or whisk it into a dressing.
- Nut Oils (Walnut, Pistachio, etc.): These are also for flavor and are very fragile. A splash of walnut oil on a salad is incredible. Quick tip: Store these in the refrigerator after opening. I learned this the hard way after ruining a $20 bottle of beautiful walnut oil by leaving it on a shelf near my stove. A month later, it smelled like old crayons. A sad, expensive lesson!
Feeling Overwhelmed? Just Start with These Three.
If your head is spinning and you’re on a budget, you don’t need ten different oils. Honestly, you can do 99% of your cooking with just these three:
- A High-Heat Workhorse: Refined avocado oil (or light olive oil if you’re on a tighter budget). For all your searing and high-temp roasting.
- An Everyday EVOO: A good quality, all-purpose extra virgin olive oil for sautéing, roasting veggies, and making dressings.
- A Finishing Flavor-Bomb: Toasted sesame oil. A tiny drizzle transforms so many Asian-inspired dishes.
A Quick Word on Air Fryers
Oh yeah, and for all you air fryer fans out there! Since air fryers use high-temperature circulating air, you want an oil with a high smoke point. My top pick is refined avocado oil, either tossed with the food beforehand or using a spray version. Its neutral flavor and heat stability make it perfect for getting things crispy without creating off-flavors.
Common Mistakes That Are Easy to Fix
I see these all the time. Avoiding them will instantly level up your cooking.
- Adding oil to a cold pan. Always heat your pan first, then add the oil. It heats in seconds. A pro tip: when the oil shimmers and flows like water, it’s ready. This prevents food from sticking and getting greasy.
- Crowding the pan. Tossing too much food in at once drops the oil’s temperature. Your food will steam instead of sear. Cook in batches. It’s worth the extra minute.
- Using your expensive finishing oil to cook. Please don’t do this! You’re paying for those delicate, beautiful flavors. High heat will just burn them right off and waste your money.
A Serious Note on Safety
Working with hot oil is one of the most dangerous things in a kitchen. You have to respect it. A grease fire happens when oil gets too hot and ignites. If this happens:
- Turn off the heat. First and foremost, cut the energy source.
- NEVER use water. I can’t say this enough. Water will cause a massive fireball. It sinks, flash-boils, and throws burning grease everywhere.
- Smother the flames. Slide a metal lid or a sheet pan over the pan to cut off the oxygen. Don’t use a glass lid; it can shatter from the heat shock.
- Use baking soda. For a small fire, you can dump a large amount of baking soda on it.
- Get a proper fire extinguisher. Every kitchen should have a Class K extinguisher, which is specifically designed for grease fires.
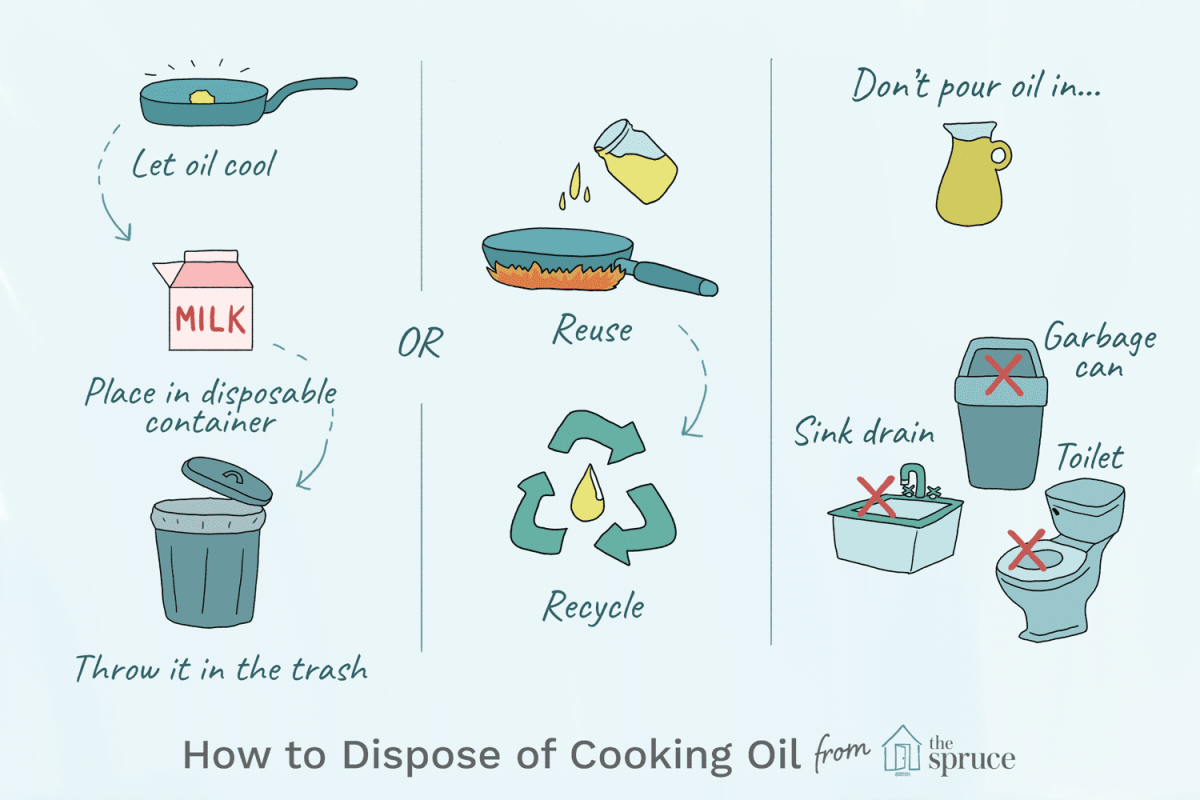
And always, always pat food dry before adding it to hot oil to prevent splattering. Never leave hot oil unattended. When you’re done, let it cool completely, pour it into a sealable container (like an old pickle jar), and throw it in the trash. Never pour it down the drain unless you enjoy paying plumbers.
Heads up: I’m a culinary professional sharing what I’ve learned. For specific health or nutrition questions, please chat with a registered dietitian or doctor.
It’s All About the Right Tool
The journey from a novice to a confident cook is all about learning to think like a chef. It means seeing your ingredients as tools with specific jobs. There’s no single “best” oil, only the best oil for the task you have right in front of you. By understanding the basics—smoke points, refining, and flavor—you empower yourself to make the right call every single time. You stop just following the recipe and you start to truly cook. And that’s a skill that will serve you for a lifetime.
Inspirational Gallery
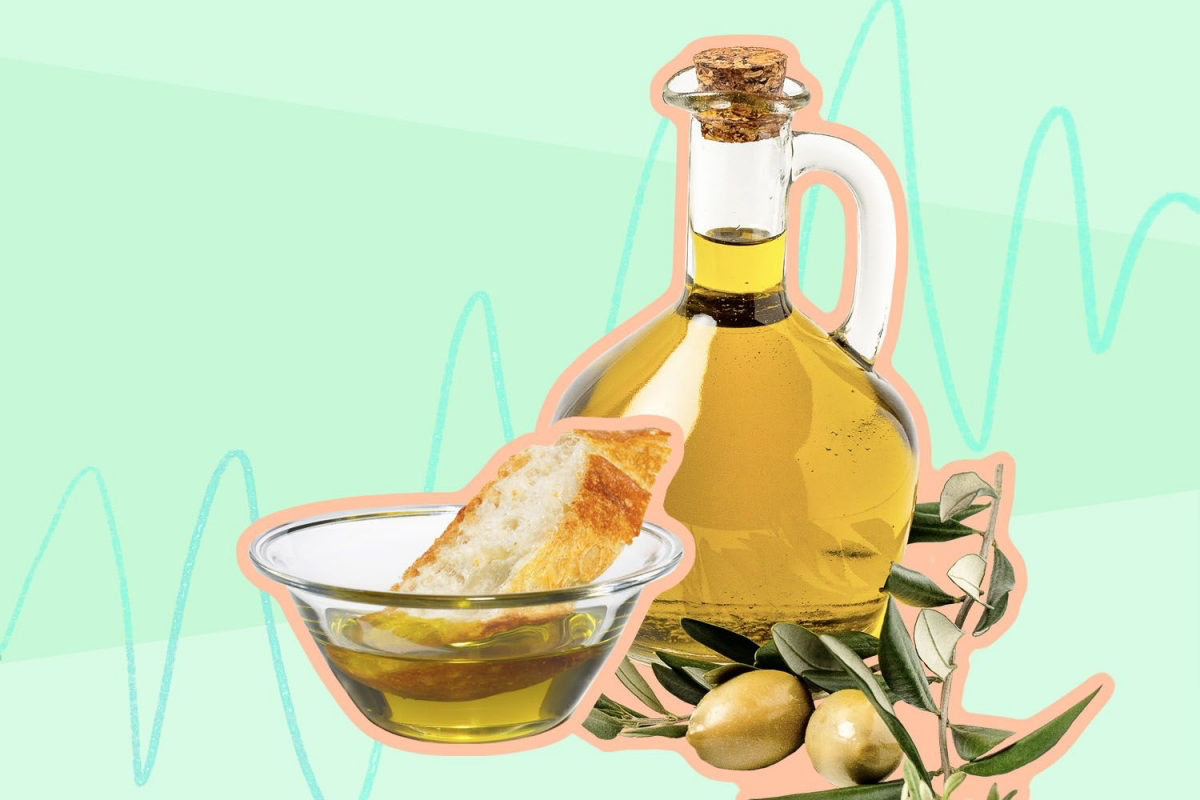
Don’t store your oil next to the stove: Heat, along with light and air, is the enemy of freshness. That convenient spot right by the cooktop accelerates oxidation, making your oil go rancid faster. Keep your beautiful oils in a cool, dark pantry or cabinet to preserve their flavor and quality for months to come.
Want to create a chef-level secret weapon in minutes?
Make your own infused oil. Gently warm a neutral oil like grapeseed or a light olive oil with your aromatics—crushed garlic cloves, whole dried chilies, or sturdy herbs like rosemary and thyme. Let it steep off the heat until completely cool, then strain and bottle. You now have a custom finishing oil perfect for drizzling over pasta, pizza, or roasted vegetables.
One of the biggest mistakes home cooks make is using a single, all-purpose olive oil. The robust, peppery flavor of a high-quality extra virgin olive oil is wasted (and can turn bitter) with heat, while a light olive oil is perfect for sautéing but lacks character for a salad dressing.
A finishing oil is all about flavor and aroma, not heat. It’s the final touch that elevates a dish from good to great. Think of it as a liquid condiment.
- A drizzle of nutty walnut oil over a goat cheese salad.
- A spoonful of vibrant, green extra virgin olive oil from brands like California Olive Ranch over a simple bowl of soup.
- A touch of toasted sesame oil on a finished stir-fry or noodle dish.
Butter: Delicious and classic, but its milk solids give it a low smoke point (around 302°F / 150°C), making it prone to burning during high-heat searing.
Ghee (Clarified Butter): By removing the milk solids and water, you’re left with pure butterfat. This skyrockets the smoke point to about 482°F / 250°C, making it a fantastic choice for frying and searing while retaining a rich, buttery flavor.
- An incredibly high smoke point (around 520°F / 270°C).
- A clean, neutral flavor that won’t overpower your ingredients.
- A fantastic source of monounsaturated fats.
The secret? Refined avocado oil. It’s the undisputed champion for high-heat searing and frying when you want the food’s natural flavor to be the star. Look for quality versions from brands like Chosen Foods or Primal Kitchen.
Don’t overlook animal fats, a cornerstone of traditional cooking that’s making a major comeback in professional kitchens. Duck fat is liquid gold for roasting potatoes, yielding an impossibly crisp exterior. Beef tallow gives fried foods a savory depth that vegetable oils can’t replicate. And for flaky pie crusts or incredible refried beans, nothing beats classic lard. These fats aren’t just for nostalgia; they are flavor powerhouses with naturally high smoke points.
According to the EPA, fats, oils, and grease are the number one cause of sewer blockages in the U.S.
Never pour used cooking oil down the drain. It congeals and can cause massive blockages in your pipes and city sewers. Instead, let it cool completely, pour it into a sealable, non-recyclable container (like its original bottle or an old takeout container), and dispose of it in your regular trash. Some municipalities also have collection programs for recycling it into biofuel.
Trust your senses. Before you even pour, smell your oil. A fresh oil should smell clean, neutral, or pleasantly of its source (like olives or nuts). If it has a waxy, crayon-like, or stale smell, it has gone rancid. Cooking with it will only transfer those off-flavors to your food. When in doubt, throw it out.


