The Real Deal on Porcelain Countertops: A Fabricator’s Honest Guide
I’ve been working with stone my whole career. My hands know the feel of granite, quartzite, and marble. So, when these ultra-thin porcelain slabs started showing up from Europe, a lot of us in the shop were skeptical. We’re used to materials forged by the earth over ages. This stuff was different—born in a factory, incredibly precise, and, as we quickly learned, totally unforgiving if you don’t know what you’re doing.
In this article
- So, What Is This Stuff, Really?
- From a Giant Slab to Your Kitchen Counter
- Porcelain vs. The Other Guys (Quartz & Granite)
- Let’s Talk Money: The Real Cost of Porcelain
- Living With It: The Honest Truth on Durability
- When Things Go Wrong (And How to Fix Them)
- The Big Warning: This is NOT a DIY Project
- Final Takeaways: Top 3 Pitfalls to Avoid
- Galerie d’inspiration
But you can’t fight progress. I decided to really learn this material, not from a sales brochure, but from the workshop floor. This is what I’ve learned from cutting it, handling it, and yes, even breaking it, so I could figure out how to do it right. This isn’t a sales pitch; it’s the real, hands-on story of porcelain.
So, What Is This Stuff, Really?
To really get porcelain, you have to know how it’s made. A salesperson might just call it “clay,” but that’s like calling a sports car a “metal box.” The countertops we work with are technically called “sintered stone.” Think of it as a high-tech copy of what nature does, only way, way faster.
Here’s the rundown:
- The Ingredients: It all starts with super-fine, pure minerals—clays, feldspar, silica, and natural pigments for the patterns and colors. The quality of these raw materials is everything.
- The Squeeze: This mineral mix gets flattened and put under insane pressure, we’re talking thousands of tons. This squeezes all the air out and is the first step to making it non-porous.
- The Fire: The compacted slab then rolls through a kiln hotter than you can imagine (over 2200°F) where the particles literally fuse together into one solid, incredibly dense sheet.
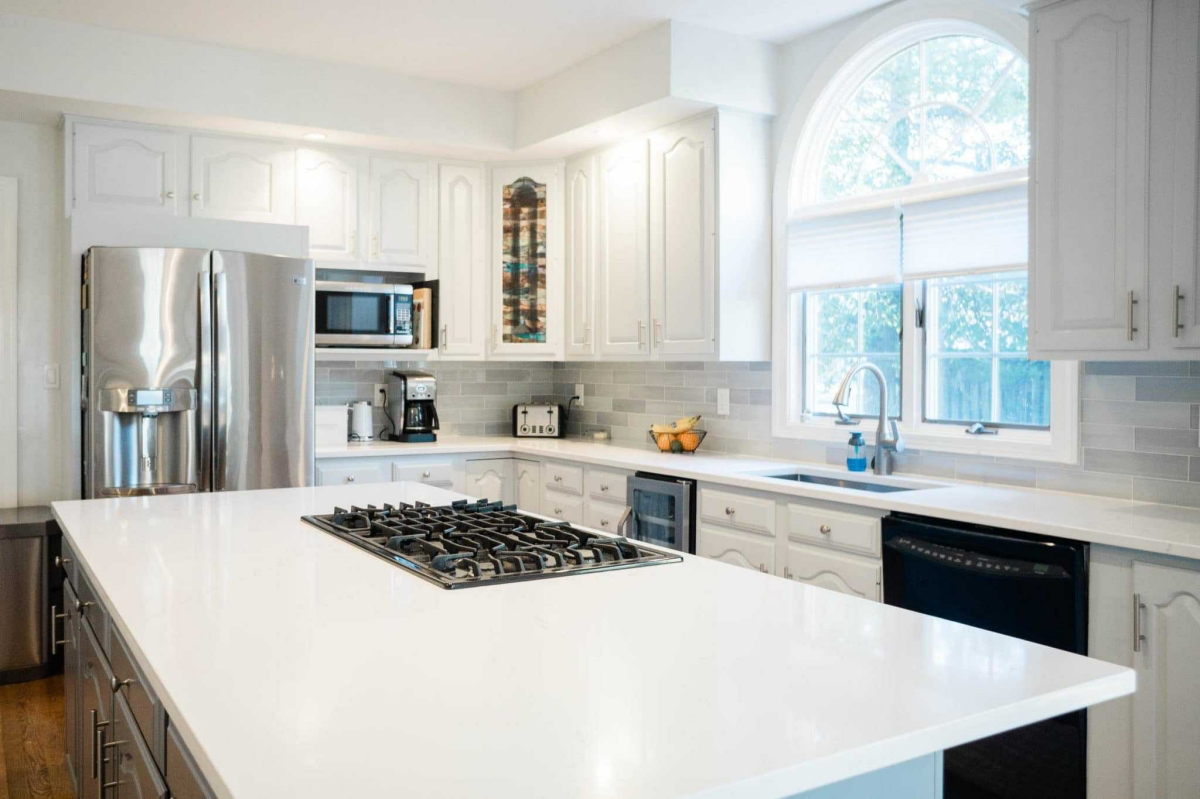
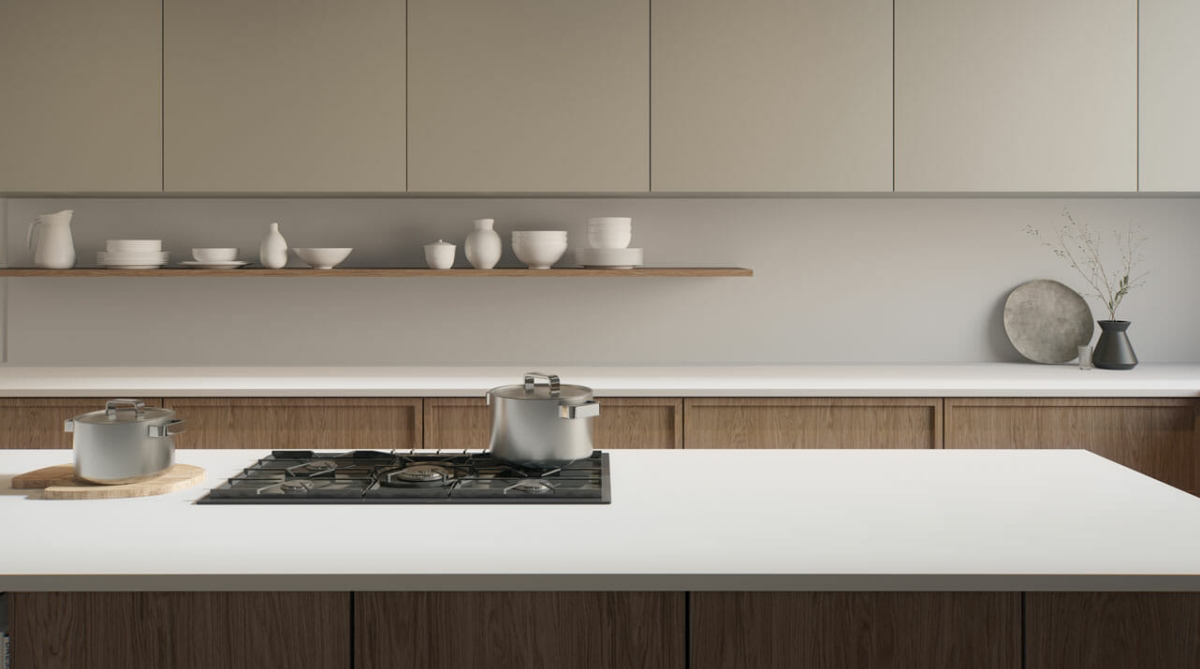
And that’s the magic. Because there are no plastic resins or binders like in quartz, it’s practically immune to heat and won’t fade in the sun. And because it’s so dense, there’s nowhere for wine, coffee, or bacteria to hide. Good to know: These slabs typically come in a beefy 12mm thickness (about 1/2 inch) for countertops, and a slimmer 6mm version that’s perfect for wall panels and shower surrounds. Using the wrong one is asking for trouble.
From a Giant Slab to Your Kitchen Counter
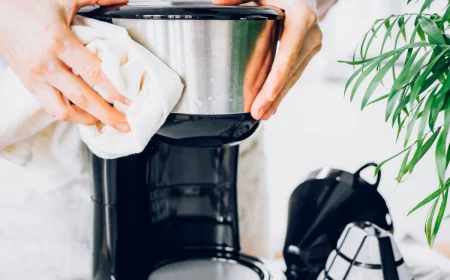
Turning a raw slab into a countertop is where the skill—and the cost—comes in. Honestly, this is not a DIY-friendly material.
First off, it’s strong but brittle. It has almost zero flex. We have to move it on special A-frame racks and use suction cup lifters designed to spread the weight perfectly. I’ve seen a new crew try to carry a big island piece flat; it sagged in the middle and snapped in two. An expensive, heartbreaking lesson.
Cutting it is another challenge. You can’t just use a standard diamond blade; it will cause tiny fractures and ugly chipping. We use special water-cooled blades for straight cuts. For sink and cooktop cutouts, a waterjet is the only way to go. It uses a high-pressure stream of water and abrasive grit to make a perfect, stress-free cut. It’s slow and expensive, but it guarantees the slab won’t crack.
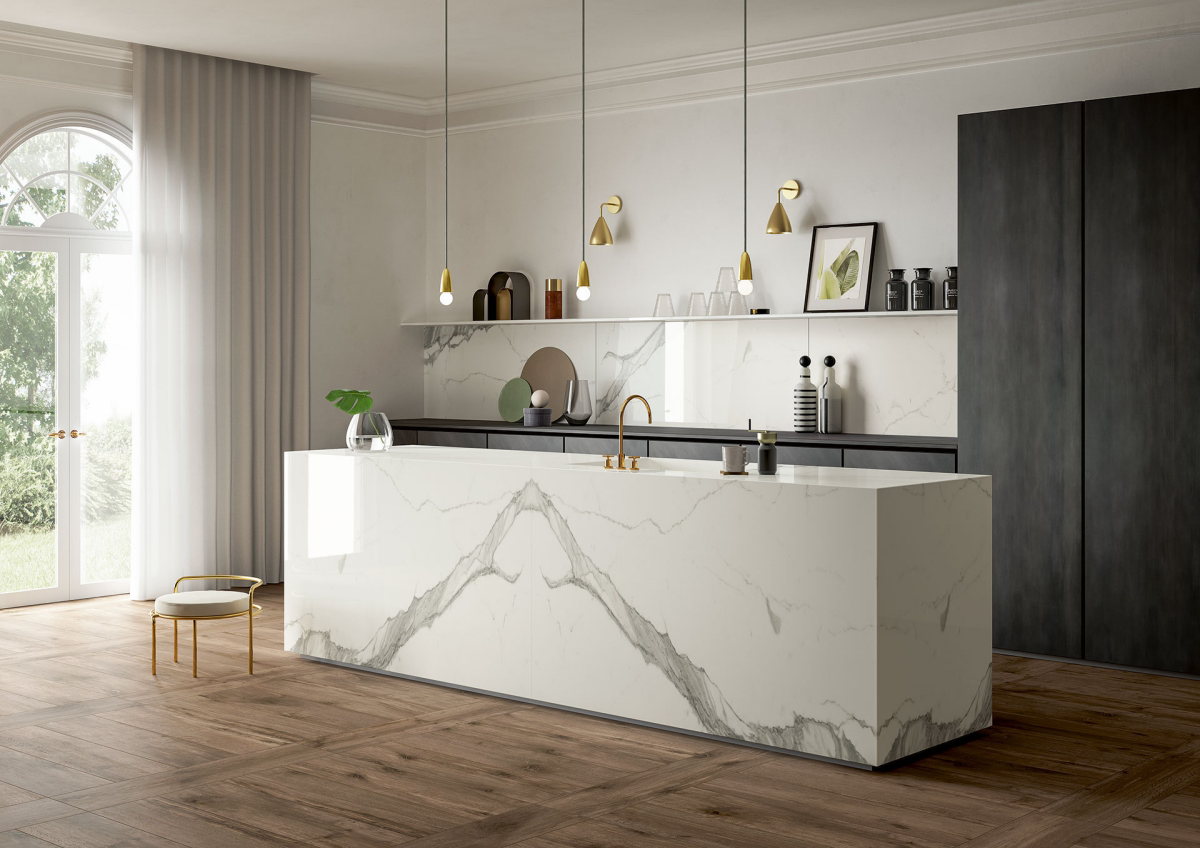
Oh yeah, and the edges are a whole other story. Since the pattern is usually only on the surface, you can’t do fancy rounded edges like you see on granite. The gold standard is a mitered edge. We cut the countertop and a separate edge strip at matching 45-degree angles, then join them with a powerful, color-matched epoxy. Done right, it creates a seamless look where the pattern appears to wrap around the edge, making the slab look like a thick, solid block of stone. I remember one job with a massive waterfall island; getting that mitered edge to look like a single piece of stone was tough, but when we finished, it was flawless. That’s the kind of detail that makes it all worth it.
Heads up on timing: From the day we visit to make a digital template of your cabinets to the final installation day, you should typically plan for a 2 to 4-week process. It just takes time to do it right.
Porcelain vs. The Other Guys (Quartz & Granite)
You’re probably not choosing a countertop in a vacuum. So how does porcelain stack up against the other big players? Here’s my honest take.
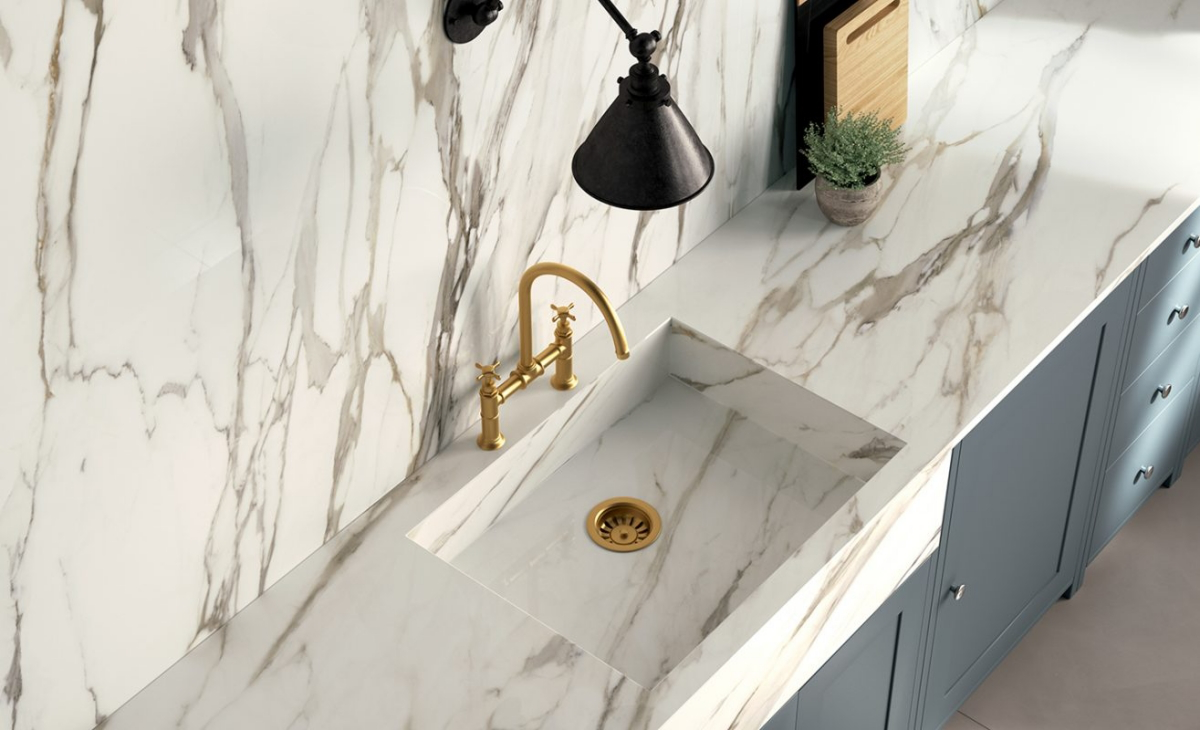
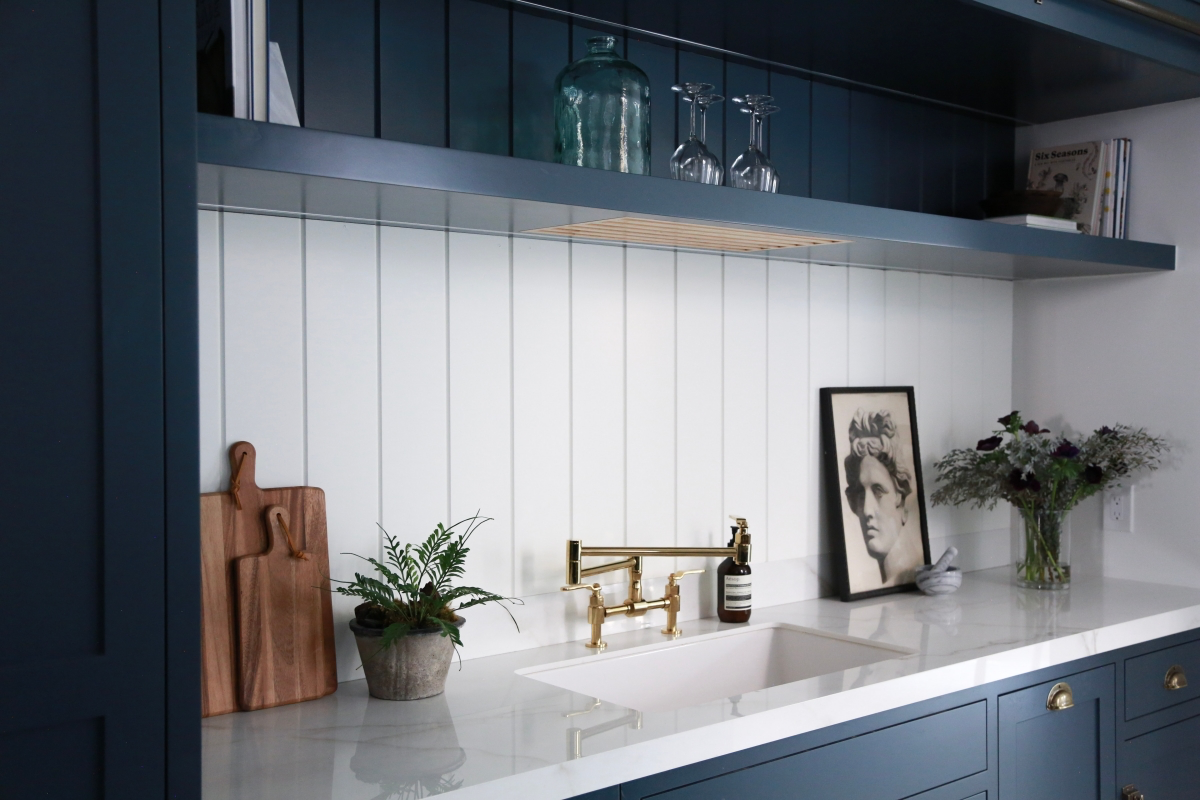
- Compared to Granite: Both are champs with heat—hot pans are no problem. The big difference? Granite is porous and needs to be sealed regularly to prevent stains, while porcelain needs zero sealing, ever. On the flip side, granite’s natural, granular pattern is fantastic at hiding small chips. A chip in granite just looks like more granite, whereas a chip in most porcelain can be more obvious.
- Compared to Quartz: This is the main showdown. Porcelain wins on heat and UV resistance, hands down. You can put a hot pot on it, and you can use it for your outdoor kitchen without it yellowing in the sun (a major problem for quartz). But, quartz is more forgiving. The resins in quartz give it a tiny bit of flex, making it more resistant to chipping from a heavy impact. If you’re clumsy and tend to drop cast iron pans, quartz might be a safer bet.
Let’s Talk Money: The Real Cost of Porcelain
Alright, let’s get to the question everyone’s really asking. What’s this going to cost? I’ll be direct: porcelain is a premium material, and the price tag reflects the specialized labor involved.
You should realistically budget for somewhere between $90 and $200+ per square foot installed. Yes, that’s a huge range. A simple galley kitchen with no cutouts will be on the lower end, while a complex kitchen with a huge island, sink cutouts, and waterfall edges will be on the high end. The cost isn’t just in the material; it’s in the risk of breakage, the specialized tools, and the hours of skilled labor it takes to get it perfect.
Living With It: The Honest Truth on Durability
So, how does it hold up to real life? It’s a mixed bag of incredible strengths and one notable weakness.
The Good Stuff:
- Scratch Proof: The surface is ridiculously hard. You can slice veggies on it, but you’ll dull your knives long before you scratch the counter.
- Heat Proof: Seriously, put that hot pot right on the surface. It was born in a 2200°F kiln; your spaghetti pot isn’t going to phase it.
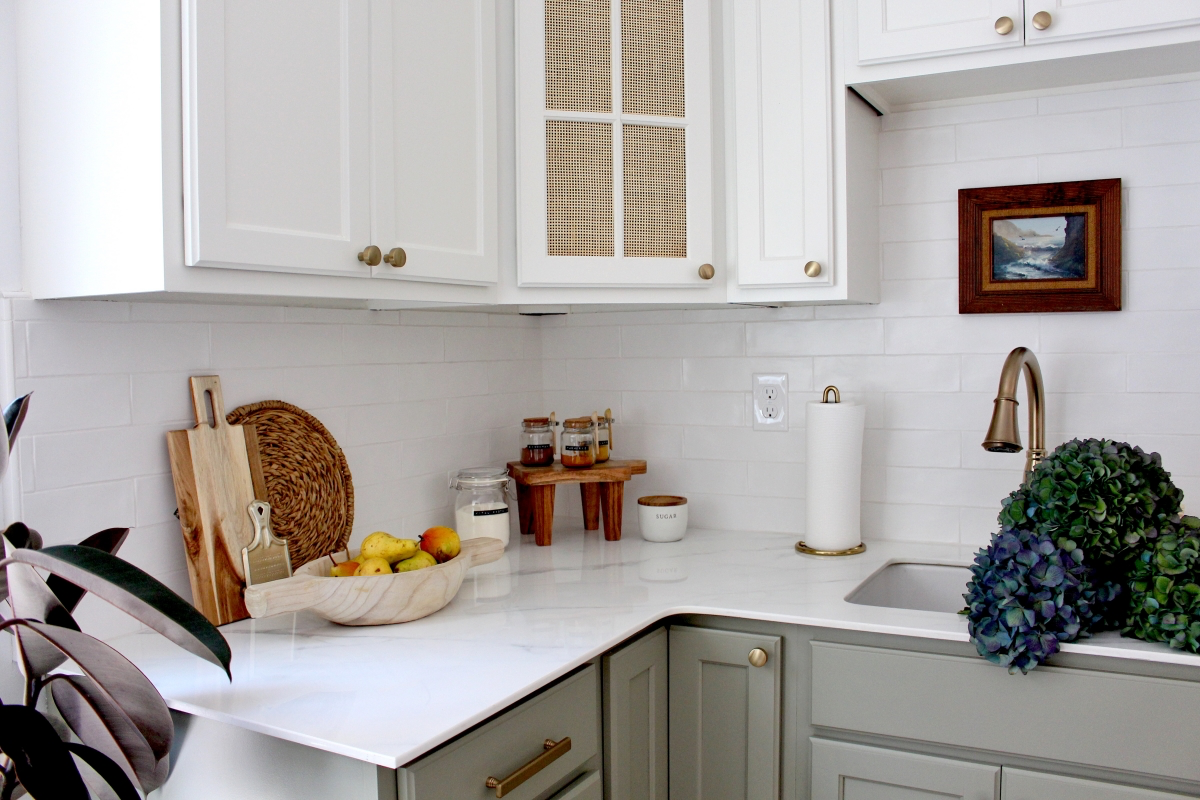
- Stain Proof: It’s completely non-porous. Red wine, lemon juice, permanent marker… it all just wipes away. No sealing, ever.
The Thing to Watch Out For:
- Impacts: This is its Achilles’ heel. While the surface is tough, the material is brittle. Dropping a heavy object, like a cast iron skillet or a full wine bottle, can cause a chip or even a crack. The edges are the most vulnerable spots. I always tell my clients to treat it with the same care they would a glass stovetop—incredibly durable for daily use, but not indestructible.
When Things Go Wrong (And How to Fix Them)
Most porcelain slabs have their gorgeous patterns printed on the surface. The catch? The body of the slab underneath is a solid, plain color. If you get a deep chip, you’ll expose this core. It’s like scratching the design off a decorative plate.
But don’t panic if you get a small chip. They can be repaired. A good fabricator can fill the chip with a color-matched epoxy that becomes structurally sound. The repair will be less visible on a solid color than on a heavily veined pattern, but it’s a solid fix. A simple edge chip repair might run you a few hundred bucks, depending on the job. Some of the very high-end products are now “full-body,” with the veining running all the way through, which hides chips much better but comes at a much higher price.
The Big Warning: This is NOT a DIY Project
Let me be crystal clear: fabricating and installing porcelain countertops is a job for a dedicated specialist. Not a general contractor, not a handyman, and definitely not a weekend warrior project. The material requires unique tools, handling techniques, and a deep understanding of its limits.
And there’s a serious safety issue: cutting this stuff creates fine silica dust, which is incredibly dangerous to breathe. In our shop, all cutting is done “wet” to keep the dust out of the air, and we use proper respiratory gear. This is a major reason why all the work needs to happen in a controlled workshop, not in your home.
Checklist: How to Spot a Pro Fabricator
When you’re getting quotes, ask these questions. The answers will tell you everything you need to know.
- “Do you use a waterjet for sink cutouts?” The only right answer is ‘Yes.’ Anything else is a huge red flag.
- “Can I see photos of your mitered seams on recent porcelain jobs?” A pro will be proud to show you their work. Look for tight, clean, almost invisible seams.
- “What’s your company policy if a slab breaks during fabrication or installation?” A professional will have insurance and a clear plan. They take on the risk, not you.
Final Takeaways: Top 3 Pitfalls to Avoid
If you just skimmed to the bottom, here’s what you need to remember:
- Don’t Hire a Non-Specialist. Hire a stone fabricator with proven, specific experience in porcelain. It will save you a world of heartache.
- Insist on Level Cabinets. The installer MUST ensure your cabinets are perfectly flat before the countertop goes on. An unsupported slab is a cracked slab waiting to happen.
- Respect the Edges. Understand that while the surface is tough, the edges are vulnerable to chipping from heavy impacts. Treat it with a little care, and it will look amazing for decades.
Galerie d’inspiration
What happens to the pattern if my porcelain countertop chips?
This is a crucial question. It depends on the slab’s manufacturing. Most porcelain countertops have a surface-printed design; if a significant chip occurs, it will reveal the plain, unpatterned ceramic body underneath. However, some premium sintered stones, like certain lines from Cosentino’s Dekton or brands like Laminam, feature “through-body” or “full-body” veining. In these, the pattern runs through the entire thickness of the slab. While a chip is still a chip, the color and pattern will remain consistent, making any damage far less noticeable.
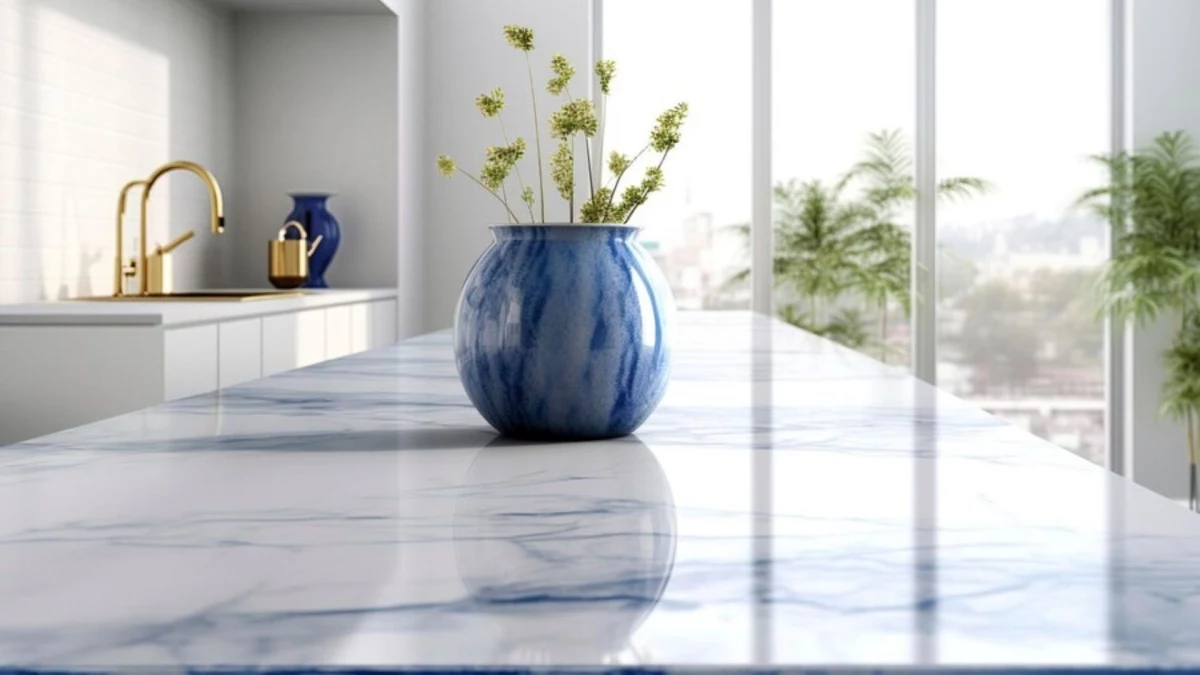
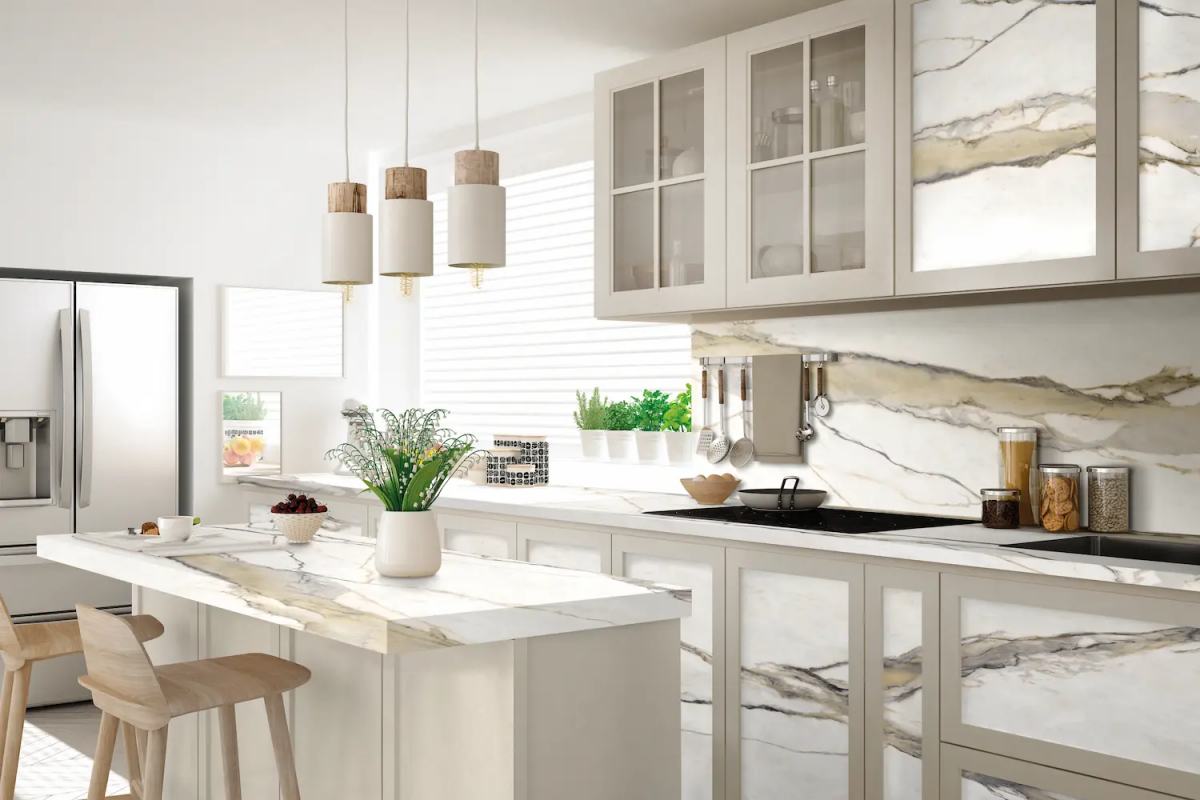
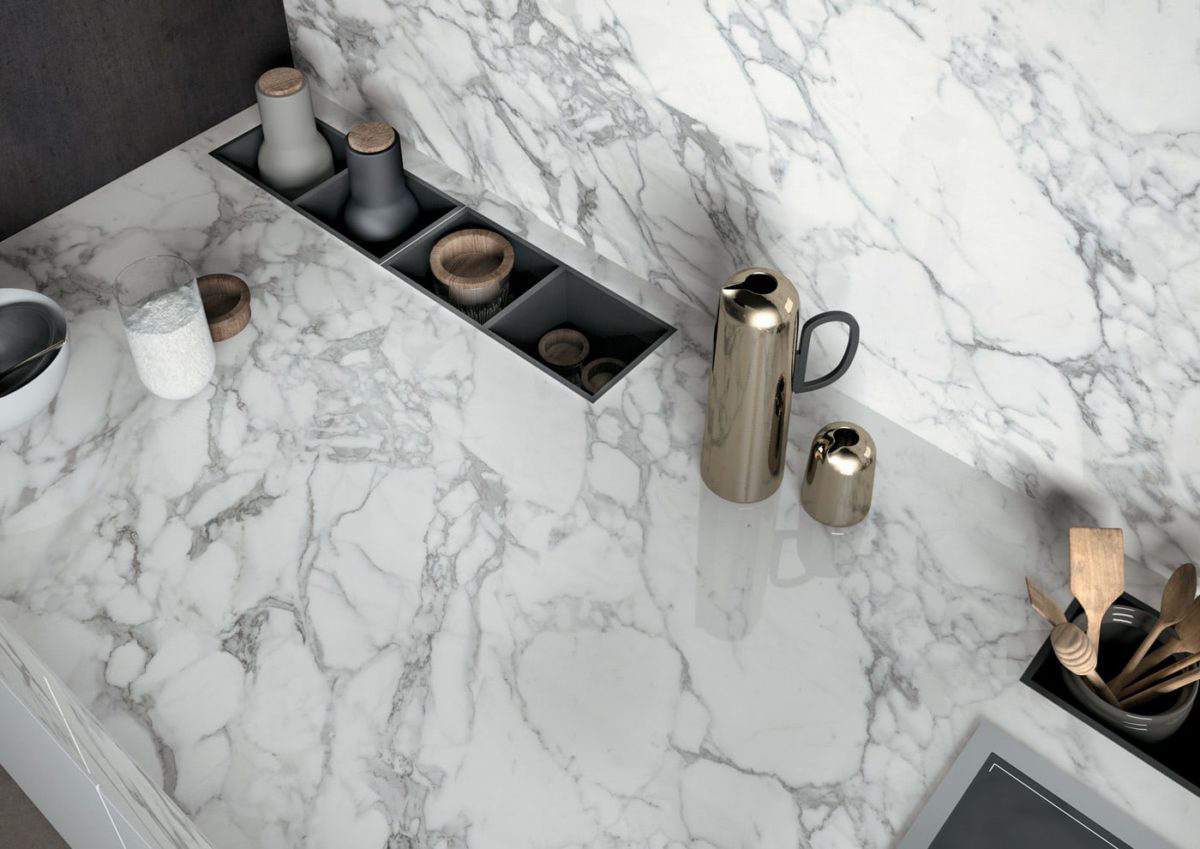
- A kitchen island that flows seamlessly to the floor in a waterfall edge.
- A full-height backsplash that perfectly matches the countertop pattern.
- A shower with no grout lines, using just a few giant panels.
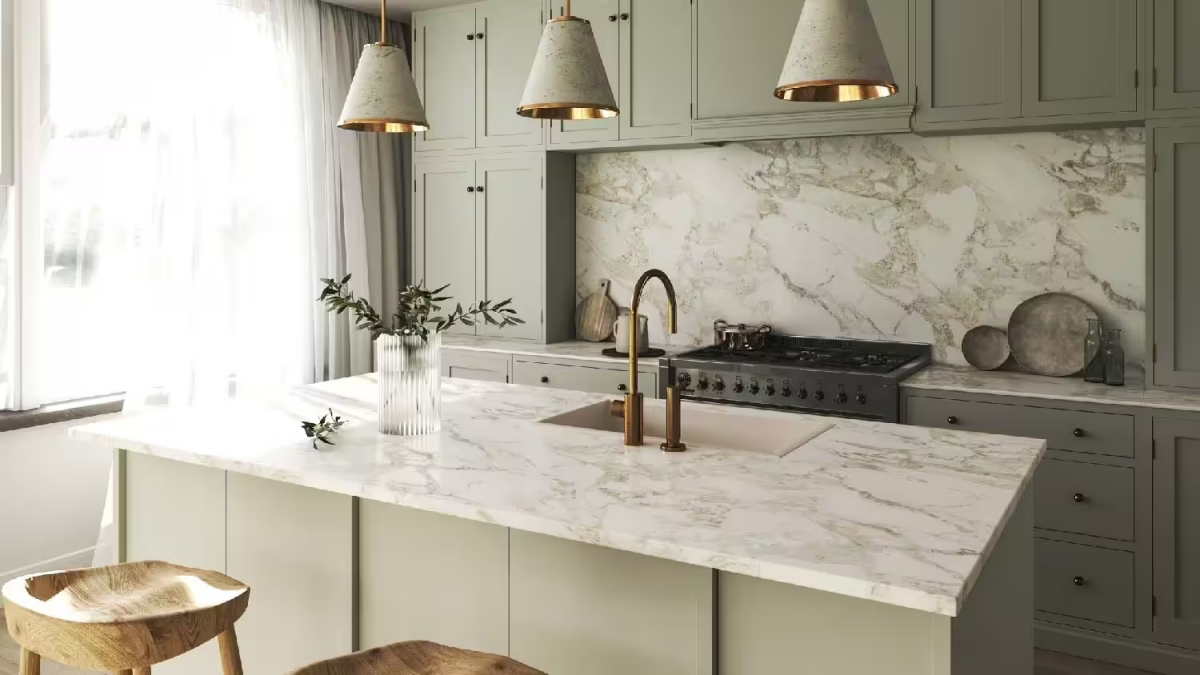
The secret to these monolithic, ultra-modern looks? The large-format nature of porcelain slabs. Slabs from brands like Neolith can be as large as 126 x 64 inches, allowing designers to dream bigger and minimize seams for a clean, architectural feel.
Don’t be surprised by the sound. Setting a ceramic mug on a porcelain counter produces a higher-pitched, sharper ‘clink’ than the dull thud you’d hear on granite. It’s a subtle but distinct characteristic of its incredible density.
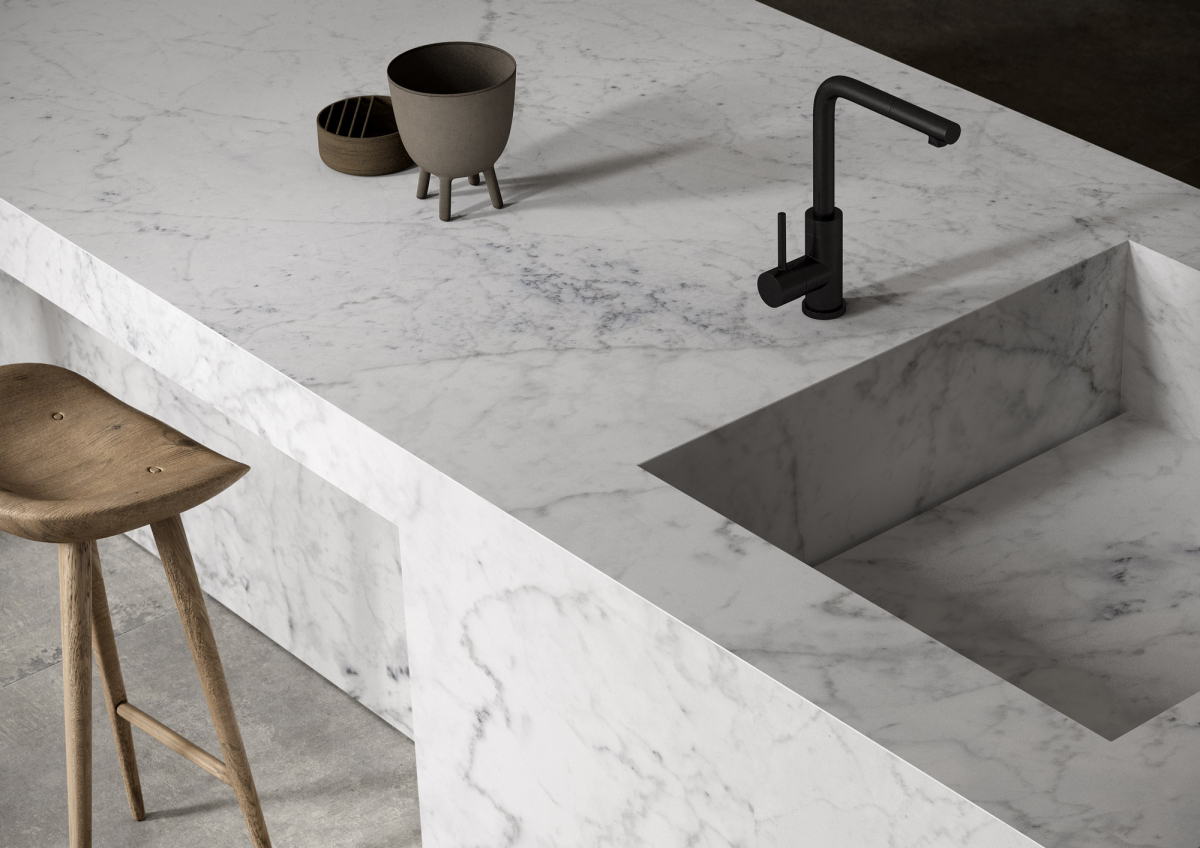
The Mitered Edge: The gold standard for porcelain. Two pieces are cut at 45-degree angles and joined to create a sharp, clean corner. This technique preserves the surface pattern and gives the illusion of a much thicker, solid slab.
The Bullnose Edge: A professional will almost always advise against this. Rounding the edge of a printed porcelain slab exposes the unpatterned core of the material, creating an unsightly line that disrupts the veining and cheapens the look.
The forgotten hero of a porcelain installation: a perfectly level substrate. Because porcelain has very little flex, it can’t bridge gaps or imperfections in the cabinetry beneath it. Any unevenness creates stress points that can lead to cracks over time. Fabricators insist on flat, sturdy plywood or MDF support to ensure the countertop lasts a lifetime. It’s the foundation you can’t see, but it matters most.