Build a Kitchen That Lasts: A Pro’s Guide to Skipping Trends and Getting it Right
I’ve been designing and building kitchens for a long, long time, and if there’s one thing I’ve learned, it’s this: chasing trends is the fastest way to build a kitchen you’ll be sick of in a few years.
In this article
- Let’s Talk Materials: Stone, Wood, and Metal
- Hardware and Fixtures: The Art of Layering
- The Modern Kitchen: Tech That Actually Helps
- Color and Light: More Than Just White
- The Kitchen Island: The Hardest-Working Piece of Furniture
- No Full Reno? Quick Weekend Upgrades
- Final Thoughts: Permits, Pros, and Peace of Mind
Remember those super specific, of-the-moment kitchens with heavy, dark glazes and fussy details? They were everywhere for a while. Now, my team and I spend a lot of our time carefully taking them out. The point isn’t to knock anyone’s past choices. It’s just a reminder that what’s hot on social media today might feel tired tomorrow.
So, this guide isn’t about what’s fashionable right now. It’s about the smart, durable choices that I see working day in and day out. It’s about picking materials, layouts, and features that will serve you and your family well for decades. I want to share what I’ve learned from being on the job site, collaborating with the pros who cut the stone and install the appliances, and teaching the next generation of builders. Let’s get into the ‘why’ behind the choices, not just the ‘what.’ This is the stuff that helps you build a space that’s not just beautiful, but practical, safe, and truly built to last.

Let’s Talk Materials: Stone, Wood, and Metal
The biggest shift I’ve seen in lasting kitchen design is a move toward what I call ‘material honesty.’ It’s a fancy way of saying we’re using materials that look and feel like what they are. We’re letting the natural beauty of stone, wood, and metal do the talking. This approach creates a kitchen with so much character, and it just gets better with age.
Choosing Your Countertop—The Kitchen’s Workhorse
The countertop is where all the action happens, so this choice is critical. We’re seeing a huge demand for large stone slabs, not just for the counters but also running all the way up the wall as a backsplash. It’s a clean, powerful look, but your material choice has some serious real-world consequences.
Let’s break down the big players in the stone world. Forget a simple chart; you need to understand the personality of each one:
- Quartzite: This has become my go-to recommendation for anyone who loves the look of marble but dreads the upkeep. It’s a natural metamorphic rock that’s incredibly hard—even harder than granite. It stands up beautifully to etching from things like lemon juice or a splash of wine. Heads up, though! Some suppliers mislabel softer stones as quartzite. Here’s a quick tip I give all my clients: ask for a sample and try to scratch a glass tile with it. Real quartzite is tough enough to scratch glass. If it doesn’t, you might be looking at something else. As for cost, expect to pay a premium for the good stuff. Installed, quartzite can range from $100 to over $250 per square foot, depending on how rare and dramatic the slab is.
- Granite: A true classic for a reason. It’s a volcanic rock, which makes it super durable and highly resistant to heat and scratches. The patterns are usually more speckled or granular compared to the sweeping veins you see in other stones. To keep it looking its best, we seal it with a high-quality impregnating sealer when we install it. You’ll need to reapply it every few years. Good to know: Wondering when it’s time to reseal? Just put a few drops of water on the counter. If the water beads up nicely, you’re good. If it starts to soak in and darkens the stone after a few minutes, it’s time to grab some sealer. Granite is often more budget-friendly, typically falling in the $60 to $150 per square foot range.
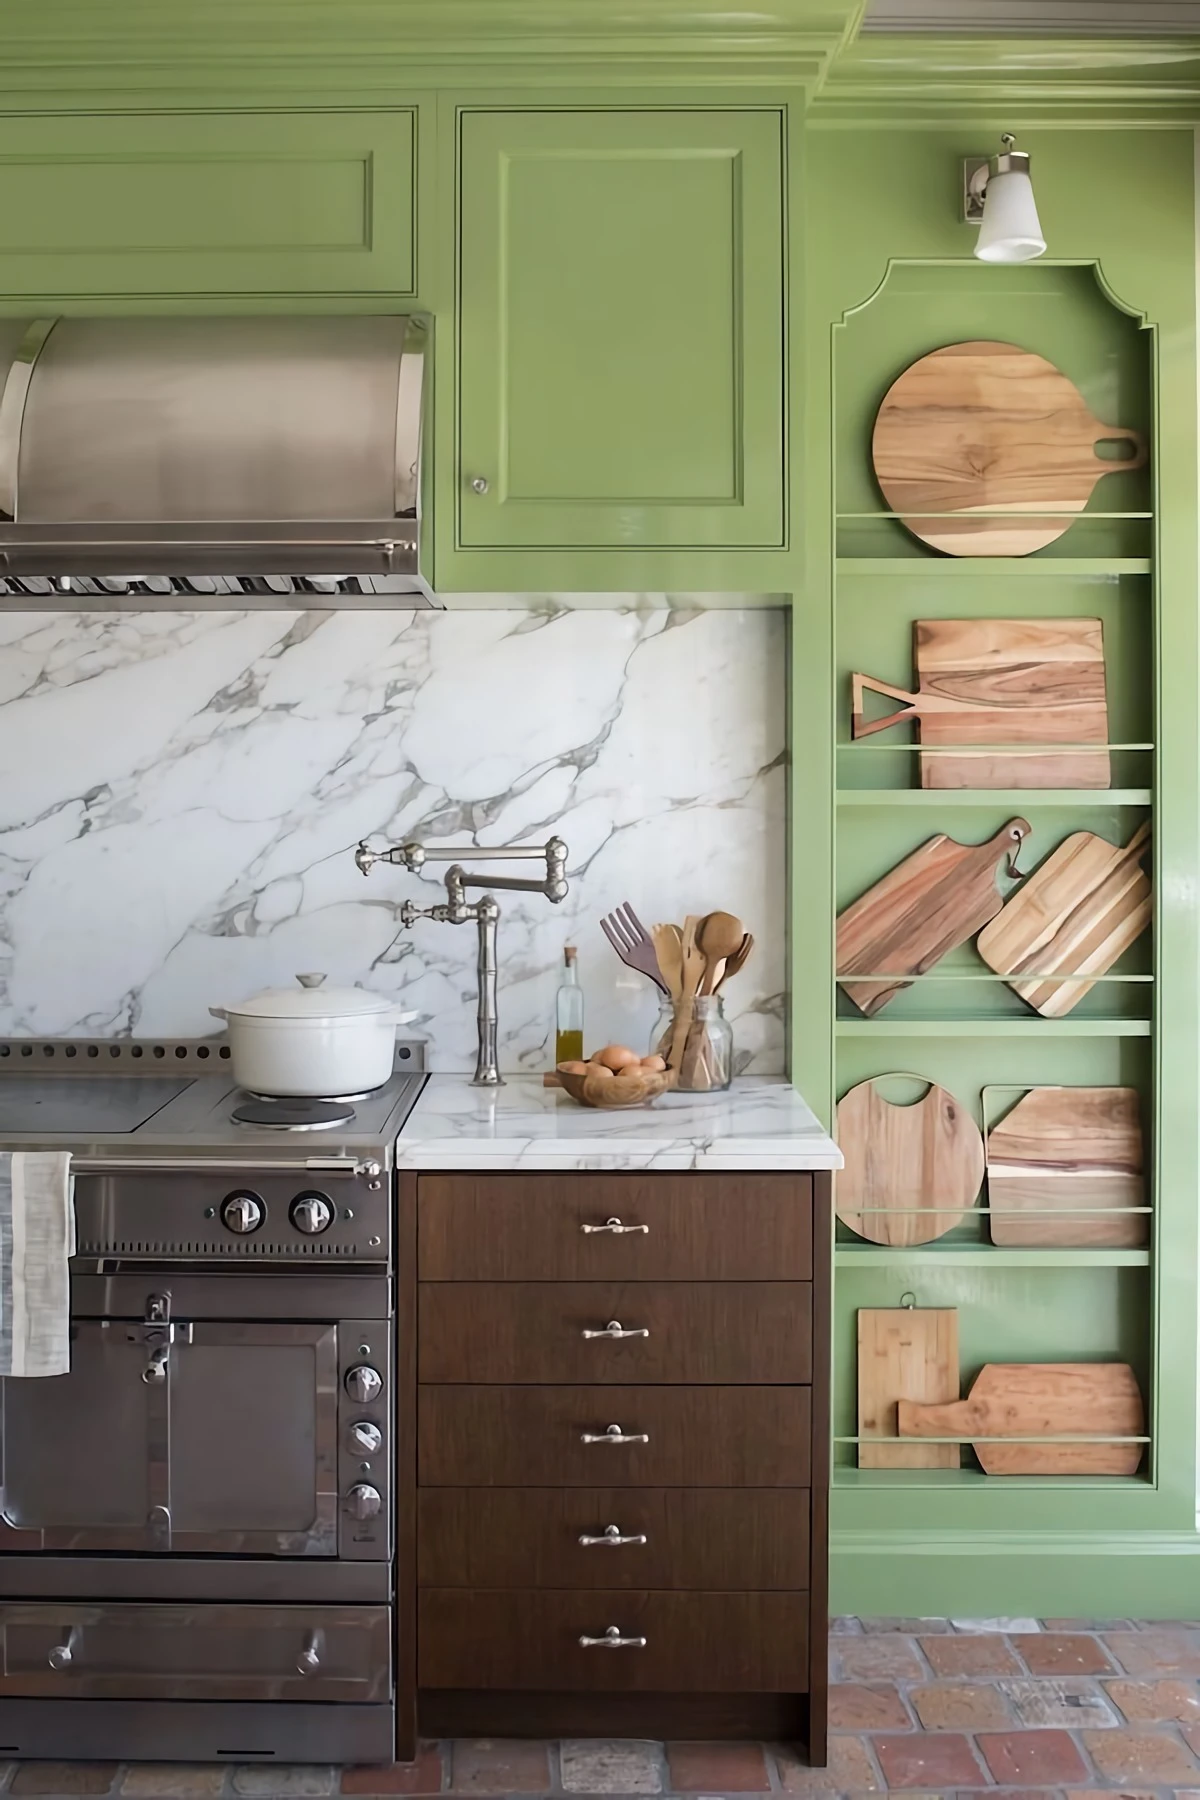
- Marble: Oh, there is honestly nothing as beautiful as a classic slab of veiny Italian marble. But I have a very frank conversation with every client who considers it. It’s a softer, more porous stone. It WILL etch when it touches acidic foods. It WILL stain if you don’t wipe up spills right away. Sealing helps with stains, but it can’t stop etching. I put it to them this way: “If you need a kitchen that looks flawless and pristine for a decade, marble is not for you. But if you can embrace a patina that tells the story of every meal you’ve made, it’s a wonderful, soulful choice.”
And what about engineered quartz? Brands that mix ground-up natural quartz with resins have become incredibly popular. The big advantage is that it’s non-porous, so you never have to seal it, and it’s very resistant to stains. It’s a super practical, family-friendly option. The downside? To a trained eye, it can lack the unique depth and soul of a natural slab. It’s also less heat-resistant than granite. I’ve seen homeowners place a scorching hot pan directly on engineered quartz and cause a permanent crack or burn mark. Always, always use a trivet. Price-wise, it sits somewhere in the middle, often from $75 to $160 per square foot installed.
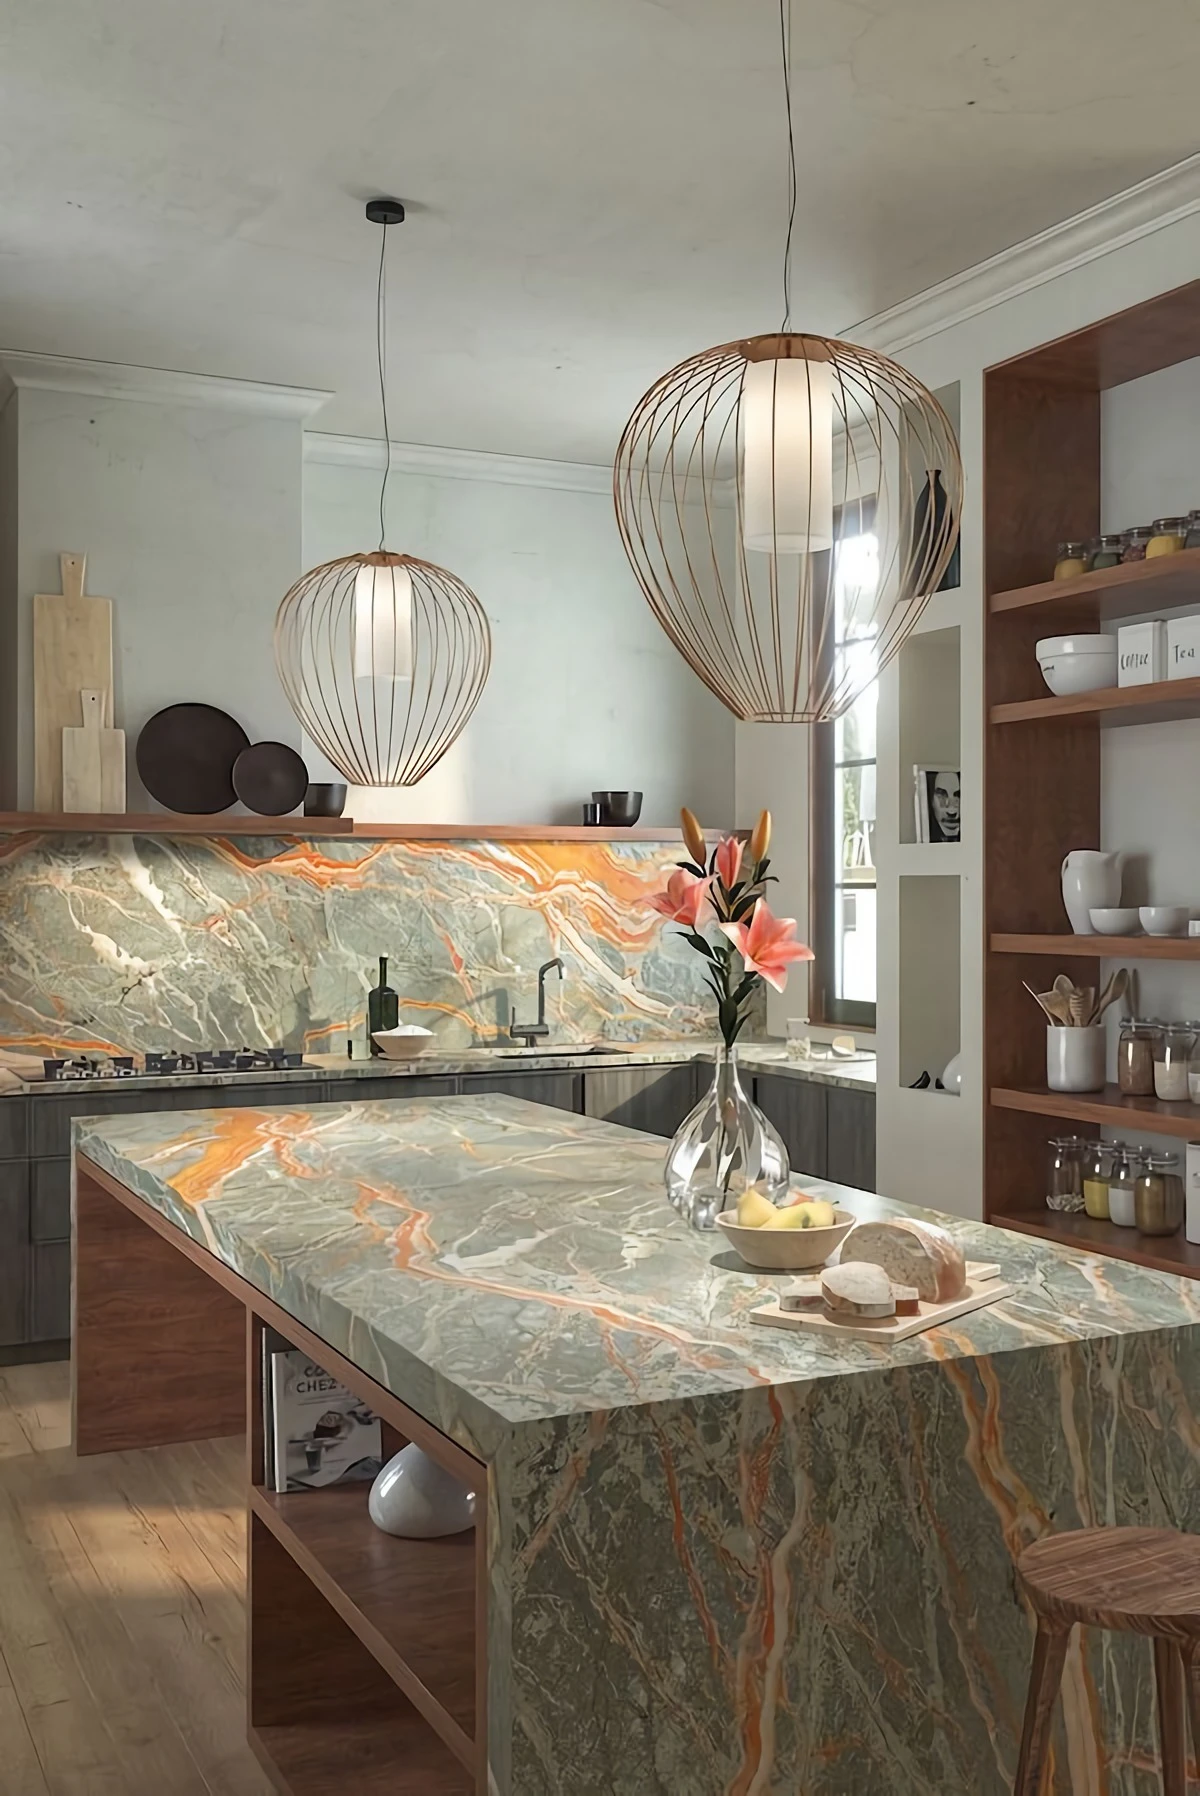
A Pro’s Insight on Slab Backsplashes: A full-height stone backsplash is a showstopper, but you need to be ready for the cost. You’re essentially buying a second countertop, and the labor for cutting out every outlet and switch is intense. A typical slab weighs about 20 pounds per square foot, so a big backsplash can easily be 500 pounds or more. This is NOT a DIY job. It takes a specialized crew and equipment to install. One of the most painful fixes of my career was for a client whose previous contractor tried to install a slab on a wall that wasn’t perfectly flat. The slab cracked right down the middle during installation. It was a $9,000 mistake to fix—we had to re-frame the wall and buy a whole new slab.
And please, a serious safety warning: Stone fabrication and installation are for insured professionals only. These slabs are dangerously heavy. And the dust created from cutting stone, especially engineered quartz, contains silica, which is a major health hazard if you breathe it in. The pros use special water-fed saws and respirators to manage this. Don’t risk it.
Hardware and Fixtures: The Art of Layering
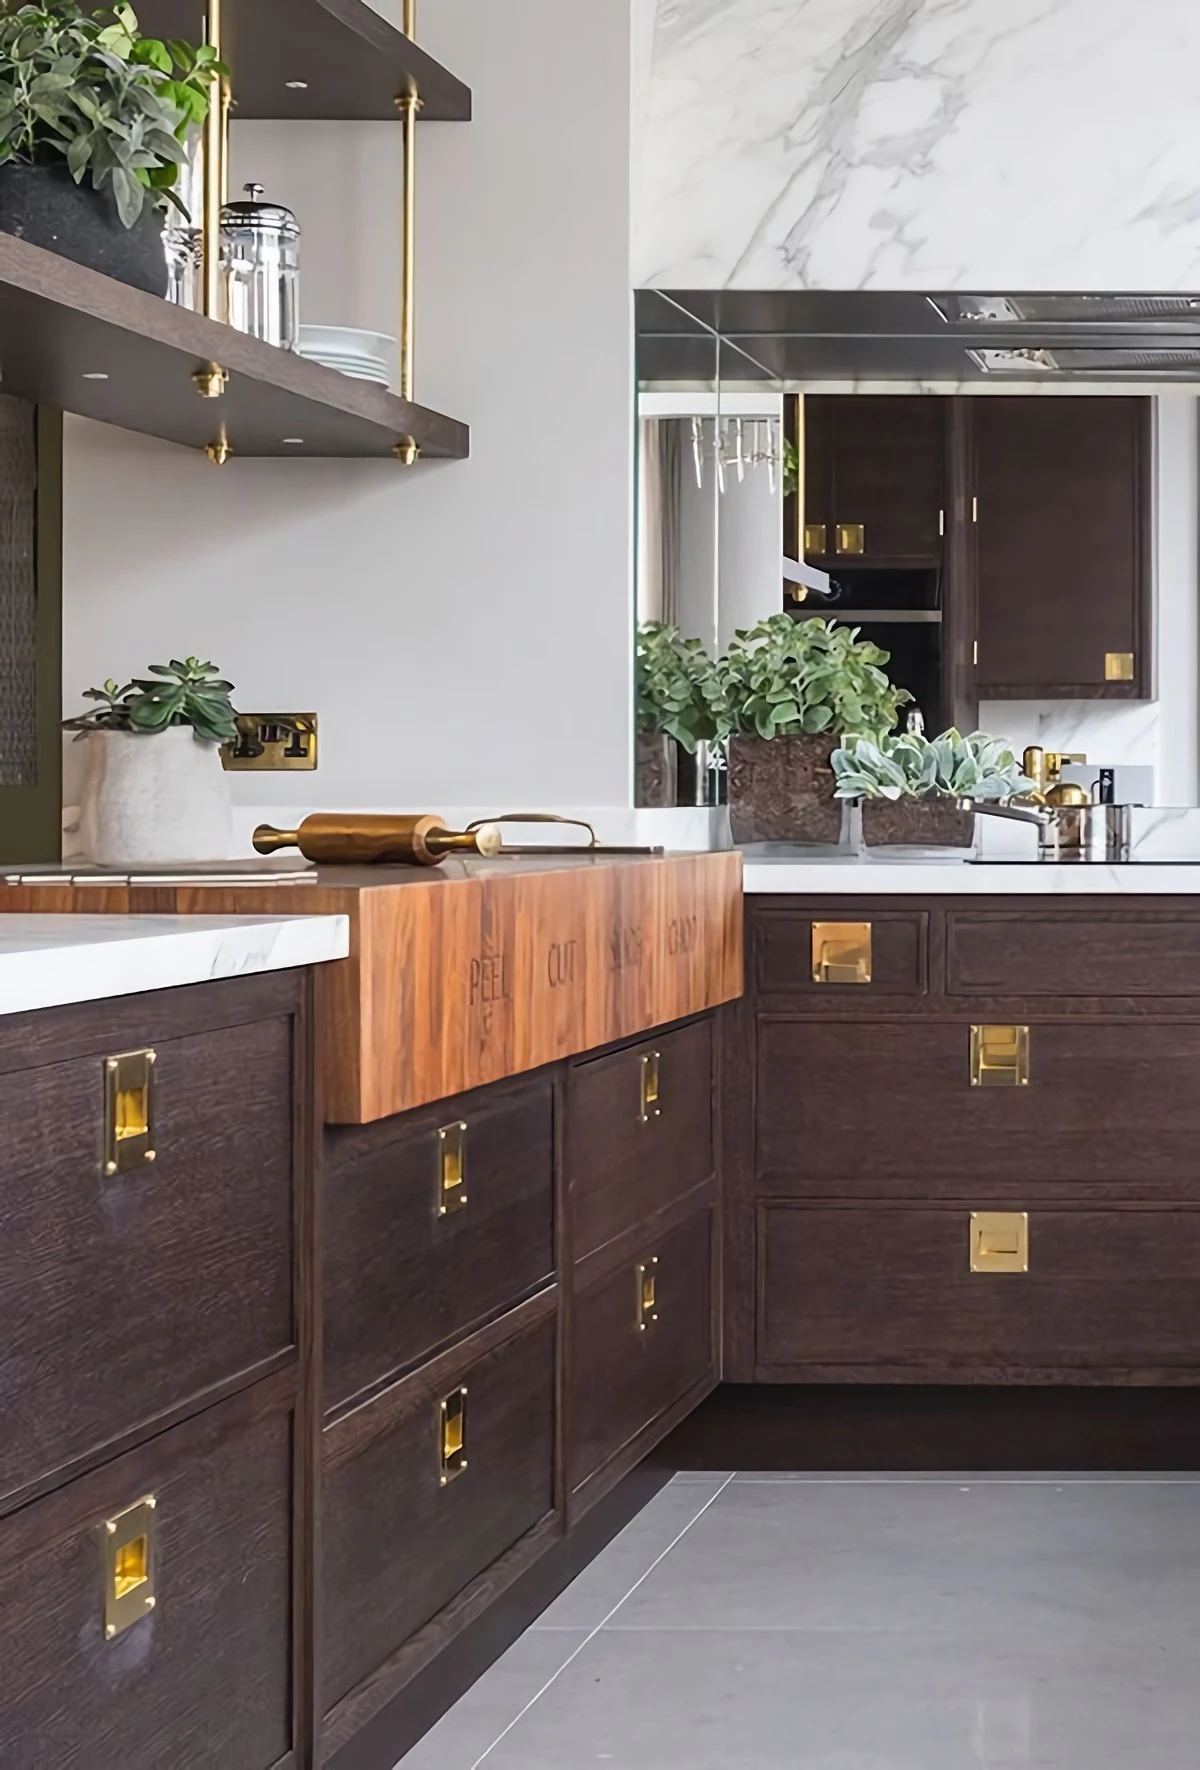
Gone are the days of buying all your metal finishes in a matching set. A more curated, layered look feels so much more personal and timeless. But mixing metals isn’t random; you need a simple plan to keep it from looking chaotic.
My rule of thumb is to pick a dominant metal and then one or two accent metals. For example, maybe you choose a satin brass for all your cabinet hardware. Then, you could bring in a polished nickel for the faucet—it has a warmer tone than chrome and looks fantastic with brass. Finally, you could use matte black for your light fixtures. See? It creates a look that’s cohesive but has depth and personality.
Also, it’s super important to understand the difference between ‘living’ and ‘sealed’ finishes. Unlacquered brass is a great example of a living finish. It will tarnish and develop a unique patina over time from the oils on your hands and the air in your home. Some people adore this evolving, historic character. If you want it to stay bright and shiny forever, you need a sealed finish, like one with a PVD coating. It’s a high-tech process that creates a much tougher surface than simple plating.
By the way, quality hardware makes a HUGE difference. A cheap pull from a big-box store often feels light and flimsy because it’s made of hollow zinc. A high-quality pull from a specialty hardware maker is solid brass. The moment you hold it, you feel the density and quality. It’s a small detail that elevates the entire kitchen. A cheap pull might be $4, while a solid brass one could be $15 to $30. The same goes for faucets—look for one with a solid brass body. It’s the part you can’t see, but it’s what keeps it from leaking for decades.
The Modern Kitchen: Tech That Actually Helps
A ‘smart kitchen’ shouldn’t be about flashy gadgets that you never use. It’s about technology that genuinely makes cooking and cleaning easier. The best tech is often the least visible.
Game-Changing Appliances
Induction Cooktops: If I could recommend one major performance upgrade, this is it. Induction uses magnets to heat the pan directly, not the glass surface. This means it’s incredibly fast (boils water in half the time of gas), instantly responsive, and much safer since the cooktop itself stays relatively cool. The main things to know are that you’ll need magnetic cookware (if a magnet sticks to the bottom of your pan, you’re golden) and you’ll likely need a dedicated, high-amperage circuit installed by a licensed electrician.
Steam-Combi Ovens: For anyone who truly loves to cook, a combination steam and convection oven is a revelation. You can bake bread with a bakery-perfect crust, roast veggies that are moist inside and crispy out, and reheat leftovers without turning them into rubber. We usually install these as a second wall oven. Just plan for either a plumbed water line or easy access to a refillable water tank.
Ventilation—The Unsung Hero: A powerful cooktop demands a powerful range hood. This is a big deal for your home’s air quality. A common mistake is picking a hood just for its looks. You have to match the hood’s power (measured in CFM, or cubic feet per minute) to the heat output of your range. An appliance specialist can help you with the math. And here’s something people often miss: in many places, building codes require a ‘makeup air’ system for any hood over 400 CFM. This system actively brings fresh air into your home to replace what’s being exhausted, preventing dangerous back-drafting from your furnace or water heater. It’s a critical safety feature.
My Honest Take on Smart Fridges: I had a client who was dead set on a high-end smart fridge with a giant screen. A year later, I asked how he liked it. His response? “Honestly, we never use the screen. It’s just another surface to wipe fingerprints off of.” The tech that really matters in a fridge is usually the stuff that improves its core function: precise temperature zones, flexible storage, and better energy efficiency. My advice is to invest in a well-built, reliable appliance first, and think of the ‘smart’ features as a secondary bonus.
Color and Light: More Than Just White
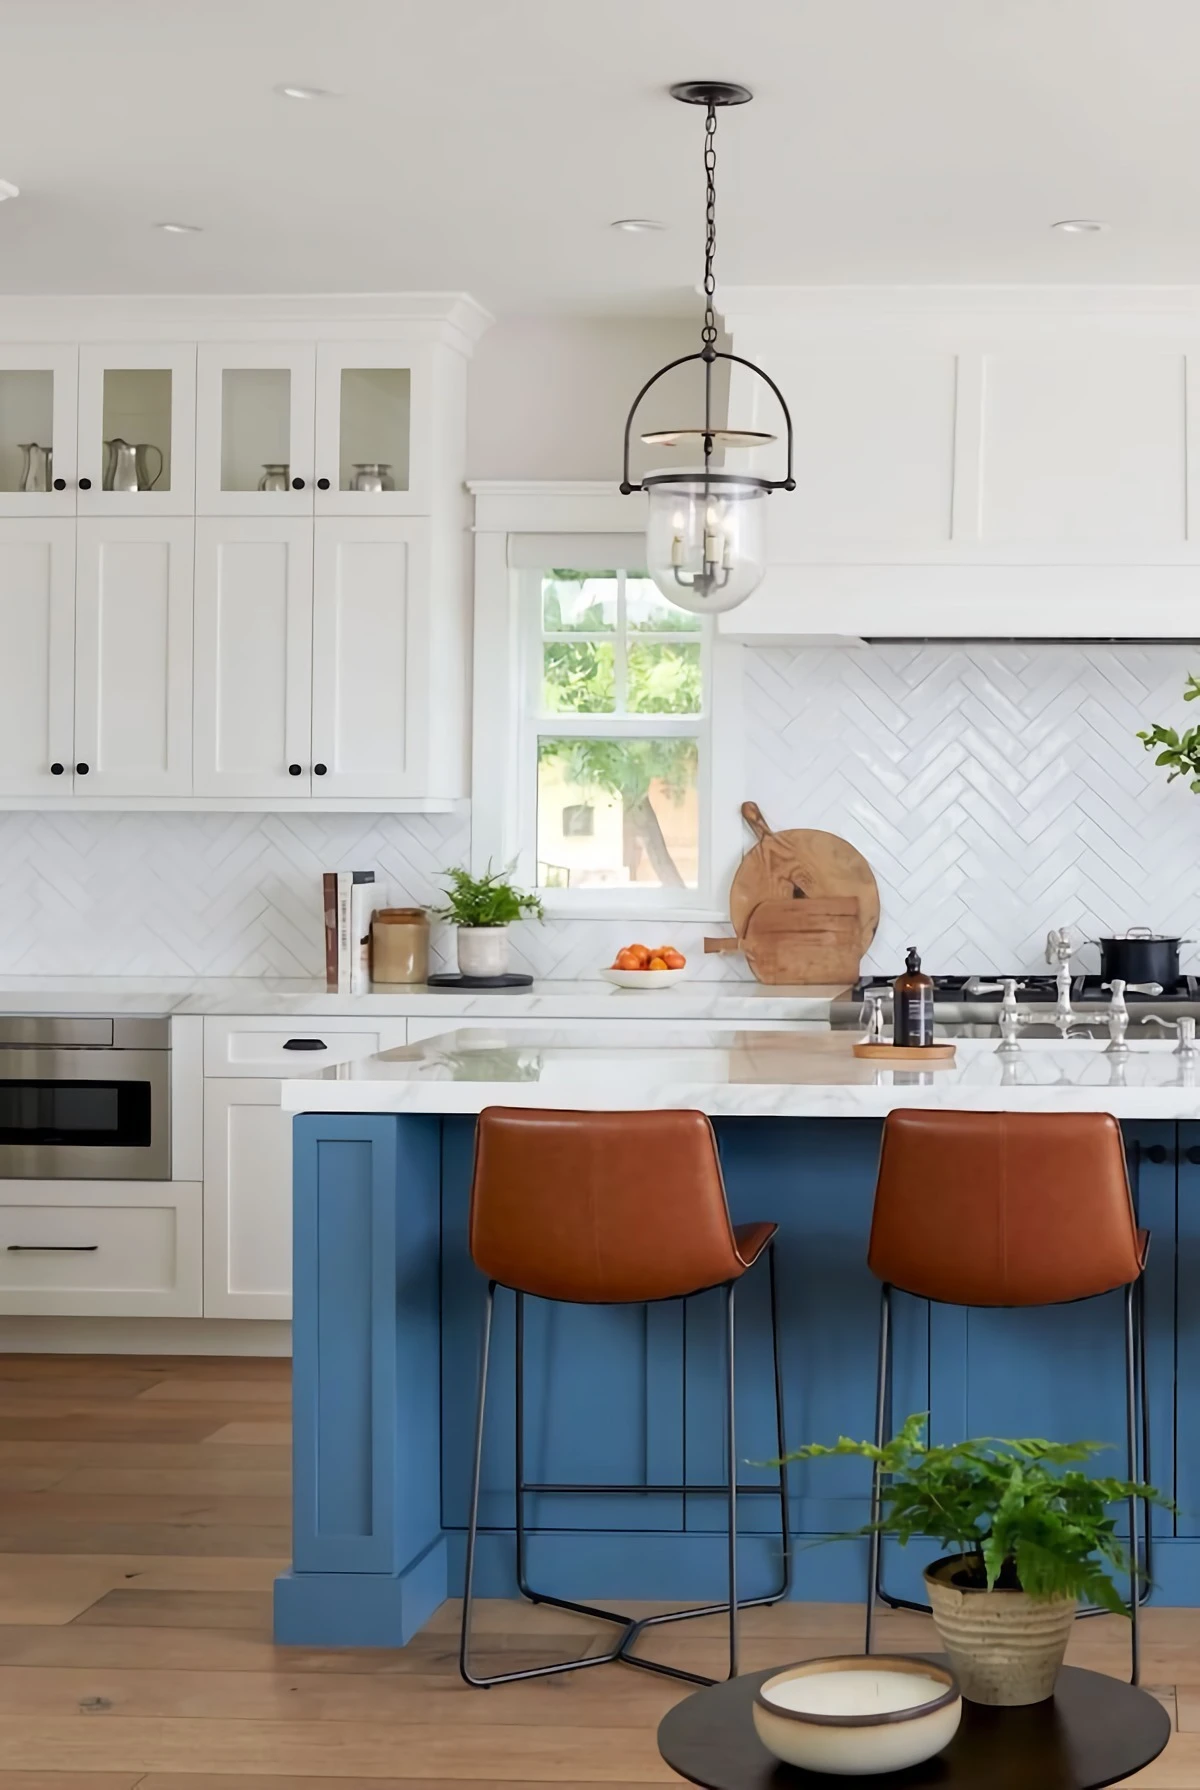
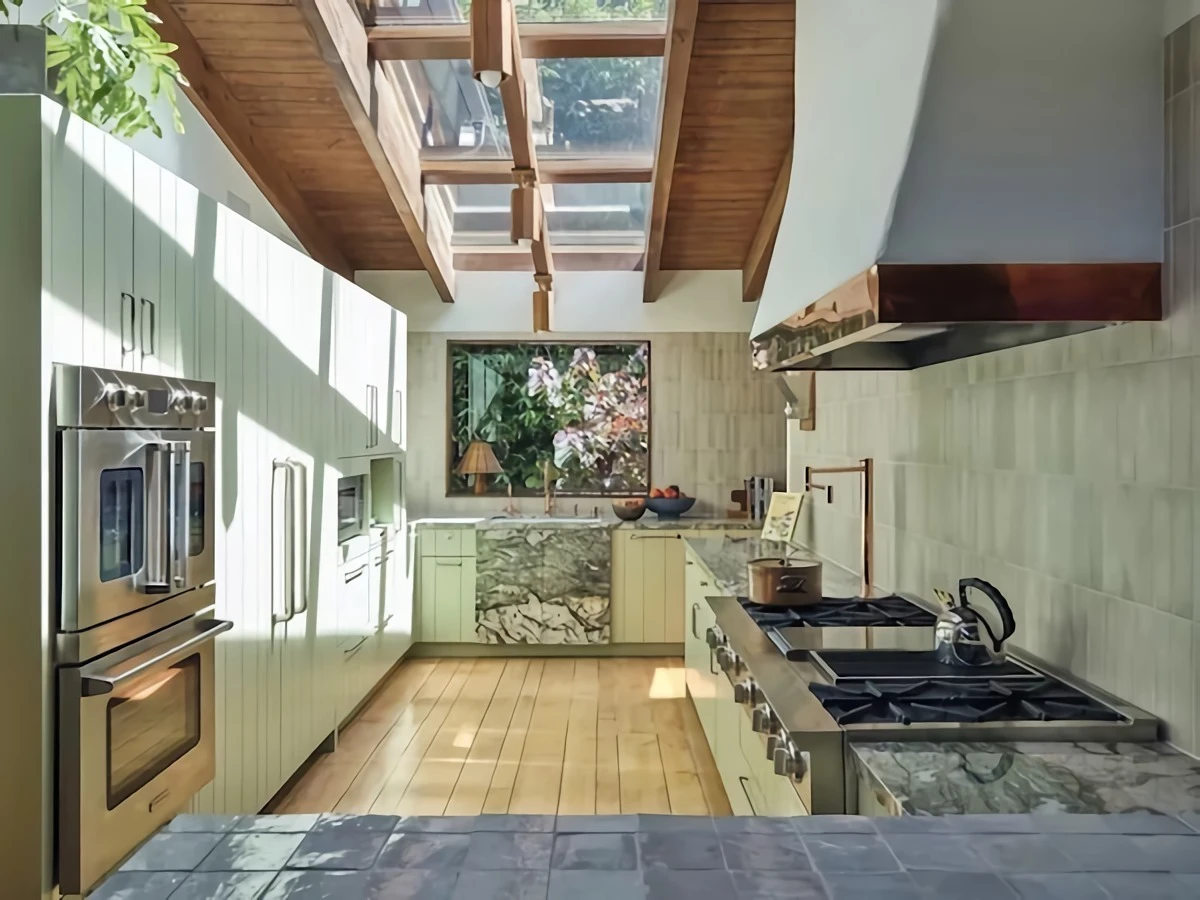
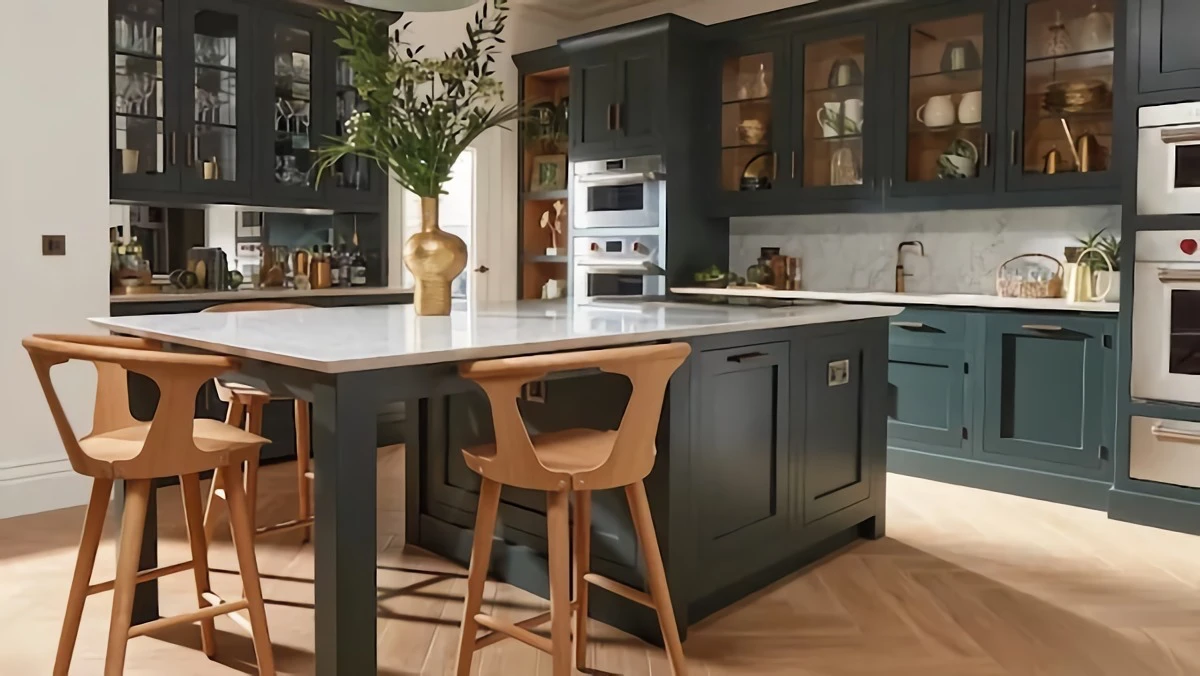
The all-white kitchen has had a good, long run, but we’re finally seeing a confident return to rich, beautiful colors. Deep greens, moody blues, and warm, earthy tones can bring so much personality to a space. But you have to use color thoughtfully.
For painted cabinets, the paint itself is the most important decision. We exclusively use cabinet-grade enamels, like a waterborne alkyd. This type of paint levels out to a beautiful, smooth finish and cures to a very hard, scrubbable surface. Ask for it at a real paint store. Sheen is also key. A matte finish looks chic but is tough to clean. For a kitchen, I always recommend a satin or semi-gloss. It has a slight sheen that reflects light and stands up way better to wiping and scrubbing.
If you’re considering having your cabinets painted, know that a factory finish applied in a controlled spray booth is the most durable option. Painting on-site can also give great results, but it’s 90% prep work. A pro will remove all the doors and drawers, mask the entire room, degrease every surface, sand, prime, and then apply multiple thin coats with a sprayer. It’s a process that can take a full week, easily costing $4,000 to $8,000 for an average-sized kitchen. I’ve seen too many failed paint jobs where that prep was skipped and the paint is peeling off a year later.
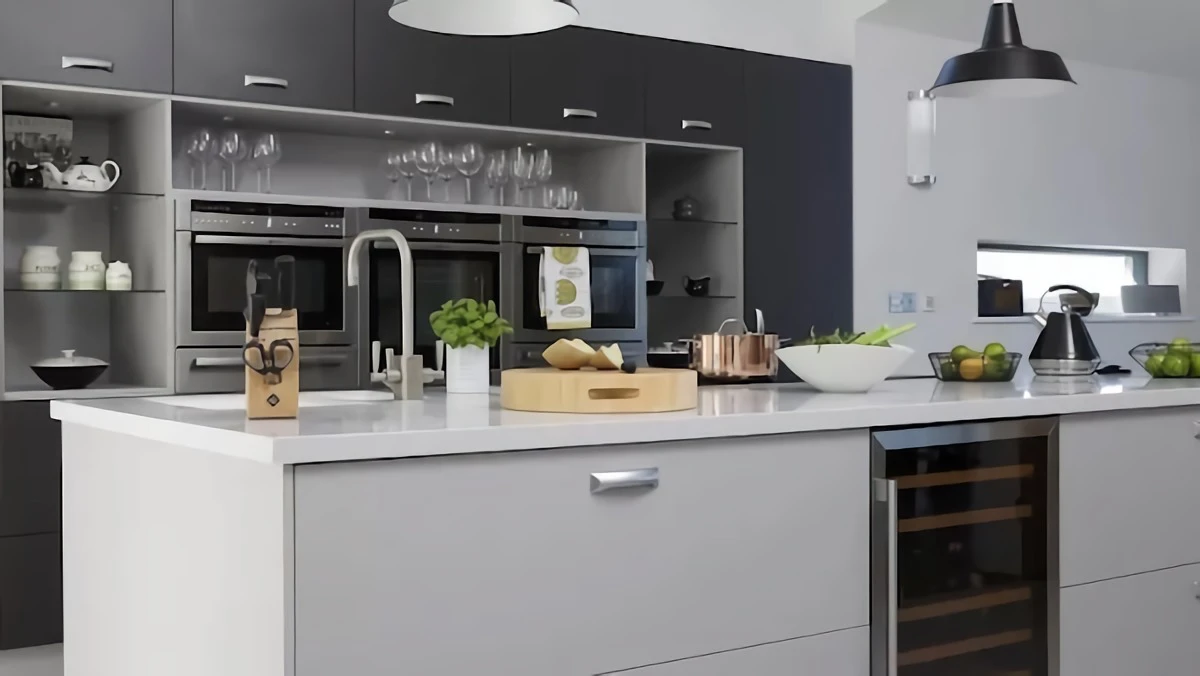
Feeling nervous about a whole kitchen of dark green? No problem. A great lower-commitment approach is to paint just the island a bold color. It creates a stunning focal point. Another popular choice is to use a darker color on the lower cabinets and keep the uppers light or white. This grounds the kitchen and makes the room feel taller and more open.
Just remember: dark colors soak up light. If you choose a navy blue or charcoal gray, you absolutely must plan for great lighting. That means a layered plan:
- Task Lighting: Under-cabinet LED strips are non-negotiable.
- Ambient Lighting: Recessed ceiling lights provide general illumination.
- Accent Lighting: Pendants over the island or sconces add character and a warm glow.
And put everything on a dimmer switch! It’s the best way to control the mood of the room.
The Kitchen Island: The Hardest-Working Piece of Furniture
The island has become the true heart of the modern home. Designing it right is a balancing act of size, clearance, and function.
Get Your Measurements Right
I’ve seen gorgeous islands make a kitchen almost unusable because the walkways are too tight. The leading industry association guidelines, which we follow religiously, call for a minimum of 42 inches for a walkway with one person working. If it’s a main traffic path or has an appliance door opening into it (like a dishwasher or oven), you need to increase that to 48 inches. Anything less feels cramped and can be a safety hazard.
For comfortable seating, you need a clear knee-space overhang of at least 15 inches for a standard counter-height (36-inch) island. Don’t skimp on this, or your guests will be sitting sideways.
And here is my single most important tip for island planning. I want you to actually do this. Don’t just read it. Go get some cardboard boxes and tape and build a full-size mockup of your dream island. Place it in your kitchen and live with it for a day. Walk around it. Pretend to cook at it. This simple, free step has saved us from so many costly design mistakes. I once built a massive island a client insisted on, and it looked great on paper. In reality, you couldn’t even reach the middle to wipe it down. The cardboard test would have caught that immediately.
No Full Reno? Quick Weekend Upgrades
Maybe a full gut renovation isn’t in the cards right now. That’s okay! You can still make a huge impact. Here are a few quick wins for a weekend:
- Swap Your Hardware: Changing out your cabinet knobs and pulls is the easiest facelift imaginable. It can take just an hour or two and completely change the vibe.
- Upgrade Your Faucet: A new, high-quality faucet can make your whole sink area feel more modern and luxurious.
- Add Under-Cabinet Lighting: You can find great plug-in or battery-operated LED light strips online or at home improvement stores. Good task lighting is a total game-changer for food prep.
Final Thoughts: Permits, Pros, and Peace of Mind
A kitchen renovation is a major project that can take anywhere from 6 weeks to 6 months, depending on the scale. It involves a lot of moving parts and skilled tradespeople, and cutting corners is never a good idea.
This is non-negotiable: all electrical and gas work must be done by licensed and insured professionals. Faulty wiring can cause a fire, and a gas leak is an explosion risk. Same goes for plumbing—a tiny, slow leak behind a wall can lead to thousands of dollars in mold and rot damage down the road.
If you’re moving walls or changing plumbing and electrical locations, you will need a permit. The inspection process isn’t just red tape; it’s a second set of expert eyes making sure the work is safe for your family.
Building a kitchen that you’ll love for years is about so much more than picking the latest tile. It’s about understanding how materials behave, how a room should flow, and where to invest in quality. Take your time with the planning, hire skilled people you trust, and choose what feels right to you. If you do that, you’ll create a kitchen that truly supports the life you want to live.


