Don’t Mess Up Your Kitchen Island: An Insider’s Guide to Getting It Right
Over the years, I’ve watched the humble kitchen island go from a simple, rolling butcher block to the absolute command center of the modern home. It’s wild, right? It’s no longer just a bit of extra counter space. It’s where the kids spread out their homework, where you chop veggies for dinner, and where friends always seem to gather with a glass of wine. But here’s the thing: this evolution means an island is a serious piece of construction. It involves carpentry, wiring, plumbing, and a whole lot of weight. Getting it wrong is a recipe for a kitchen that just doesn’t work and repairs that’ll make your wallet weep.
In this article
Honestly, I’ve been called in to fix more than a few island disasters. I’m talking about islands that block the dishwasher from opening all the way, seating so cramped you have to sit sideways, or beautiful stone countertops that develop a hairline crack because they weren’t supported correctly. So, my goal here is to share what I’ve learned from my time on the job site, so you can skip the headaches. We’re going to look past the pretty pictures and get into the nitty-gritty of what makes a kitchen island functional, solid, and safe.
First Things First: Space, Flow, and a Little Bit of Physics
Before you even think about colors or countertop materials, you have to nail the layout. A gorgeous island in the wrong spot is just an expensive and permanent obstacle you’ll have to shuffle around every single day. The pros rely on some key principles to make sure the kitchen flows naturally.
The Golden Rules of Clearance
You’ve probably heard about the “kitchen work triangle”—the path between your sink, fridge, and stove. A well-placed island streamlines that path, but a poorly-placed one turns it into a frustrating maze. To get it right, we live by a few key measurements.
- Walkways: The paths around your island need to be at least 42 inches wide. That’s the minimum for one person to work or walk through without feeling squeezed. If you’ve got a two-cook kitchen, I seriously recommend bumping that up to 48 inches. This gives you enough room to open an oven or dishwasher door without trapping someone.
- Seating Areas: Don’t forget the space behind the stools! For a path where people will just walk behind the seating, you need about 36 inches of clearance from the counter’s edge. But if that’s a main highway to another room or the pantry, you’ll want 44 inches or more. I once fixed a kitchen where the stools backed right into the pantry door, making both pretty useless at the same time.
Quick tip: Always measure from the edge of the countertop, not the cabinet base. A typical 1.5-inch overhang adds 3 inches to the island’s total width and length, which can make a huge difference in tight spaces.
Oh, and before you commit, try this. Seriously. Go get some cardboard boxes or use painter’s tape to mark out your proposed island on the floor. Live with it for a day or two. Can you fully open your fridge? Is the dishwasher blocked? This is the cheapest and easiest time to fix a mistake.
Let’s Talk About Weight (And Money)
A kitchen island is heavy. I mean, really heavy. A solid cabinet base, drawers full of pots and pans, and especially a stone countertop add up to a massive load on your floor. For example, a standard 3cm thick granite or quartz slab weighs around 18-20 pounds per square foot. So, for a modest 4-foot by 6-foot island, the countertop alone can be over 400 pounds. Add the cabinets and everything inside, and you’re easily looking at an 800-pound structure.
That 400-pound slab can also run you anywhere from $2,000 to $5,000 installed, depending on the specific stone you choose. By the way, a beautiful butcher block top for that same island might only be $800 to $1,500, so you can see how material choices impact the budget.
Before anything gets installed, you or your contractor MUST check the subfloor. On older homes with a pier-and-beam foundation, we often have to add extra blocking between the floor joists right under where the island will sit. This prevents the floor from sagging over time. Even on a concrete slab, the floor has to be perfectly level to prevent stress on the cabinet joints and countertop seams.
How a Pro Builds an Island That Lasts
A rock-solid island isn’t just a few cabinets shoved together; it’s built to function as a single, immovable unit. Here’s how it’s done right.
- Start with a Solid Foundation: First, a sturdy base frame, usually from 2x4s, is built and secured directly to the subfloor. This base, or
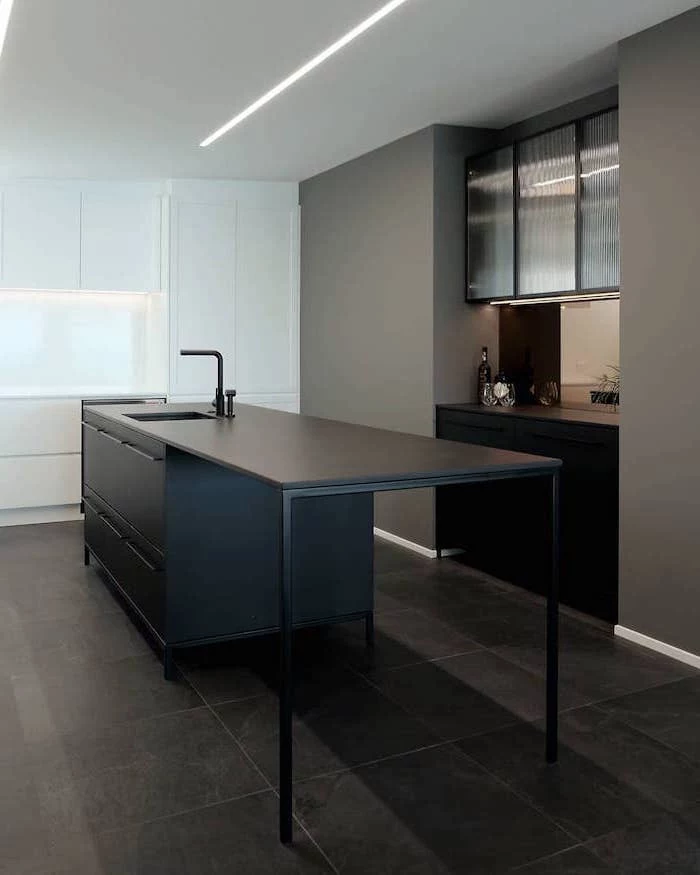
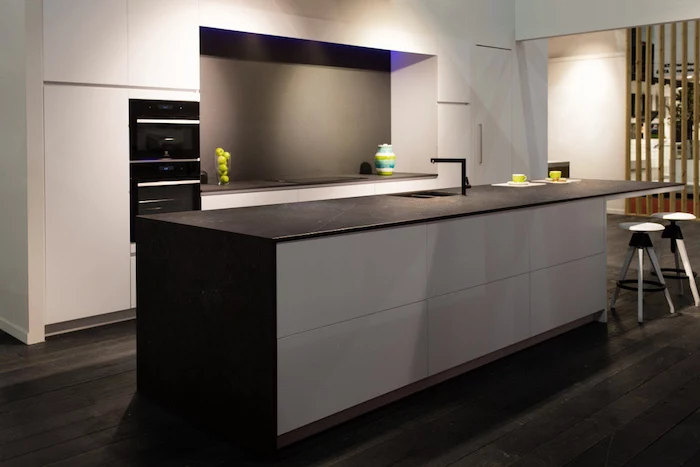
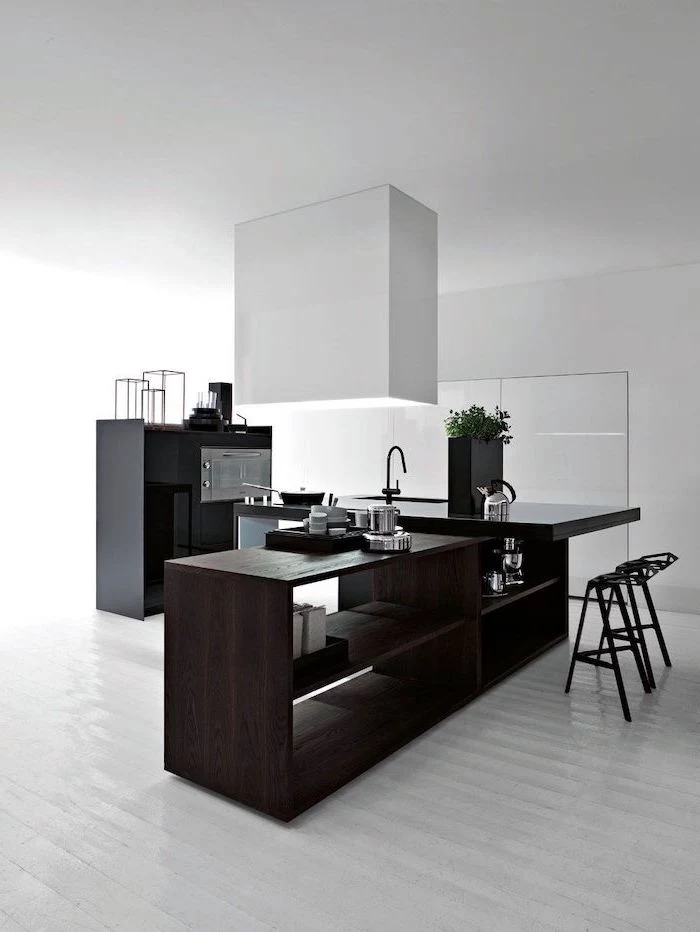
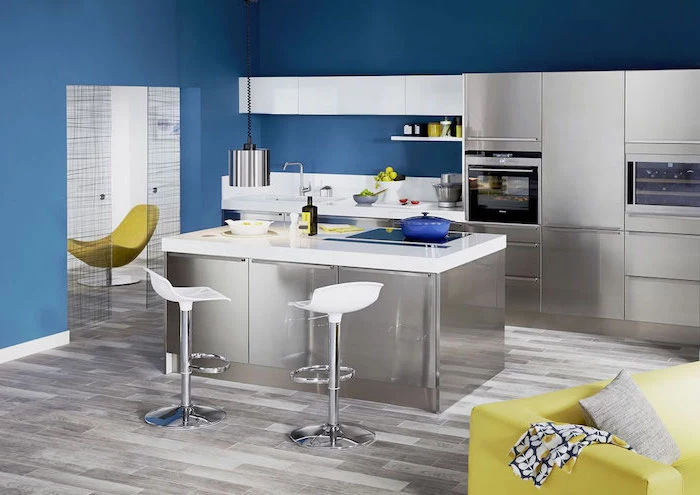
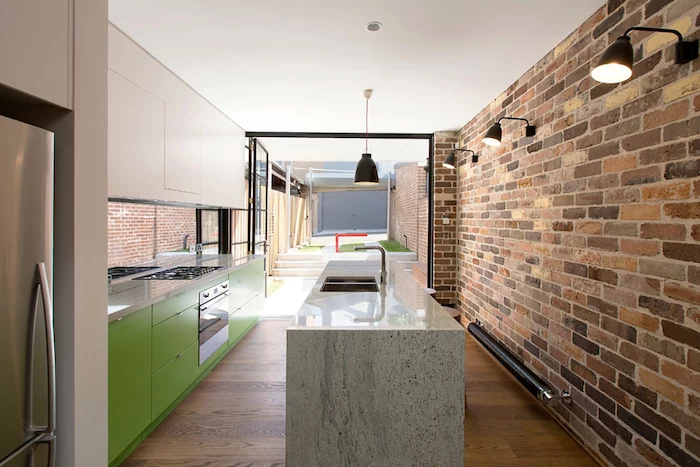
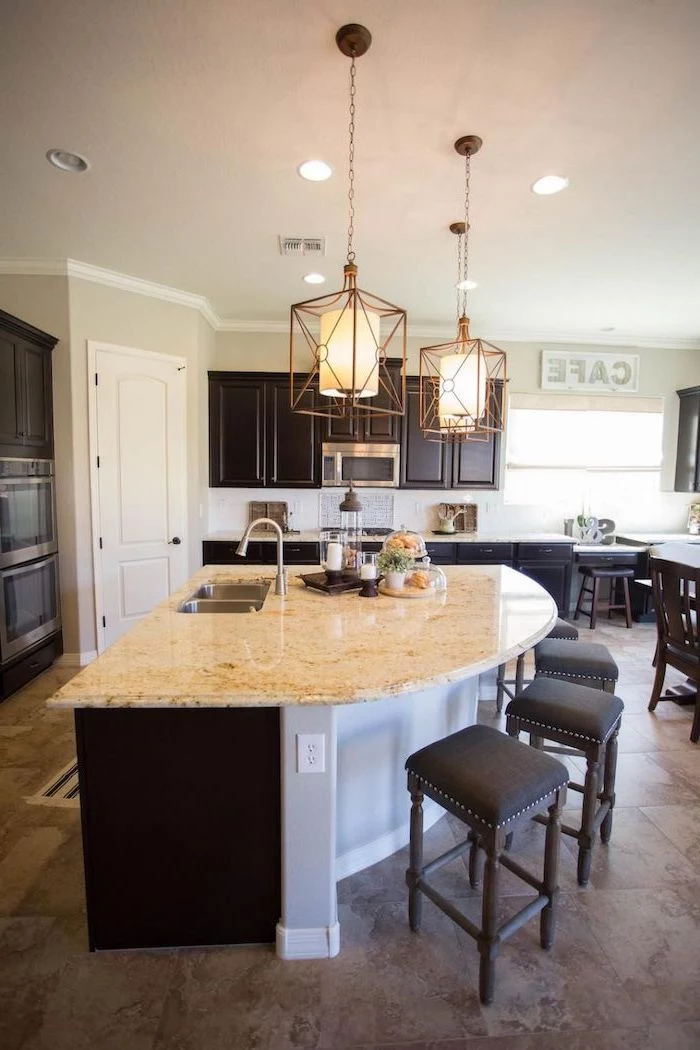
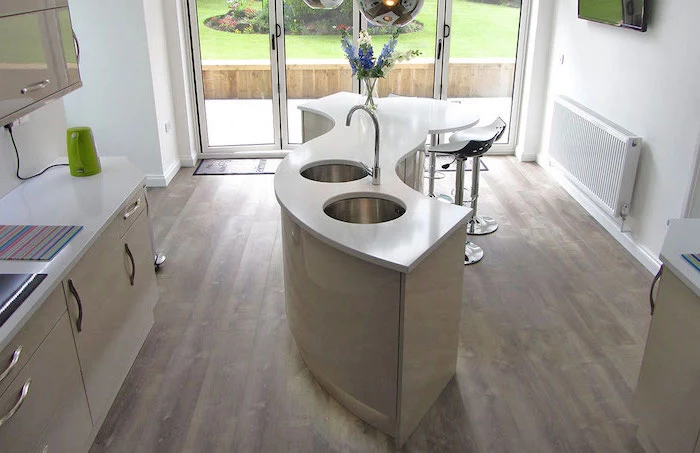
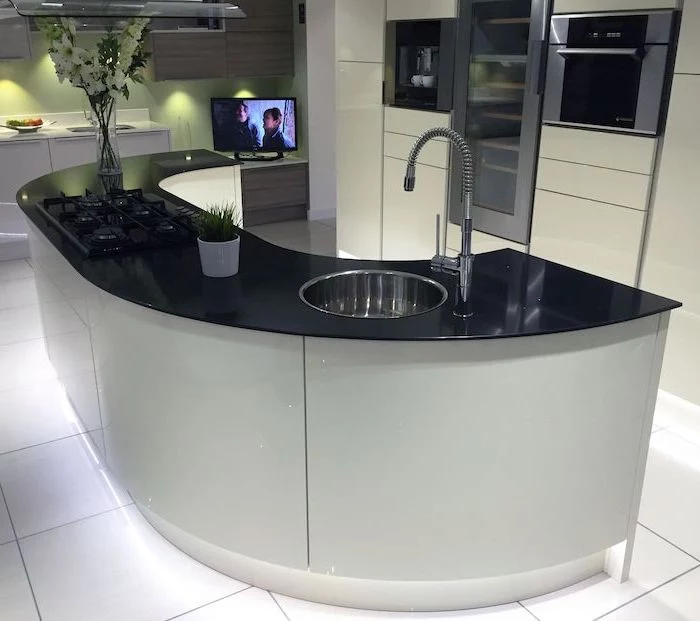
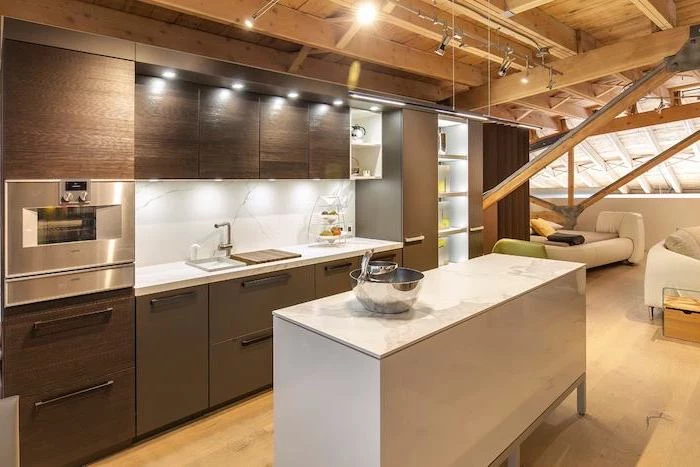
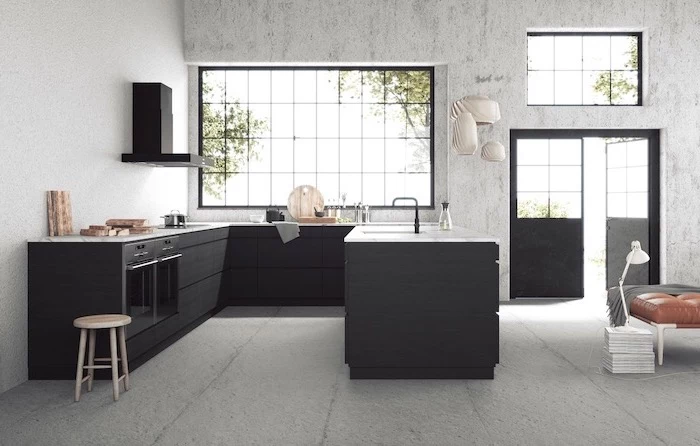
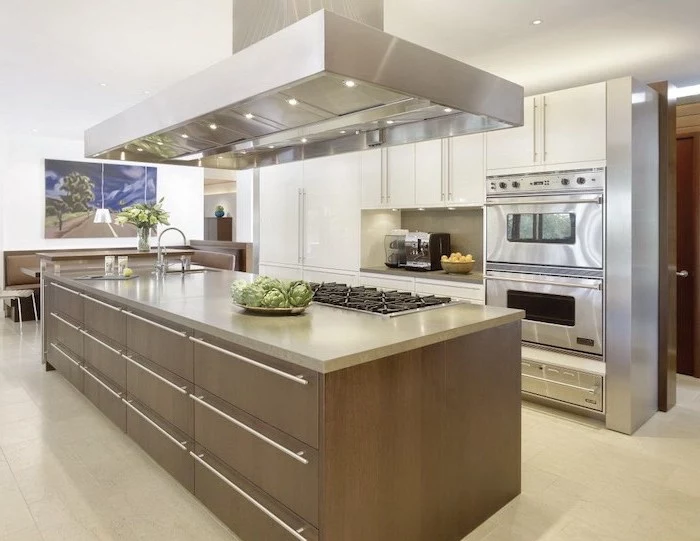
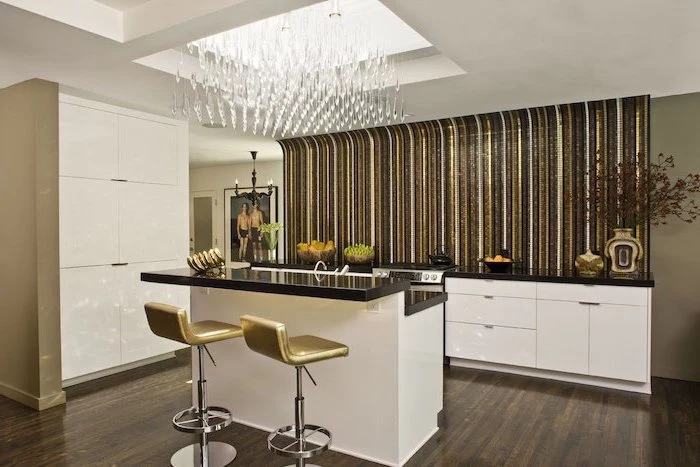
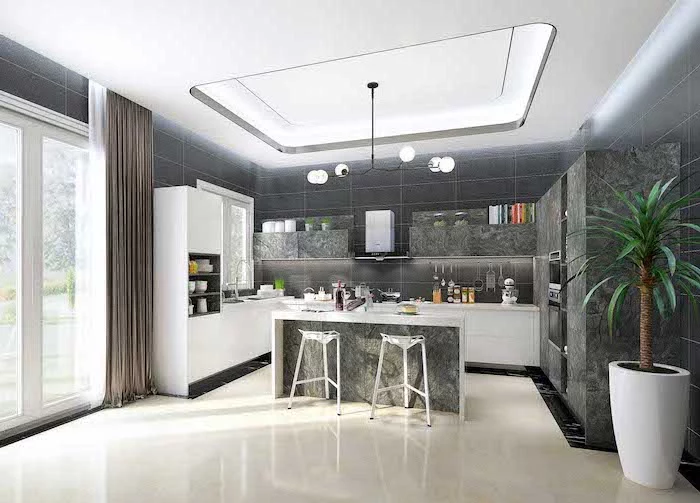
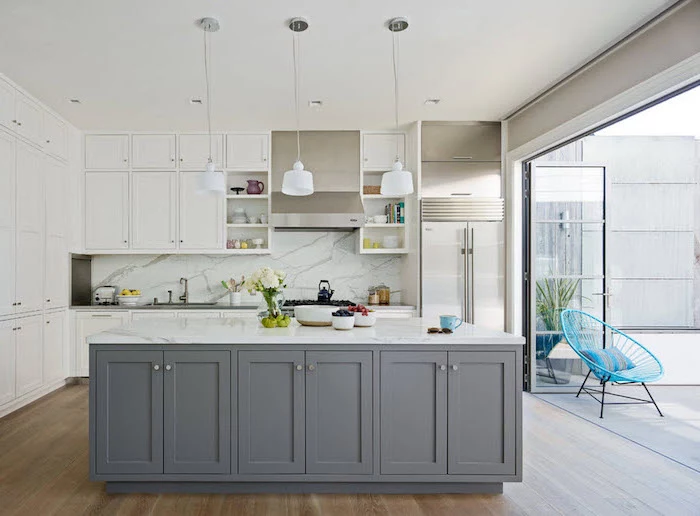
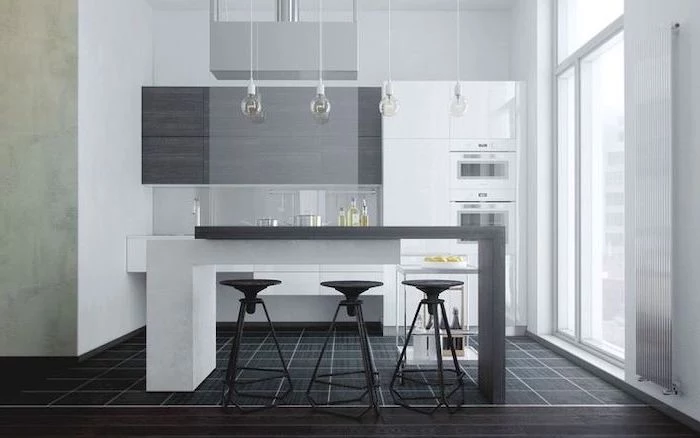
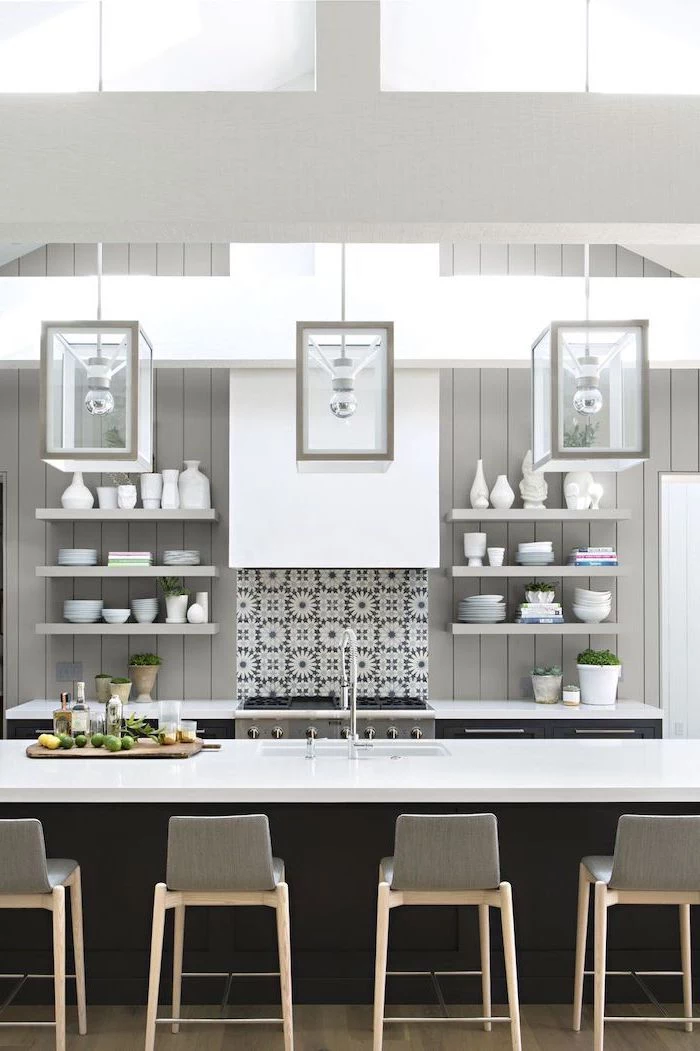
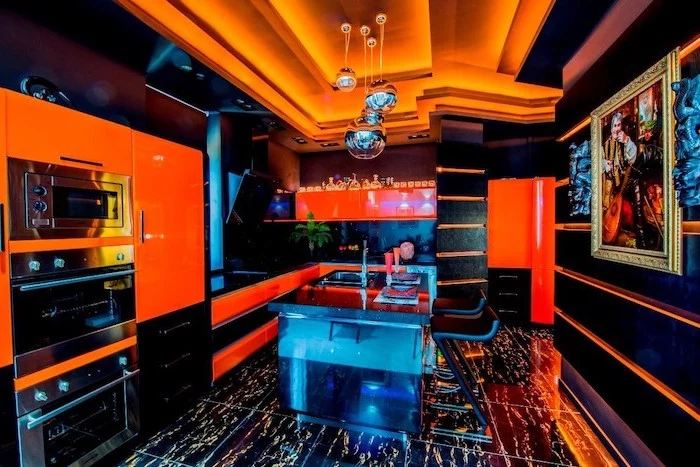
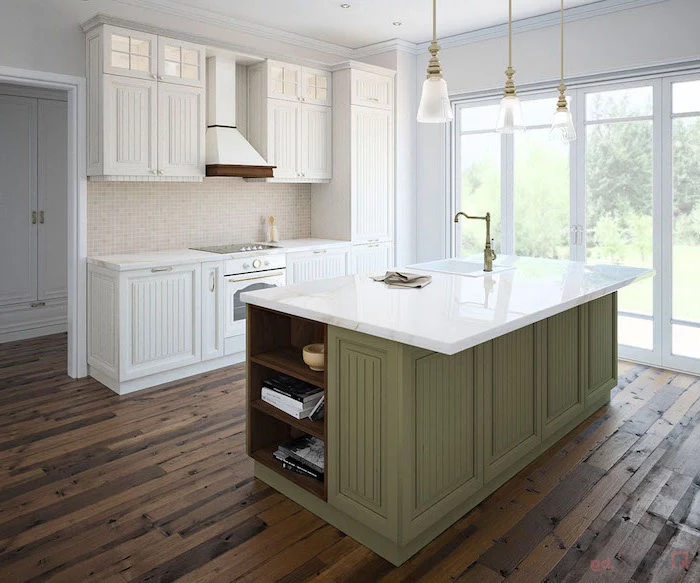
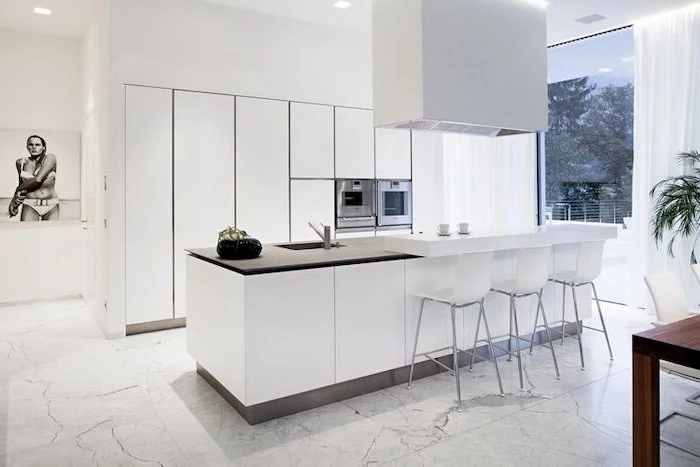
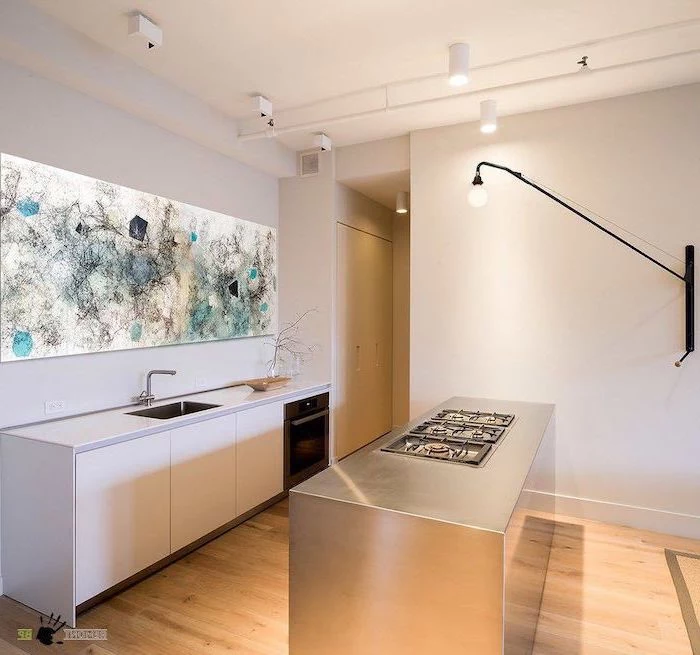
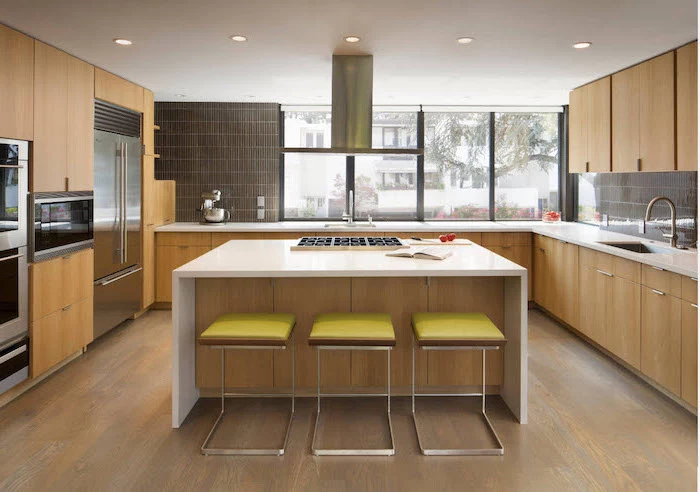
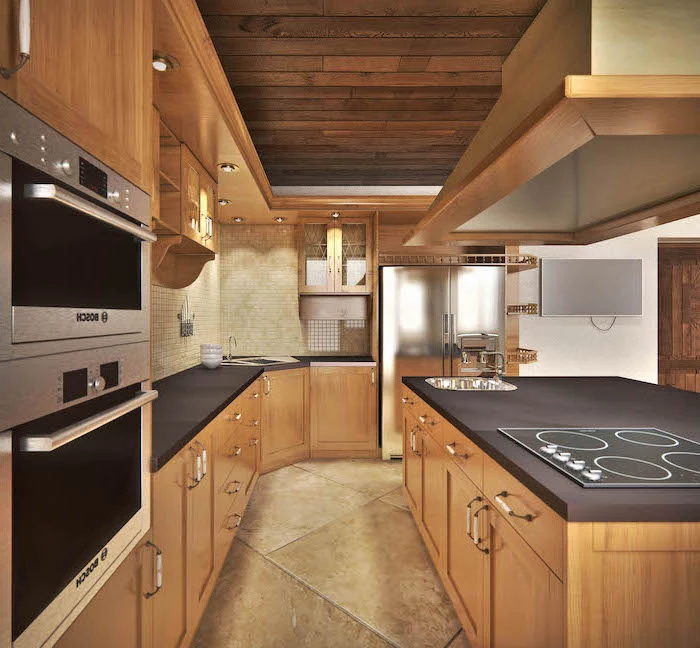
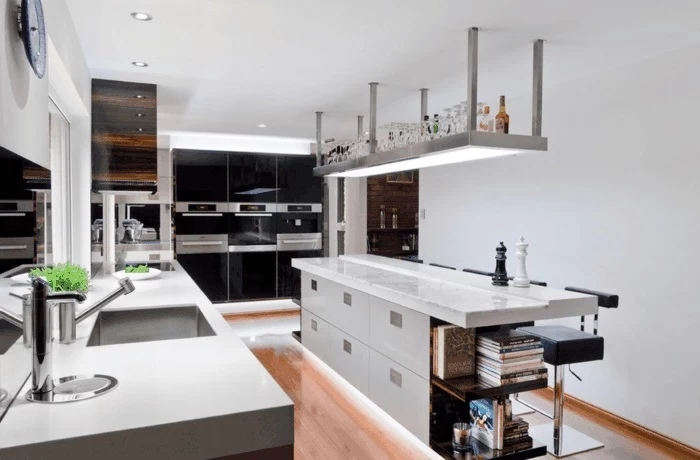
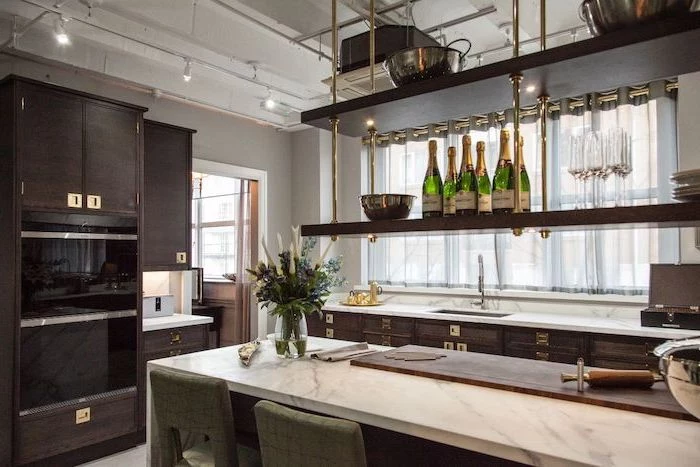
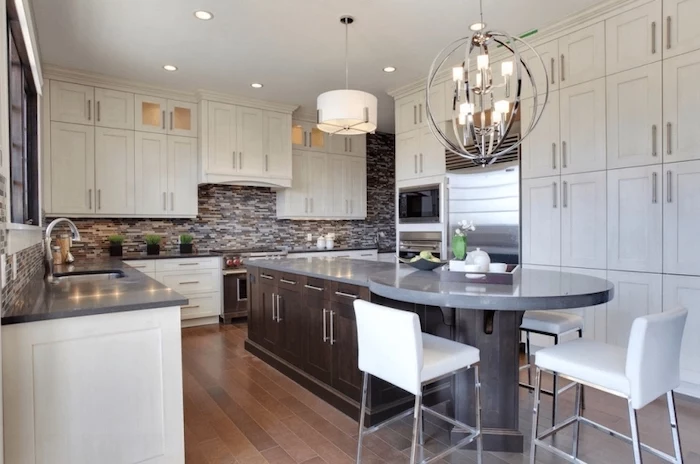
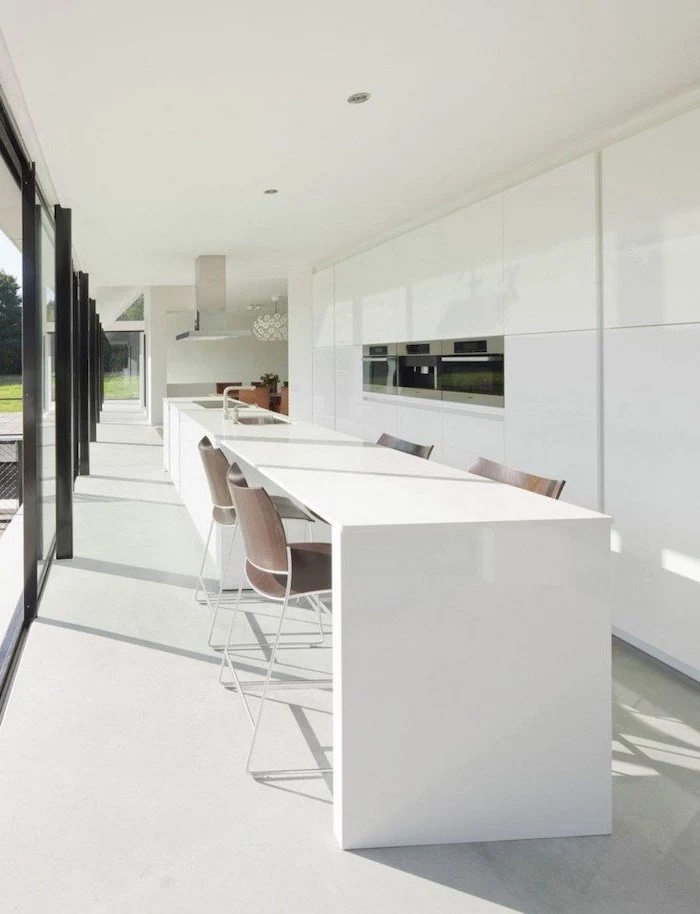
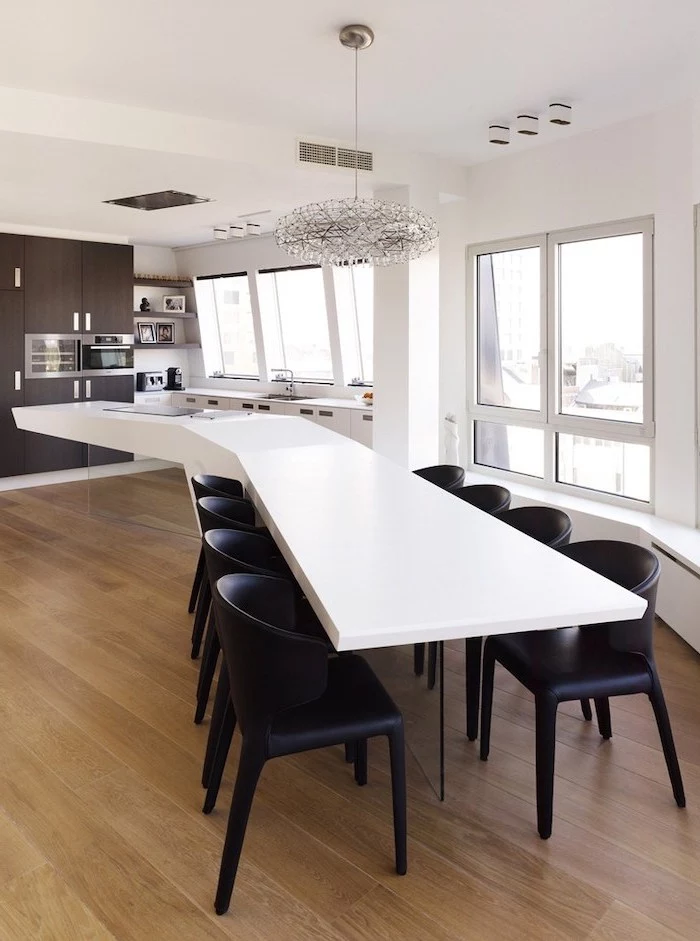
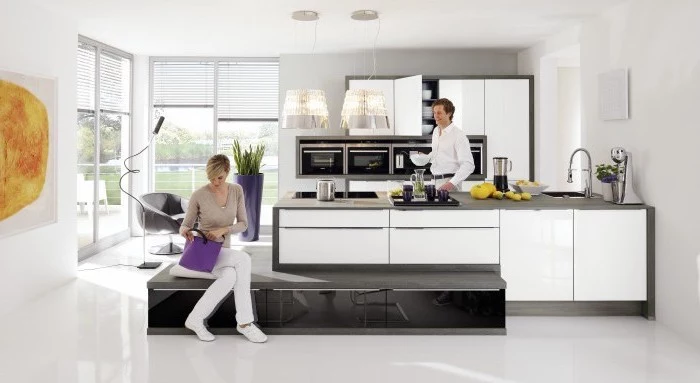
Inspiration Gallery

Where should the electrical outlets go?
Think about how you’ll use the island. For mixers and blenders, an outlet on the side is perfect. But for charging laptops and phones, consider a pop-up outlet from a brand like Legrand, which sits flush with the countertop when not in use. It keeps the surface sleek while being incredibly functional. Don’t forget to have your electrician install a GFCI-protected outlet for safety near any potential water source.
Quartz: An engineered stone (like Silestone or Caesarstone) that’s non-porous, meaning it resists staining from wine, oil, and coffee without needing to be sealed. It comes in a vast array of colors and patterns.
Granite: A natural stone, each slab is unique. It’s highly durable and heat-resistant but is porous and requires periodic sealing to prevent stains. Its natural beauty is its biggest draw.
For a busy family kitchen, the low maintenance of quartz is often the winner.
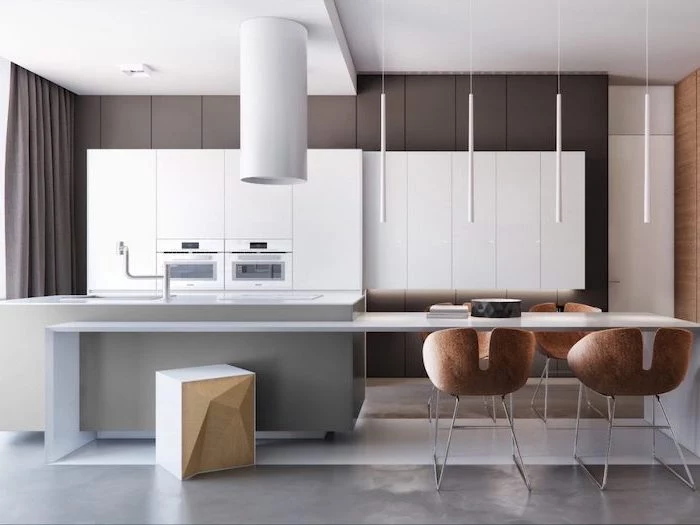
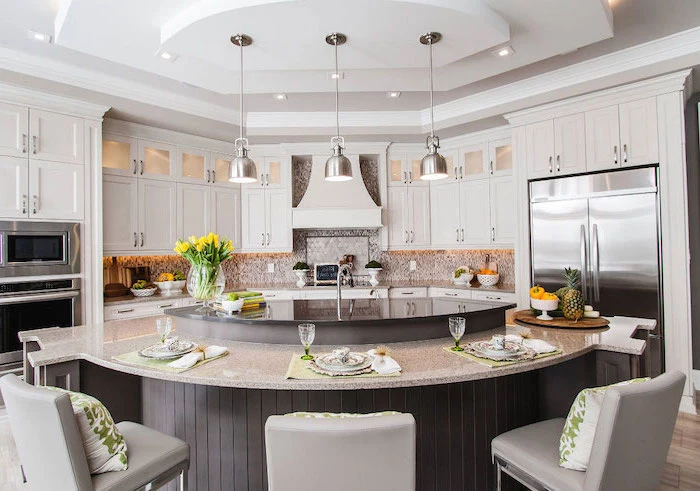
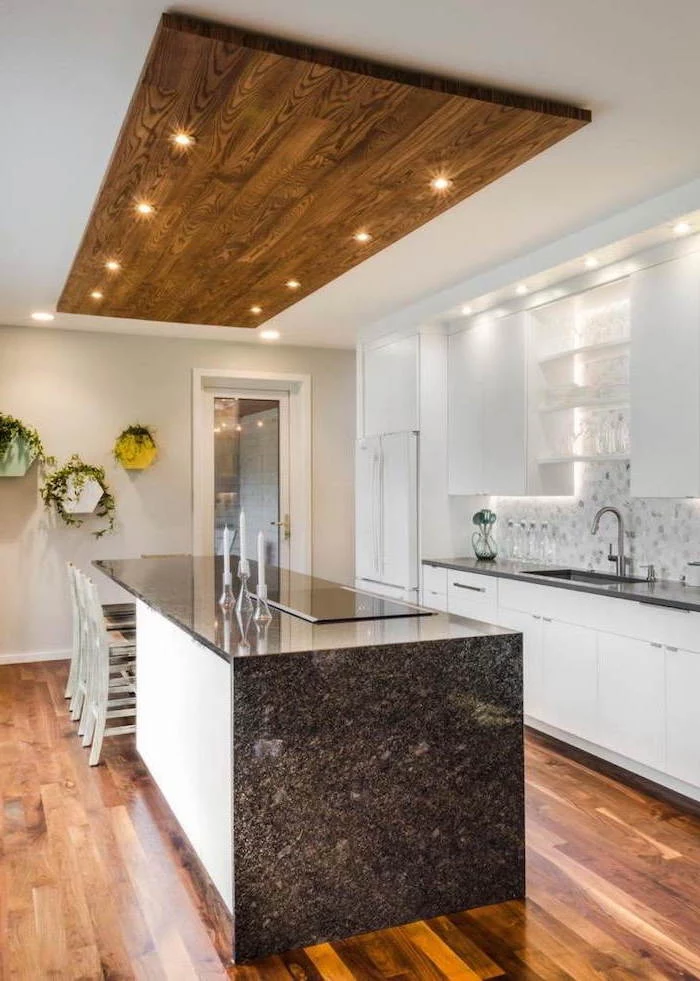
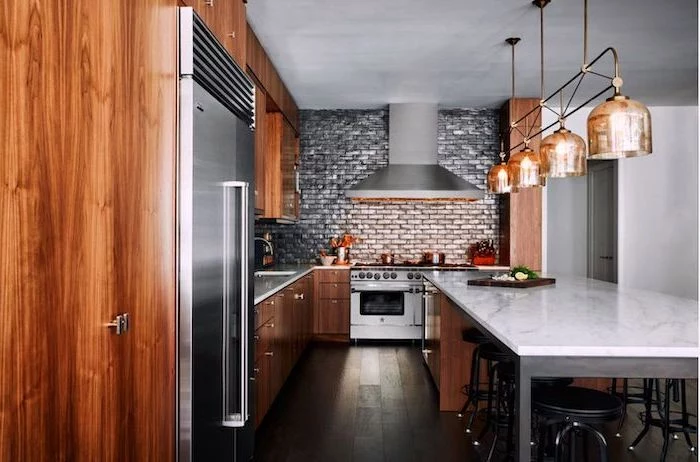
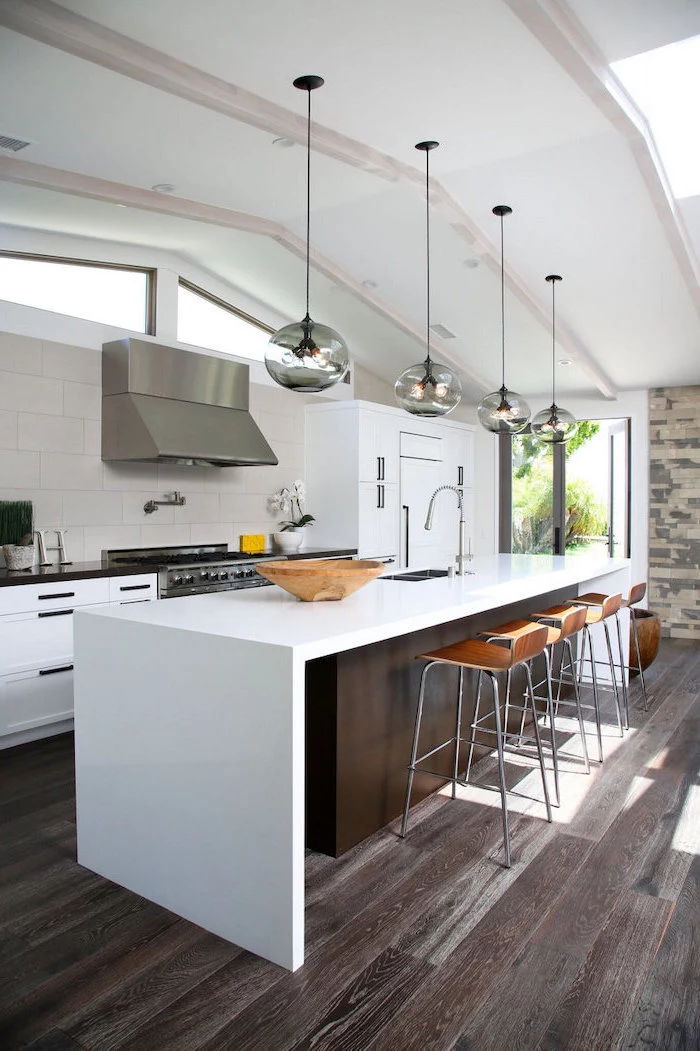
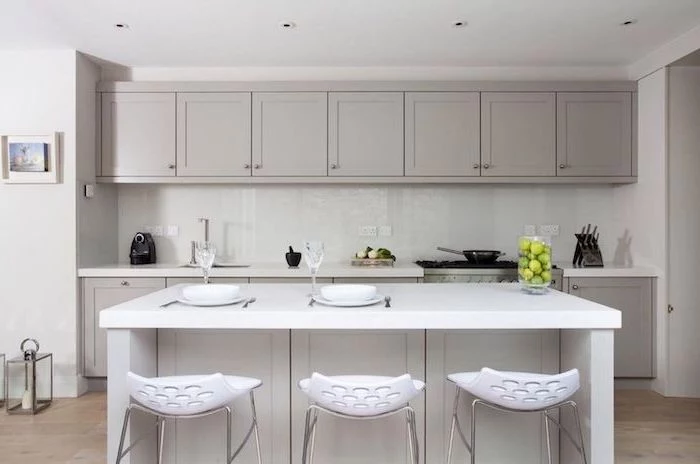
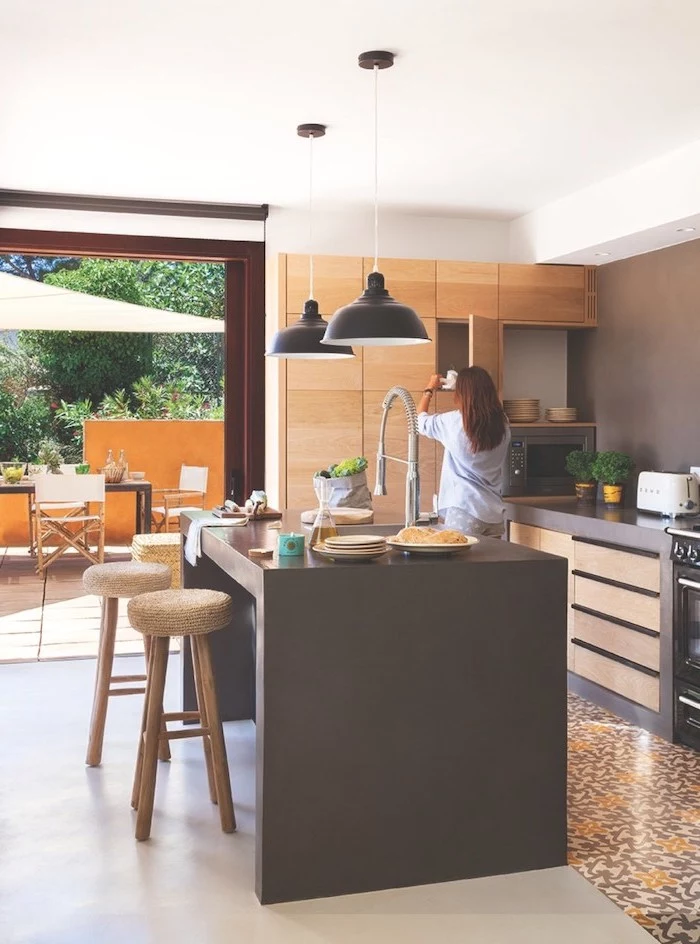
The right lighting can make an island feel like a stage. Pendants are the classic choice, but don’t hang them too low! A good rule of thumb is 30-36 inches above the countertop surface.

One of the quickest and most budget-friendly ways to tie your new island into your existing kitchen is through hardware. Using the same pulls or knobs on the island that are on your perimeter cabinets creates an instant, cohesive look. Brands like Rejuvenation or Schoolhouse Electric offer great classic and modern options.

- A standard countertop is 36 inches high, requiring a


The secret to a durable island finish: Don’t use standard wall paint on your island’s base. It will scuff and chip from kicks and cleaning. Opt for a high-quality cabinet enamel like Benjamin Moore’s ADVANCE or Sherwin-Williams’ Emerald Urethane Trim Enamel. They cure to a much harder, more cleanable finish.


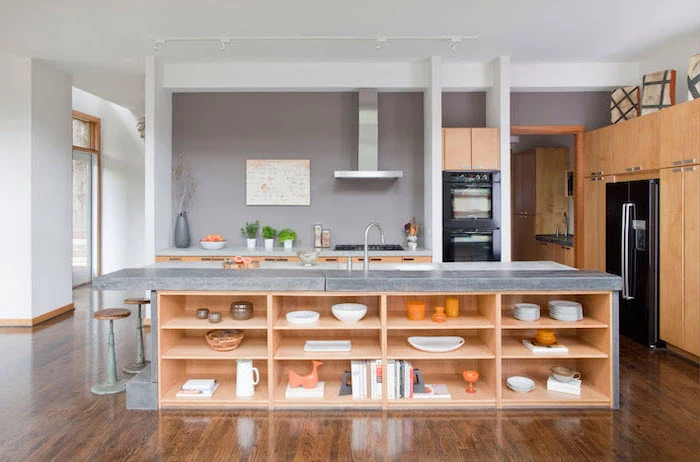
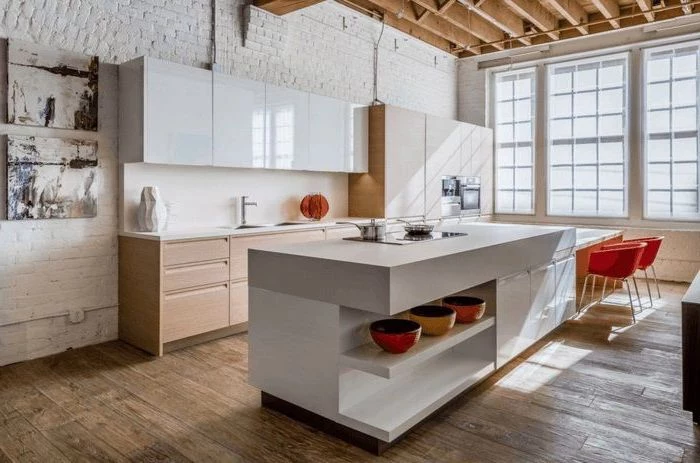
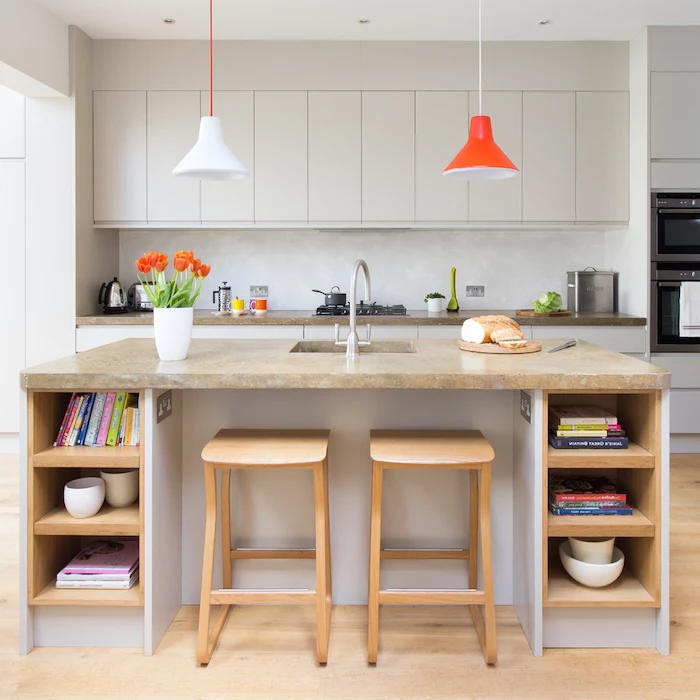
Consider dedicating one end of your island to open shelving. It breaks up the visual bulk of a large island and offers a perfect spot for:
- Frequently used cookbooks.
- Decorative bowls or pottery.
- Baskets for storing linens or produce.


A single drop of lemon juice left on an unsealed marble countertop can etch the surface in under a minute.
This is why sealing marble is non-negotiable. But for daily care, always use a pH-neutral stone cleaner, not all-purpose sprays which can be acidic. Wipe up spills, especially from acidic foods like tomatoes, citrus, or vinegar, immediately to prevent damage.


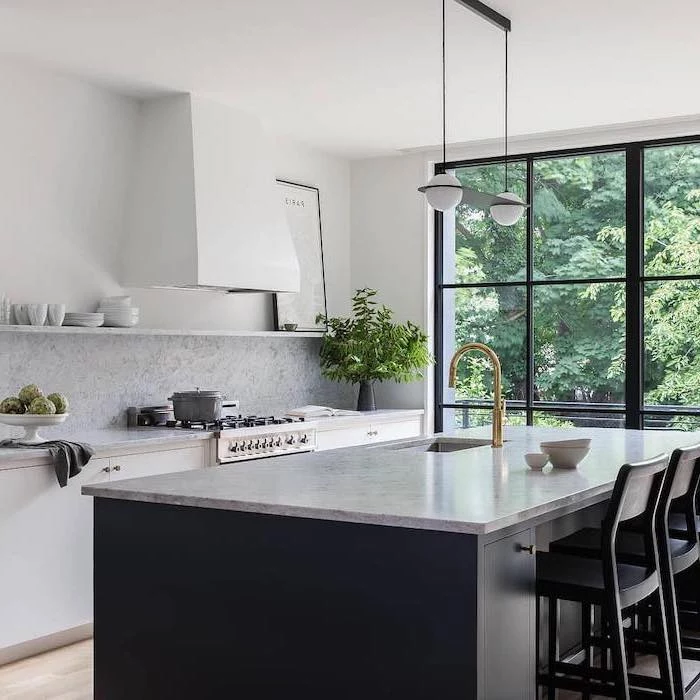
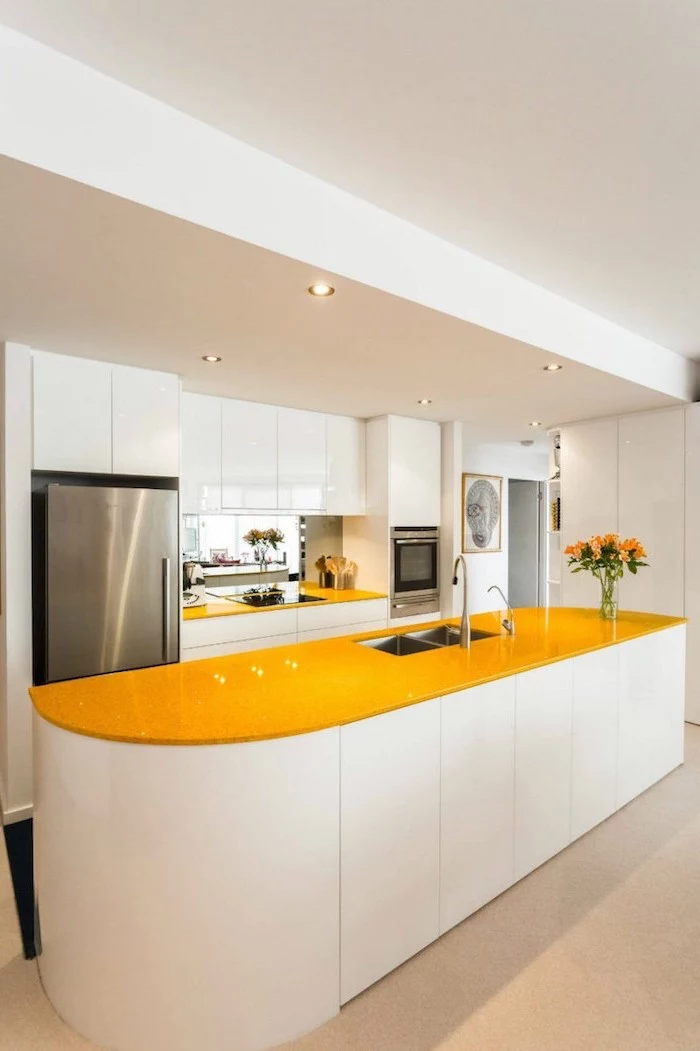
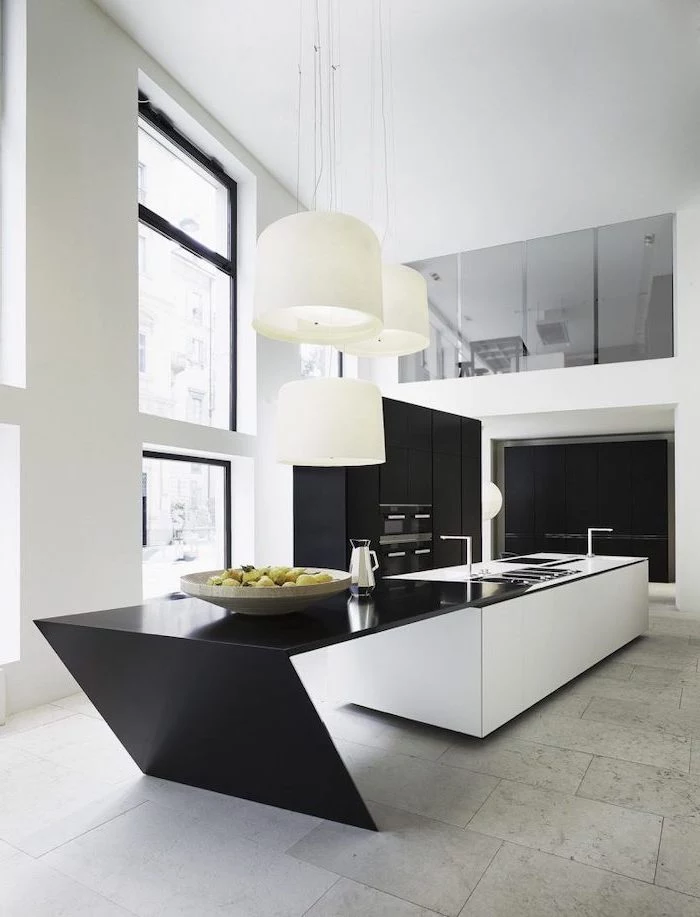
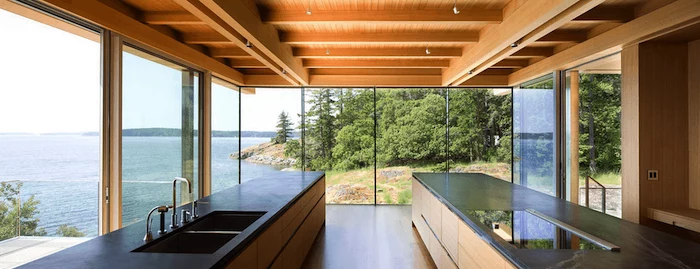
- It creates a stunning visual anchor in the room.
- It allows you to introduce a new texture or material.
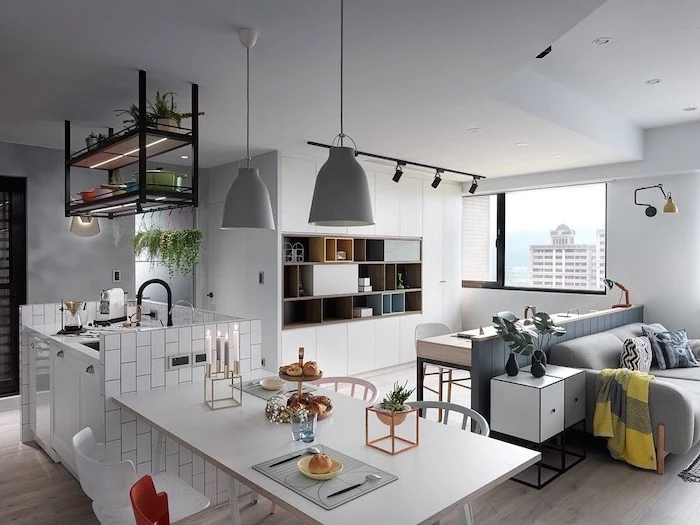
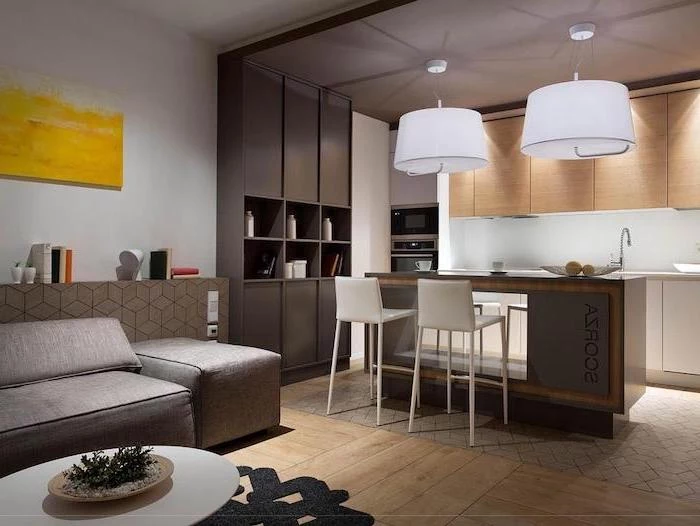
- It defines the kitchen space within an open-concept floor plan.
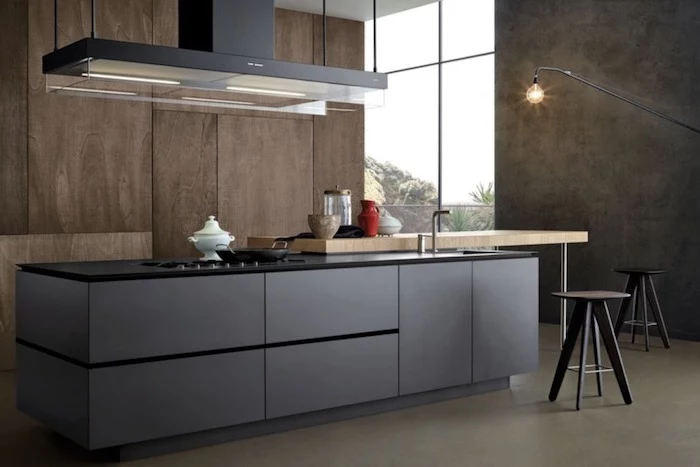
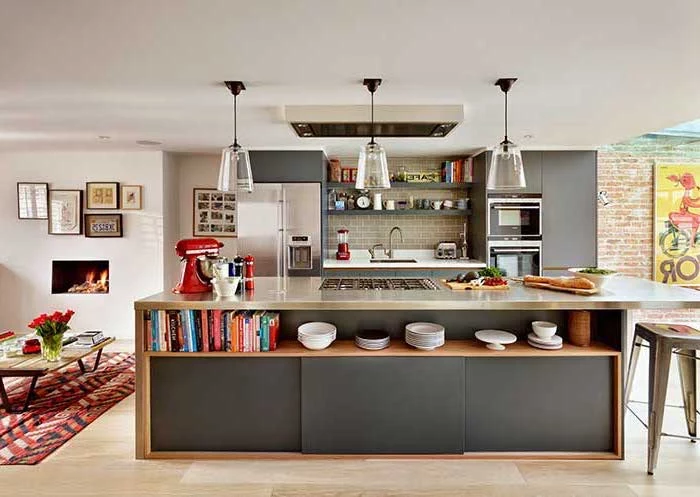
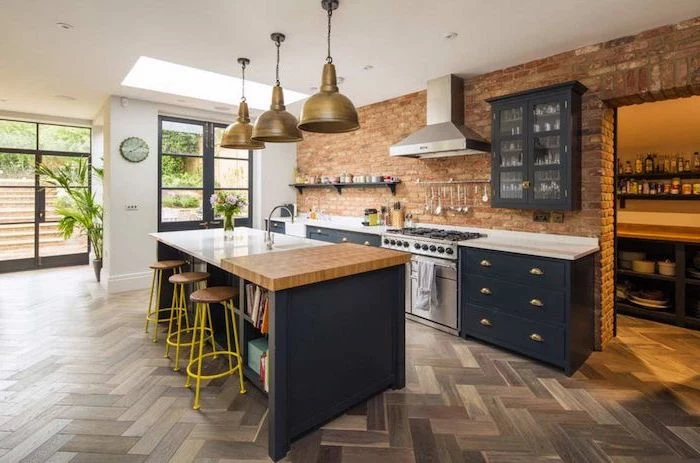
The secret? A contrasting color. Painting the island base in a bold shade like a deep navy (e.g., Farrow & Ball’s ‘Hague Blue’) while keeping perimeter cabinets neutral makes it a true centerpiece.


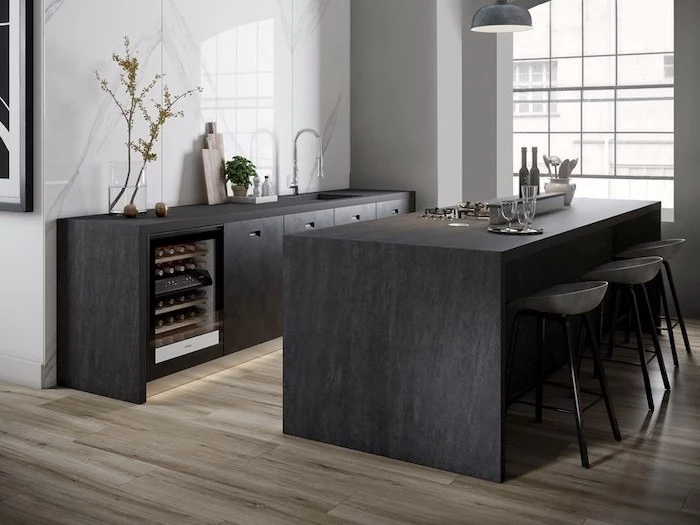
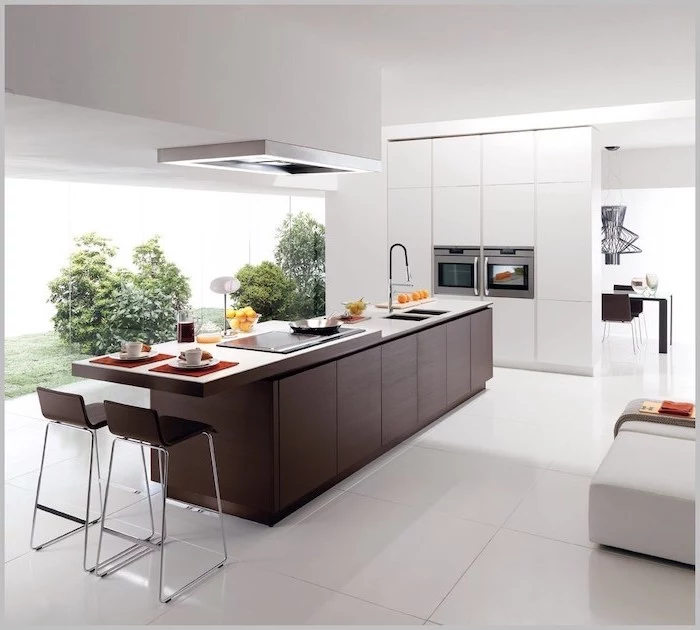
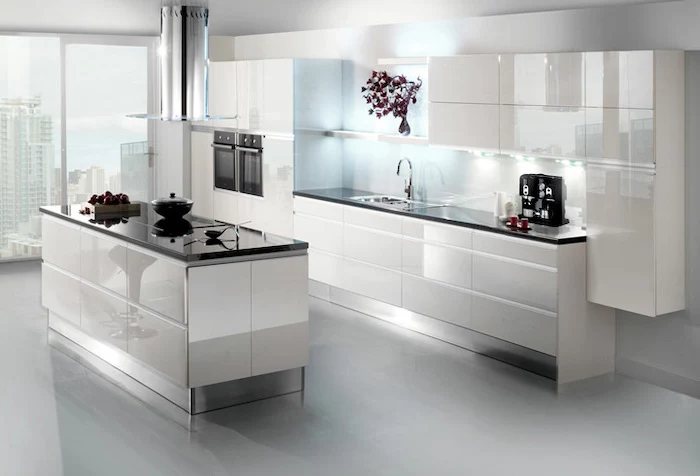
In larger kitchens, the trend of double islands is gaining serious traction. One island might be dedicated purely to prep and cooking, complete with a sink and cooktop. The second island then becomes the social hub, designed for seating, homework, and entertaining, keeping guests safely away from the primary work zone.


Butcher block is the only countertop material you can (and should) chop on directly. Its surface has been shown to have natural antimicrobial properties.


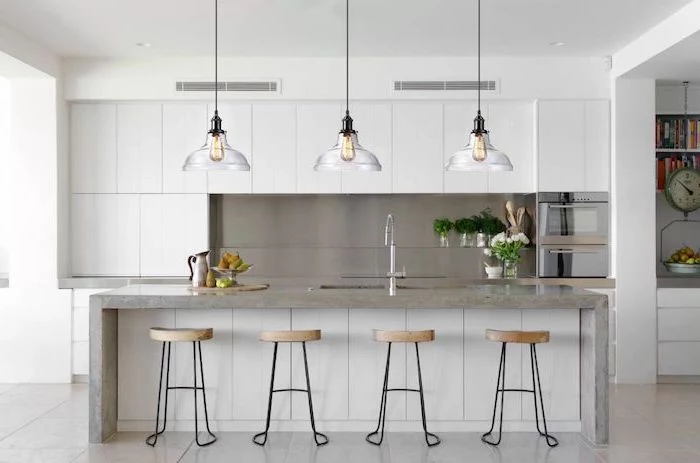
How much overhang do I need for comfortable seating?
Don’t skimp here! For counter-height seating (36


Eased Edge: A squared edge with slightly rounded corners. It offers a clean, modern look and is less prone to chipping than a sharp, straight edge.
Ogee Edge: A classic, decorative S-shaped curve. It lends a traditional, formal feel to the island, often seen on marble or granite.
For a contemporary kitchen that’s easy to clean, the eased edge is the most popular and practical choice.

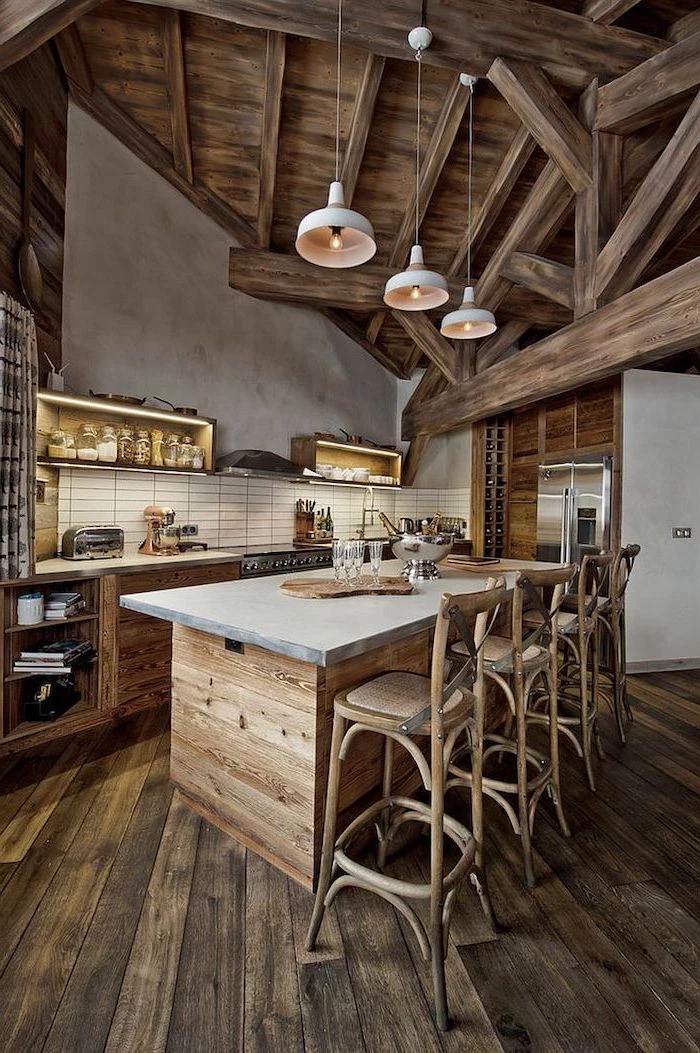
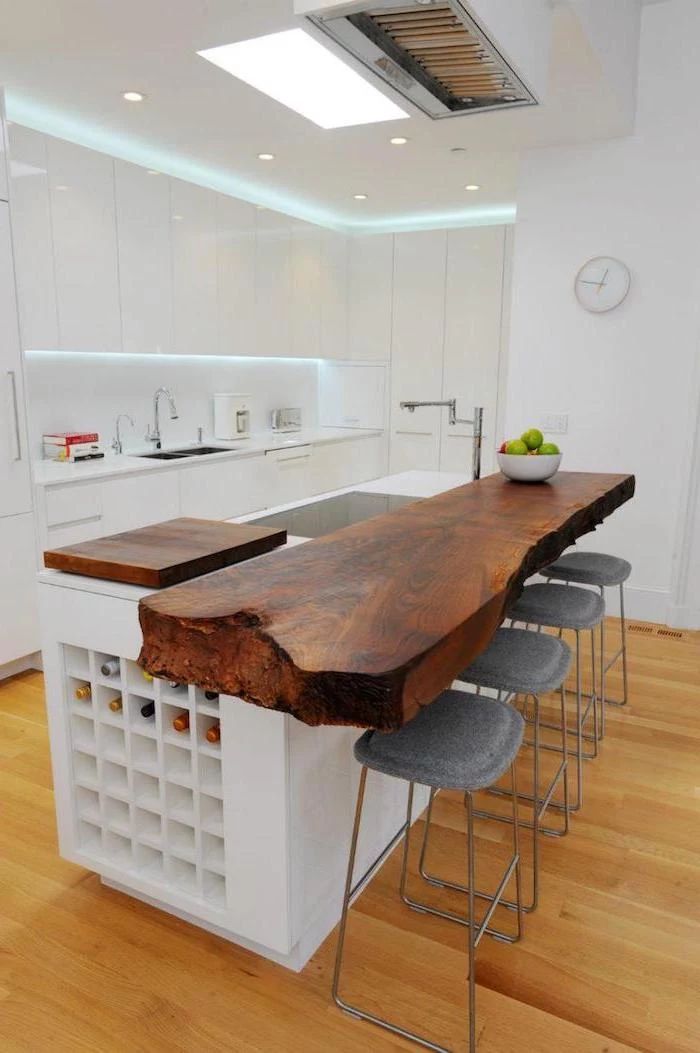
An island built from reclaimed materials brings a unique story into your home. When sourcing, look for:
- Old-growth pine or oak from dismantled barns for a rustic look.
- Salvaged bowling alley lanes for an incredibly durable and conversation-starting butcher block.
- Ensure the wood is properly treated, kilned, and finished to be food-safe.

Heads up on weight: A stone countertop is incredibly heavy. A 3cm thick slab of granite weighs about 18-20 pounds per square foot. A large island can easily top 800 pounds before you even put anything on it. Ensure your floor joists can handle the load, especially in older homes. Your contractor may need to add extra support from below.


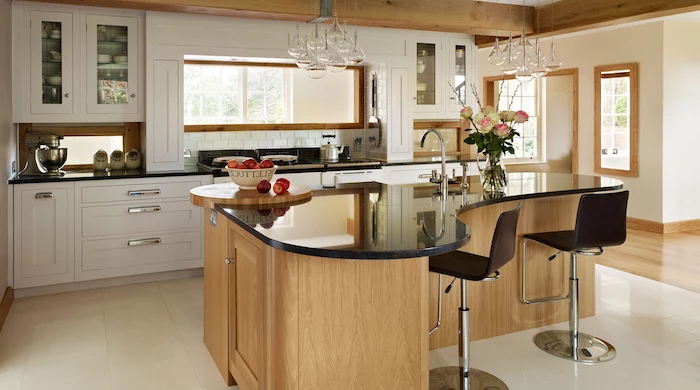
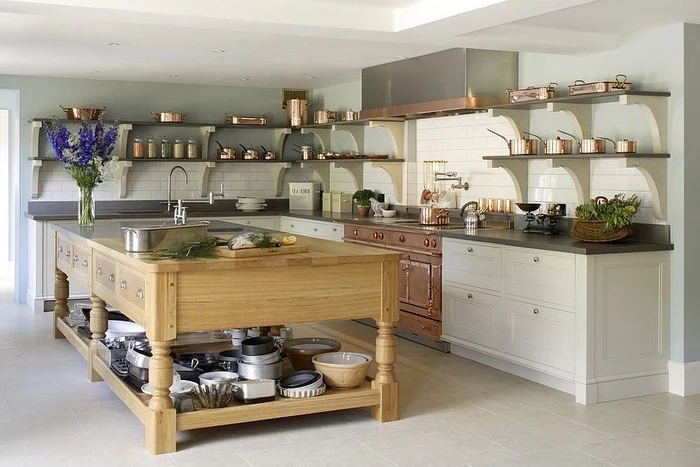
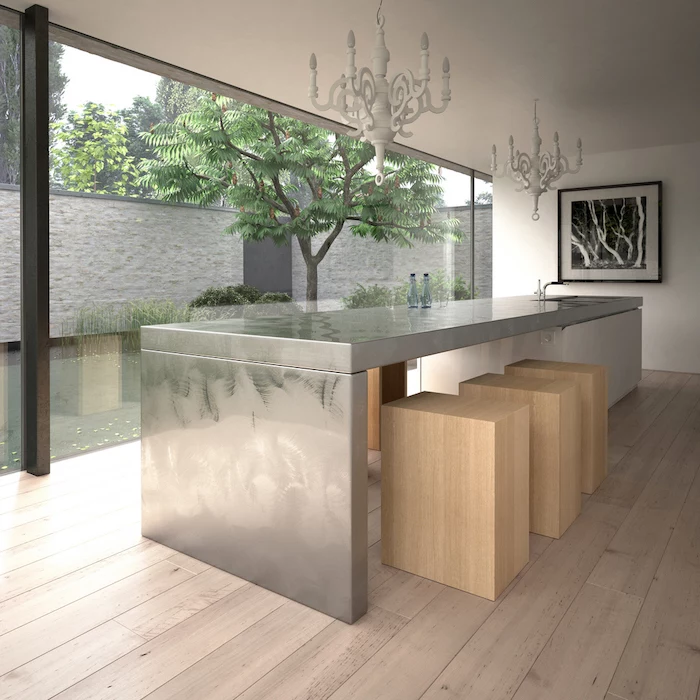
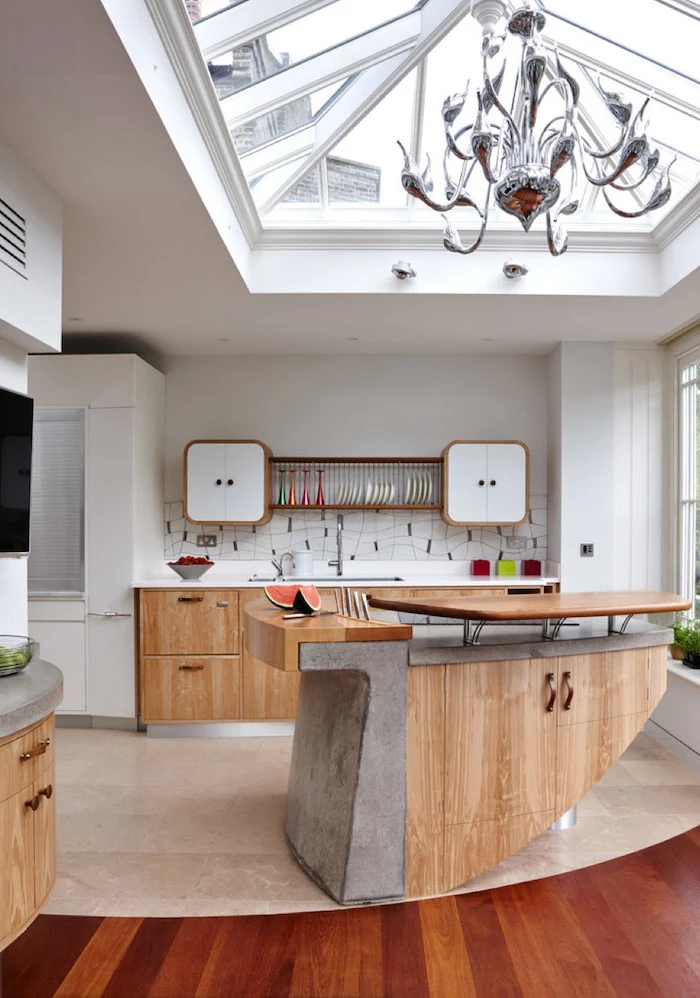
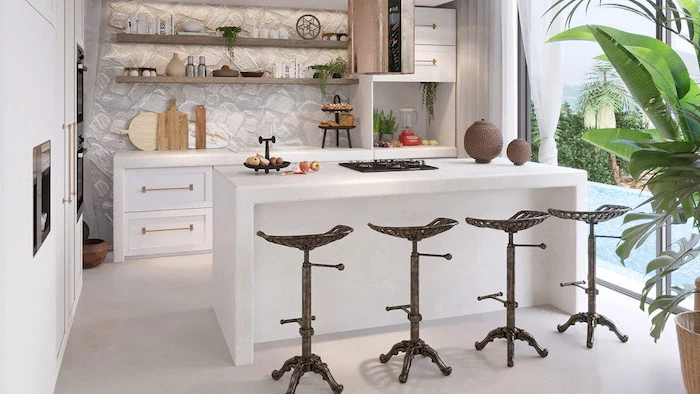
For a less-fitted, more ‘furniture’ style island, look to the classic English scullery or worktable for inspiration. These pieces are often freestanding, made of wood, and feature simple legs instead of a solid cabinet base. This approach can make a smaller kitchen feel more open and airy. It’s a perfect look for adding a touch of rustic or traditional charm.

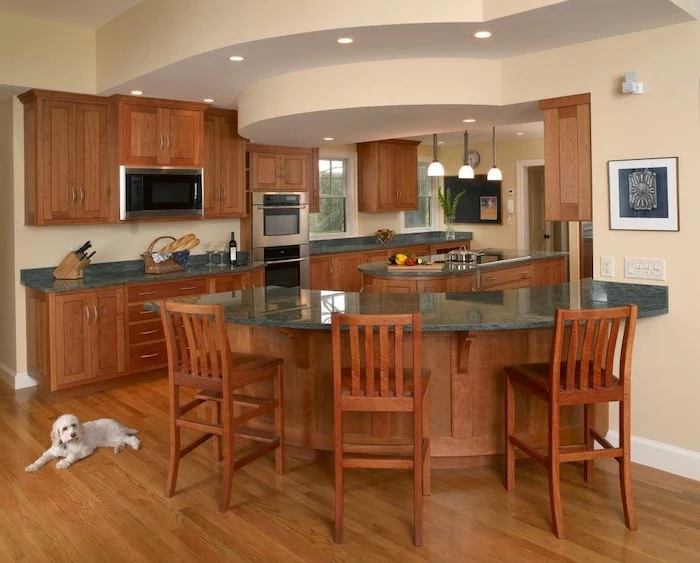
- Guests have a place to sit and chat without getting in your way.
- It provides a perfect, informal dining spot for quick meals.
- Kids can do homework under your supervision while you cook.
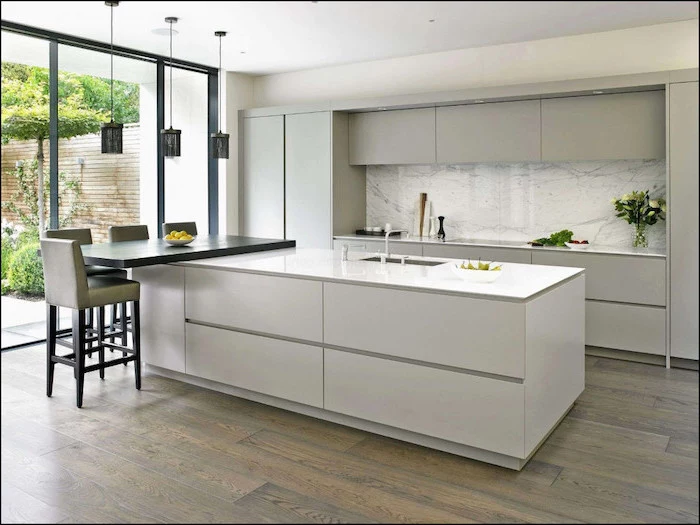
The secret? A two-tiered design. A lower, table-height section for seating and a higher, counter-height section for work clearly defines the zones.

A 2022 survey by the National Kitchen & Bath Association found that integrated technology was one of the fastest-growing requests for kitchen islands.
This goes beyond simple outlets. Think built-in wireless charging pads (like those from InvisiQi) embedded directly into the countertop, or dedicated drawers with USB-C and USB-A ports to hide the clutter of charging cables.


If you’re adding a prep sink to your island, consider its material. A stainless steel sink from a brand like Kraus is a workhorse, but a composite granite sink from a company like Blanco offers a seamless, integrated look that matches your countertop, is scratch-resistant, and comes in various colors.
High-end laminate isn’t what you remember from the 70s. Brands like Formica’s 180fx series use high-resolution scans of real granite and marble slabs to create remarkably convincing patterns.


Microwave Drawer: A drawer-style microwave (like those from Sharp) installed below the counter is a fantastic space-saver. It’s safer for kids to use and keeps the appliance out of your upper sightlines.
Wine Fridge: An under-counter wine refrigerator from a brand like Sub-Zero or U-Line turns your island into an entertainment station, freeing up space in your main refrigerator.
Both are great for function, but a microwave drawer is often the more practical choice for daily family use.
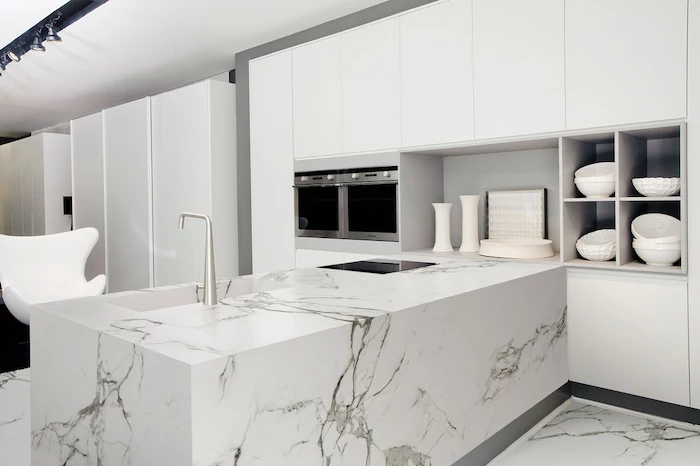
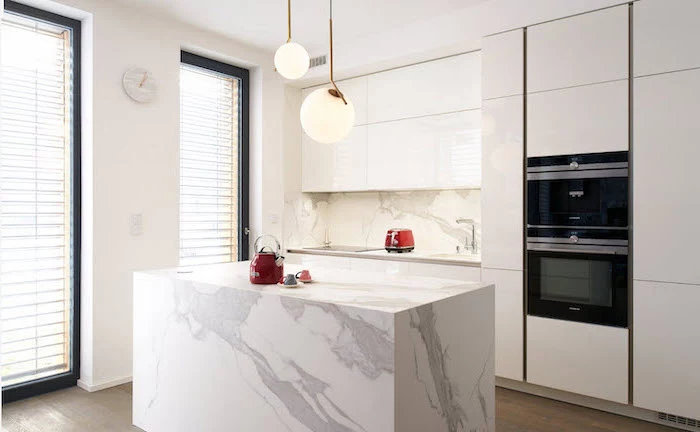
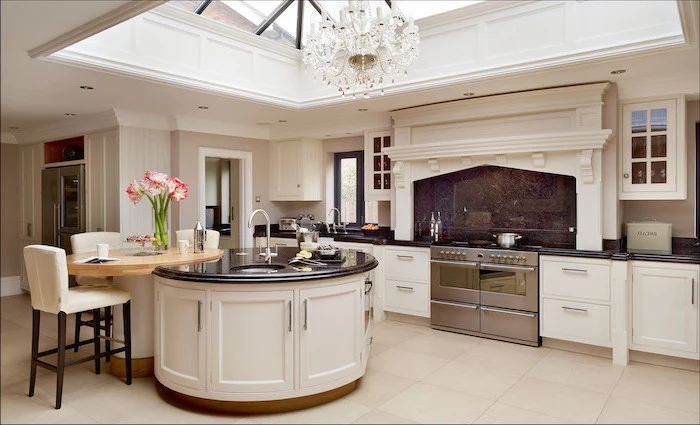
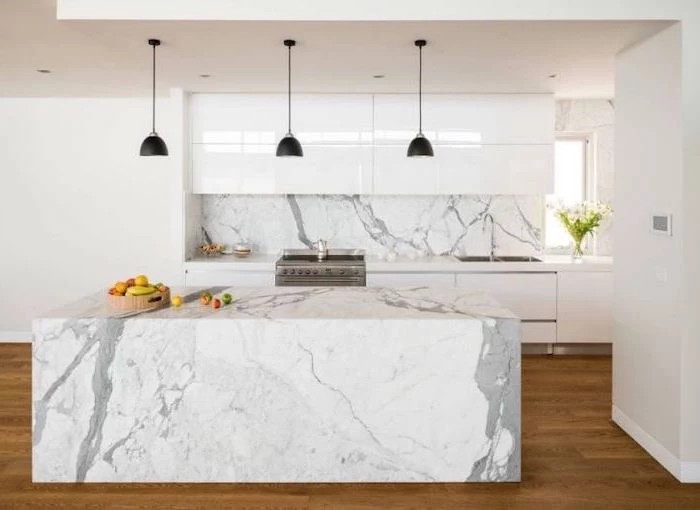
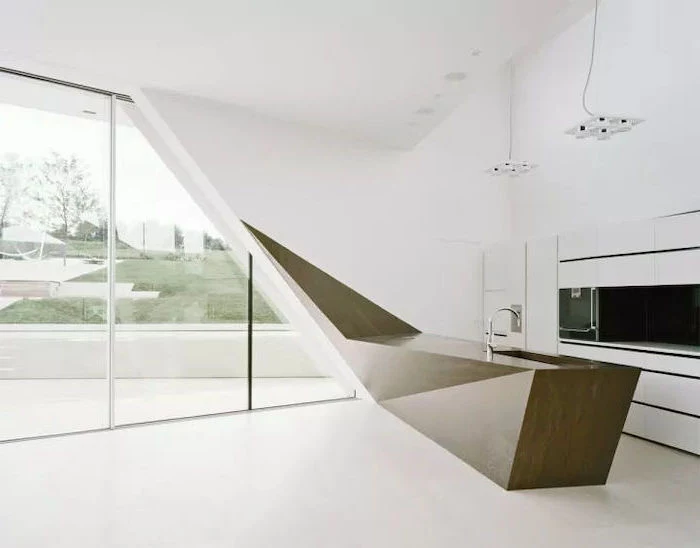
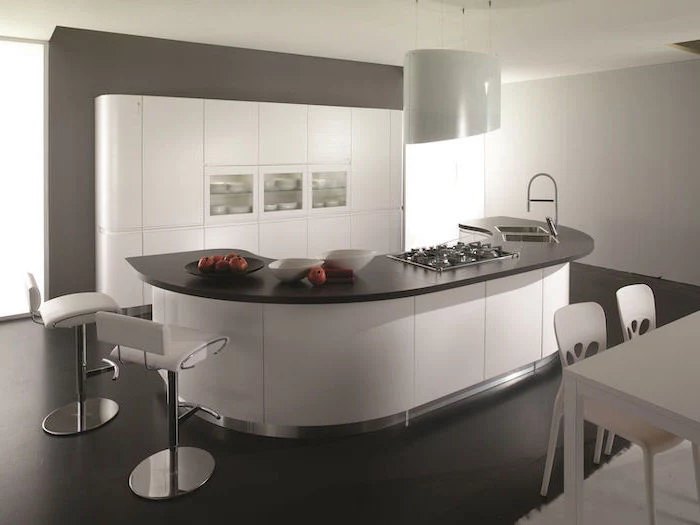
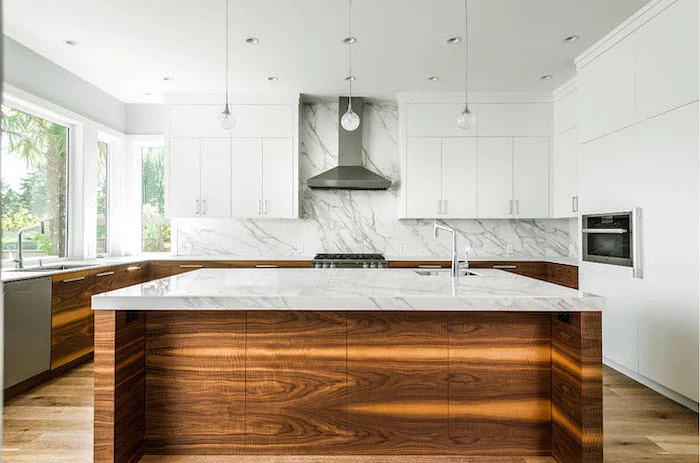
What exactly is a ‘waterfall’ countertop?
It’s a design where the countertop material doesn’t end at the edge of the island but continues vertically down the sides to the floor, creating a continuous flow. It’s a bold, contemporary statement that works best with materials that have dramatic veining, like Calacatta marble or a high-end quartz, to show off the pattern.


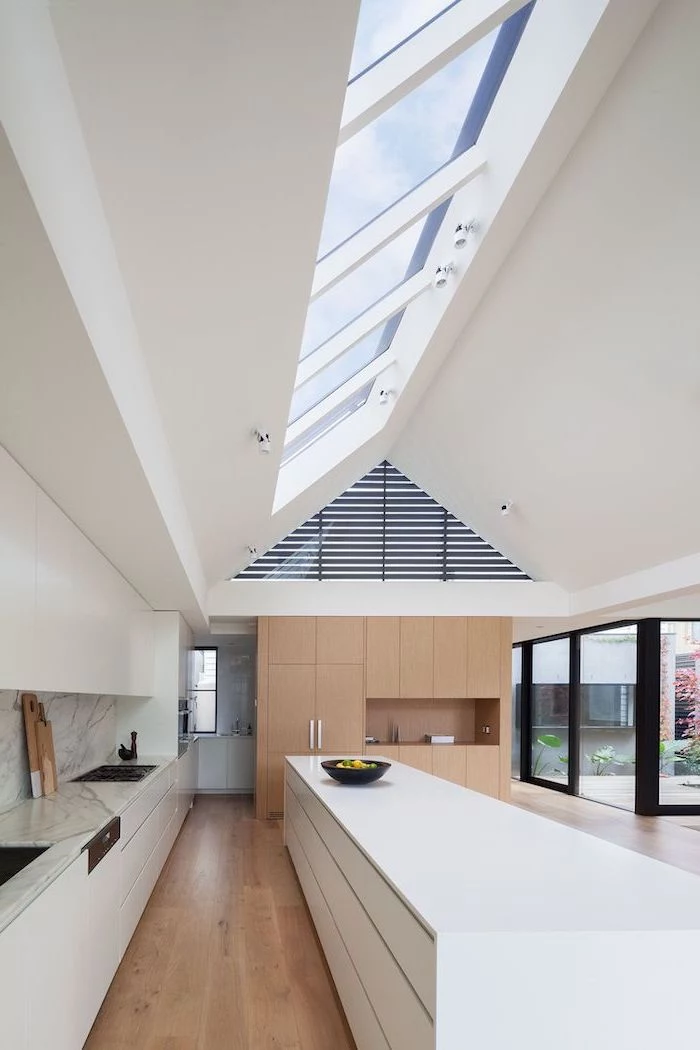
For an island inspired by Japanese design principles (Shibui), focus on simplicity, natural materials, and subtle details:
- Choose a single, honest material like light oak or walnut.
- Opt for clean lines with minimal hardware, perhaps using integrated finger pulls.
- Keep the countertop thin and unadorned for a feeling of lightness.
- Incorporate asymmetry with an offset seating area.


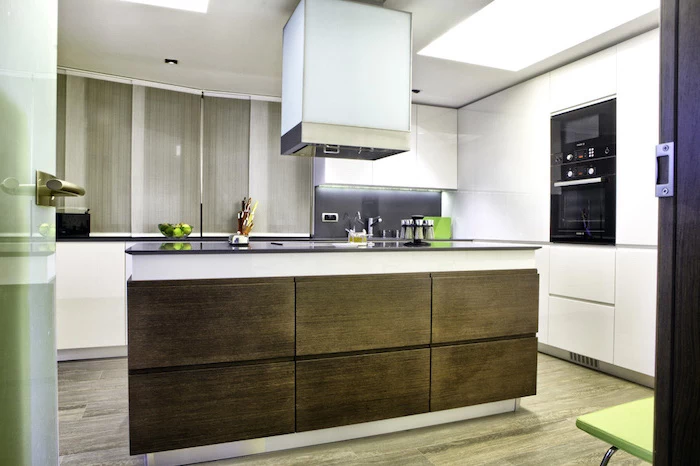
The trend to watch: Fluted or reeded wood panels on the island base. This textural detail adds depth, shadow, and a sophisticated, architectural element that elevates a simple island into a designer feature. It works beautifully in both modern and transitional kitchens and can be painted or left as natural wood.

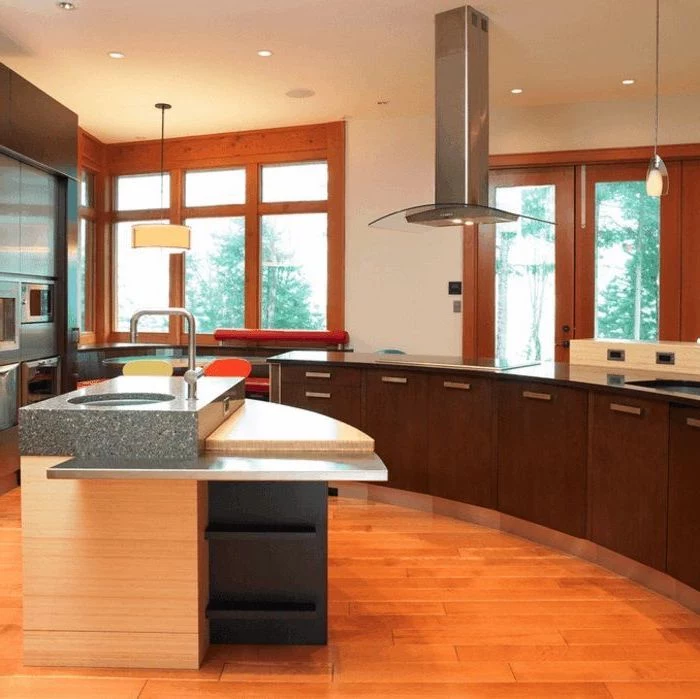
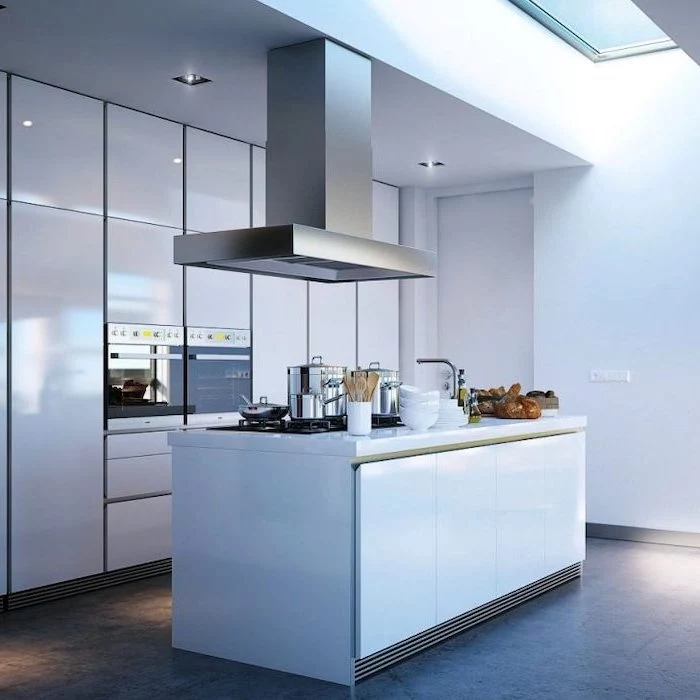
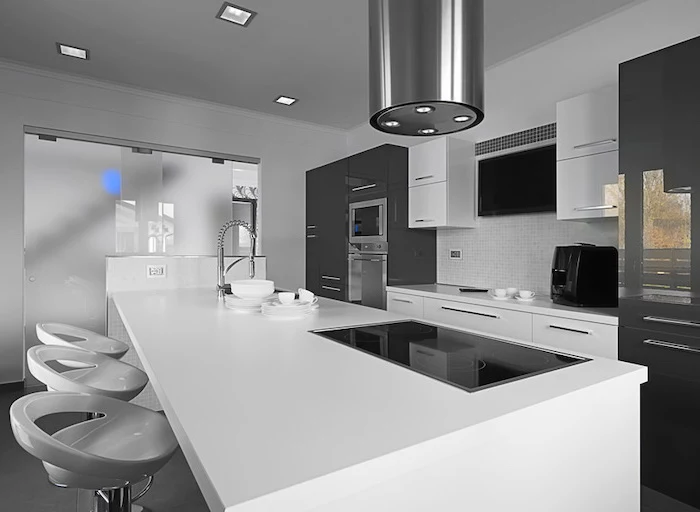
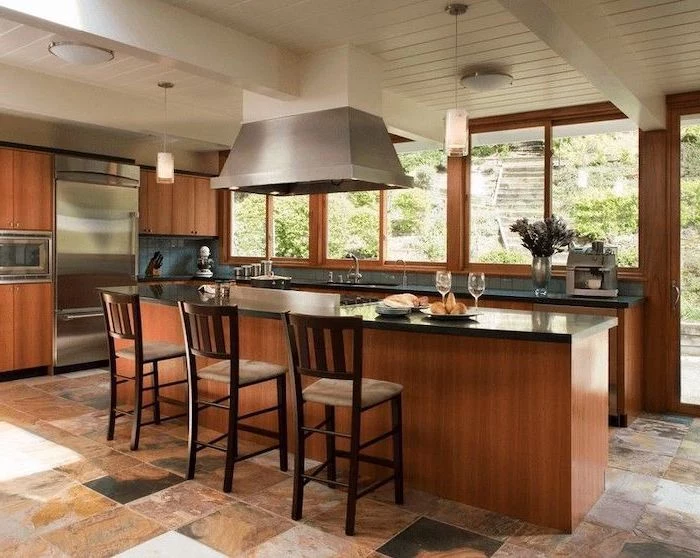
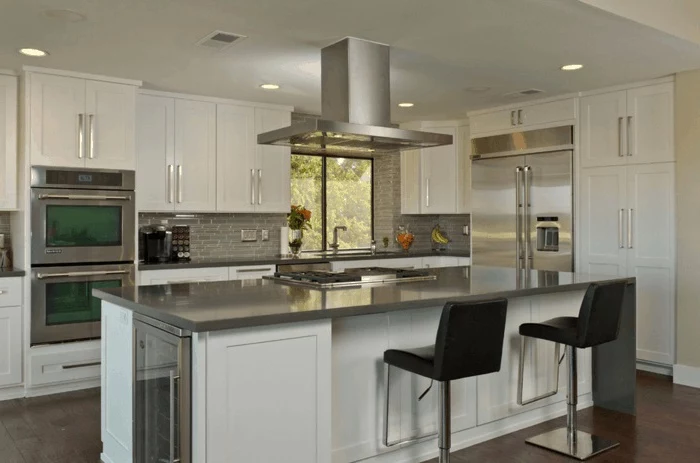
If you’re installing a cooktop in your island, ventilation is not an optional extra. Your two main choices are:
- A ceiling-mounted hood, which is highly effective but can interrupt sightlines.
- A downdraft ventilation system, which rises from the countertop when needed. While sleeker, brands like Bosch or JennAir have powerful models, but they are generally less effective at capturing steam and odors than overhead hoods.