Forget the Trends: Here’s How to Build a Kitchen That Actually Works
I’ve been deep in the world of kitchens for a long time—designing them, building them, and fixing them. I’ve seen it all. Remember when every kitchen had that busy, speckled granite? Or the all-white-everything phase that followed? Trends are fun to watch, but honestly, they have very little to do with what makes a kitchen truly great.
In this article
A kitchen that works isn’t about what’s hot in a magazine this month. It’s about flow, smart layouts, and materials that can actually handle your life. It’s about building a space that feels right for decades, not just for a year.
When I first talk to someone about their kitchen, I don’t pull out paint chips. I ask them to show me how they make coffee, how they unload groceries, or how they prep for a big family dinner. The real design blueprint is hidden in those everyday movements. That’s the philosophy this guide is built on—the stuff that lasts long after the fads are gone.
By the way, if a full remodel isn’t in the cards right now, here’s a quick win. Go buy some battery-powered, stick-on LED lights for under your cabinets. It’s a $40 fix you can get at any big box store, and it will make your prep space a hundred times better tonight. Seriously.
Getting the Flow Right: Beyond the Old-School Triangle
For ages, the go-to rule was the “kitchen work triangle,” which connects the sink, the fridge, and the stove. The idea was to keep these three key spots close but not too close. The old rule of thumb was that each side of the triangle should be between 4 and 9 feet, and the total distance shouldn’t exceed 26 feet.
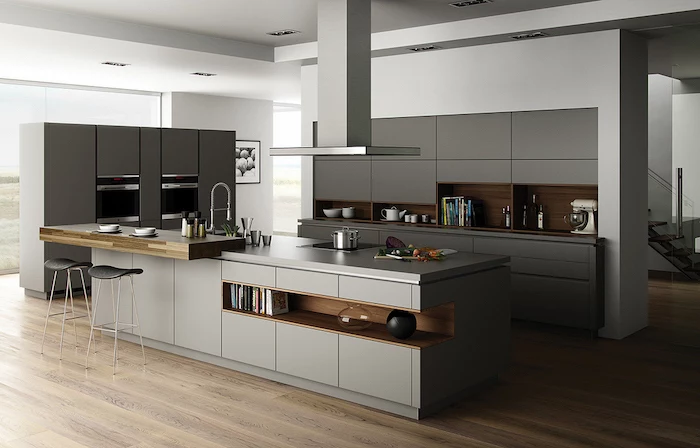
It’s still a decent starting point, but let’s be real—kitchens have changed. They’re bigger, they have more gadgets, and often there’s more than one person trying to cook. That’s why the pros now think in terms of “work zones.” It’s just a more practical way to design for modern life.
Think of your kitchen as a collection of stations, each with a specific job:
- The Prep Zone: This is where the magic happens. You need a good, long stretch of counter space, ideally right between your sink and your stove. I always aim for at least 36 inches of clear counter here. This is also where your knives, cutting boards, and trash bins should live. A quick tip: a pull-out cabinet with two bins for trash and recycling right in this zone is one of the single best upgrades for a functional kitchen.
- The Cooking Zone: This is your stove, oven, and microwave area. You absolutely need landing space on both sides of your cooktop—at least 15 inches—to safely place hot pots and pans. All your cooking tools, from spatulas to frying pans, should be stored right here.
- The Cleaning Zone: This is your sink and dishwasher duo. And please, for the love of all that is holy, make sure the dishwasher is right next to the sink. Placing it across an aisle is a rookie mistake that guarantees you’ll be dripping water all over the floor forever.
- The Consumables Zone: This is your fridge and pantry. It’s smart to locate this zone near the entrance to the kitchen. That way, you can drop your grocery bags and start unloading without having to weave through the whole kitchen.
- The Non-Consumables Zone: This is for your everyday plates, bowls, and glasses. If you can place this near the dishwasher, unloading becomes a breeze. Bonus points if it’s also close to your dining table for easy setting.
Oh, and let’s talk about space. Clearances are not a suggestion; they’re a requirement for a kitchen that doesn’t feel like a cramped hallway. A walkway needs to be at least 36 inches wide. An aisle where you’ll be standing to cook or open an oven door needs a minimum of 42 inches. And if you expect two people to work in the space? You need 48 inches. I once had to fix a DIY job where the island was so close to the oven that the door couldn’t open all the way. A costly, frustrating, and totally avoidable error.
Choosing Materials That Can Take a Beating
Picking materials is a balancing act between looks, durability, and cost. A showroom is one thing; your kitchen after 500 spaghetti dinners is another. Here’s the real talk I give my clients.
Countertops: The Kitchen’s Workhorse
Your countertop takes the most abuse, period. Here’s how the most common options really stack up.
- Quartz (Engineered Stone): This is what most people choose these days, and for good reason. It’s made from crushed natural quartz mixed with resins, which makes it non-porous. You don’t have to seal it, and it won’t stain from coffee or wine. But it’s not invincible. Heads up! Those resins can be damaged by high heat. You MUST use trivets. A client once put a sizzling pan directly on their brand new quartz island, and it left a permanent cloudy scorch mark. That’s not a repair job; that’s a full slab replacement.
- Natural Stone (Granite and Marble): With natural stone, every single slab is unique. This means you have to go to the stone yard and pick out your exact slab. Don’t skip this step!
- Granite: It’s a classic because it’s tough as nails. It handles heat and scratches beautifully. Its only catch is that it’s porous and needs to be sealed. Not sure if yours needs it? Try this right now: put a few drops of water on your counter and wait 10 minutes. If the stone darkens, it’s drinking the water. Time to buy a bottle of granite sealer for about $20 at Home Depot—it’s your weekend project!
- Marble: Ah, marble. So beautiful, so high-maintenance. It’s a soft, porous stone that will scratch and etch. An etch isn’t a stain; it’s a chemical burn that happens when acids (like lemon juice or vinegar) dull the surface. I only recommend marble to clients who can embrace this “living finish.” It’s for people who want their kitchen to show its history, not for perfectionists.
- Quartzite: This one causes a lot of confusion. True quartzite is a natural stone that’s actually harder than granite, often with the soft, veiny look of marble. The problem? Some suppliers mislabel softer stones as quartzite. Here’s a pro trick to protect yourself: when you go to the stone yard, ask for a sample and bring a glass bottle. Try to scratch the glass with a sharp corner of the stone sample. If the stone easily scratches the glass, you’re likely looking at real, durable quartzite. If the glass scratches the stone, it’s probably marble in disguise.
- Wood (Butcher Block): Wood adds incredible warmth, but it’s needy. It’s best used on an island or a section away from the main sink. It needs to be sealed with a food-safe mineral oil every single month if you plan to cut on it. Water is its mortal enemy. I’ve seen too many butcher blocks turn black with rot around sinks.
- The Box Matters Most: You basically have two choices for the cabinet box material: furniture-grade plywood or particleboard (sometimes called MDF). I’m going to be blunt: always choose plywood if you can. It’s made of layered wood, so it’s stronger, lighter, and far more resistant to water damage. Particleboard is like a sponge. One tiny, slow leak from your sink drain can cause the whole cabinet base to swell up and crumble. The money you save upfront just isn’t worth the risk.
- Framed vs. Frameless: Traditional American-style cabinets have a solid wood “face frame” on the front. The doors attach to this frame. Frameless, or European-style, cabinets have no frame; the doors attach directly to the box. This gives you a bit more storage space and a cleaner, modern look, but it requires a perfectly level and plumb installation, or your doors will look crooked.
- Luxury Vinyl Plank (LVP) is incredibly popular right now. It looks like wood, is 100% waterproof, and is softer underfoot than tile. Great for busy families.
- Tile is a classic for a reason. It’s ultra-durable and waterproof, but the grout can be a pain to keep clean, and it’s very hard—drop a glass and it’s gone.
- Hardwood is beautiful and warm, but you have to be vigilant about wiping up spills immediately to prevent water damage.
- Cabinetry & Hardware: 30-35%
- Installation & Labor: 20-25% (Don’t skimp here!)
- Appliances & Ventilation: 15-20%
- Countertops: 10-15%
- Everything Else (Flooring, lighting, plumbing, etc.): 10-15%
- Invest Here: Good cabinet construction (plywood boxes!), quality soft-close drawer glides, a skilled installer, and powerful ventilation. These things define how your kitchen feels and functions every single day.
- Save Here: You can save on things that are easy to upgrade later. Decorative hardware can be swapped out. A simple, affordable backsplash can be replaced when you have more budget. And you don’t need the fanciest pro-style appliances; reliable mid-range brands often provide the best bang for your buck. Think brands like Bosch, GE Profile, or KitchenAid for a great balance of performance and price.
- Ventilation: A range hood that just recirculates air is mostly for show. You need a hood that vents directly outside. A good rule of thumb for a gas stove is you need 1 CFM (cubic feet per minute) of power for every 100 BTUs of your cooktop’s output. A 60,000 BTU range needs at least a 600 CFM hood.
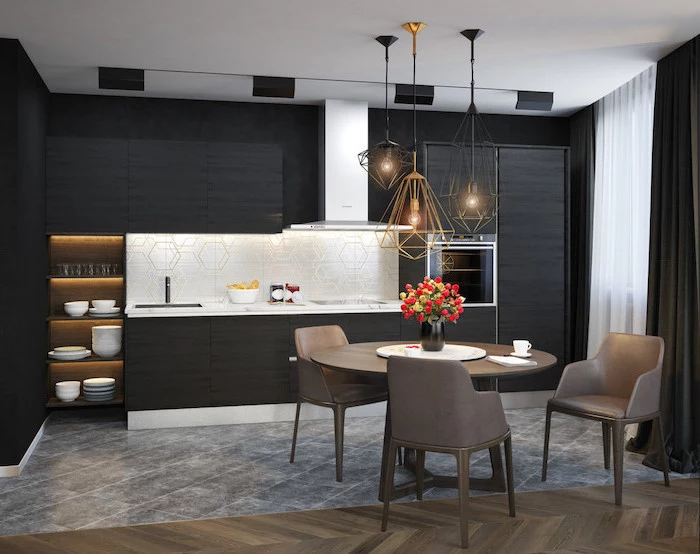
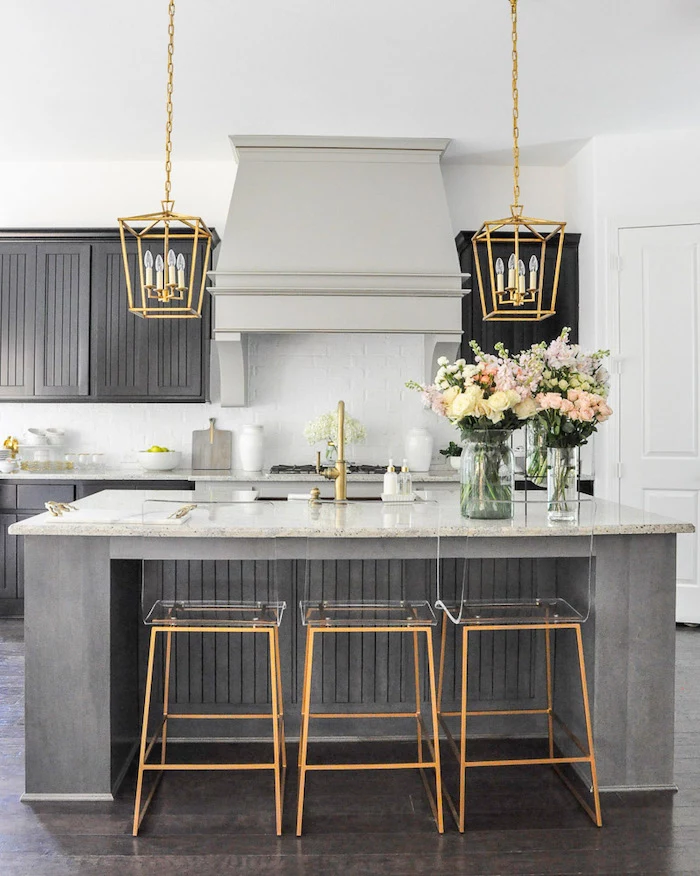
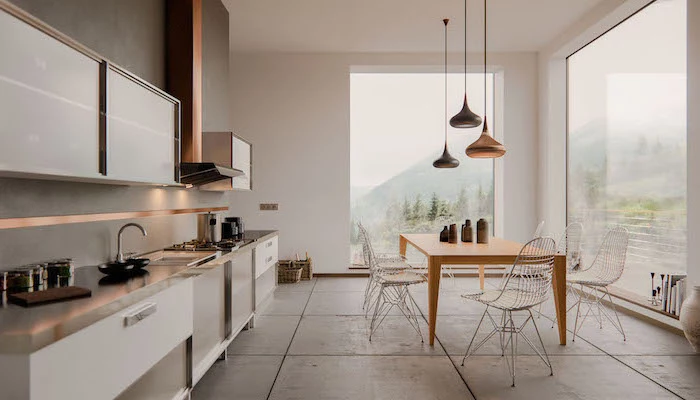
- Lighting: One light in the middle of the ceiling won’t cut it. You need layers. Use recessed cans for overall (ambient) light, under-cabinet lighting for task areas (this is a must!), and maybe some pendant lights over an island for accent.
- Induction Cooking: I’m a huge fan of induction cooktops now. They use magnets to heat the pan directly, making them faster and safer than gas or electric. The surface stays cool! The only catch is your pots and pans have to be magnetic.
- Are you licensed and insured? (Ask to see the documents!)
- Can I see a portfolio of your recent work?
- Can I talk to your last three clients?
- Who will be the project manager on-site every day?
- How do you handle changes or problems that come up during the project?
- Will you be pulling all the necessary permits for this job? (The answer must be YES).
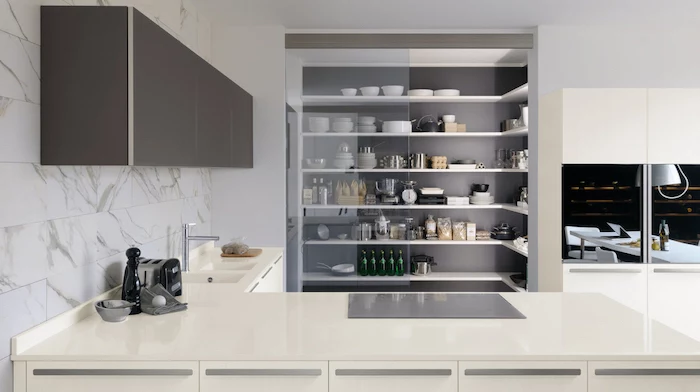
- No more kneeling and blindly searching in dark corners.
- A complete overview of your pots and pans in a single glance.
- Ergonomically easier on your back and knees.
- A solid slab of stone or quartz: The same material as your countertop for a seamless, grout-free, and easy-to-clean surface.
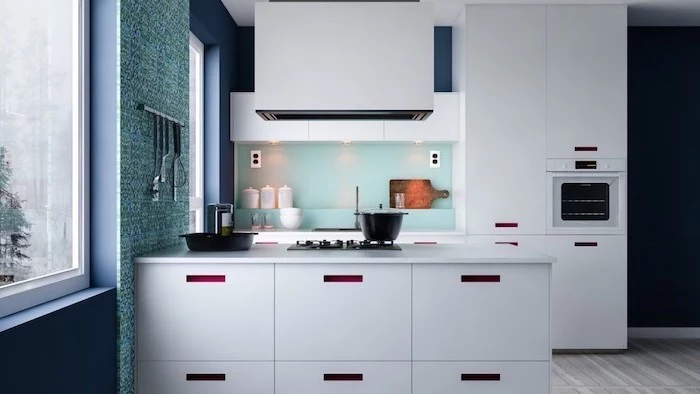
- Zellige tiles: Handcrafted Moroccan tiles with subtle color variations and imperfections that add warmth and character.
- Tempered glass panel: Can be back-painted in any color, offering a sleek, modern, and non-porous option.
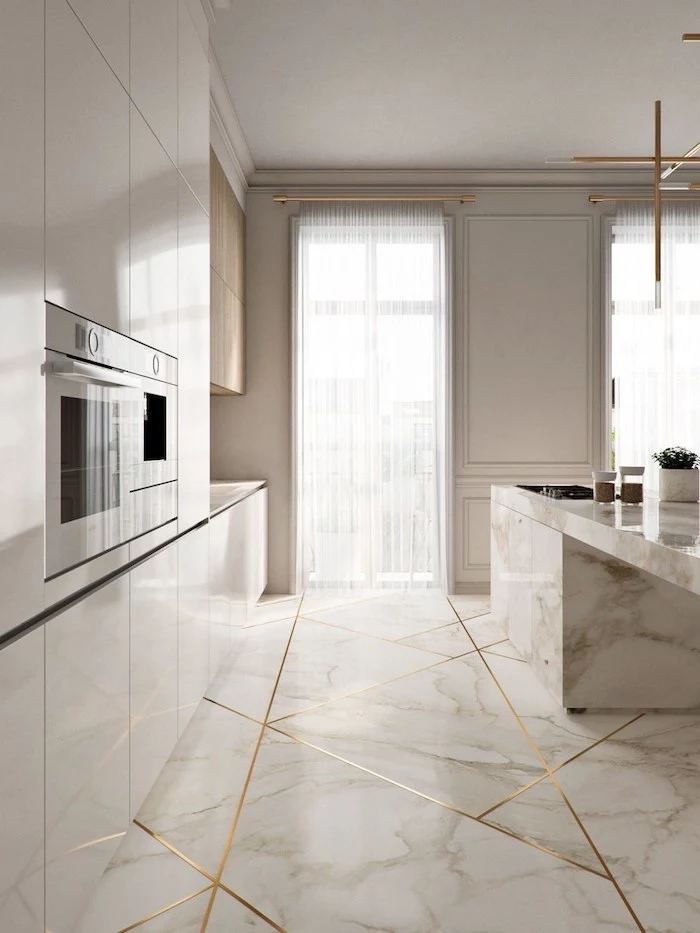
- Recessed ceiling lights for overall ambient light.
- Under-cabinet task lighting for bright, shadow-free prep areas.
- Pendant lights or a chandelier over an island or table for accent and style.
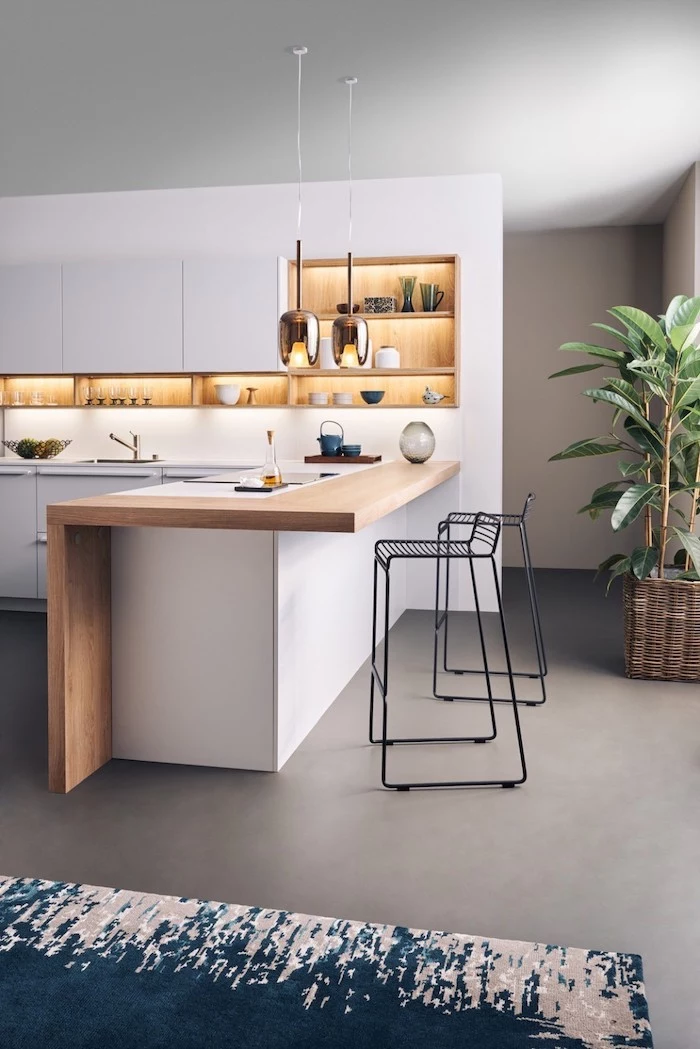
- Clearance for walkways: Aim for a minimum of 42 inches in a one-cook kitchen, and 48 inches if two people will be working at once.
- Seating overhang: Allow for at least 15 inches of countertop overhang for comfortable knee space at a counter-height island.
- Outlets: Don’t forget to integrate electrical outlets, perhaps on the side or with a pop-up mechanism, for small appliances and charging devices.
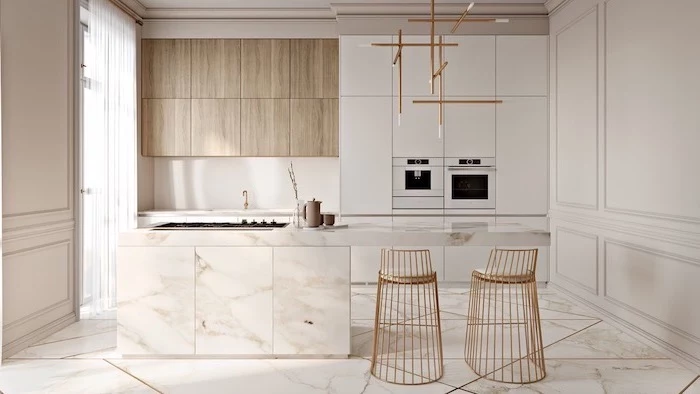
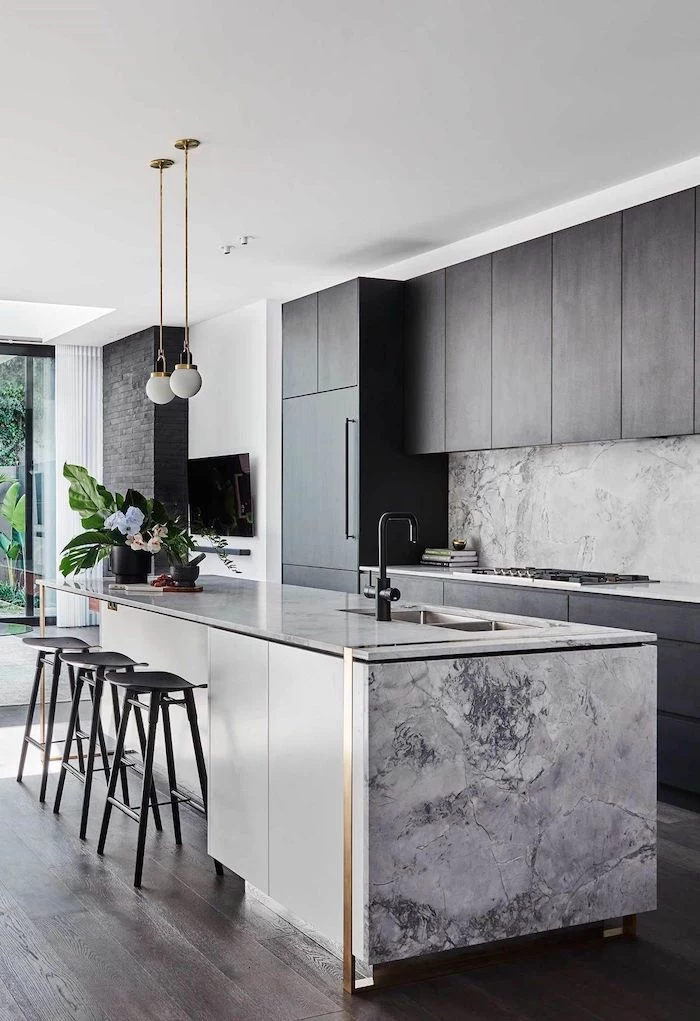
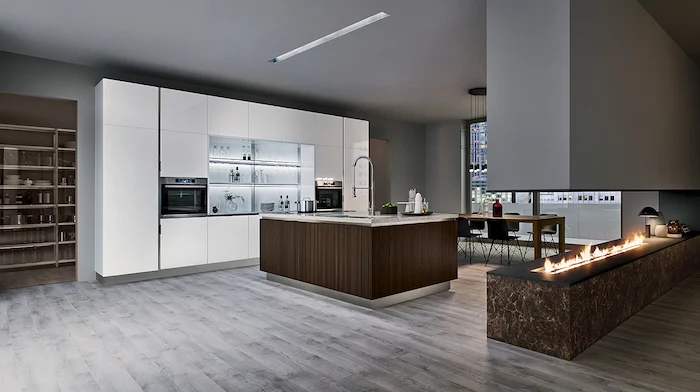
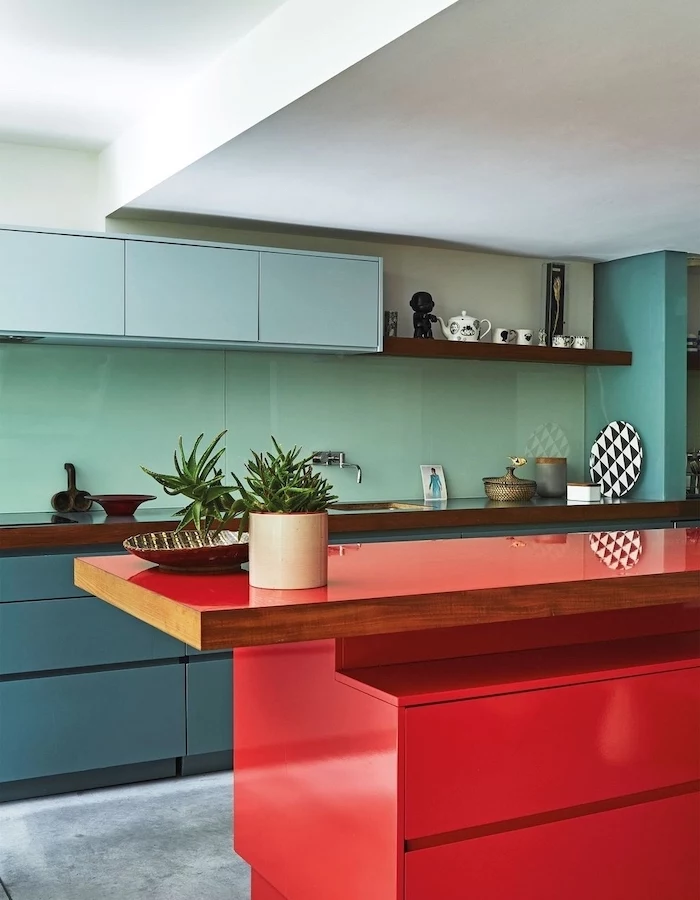
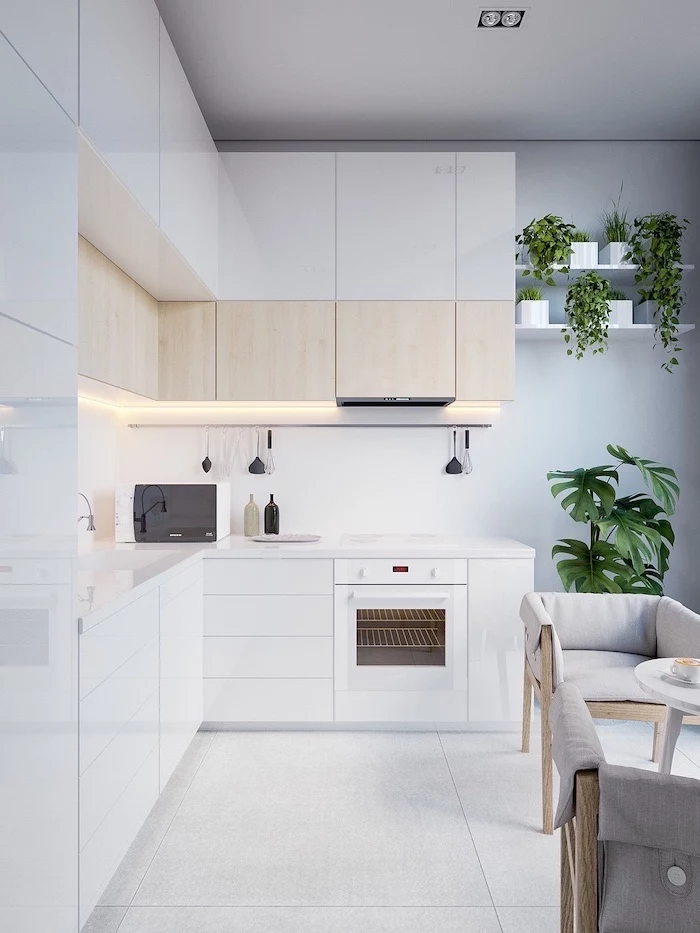
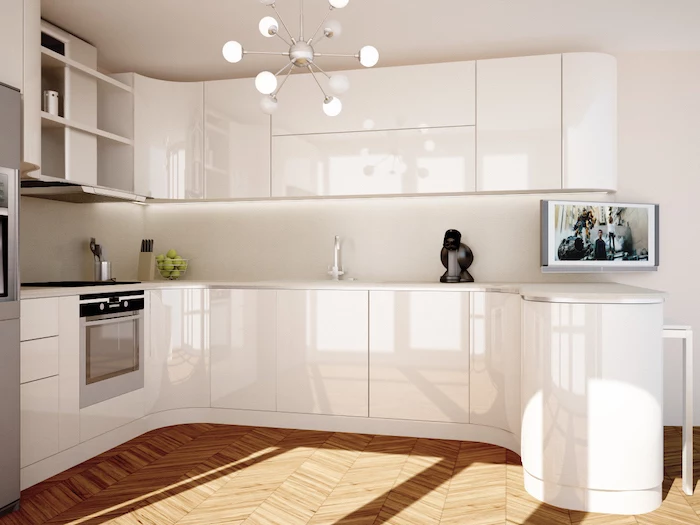
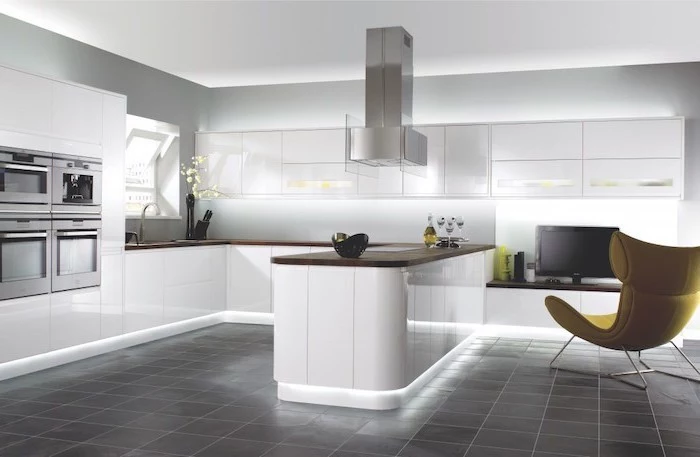
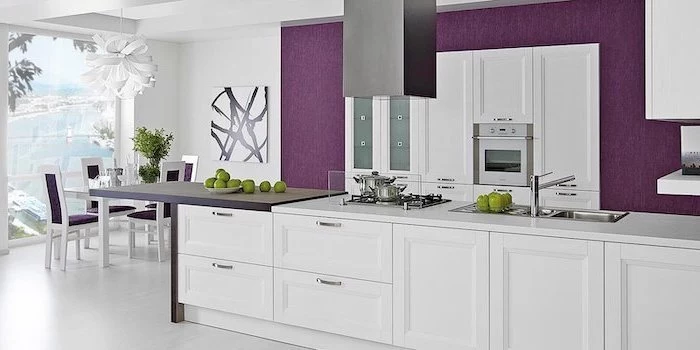
- It can feel warmer and more inviting than a vast sea of white or gray.
- It can define a specific zone, like a coffee bar or baking station.
- It can make a large kitchen feel cozier and more intimate.
Cabinets: More Than Just a Pretty Face
Cabinets are usually the biggest ticket item in the budget. The quality is hidden in the construction.
Flooring and Backsplashes
Let’s not forget the other two big surfaces! For flooring, you need something that can handle water, dropped pots, and lots of foot traffic.
For the backsplash, this is a great place to save money! A classic ceramic subway tile is timeless and very affordable. Since it’s easy to change out in a few years, you don’t need to splurge on the most expensive option here if you’re on a budget.
Realistic Budgeting and Timelines
A full kitchen remodel is a beast. It’s messy, disruptive, and usually costs more than people think. So, how much should you actually budget? In my experience, a solid mid-range kitchen remodel in most suburban areas lands somewhere between $30,000 and $75,000. And how long does it take? Be prepared for 4 to 8 weeks of actual construction, but the whole process, from design to ordering materials, can easily take 3 to 6 months. Plan accordingly!
Here’s a rough breakdown of where the money goes:
Where to Invest vs. Where to Save
If you have a limited budget, focus your money on the things that are hard to change later.
Can’t afford a full gut job? The highest-impact change for a smaller budget is often refinishing the cabinets. A professional paint job can completely transform the look of your kitchen for a fraction of the cost of new cabinets.
Don’t Forget the Technical Stuff
A high-performance kitchen gets the details right.
How to Hire the Right Pro (And Not Get Burned)
A kitchen remodel involves serious electrical and plumbing work. This is not a place to cut corners. A good contractor is worth their weight in gold. Before you hire anyone, ask them these questions:
Working without a permit is a huge red flag. The inspection process protects you and ensures the work is done safely. It can cause massive headaches when you eventually try to sell your home.
At the end of the day, a great kitchen is a team effort. It takes an honest conversation, deep expertise, and skilled hands to bring it to life. The goal isn’t just to make it pretty, but to make it safe, functional, and ready to serve you and your family for years to come. That’s what real craftsmanship is all about.
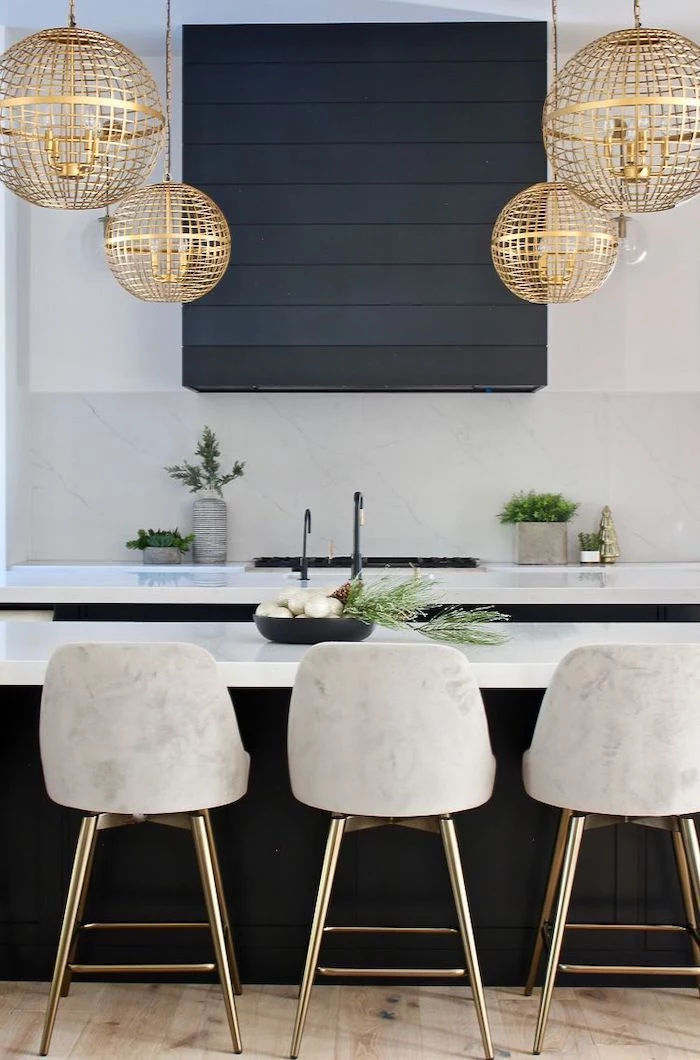
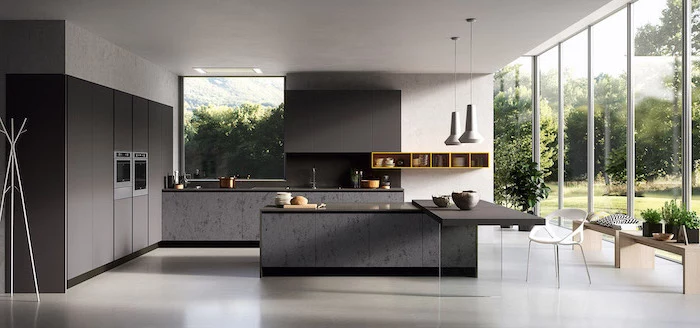
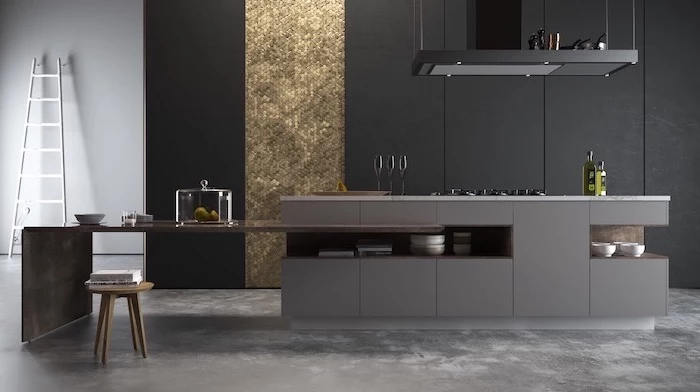
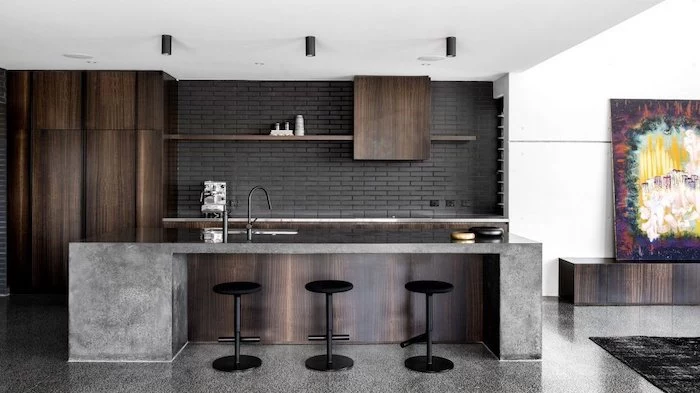
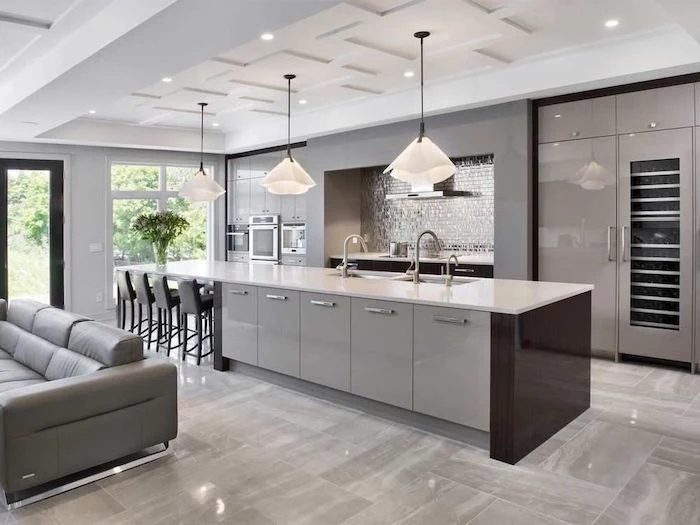
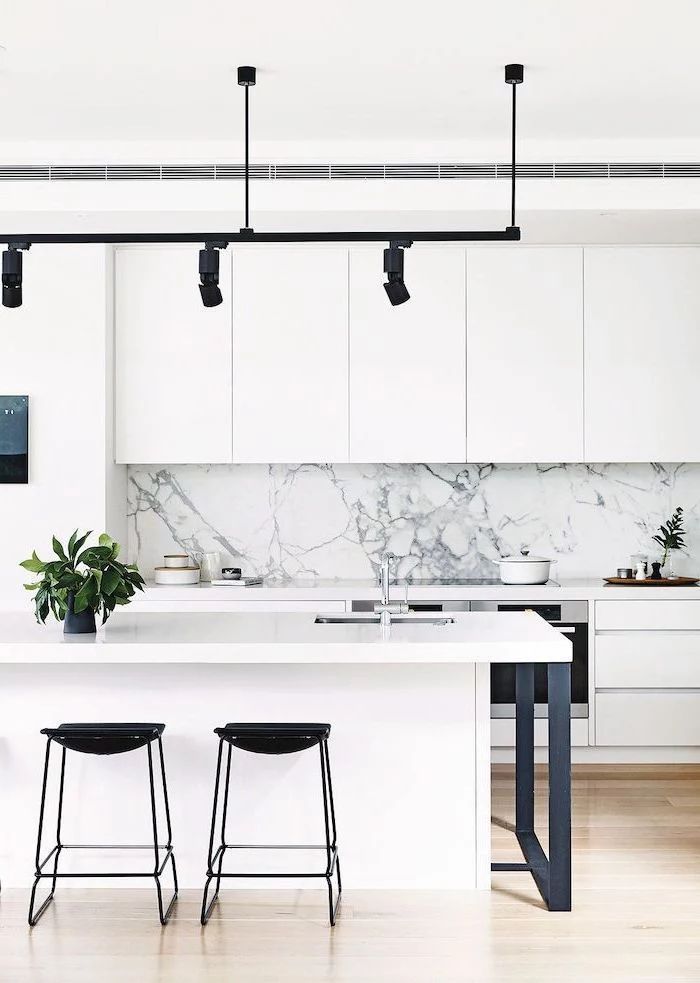
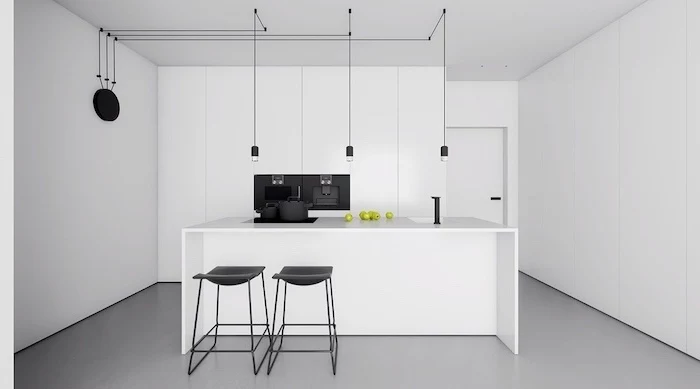
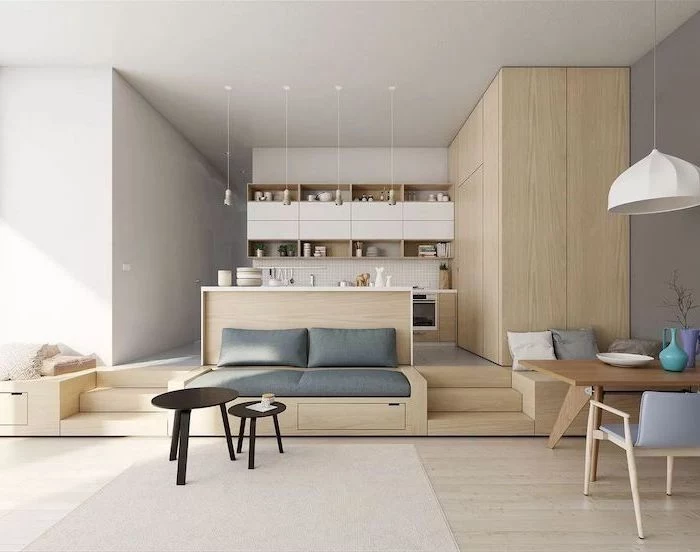
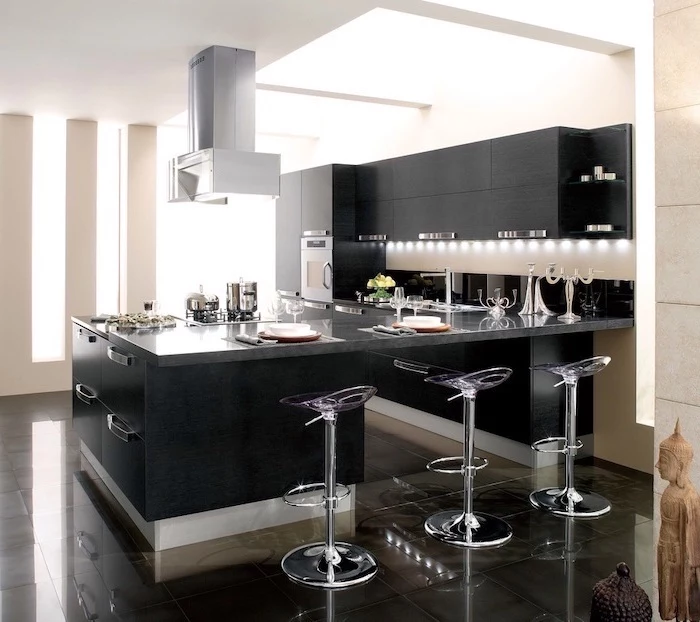
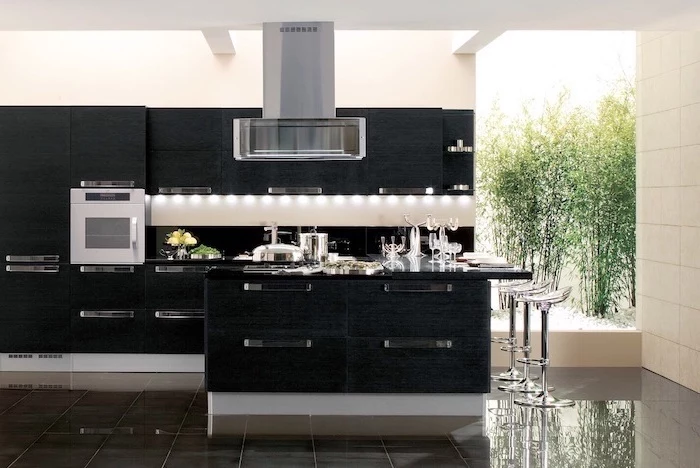
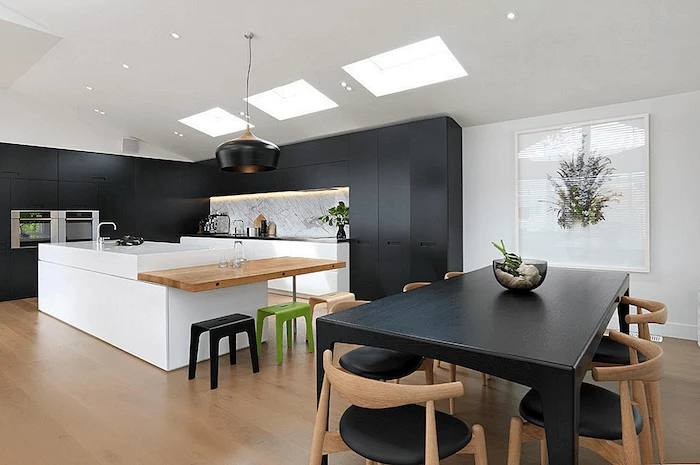
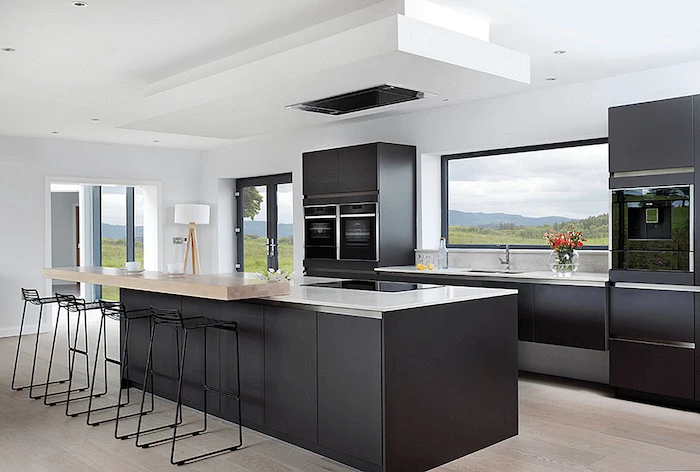
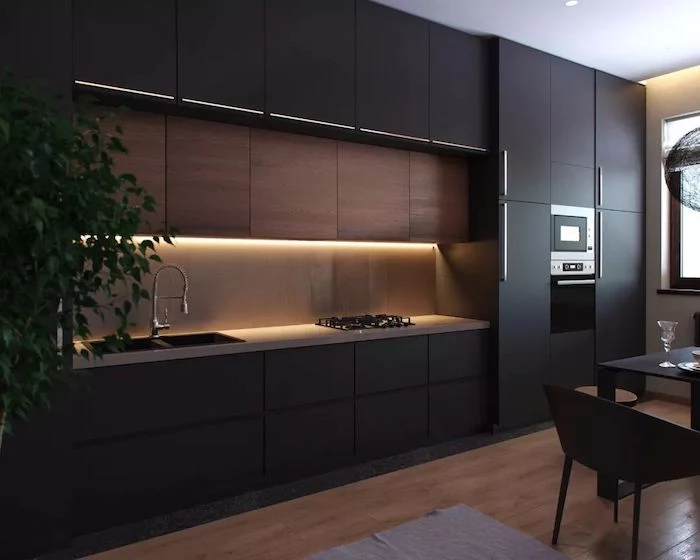
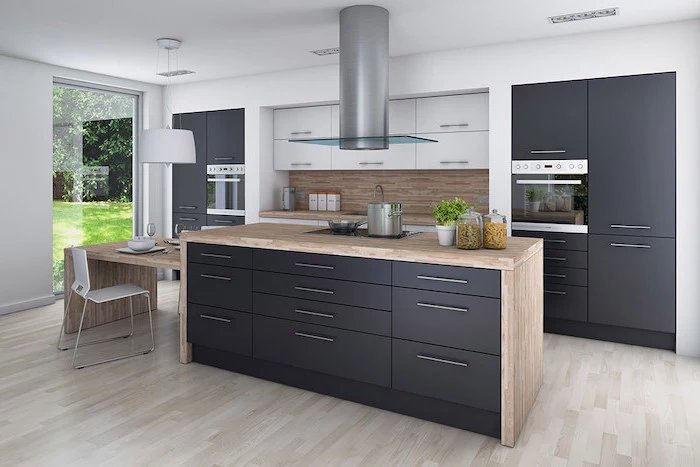
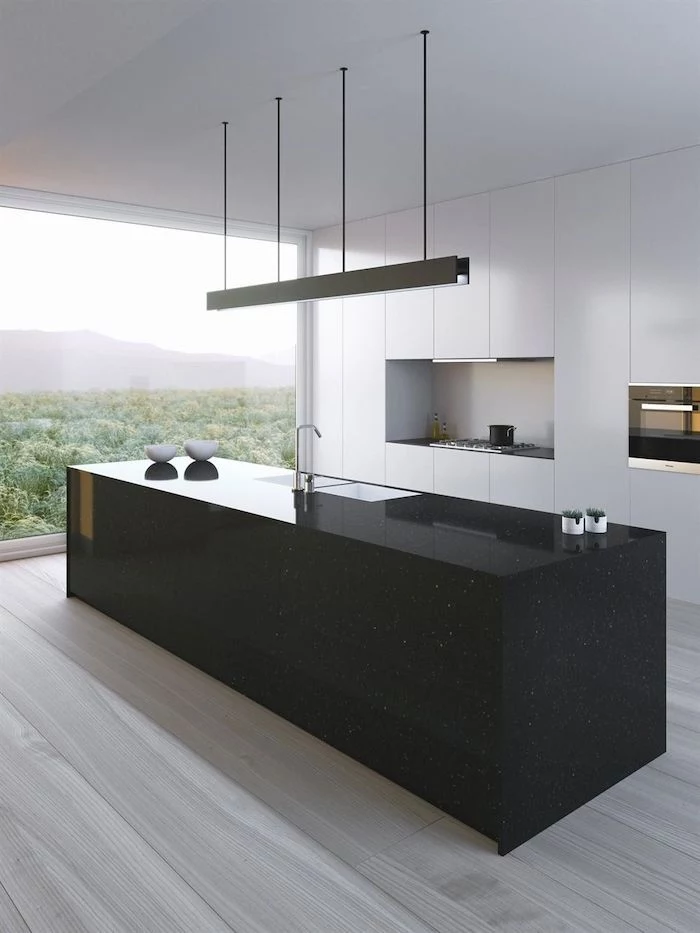
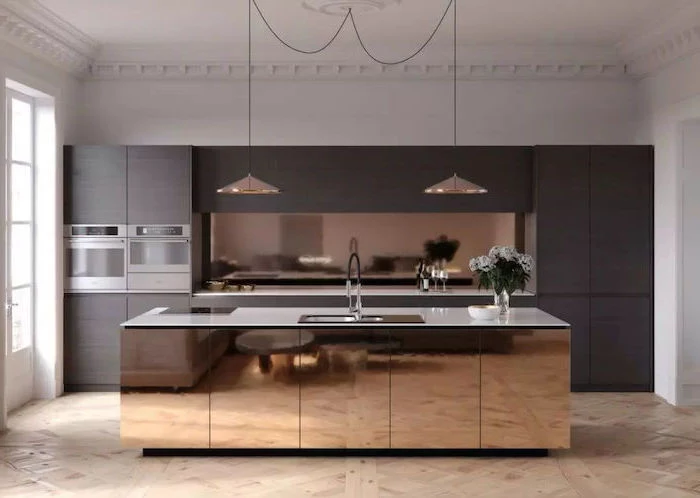
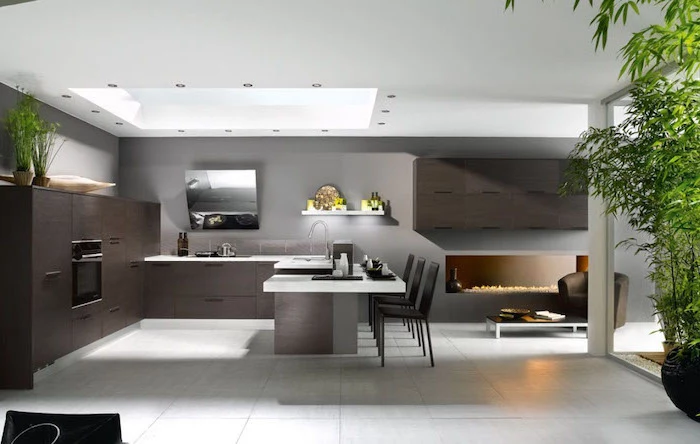
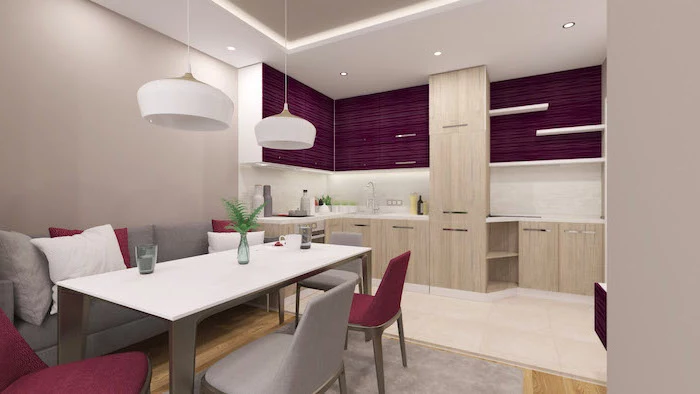
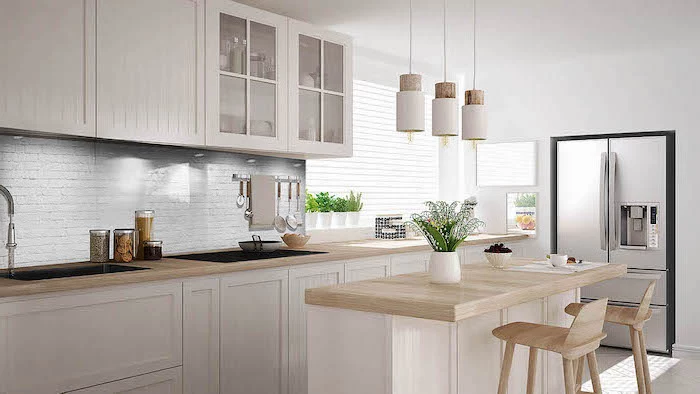
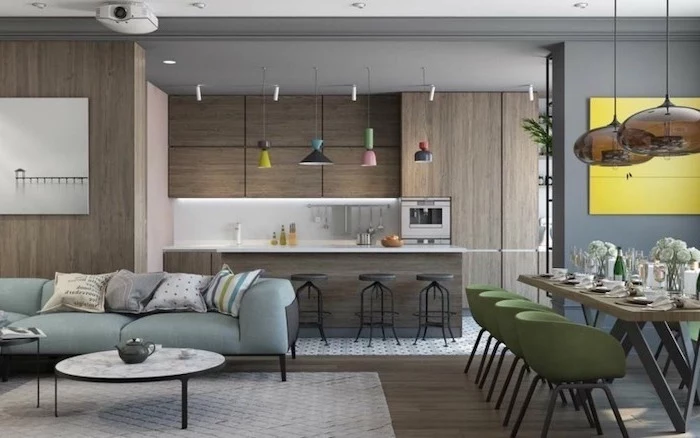
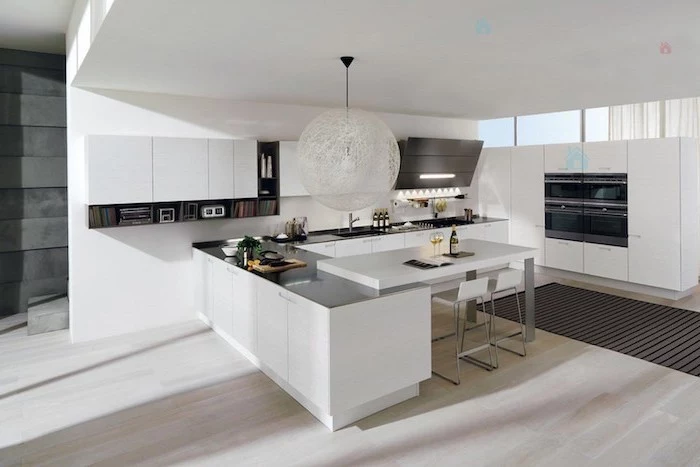
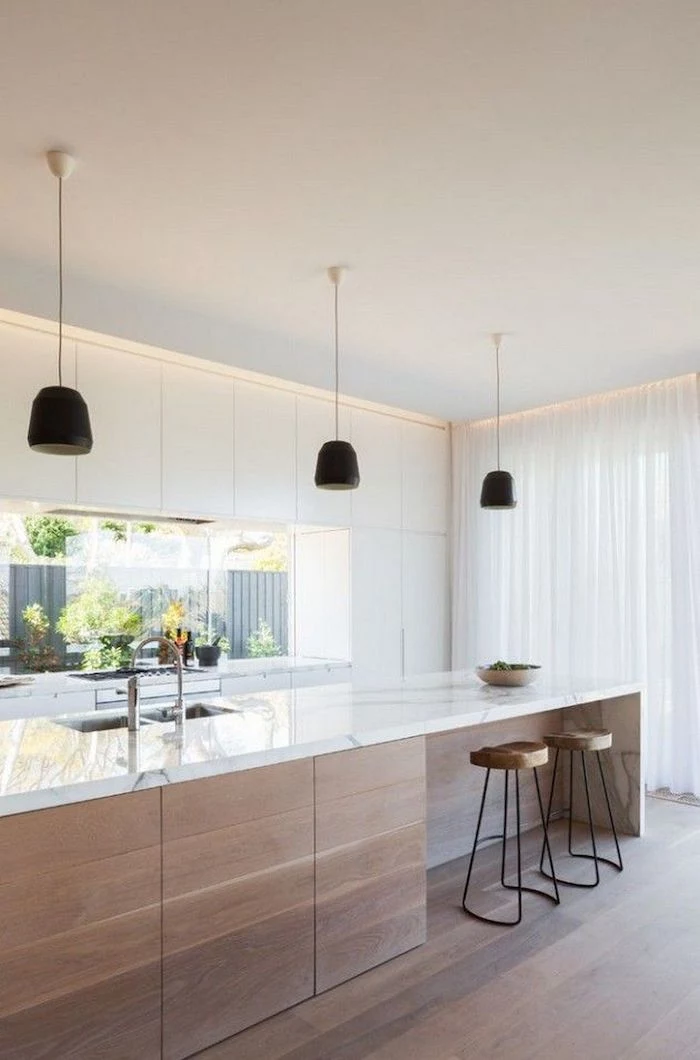
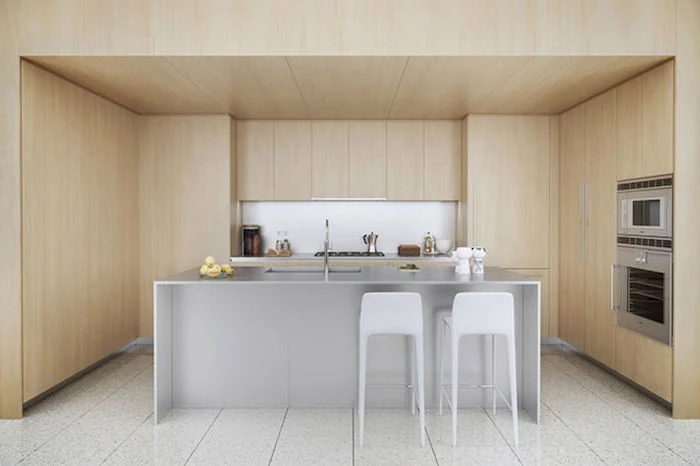
Inspiration Gallery
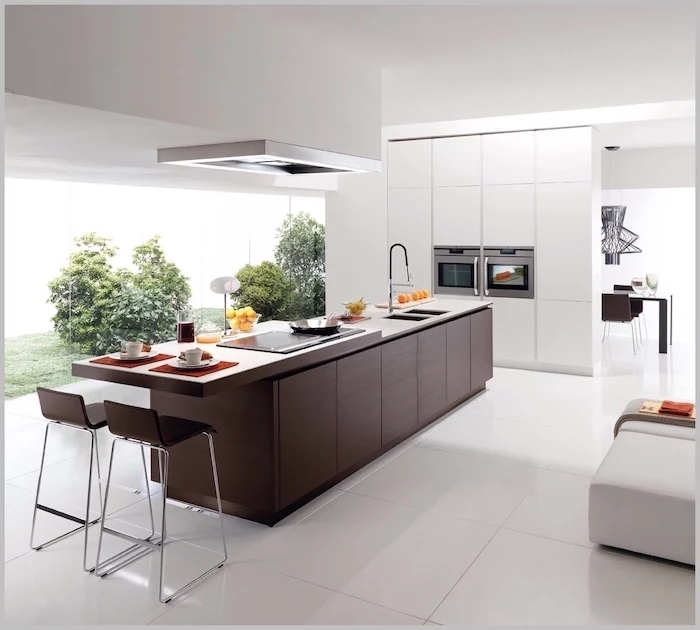
When planning your layout, think about
The average person opens their refrigerator 15-20 times a day.
This simple fact highlights why the refrigerator’s location is so critical. Placing it at the edge of the main work zone allows family members to grab a drink or snack without getting in the cook’s way, maintaining the kitchen’s flow.
Cabinet Hardware: Think of it as the jewelry of your kitchen. It’s a relatively low-cost update that has an enormous visual impact. For a timeless look, consider brands like Rejuvenation or Top Knobs. Don’t be afraid to mix metals, as long as you maintain a consistent finish (e.g., all brushed or all polished).
Is a pot filler faucet above the stove really necessary?
For most people, it’s a luxury, not a necessity. While it saves you from carrying a heavy pot of water from the sink, it’s another fixture to clean and a potential leak point. A more practical investment for avid cooks is a high-quality sink faucet with a powerful pull-down sprayer, like a Moen or Delta model with spray shield technology.

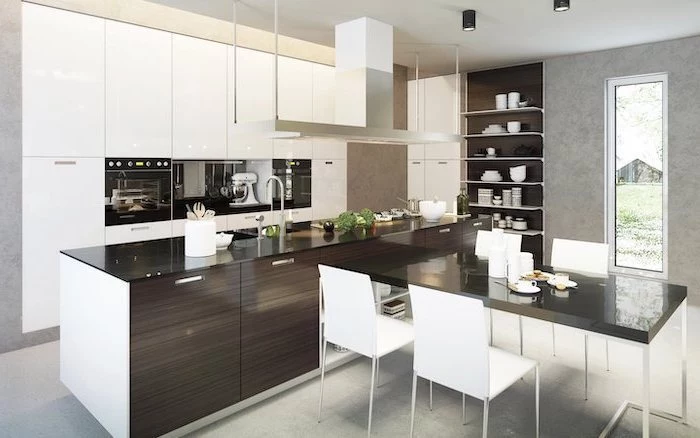
The secret? Opting for deep, full-extension drawers instead of traditional lower cabinets. They utilize the entire depth of the cabinet and make every item easily accessible.
The backsplash is your chance to inject personality. While classic subway tile is a safe bet, consider these alternatives for a functional, timeless kitchen:
Countertop Showdown: Quartz vs. Quartzite
Quartz: An engineered product (like Silestone or Caesarstone) made from crushed stone, resins, and pigments. It’s non-porous, so it resists staining and never needs to be sealed.
Quartzite: A natural metamorphic rock that is harder than granite. It offers stunning, unique veining but is porous and must be sealed periodically to prevent stains.
Your choice depends on whether you prioritize zero-maintenance convenience or one-of-a-kind natural beauty.
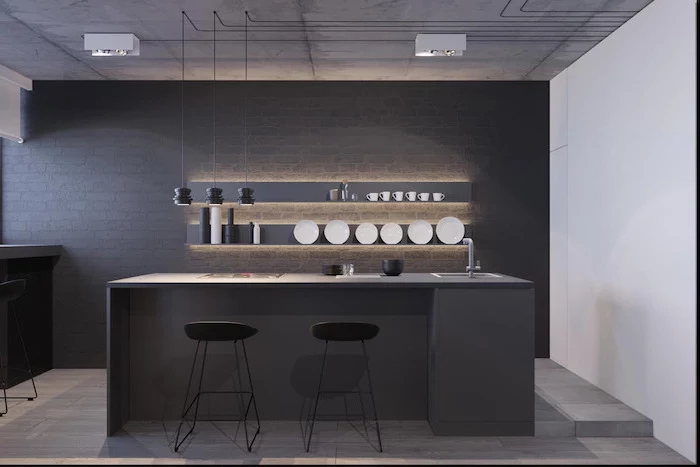
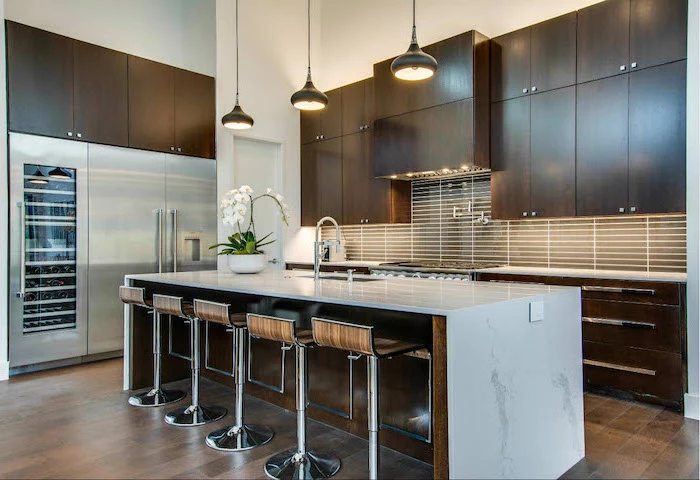
A 2018 study by Houzz revealed that the top functional reason for a kitchen renovation was “not enough storage” (62%).
To combat this, think vertically. Taking cabinets to the ceiling (even if you need a step stool for the top shelf) is perfect for seasonal items. Also, utilize the toe-kick space for hidden, flat drawers to store platters or baking sheets.
The forgotten sense: Sound. The constant slamming of cabinet doors and drawers adds a layer of stress to a busy space. Investing in soft-close hinges and drawer glides from a quality manufacturer like Blum is a small upgrade that creates a noticeably calmer and more premium-feeling kitchen environment.
The key is layered lighting. Relying on a single overhead fixture creates a gloomy, inefficient workspace. Combining these three types of light makes a kitchen both functional and inviting at any time of day.
What’s the right finish for kitchen cabinets?
It’s about more than just color. A matte finish is excellent at hiding fingerprints and smudges, giving a soft, contemporary look. A semi-gloss or satin finish, however, is more durable and easier to wipe clean, making it a highly practical choice for a hard-working family kitchen. High-gloss finishes look sleek but require constant polishing to look their best.
Don’t overlook the power of your floor. For a kitchen that’s both comfortable and durable, consider Luxury Vinyl Tile (LVT). Unlike cold, hard ceramic, LVT is softer underfoot—a real benefit when you’re standing for long periods. It’s also waterproof, scratch-resistant, and available in incredibly realistic wood and stone finishes from brands like Karndean or Mannington.
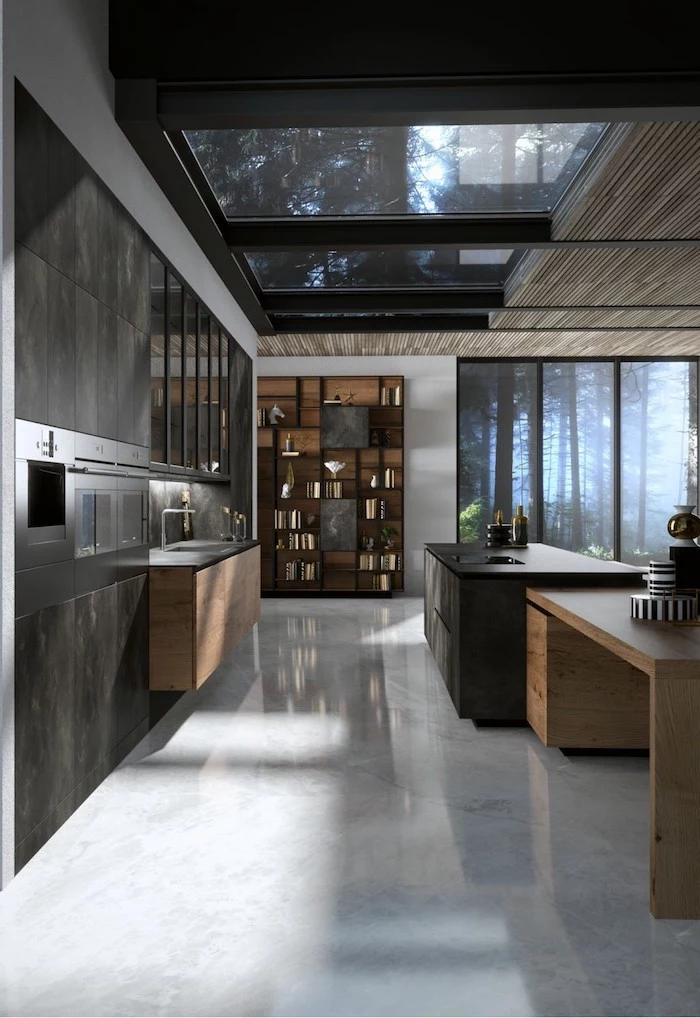
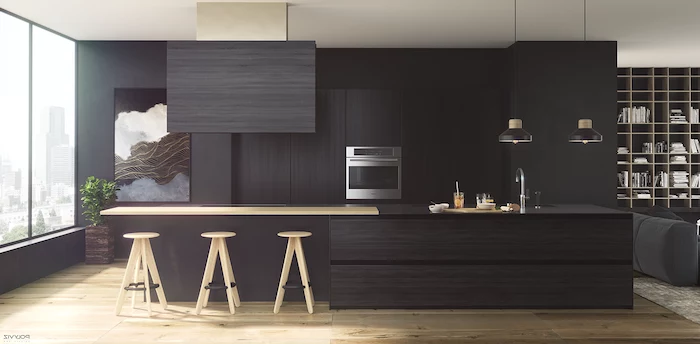
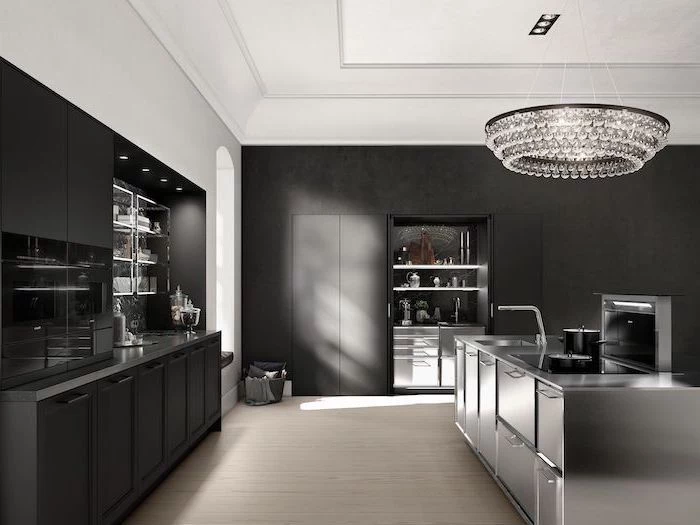
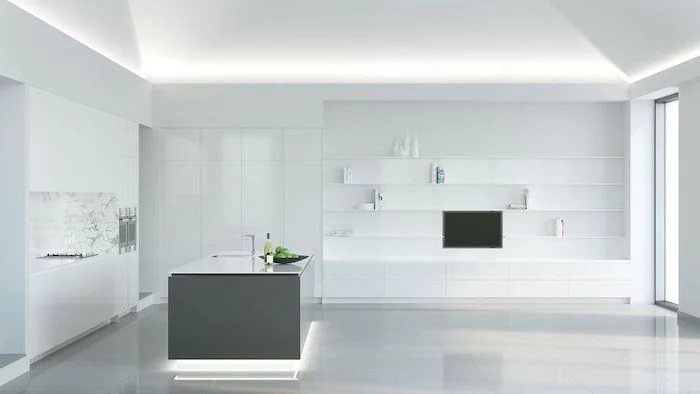
In Japan, the aesthetic of ‘wabi-sabi’ finds beauty in imperfection.
In the kitchen, this can mean choosing materials that tell a story over time. An unlacquered brass faucet that develops a rich patina, a soapstone counter that collects small scratches and oil marks, or open shelving with your favorite, slightly mismatched mugs on display. It’s about creating a space that feels lived-in and authentic, not sterile.
A common mistake: Forgetting about ventilation until the end. A range hood isn’t just for show. A good quality hood that is ducted to the outside (not just recirculating) is crucial for removing grease, steam, and odors, protecting your cabinets from damage and improving your home’s indoor air quality.
Want the warmth of a butcher block island without the high maintenance? Consider a high-quality walnut or acacia wood cutting board that is large enough to act as a permanent prep station. You get the functional and aesthetic benefits for daily tasks, while your main counters can be a more durable material like quartz.
The workhorse sink: For maximum functionality, consider a large, single-basin undermount sink made of composite granite. Brands like Blanco (their Silgranit line) offer sinks that are tough, scratch-resistant, and come in various matte colors that hide water spots better than shiny stainless steel.
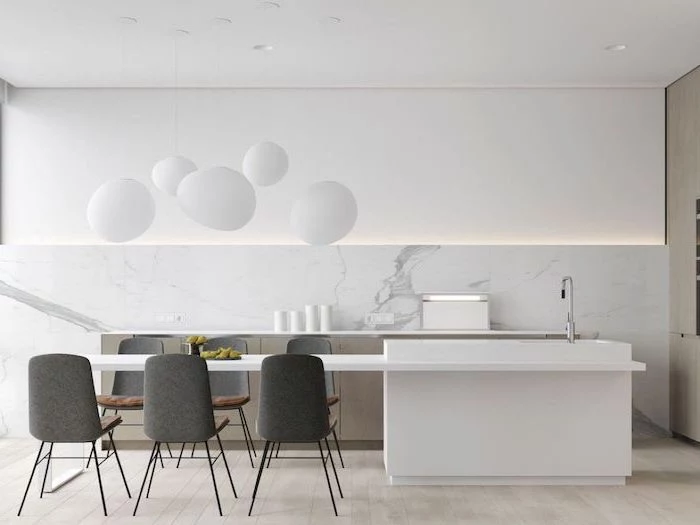
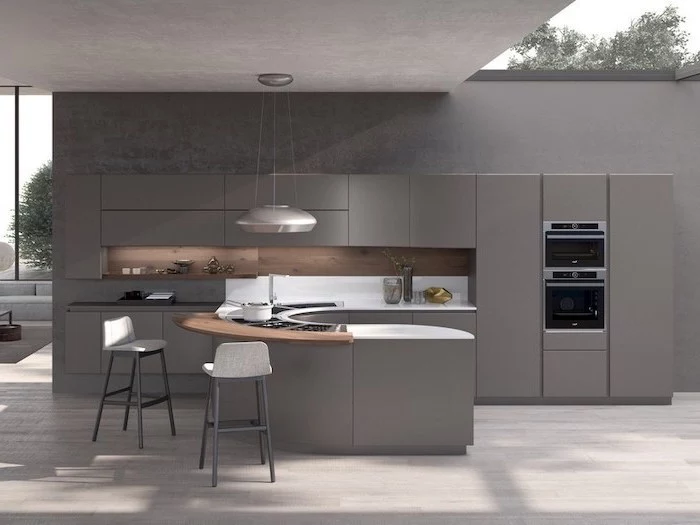
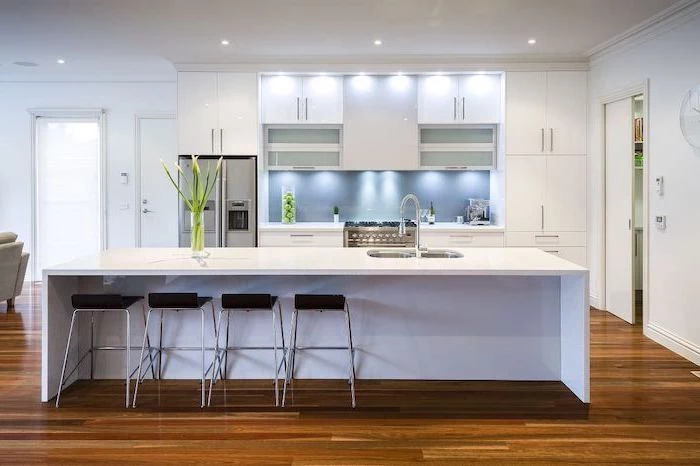
The standard kitchen countertop height is 36 inches, but this was based on the average height of women in the 1930s.
If you’re particularly tall or short, a kitchen that works for *you* might have varied counter heights. Consider a lower 32-inch section for baking and rolling dough, and a higher 38-inch section to save a tall person’s back during prep work.
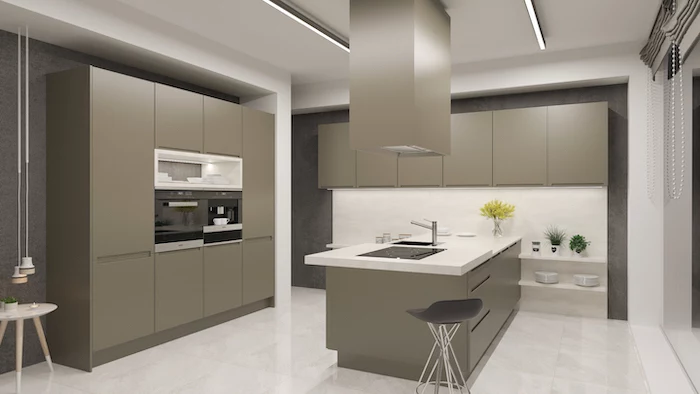
Instead of a traditional pantry closet, consider floor-to-ceiling pantry cabinets with pull-out shelves. This integrated solution provides more functional storage in a smaller footprint. You can see everything at once without items getting lost in the back, reducing food waste and making grocery list creation a breeze.
How to choose a paint color that lasts?
Forget the ‘Color of the Year.’ Instead, look to the fixed elements in your space: your flooring, your countertop, and your backsplash. Pull a neutral hue from the veining in your stone or the undertones in your wood. A timeless gray like Benjamin Moore’s ‘Revere Pewter’ or a warm white like Farrow & Ball’s ‘Wimborne White’ will adapt as your style evolves.
The unsung hero: The trash pull-out. A well-designed kitchen plans for waste. The most functional spot is in a cabinet right next to the sink, often with a double bin system for separating trash and recycling. Getting it off the floor and out of sight is one of the single best moves for a cleaner, more organized look.
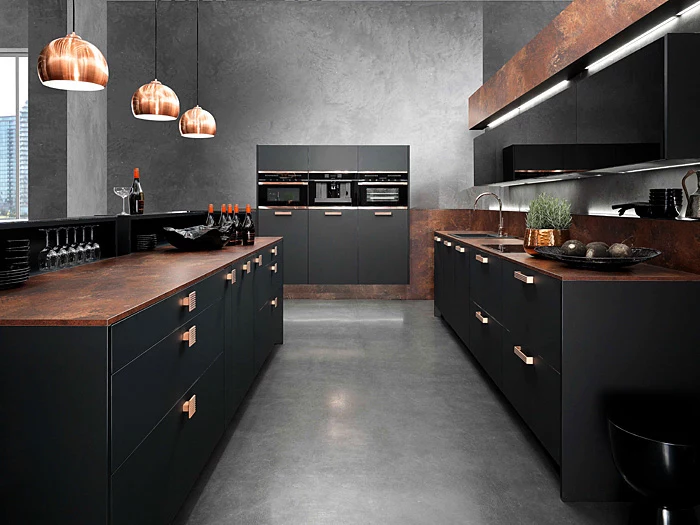
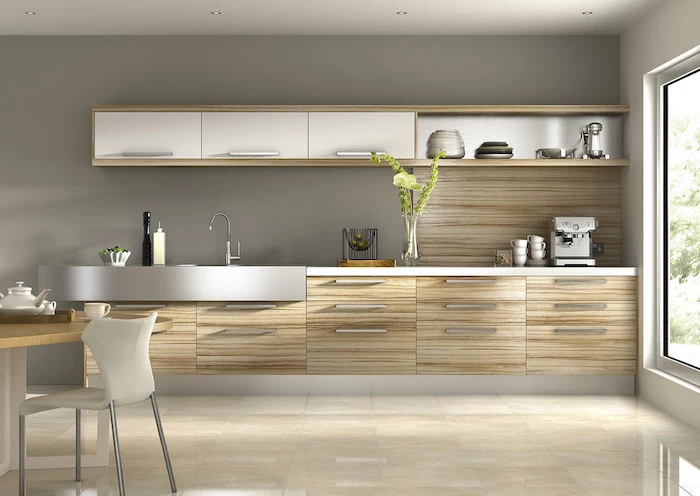
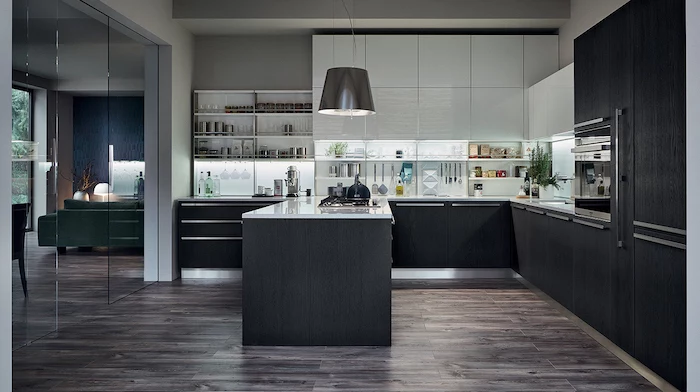
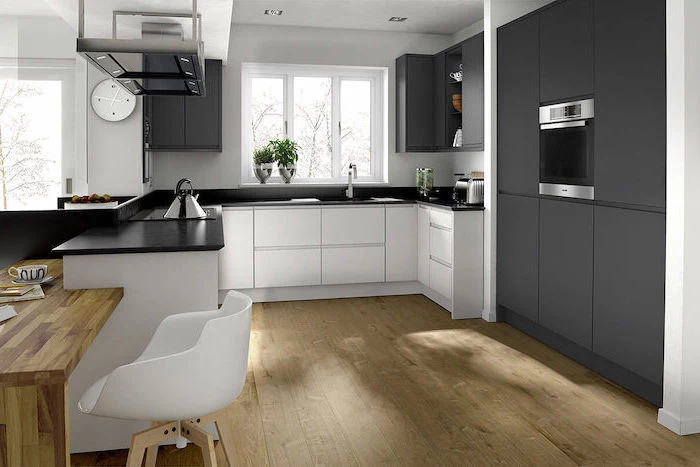
The technique? Two-tone cabinets. Using a darker color for the lower cabinets or the island and a lighter color for the uppers creates visual interest without being an overpowering trend.
A Quick Win: Before you finalize your cabinet plan, do a quick inventory of your small appliances—stand mixer, blender, coffee maker, air fryer. Where will they live? Plan for specific ‘appliance garages’ with outlets inside or deep drawers to keep your countertops clear and functional.
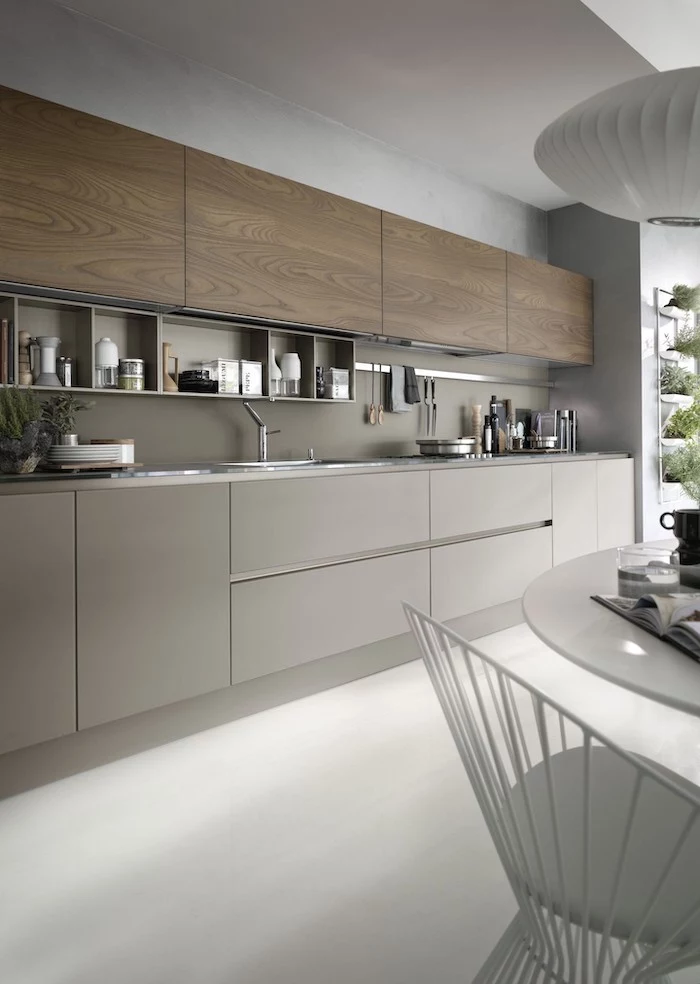
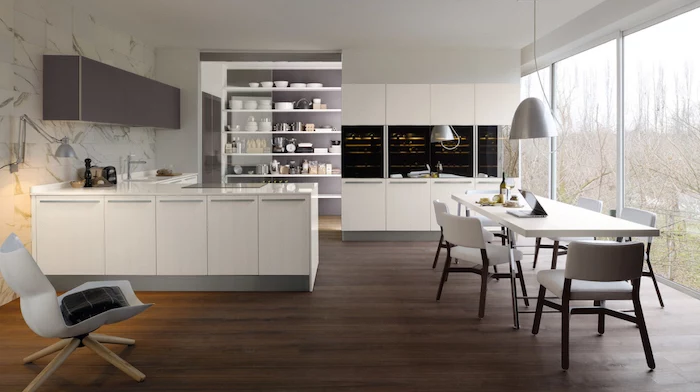
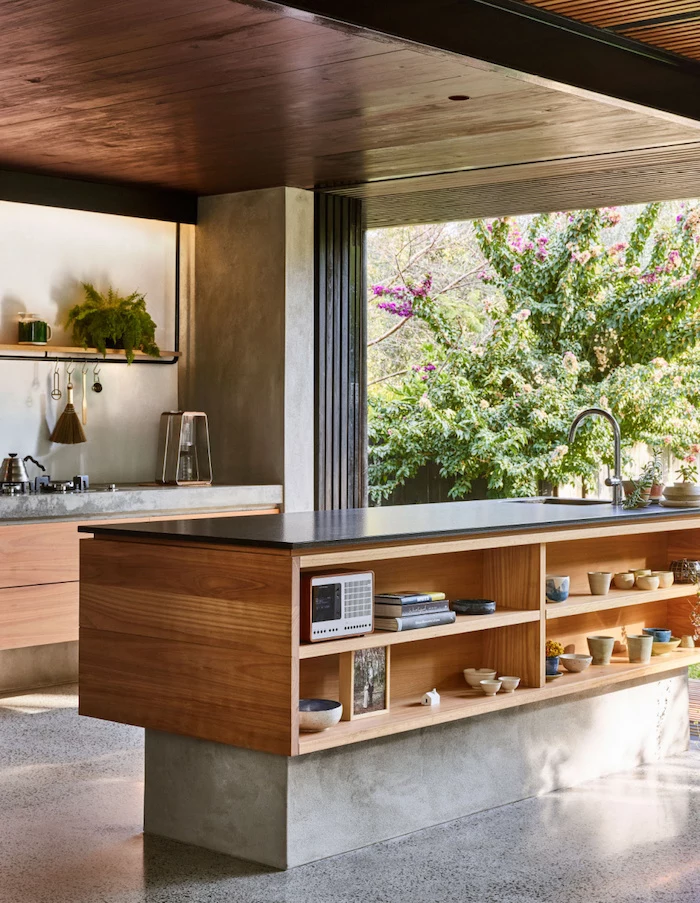
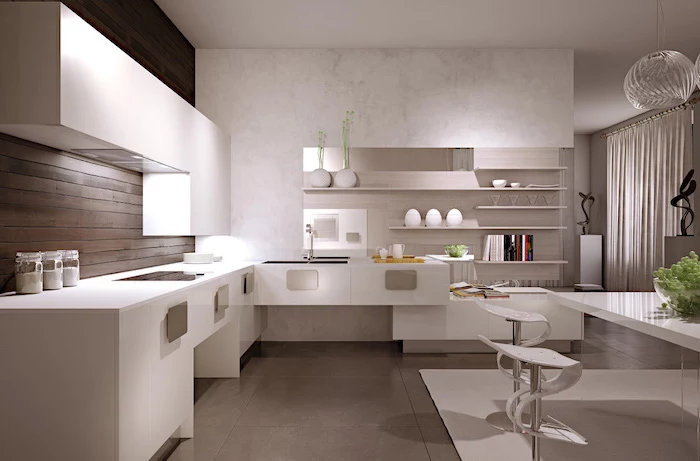
Open Shelving: The Reality Check
The Pro: Lends an airy, open feel and keeps frequently used items (everyday plates, glasses) within easy reach.
The Con: Requires curated, tidy displays and can be a dust and grease magnet if placed too close to the stove.
A good compromise is using them sparingly, away from the primary cooking zone, for decorative items or your most-used dishware.
A study on ergonomics found that lifting is easiest when objects are stored between shoulder and knee height.
Apply this to your kitchen. Store heavy items like your stand mixer or cast-iron pots in lower drawers or on shelves with a lifting mechanism. Reserve high and low cabinets for lighter, less frequently used items. This simple organization makes the kitchen physically easier and safer to use.


