Your Kitchen Backsplash: A No-Nonsense Guide from a Tiling Pro
I’ve spent more hours than I can count on my knees in kitchens, setting tile. From simple starter homes to massive custom builds, I’ve seen it all. Trends come and go, but the one thing that never changes is what a backsplash is supposed to do: protect your wall from the daily chaos of cooking and look good doing it. Think of it as both a shield and a piece of art for your kitchen.
In this article
A lot of people think the tile is the most important part. And yeah, it’s what you see. But honestly, the real quality of the job is hidden in the layers underneath. A gorgeous, pricey tile slapped onto a poorly prepped wall is doomed to fail. On the other hand, a simple, budget-friendly tile installed with the right technique can look amazing and last forever. My goal here is to pull back the curtain and share what I’ve learned, so you can make a choice you’ll be happy with for years.
First Things First: What’s Behind Your Wall?
Before you even dream about tile styles, you need to get real about your wall. The surface you’re tiling onto, called the substrate, is everything. If it fails, the whole project comes down with it.
Most kitchen walls are just standard drywall, which is basically paper over a gypsum core. For areas far from the sink or stove, it’s usually fine. But drywall HATES water. I’ve torn out so many backsplashes where water snuck through tiny grout cracks behind the sink, turning the drywall into a soft, moldy mess. It’s an expensive fix you want to avoid.
So, here’s the pro move. For the wet zone right behind your sink, you need to step up your game. At a minimum, I roll on two thick coats of a waterproof membrane. You can find products like this (often bright red or blue) in the tile aisle at any big box hardware store. It creates a rubbery barrier that stops water in its tracks. For a truly bulletproof job, we sometimes cut out the drywall in that area and replace it with a cement backer board. This stuff is totally immune to water damage. It’s a step many builders skip to save a few bucks, but it’s a game-changer for peace of mind.
Oh, and do this right now: grab a long level (a 4-foot one is perfect) and hold it against your wall. See any gaps bigger than a quarter-inch? Your wall is wavy. Tiling over that will give you “lippage,” where some tile edges stick out higher than others. It looks awful and collects grime. Fixing it means skimming the wall with joint compound, which adds a bit of time to the project but is SO worth it.
A Deep Dive into Backsplash Materials
The material you choose is a big deal. It dictates the look, the cost, the installation difficulty, and how much you’ll have to clean it. Let’s break them down.
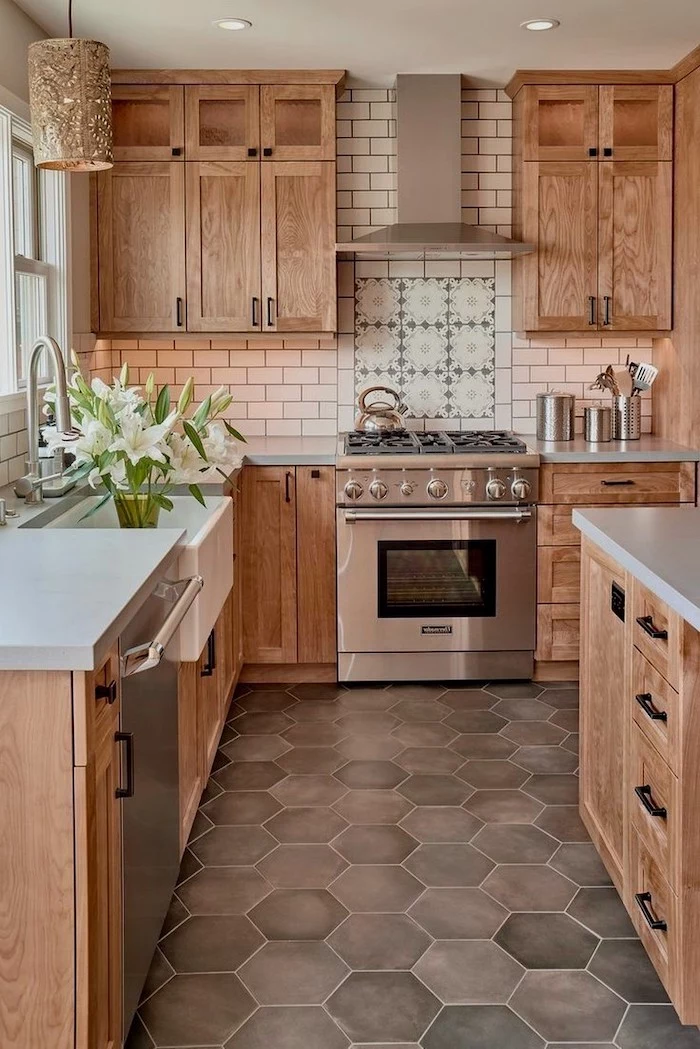
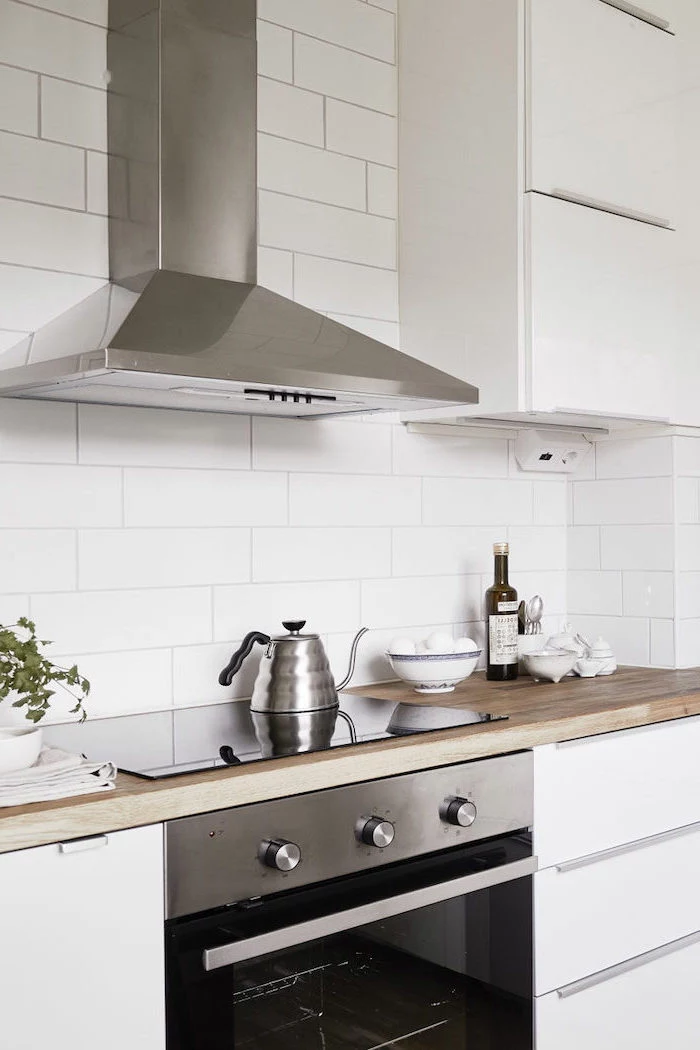
Ceramic & Porcelain: The Reliable Workhorses
This is the most popular choice for a reason. These tiles are tough, come in a zillion styles, and won’t destroy your budget.
The Deal: The main difference is water absorption. Porcelain is made from a finer clay and fired hotter, making it denser and virtually waterproof. For a kitchen, both work fine, but I always nudge people toward porcelain for its sheer toughness. It’s just a better long-term investment.
The Cost: You can find decent ceramic tile for $3 to $10 per square foot. Porcelain is a slight step up, usually running between $5 and $15 per square foot. It’s a small price jump for a lot more durability.
Installation Tip: Layout is everything. I never, ever start tiling from a corner. Find the center of your main wall, draw a level line, and work your way out. This ensures the tiles that get cut in the corners are the same size. It’s a balanced look that just feels right. For cutting, a simple snap cutter works on most ceramic, but for dense porcelain, you really need a wet saw. A good one will run you about $60 a day to rent from a place like Home Depot, and it’s way better than buying a cheap one that will just chip your expensive tile.
I once had a client who bought super-cheap ceramic tile. A few months later, tiny hairline cracks appeared all over the glaze behind their stove. It’s called “crazing,” and it happens when the glaze and the tile body expand at different rates from the heat. That’s a lesson in why paying a buck or two more per foot for quality porcelain is often worth it.
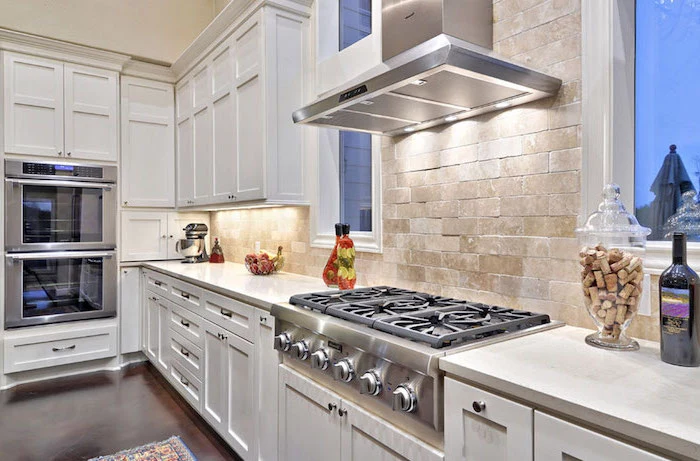
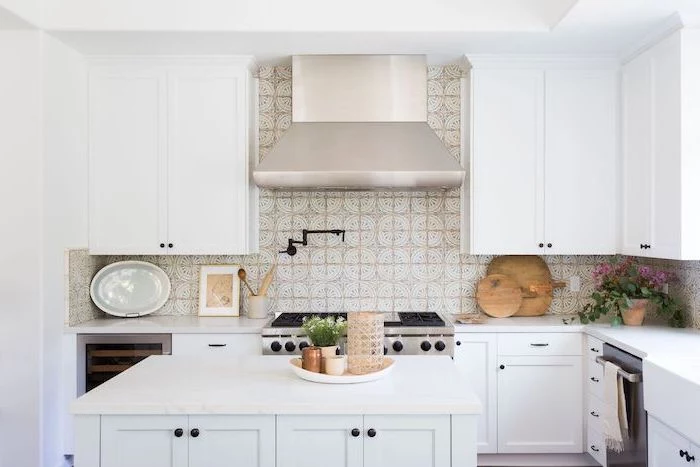
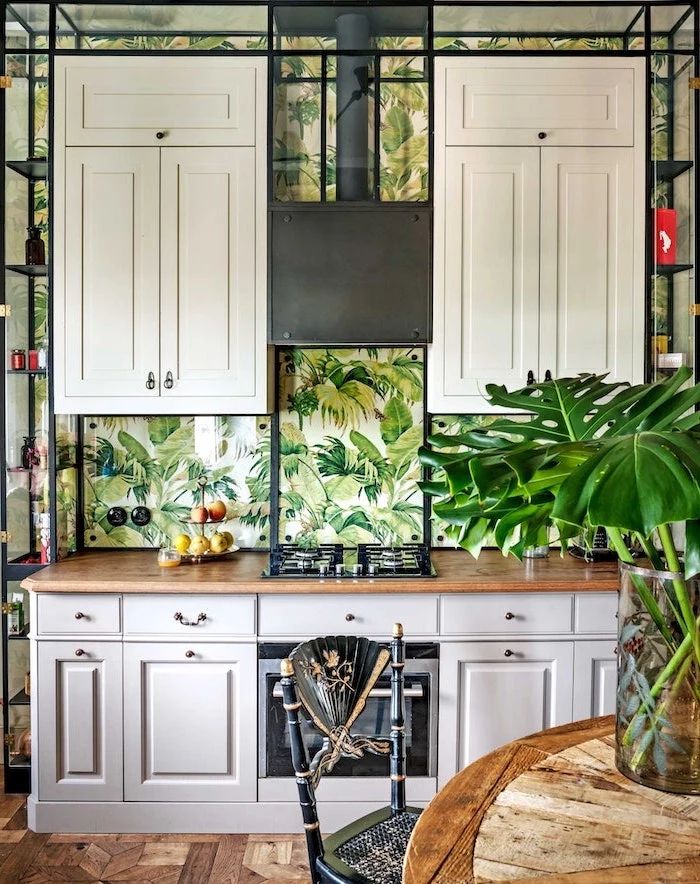
Natural Stone: High-End Beauty with Homework
Marble, granite, travertine… they bring an unmatched, organic vibe to a kitchen. No two pieces are the same. But that unique beauty comes with a catch: maintenance.
The Deal: Stone is porous—think of it as a hard sponge. If you don’t seal it, a splash of red wine or spaghetti sauce is going to become a permanent resident. Sealer fills in those microscopic pores so spills just bead up on the surface. Some stones, like marble and travertine, are also sensitive to acids. A bit of lemon juice can literally eat away at the surface, leaving a dull spot called an etch. Granite is much more resistant to this, making it a more practical choice for a busy kitchen.
The Cost: This is where the budget can get wild. You might find basic travertine or slate for $10 per square foot, but classic marble can easily be $25-$50 per square foot, and even higher for exotic slabs.
Installation Tip: You need a powerful wet saw with a diamond blade made specifically for stone. And a heads-up: cutting stone, especially stone with silica, creates incredibly dangerous dust. Pros always wear a respirator (not just a flimsy paper mask). It’s a non-negotiable safety rule.
From my experience, if you choose stone, you MUST commit to sealing it. I had a client who loved the raw, unsealed look of their new marble. I warned them, but they insisted. Two weeks later, a single splash of pasta sauce left a deep orange stain. It cost them a small fortune to have a specialist mostly remove it. Seriously, just take 15 minutes once a year to reseal it. It protects your investment.
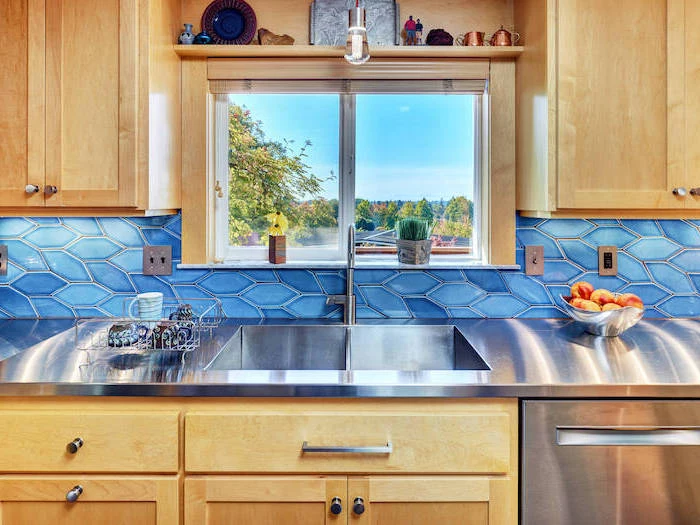
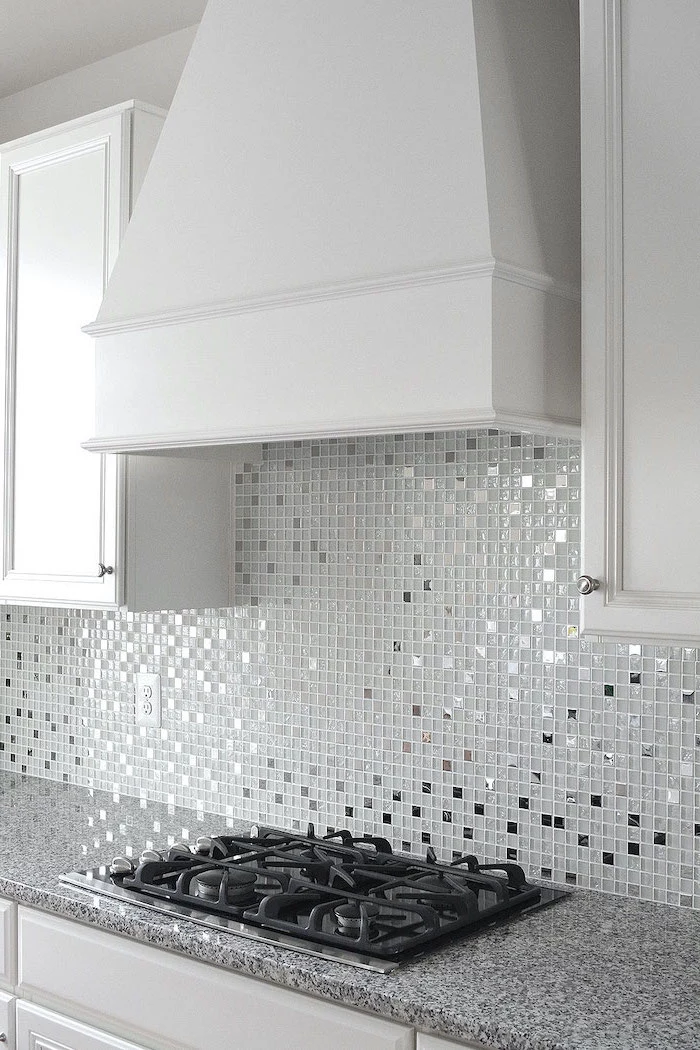
Glass Tile: Sleek, Bright, and a Bit Tricky
Glass tile is fantastic for making a space feel brighter and more modern by bouncing light around. But let me be frank: it’s one of the hardest materials to install correctly.
The Deal: Glass is transparent. This means whatever is behind it, you’re going to see. If you use standard gray mortar, you’ll see the gray tint and even the trowel lines right through the tile. It looks terrible. You have to use a bright white, high-quality thin-set mortar specifically made for glass.
The Cost: Glass tile typically starts around $15 per square foot for simple mosaics and can go up to $40 or more for fancier, custom styles.
Installation Tip: Patience is key. You need a special glass-cutting blade for your wet saw to avoid chipping the edges. And when you grout, you have to use an unsanded grout. The sand in regular grout will scratch the face of the glass. My first time with glass tile as an apprentice was a disaster; I chipped so many expensive pieces. My mentor taught me to put painter’s tape over the cut line to help prevent chipping—a trick I still use today. There are no shortcuts with glass.
A Quick Word on Wood, Shiplap, and Peel-and-Stick
I see these pop up online all the time. They can look great in photos, but for a real-world kitchen backsplash, I have to advise against them.
Wood and shiplap are combustible. Placing them directly behind a hot cooktop is a genuine fire hazard according to most building codes. Beyond that, grease soaks right into the grain, and it’s impossible to truly clean. If you love that look, just get a wood-look porcelain tile. It gives you the same aesthetic with none of the risks.
And peel-and-stick products? They’re a temporary fix, at best. The heat and steam from cooking will eventually make the seams curl up and fail. When you try to remove it, it often rips the paper face right off your drywall, leaving you with a huge repair job before you can do anything else.
The DIY Game Plan: Can You Really Do This?
So, you’re trying to decide whether to tackle this yourself or call in a pro. Here’s a quick reality check.
A good DIY project if: – You have a small, simple area to tile. – Your walls are already flat and square. – You’re using easy-to-handle ceramic or porcelain tile. – You are patient and detail-oriented.
Call a pro when: – Your walls need significant prep work. – You’ve chosen a tricky material like natural stone slabs or glass. – The layout is complex, with lots of windows or outlets to cut around. – You simply don’t have a full weekend to dedicate to it.
Hiring a pro for installation can cost anywhere from $10 to $30+ per square foot, depending on your location and the complexity of the job. But sometimes, that price is worth the guarantee of a perfect finish.
If you are going for it, here’s a quick plan:
- The Tools: You’ll need a tile saw (rent a wet saw!), a notched trowel, buckets, sponges, a level, a tape measure, and a grout float. Don’t skimp on these.
- The Tile: Measure the square footage of your backsplash (height in feet x width in feet) and then add 15%. ALWAYS add 15%. This is for mistakes, bad cuts, and that one tile you’ll accidentally drop. It’s the law of tiling.
- The Timeline: For a standard kitchen, plan for a three-day weekend.
- Day 1: Final wall prep and layout. Get everything clean, marked, and ready.
- Day 2: Tiling day. Mix your mortar in small batches and set the tiles. This is the main event.
- Day 3: Grouting, cleaning, and sealing (if needed). The finishing touches.
Whatever you choose, remember that a backsplash is a focal point. Taking the time to get the material and the installation right will pay off every single time you walk into your kitchen.

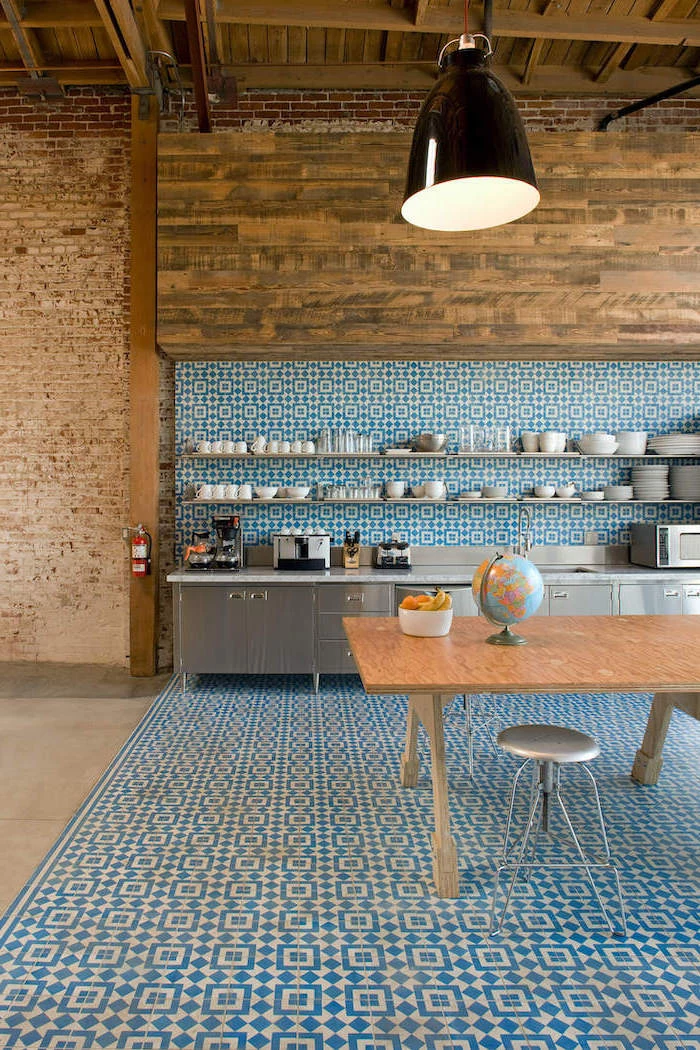
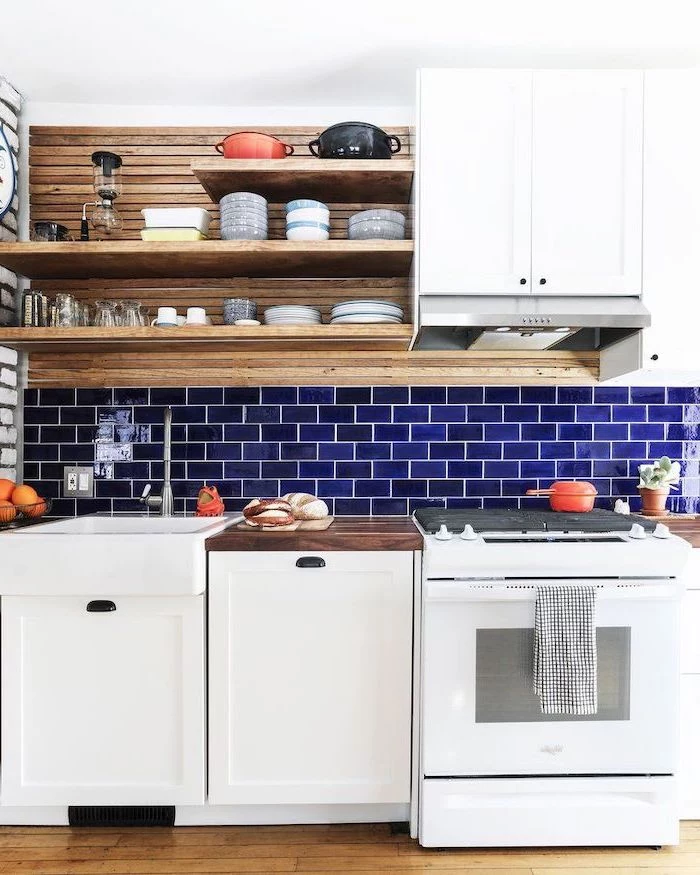
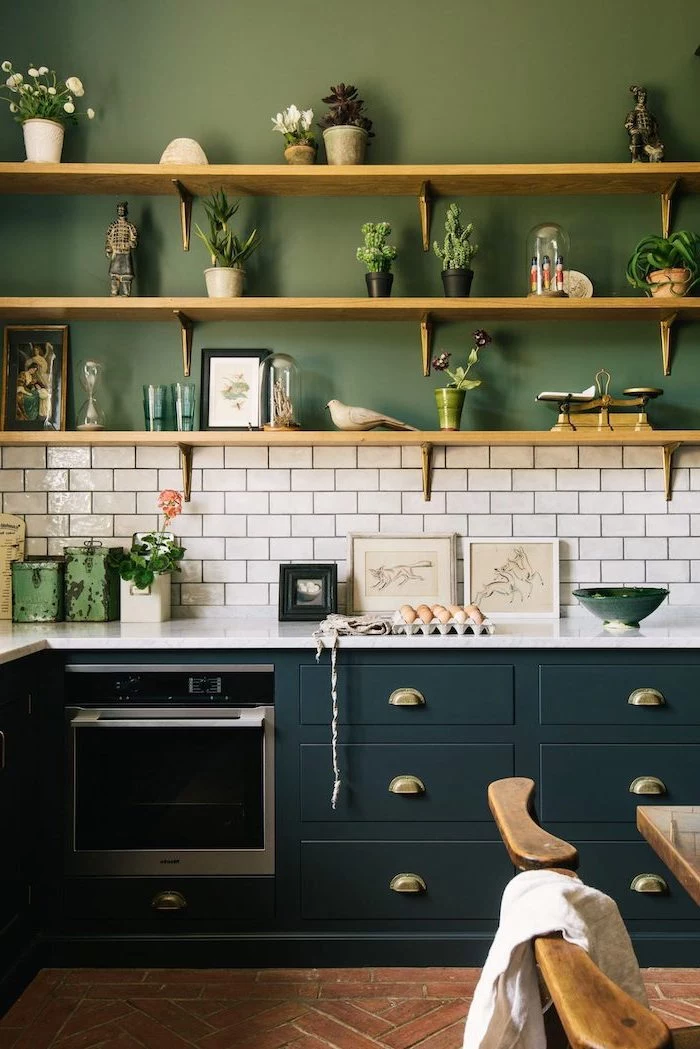
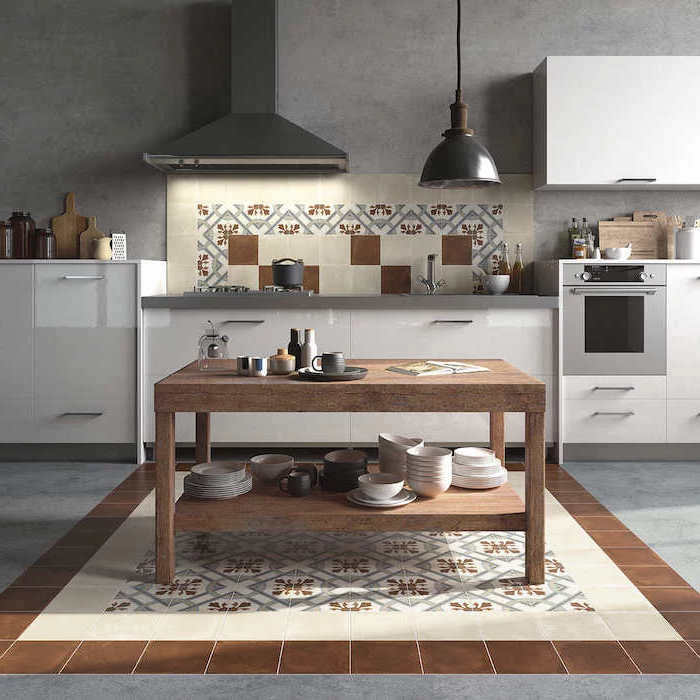
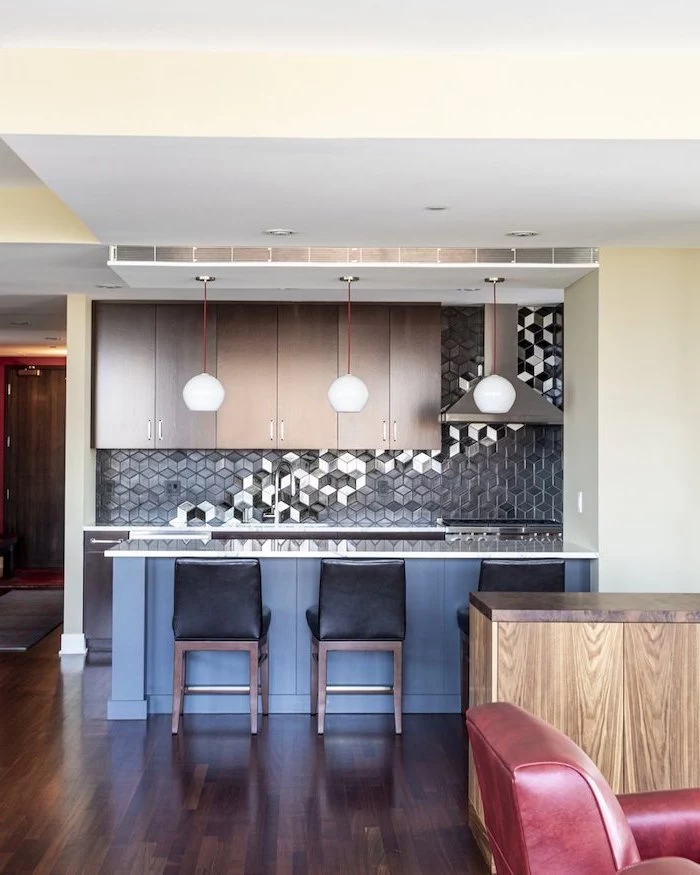
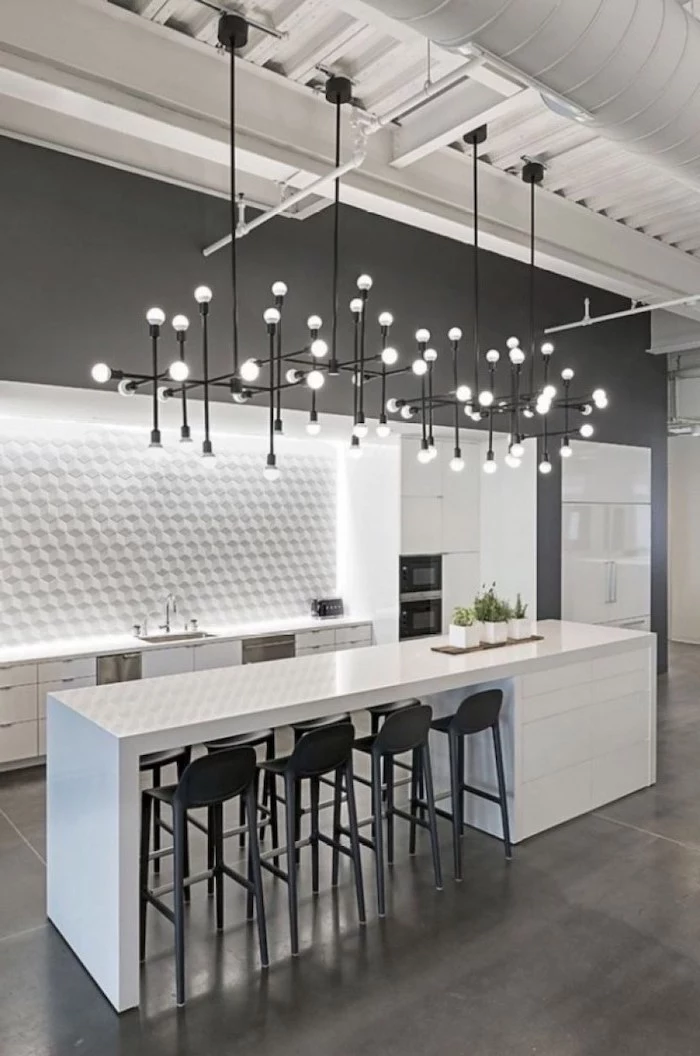
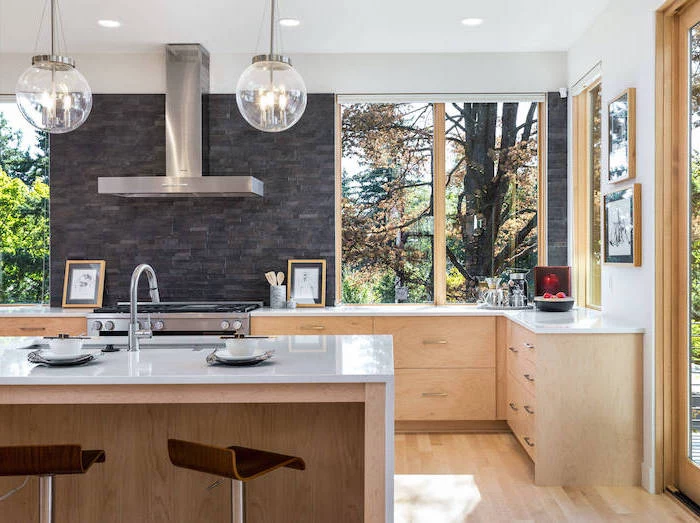
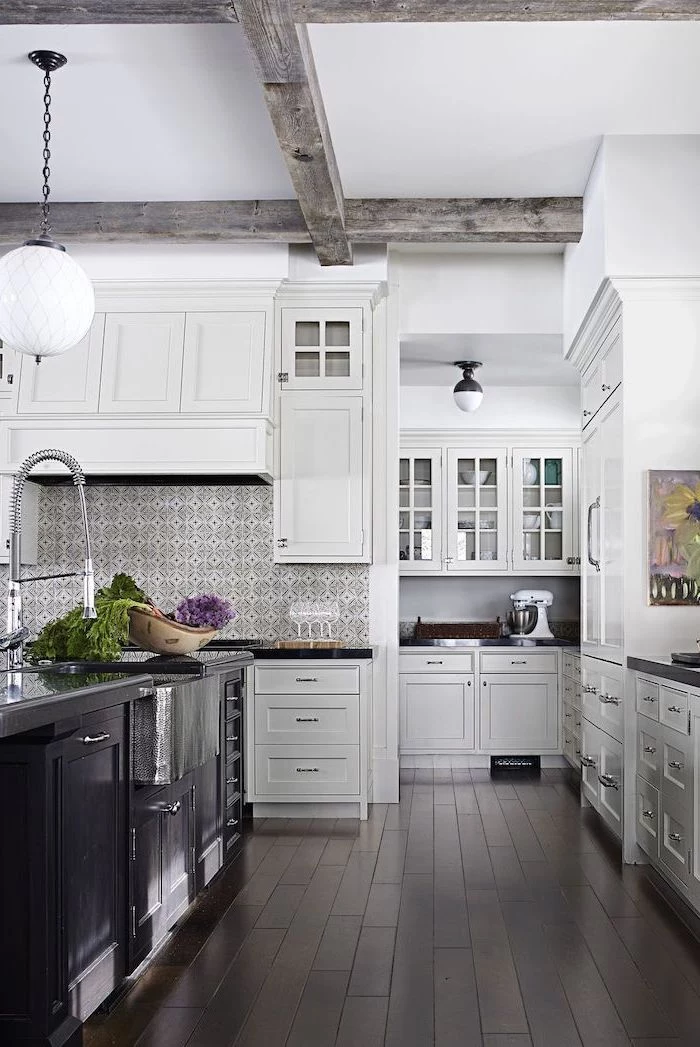
Inspirational Gallery


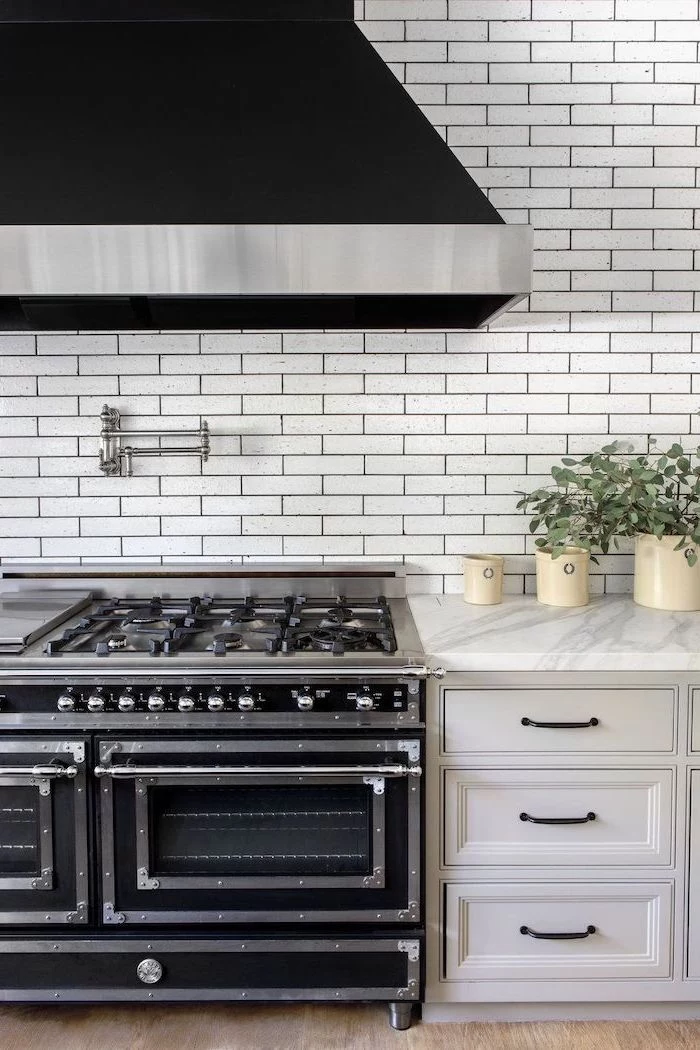
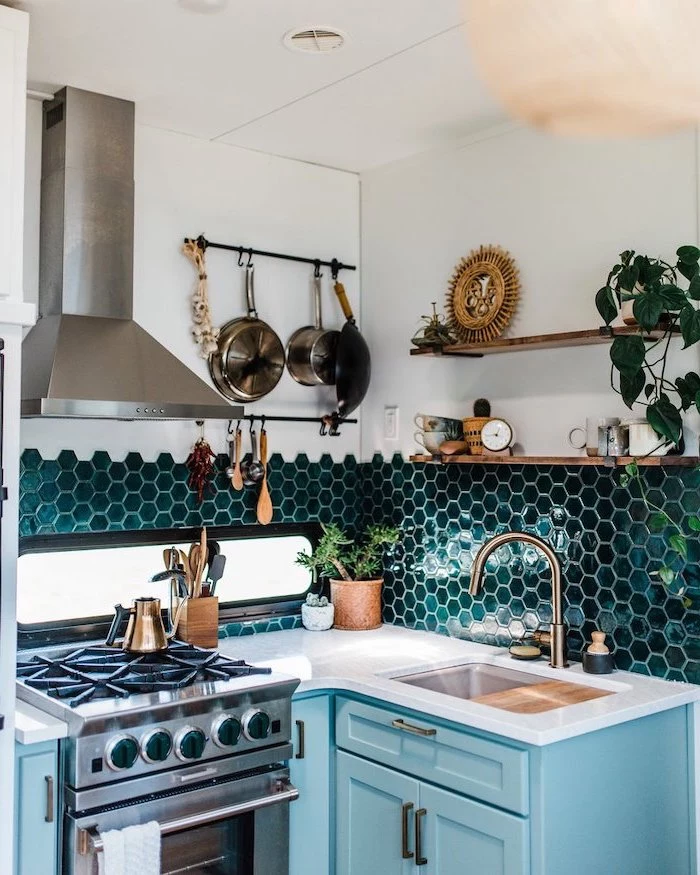
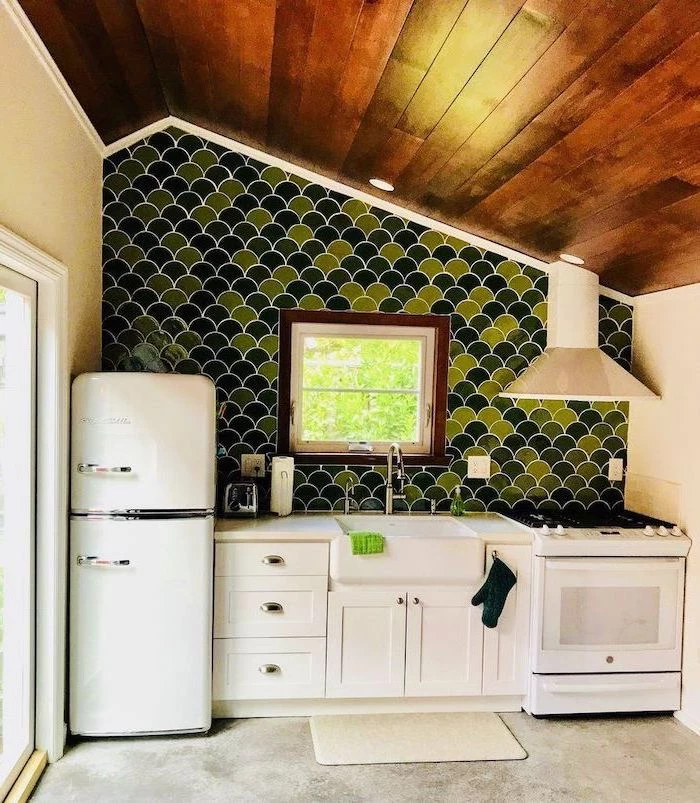
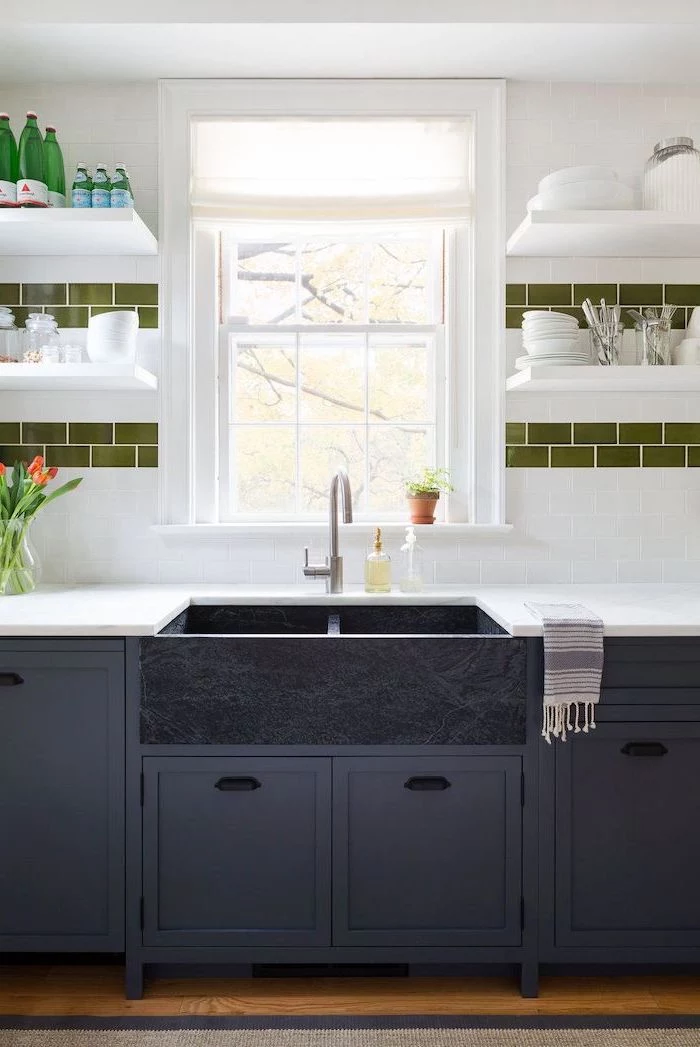
- Creates a bold, graphic look that makes tiles pop.
- Hides stains from cooking splatters, especially behind the stove.
- Adds a touch of industrial or farmhouse charm, depending on the tile.
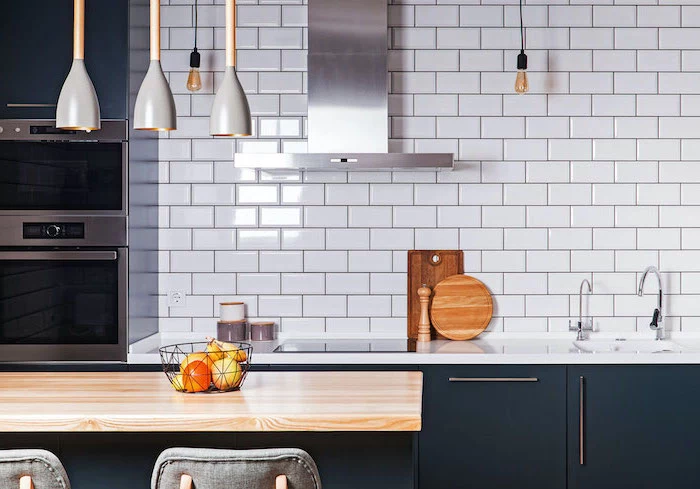
The secret? Using a dark or contrasting grout. While white or light gray grout is classic, opting for charcoal, black, or even a colored grout transforms the entire look of your backsplash from subtle to statement.

The National Kitchen & Bath Association reports that homeowners can recoup 50-60% of their kitchen remodel costs upon resale.
A backsplash is a relatively low-cost, high-impact part of that equation. It’s a visual focal point that buyers notice immediately. A well-chosen and professionally installed backsplash signals quality and care, which can significantly boost your home’s perceived value without the cost of a full cabinet or countertop replacement.


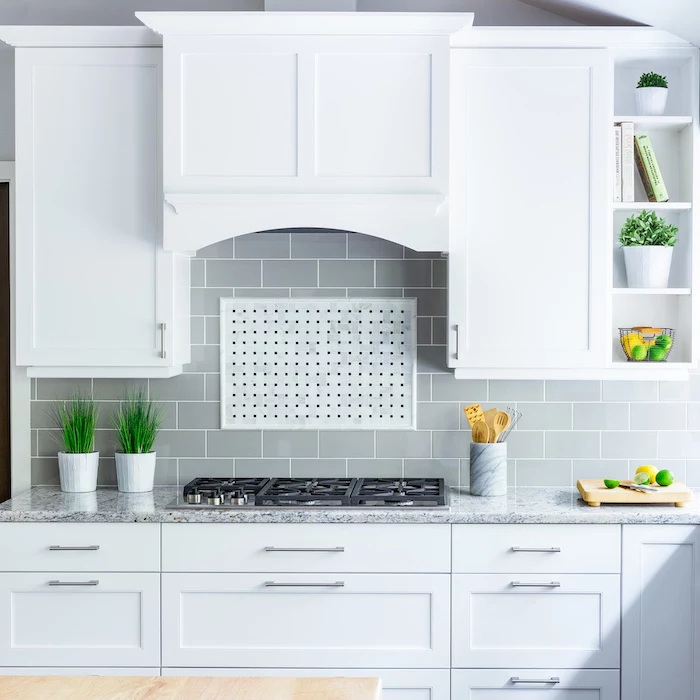
Glossy Finish: Reflects light, making the kitchen feel brighter and larger. It’s easy to wipe clean, but can show water spots and smudges more readily. Perfect for smaller or darker kitchens.
Matte Finish: Absorbs light for a soft, modern look. It hides smudges well but can be more challenging to clean if grease settles into its subtle texture. Ideal for a sophisticated, low-glare aesthetic.
Ultimately, the choice depends on your kitchen’s lighting and your tolerance for daily wipe-downs.

Don’t just end your tile with a raw edge where the backsplash stops. It looks unfinished and is prone to chipping. A metal tile trim, like the popular Schluter strips, provides a clean, professional-looking border. It comes in various finishes—brushed nickel, matte black, brass—to perfectly match your fixtures and faucets, giving your project that final, polished detail.

Can you tile over an existing backsplash?
Technically, yes, if the existing tiles are securely bonded, clean, and perfectly flat. However, most pros will advise against it. Tiling over tile adds thickness, which can create issues around cabinets, window trim, and especially outlets—your switches and plugs will become recessed. For a lasting, quality job, taking the time to tear out the old tile is almost always the better investment.
The choice of grout is just as crucial as the tile itself. Don’t just grab the first bag you see.
- Unsanded Grout: For delicate, scratch-prone tiles like glass or polished marble, and for very thin grout lines (1/8


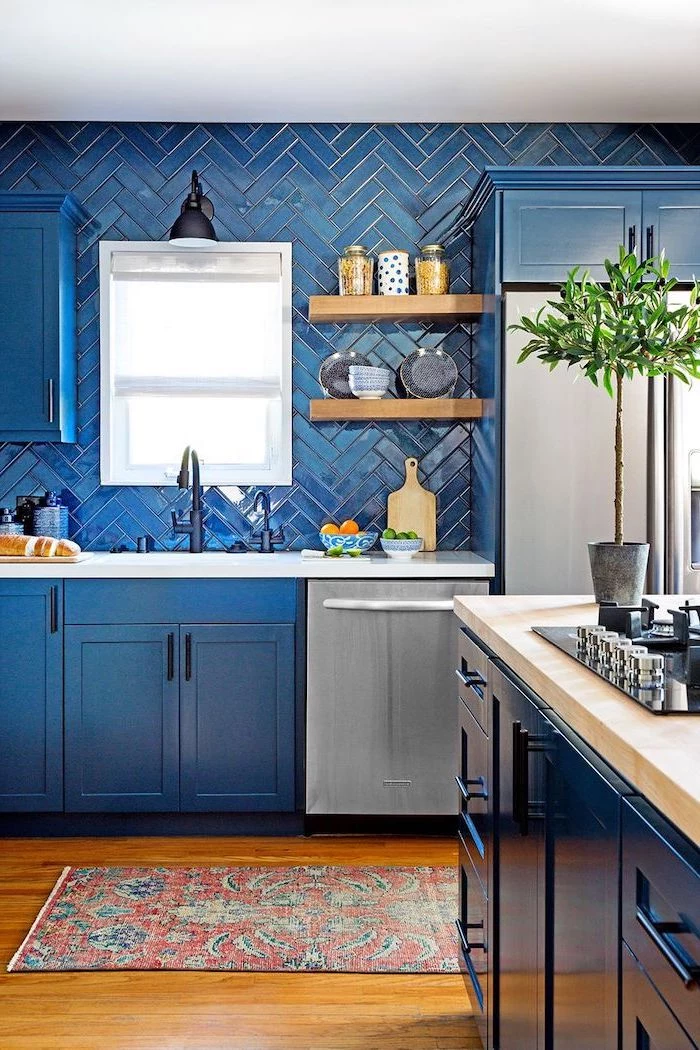
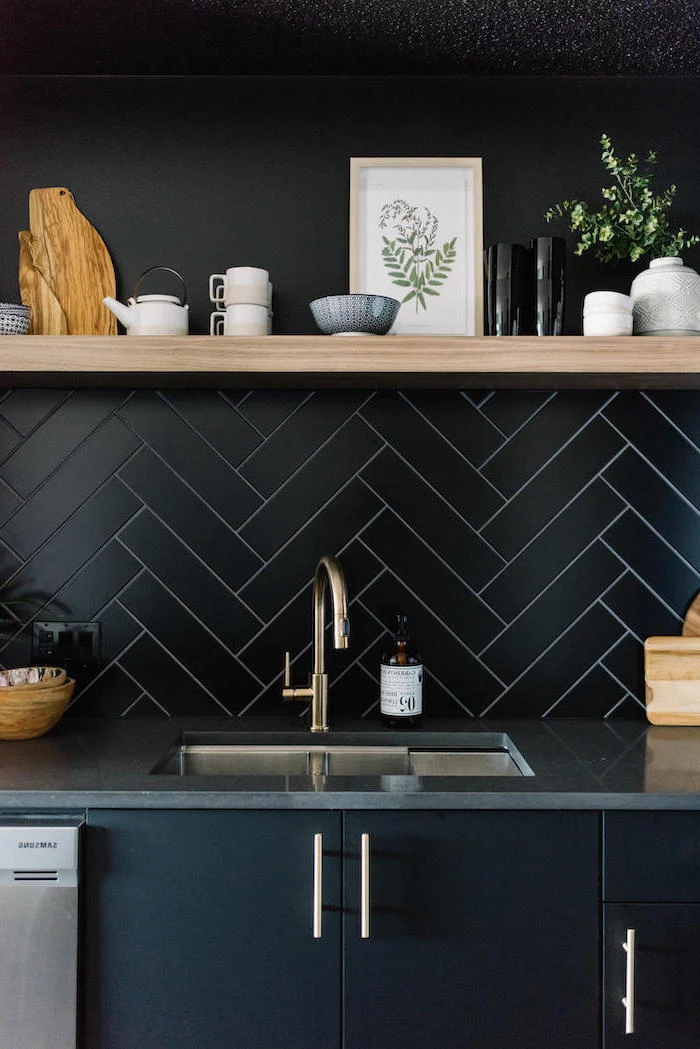
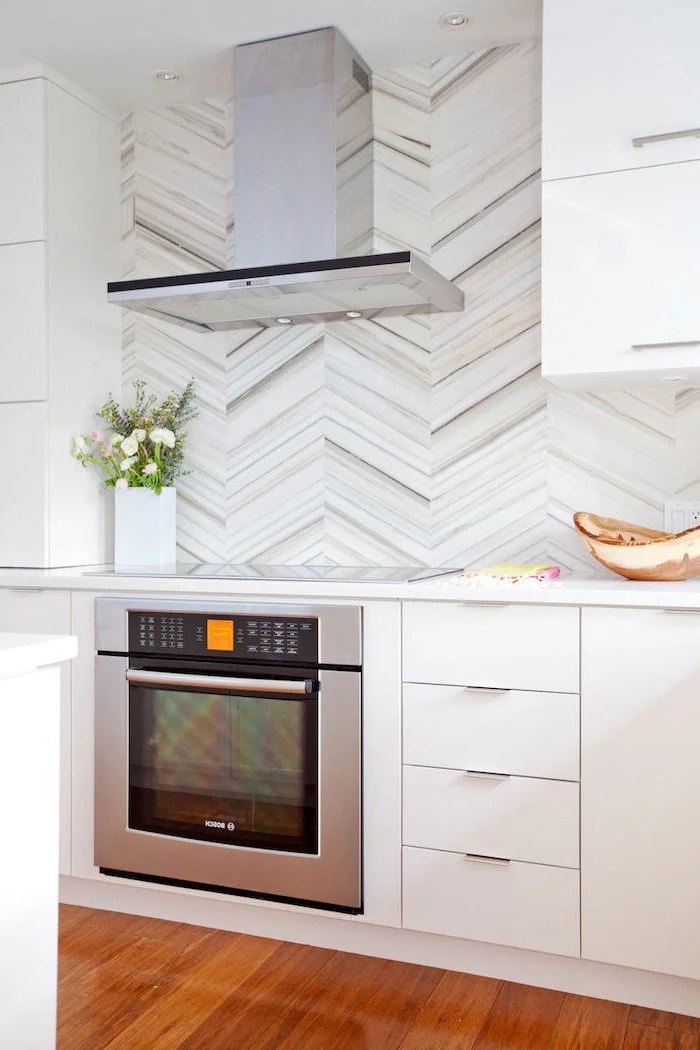
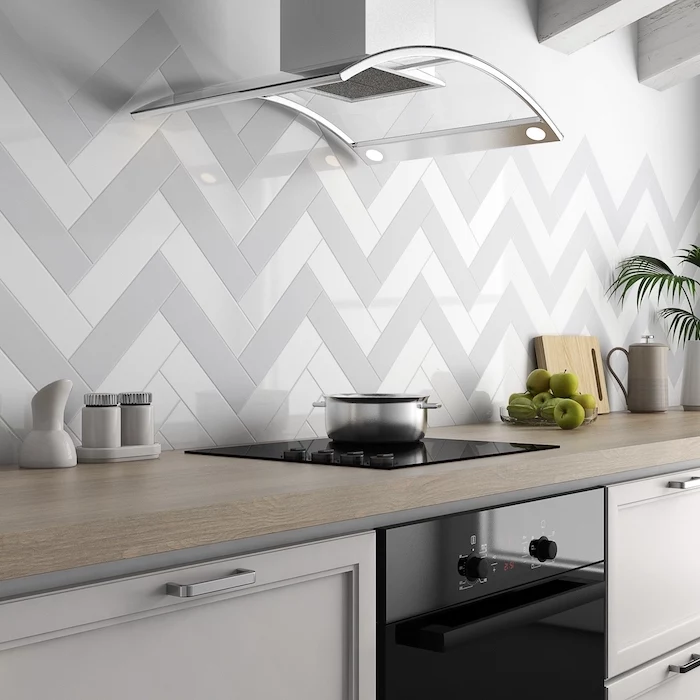
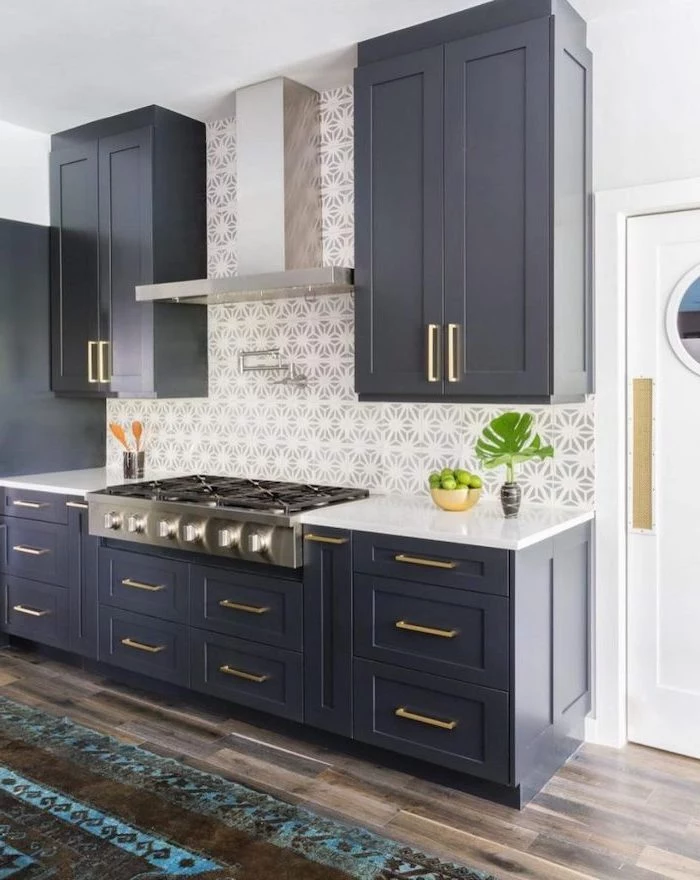
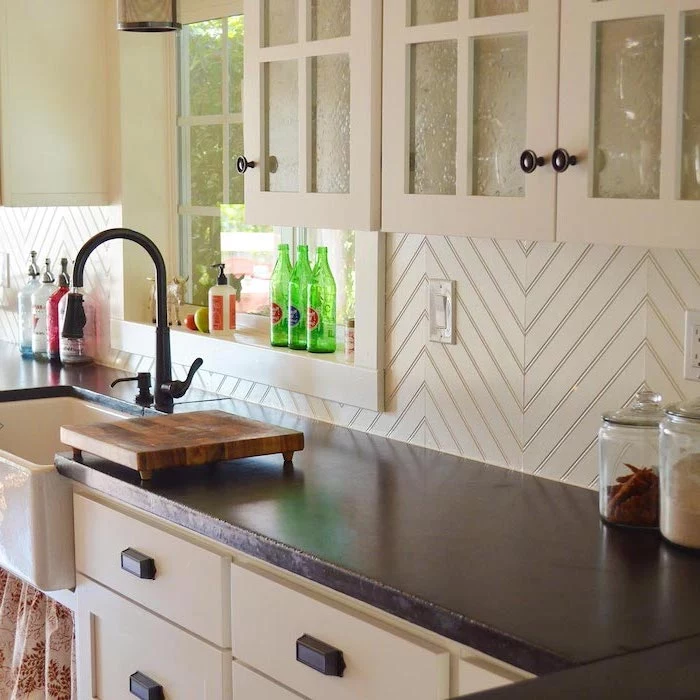
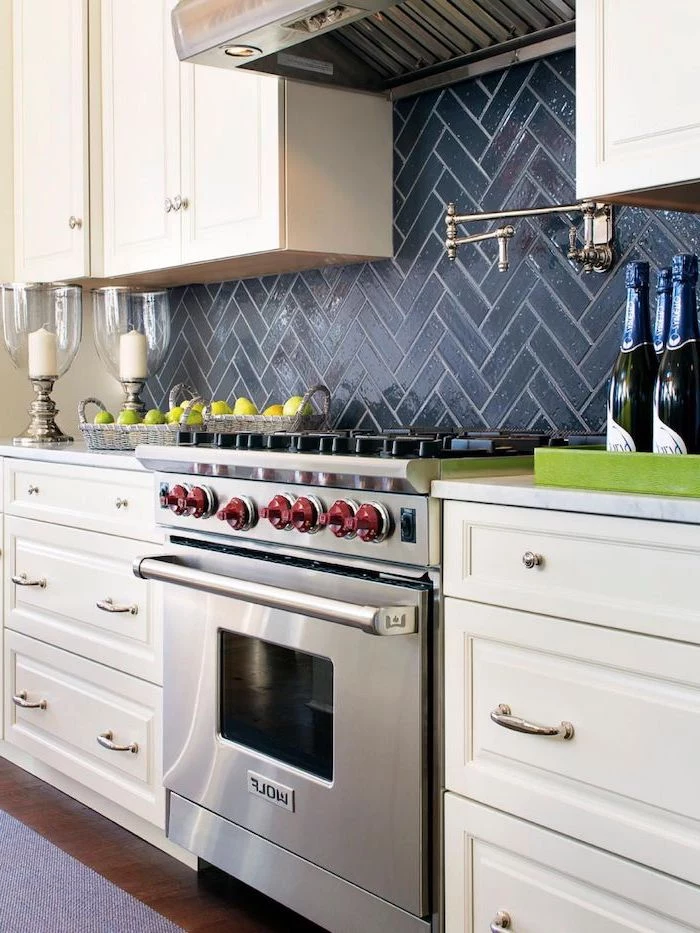
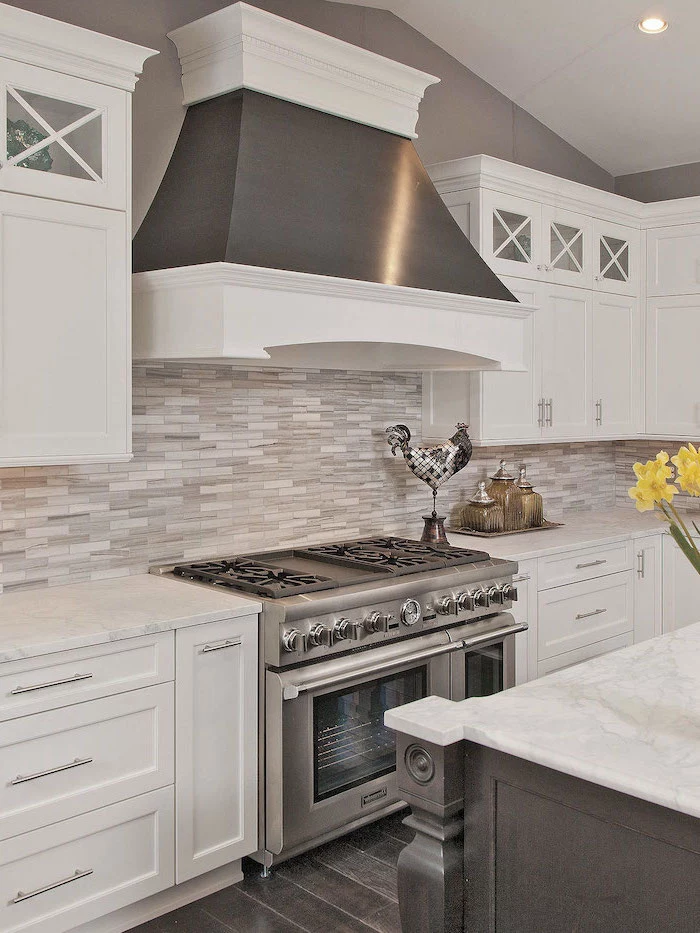
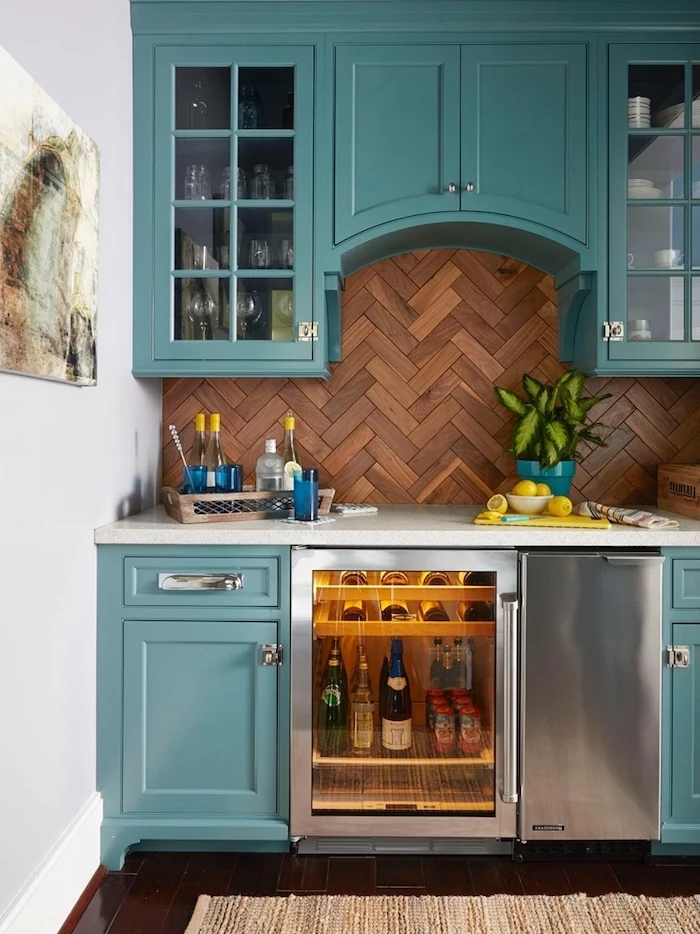
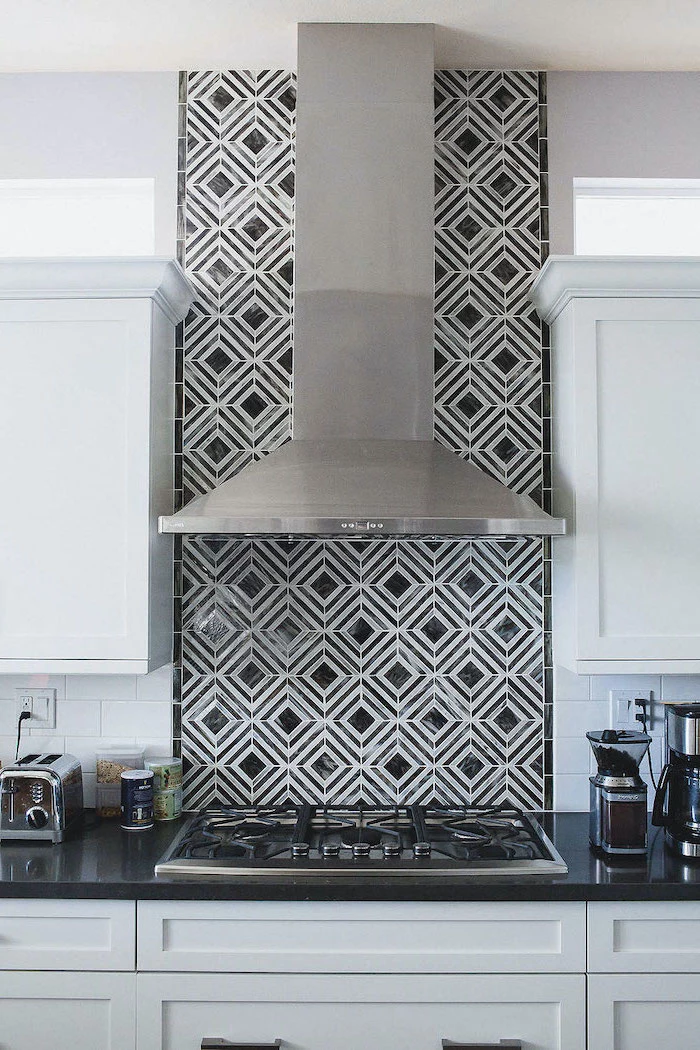
Think beyond the basic running bond pattern. A simple subway tile can take on a completely new personality depending on how it’s laid. A vertical stack bond draws the eye upward, making ceilings feel higher. A herringbone pattern adds dynamic, sophisticated movement. These patterns require more cutting and precision, but the visual payoff is immense for a custom-designed look.
A crucial detail: Always use electrical outlet box extenders. When you add the thickness of tile and mortar, your outlets will sink back into the wall. These simple, inexpensive plastic or metal rings fit inside the electrical box, bringing it forward so your outlet sits flush with the new tile surface for a safe and professional finish.
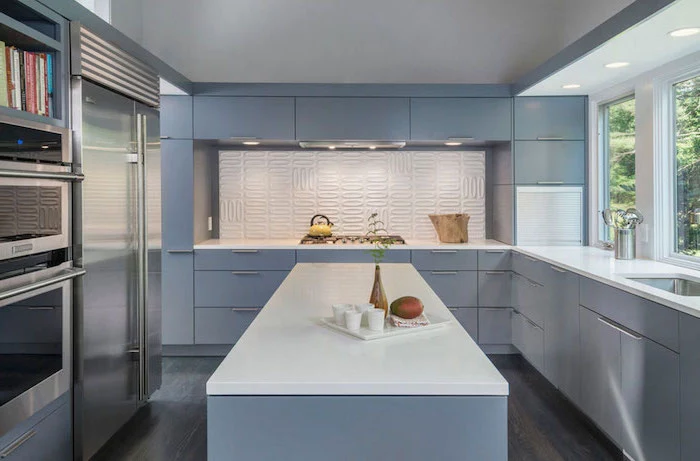
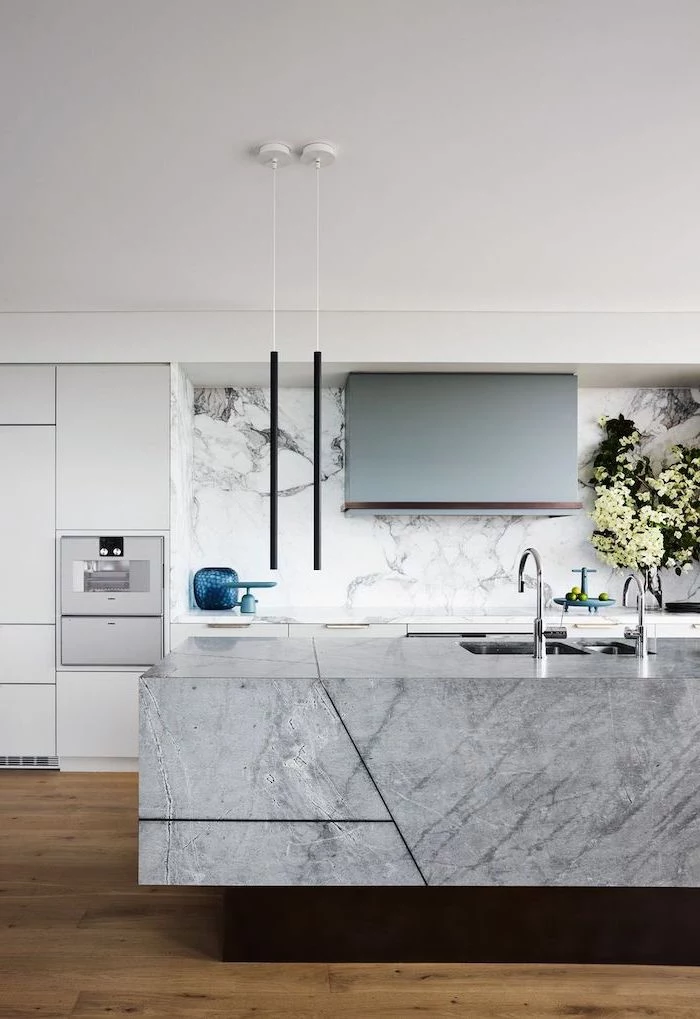
For an ultra-luxe, seamless look, consider a solid slab backsplash. This involves running the same material from your countertop—like quartz, marble, or granite—straight up the wall. There are no grout lines to clean, creating a dramatic, continuous statement. It’s a higher-budget choice, but for a modern and minimalist kitchen, the effect is breathtaking. Brands like Caesarstone and Silestone offer a huge range of quartz options perfect for this application.
Looking for an authentic, handcrafted feel?
Zellige tiles are your answer. Hand-molded and glazed in Morocco, each tile is unique, with variations in color, texture, and flatness. These imperfections are the source of their charm, creating a surface that shimmers and shifts with the light. They bring an organic, soulful warmth to a kitchen that machine-made tiles simply can’t replicate.

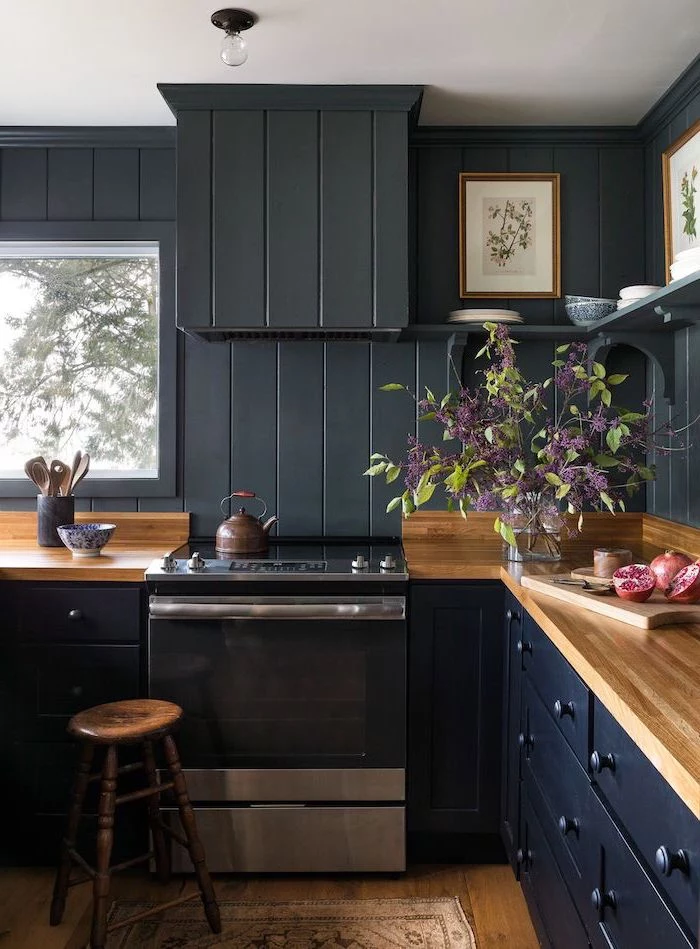
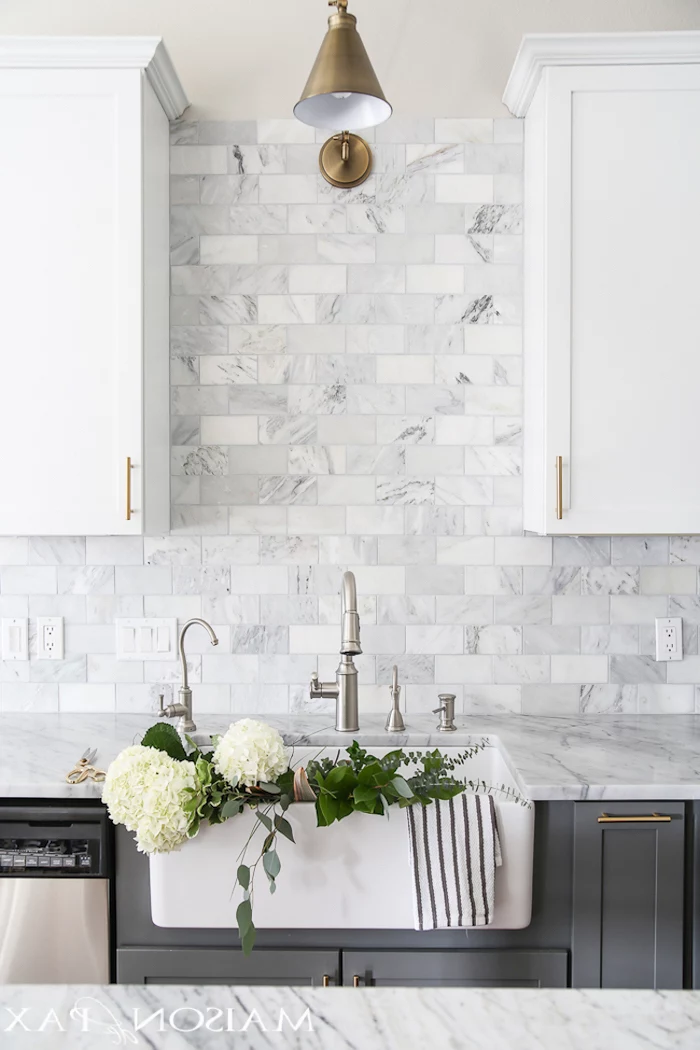
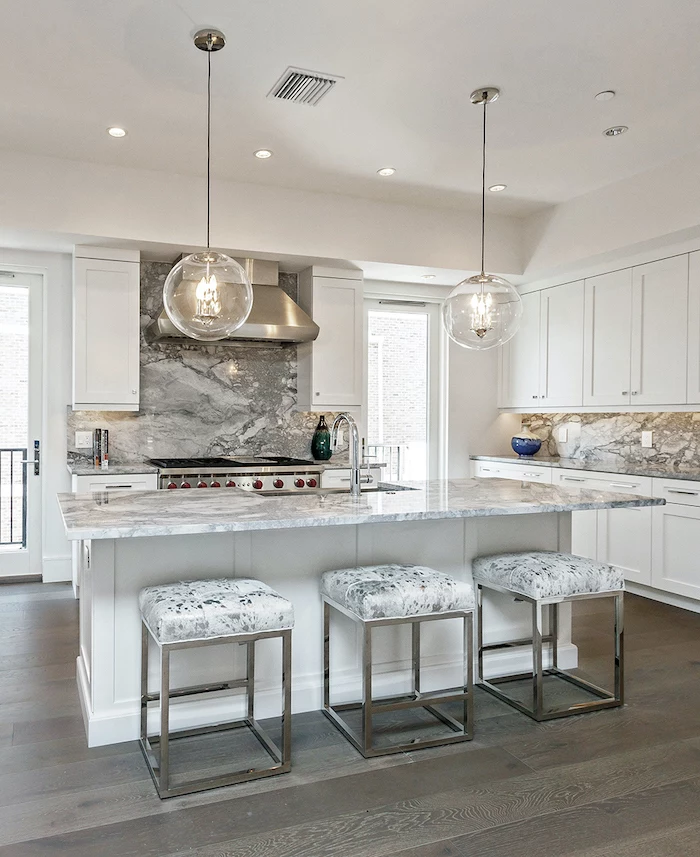
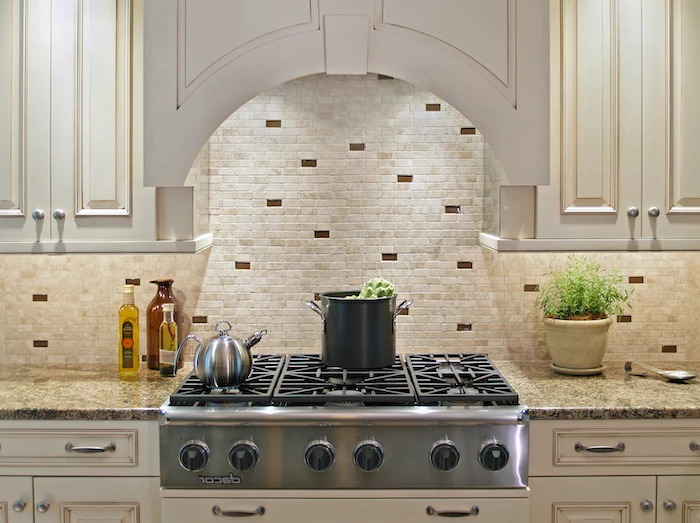
- A unified, dramatic statement wall.
- No awkward horizontal line breaking up the space.
- Better protection for the wall, especially in high-splash zones.
The feature? A full-height backsplash. Tiling all the way up to the ceiling or the bottom of the upper cabinets creates a high-end, intentional design that makes the kitchen feel taller and more cohesive.

The Pro’s Rule of Thumb: Always order 10-15% more tile than your exact square footage measurement. This


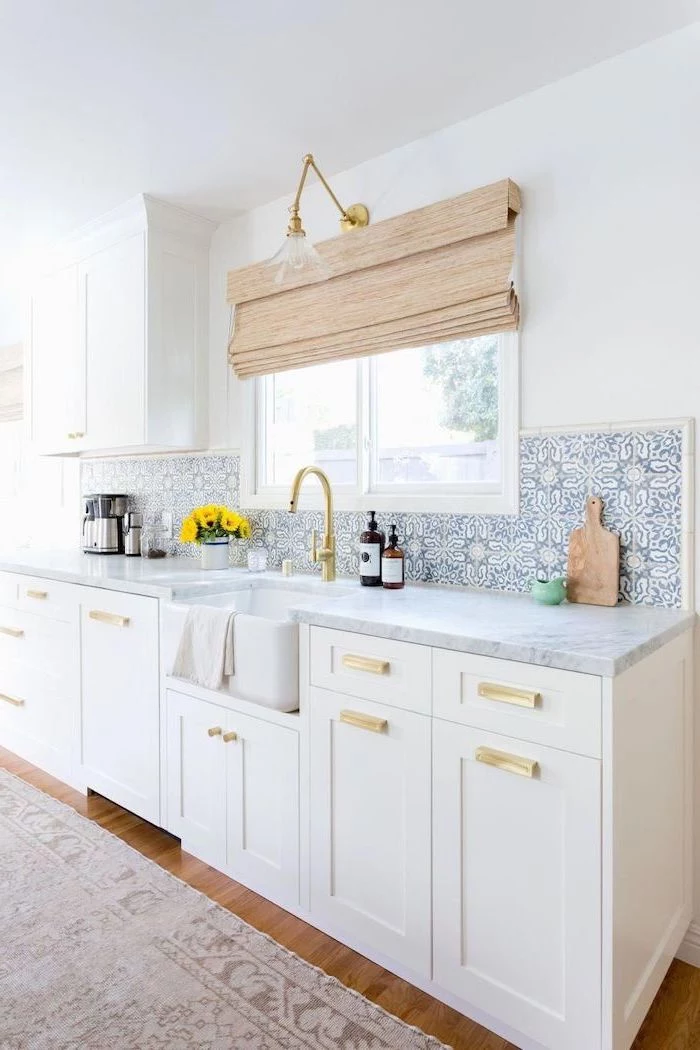
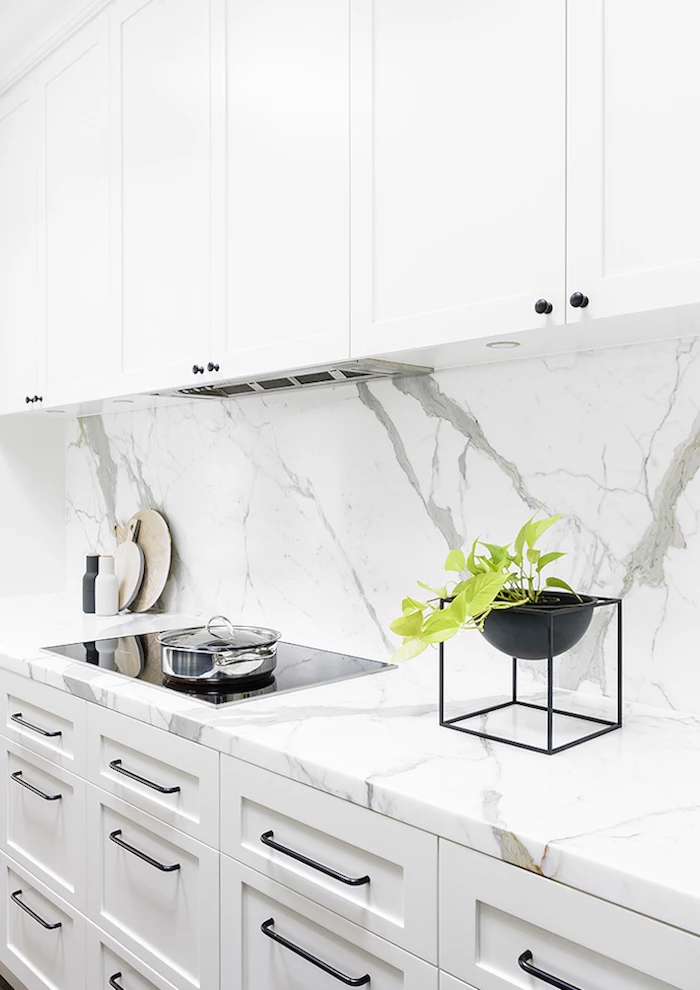
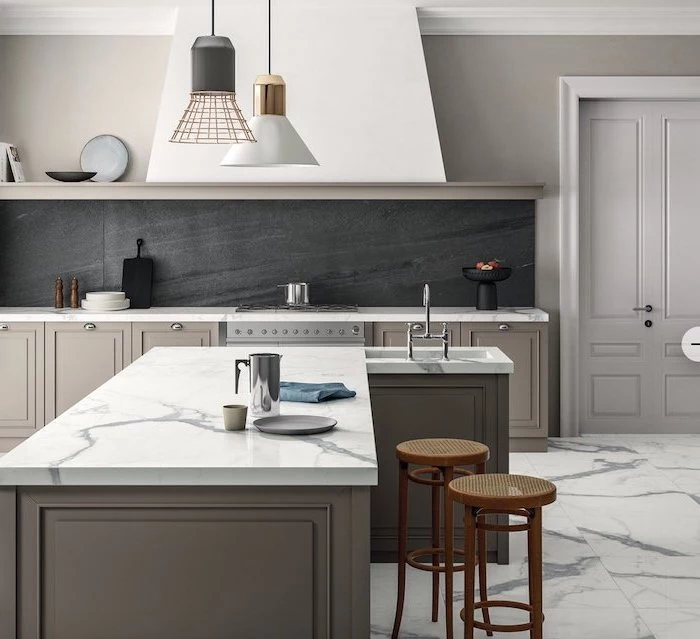
Your backsplash doesn’t have to shout to be beautiful. If your granite or quartz countertop already has a lot of dramatic veining and movement, a simple, quiet backsplash is often the best choice. A classic ceramic tile in a solid, neutral color will complement the stone without competing, creating a balanced and harmonious space.

If you choose a natural stone backsplash, like marble, travertine, or slate, sealing it is non-negotiable. These materials are porous and can easily absorb oils, wine, and other cooking splatters, leading to permanent stains. Apply a high-quality impregnating sealer, like those from 511 Impregnator-Sealer, after installation and re-apply every year or so to keep your beautiful stone protected.

Porcelain Tile: Fired at higher temperatures and made from a denser clay, it’s harder and less porous than ceramic. This makes it exceptionally durable and resistant to water and stains, an ideal choice for a hardworking kitchen.
Ceramic Tile: Softer and more porous, but often available in a wider array of vibrant colors and decorative patterns. It’s perfectly suitable for a backsplash and is typically more budget-friendly. A quality glaze gives it all the surface protection it needs.
For a backsplash, both are excellent choices; porcelain simply offers an extra level of durability.

Are peel-and-stick tiles a viable option?
For a temporary fix in a rental or as a short-term trial, they can be a fun, low-cost solution. However, they lack the durability and heat resistance of real tile. Placed too close to a stove, they can warp or peel. For a permanent, value-adding solution that can withstand the rigors of a kitchen, traditional mortar-set tile is always the superior choice.

The way light interacts with your backsplash can completely change its appearance. Before you commit, test your tile samples in your kitchen at different times of day. Under-cabinet lighting, in particular, will highlight every texture and imperfection. A glossy tile might create unexpected glare, while a textured tile like one from Fireclay Tile’s artisan collection could reveal beautiful new dimensions under direct light.
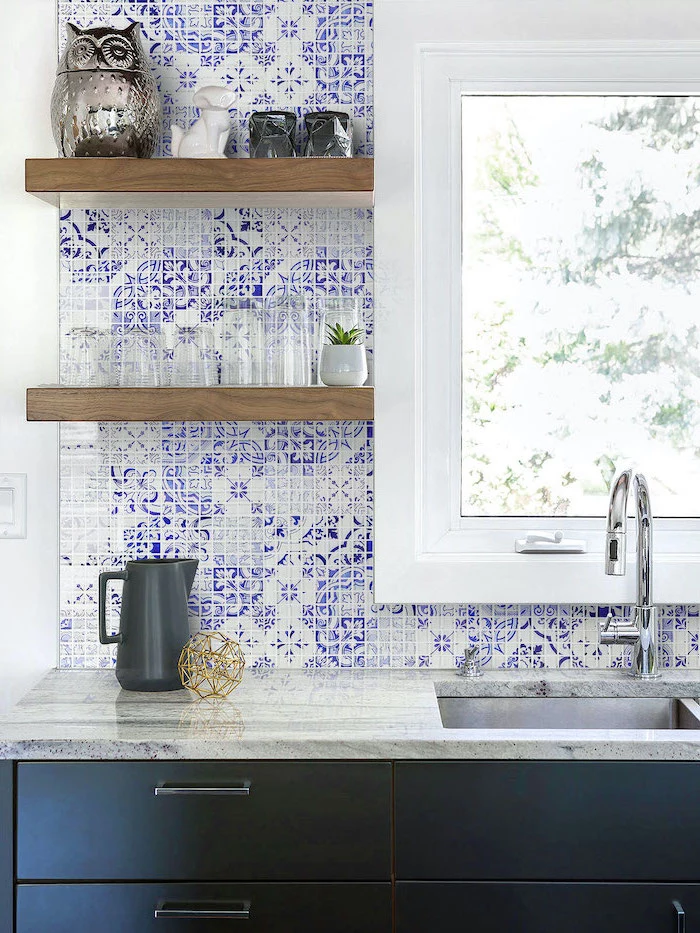
Longing for that playful, retro vibe? Terrazzo is making a huge comeback. Originally a flooring material made from chips of marble, quartz, and glass set in cement, it’s now available in porcelain and ceramic tiles perfect for a backsplash. It adds instant color and pattern, serving as a joyful focal point that pairs wonderfully with minimalist cabinets.
To get that perfect look, your cleaning method should match your material.
- Ceramic & Porcelain: The easiest to care for. A simple all-purpose cleaner or a solution of vinegar and water is usually all that’s needed.
- Natural Stone (Marble, Slate): Avoid acidic or abrasive cleaners like vinegar or citrus. Stick to a pH-neutral cleaner specifically designed for stone to prevent etching and damage.
- Glass Tile: Use a standard glass cleaner, but spray it onto a cloth, not directly onto the backsplash, to prevent the cleaner from running down and settling into the grout lines.

- A high-quality wet tile saw with a diamond blade for clean, precise cuts.
- A notched trowel of the correct size, as specified by the tile manufacturer, to apply the right amount of mortar.
- A grout float to press grout firmly into the joints.
- A good level to ensure your lines are perfectly straight from start to finish.
Tackling your own backsplash? These are the tools the pros swear by and that you shouldn’t rent or borrow. Investing in them makes the difference between a frustrating project and a flawless result.
A key characteristic of handmade tile is ‘variation.’ This refers to the subtle differences in color, size, and texture from tile to tile.
Don’t see this as a flaw! This is what gives a surface character. When installing, a good tiler will pull from multiple boxes at once, mixing the tiles to ensure this natural variation is blended beautifully across the entire backsplash, rather than clumped in patches.

For a clean, contemporary feel, consider a vertical stack bond. Instead of offsetting your tiles, you simply stack them in a straight, grid-like pattern. This simple shift in layout emphasizes linearity and height, making it a perfect match for modern, Scandinavian, or minimalist kitchen designs. It works beautifully with both classic subway tiles and larger format tiles.
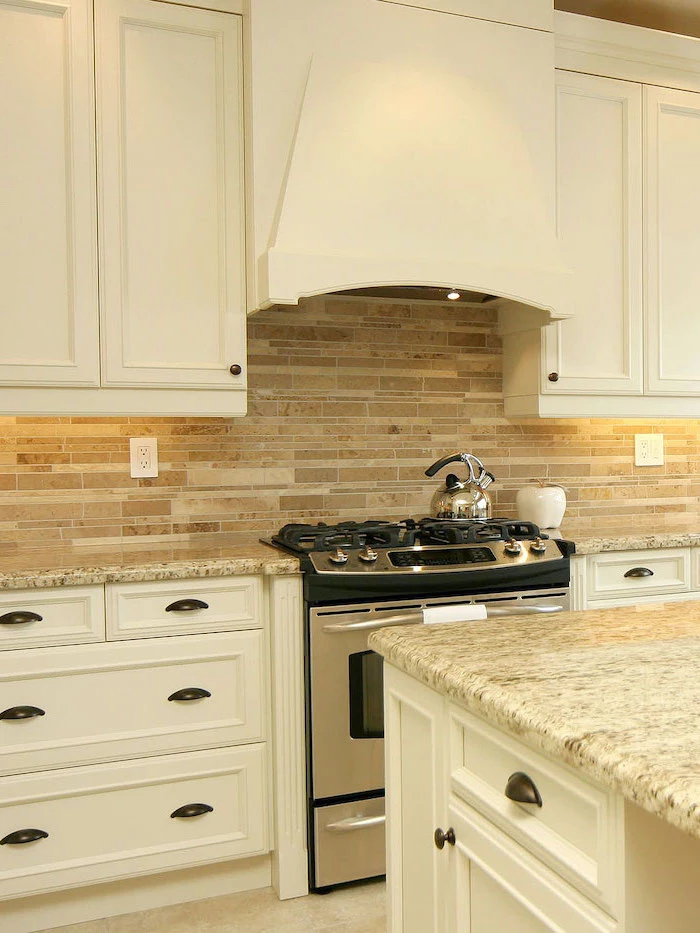
The Traditional 4-Inch Strip: Many countertops are installed with a matching 4-inch piece that runs along the wall. It’s a functional, budget-friendly choice that protects the seam.
Full-Tile Backsplash: Tiling from the countertop up to the cabinets provides far more wall protection and offers a much greater design impact, turning the entire area into a feature wall.
While the 4-inch strip is practical, design trends heavily favor the full-tile look for a more custom and complete kitchen aesthetic.