Your High-Gloss Cabinets Can Stay Flawless. Here’s How.
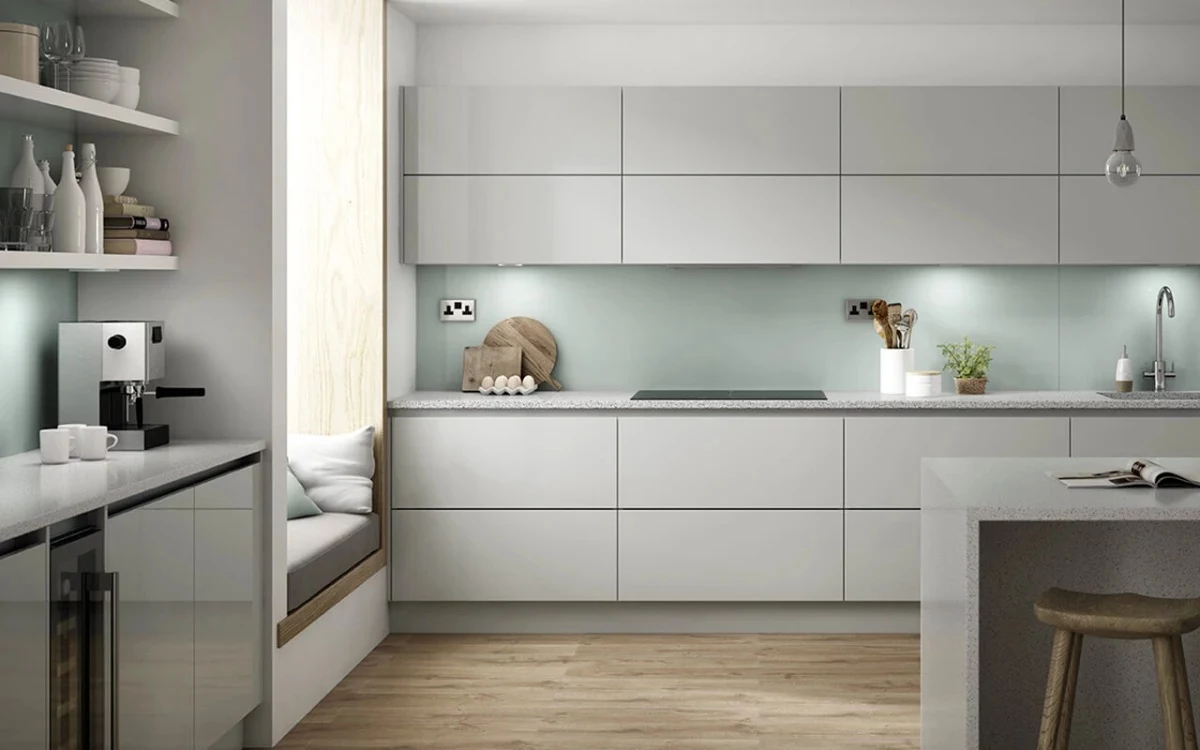
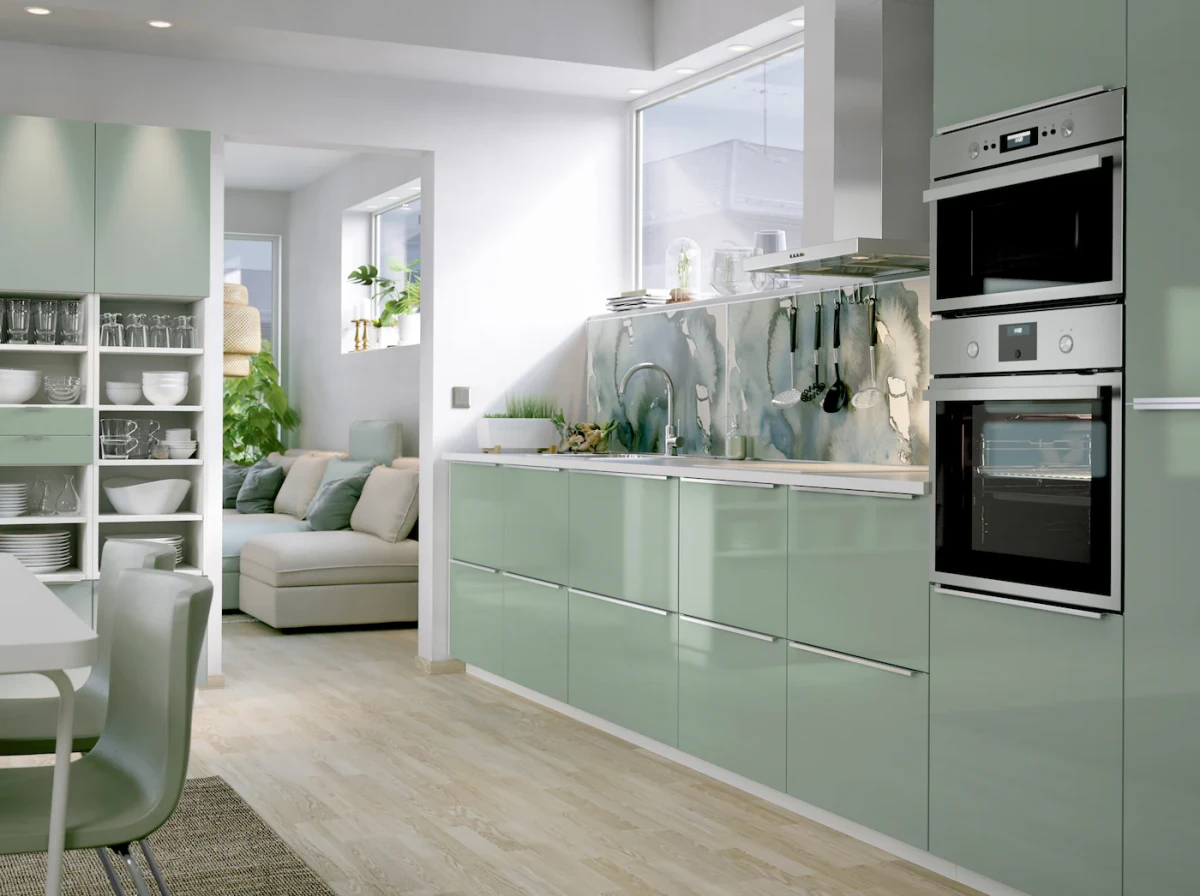
High-gloss kitchens are absolutely stunning. When the light hits those sleek surfaces, the whole room just feels brighter, cleaner, and more modern. It’s a look that brings a real ‘wow’ factor. I’ve seen it time and time again—the way a client’s face lights up when they see their finished kitchen, reflecting the world like a mirror.
In this article
But let’s be honest, that perfect reflection is also what makes every little smudge, fingerprint, and micro-scratch stand out. The very thing that makes these cabinets so beautiful is what makes their upkeep so specific. Many people think they’re a nightmare to maintain, but that’s not really true. They aren’t hard to care for, you just have to do it the right way.
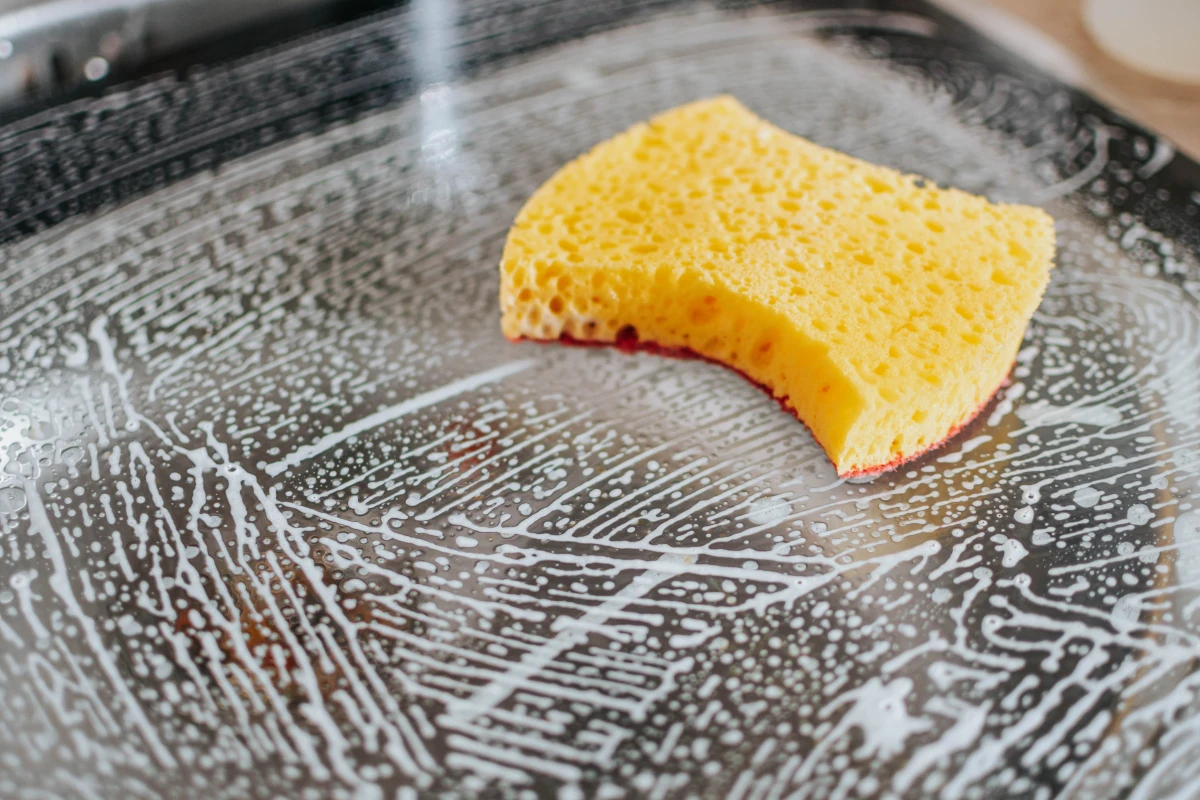
So, what’s the single biggest thing you can do TODAY to protect your cabinets? Go find your dish sponge with the green or blue scrubby side and move it to the other side of the kitchen, far, far away. Seriously. That little thing is a gloss-killer! Now, for the rest of the secrets…
Why Your Cabinets Shine (and Why They Get Dull)
To keep something shiny, it helps to know why it’s shiny in the first place. A high-gloss finish is basically an extremely smooth, non-porous surface. Think of it like a perfectly calm lake. When light hits that flat surface, it bounces back to your eye at a perfect, uniform angle. That’s what creates a sharp, mirror-like reflection.
Now, what happens when you throw a handful of tiny pebbles into that lake? The surface is no longer flat; it’s covered in tiny ripples. When light hits those ripples, it scatters in every direction. Your eye doesn’t see a clear image anymore, just a blurry, dull surface.
Scratches, even the microscopic ones you can’t see, are the pebbles in your cabinet’s finish. Abrasive cleaners, rough paper towels, and even caked-on grime can create thousands of these tiny imperfections. Our entire cleaning method is built around one simple goal: remove the dirt without creating those ripples.
Not All Gloss is Created Equal
Oh yeah, another thing to know is that ‘high-gloss’ describes the look, not the actual material. Your cleaning approach might need a slight tweak depending on what your cabinets are really made of. Here are the most common types you’ll run into:
- Polyurethane or Lacquer: This is a liquid coating, often sprayed over a base like MDF, that hardens into a very durable finish. Most modern, high-end cabinets use this. It’s quite tough and resistant to chemicals, but it’s still the top layer you’re trying to protect from scratches. In terms of repair, minor scuffs can sometimes be professionally polished out, but deep scratches require a full refinish.
- Acrylic: These doors usually have a solid layer of acrylic over an MDF core. They offer amazing color depth and are very durable. A huge plus is they are less likely to yellow from sunlight compared to some older finishes. They have good scratch resistance, but like polyurethane, deep gouges are a job for the pros.
- Thermofoil (Vinyl Wrap): For this type, a flexible vinyl material is heat-fused onto an MDF core, creating a seamless surface. It’s a popular and often more budget-friendly choice. The downside? The vinyl is a bit softer, so it can be scratched more easily and can even be damaged by high heat from a nearby kettle or toaster. Repairing thermofoil is tricky; usually, a damaged door needs to be replaced.
- Laminate: High-pressure laminate (HPL) also comes in gloss finishes. It’s known for being a workhorse material and is very tough. But, and this is a big but, once a gloss laminate is scratched, it’s nearly impossible to repair effectively.
If you’re not sure what you have, your installer or the manufacturer’s info should tell you. When in doubt, always, always use the gentlest method we’re about to cover. It’s safe for all of them.
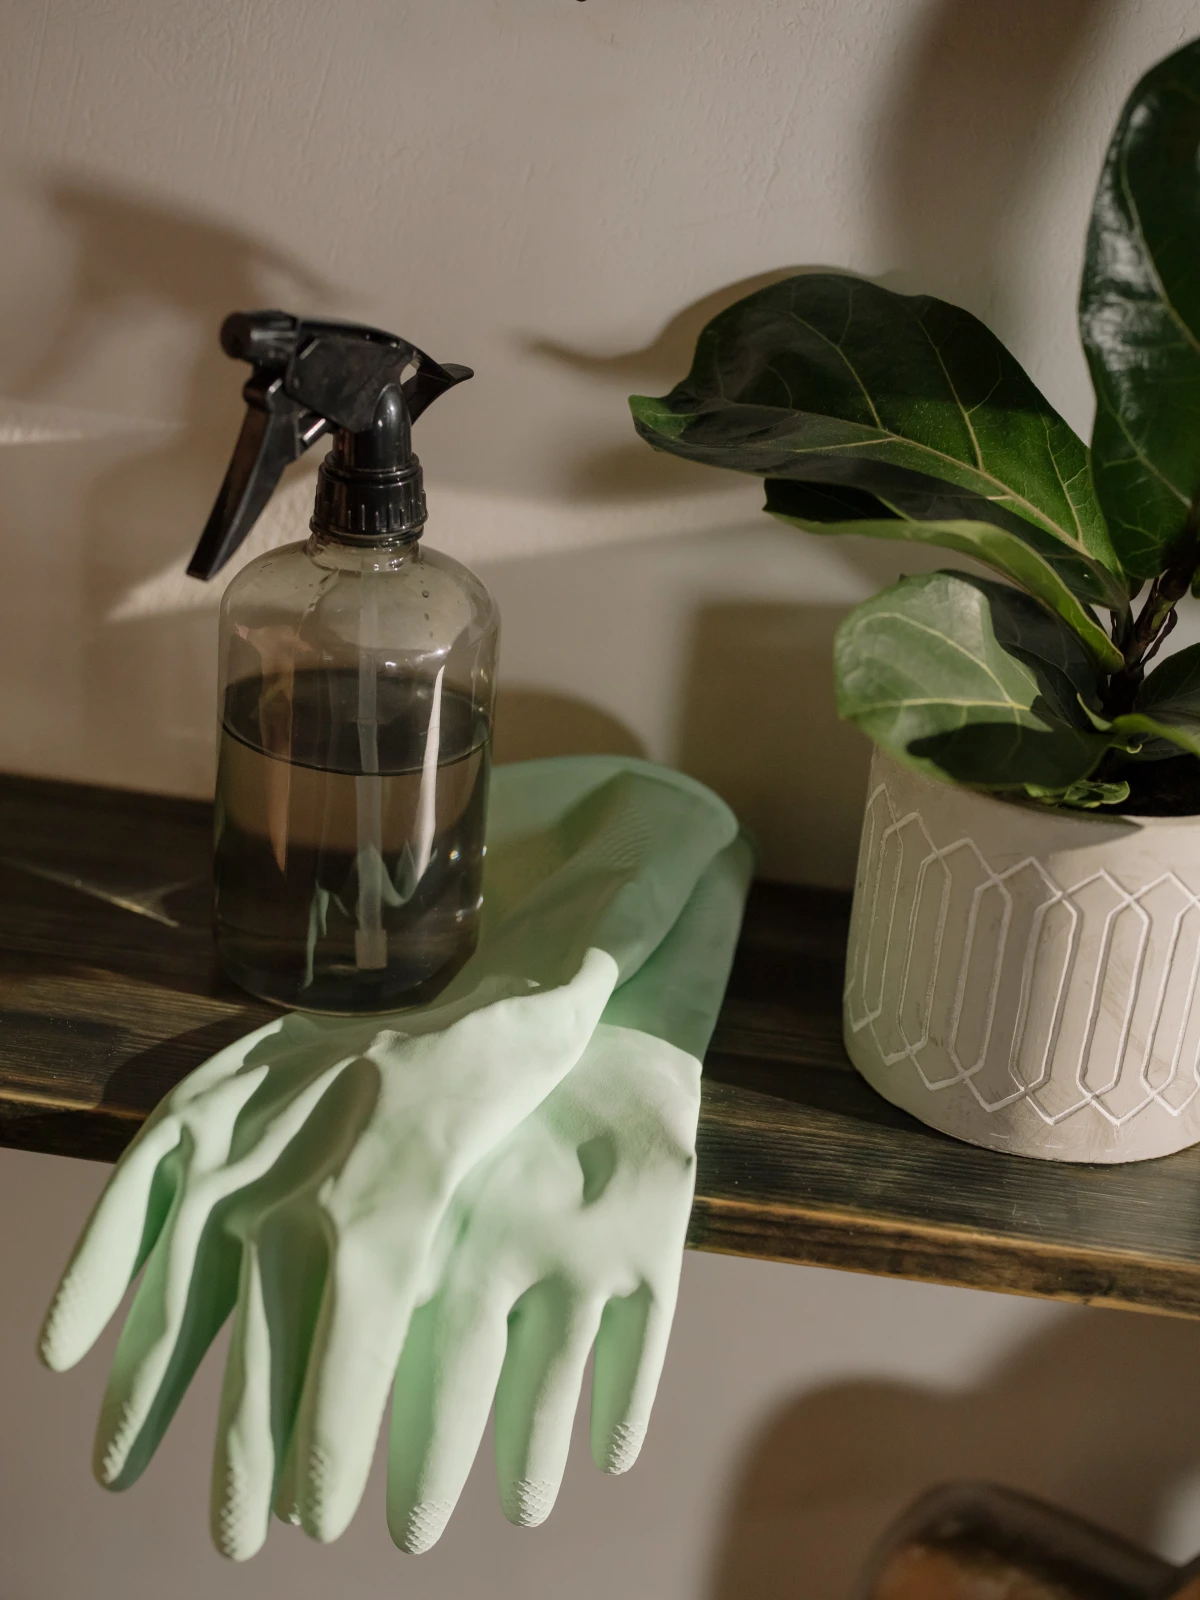
The Pro’s Toolkit for High-Gloss Care
You really don’t need a shelf full of fancy products. In fact, most commercial kitchen sprays are way too harsh. The quality of your cloths is honestly more important than the cleaning liquid.
Here’s a quick shopping list to get you started. The best part? It’ll cost you less than $30 to get everything you need.
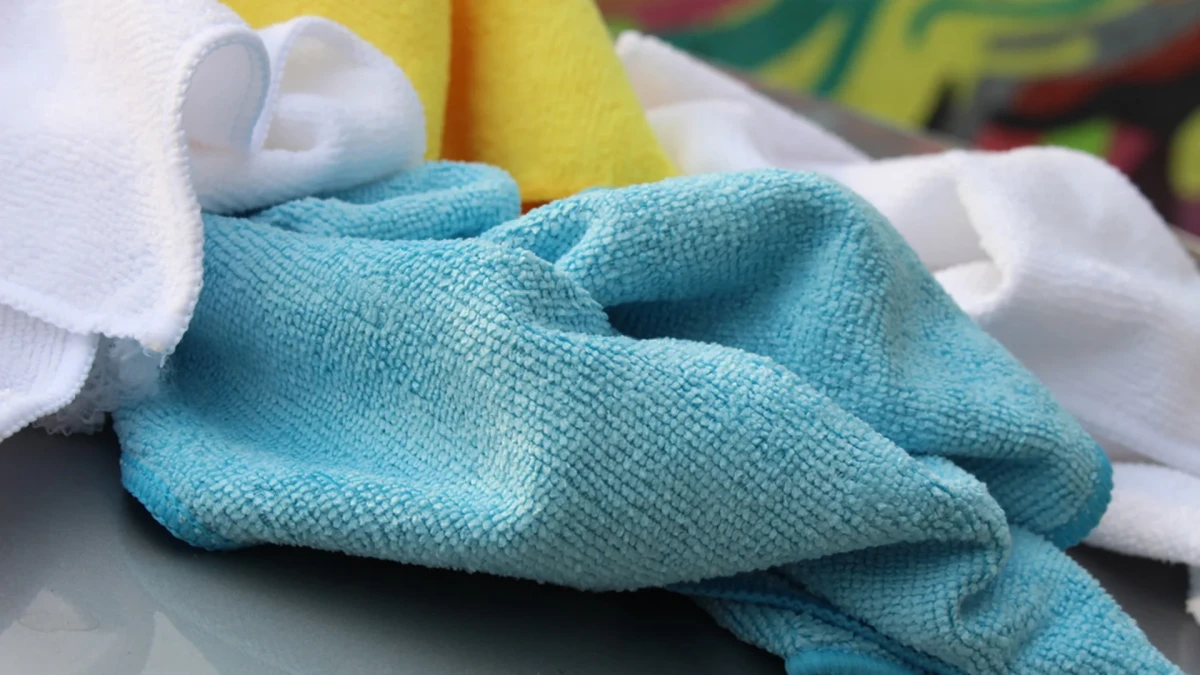
- High-Quality Microfiber Cloths (3-pack): About $10 – $20. This is your most important tool, so don’t cheap out. Look for a weight of at least 300 GSM (it’ll say on the packaging). A denser, softer pile traps dirt better. A pro tip: check out the auto-detailing section at stores like AutoZone or online. They have edgeless or silk-banded cloths that won’t scratch.
- A Good Spray Bottle: Around $3. Just a basic one that creates a fine mist, not a squirt gun jet.
- Gallon of Distilled Water: Usually less than $2. This is a game-changer if you have hard water, which leaves dull mineral spots behind. Distilled water is pure and leaves nothing behind.
- Mild pH-Neutral Soap: Around $4. A simple, clear dish soap like Dawn Free & Clear is perfect. You want something without dyes, heavy perfumes, or moisturizers.
What to Avoid at All Costs
This list is critical. Using any of these can cause irreversible damage. I once had a client who tried to remove a small grease spot with a “magic eraser.” It worked… by taking the gloss right off with it, leaving a dull patch the size of a fist. We had to professionally re-spray the entire door. A costly mistake from a $2 product!
So, NEVER use:
- Paper Towels: They’re made of wood pulp and are surprisingly abrasive.
- Sponges with Scouring Pads: That green side is pure sandpaper to a gloss finish.
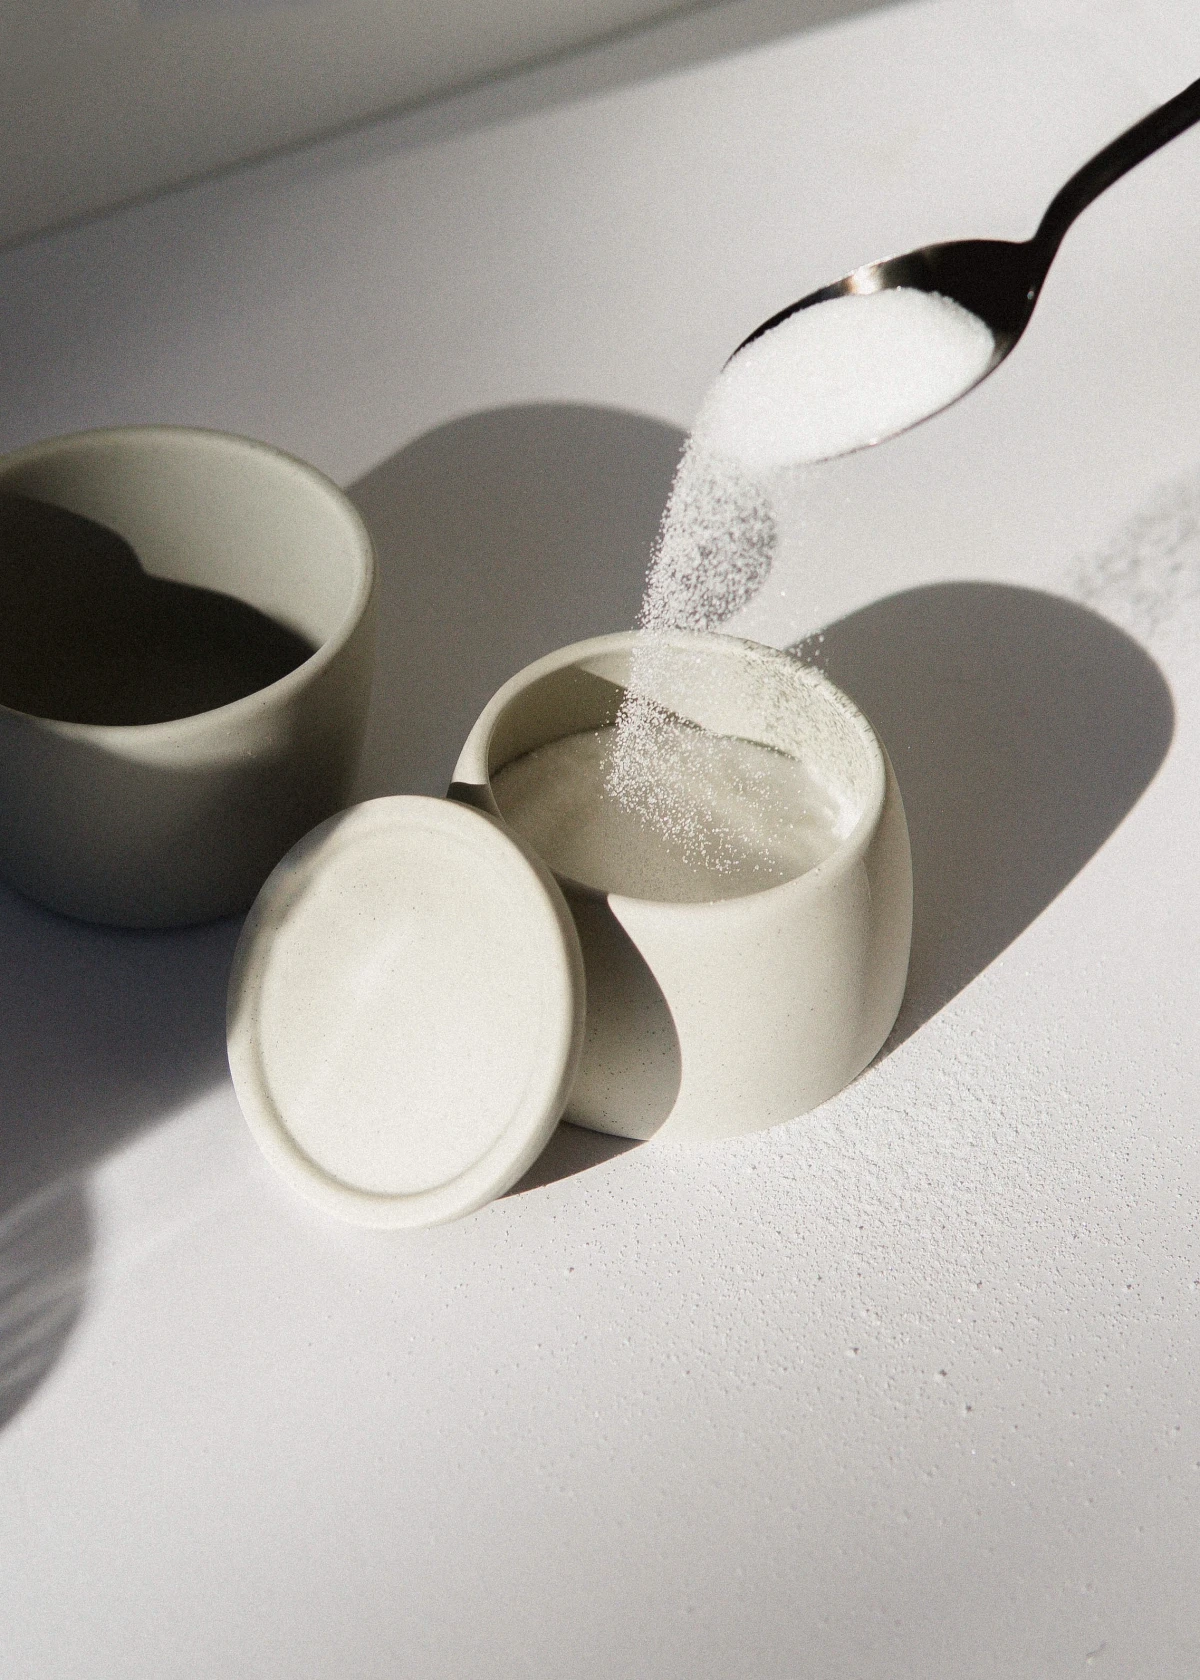
- Abrasive Cleaners: Anything powdered or creamy (like a soft scrub cleanser) will create a web of scratches.
- ‘Magic Erasers’: As my client learned, they are a super-fine abrasive that will permanently dull the finish.
- Ammonia or Glass Cleaners: They can fog and soften lacquer and acrylic finishes over time.
- Vinegar: It’s an acid. With repeated use, it can etch the top layer of your finish.
- Furniture Polish or Wax: These don’t absorb into a non-porous surface. They just create a greasy, streaky film that attracts dust like a magnet.
The Core Cleaning Method: Step-by-Step
This is the exact routine we teach for preserving that perfect shine. For an average-sized kitchen, a full weekly clean should only take about 15-20 minutes once you get the hang of it.
Step 1: Mix Your Solution. Fill your spray bottle with distilled water and add just two or three drops of your pH-neutral soap. That’s it. Too much soap is the number one cause of streaks.
Step 2: The Pre-Dust. Before you get anything wet, take a clean, dry microfiber cloth and gently wipe the surfaces. This removes loose grit so you’re not dragging it across the finish when you start cleaning. So many people skip this, but it’s a crucial step.
Step 3: Clean Lightly. Lightly mist a small section of a cabinet door. Or, to be extra safe, mist your cloth instead of the cabinet. Wipe the section with light pressure. Let the cloth and the solution do the work—no need to scrub.
Step 4: The Immediate Buff. This is the secret to a streak-free finish. As soon as you’ve wiped a section, take your second, completely dry microfiber cloth and buff the area until it’s totally dry. If you let it air-dry, you’re asking for water spots. Work in small, manageable sections (like one door at a time).
Step 5: Final Check. Step back and look at the reflection from a few different angles. See a streak? You probably used a tad too much soap or didn’t dry it completely. Just re-mist the spot lightly with plain distilled water and buff dry.
Tackling Grease, Grime, and Sticky Stuff
A kitchen is meant to be used, so spills will happen. The key is to act fast.
For everyday grease and fingerprints, the standard cleaning solution is usually all you need. For caked-on dried food, never scrape it off. Instead, hold a warm, damp microfiber cloth on the spot for a minute. The warmth will soften it right up so you can wipe it away gently. (Just use warm water, not hot—extreme temps can damage some finishes).
For a really stubborn or sticky stain, you can bring out the big guns: isopropyl (rubbing) alcohol. But heads up! You have to test this first. Find a hidden spot on a cabinet—like the very bottom edge of a door—and rub a tiny bit of alcohol on it with a cotton swab. Let it dry and check for any dulling. If it looks fine, you can gently blot the stain with a cloth dampened with alcohol. Once the stain is gone, immediately clean the area with your normal soap-and-water solution to remove any residue, then buff dry.
Okay, let’s talk about the big one. It’s important to be realistic about what you can fix at home.
Micro-scratches and swirl marks are those fine, web-like lines you only see in certain light. These can sometimes be polished out by a professional using automotive-grade compounds and a machine buffer. I really don’t recommend trying this yourself unless you have experience with machine polishing. It’s incredibly easy to burn through the finish and make it worse.
For a deep scratch—one you can feel with your fingernail—there is no simple DIY fix. Touch-up pens and waxes just fill the scratch with a dull material, making it look like a matte line on a shiny surface. The only real fix is to have the entire door or panel professionally refinished. For context, having a single door refinished might cost anywhere from $150 to $300, while ordering a brand new replacement door could be $200 to $500, depending on the material and source.
Make it a Habit
Consistency beats an occasional deep-clean every time.
- Daily: Spot-clean splatters and fingerprints as they happen.
- Weekly: Do a full wipe-down of all cabinet fronts using the 5-step method.
- Annually: Inspect your cloths. Are they still soft? If they start to feel stiff, it’s time for new ones.
Good to know: How to Wash Your Microfiber Cloths. To keep them working perfectly, you need to wash them right. Never use fabric softener—it clogs the fibers and makes them useless for cleaning. Wash them only with other microfiber items, using a simple, dye-free detergent (or a special microfiber wash), and then tumble dry on low heat or just let them air dry.
At the end of the day, your high-gloss cabinets are a beautiful investment. They just ask for a little mindful, gentle care. It’s a simple routine that pays off every single time you walk into your kitchen and see that perfect, flawless shine.
Inspirational Gallery
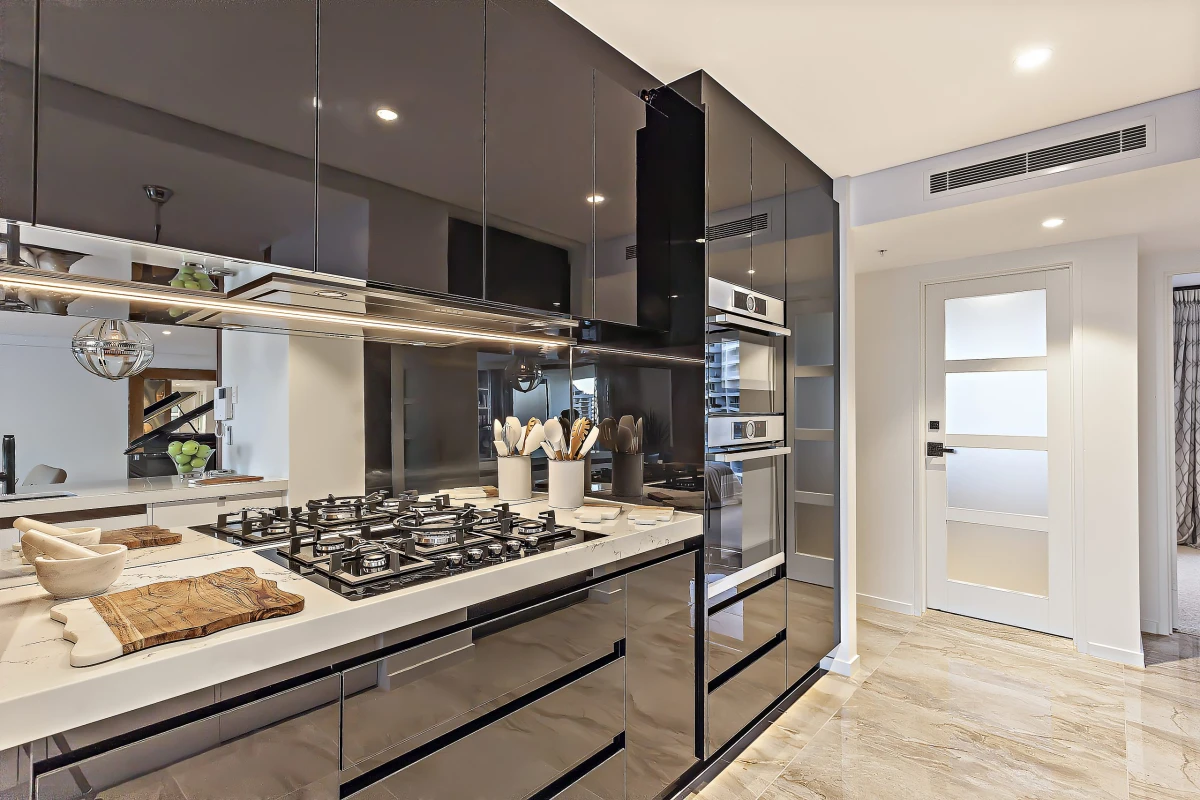
Dark, dramatic gloss cabinets in black or charcoal are stunning, but they are the ultimate test of a clean kitchen. They reveal every fingerprint and speck of dust. Lighter colours like white, cream, or light grey are far more forgiving, visually hiding minor smudges and making daily upkeep feel less demanding. Your colour choice has a direct impact on your cleaning routine!
- Eliminates 99% of bacteria with just water.
- Leaves a streak-free finish without chemicals.
- Grabs onto grease and grime effortlessly.
The secret? A high-quality, dual-sided microfiber cloth designed for glass and polishing, like those from E-Cloth or Buff Pro. The textured side cleans, the smooth side polishes to a perfect shine.
What’s the best way to tackle stubborn, greasy fingerprints?
Forget aggressive scrubbing. The key is a two-step approach. First, lightly spray the area with a solution of one part white vinegar to three parts warm water, plus a single drop of pH-neutral dish soap. Let it sit for 30 seconds to dissolve the grease. Then, wipe gently with a clean, damp microfiber cloth. Immediately follow up by buffing the area dry with a separate, dry polishing cloth to prevent water spots and restore the gleam.
The static electricity generated by wiping a plastic-based surface (like acrylic or laminate gloss) can attract dust from the air almost immediately after you’ve cleaned.
To combat this, after your final buff, you can use a specialist anti-static cleaner for plastics, often found in electronic care sections. A quick, light mist and wipe-down will help your gleaming surfaces stay dust-free for longer.
For a quick daily wipe-down: A simple feather duster is your best friend. It removes light surface dust without the friction that causes micro-scratches.
For a more thorough clean: A damp, high-quality microfiber cloth is essential. Avoid paper towels at all costs, as their wood-pulp fibers can be surprisingly abrasive on delicate gloss finishes.
According to finish specialists, many tiny scratches on high-gloss surfaces aren’t from cleaning, but from what’s already on the surface *before* you wipe.
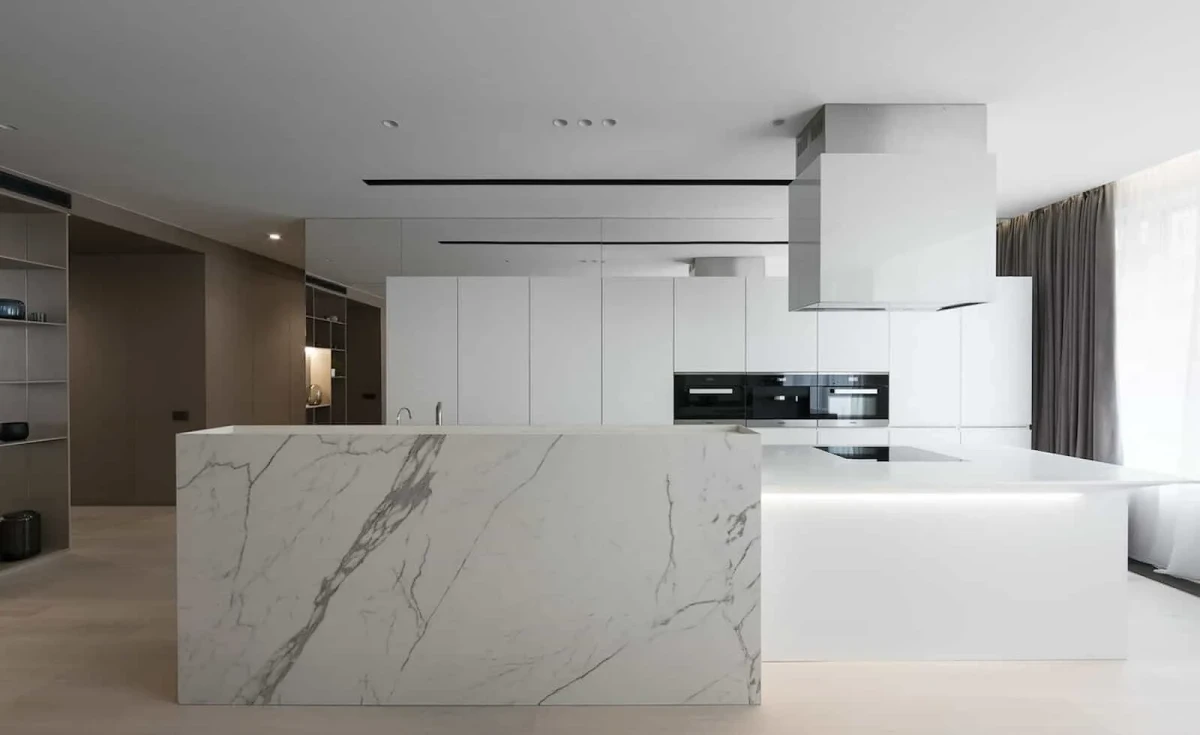
Think beyond just cleaning products and consider the hardware. Constant grabbing of knobs and pulls is a major source of smudges. For the ultimate flawless look, consider handleless cabinets with a ‘push-to-open’ mechanism. Alternatively, integrated ‘J-pull’ handles, which are recessed into the top or side of the door, minimize direct contact with the main cabinet face.
Create your own perfect, gentle cleaning spray for a fraction of the cost of store-bought versions. Here’s a tried-and-true recipe for a 500ml spray bottle:
- Fill with 400ml of distilled water (to avoid mineral deposits).
- Add 100ml of white vinegar (a natural degreaser).
- Add 1-2 drops of a gentle, pH-neutral dish soap (like Ecover or Seventh Generation).
Shake gently before each use. This solution is tough on grime but incredibly kind to your gloss finish.
Important: Never spray your cleaning solution directly onto the cabinet doors. Excess liquid can seep into the edges and joints, potentially causing the material underneath (especially MDF) to swell over time. Always spray a small amount of cleaner onto your microfiber cloth first, then wipe the surface. This gives you total control and protects the integrity of your cabinetry.
The sleek, reflective look of high-gloss kitchens was popularised by avant-garde European designers, especially from Italy and Germany. Brands like Poggenpohl and Scavolini mastered the multi-layer lacquering process to achieve that deep, liquid shine. When you care for your gloss cabinets, you’re preserving a piece of that design history, treating them less like storage and more like fine furniture.


