Your Burnt Pan Isn’t Ruined: A Real-World Guide to Saving Your Cookware
We’ve all been there. You turn your back for just a second, and that beautiful simmer turns into a black, smoky mess. It’s a gut-wrenching feeling, and your first impulse might be to just toss the pan in the trash. But hold on. After years of cooking in busy kitchens and at home, I can tell you that most pans are totally salvageable. You just need the right approach for the right material.
In this article
Throwing away a good pan feels like such a waste, and honestly, those miracle cleaners from the store often deliver more fumes than results. The real secret isn’t some magic potion; it’s about using a little kitchen chemistry to do the heavy lifting for you. Let’s get that favorite pan back in action.
In a Panic? Do This First!
If you’re standing over a smoking pan right now, here’s your emergency plan:
- Kill the Heat: Immediately turn off the burner and move the pan to a cool spot on the stovetop.
- Let It Cool Down: This is critical. NEVER put a sizzling hot pan in cold water. This causes thermal shock, which can warp it for good. Just let it sit for at least 15-20 minutes until it’s just warm to the touch.
- Scrape Out the Debris: Once it’s cool enough to handle, use a wooden spoon or a silicone spatula to gently scrape out any loose, chunky bits. Don’t go crazy, just get the worst of it out.
Okay, crisis averted. Now we can figure out what we’re working with.
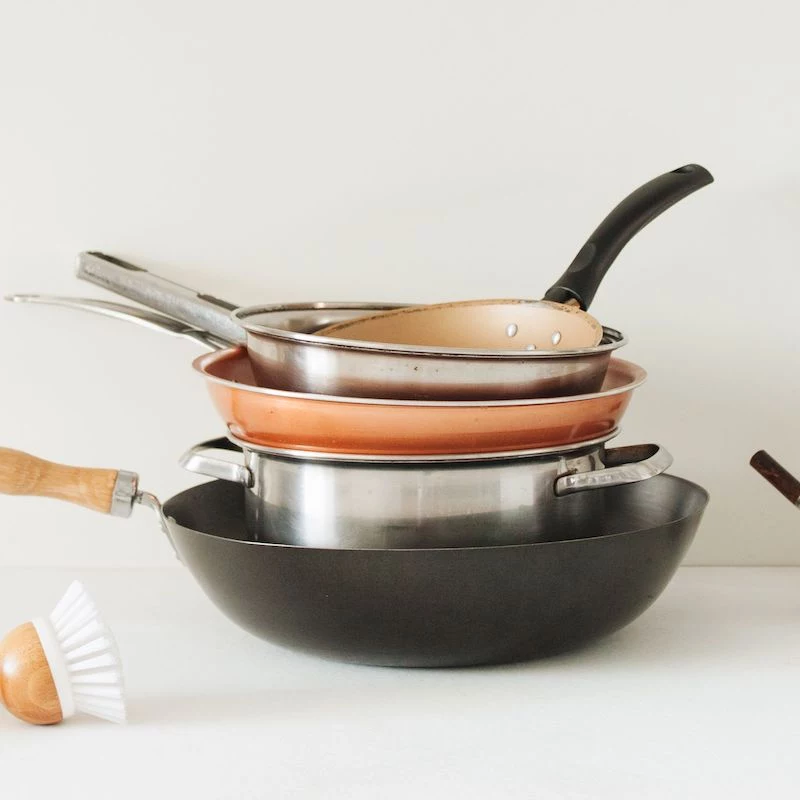
What Kind of Pan Are You Working With?
Before you start scrubbing, you need to know your pan’s material, because the wrong method can do more harm than good. It’s usually pretty simple to tell:
- Stainless Steel: Is it shiny and silver-colored all over? Does it have a bit of heft to it? That’s almost certainly stainless steel. These are the tanks of the kitchen.
- Cast Iron: This one’s easy. It’s heavy, solid black or dark gray, and has a slightly rough texture. It feels… substantial.
- Non-Stick: This pan will have a slick, smooth, and usually dark-colored coating on the inside cooking surface. It feels slippery to the touch, even when dry.
Got it? Good. Let’s move on to the rescue mission.
The Workhorse: Cleaning Stainless Steel & Enameled Pans
Stainless steel can take a beating, which is why pros love it. These methods also work great for those colorful enameled pans, but always start with the gentlest option first.
Technique 1: The Simple Deglazing Boil
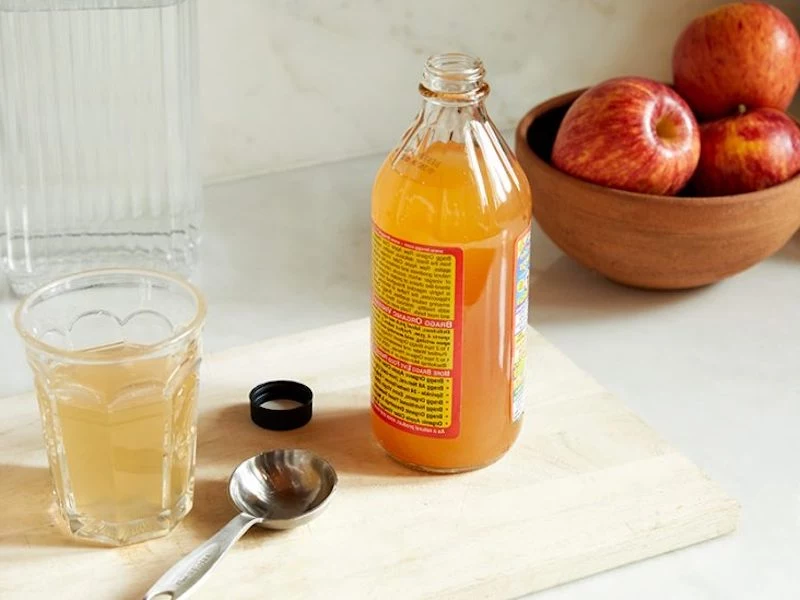
This is your first line of attack for most mild-to-moderate burns. Pour enough liquid into the cooled pan to completely cover the scorched area. Plain water works, but for a little extra oomph, use a 50/50 mix of water and plain white vinegar. The acid helps kickstart the process.
Put the pan back on the stove, bring it to a rolling boil, then knock the heat down to a simmer. Let it bubble away for 5-10 minutes. As it simmers, you can use a wooden spoon to gently nudge at the burnt bits. You’ll often see them lift right off. Once you’re done, carefully pour out the hot water and wash the pan like you normally would.
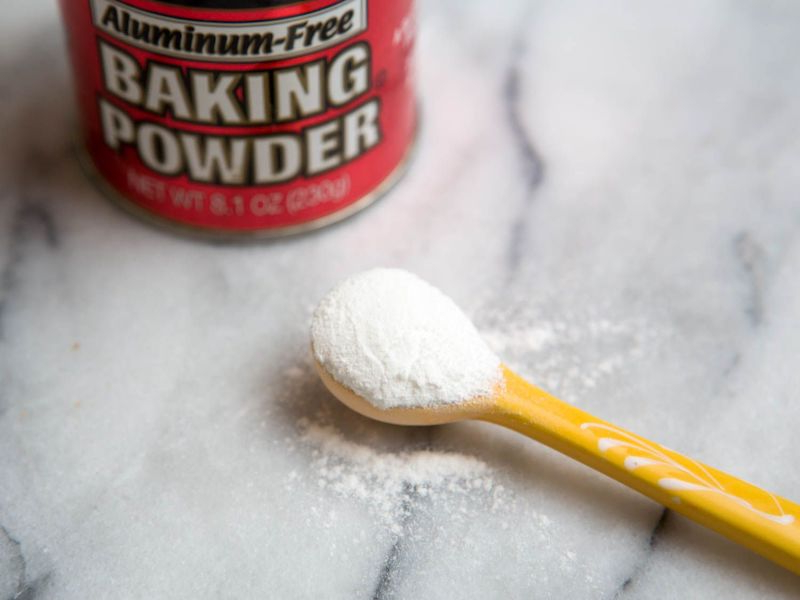
Technique 2: The Baking Soda Paste
If the boil didn’t quite cut it, it’s time for baking soda. This stuff is a mild alkali, which is fantastic for breaking down greasy, stuck-on gunk. It’s also a super-fine abrasive, so it polishes without scratching.
Just dump out the water, leave the pan a bit damp, and sprinkle a generous layer of baking soda over the burn. Add a few drops of water to make a thick paste—think toothpaste consistency. Now for the hard part: walk away. Let that paste sit for at least 30 minutes, or even overnight for a real disaster. Time is doing the work here. Once you’re ready, use a non-scratch scrubby (the blue ones, not the aggressive green ones) and scrub in circles. Rinse it out, and you should see a major improvement.
Technique 3: The Heavy-Duty Fizz Bomb
For the truly stubborn, baked-on carbon crust on stainless steel, you can call in the big guns by combining acid and alkali. Heads up! This will create a satisfying fizz, so I recommend doing this in the sink to contain the science experiment.
Pour a layer of straight white vinegar into the pan, just enough to cover the bottom. Let that sit for about 30 minutes. Then, without dumping the vinegar, sprinkle in a few tablespoons of baking soda. For a typical 10-inch skillet, about 2-3 tablespoons should do the trick. Let it foam and bubble until it calms down.
Now, put the pan on the stove, add a cup of water, and bring it to a boil. Simmer and scrape. This combo of acid, alkali, heat, and gentle scraping is incredibly effective. After this, a final wash should do it. If you still see faint stains, a paste made from a powdered cleanser like Bar Keepers Friend (you can find it in the cleaning aisle at most grocery or hardware stores) will make it look brand new.
The Special Case: Saving Your Cast Iron
Okay, deep breath. Cleaning cast iron is all about protecting the “seasoning”—that beautiful, non-stick layer of oil you’ve worked so hard to build up. Using vinegar or harsh soap will strip it bare, leaving you with a dull, rust-prone pan. Don’t do it!
The Salt Scrub Method
This is the gold-standard technique. While the pan is still a bit warm, pour in about a half-cup of coarse salt. Why coarse salt? The larger crystals provide more scrubbing power without dissolving instantly like fine table salt would. (In a pinch, table salt is better than nothing, but it’s not nearly as effective.)
Add a tablespoon of neutral cooking oil (like canola or vegetable) to the salt to create a scouring slurry. Now, grab a folded paper towel and scrub that paste into the burnt areas. The salt acts like sandpaper, grinding away the carbon without hurting the seasoning. For tough jobs, a stainless steel chainmail scrubber is an amazing tool that costs about $10-$15 online and won’t damage your pan.
Rinse with hot water (no soap!) and then—this is the most important part—dry it completely. I always put mine back on a low burner for a few minutes to evaporate every last drop of moisture. Water is the enemy of cast iron.
Quick Re-Seasoning Touch-Up
Anytime you have to scrub your cast iron hard, you should do a quick maintenance season. It takes two minutes. While the pan is still warm from drying, pour in about a half-teaspoon of oil. Use a paper towel to rub it all over the inside, then use a clean paper towel to wipe it all out again. You’re aiming for an invisible, micro-thin layer. Heat the pan on the stove until it just starts to smoke, then turn it off. Done. You’ve just reinforced your pan’s armor.
The Delicate Touch: Cleaning Non-Stick Pans
Non-stick pans are the most fragile of the bunch. Here, the goal is preservation, not aggressive restoration.
A really important point: If your non-stick coating is flaking, peeling, or has deep scratches, you have to throw the pan away. It’s no longer safe for cooking, and it can’t be repaired. It’s just not worth the risk.
For simple burns, let the pan cool completely. Fill it with warm water and a few drops of dish soap. Put it on the stove over low heat and bring it to a very gentle simmer for 10-15 minutes. Let it cool, then wipe out the softened gunk with the soft side of a sponge. Never, ever use abrasive pads or steel wool here. If that doesn’t work, the coating is likely compromised, and it’s probably time to say goodbye.
Your Burnt-Pan Rescue Kit
Want to be prepared? Here’s a little kit you can assemble for under $20 that will handle almost any cookware crisis. It’s way cheaper than buying a new pan!
- Baking Soda: The gentle giant of cleaning. A box costs about $1.
- White Vinegar: A fantastic, cheap acidic cleaner. A big jug is around $3.
- Coarse Kosher Salt: Your go-to abrasive for cast iron. About $3 for a box.
- Non-Scratch Scrub Sponges: Look for the blue ones, not the green ones. A multi-pack is usually under $5.
- Bar Keepers Friend: The secret weapon for stainless steel stains. A canister is about $4 at stores like Target or Home Depot.
- (Optional) Chainmail Scrubber: A game-changer for cast iron lovers. Around $15 online.
The Big Takeaway: A Quick Cheat Sheet
It’s a lot to remember, so here’s a simple breakdown:
If your pan is STAINLESS STEEL…
– Your Go-To: The boil-and-simmer method with water/vinegar, followed by a baking soda paste for anything left over.
– Never Use: Honestly, it can handle almost anything, but avoid super-caustic oven cleaners unless it’s a true last resort and you’re taking major safety precautions.
If your pan is CAST IRON…
– Your Go-To: The coarse salt and oil scrub. It removes the gunk and protects the seasoning.
– Never Use: Acidic cleaners like vinegar or harsh detergents. They will strip your seasoning in a heartbeat! And never let it soak in water.
If your pan is NON-STICK…
– Your Go-To: A gentle simmer with soapy water, then wipe with a soft sponge.
– Never Use: Abrasive scrubbers, metal utensils, or harsh chemicals. You’ll destroy the delicate coating.
By learning these few simple techniques, a burnt pan stops being a disaster and just becomes a minor inconvenience. You’ll save money, reduce waste, and gain a little more confidence in the kitchen. Now go save that pan!
Inspirational Gallery
Bar Keepers Friend: This cult-favorite cleaner uses oxalic acid to chemically break down rust and tarnish, making it incredibly effective on stubborn stainless steel stains. It’s a powerhouse for discoloration.
Baking Soda Paste: A gentler, DIY alternative. Its mild alkalinity and fine grit are perfect for lifting burnt-on food with some elbow grease, especially on enameled surfaces where you want to be cautious.
For deep, set-in stains on steel, reach for BKF. For general burnt messes and delicate surfaces, start with the baking soda.
The temperature difference between a sizzling hot pan (around 400°F or 200°C) and cool tap water can exceed 330°F (165°C), causing an immediate contraction of the metal known as thermal shock. This is the primary cause of warped, permanently wobbly pans.
What about those rainbow-like, bluish stains on my stainless steel pan?
Don’t panic! That iridescent sheen isn’t damage; it’s called ‘heat tint.’ It happens when the chromium oxide layer on stainless steel thickens from overheating. The fix is surprisingly simple: a splash of white vinegar or lemon juice. The mild acid is usually enough to reset the surface and make your pan look brand new again.
- Creates a slick, naturally non-stick surface.
- Forms a protective barrier against rust.
- Deepens the flavor profile of your cooking over time.
The secret to a perfect cast iron pan? It’s not just oil, but polymerization. Heating the oil bonds it to the metal, creating a durable, glass-like coating that only gets better with every use.
There’s a unique satisfaction in the process of restoration. The gentle scrape, the fizz of the baking soda, and that moment the first glint of silver appears from beneath a black, carbonized crust. It’s more than just cleaning; it’s an act of reclaiming a trusted tool, transforming a moment of kitchen despair into a quiet victory. Your pan isn’t just an object; it holds the memory of past meals, and now, a story of rescue.
- A wooden or bamboo scraper to dislodge debris without scratching.
- A non-abrasive scrubber like a Scrub Daddy, which stays firm in cold water for tough jobs and gets soft in warm water for gentle cleaning.
- A quality degreasing dish soap, like Dawn Powerwash, to cut through greasy residue.
- Plain old baking soda for a gentle, effective cleaning paste.
According to the EPA, metals are one of the leading materials in U.S. landfills, with cookware being a common contributor.
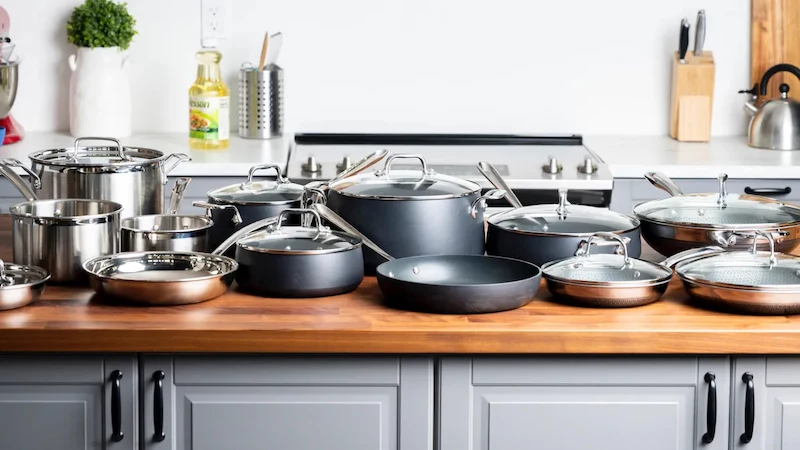
Every time you rescue a pan, you’re doing more than saving money. You’re making a conscious choice to reduce waste. A quality stainless steel or cast iron pan can literally last for generations if cared for properly. Instead of contributing to the landfill, you’re preserving a durable resource and honoring the energy and materials used to create it in the first place.
One rule is non-negotiable: Never, ever use abrasive cleaners or metal scouring pads on a non-stick pan. The delicate coating is easily scratched, which not only destroys its non-stick properties but can also lead to the coating flaking into your food. If a burnt mess won’t come off with a soft sponge and soap, the coating is likely already compromised and it’s time to retire the pan.
Burnt sugar is a special kind of kitchen nightmare, hardening into a glass-like solid. Don’t reach for a chisel. Instead, use water to do the work for you.
- Fill the pan with enough water to cover the burnt sugar.
- Bring it to a gentle boil on the stovetop.
- As it simmers, the hardened sugar will dissolve back into the water. Use a wooden spoon to nudge the process along.
In Japan, the art of Kintsugi treats broken pottery not as something to be discarded, but as an object with a history. The pieces are mended with lacquer mixed with powdered gold, highlighting the cracks and celebrating the object’s journey. Think of your restored pan in the same way. The faint marks that might remain aren’t imperfections; they are golden seams of experience, proof of its resilience and a testament to the many meals it has, and will continue to, create.


