Finally Tackle That Greasy Oven: A Pro’s Guide to Getting it Done Right
I’ve been in the professional cleaning game for a long, long time, and let me tell you, I’ve cleaned thousands of ovens. I’ve seen it all, from a few splatters to something that looked suspiciously like a fossilized lasagna. The first thing I always say is that an oven is way more than just a box that heats your food. A dirty oven is a real problem—it makes your food taste weird, wastes electricity, and can even be a fire hazard. That smoky smell when you preheat? That’s not a good sign. It’s old grease burning off, and it can absolutely ruin whatever you’re trying to bake.
In this article
- Your Shopping List: What to Grab Before You Start
- Why Is Oven Gunk So Stubborn, Anyway?
- Prepping for Battle: Safety and Workspace Setup
- Choosing Your Weapon: The Three Main Cleaning Methods
- The Step-by-Step Professional Process
- Common Mistakes I’ve Seen (And How to Avoid Them)
- Keeping Your Oven Clean from Now On
So many people put this job off because, let’s be honest, it feels like a monster task. But ignoring it just makes it worse. What could’ve been a simple wipe-down turns into a rock-hard, carbonized mess. We’re going to tackle this the way the pros do: methodically, safely, and without any ‘magic’ sprays that don’t actually work.

First Things First: Time, Cost, and a Quick Win
Before you even roll up your sleeves, let’s set some realistic expectations. For a proper deep clean, you’ll need to set aside about 3-5 hours of active work. If you go the natural route with baking soda, you’ll also have a 12-hour waiting period. As for cost, doing it yourself with basic supplies will run you about $15 to $25. Hiring a professional? Expect to pay anywhere from $75 to $150, depending on how bad it is.
Short on time? Try this quick win: Just clean the inside of the oven door glass. Mix up a baking soda paste (we’ll get to that), slather it on the inside of the glass, let it sit for 30 minutes, and then wipe it clean. It’s an instant gratification task that makes the whole oven look 70% better in under an hour.

Your Shopping List: What to Grab Before You Start
Nothing’s worse than getting halfway through a job and realizing you’re missing something. Here’s a quick rundown of what you’ll want to have on hand. You can find most of this at any hardware store or even a big grocery store.
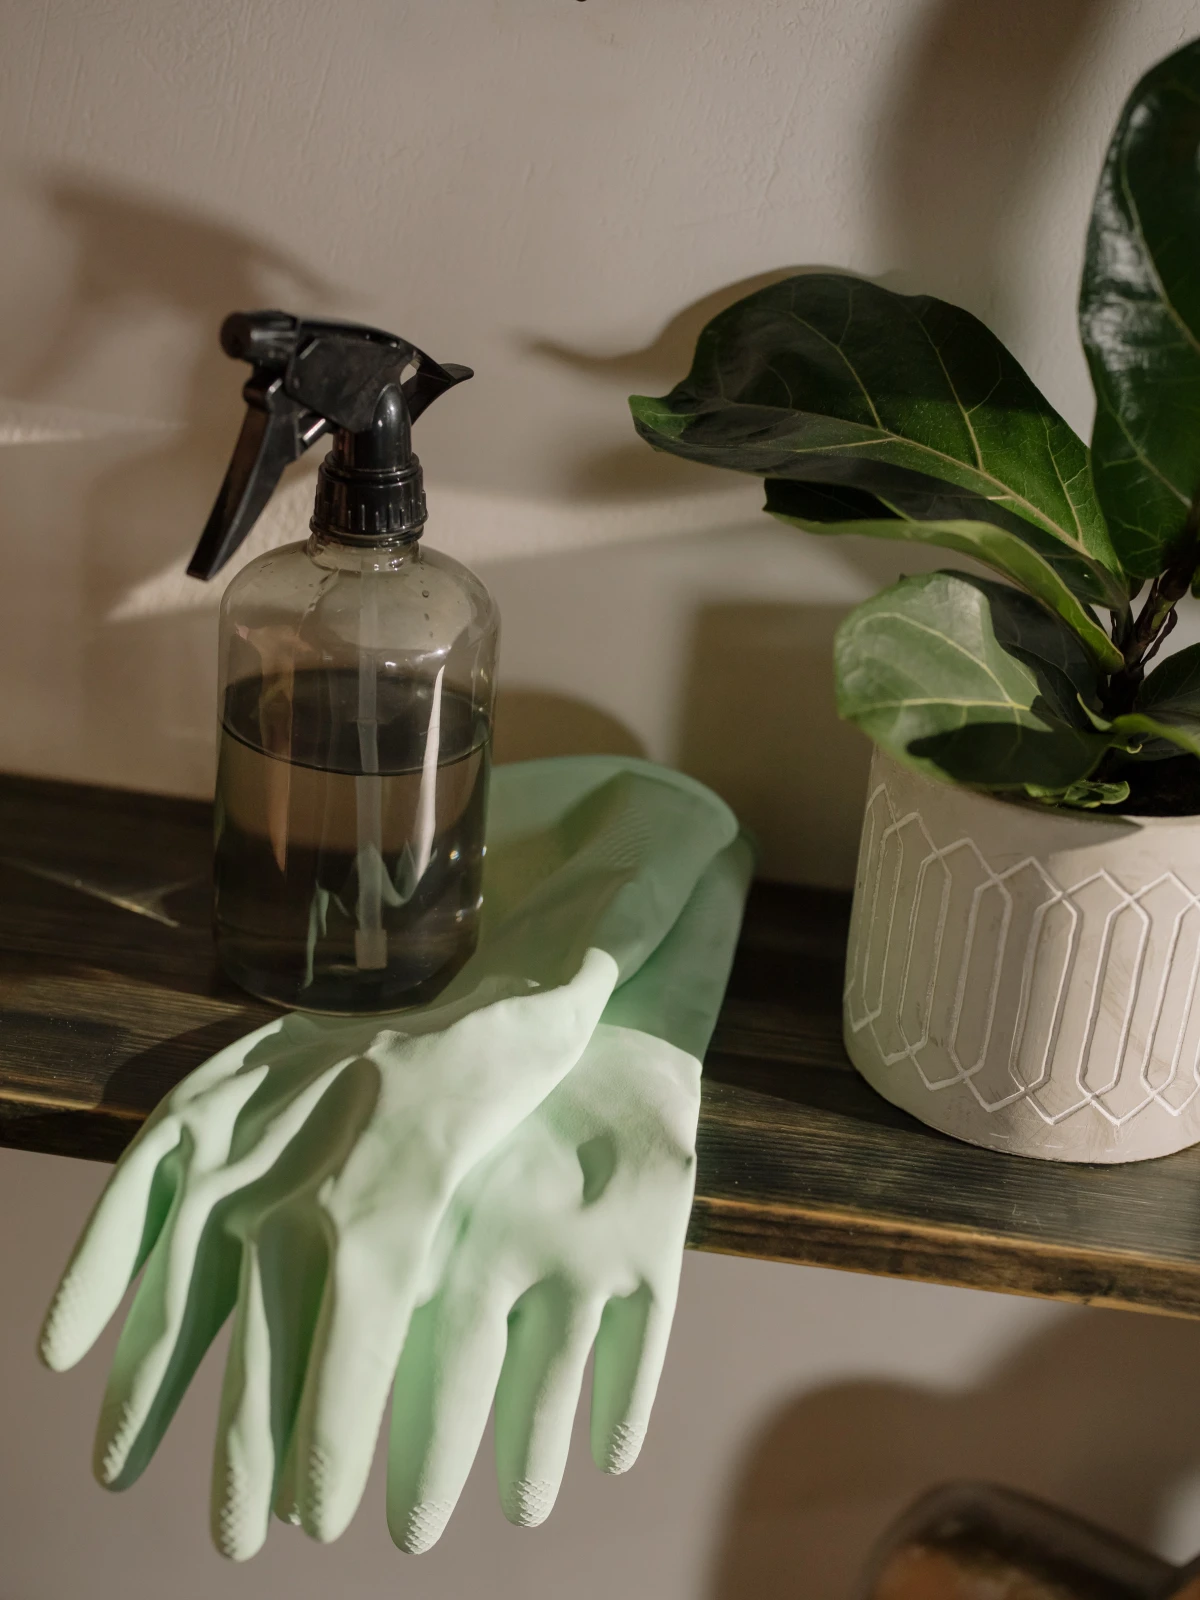
- Chemical-Resistant Gloves: Seriously, don’t use those flimsy latex gloves. Get a pair of thick, reusable cleaning gloves. A good pair is about $5 and will save your skin.
- Safety Glasses: Non-negotiable. Splashes happen, and oven cleaner in the eye is a trip to the emergency room.
- Plastic Scraper: A cheap plastic putty knife or even an old credit card is perfect for lifting up stubborn gunk without scratching the oven’s enamel.
- Old Towels or a Drop Cloth: To protect your beautiful kitchen floor from the inevitable mess.
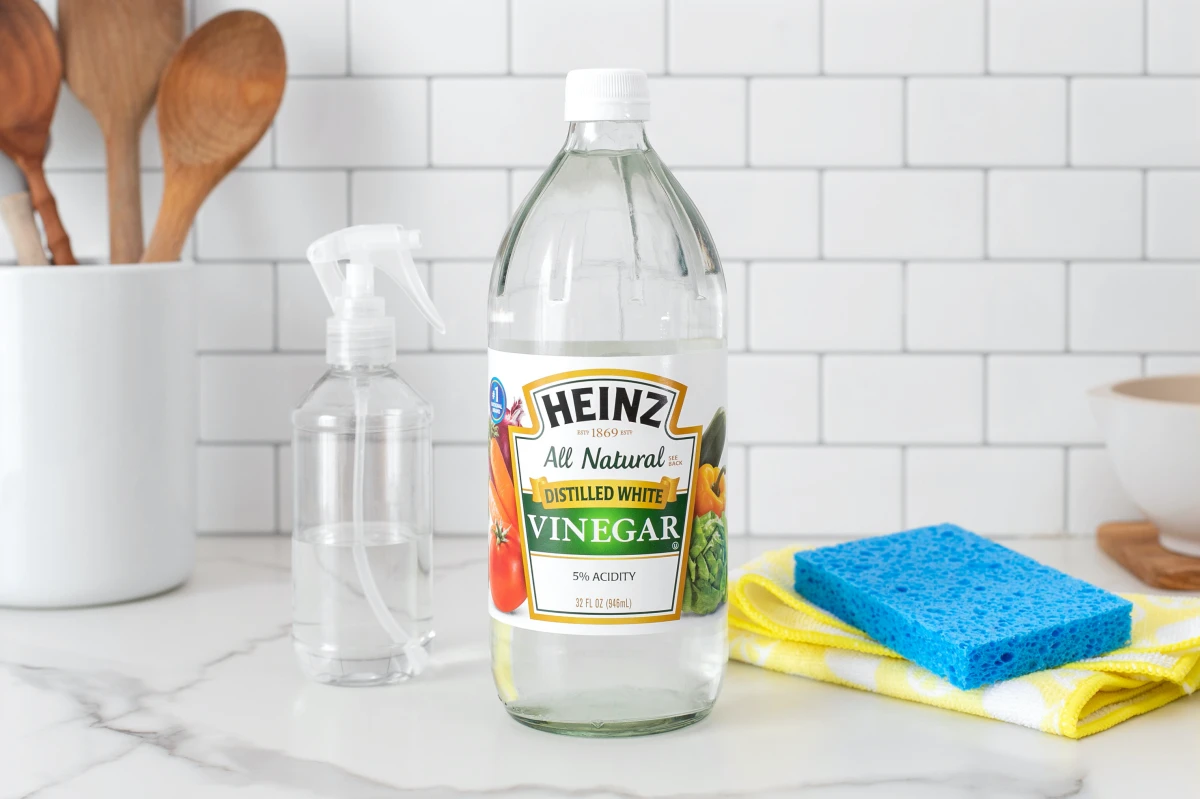
- Your Cleaning Agent: This will either be a big box of baking soda and some white vinegar, or a can of commercial oven cleaner (the ‘fume-free’ versions are a good bet, costing around $8).
- A Bucket and Sponges/Rags: You’ll need one for clean water to rinse with.
Why Is Oven Gunk So Stubborn, Anyway?
To clean something right, you have to know what you’re up against. That black, crusty stuff isn’t just burnt food. When fats and sugars get heated over and over, they go through a chemical process that turns them into a hard, plastic-like polymer. Think of it as a super-strong, greasy coating that laughs at water and regular soap.
This is where the real chemistry of cleaning comes in. Most oven cleaners, whether it’s a store-bought can or just simple baking soda, are alkaline. They work through a process called saponification—which is a fancy word for turning fat into soap. The alkaline cleaner reacts with the fatty acids in that polymerized gunk, breaking them down into a crude, water-soluble soap that you can actually wipe away. This is why you need to let the cleaner sit for a while; that chemical reaction needs time to do its job.
Prepping for Battle: Safety and Workspace Setup
In the pro world, we never, ever start without prepping the area. Rushing this step is how floors get stained and accidents happen. It’s a few minutes of setup that saves hours of headache later.
Your absolute first step is to kill the power. For an electric oven, head to your circuit breaker and flip the switch for the oven. Don’t just turn the knob to ‘Off.’ I’ve heard horror stories of faulty control panels causing heating elements to turn on unexpectedly. For a gas oven, just make sure all the controls are off and you know where the pilot light or igniter is so you don’t soak it.
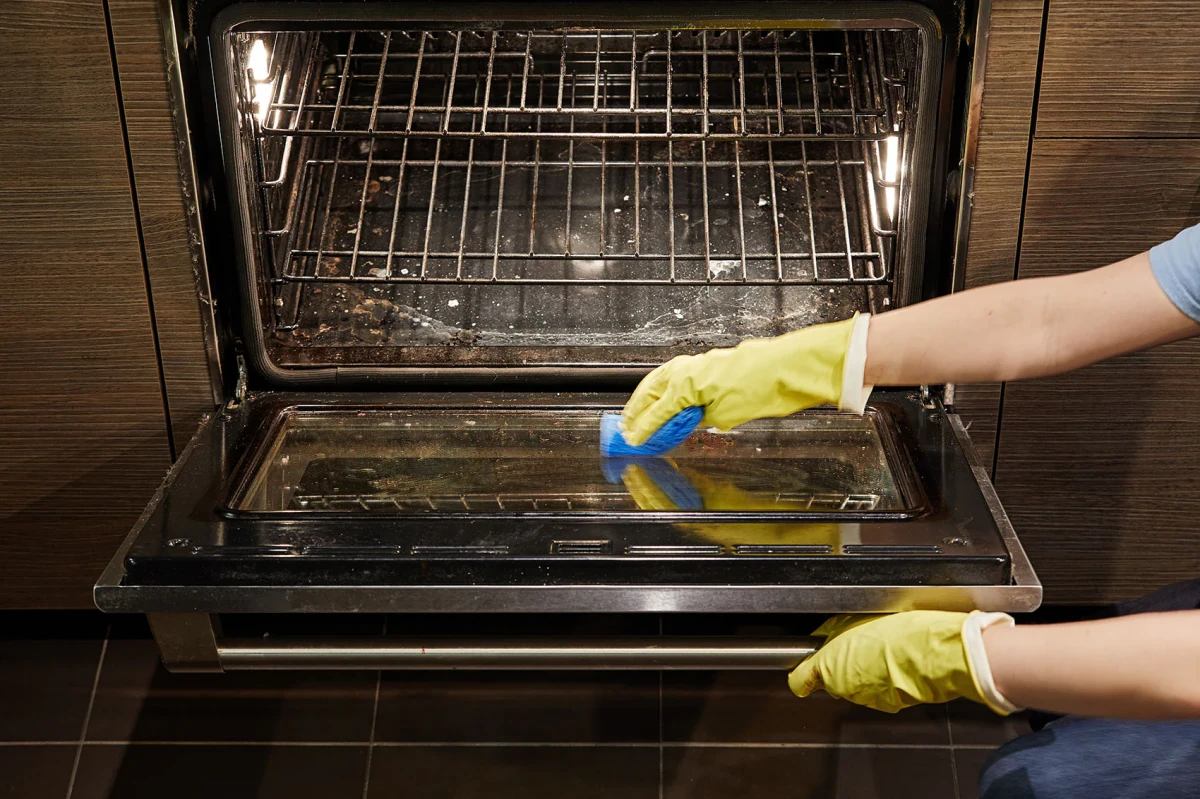
Next, get your gear on. Put on your thick gloves, safety glasses, and some old clothes you don’t care about. Lay your drop cloth or old towels down on the floor in front of the oven to catch all the drips and chunks of grime that will fall out.
Choosing Your Weapon: The Three Main Cleaning Methods
Okay, there’s no single ‘best’ way to clean an oven. It really depends on how dirty it is, how much elbow grease you’re willing to use, and your comfort level with chemicals. Let’s break down the options.
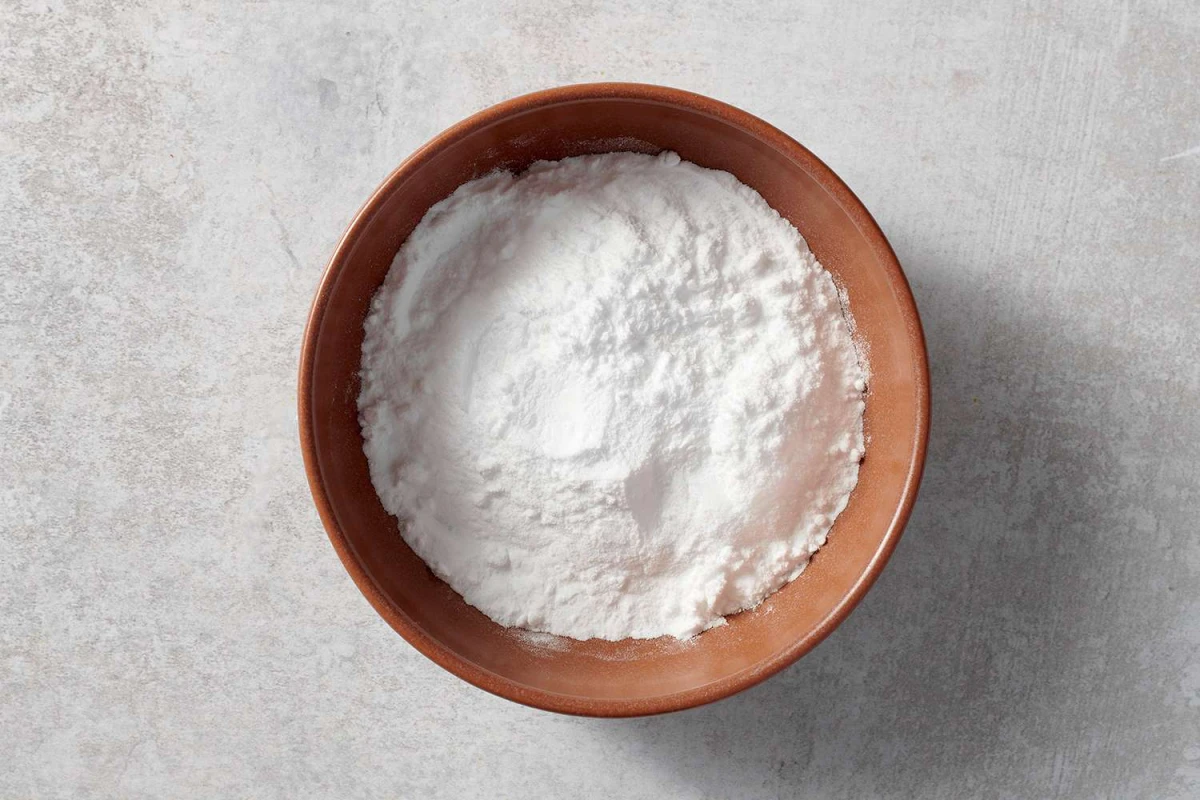
1. The Natural Method: Baking Soda Paste
This is the gentlest and safest approach. It’s surprisingly good for light to moderate grime. Cost-wise, you’re looking at just a few dollars for a box of baking soda and some vinegar. The major trade-off is time and effort. You’ll need to let the paste sit for at least 12 hours, and then you’ll still have a fair bit of scrubbing to do. To be frank, if your oven is a black, carbonized pit, this method might not be enough on its own.
2. The Hands-Off Method: The Self-Cleaning Cycle
This feature works by locking the door and heating the oven to an insane temperature (around 900°F), which incinerates all the gunk into a fine white ash. The cost is ‘free’ in terms of supplies, but it comes with risks. The process releases some pretty nasty fumes (including carbon monoxide), so you MUST ventilate your kitchen extremely well—open windows, run fans. These fumes are especially dangerous for pets, particularly birds. The other big risk? The extreme heat puts a ton of stress on the oven’s electronics. I’ve personally seen a self-clean cycle fry a control board, leading to a costly repair that can run anywhere from $250 to $500. Always pull the oven racks out first; the heat will ruin their finish and make them hard to slide.

3. The Heavy-Duty Method: Commercial Oven Cleaner
This is what you bring out for the really tough jobs—the ovens that haven’t been cleaned in years. These spray-on cleaners use powerful caustic chemicals to dissolve grease fast, usually in just a few hours. A can costs less than $10, but the safety risk is high. You absolutely must wear your gloves and glasses and keep the room ventilated. I once saw a rookie get a nasty chemical burn just from a small drip on his arm. Respect the product! Also, follow the directions exactly. Leaving it on too long can permanently discolor your oven’s interior.
Heads up! What about ‘Continuous-Clean’ Ovens? Some ovens have a special speckled, porous finish that’s designed to burn off spills at normal cooking temperatures. You should NEVER use commercial oven cleaners or abrasive scrubbers on these surfaces. Check your manual, but the cleaning process is usually just wiping with a damp cloth after the oven cools.
The Step-by-Step Professional Process
Alright, let’s get to it. Follow these steps, and you’ll get a professional result every time.
Step 1: Empty the Oven
With the power off, take everything out. I mean everything. The oven racks, any thermometers, and especially those metal ladder-looking frames on the side walls (they usually just lift up and out). You can’t clean the corners if things are in the way.
Step 2: Tackle the Racks
The racks are often the worst part. The best way to clean them is to give them a long soak. Lay an old towel in your bathtub to prevent scratches, place the racks on top, and fill the tub with hot water. Add about half a cup of powdered dishwasher detergent—the powder, like Cascade, has enzymes that are great for this. Pods or liquid soap won’t work as well. Let them soak for at least 4 hours, or even overnight. After soaking, you’ll still need to give them a good scrub with a stiff brush to get the softened grime off. Then just rinse and dry.
Step 3: Clean the Oven Box
Now for the main event. If you’re using the baking soda paste, mix about a cup of it with just enough water to make a thick, frosting-like paste. Slather it all over the inside of the oven—don’t be shy. It’ll start to turn brown, which is a good sign. Let it sit for at least 12 hours. If you’re using a commercial cleaner, just follow the can’s directions carefully.
Good to know: What about the heating elements? They’re usually self-cleaning to a degree. AVOID getting cleaner or paste on them. Once the oven is clean and the power is still off, you can gently wipe a cooled element with a damp cloth to remove any loose debris, but never soak or scrub them.
Step 4: Wipe Out the Grime
This is where the elbow grease comes in. Grab a damp cloth and start wiping out the cleaner. Use your plastic scraper for any really stubborn spots. Once you’ve gotten the worst of it out, spray the inside with a little white vinegar. It will react with any leftover cleaner and foam up, helping to lift the last bits of residue. Wipe it all down one last time with a clean, wet cloth.

Step 5: The Glass Door (The Secret to a Pro Finish)
A clean oven with a streaky door just looks wrong. Many oven doors are designed so you can clean between the panes of glass. Check your user manual first! But typically, you can remove a few screws along the top or bottom of the door, which allows you to separate the panels. Clean both sides of the glass with glass cleaner or your baking soda paste, dry them perfectly, and then reassemble. It’s a game-changer.
Step 6: Final Burn-Off
Put everything back inside—the side supports, the clean racks. Turn the power back on and heat the oven to 400°F for about 20 minutes. This will burn off any leftover cleaning fumes and ensure your next meal tastes like food, not chemicals.
Common Mistakes I’ve Seen (And How to Avoid Them)
Over the years, I’ve seen a few common mistakes that can cause damage or just make the job harder. Here are the big ones to watch out for:
- Using metal scrapers inside the oven. This is a surefire way to scratch and permanently damage the enamel coating. Stick to plastic scrapers or old credit cards.
- Forgetting to ventilate. Whether you’re using the self-clean cycle or a chemical cleaner, you need fresh air. Open a window and turn on your exhaust fan.
- Leaving the racks in during a self-clean cycle. I can’t say it enough. This will warp them and strip their finish, making them a nightmare to use.
- Spraying cleaner on the heating elements or fan. This can damage the components. It’s better to avoid them and wipe them gently later.
- Not giving the cleaner enough time to work. Whether it’s paste or a spray, the chemicals need time to break down the grease. Rushing this step just means you’ll have to scrub way harder.
Keeping Your Oven Clean from Now On
The best way to avoid another massive cleaning session is to stay on top of it. I’d recommend a deep clean like this every 3 to 6 months for the average home. If you roast a lot of fatty meats, you might need to do it more often.
And from my experience, spot cleaning is your best friend. Wipe up spills as soon as the oven is cool enough to touch. You can also buy an oven liner to place on the bottom rack (never on the floor of the oven itself, as it blocks heat flow). It’ll catch any drips and is way easier to clean than the whole oven. With a little maintenance, you can keep that oven looking great and working perfectly for years to come.


