The Pro Chef’s Guide to a Spotless Panini Press (Even the Gross Ones)
I’ve spent a lot of time in professional kitchens, and my first real gig was at a little café where the panini press was basically the heart of the entire lunch rush. We had this heavy, cast-iron beast that ran nonstop for six hours a day. And guess whose job it was to clean it at the end of the night? Yep, mine.
In this article
- First Things First: The Ultimate Mess-Prevention Hack
- Know Your Surface: Why Non-Stick and Cast Iron Are Not the Same
- The 5-Minute Daily Clean: Your New Best Habit
- The Deep Clean: Tackling a Seriously Neglected Press
- Your Essential Cleaning Kit (And What It Costs)
- Common Problems and Quick Fixes
- A Final Word on Safety
- Galerie d’inspiration
I learned fast that a clean press isn’t just about making things look nice. It’s about how well it cooks, keeping food safe, and making sure everything tastes right. A press caked with old grease and burnt cheese just doesn’t heat evenly. It can make a beautiful, fresh sandwich taste like yesterday’s forgotten tuna melt. And honestly, it can be a real breeding ground for bacteria. Gross.
Since then, I’ve cleaned every kind of press imaginable, from those commercial workhorses to the smaller non-stick ones most people have at home. The rules are pretty much the same. A little bit of care after each use saves you from a massive, soul-crushing cleaning job later. This is the method I’ve perfected, adapted from the pros for your kitchen.
First Things First: The Ultimate Mess-Prevention Hack
Before we even get into cleaning, let me share the single greatest trick I know for keeping your press from getting disgusting in the first place. It’s so simple, it feels like cheating.
Use parchment paper.
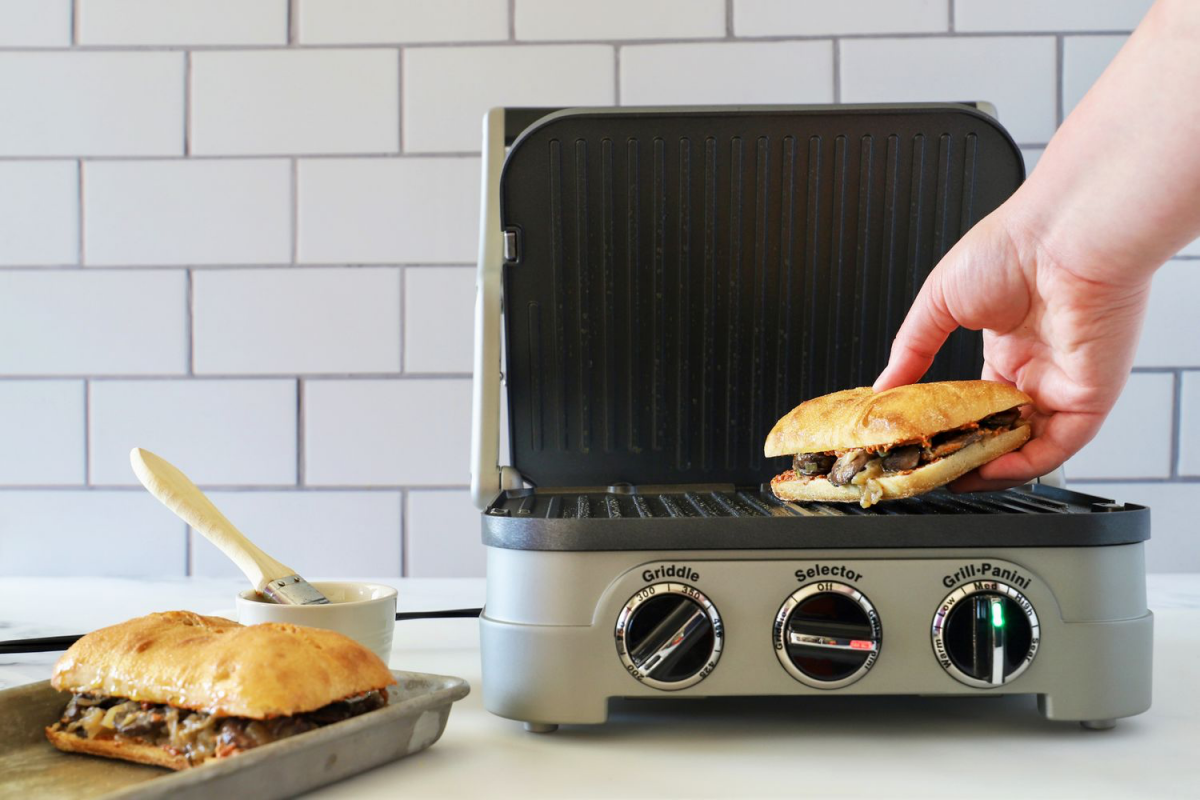
Seriously. If you’re making a sandwich that’s loaded with cheese, sugary sauces (like BBQ or teriyaki), or anything else you know is going to ooze out and create a sticky, burnt-on nightmare, just cut a piece of parchment paper big enough to fold over your sandwich. Place the sandwich inside the parchment, then put the whole packet in the press. The heat transfers through just fine, you still get great grill marks, and any mess stays on the paper, not on your press. It’s a total game-changer.
Know Your Surface: Why Non-Stick and Cast Iron Are Not the Same
Okay, before you grab a sponge, you have to know what you’re working with. The cooking plates on your press are usually one of two things: non-stick coated aluminum or seasoned cast iron. Treating them the same is a surefire way to ruin your appliance.
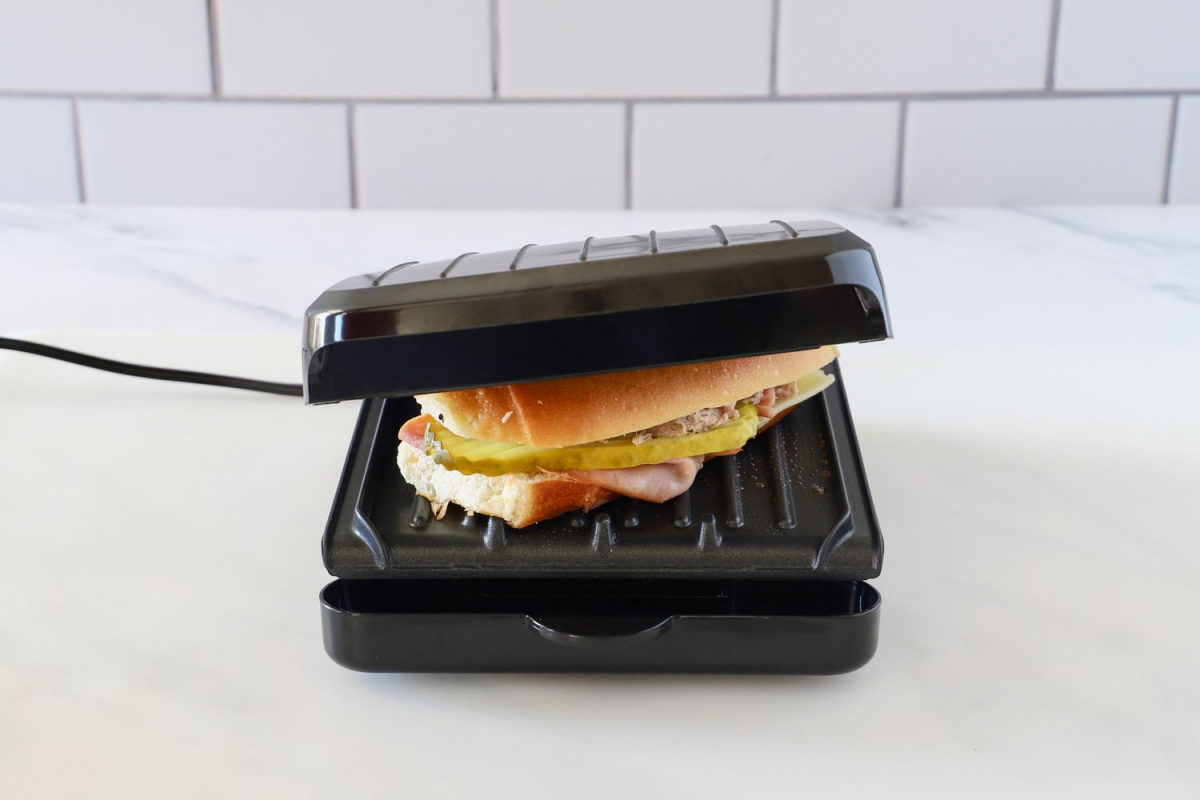
For Non-Stick Coatings (The Delicate One)
Most home presses have a non-stick surface, which is awesome for easy food release but also pretty delicate. Think of it like a high-performance, high-maintenance sports car.
- What’s happening:* The coating looks smooth, but it’s actually microporous. Its magic lies in having very low surface tension, so food just slides off. But metal tools or abrasive scrubbers will scratch it right off. Once it’s scratched, the non-stick magic is gone from that spot forever.
- Heads up! This is critical: NEVER use the green scrubby side of a sponge on a non-stick surface. It creates thousands of tiny scratches that will ruin the coating and make everything stick. Stick to soft cloths and sponges only.
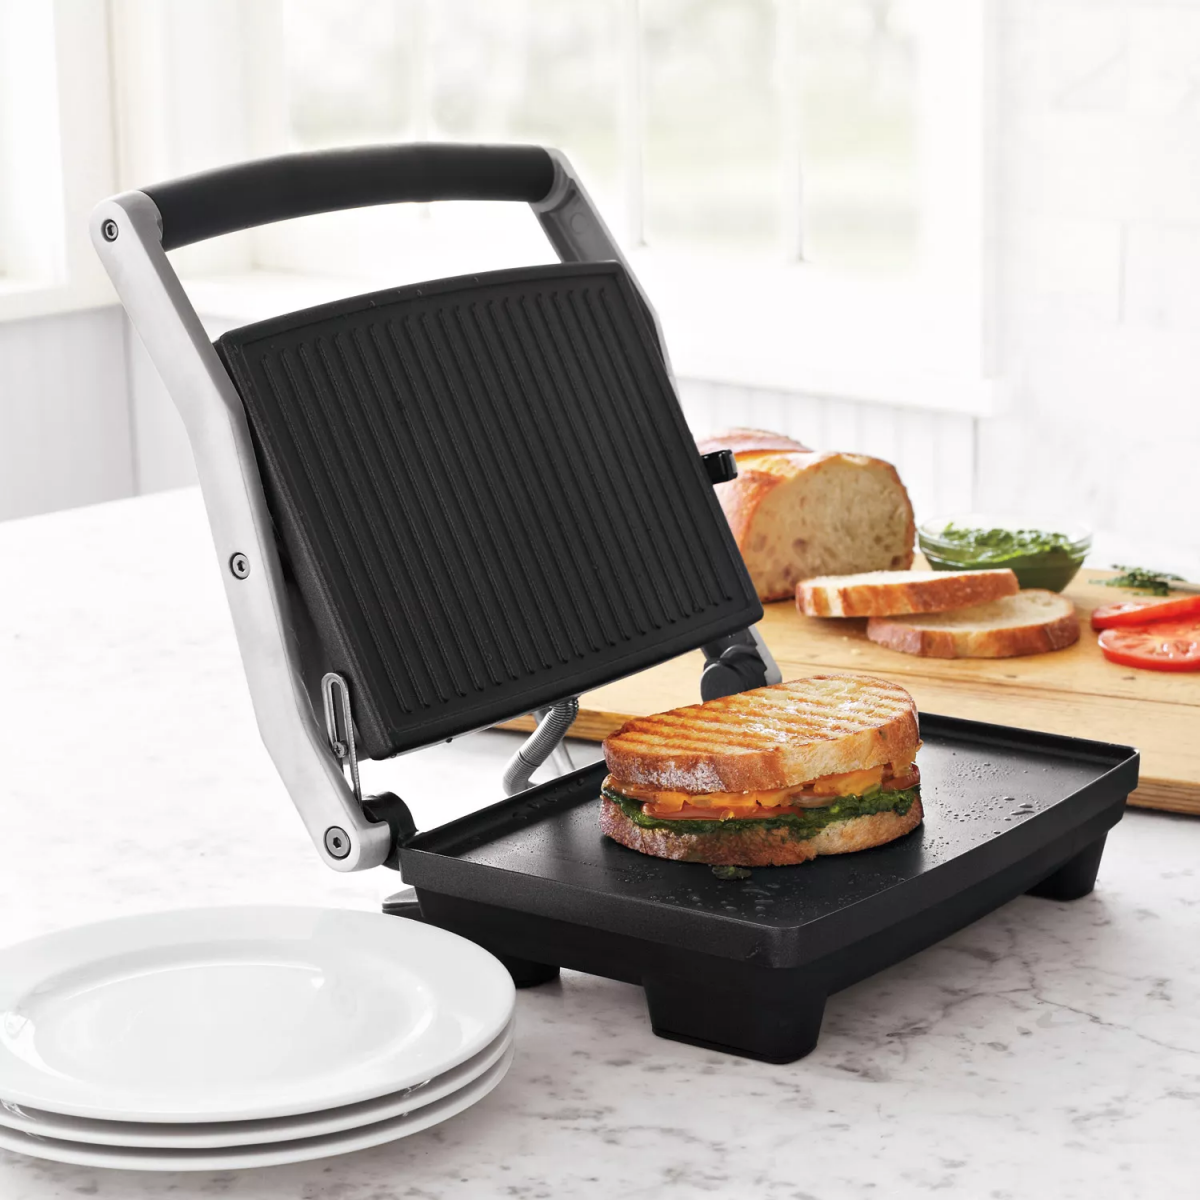
For Seasoned Cast Iron (The Tough One)
You’ll find cast iron on commercial presses and some higher-end home models. These things are built to last and give an incredible crust, but they need a different kind of love.

- What’s happening: Cast iron isn’t naturally non-stick. It gets that way from “seasoning”—a process where oil is baked on at high heat, creating a hard, slick, protective layer. This layer prevents rust and keeps food from sticking.
- The enemy of seasoning: Harsh soaps and letting it soak in water will strip that seasoning right off, leaving the raw iron exposed to rust. Aggressive scraping with sharp metal can also chip it away.
Oh yeah, one more thing: never, ever pour cold water onto a hot press. This is called thermal shock, and it can cause the metal plates (especially cast iron) to warp or even crack. Always let it cool down until it’s just warm to the touch.
The 5-Minute Daily Clean: Your New Best Habit
Back in the café, we never let the press get cold with gunk on it. Cleaning a warm press is ten times easier than wrestling with cold, hardened grease. If you adopt only one habit from this guide, make it this one.
Safety first, always: Turn off and unplug the press. You want it warm, not dangerously hot or electrically live.
- The Steam Trick: This is the secret of every short-order cook. Get a couple of paper towels or a dishcloth, wet it, and fold it into a thick pad. It should be damp, not sopping wet.
- Use Tongs: With the press unplugged but still warm, use long-handled tongs (I can’t stress this enough, don’t use your fingers!) to place the damp cloth on the bottom plate and close the lid.
- Listen for the Sizzle: You’ll hear it sizzle and see steam puffing out. That’s the steam doing the hard work, loosening all the cheese and grease. Let it work its magic for about 30-60 seconds.
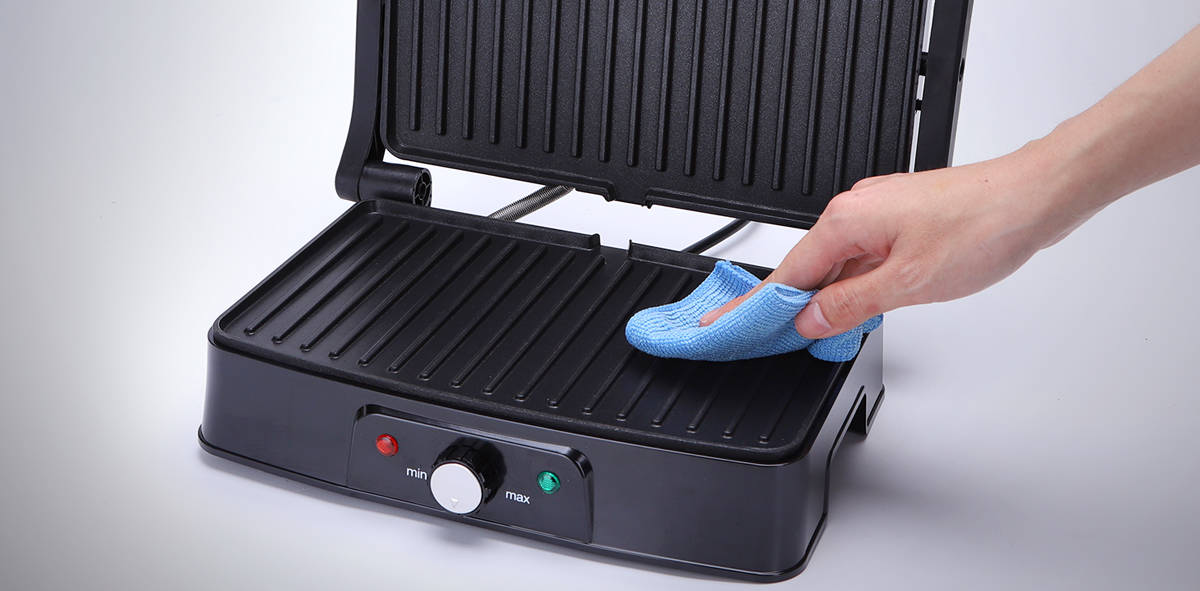
- Wipe It Clean: Open the press and, still using the tongs, carefully wipe down both plates with the hot cloth. The grime should lift right off.
For any stubborn bits that remain, use a scraper. For non-stick, that means a plastic or silicone one. For cast iron, you can use a firm plastic scraper or even a chainmail scrubber. Then, just wipe out the drip tray (pour the grease in the trash, not the sink!) and you’re done.
The Deep Clean: Tackling a Seriously Neglected Press
Okay, so maybe things got out of hand. It happens. Or maybe you picked up a used press that’s seen better days. A deep clean can bring it back to life. Just make sure the press is completely cool before you start.
Quick note on timing: Plan for about 90 minutes for a deep clean, but don’t worry—only about 20 minutes of that is actual hands-on work. The rest is just letting the cleaning solution do its thing.
Deep Cleaning Non-Stick Plates
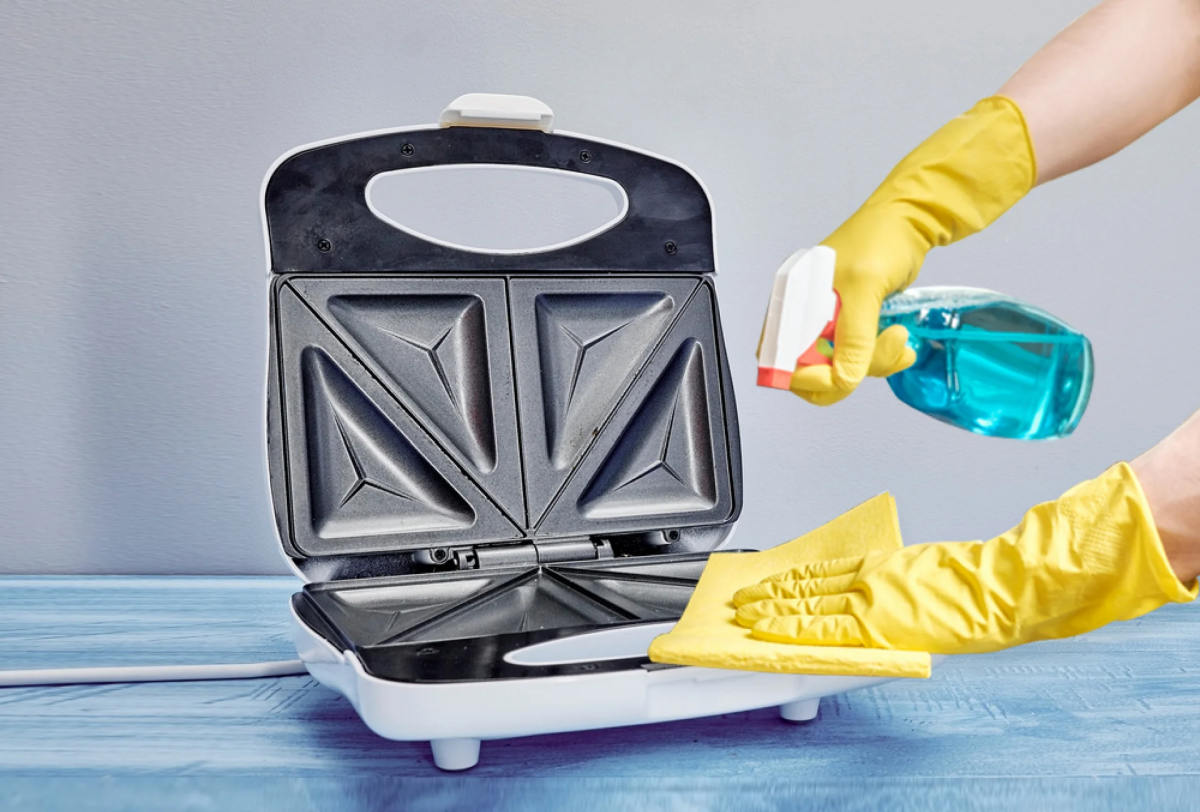
The goal here is to be gentle. We’ll use a simple paste to lift the grime without scrubbing.
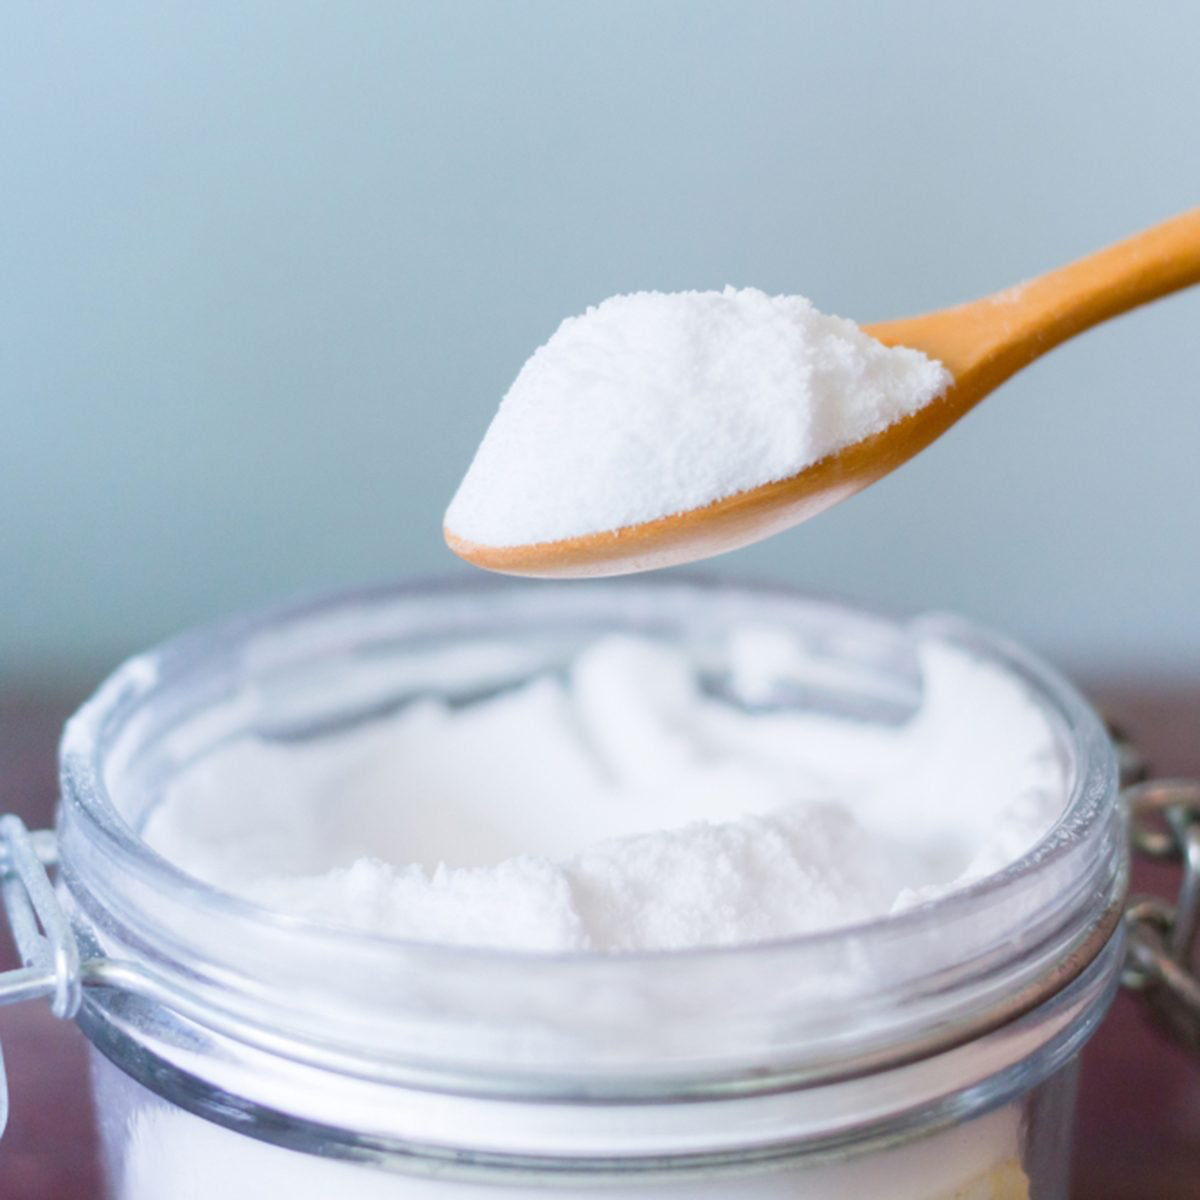
- Make a Paste: Mix about 3 parts baking soda to 1 part water until it’s the consistency of wet sand.
- Apply and Wait: Spread the paste all over the cool cooking plates, really focusing on the burnt-on spots. Let it sit for at least 30 minutes, or even an hour for really tough jobs. Baking soda is alkaline, and it slowly breaks down all that caked-on gunk.
- Wipe Away: Use a soft, damp cloth or sponge to gently wipe the paste away. An old toothbrush is perfect for getting into the grooves. You should feel the grime lift off without much effort.
- Rinse and Dry: Wipe the plates a few more times with a clean, damp cloth to get all the baking soda residue off, then dry everything thoroughly.
The Easy Mode: Cleaning Removable Plates
If your press has plates that pop off, you’ve won the lottery. This makes cleaning incredibly simple. Just pop them off, let them soak in a sink of hot, soapy water for an hour, and then wash them with a non-abrasive sponge. It’s way easier and you don’t have to worry about getting water in the electronics.
Restoring Seasoned Cast Iron
If your cast iron press is rusty or sticky, it’s time to re-season it. It’s a bit of a project, but it’s so satisfying.
- Scrape It Down: With the press cold, use a metal putty knife or scraper to get all the flaky carbon and rust off. Don’t be gentle; you’re building a new surface.
- Wash It: This is one of the rare times you’ll use soap on cast iron. Scrub the plates with hot, soapy water and a stiff brush. Rinse well, and then dry it IMMEDIATELY with a towel. You can even plug it in and turn it on for a minute to evaporate every last drop of moisture and prevent flash rust.
- Re-Season It: With the press on a medium-low heat, apply a very thin* layer of a high-smoke-point oil (grapeseed or canola work great). Use a paper towel to rub it in, then use a clean paper towel to wipe most of it off. You want a matte finish, not a glossy pool of oil. Turn the heat up to medium-high and let it cook for 15-20 minutes, or until the oil stops smoking. Your kitchen will get smoky, so open a window! Let it cool completely. Repeat this 2-3 times for a really durable, non-stick surface.
Your Essential Cleaning Kit (And What It Costs)
You don’t need a bunch of fancy gear. Here’s what I recommend having on hand.
- Long-Handled Tongs: A must-have for the steam-clean method. Non-negotiable for safety.
- High-Temp Nylon Scraper: Perfect for non-stick surfaces. Expect to pay about $5-$10 online or at a kitchen store.
- Soft-Bristle Brush: An old toothbrush is free and works perfectly for plate grooves.
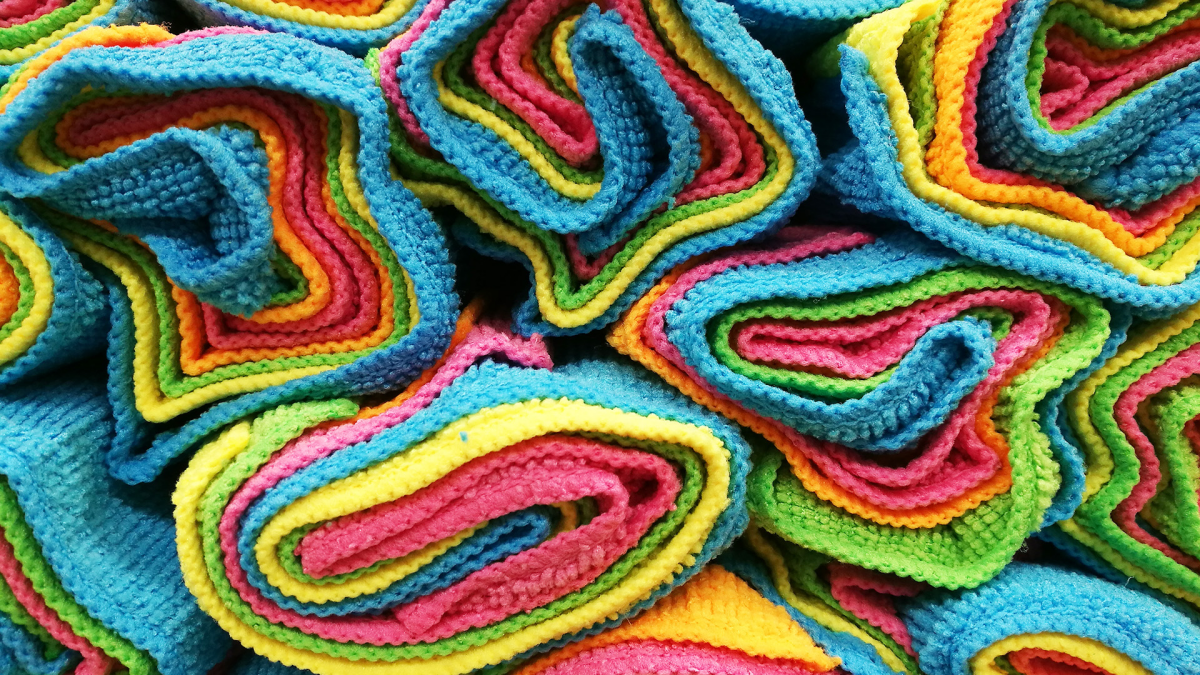
- Microfiber Cloths: Great for lint-free wiping and drying. A pack of them is usually under $15 at places like Home Depot or Target.
- Chainmail Scrubber: For cast iron ONLY. This little gadget is amazing. It’ll run you about $15-$20 on Amazon, and it’s worth every penny if you have cast iron.
- Baking Soda & White Vinegar: The cheapest and most effective cleaners in your pantry.
- High-Smoke-Point Oil: A small bottle of grapeseed or canola oil for seasoning.
Common Problems and Quick Fixes
The Problem: Welded-on cheese that acts like superglue.
The Fix: The hot steam trick is your best friend. It re-melts the cheese, allowing you to wipe it away. If it’s already cold and hard, the baking soda paste is the way to go.

The Problem: A black, sticky glaze from sugary sauces.
The Fix: Clean it right away while it’s still warm. If the sugar has already carbonized, you’ll need the baking soda paste to break it down.
The Problem: Lingering smells from garlic, onions, or fish.
The Fix: After cleaning, wipe the cool plates with a 50/50 mix of white vinegar and water. Let it sit for a few minutes, then wipe with a plain damp cloth to remove the vinegar smell. The vinegar neutralizes the odors.
A Final Word on Safety
Look, a panini press is a powerful heating appliance. I’ve seen enough minor burns and shocks in a pro kitchen to know you have to respect it.
- Unplug it first. Period. Water and electricity are a terrible combination.
- Respect the heat. The body of the press can stay hot long after the plates feel cool. I have the little white scars on my forearm to prove it. Be careful.
- Ventilate when seasoning. That process creates smoke. It’s normal, but you don’t want to be breathing it in. Open a window.
Taking care of your press isn’t just a chore; it’s part of the craft. A clean, happy press is a reliable tool that will make you delicious food for years. A few minutes of care is a small price to pay for that next perfect sandwich.

Galerie d’inspiration

What about that stubborn, black gunk that seems fossilized onto the plates?
For a powerful, non-toxic solution, turn to your pantry. Mix baking soda with a little water to form a thick paste. Unplug the press and, once it’s completely cool, apply the paste to the tough spots. Let it sit for about an hour to break down the grease, then wipe it away with a damp cloth. It’s a cheap, effective, and food-safe method that works wonders on both non-stick and cast-iron surfaces without harsh chemicals.
Over 60% of home cooks report that hard-to-clean appliances are a major deterrent to using them regularly.
This is especially true for panini presses where melted cheese can seem like a permanent fixture. The secret to avoiding this cleaning fatigue is consistency. A simple wipe-down while the press is still warm takes less than 30 seconds and prevents the build-up that makes the task feel monumental later on.
The #1 post-cleaning mistake: Forgetting to re-season a cast-iron press. After cleaning with water, wipe a very thin layer of a high smoke point oil (like grapeseed or canola) onto the warm plates with a paper towel. This protects against rust and maintains its non-stick quality for your next perfect sandwich.