Your Coffee Tastes Off? It’s Probably Your Machine. Here’s How to Fix It.
I’ve spent a good chunk of my life with my hands inside coffee machines, from the high-end commercial units in bustling cafes to the drip brewer on my own kitchen counter. And the first thing I learned—and the first thing I always teach—isn’t some secret brewing technique. It’s how to properly clean the machine.
In this article
So many people think cleaning is just about making it look nice. But that’s not even half the story. A dirty coffee maker doesn’t just look bad; it brews genuinely terrible coffee. And honestly, it can even be a little bit gross for your health.
Think about it. Coffee beans are packed with natural oils. They’re what give your brew that amazing aroma and rich flavor. But over time, those oils build up inside the machine, turn rancid, and leave a bitter, stale taste that will ruin even the priciest single-origin beans. At the same time, the water you use leaves behind mineral deposits—we call it scale—inside the guts of your machine. This forces it to work harder and struggle to get the water hot enough, leaving you with sour, under-extracted coffee. Oh yeah, and the warm, dark, wet environment inside that water tank? It’s a five-star resort for mold and bacteria.
So, this isn’t about quick, flimsy tricks. This is the real-deal method for keeping your coffee maker in top shape. We’ll get into what’s actually causing the grime and the right way to get rid of it. Follow these steps, and I guarantee your coffee will taste better, your machine will last longer, and you’ll know every cup is perfectly clean.
What’s Actually Clogging Up Your Coffee Maker?
Knowing what you’re fighting makes the battle a whole lot easier. There are three main culprits conspiring against your morning cup, and each one needs a different battle plan.
- Mineral Scale: You know that chalky white stuff that builds up on your faucets? That’s limescale, and the same thing is happening inside your coffee maker’s heating elements and pipes. It’s caused by minerals like calcium and magnesium that are in most tap water. This scale is a terrible heat conductor, meaning it prevents your machine from reaching the ideal brew temperature (which is between 195°F and 205°F). Water that’s too cool makes for a weak and sour cup of coffee.
- Rancid Coffee Oils: Coffee oils are fantastic when they’re fresh, but they don’t all make it into your mug. A thin film coats everything—the carafe, the filter basket, the internal tubing. When exposed to air and heat, these oils oxidize and go rancid, creating a nasty, harsh flavor. If your coffee suddenly starts tasting bitter, it’s probably old oil buildup, not your beans.
- The Germy Stuff (Bacteria & Mold): Let’s be frank: a coffee reservoir is a paradise for germs. It’s dark, damp, and warm. Public health organizations have found that these reservoirs are often one of the grimiest spots in the kitchen. Leaving the lid off to air-dry helps, but it’s no substitute for a real cleaning.

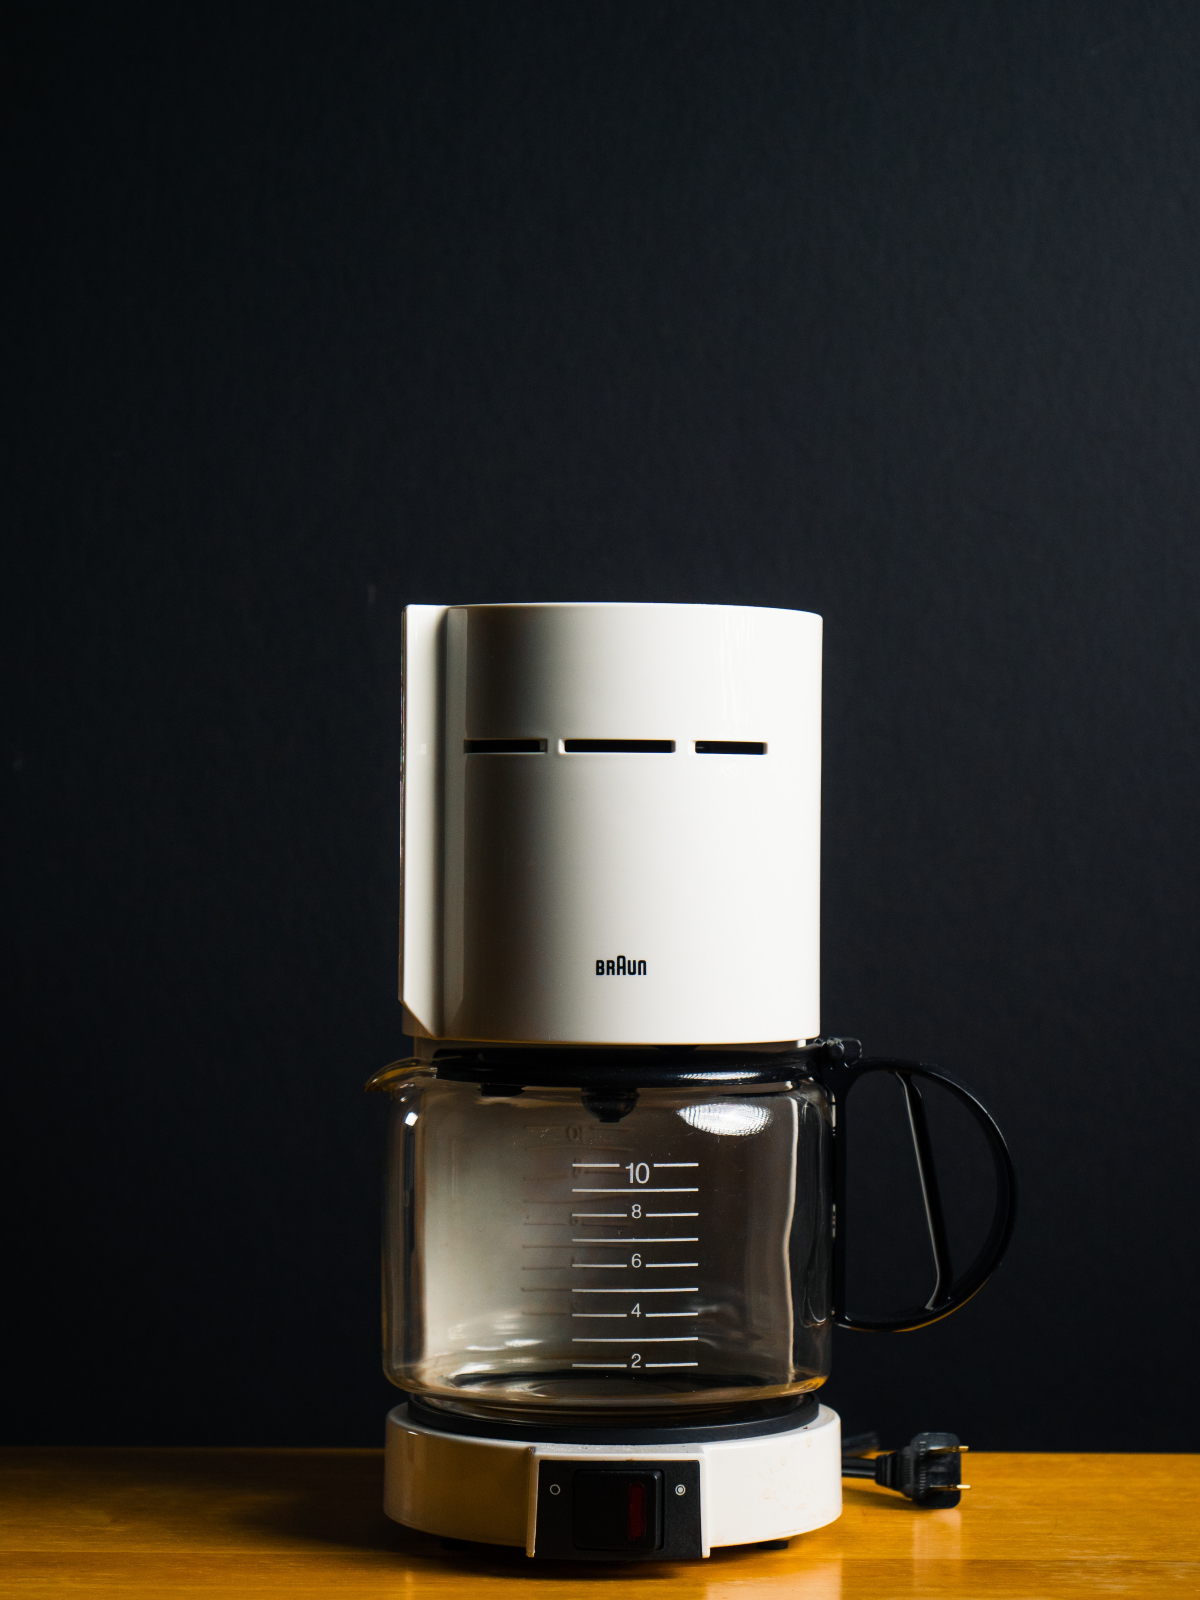
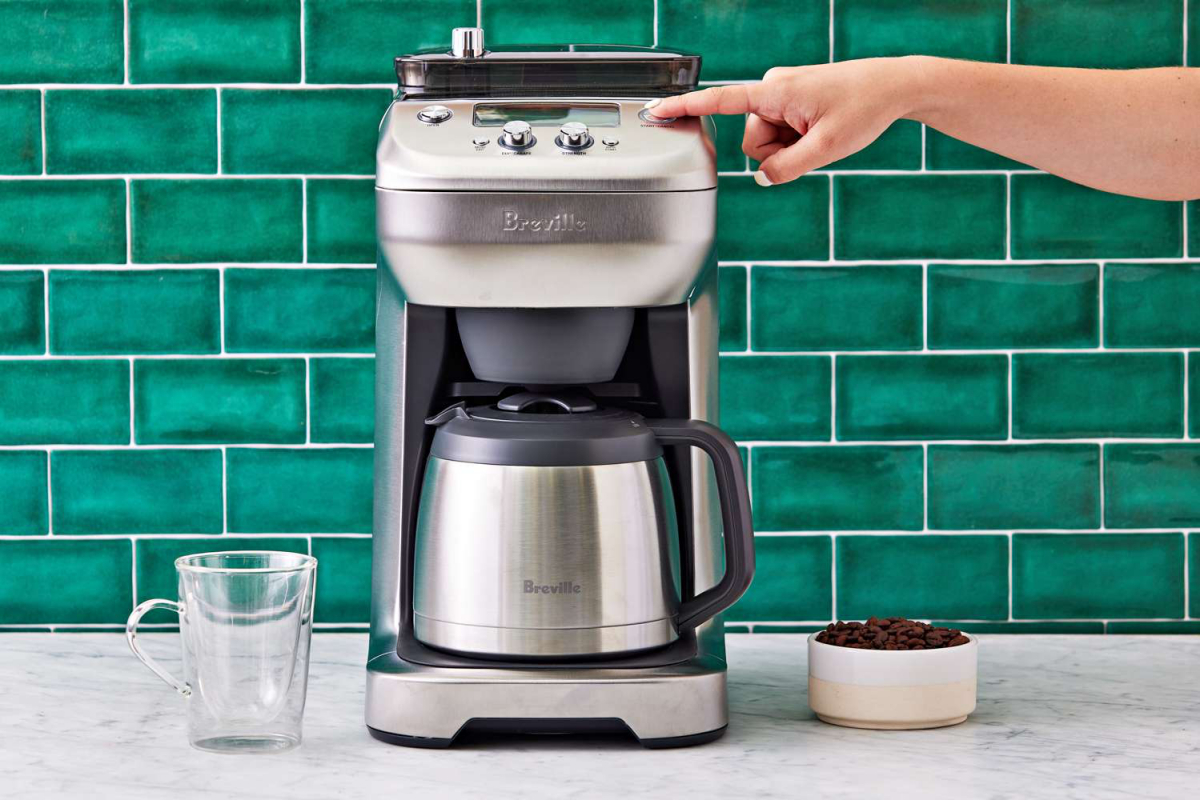
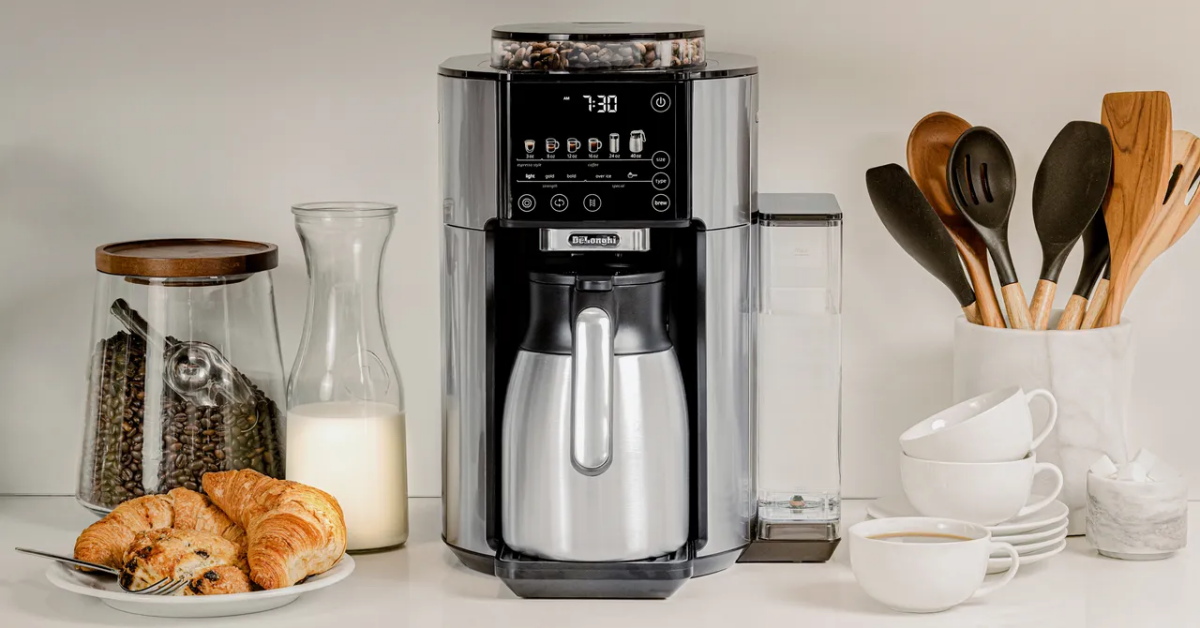
How to Properly Clean Your Drip Coffee Maker
Your standard automatic drip machine is the workhorse of most homes. To clean it right, you need to tackle two different jobs: descaling (for minerals) and deep cleaning (for oils and gunk).
Your Cleaning Toolkit
You don’t need a ton of fancy gear, but the right tools make all the difference. Here’s what I recommend having on hand:
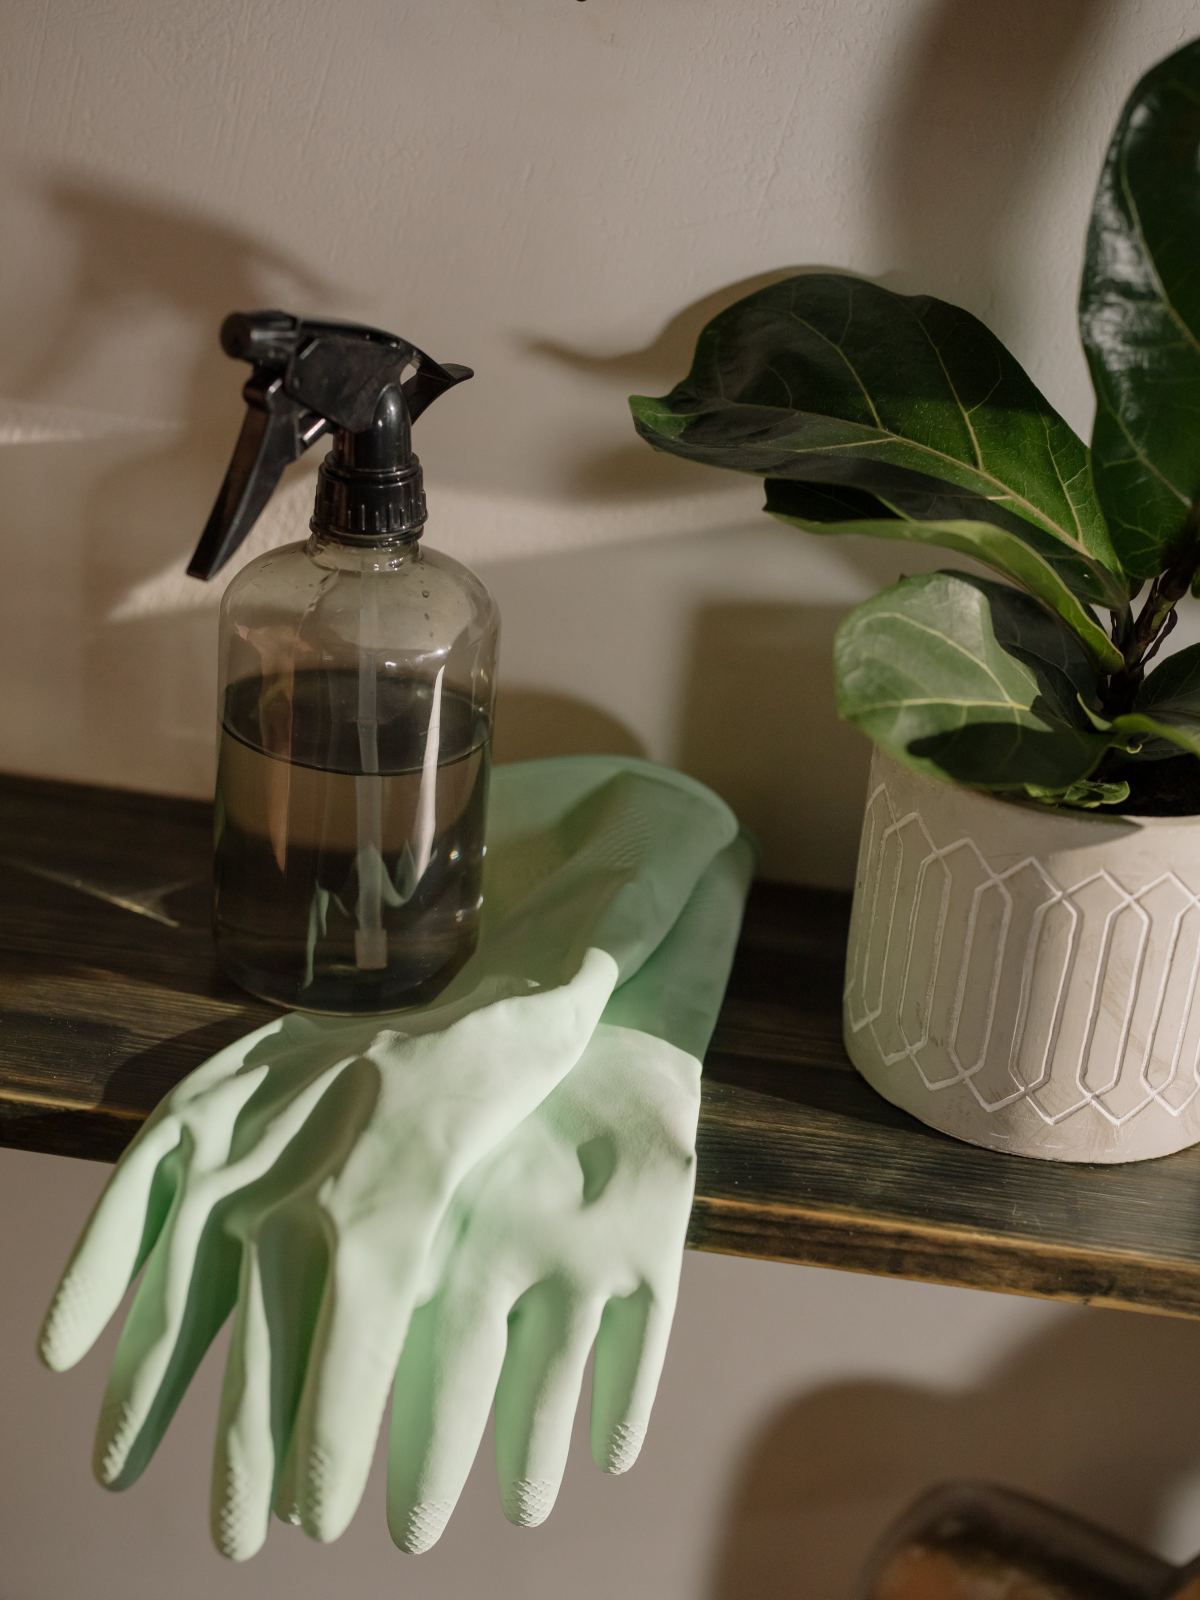
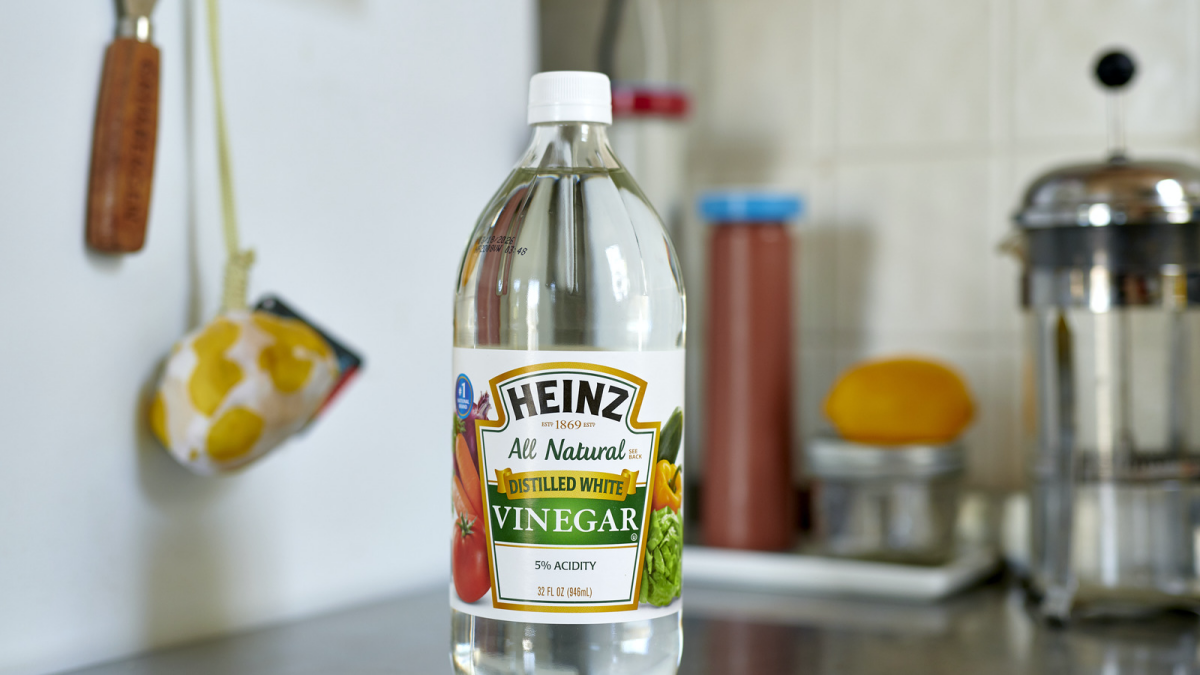
- Distilled White Vinegar: The classic, cheap, and effective choice for breaking down mineral scale. Just make sure it’s the standard 5% acidity.
- Commercial Descaling Solution: A product specifically made for coffee machines, like Dezcal, works faster and is odorless. A bottle usually runs about $12 and will give you 4-5 cleaning sessions. You can find it online or at most home goods stores.
- Coffee Equipment Cleaning Powder: To tackle those stubborn oils, a powder like Cafiza is your best friend. It’s way more effective than dish soap, which can leave behind scented residues that mess with your coffee’s flavor. A jar costs around $15-$20 but will last you a very long time.
- A Soft Bottle Brush: Absolutely essential for getting inside the carafe and other tight spots.
- A Small Detail Brush: An old toothbrush works perfectly for this. You’ll need it for the filter basket and spray head.
- Microfiber Cloths: For a streak-free wipe-down of the exterior.
The Descaling Process (For Mineral Buildup)
Heads up! How often you do this depends entirely on your water. If you have hard water (you’ll see white spots on your faucets), you need to do this monthly. If your water is soft, you can probably get away with doing it every three months.
Plan for about 90 minutes from start to finish. But don’t sweat it—only about 15 minutes of that is actual work. The rest is just waiting.
- Prep the Machine: Make sure the machine is empty. No old grounds, no leftover coffee.
- Mix the Solution: Fill the water reservoir with a 50/50 mix of white vinegar and water. A stronger vinegar mix isn’t better and is just harder to rinse out.
- Start a Half-Cycle: Turn the machine on and let it run until the reservoir is about half empty.
- Stop and Soak: Now, turn the machine off. Let that hot vinegar solution sit inside the machine for a solid 60 minutes. This is the magic step where the acid does its work dissolving the scale. You might even hear a little fizzing—that’s a good sign!
- Finish and Rinse (The Most Important Part): Turn the machine back on and let the rest of the solution run through. Now, dump out the vinegar water. Fill the reservoir with fresh, clean water and run a full brew cycle. Do this at least two more times. After the third rinse, give the inside of the machine a sniff. If you still smell vinegar, run one more water-only cycle.
So, Vinegar or a Commercial Descaler?
Honestly, it just depends on what you prefer. I’ve used both extensively.
Vinegar is super cheap and you probably already have it. It gets the job done perfectly well. The only downsides are the smell (your kitchen will smell like a salad for a bit) and the time—that 60-minute soak is mandatory.
A commercial descaler, on the other hand, is faster and has no odor. You typically just run it through without the long waiting period. However, it does cost more. From my experience, it’s worth the small investment for the convenience. But either way, the goal is the same: dissolve those minerals!
Quick Tip: Whichever you use, I always run one more fresh-water rinse cycle than the instructions (or I) recommend. It’s my ‘just in case’ cycle to ensure absolutely no cleaning residue ends up in my next cup.
The Deep Cleaning Process (For Oily Gunk)
This is what you should be doing every week or two to handle the coffee oils.
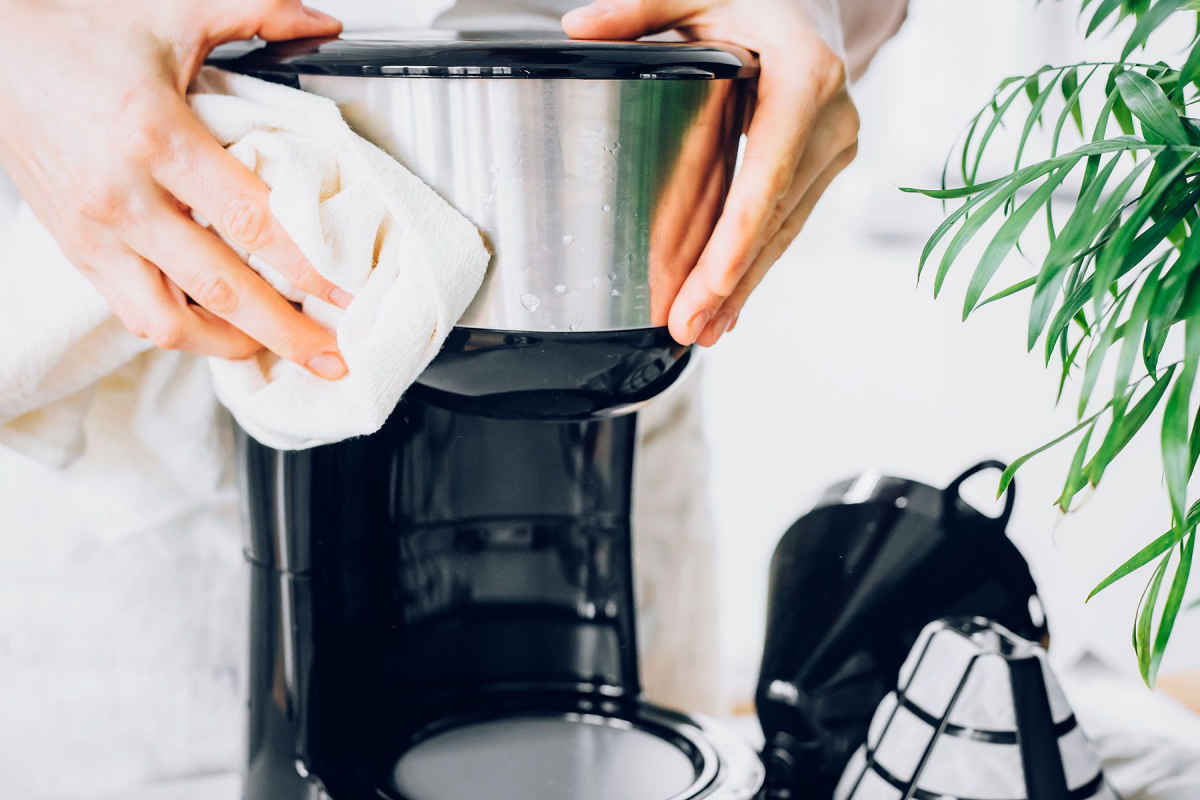
- Disassemble: First, UNPLUG the machine. Take out the carafe, the filter basket, and the water reservoir if it’s removable.
- Make a Soaking Bath: In your sink, mix warm water with a dose of coffee cleaning powder (like Cafiza). If you don’t have any, a couple of tablespoons of baking soda in warm water can also work in a pinch. I’d advise against dish soap here; its perfumes can cling to plastic.
- Soak the Parts: Let the carafe and filter basket soak for about 30 minutes. You’ll see the water turn a disgusting murky brown—that’s how you know it’s working! It’s deeply satisfying.
- Scrub Away: After the soak, use your brushes to scrub everything. The bottle brush for the carafe, and the small brush for the filter basket and the spray head (where the water comes out). Don’t forget that spray head; it gets clogged easily.
- Rinse and Air-Dry: Rinse every part with clean water and let them air-dry completely before putting the machine back together. This helps prevent any mold from getting a foothold.
No time for a full clean? Here’s a 2-minute win: After you pour your coffee, make a quick paste with baking soda and water. Use it to scrub the inside of the still-warm carafe. It cuts through those fresh coffee stains instantly.

What About Other Kinds of Brewers?
The principles are the same, but the methods change a bit for different gear.
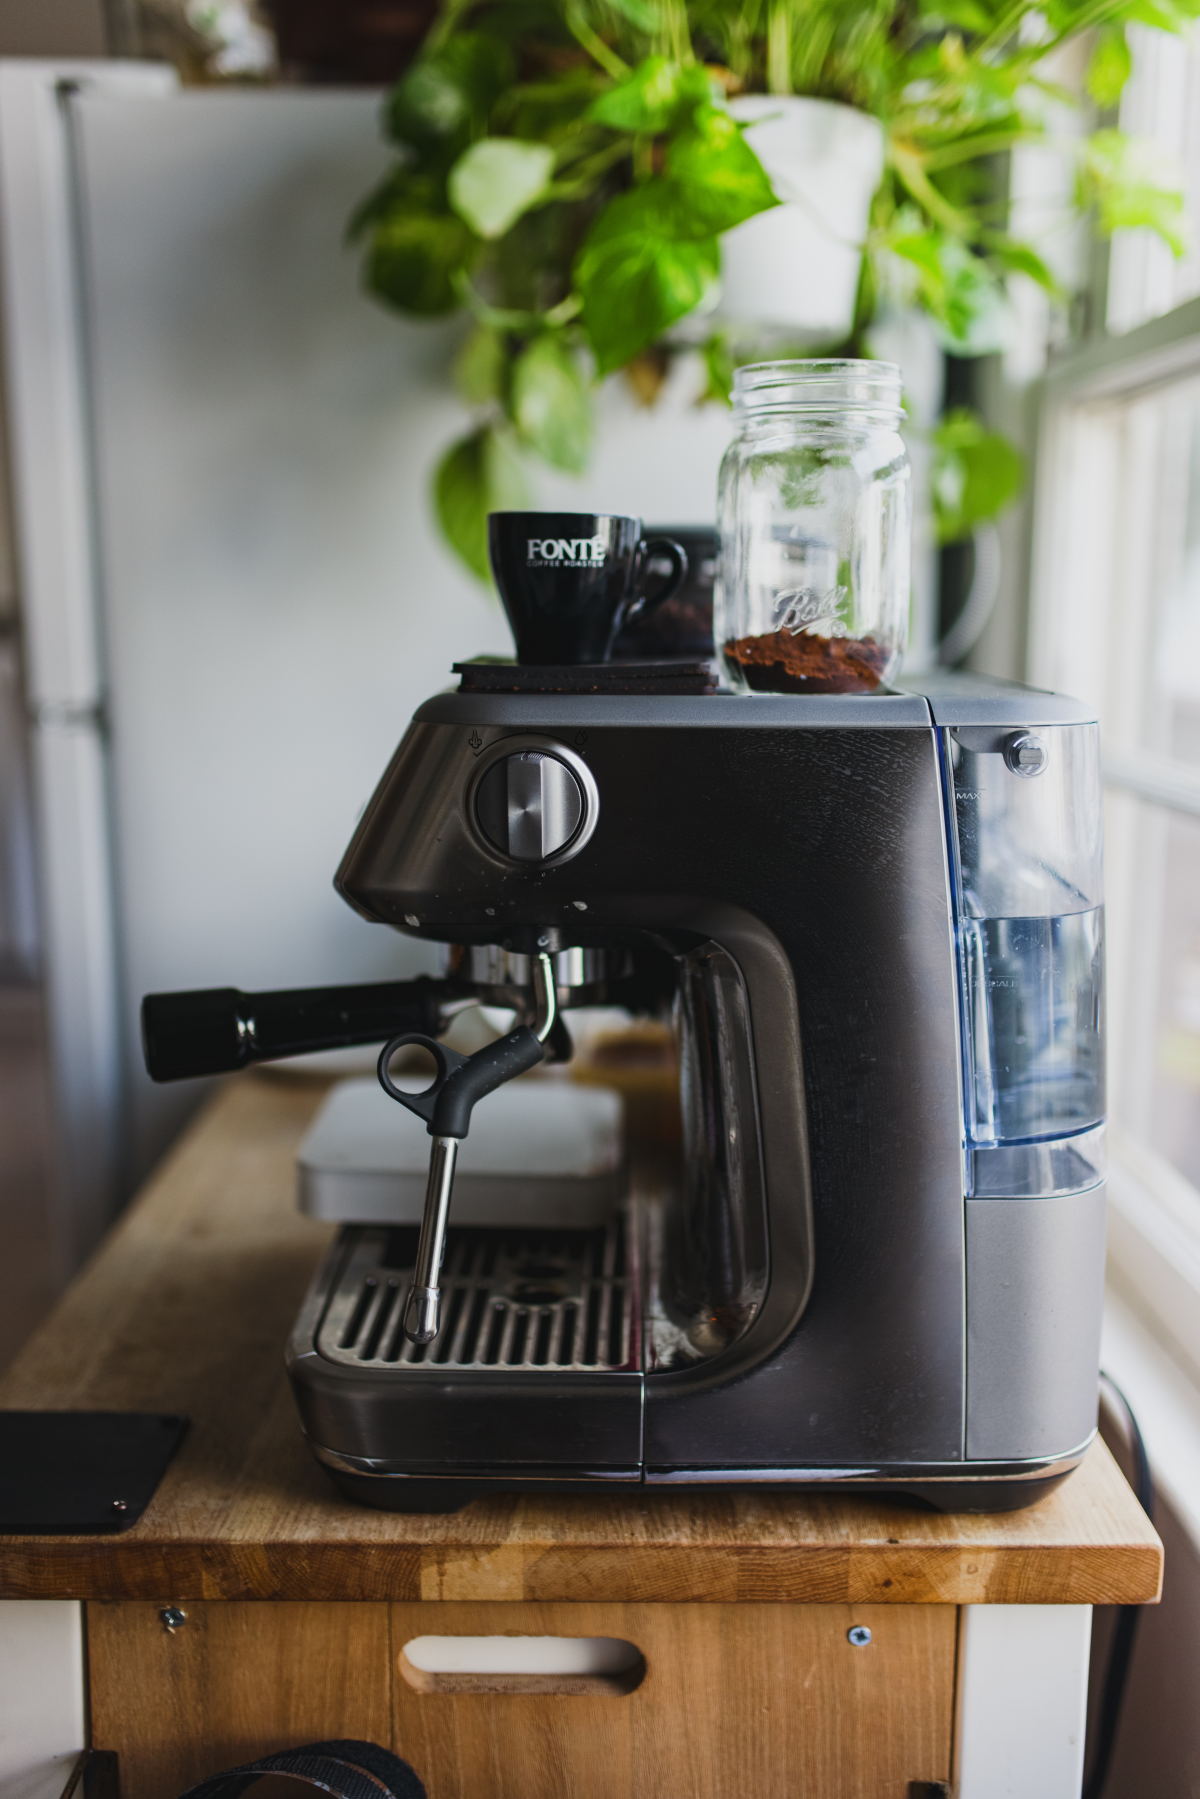
- Espresso Machines: Okay, this is serious equipment. ALWAYS read your manual first, as some cleaning methods can void your warranty. The most important task is backflushing, which cleans out the machine’s group head. You’ll need a special ‘blind basket’—it’s just a filter basket with no holes that you pop into your portafilter. You can grab one online for about $10. You use it with an espresso machine cleaner to force cleaning solution back through the system. For home use, doing this once a week is a great habit.
- French Press & Pour-Overs: These are simpler but still need love. For a French press, you have to completely take apart the plunger and mesh filter. Use a brush to scrub that fine mesh screen to get rid of trapped grounds and oils. For pour-over drippers (like the cone-shaped or flat-bottom ones), a good scrub with a brush and some coffee cleaning powder will remove those brown oil stains and keep them looking new.
A Final Word on Safety (And a Lesson I Learned the Hard Way)
We’re mixing water and electricity here, so let’s be smart about it.
ALWAYS unplug your coffee maker before cleaning it. I once heard about someone getting a nasty shock trying to wipe down a plugged-in warming plate with a wet rag. It takes two seconds to unplug. Just do it.
Also, let the machine cool down completely. The warming plate and a fresh pot of coffee are incredibly hot and can cause serious burns. And please, never mix cleaning agents, especially vinegar and bleach—it can create toxic gas.
Here’s a little story. Early in my career, I was rushing to clean a big commercial brewer at the end of a long day. I descaled it but didn’t run enough rinse cycles. The next morning, the first batch of coffee tasted horribly acidic. We had to dump pounds of expensive beans and start over. It was an embarrassing mistake that taught me a crucial lesson: never, ever rush the rinsing. That’s why I now live by my rule: when you think you’re done rinsing, do it one more time.
Your Simple Coffee Maker Cleaning Schedule
Caring for your gear shouldn’t feel like a chore. Think of it as part of the ritual of making great coffee. A clean machine lets you taste the coffee for what it is—whether it’s the bright, fruity notes of an African bean or the rich, chocolatey body of a Latin American one. Here’s how to make it easy:
- Daily: After your last cup, empty the grounds, rinse the carafe and filter basket, and leave the reservoir lid open to air-dry.
- Weekly: Do a deep clean. Soak the removable parts in a coffee-specific cleaner to remove oils.
- Monthly (or every 3 months): Descale the machine with vinegar or a commercial solution to remove mineral buildup.
That’s it. By following this simple routine, your coffee will be consistently better, your machine will live a long and happy life, and you’ll have peace of mind knowing every single cup is as pure as it gets.
Galerie d’inspiration
The DIY Route: White Vinegar. A 50/50 solution of white vinegar and water is the classic, budget-friendly descaler. It’s effective at breaking down mineral deposits and is likely already in your pantry. However, its strong acetic acid can be harsh on certain rubber seals over time, and it requires multiple, thorough rinse cycles to avoid a vinegary tang in your next brew.
The Pro-Grade Option: Commercial Descaler. Products like Urnex Dezcal are specifically formulated with citric acid and other agents to dissolve scale without harming your machine’s delicate internal components. They are odorless, rinse away cleanly, and are often recommended by machine manufacturers. While it costs more, it’s a targeted, safer bet for preserving your investment.
Ultimately, your choice depends on your machine and budget. For a simple drip brewer, vinegar works. For a pricier espresso machine, sticking to a dedicated descaler is smart insurance.


