That Sticky Kitchen Film is Gross. Here’s How to Get Rid of It for Good.
I’ve spent a ton of time in kitchens, from busy commercial spots to regular home setups, and let me tell you, grease is the one thing they all have in common. It doesn’t matter if you’re searing a steak or just frying an egg. That stuff gets everywhere. It creates this fine, sticky film that just grabs onto dust and grime, and over time, it hardens into a stubborn, yellowish varnish. I’ve seen it clog up ventilation systems and completely ruin beautiful cabinets. So yeah, cleaning it isn’t just about making things look nice—it’s about safety and taking care of the heart of your home.
In this article
A lot of people just grab a wet sponge, scrub like crazy, and end up frustrated. But here’s the thing: fresh grease splatters and that old, hardened gunk are two totally different animals. Understanding what you’re really up against is the first step. This isn’t just a mess; it’s a chemical reaction happening on your backsplash, and you need the right strategy, not just more elbow grease, to win.

First, Know Your Enemy: The Science of Grease
Before you start scrubbing, it helps to know what you’re fighting. Kitchen grease is basically fats and oils. These molecules hate water (the technical term is hydrophobic), which is why a simple wet cloth just smears the gunk around. You need something that can either break down the fat molecules or surround them so water can finally wash them away.
Fresh grease? Relatively easy. The real monster is what happens over time. When grease gets hit with heat, light, and air, its molecules link together to form these long, tough chains. Think of it like liquid honey slowly hardening into a solid candy. This process, called polymerization, creates that gross, sticky, plastic-like coating you find on top of your cabinets or on the range hood. It’s no longer a simple oil; it’s a durable film that laughs at most basic cleaners.
This is where your cleaners become superheroes. They work in a few different ways:

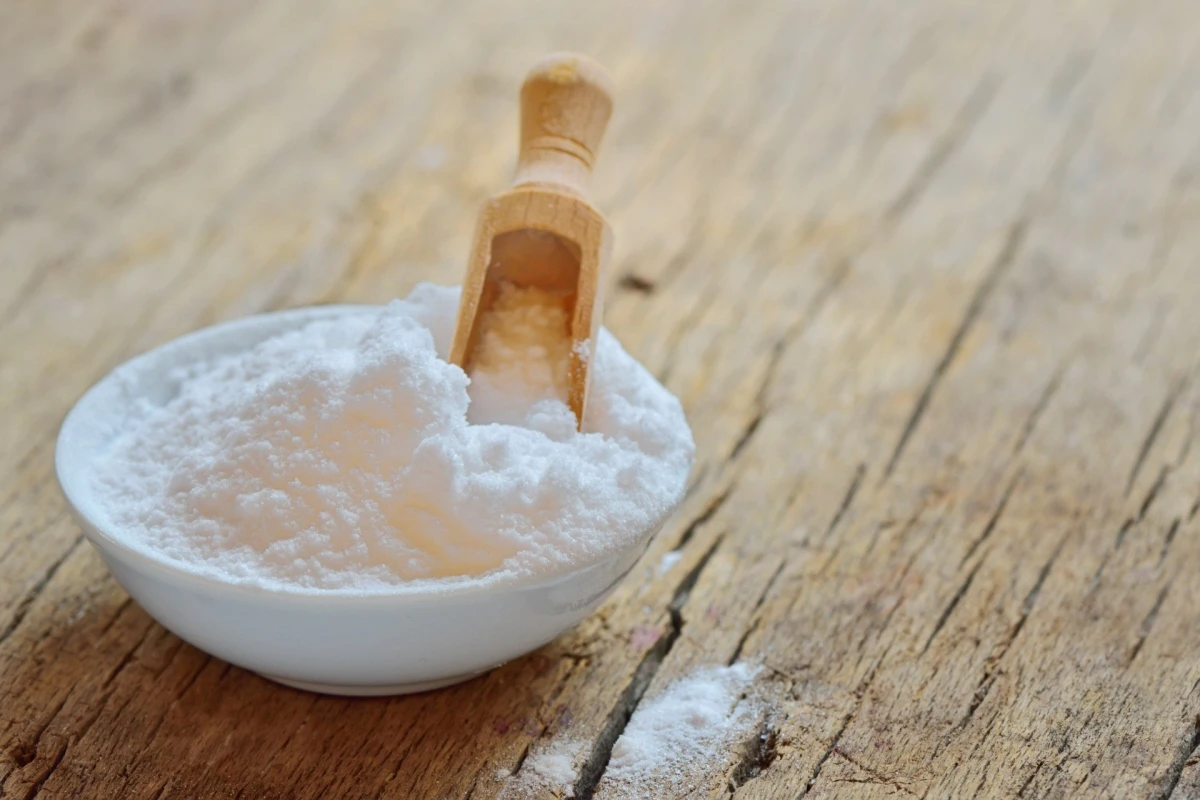
- Alkaline Cleaners: An alkaline solution (the opposite of an acid) reacts with fat to create a simple, water-soluble soap. This is called saponification. Baking soda is a super mild version of this.
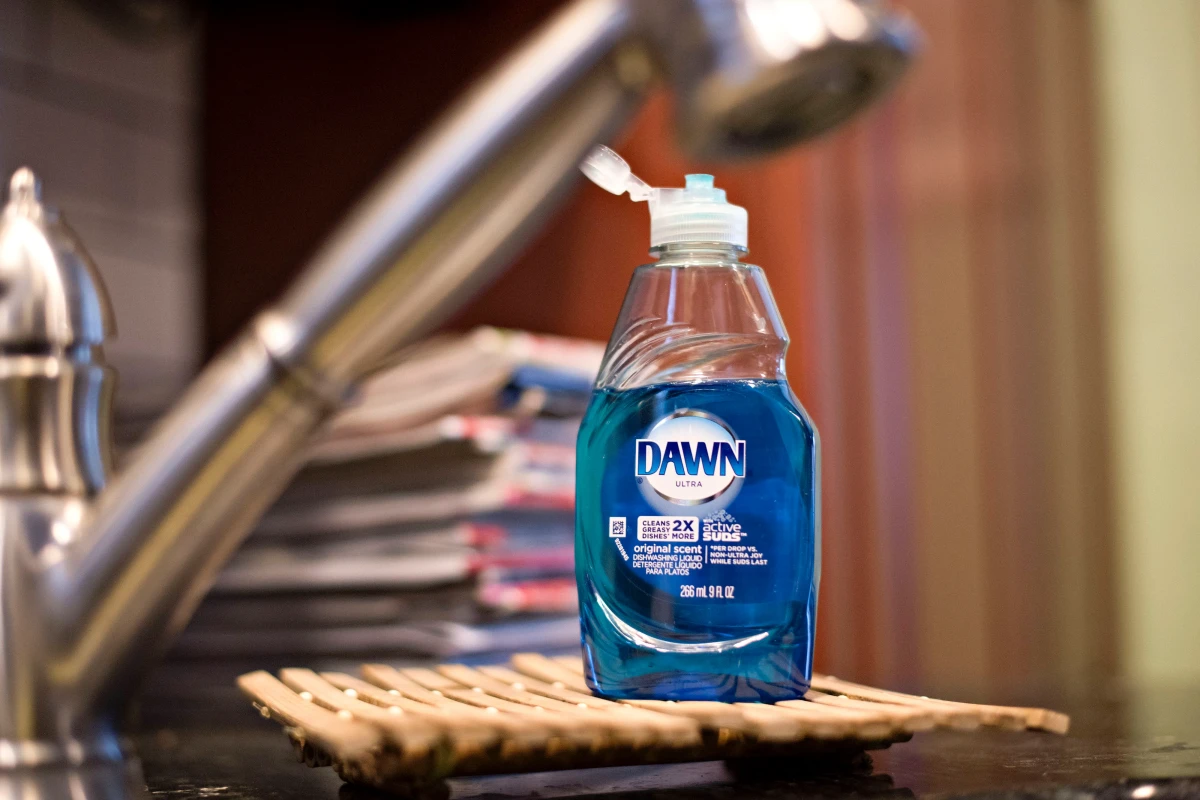
- Dish Soap: The workhorse here is surfactants. These molecules have a head that loves water and a tail that loves oil. The tails grab onto grease particles, breaking them into tiny droplets that get suspended in the water, allowing you to just wipe them away. It’s an emulsifier.
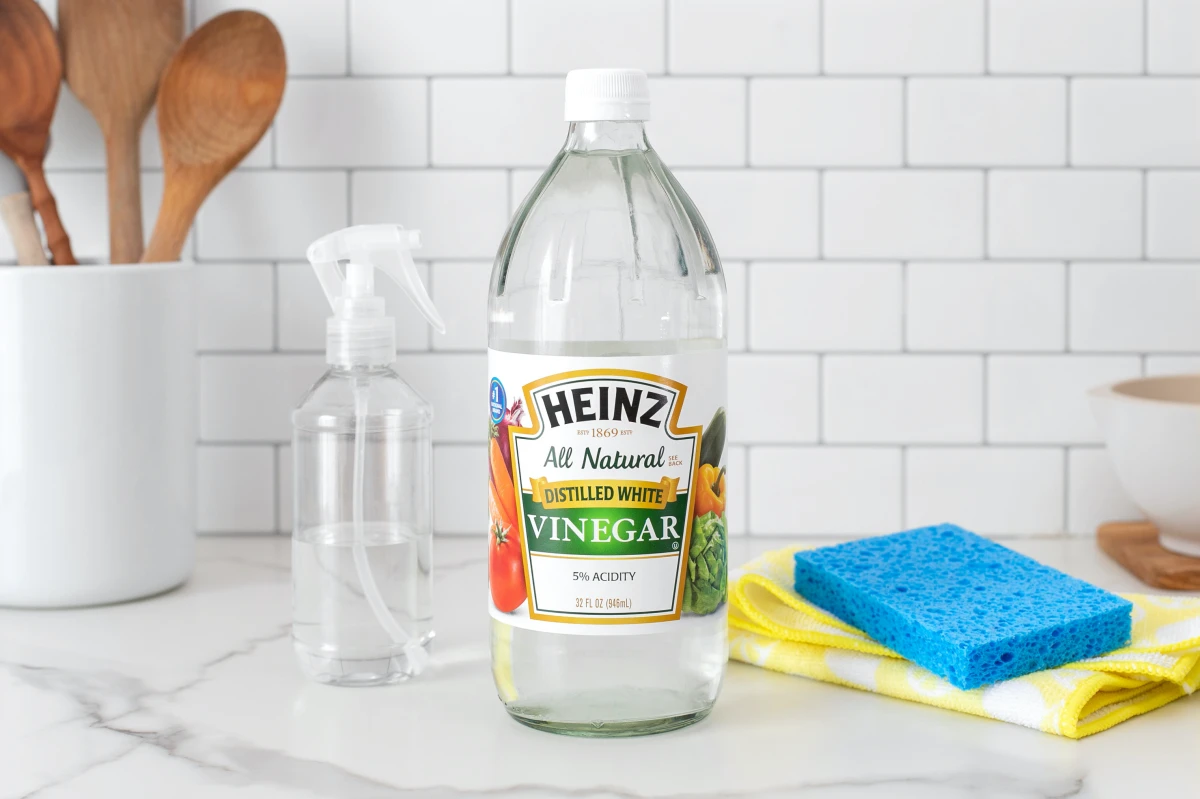
- Solvents: These just dissolve the grease. Think of the gentle acid in vinegar or the citrus-based solvents (like d-Limonene) you find in many degreasers. They turn the solid gunk back into a liquid so you can clean it up.
Knowing this helps you pick your weapon. A fresh splatter just needs some dish soap. That old, sticky film on the range hood? You’re going to need something stronger to break down those polymerized chains.
Your Anti-Grease Toolkit: What to Buy and Why
Before I tackle any kitchen, I get my supplies ready. It just makes the whole process smoother. Plus, it’s about protecting yourself and the surfaces you’re cleaning. Here’s a quick shopping list of what I keep in my kit. You can grab most of this at Home Depot, Lowe’s, or even a big grocery store.
Your Shopping List:
- Microfiber Cloths: Don’t skimp here. Get a decent-sized pack (maybe $10-$15). Their tiny fibers are amazing at trapping grime instead of just pushing it around. I use different colors for cleaning and rinsing to avoid smearing dirty water everywhere.
- Non-Abrasive Scrub Pads: Look for the white ones. They have a little bit of bite for scrubbing but won’t scratch most surfaces. A pack of 3-4 is usually under $5. Avoid the green ones on anything glossy or delicate!
- Plastic Scraper: A simple plastic putty knife or even an old credit card is perfect for lifting off thick, caked-on gunk without gouging your cabinets. A few bucks at most.
- Detail Brushes: An old toothbrush is free, but a pack of small nylon brushes (around $5-$8) is a game-changer for getting into cabinet hardware and tight corners.
- Good Quality Gloves: This is non-negotiable. A box of nitrile gloves protects your skin. So worth the $10.
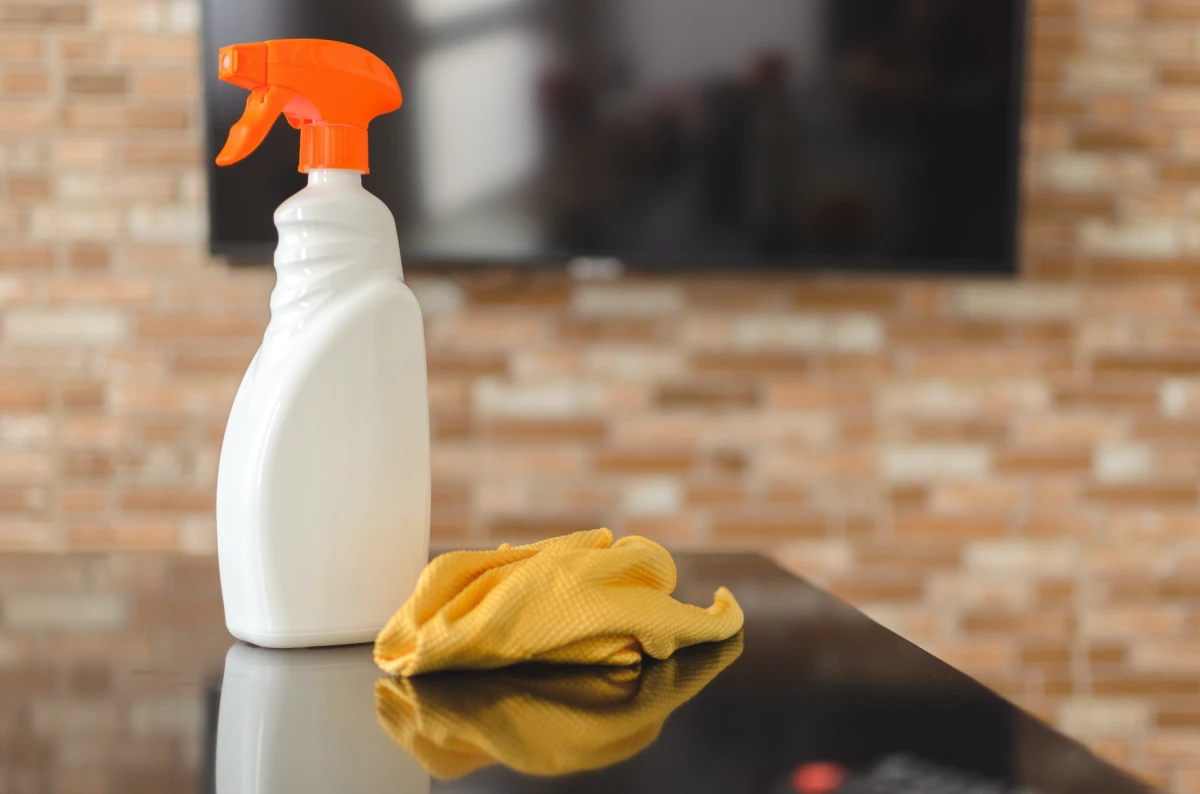
- A Go-To Degreaser: For the really tough stuff, you’ll want a dedicated degreaser. I often recommend citrus-based ones like Krud Kutter or Zep Citrus Degreaser. They work incredibly well and smell a lot better than the industrial-strength stuff. A spray bottle usually costs between $10 and $15 and lasts a while.
A Surface-by-Surface Game Plan for Busting Grease
Okay, let’s get to it. A method that works on your stainless steel backsplash could wreck your wood cabinets, so it pays to be strategic. Here’s how I approach the most common spots.
Kitchen Cabinets (The Main Event)
Airborne grease loves to settle on cabinets, especially on top of the doors and around the handles. It’s a classic problem.
- For all cabinet types: Always start with the gentlest method. A teaspoon of good dish soap in a bucket of hot water is your first line of defense. Get a microfiber cloth damp (not sopping wet!) and wipe everything down. Rinse with a second, clean damp cloth, and then dry immediately to prevent water spots.
- For stubborn spots (on painted or laminate cabinets): If soap isn’t cutting it, it’s time for a baking soda paste. Here’s a good recipe: mix about 3 parts baking soda to 1 part water until it’s thick like toothpaste. Gently rub it on the spot with a soft cloth, then wipe it all off with a damp cloth. A quick heads-up: don’t let the paste dry on there, especially on dark cabinets, or you’ll be buffing out a hazy film for ages.
- For Wood Cabinets: Be extra careful with wood. After cleaning, the wood can look a bit dull or dry. I always follow up by conditioning it. You can use a dedicated wood conditioner, but honestly, a tiny bit of food-grade mineral oil works wonders. And by tiny, I mean it. Start with a teaspoon on a clean, soft cloth for a few cabinet doors. You want a healthy sheen, not an oil slick!
Backsplashes and Walls
The wall behind your stove is ground zero. The material here really dictates your approach.
- Tile and Grout: Ceramic and porcelain tiles are tough. You can spray them with your degreaser and let it sit for 5-10 minutes. Seriously, let it sit! This dwell time is when the cleaner does all the hard work for you. Then scrub with a non-abrasive pad. For the grout, which stains easily, that baking soda paste and a stiff brush (like your old toothbrush) are your best friends.
- Stainless Steel: The secret to stainless steel is avoiding streaks and scratches. Apply your cleaner, then always wipe in the direction of the metal’s grain—you can see the faint lines in the finish. After cleaning, rinse with a damp cloth and dry immediately for a perfect, streak-free shine.
Countertops
Using the wrong cleaner here can be an expensive mistake. So, what do you have?
- Granite and Marble: These are natural stones and they are porous. Never, ever use anything acidic like vinegar or lemon juice on them—it can etch the surface. A simple soap and water solution or a dedicated pH-neutral stone cleaner is the only way to go.
- Quartz: This is an engineered material, so it’s non-porous and much more durable. It can handle most mild cleaners, but I’d still avoid anything super harsh or abrasive that could dull its polish.
Stovetops and Range Hoods (The Fire Hazard Zone)
This is where grease buildup goes from being just gross to being genuinely dangerous.
- Stovetops: For seriously baked-on gunk on a flat glass or ceramic stovetop, here’s a time-saving hack: lay a towel soaked in hot, soapy water over the area for 15 minutes before you even start scrubbing. It softens everything up and does half the work for you.
- Range Hood Filters: This is probably the MOST important thing to clean. A clogged filter is a major fire risk. I recommend checking it monthly. For most metal mesh filters, the process is pretty straightforward and should only take about 20-30 minutes.
Quick Guide: Cleaning Your Range Hood Filter
- Pop the filter out. Most have a little latch you can easily find.
- Fill your sink with the hottest water you can get from the tap. Add a good squirt of your degreaser (like Krud Kutter) and some dish soap.
- Let the filter soak for at least 15-20 minutes. You’ll see the water get disgusting. That’s a good sign!
- After soaking, use a non-abrasive brush to scrub away any remaining grime.
- Rinse it thoroughly with hot water, let it dry completely, and pop it back in. Done.
The Final Boss: Old, Polymerized Grease
Sometimes you run into grease that feels more like varnish. This is that polymerized stuff, and it requires patience. I once worked on a rental property where the cabinets were so sticky my gloves were literally peeling off as I touched them. It was a nightmare.
For this, you bring out the big guns. Apply a strong commercial degreaser and let it sit for at least 15-20 minutes. Don’t just spray and wipe. Give it time to work. You might even see the grease start to look like it’s melting or running. Then, use your plastic scraper to gently lift off the thickest layers. After that, you can scrub the residue. It’s a process. But seeing those cabinets go from a sticky, dark mess to a smooth, clean surface that was a whole shade lighter? Totally worth it.
Final Tips and When to Just Call a Pro
A couple of last thoughts from the field. First, safety. When you’re using any cleaner stronger than dish soap, open a window or turn on a fan. And please, never mix cleaners, especially anything with bleach and ammonia. It can create toxic gas.
Troubleshooting Tip: If you’ve cleaned a surface and it now looks hazy or streaky, don’t panic! It’s usually just a bit of leftover cleaner residue. Just wipe it down again with a clean cloth dampened with plain water, and then dry it completely.
And honestly? Sometimes it’s worth calling for help. If you’ve moved into a place where the grease is years old and feels like a shellac coating, or if the ventilation ducts themselves seem clogged, a professional service has the tools and know-how to handle it safely. But for most kitchens, a little bit of consistent effort is all you need. Wipe down your stovetop after cooking, clean that filter every month, and you’ll keep the grease monster at bay for good.
Inspirational Gallery
- The Range Hood Filter: This is grease ground zero. Most metal mesh filters can be soaked in hot, soapy water with a scoop of baking soda, or even run through the dishwasher on a hot cycle.
- The Tops of Your Cabinets: Out of sight, but a magnet for greasy dust. A layer of wax paper up here is a game-changer—just replace it every few months.
- Cabinet Pulls & Handles: You touch them constantly. A quick daily wipe with a microfiber cloth prevents buildup from skin oils and food residue.
Did you know that cooking sprays contain more than just oil? Propellants and emulsifiers in products like Pam can create a uniquely tough, almost-invisible film that regular soap struggles to remove, requiring a stronger solvent.
The Ultimate DIY Degreaser Spray:
For a homemade solution that rivals commercial products, mix the following in a spray bottle: 2 cups of hot water, 1 teaspoon of Dawn Platinum dish soap (its enzymes are specifically formulated for tough grease), and 1 tablespoon of baking soda. Shake gently to combine. Spray generously on the greasy surface, let it sit for two to three minutes to do its work, then wipe clean with a damp cloth.
Is it counterintuitive to use oil to clean hardened grease?
Not at all! It’s a classic chemistry principle:
There’s a subtle but profound difference in the feel of a truly degreased kitchen. It’s the smooth, cool glide of your hand over a cabinet door, the absence of that slight tackiness on the spice jars next to the stove, and the clean, neutral scent that greets you in the morning, free from the ghost of last night’s dinner. It’s a clean that you can feel, not just see.
Important point: The single most effective trick isn’t a cleaner; it’s your extractor fan. Turn it on *before* you start cooking and leave it running for 5-10 minutes *after* you’ve finished. This captures airborne grease particles before they have a chance to land and form that sticky film on your surfaces.
- A streak-free shine on your backsplash and appliances.
- Surfaces that feel smooth and cool, not tacky to the touch.
- The lingering, stale smell of fried food is gone for good.
The secret to achieving this final polish? After cleaning, do a final wipe-down with a cloth dampened with a 50/50 solution of white vinegar and water. The mild acid cuts through any last soap or cleaner residue, leaving a perfectly neutral and clean finish.
Tackling grease on natural wood cabinets requires a gentle touch to avoid stripping the finish. You need a cleaner that cuts the grease but respects the material. A safe bet is a solution of Murphy Oil Soap, diluted according to the bottle’s instructions. It’s formulated to clean away grime while conditioning the wood, preserving its natural luster.
Cotton Dish Towel: It tends to push grease around, smearing it into a larger, thinner layer. The fibers can also leave behind lint, which gets stuck in any remaining residue.
High-Quality Microfiber Cloth: The ultra-fine fibers in a cloth from a brand like E-Cloth or Buff Pro are designed to grab and hold onto oil particles, lifting them completely off the surface instead of just smearing them. For a non-abrasive, effective clean, it’s a clear winner.
A study from the University of Colorado Boulder found that cooking, especially on a gas stove, can generate significant levels of indoor air pollution.
That sticky film on your cabinets isn’t just an eyesore; it’s a reservoir for these trapped pollutants. Regularly degreasing your kitchen surfaces doesn’t just make them clean to the touch, it helps improve your indoor air quality by removing a major source of lingering airborne particles.


