Finally, A Real-World Guide to Cleaning Kitchen Cabinets (Without Ruining Them)
I’ve been in the home restoration game for a long time, and I’ve seen cabinets in every condition you can imagine. I’ll never forget one of my first big projects—a kitchen in an old farmhouse where the solid maple cabinets were coated in a sticky, amber-colored film. The owner was ready to tear them out. But I knew that beautiful wood was hiding underneath. After two full days of careful work, we brought them back to life. That job taught me a huge lesson: cleaning cabinets isn’t just about wiping off dirt; it’s about knowing your materials and preserving your investment.
In this article
- No Time for a Deep Clean? Try This 15-Minute Reset
- Know Your Enemy: The Science of Sticky Kitchen Grime
- First: Figure Out What Your Cabinets Are Made Of
- Your Go-To Shopping List & Toolkit
- How to Choose Your Cleaner (Start Mild!)
- The Deep Clean: A Step-by-Step Guide
- Keeping Your Cabinets Looking Good
- Galerie d’inspiration
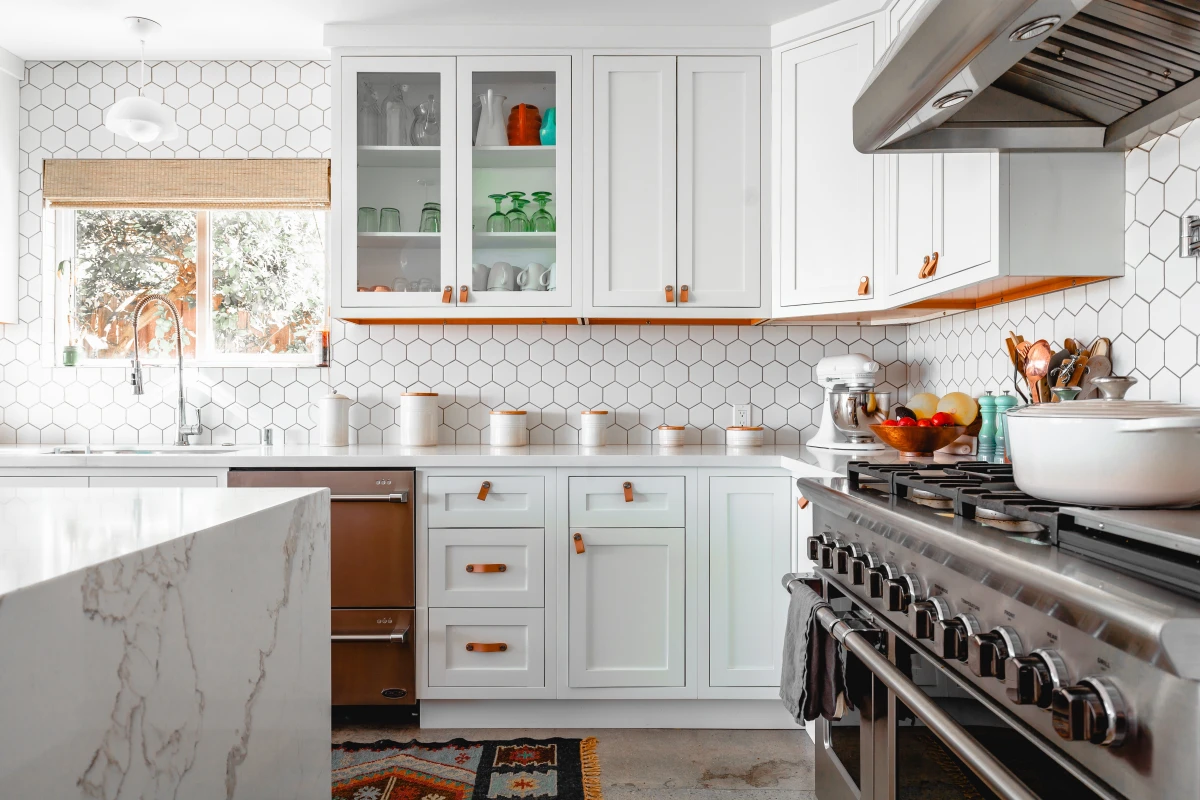
Your kitchen cabinets are under constant attack from grease, steam, food splatters, and fingerprints. Let that stuff sit, and it can permanently damage the finish. In this guide, I’m going to walk you through the methods the pros use—the same process I use in my own home to keep things looking great without causing accidental damage.
No Time for a Deep Clean? Try This 15-Minute Reset
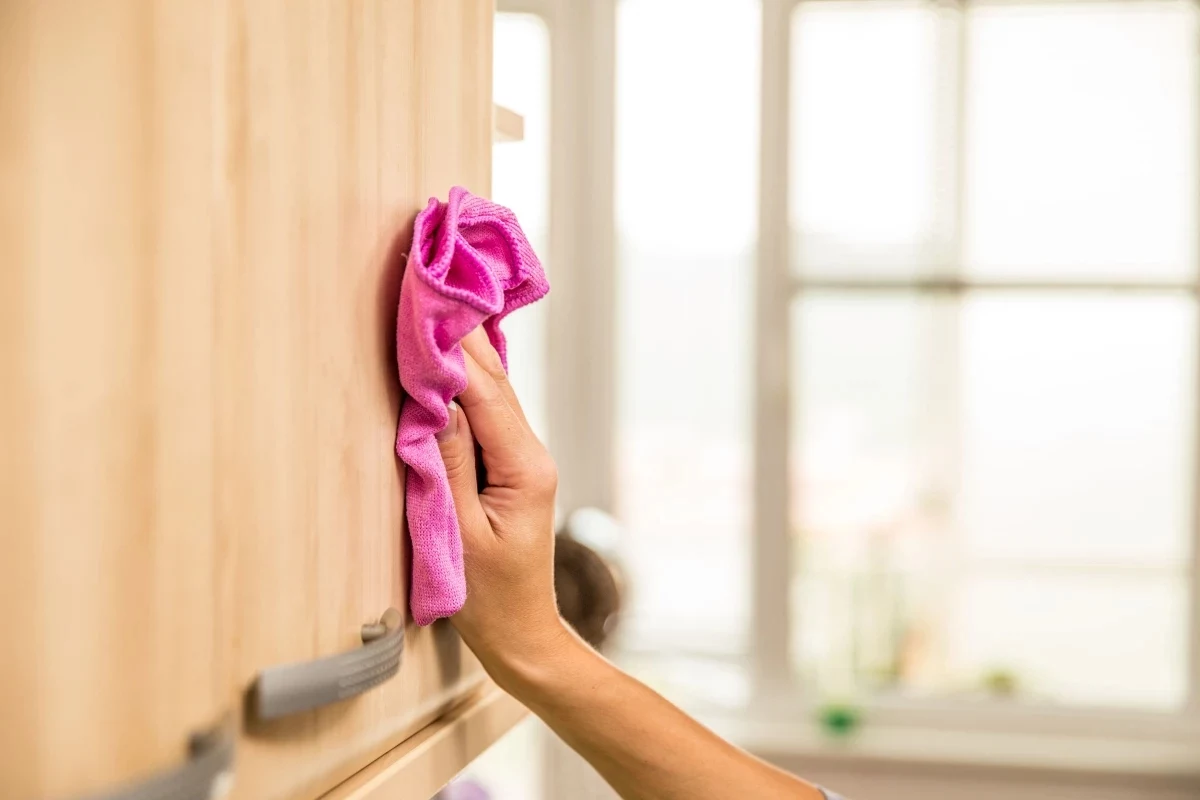
Let’s be real, sometimes you don’t have a whole afternoon. If you just want a quick win that makes a big impact, try this. Grab your mild cleaner (we’ll get to that in a second) and just focus on the two or three cabinet doors you touch the most. Usually, that’s the one under the sink, the one with the trash can, and maybe the one right next to the stove. A quick, focused wipe-down of these high-traffic zones can honestly make the whole kitchen feel fresher in just 15 minutes.
Know Your Enemy: The Science of Sticky Kitchen Grime
Before you start scrubbing, it helps to understand what you’re fighting. That sticky film on your cabinets isn’t just dust. When you cook, tiny droplets of oil and fat fly through the air and land on every surface. Over time, heat and light cause these oils to link together in a process called polymerization. They basically transform from a liquid oil into a hard, varnish-like coating.
This tacky polymer then acts like flypaper, trapping dust, pollen, and smoke. This is why old kitchen grease feels so stubborn and won’t come off with a simple wet rag—it’s not just grease anymore. Understanding this helps explain why you sometimes need a specific degreaser and why regular, gentle cleaning is your best defense.
First: Figure Out What Your Cabinets Are Made Of
There’s no one-size-fits-all cleaner, and using the wrong stuff is the fastest way to ruin a perfectly good cabinet. I’ve seen people strip the finish right off their wood doors or cause laminate edges to swell up like a sponge. Take five minutes to figure out what you have. And a pro tip: ALWAYS test any new cleaner on a hidden spot first, like the back of a door or inside the frame near a hinge.
- Solid Wood Cabinets (Oak, Maple, Cherry, etc.): These are beautiful and durable, but wood is porous. Their biggest enemy is water. A cloth should always be damp, not sopping wet, and you should wipe with the grain. Harsh chemicals can strip the protective finish. By the way, not sure if your finish is still intact? Try the Water Drop Test. Put a single drop of water on a hidden spot. If it beads up like on a freshly waxed car, your seal is in great shape. If it soaks in quickly and darkens the wood, your finish is compromised, and you need to be extremely careful with moisture.
- Wood Veneer Cabinets: These have a very thin layer of real wood over a particleboard or MDF core. They look great but have a weak spot: the seams and edges. If water gets into that core, it will swell up and cause the veneer to peel. That kind of damage is nearly impossible to fix, so be extra careful with water around the edges.
- Laminate & Melamine Cabinets: These are workhorses—durable and stain-resistant. But they can be scratched by abrasive pads or harsh powders, which will permanently dull the finish. Just like veneer, their weakness is the particleboard core, so keep water away from the seams.
- Painted & Lacquered Cabinets: The durability here depends entirely on the quality of the paint job. A good factory finish is tough; a quick DIY job might be fragile. Grease and stains show up like crazy, especially on light colors. Never use anything abrasive, as you’ll literally sand the paint away. Even scrubbing too hard with a soft cloth can burnish a matte finish, leaving behind shiny spots.

Your Go-To Shopping List & Toolkit
You don’t need a bunch of expensive gear, but having the right tools makes all the difference. Here’s what I recommend you have on hand, most of which you can find at any hardware store or online.
- Microfiber Cloths: Get a good-sized pack for about $10-$15. You’ll want at least three for any job: one for washing, one for rinsing, and one for drying.
- Two Small Buckets or Bowls: This is a non-negotiable for me. One for your cleaning solution, one for clean rinse water. It stops you from wiping dirty water back onto the cabinet.
- Soft-Bristle Brush: An old toothbrush works perfectly for getting into corners and around hardware.
- Your Cleaning Arsenal:
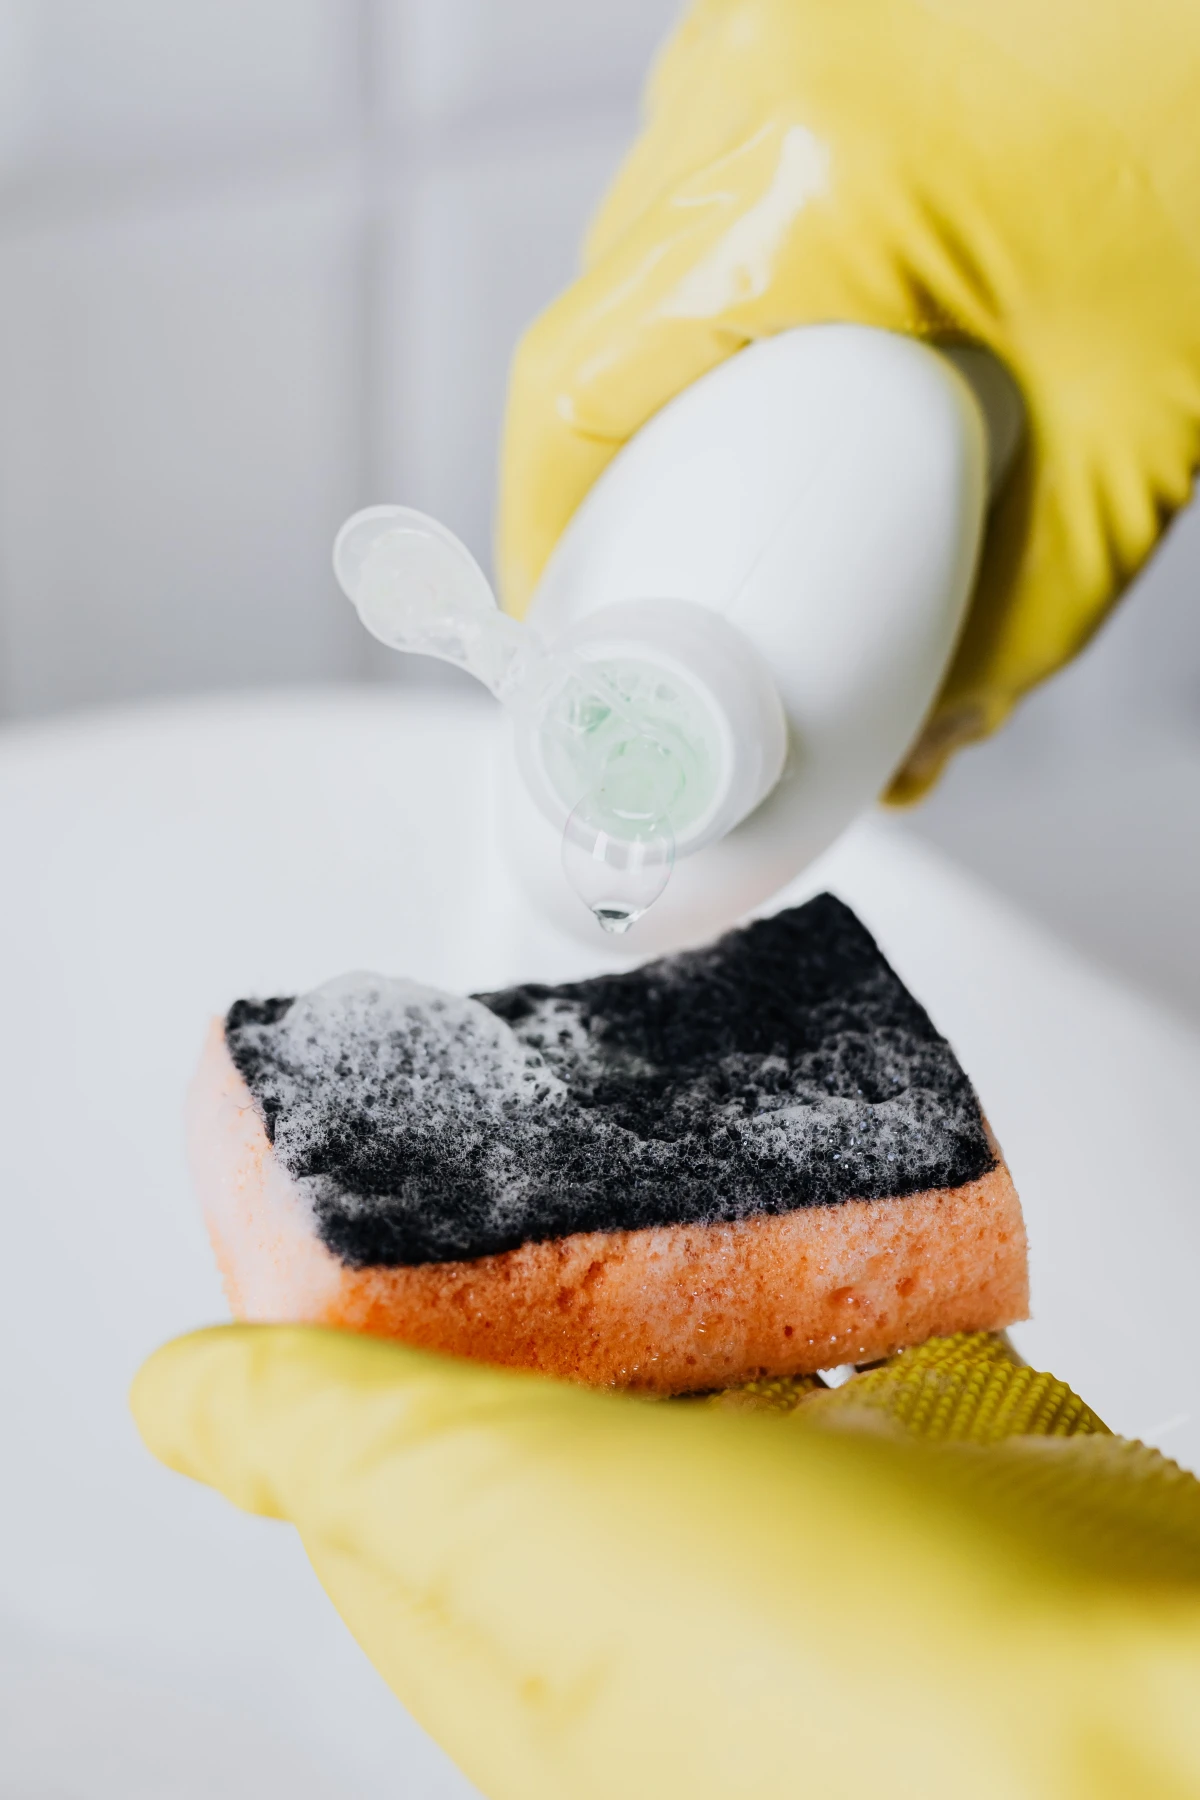
- A simple pH-neutral dish soap (like original blue Dawn).
- A spray bottle for a 50/50 white vinegar and water solution.
- Baking soda (for a gentle abrasive paste).
- A powerful degreaser for the tough stuff, like Krud Kutter (a 32oz bottle is usually around $8-$12).
- For protecting wood afterward, a quality beeswax-based polish like Howard Feed-N-Wax is a great investment for about $10.

How to Choose Your Cleaner (Start Mild!)
My rule is to always start with the gentlest cleaner that could possibly work and only escalate if needed. This is the best way to protect your cabinet’s finish.
Level 1: Routine Cleaning. For light dust and fingerprints, a few drops of dish soap in a gallon of warm water is perfect. Too much soap leaves a film that attracts more dust, so less is more.
Level 2: Moderate Grime. For slightly sticky surfaces, a 50/50 mix of white vinegar and warm water in a spray bottle works wonders. Vinegar is a great natural degreaser. Heads up, though! Avoid getting vinegar on unsealed stone countertops or grout, as the acid can etch them.
Level 3: That Horrible, Sticky Grease. When you’re dealing with that polymerized, tacky film, you need to bring out the big guns. I have two go-to methods before resorting to harsh chemicals.

- The Baking Soda Paste: Mix baking soda with a little water to form a thick paste. Apply it to the sticky spots, let it sit for about 15 minutes, then gently scrub with your soft brush. It’s a mild abrasive that can lift grease without scratching most finishes. Wipe it clean with a damp cloth, rinse, and dry.
- The Oil Soap Method: An oil-based wood soap can also work well on wood cabinets for moderate grime. The key is to follow the dilution instructions and, most importantly, rinse it off completely with a separate clean, damp cloth. A common mistake is leaving a soapy film behind, which just attracts more dust.
- Last Resort: A Professional Degreaser. For the absolute worst-case scenarios, a commercial kitchen degreaser is your final option. But please, use this stuff with extreme caution. Wear gloves and safety glasses, and make sure your kitchen is well-ventilated. These are powerful solvents that can dull a finish, so test it in a hidden spot first. This is the last step before you have to consider completely refinishing the cabinets.

The Deep Clean: A Step-by-Step Guide
Alright, ready to do a full deep clean? Don’t try to tackle the whole kitchen at once. Work in small, manageable sections. Plan on about 20-30 minutes per cabinet for the full process—emptying, cleaning inside and out, and putting everything back.
- Prep Your Space: Empty the cabinets you’re working on completely. (Perfect time to declutter!) Lay an old towel on the counter below to catch drips. Then, vacuum the inside of the cabinet to get all the loose crumbs and dust out.
- Clean the Insides: The mild soap-and-water solution is usually all you need here. Wipe down all the interior surfaces with your damp “wash” cloth, then wipe away the soap with your “rinse” cloth, and finally, dry everything completely with your third cloth. Don’t skip the drying step!
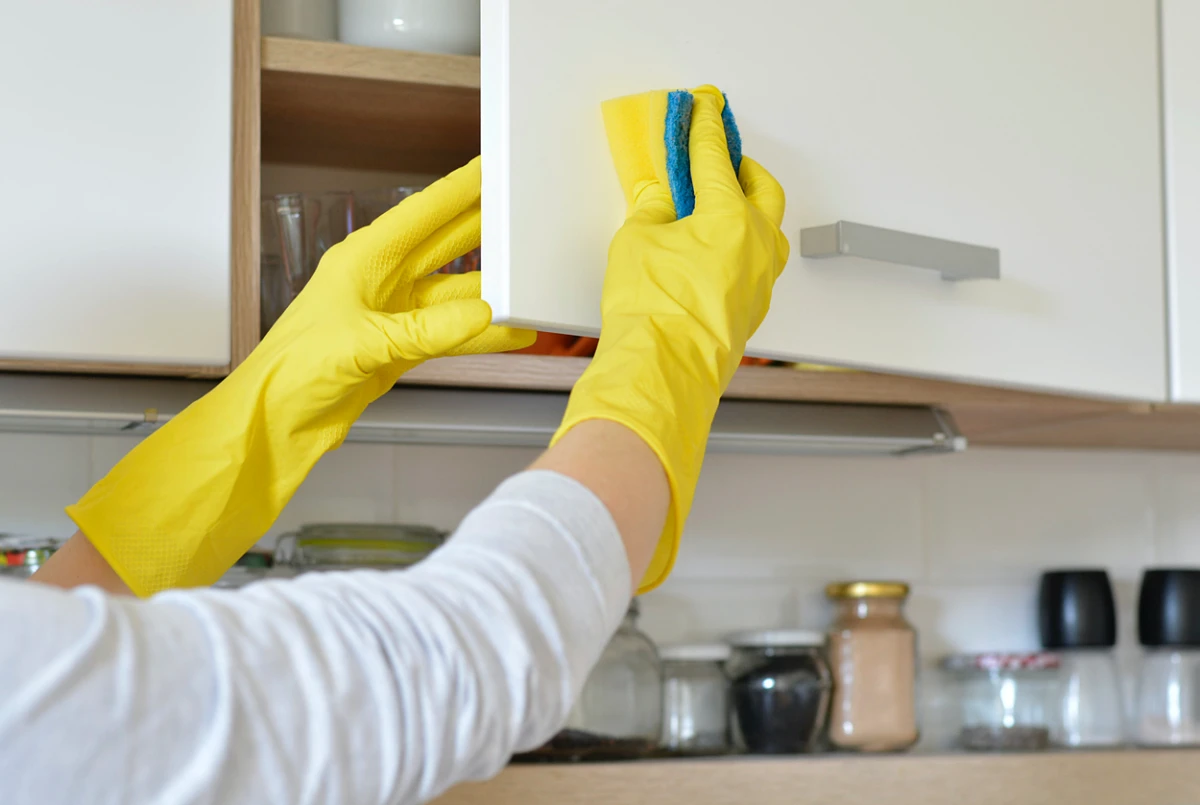
- Wash the Exteriors: Now for the grime. Work from the top down. Always spray your cleaner onto your cloth, not directly onto the cabinet—this prevents drips from running into seams. Focus on the grimiest areas: around the handles, above the stove, and the lower edges of upper cabinets.
- Tackle Stubborn Spots: If your initial cleaner isn’t cutting it, move up to your Level 3 method. Apply the baking soda paste or degreaser to the sticky patches, let it sit, then gently scrub. Always follow up with a clean water rinse and dry immediately.
- Clean the Hardware: If you can, unscrew the knobs and pulls. It makes life so much easier. You can soak most standard metal hardware in a warm vinegar-water solution for 30 minutes, then scrub with a brush. Quick tip: Be careful with painted, antiqued, or specialty-finish hardware! A long soak in vinegar could strip the finish. For these, just wipe them carefully with a damp cloth instead of soaking.
- Protect and Shine (For Wood): After your wood cabinets are sparkling clean and bone dry, it’s a great idea to give them a little protection. Apply a very thin layer of a quality furniture wax or polish. Let it haze over for a few minutes, then buff it to a soft sheen with a clean, dry cloth. This makes future cleaning so much easier.
A CRITICAL WARNING: Stay away from those popular all-in-one dusting sprays that contain silicone. I learned this the hard way. Silicone builds up into a cloudy film that’s a nightmare to remove. Worse, it prevents any future touch-up paint or new finish from ever sticking to the surface. Trust me, it’s not worth the headache.

Keeping Your Cabinets Looking Good
A little maintenance goes a long way and prevents you from ever having to do a massive, greasy overhaul again.
- Daily: Wipe up splatters as they happen.
- Weekly: Give the high-traffic doors a quick wipe-down.
- Seasonally: Do a thorough cleaning of all cabinet exteriors.
- Annually: Perform the full deep clean, inside and out.
And finally, know when to call a pro. If the finish on your cabinets is peeling, flaking, or feels sticky even when clean, or if you have serious water damage with swelling or bubbling, cleaning won’t fix it. At that point, you’re looking at a job for a professional refinisher. But with the right techniques, you can keep your cabinets out of that danger zone and looking fantastic for years to come.
Galerie d’inspiration

Once you’ve tackled the big clean, the secret to keeping that fresh look lies in the right tools for daily touch-ups. A professional’s go-to kit is surprisingly simple and effective:
- High-quality microfiber cloths: Have at least two on hand—one for applying cleaner and one for buffing dry. The split-fiber design of brands like E-Cloth grabs grease and dust without just pushing it around.
- A soft-bristle brush: An old, clean toothbrush is perfect for getting into the detailed grooves of cabinet doors or around hardware where grime loves to hide.
- A gentle polish for wood: For unpainted wood cabinets, a product like Howard Feed-N-Wax, used once or twice a year after cleaning, can restore moisture and protect the finish from drying and cracking.

Over 90% of kitchen cabinet damage is caused not by a single event, but by the cumulative effect of using improper cleaning agents or techniques over time.
This means that single powerful scrub isn’t the enemy; it’s the weekly wipe-down with a dish soap that’s too harsh or a sponge that’s secretly abrasive. These small, repeated actions can slowly strip away the protective topcoat of your cabinets, leading to faded color, a dull finish, and increased vulnerability to moisture.
A common pitfall: Using overly aggressive tools or chemicals that damage the finish. Avoid abrasive scouring pads, steel wool, and harsh cleaners containing bleach or ammonia. These can strip paint, scratch wood, and permanently dull the sheen, creating more work in the long run.
My painted cabinets have stubborn stains that mild soap won’t touch. What’s a safe next step?
For tough, greasy buildup on painted or laminate cabinets, a DIY paste of baking soda and water is a fantastic, non-abrasive solution. Mix to a toothpaste-like consistency, gently apply to the stain with a soft cloth in a circular motion, and let it sit for 5 minutes. The baking soda acts as a mild abrasive that lifts the grime without scratching the paint. Wipe it away with a clean, damp cloth and dry thoroughly. It’s a highly effective trick for those stubborn splatters near the stove.