Forget the Trends: How to Build a Kitchen With Real Substance
I’ve walked through countless kitchens over the years, from shiny new builds to lovingly worn-in spaces. And if there’s one thing I’ve learned, it’s that a truly “luxurious” kitchen has almost nothing to do with what’s trendy this season. Real quality, the kind that feels good to use every single day, comes from substance. It’s built on a smart layout, solid materials, and a genuine understanding of how you actually live and cook.
In this article
- First Things First: Where Do You Even Start?
- The Physics of a Functional Kitchen: Layout and Workflow
- The Hardest Workers: Choosing Cabinets and Countertops
- The Details That Make a Difference
- Let There Be (Good) Light
- The Unseen Workhorses: Appliances and Ventilation
- How to Find the Right Pros
- Galerie d’inspiration
A great kitchen is more than just a showroom of expensive stuff; it’s a well-oiled machine. It’s a space where the flow feels natural, the lighting actually helps you see what you’re dicing, and the countertops can take a beating from a hot pan or a spilled glass of wine. So when people ask me how to get that high-end feel, my answer is always the same: focus on the bones first. The fancy backsplash and cool faucet are the fun part, but they’re just the icing on a very functional cake. Let’s get into the nitty-gritty of how the pros build that foundation.
First Things First: Where Do You Even Start?
Okay, before you fall in love with a countertop slab or a cabinet color, let’s get the order of operations straight. Doing things out of sequence is a recipe for expensive mistakes. Here’s a basic roadmap:
- Layout and Flow: This is non-negotiable. Figure out where everything will go for maximum efficiency. No amount of beautiful marble can fix a frustrating workflow.
- Appliances: Pick your fridge, range, and dishwasher early. Why? Because their exact dimensions are needed to design and build your cabinetry correctly. A few inches can make or break the whole plan.
- Cabinetry: Once you know your appliance sizes and layout, you can finalize the cabinet design.
- Countertops: These are measured and cut after the base cabinets are fully installed. This is called templating, and it ensures a perfect fit.
- The Fun Stuff: Flooring, backsplash, lighting, hardware, and paint come last. These are the finishing touches that bring the whole look together.
The Physics of a Functional Kitchen: Layout and Workflow
A beautiful kitchen that’s a nightmare to cook in is, frankly, a failure. The secret sauce is workflow—making your movements around the space logical and easy. You may have heard of the old “kitchen work triangle,” which connects the sink, fridge, and stove. It’s a decent starting point, but modern kitchens benefit from thinking in “work zones.”
Think of your kitchen as having dedicated stations for specific tasks:
- The Prep Zone: This is your main mission control. You need a nice, long stretch of counter space, ideally right between your sink and your cooktop. I always aim for at least a 36-inch uninterrupted stretch here for chopping, mixing, and assembling.
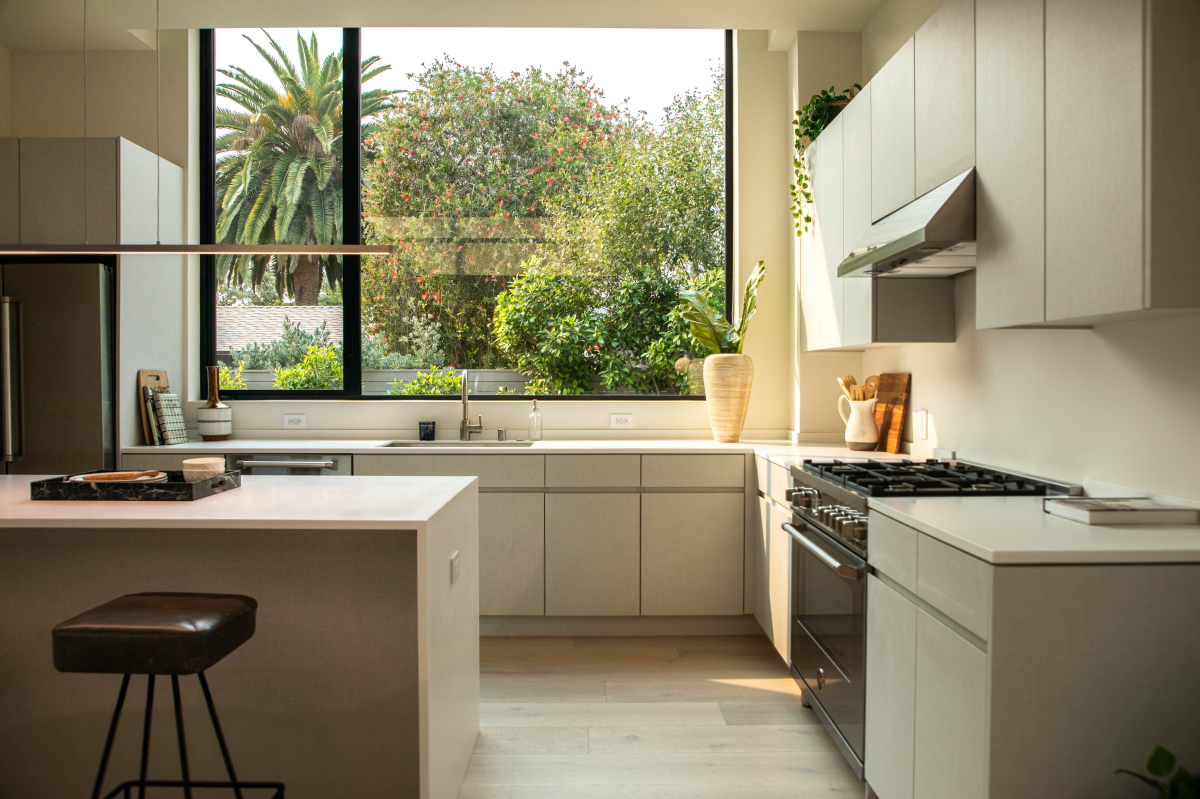
- The Cooking Zone: This is your range, cooktop, and oven. A critical detail here is having “landing space” on both sides of the cooktop. Plan for at least 15-18 inches on either side so you have a safe spot to place hot pans or prepped ingredients.
- The Cleaning Zone: Centered on the sink and dishwasher. Pro tip: locate your everyday dish and silverware storage right here. It turns unloading the dishwasher from a cross-kitchen trek into a simple pivot.
- The Storage Zone: Your pantry and refrigerator. Ideally, this zone is easily accessible when you walk into the kitchen, so you can dump your groceries without navigating an obstacle course.
The space between these zones is just as important. For a one-person kitchen, walkways should be at least 42 inches wide. If you’ve got a two-cook household, you’ll be much happier with 48 inches. I once consulted on a project where the owners insisted on a massive island that looked incredible but shrunk the main walkway to 34 inches. It created a daily traffic jam and became a huge source of frustration—a classic case of looks winning out over function. We eventually swapped it for a slightly narrower island, and it completely transformed how the kitchen felt.
The Hardest Workers: Choosing Cabinets and Countertops
Your cabinets and countertops are the workhorses of the kitchen. This is not the place to cut corners, because you’ll pay for it later in repairs and regrets. Quality here makes all the difference.
Let’s Talk Cabinets
When pros look at cabinets, we’re judging the box, the drawers, and the finish.
- The Box: The gold standard for a cabinet box is furniture-grade plywood. It’s incredibly strong, stable, and handles moisture like a champ—which is crucial for the cabinet under your sink. The more common, budget-friendly option is particleboard or MDF. While it’s gotten better over the years, it’s still like a sponge if it gets wet. A tiny, slow leak under the sink can turn a particleboard cabinet into a pile of sawdust. Plywood will almost always survive. Budget Tip: If your budget demands particleboard, you can add a layer of protection yourself. Get a tube of clear silicone caulk and run a clean bead along all the interior bottom seams and edges of your sink cabinet. It’s a $10 job that could save you from a multi-thousand-dollar disaster.
- The Drawers: You can spot a quality drawer a mile away. Look for solid wood construction with dovetail joints—those little interlocking fingers that create a super-strong connection. Cheaper drawers are just stapled or glued and will inevitably sag. Also, check the hardware. Full-extension glides, which let the drawer pull all the way out, are a must. And honestly, soft-close mechanisms are pretty much standard now; they prevent slamming and save a lot of wear and tear.
- The Finish: A professional, factory-applied finish is worth its weight in gold. They use a catalyzed conversion varnish, which is a chemical-cured topcoat that’s way more durable than regular paint. It resists scratches, chemicals, and moisture. On-site painted cabinets might look okay at first, but I’ve seen them start to chip around the sink within a year or two. Expect custom plywood cabinets with a top-tier finish to cost around 30-50% more than semi-custom using MDF, but that investment pays off in longevity.
Finding Your Perfect Countertop
Countertops take so much abuse. The right choice for you boils down to your budget, how you cook, and how much you enjoy cleaning and maintenance. Let’s break it down, no-nonsense style.
- Granite: This is a classic for a reason. It’s tough, heat-resistant (you can set a hot pan on it, though I still recommend a trivet!), and every single slab is unique. It’s porous, so it needs to be sealed about once a year to prevent stains. The cost can be all over the map, usually from $40 to $100+ per square foot installed. The wine test? If it’s sealed properly, you have a good window of time to wipe it up. Don’t let it sit overnight, though.
- Marble: Ah, marble. It’s undeniably gorgeous, with a soft, elegant look. But it’s the needy artist of the countertop world. It’s much softer than granite and will scratch. More importantly, it will “etch” from anything acidic—lemon juice, vinegar, wine, you name it. An etch isn’t a stain; it’s a dull spot where the acid has literally eaten away the polish. I tell people to only choose marble if they can embrace this patina as part of its character. Price-wise, it’s often in the $60 to $150 per square foot range. The wine test? You will cry. A spill will cause an etch almost instantly.
- Quartzite: This is often my top recommendation for a natural stone. It has the beautiful, flowing veins of marble but the durability of granite. It’s a natural metamorphic rock that’s actually harder than granite. It’s a fantastic, resilient material, but be careful! Some suppliers try to pass off soft marbles as “soft quartzite.” Always buy from a reputable stone yard. Expect to pay in the range of $65 to $150+ per square foot. The wine test? It passes with flying colors. It’s tough and not very porous.
- Quartz (Engineered Stone): This is a man-made product, mostly crushed quartz mixed with resins. This makes it completely non-porous, so it never needs sealing and is incredibly stain-resistant. The look is very consistent. Its only real weakness is heat; a scorching hot pan can cause thermal shock and crack or discolor it. Always use a trivet! It’s a super popular choice and typically runs $50 to $120 per square foot. The wine test? No tears here. Just wipe it up.
By the way, when you’re picking a natural stone, always go to the stone yard to see the full slab yourself. Those little 4×4 samples in the showroom can be wildly misleading. You need to see the whole canvas before you commit.
The Details That Make a Difference
The small stuff—hardware, sinks, and faucets—are the things you touch every single day. Investing in quality here massively improves your daily experience.
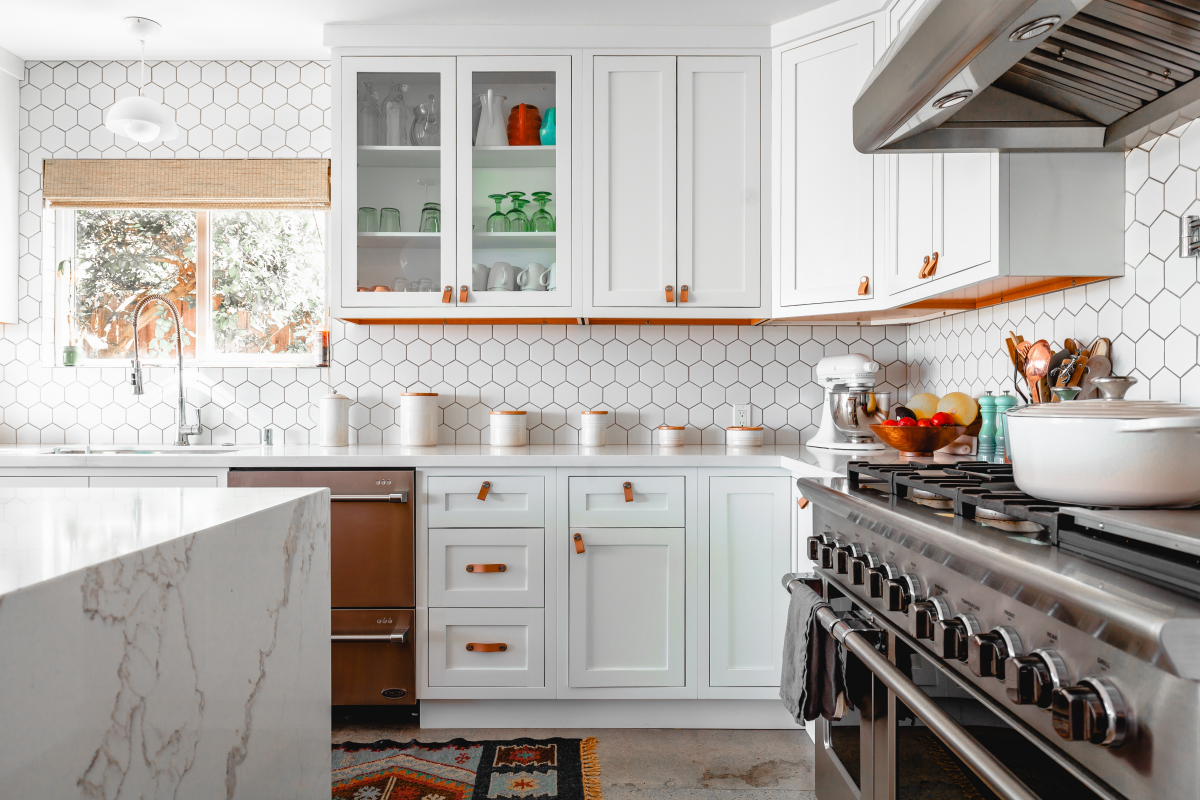
For cabinet hardware, go to a showroom and actually hold the pieces. You can literally feel the difference. A solid brass pull feels heavy and substantial in your hand; a cheap zinc one feels hollow and flimsy. A solid pull might cost $15, while its hollow lookalike is $3, but you’ll feel that difference every time you open a drawer. Also, consider the finish. A “living finish” like raw brass will patina and change over time, which can be beautiful. If you want something that will look the same in ten years, look for a PVD finish, an ultra-durable coating that resists scratches and wear.
Your sink and faucet are the true MVPs of the kitchen. For a stainless steel sink, look for a lower gauge—16 or 18 gauge is great. A cheap 22-gauge sink will be loud and can dent easily. For the faucet, the most important part is the valve inside. Look for one with ceramic disc valves; they’re the standard for quality and provide drip-free, smooth operation for years. And a quick tip: before you buy a faucet, check its listed “reach” to make sure the stream of water will comfortably hit the middle of your sink basin.

Let There Be (Good) Light
Lighting can make or break your kitchen. A single, harsh overhead light is a recipe for a dreary, shadow-filled workspace. Professional lighting design uses layers.
- Ambient Light: This is your general, room-filling light, usually from recessed cans or a central fixture.
- Task Light: This is the most important light for cooking! It lights up your countertops. The absolute best way to do this is with under-cabinet lighting. It puts light right on your work surface, eliminating the shadows your own body creates.
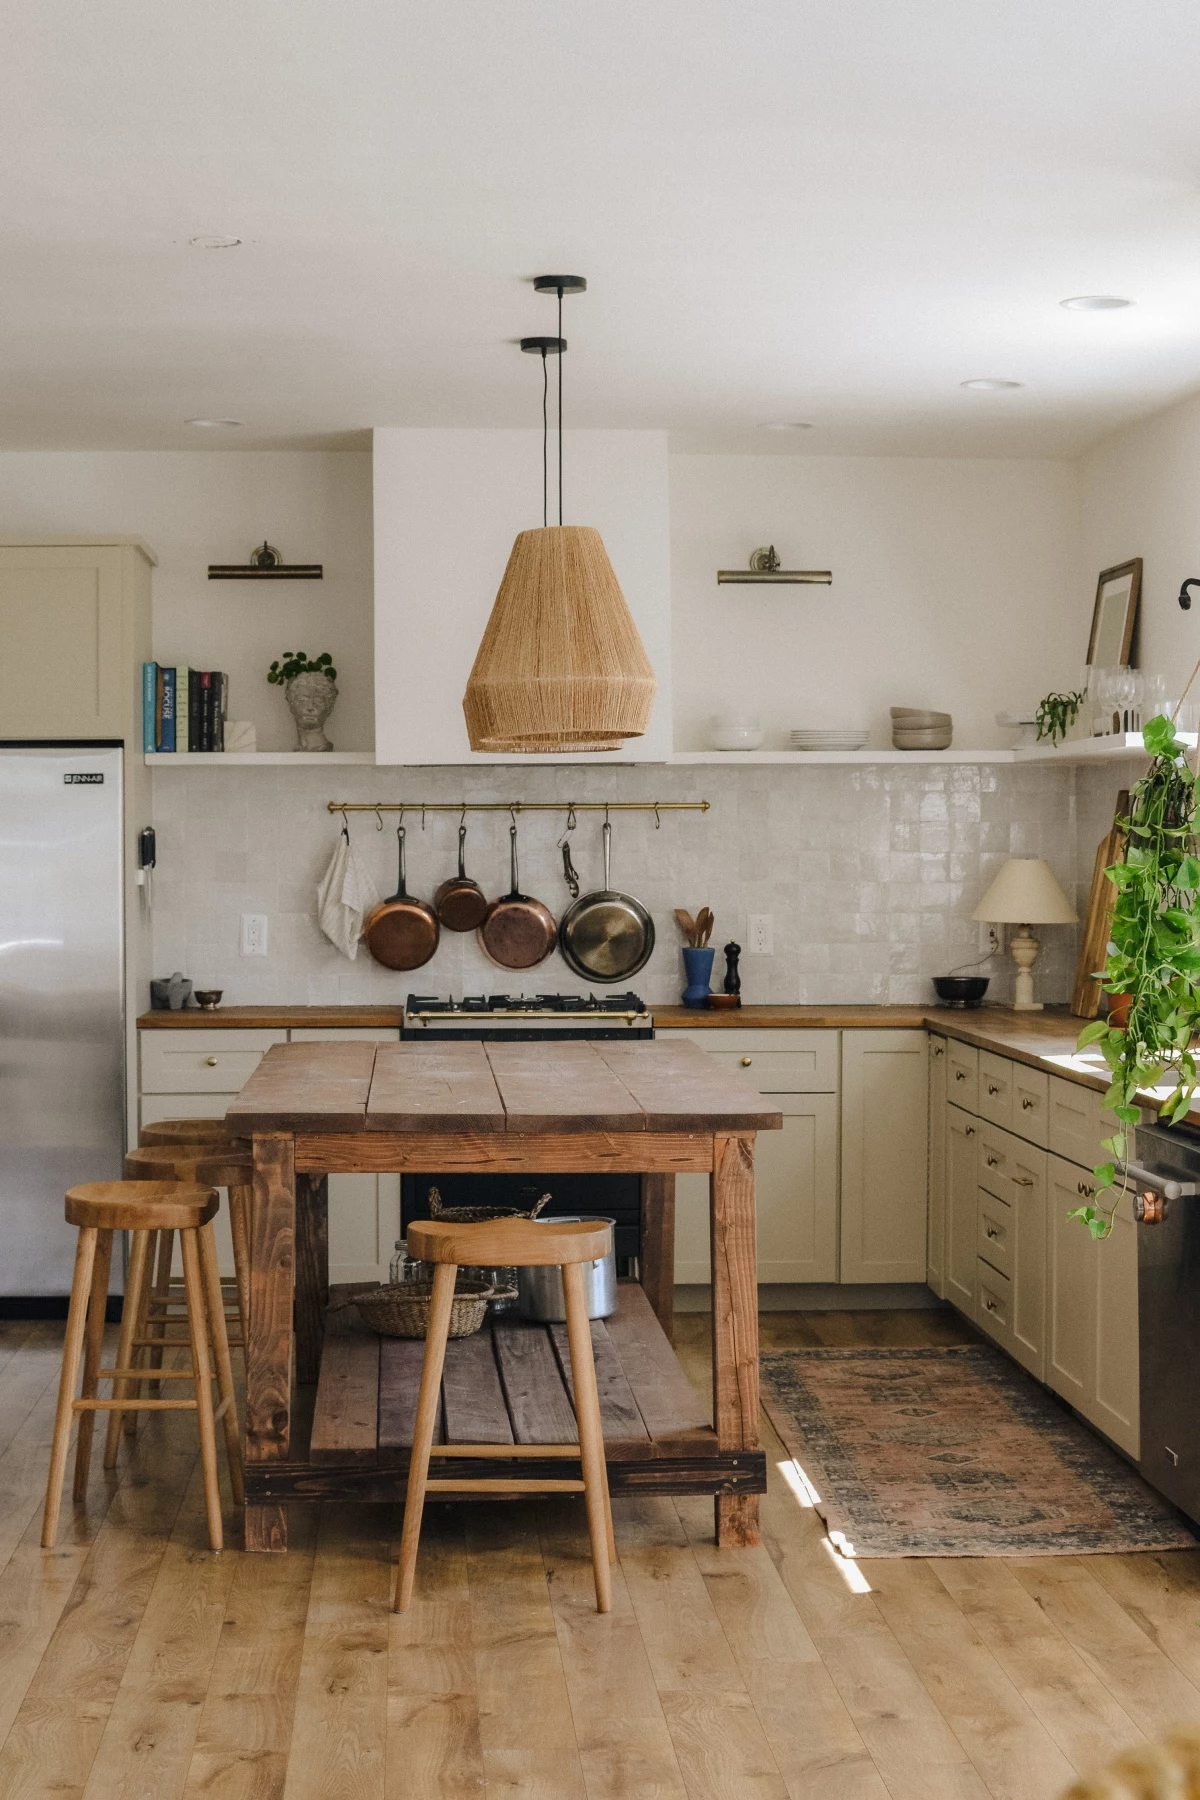
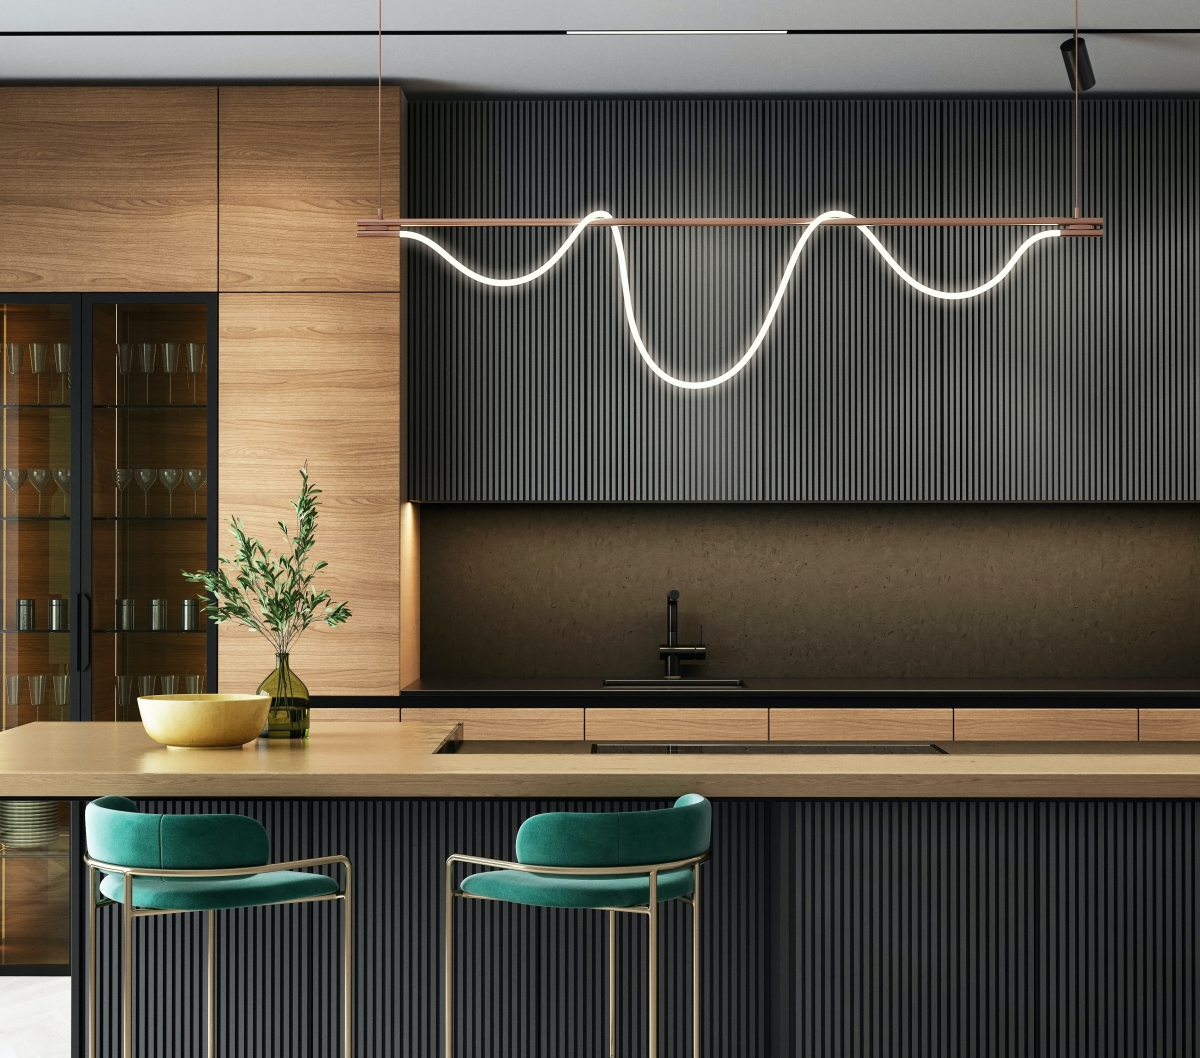
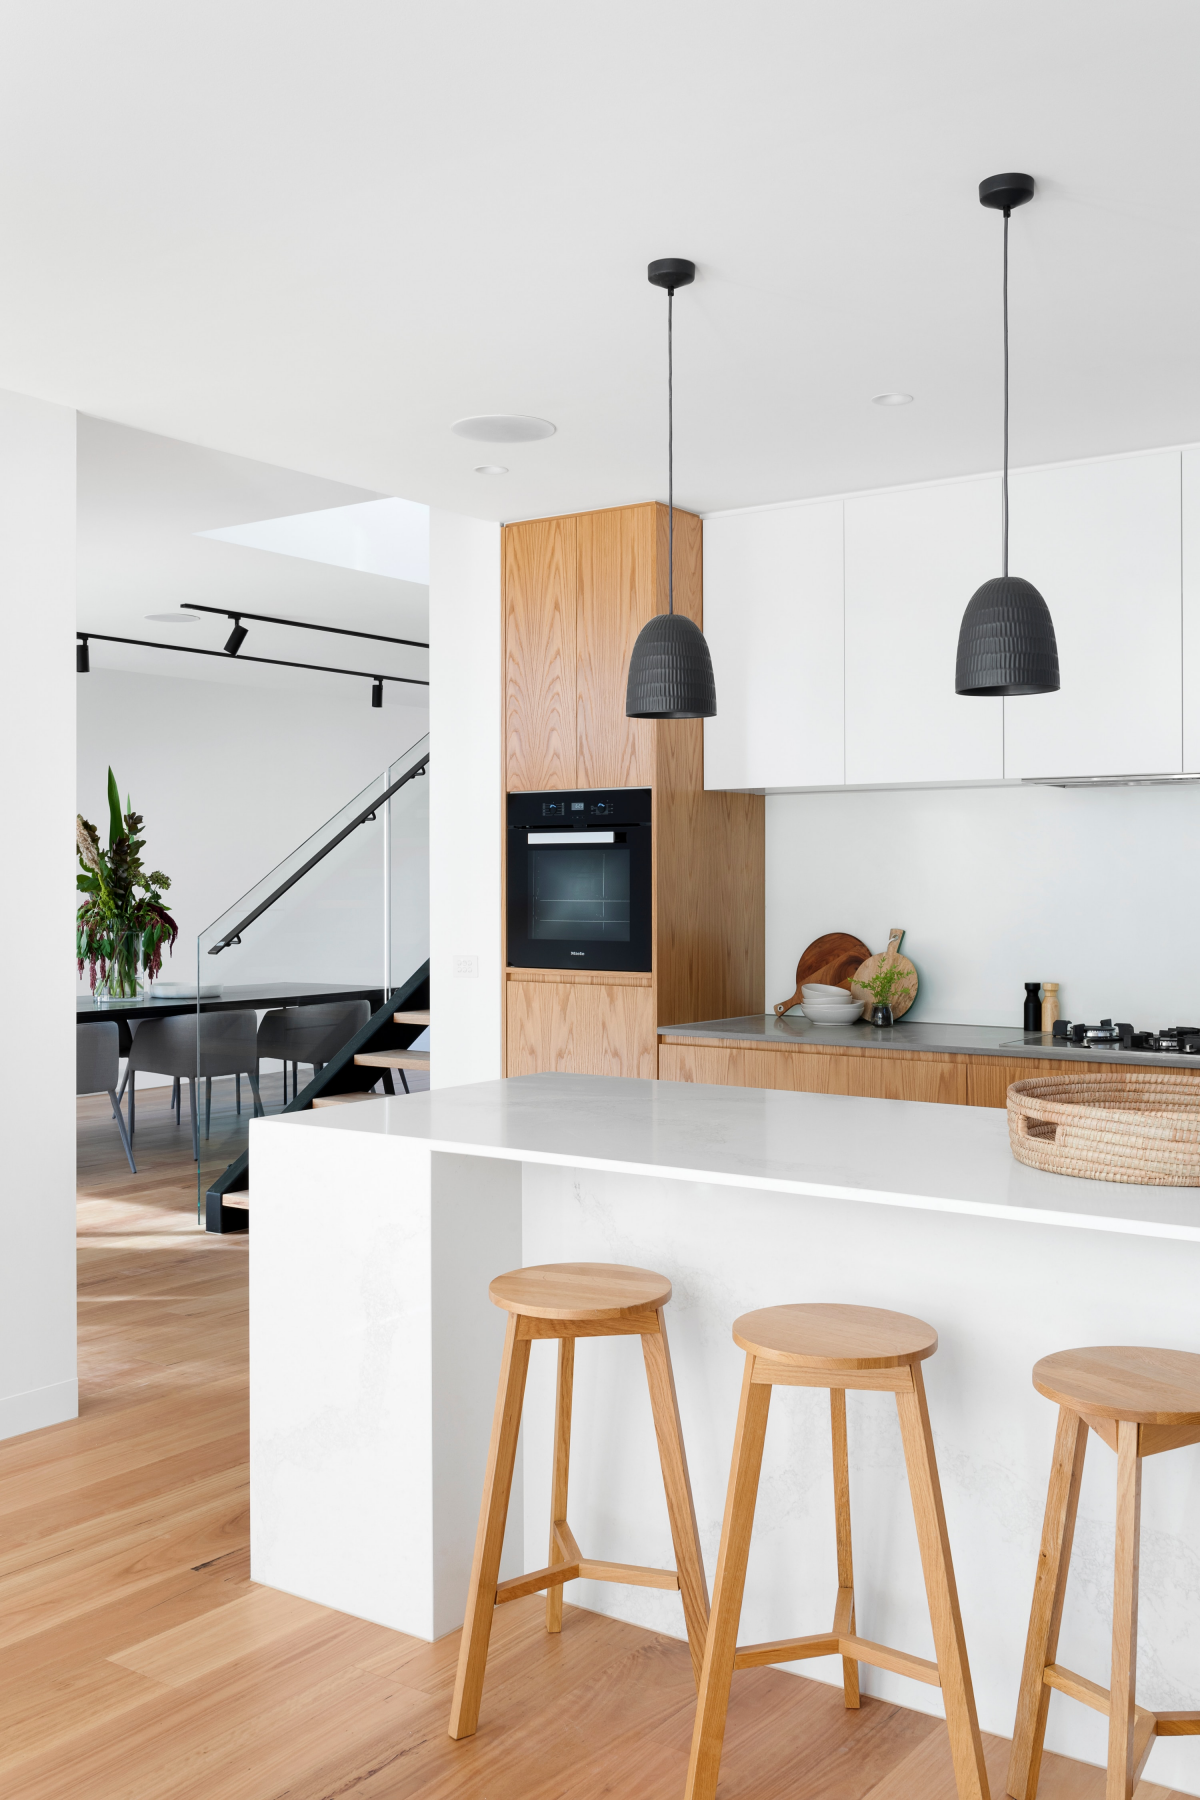
- Accent Light: This is the pretty, decorative layer—like pendants over an island. They add style and ambiance.
Quick Win: Want to improve your kitchen today for under $100? Buy a roll of LED tape lighting and stick it under your upper cabinets. It’s the single biggest functional improvement you can make. When buying LEDs, look for a color temperature around 3000K (a perfect warm white, not too yellow, not too blue) and a CRI (Color Rendering Index) of 90 or higher. A high CRI makes colors look true, so your red onions actually look red and your food looks appetizing.
Heads up! All electrical work should be done by a licensed electrician. I’ve seen some scary DIY wiring jobs hidden behind walls. It’s a massive fire risk. This is one area where you absolutely need a pro.
The Unseen Workhorses: Appliances and Ventilation
Appliances are a huge investment. It’s easy to get wowed by features, but focus on reliable performance. There’s a big difference between “pro-style” ranges for homes and true commercial ranges. Commercial gear requires special, non-combustible walls and ventilation and is almost never right for a home. “Pro-style” gives you the look and power but is engineered to be safely installed in a residential kitchen.
And please, don’t skimp on ventilation. It’s not just an appliance; it’s a system. A powerful range needs a powerful hood to suck out all the grease, smoke, and odors. A ducted hood that vents outside is always, always better than a ductless one that just recirculates the air. A powerful hood (over 400 CFM) in a well-sealed home may also require a “make-up air” system by code to prevent dangerous back-drafting from your furnace or water heater. This is HVAC territory, and it’s a critical safety feature.

How to Find the Right Pros
Finding a good contractor or designer can feel daunting. Here are a few questions you can ask to help vet them:
- Can I speak with your last two clients?
- Can I see photos of a kitchen you completed more than five years ago? (This shows you how their work holds up over time.)
- Who are your primary suppliers for cabinets and hardware? (Good pros have established relationships with quality suppliers.)
- How do you handle issues or changes that come up mid-project? (Their answer will tell you a lot about their communication and problem-solving style.)
In the end, creating a kitchen with substance is about making a series of smart, informed choices. It’s about looking past the shiny surface to how things are built. It’s about investing in a layout that makes your life easier and materials that will stand the test of time. The result is a space that doesn’t just look great, but feels right—a room that truly works for you.
Galerie d’inspiration
Beyond the big-ticket items, what’s one small detail that makes a kitchen feel genuinely high-end day after day?
It’s the hardware. The weight, finish, and feel of your cabinet pulls and knobs are something you interact with constantly. Flimsy, hollow-cast zinc hardware feels cheap and can quickly show wear. Investing in solid brass or bronze hardware from a quality maker like Armac Martin or Buster + Punch provides a satisfying, tangible heft every time you open a drawer. It’s a tactile detail that reinforces the sense of substance and quality throughout the entire space, far more than a trendy faucet ever could.


