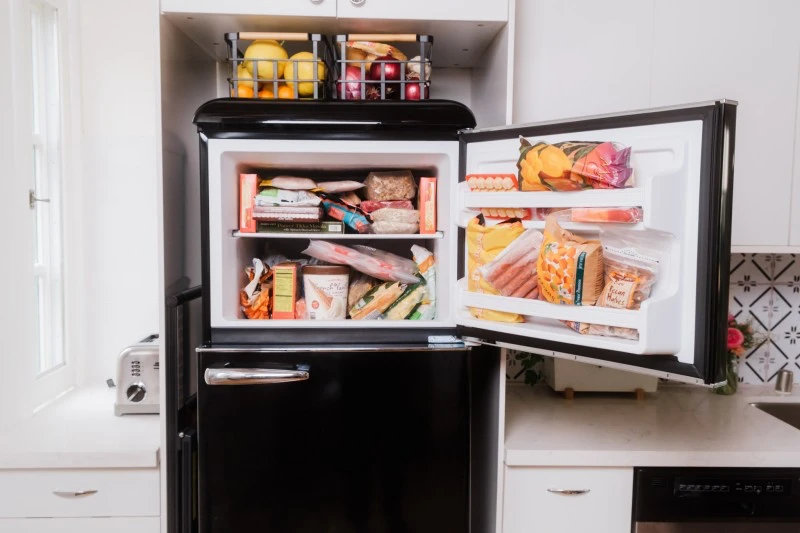
Your Freezer is Not a Time Machine: What You Should (and Shouldn’t) Freeze
I’ve spent a long, long time in professional kitchens, and if there’s one tool that’s both a lifesaver and a heartbreaker, it’s the freezer. We see it as a magic box where food is perfectly preserved forever. But honestly, it’s not. It’s a powerful tool, but it follows its own set of rules, and breaking them leads to watery, rubbery, or just plain sad meals.
In this article
- First, What’s Actually Happening in There?
- The Big “Don’t Freeze” List (Or at Least, Think Twice)
- The “For Your Safety” No-Fly Zone
- When Flavor is the First to Go
- My Pro-Level Freezer Toolkit
- Let’s Talk Baked Goods
- The Art of the Thaw: Bringing Food Back to Life
- Oops… Now What? Quick Fixes for Freezer Fails
- A Quick Guide to Freezer Timelines
- Inspiration:
We’ve all been there. You pull out a container of what was once a gorgeous batch of soup or a perfect steak, only to find it’s a shadow of its former self. My goal here is to share the hard-earned lessons from the restaurant world so you can skip the disappointment. We’re not dealing in absolutes, because the word “never” is too simple for food. Instead, let’s talk about which foods lose a ton of quality and why. Understanding the ‘why’ makes you a better, more intuitive cook.
First, What’s Actually Happening in There?
Before we name names, let’s get into the science of it, but without the boring textbook lecture. When you freeze food, you’re slowing down the bad guys—bacteria, yeast, and mold—and pausing the enzymes that cause spoilage. But the real drama comes from one simple thing: ice crystals.
The Ice Crystal Problem
Food is mostly water, tucked away inside millions of tiny cells. In a home freezer, water freezes slowly, forming big, jagged ice crystals. Think of them as tiny daggers. They pierce and shred the cell walls of your food. So, when you thaw that strawberry or piece of fish, all the water that was neatly contained inside leaks out. The result? A mushy, limp mess and a loss of moisture.
In professional kitchens, we use blast freezers that drop the temperature incredibly fast. This creates tiny, smooth microcrystals that don’t do nearly as much damage. While you probably don’t have a blast freezer at home, you can mimic the principle: freeze things in smaller portions spread out on a baking sheet. The faster they freeze, the better the texture will be.
And Then There’s Freezer Burn…
Freezer burn isn’t spoilage; it’s dehydration. It’s those ugly, grayish, leathery spots on your chicken or steak. This happens when moisture escapes the food and turns directly into vapor in the freezer. The culprit is always air. Any air left in the bag is actively trying to suck the life out of your food. This is why good packaging is everything.
The Big “Don’t Freeze” List (Or at Least, Think Twice)
These are the items where the texture just gets destroyed. The damage from those ice crystals is just too much for them to handle.
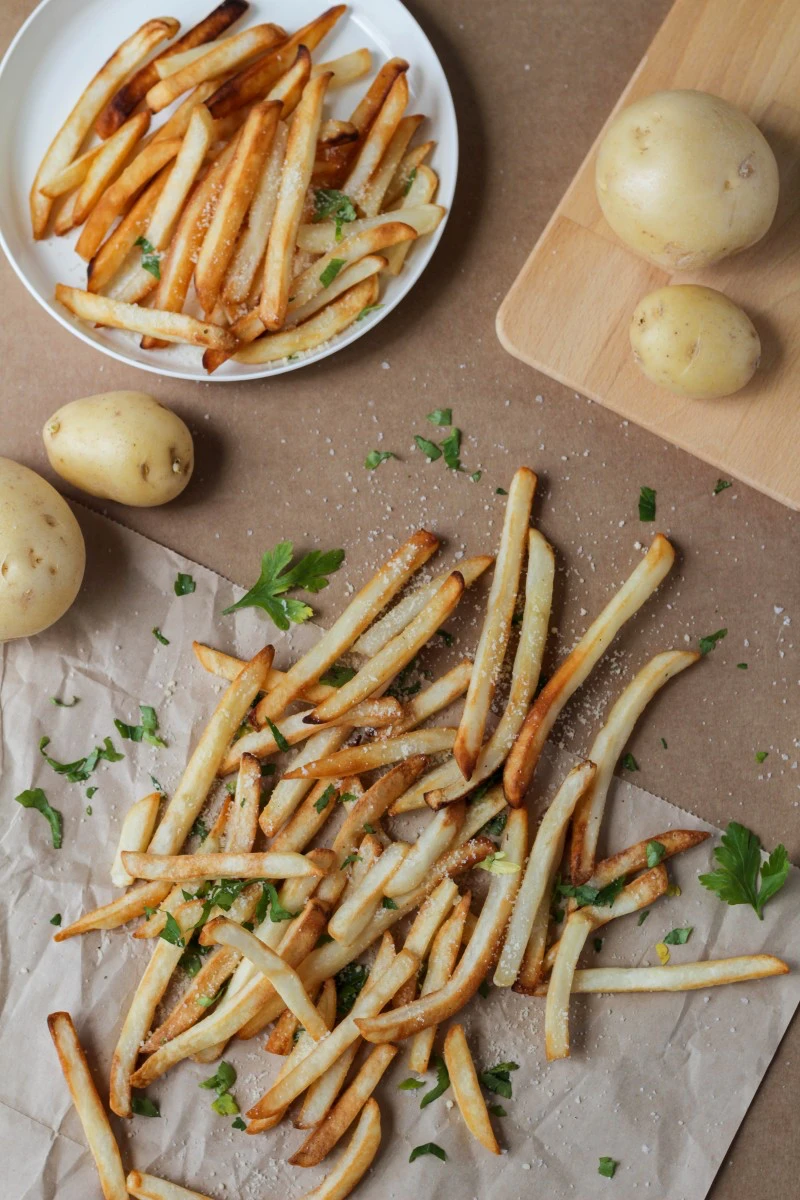
Crispy, Water-Heavy Veggies and Fruits
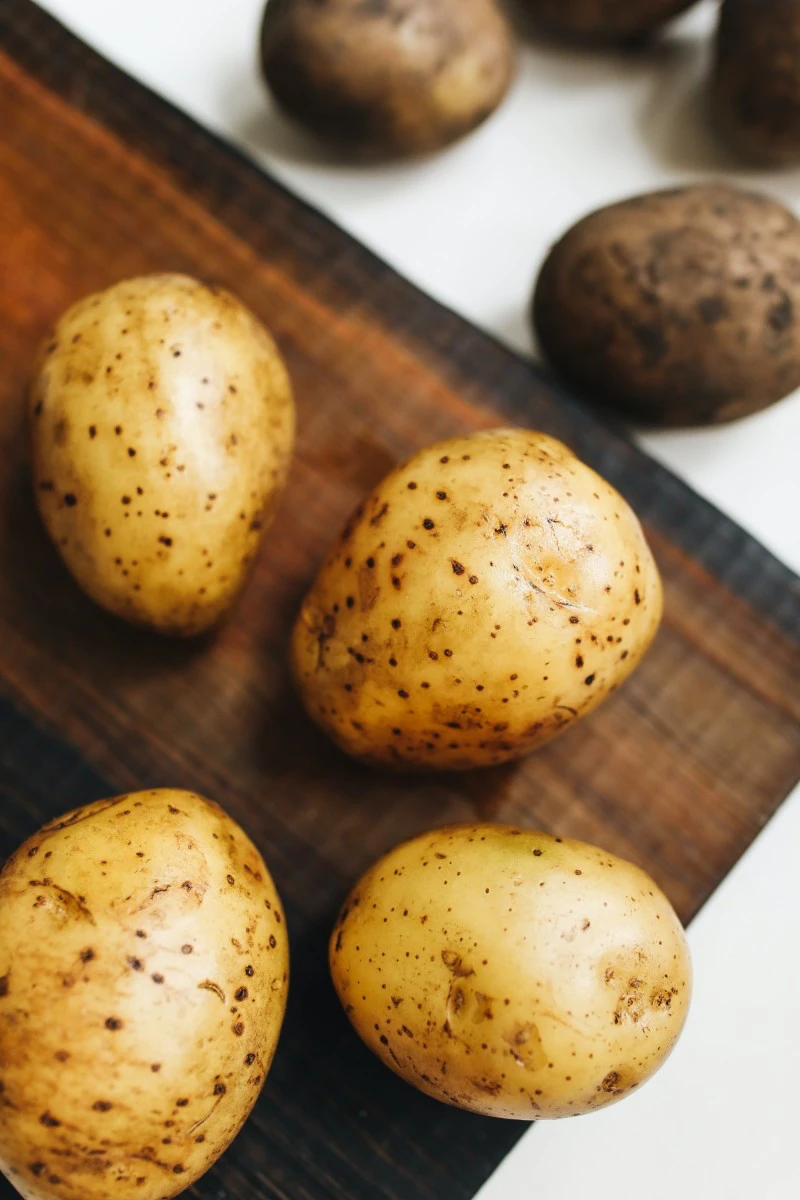
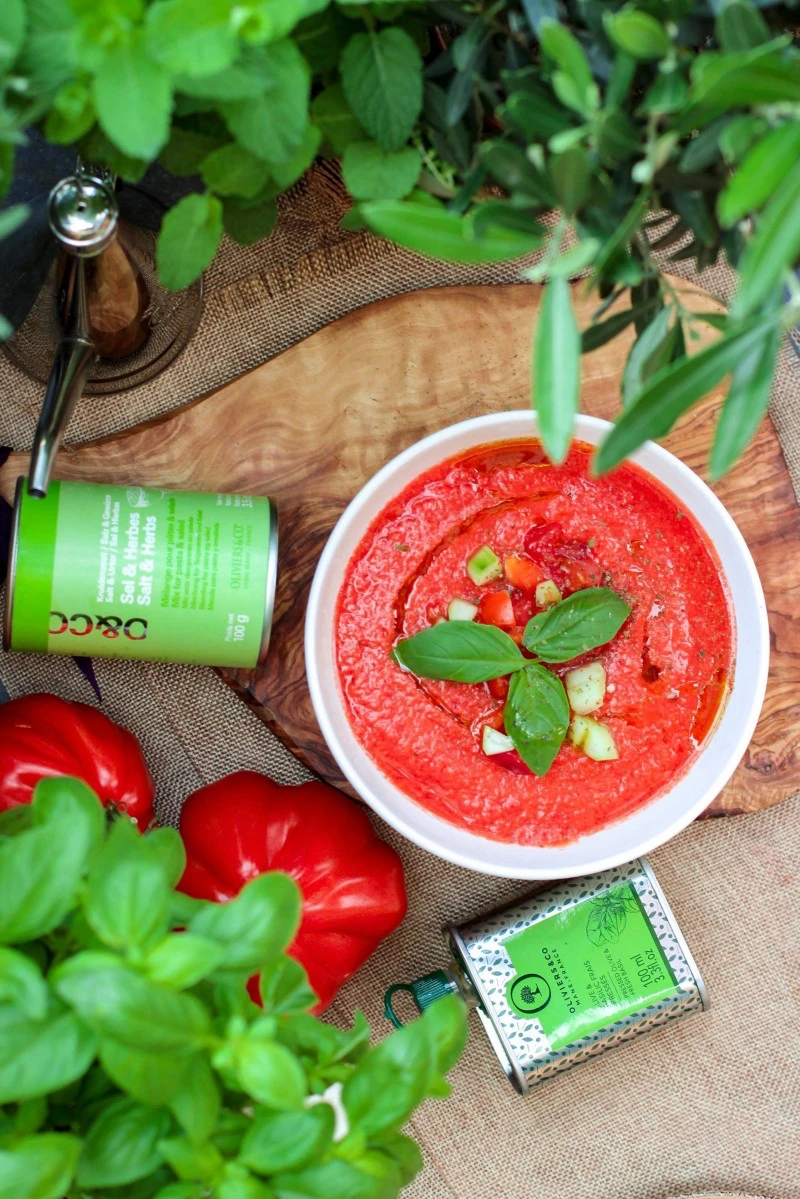
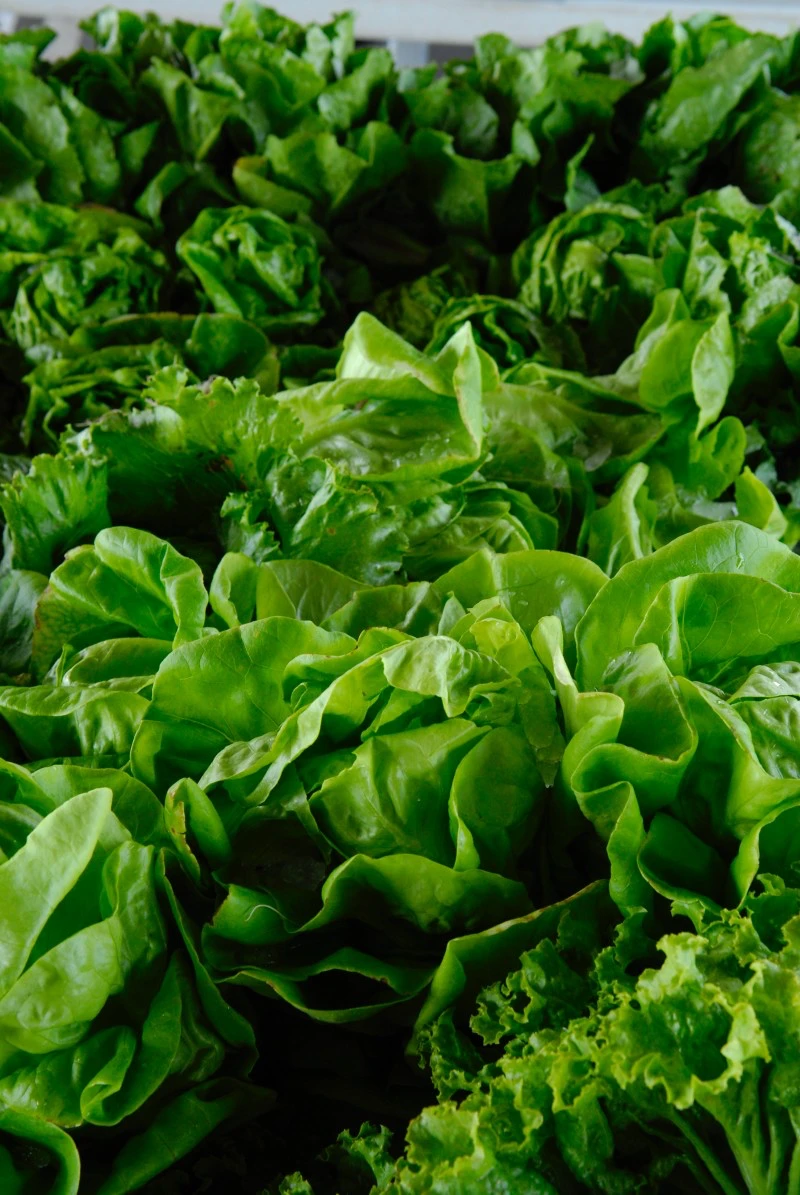
Examples: Lettuce, cucumbers, celery, radishes, raw potatoes, whole tomatoes, and melons.
The problem is obvious: their entire appeal is crispness, which comes from water-filled cells. When those cells get shredded by ice, all that water leaks out upon thawing. You’re left with a sad, floppy, translucent version of the original. I once saw a rookie cook try to get ahead by freezing sliced cucumbers for a big event. We ended up with trays of watery, useless discs. Lesson learned.
The Pro-Level Workaround: If the final texture doesn’t need to be crisp, you’ve got options. You can absolutely chop and freeze celery, onions, and carrots (your classic mirepoix) for soup bases. Tomatoes do beautifully if you puree or stew them first, then freeze them for sauces. And for potatoes? While raw ones are a disaster, you can freeze them after blanching. Blanching—a quick dip in boiling water, then an ice bath—stops the enzymes that ruin texture and color. It’s a game-changer for veggies like green beans, broccoli, and sliced potatoes destined for roasting.
Certain Dairy and Sauces
Examples: Mayonnaise, cream-based sauces, yogurt, sour cream, and cottage cheese.
The problem: These are emulsions, which is a fancy way of saying they are a delicate, stable mix of fat and water. Freezing shatters that bond. The water freezes, separating from the fats and proteins. When it thaws, you get a curdled, grainy, or weepy mess. It’s still safe to eat, but the texture is often a deal-breaker.
What you CAN do:
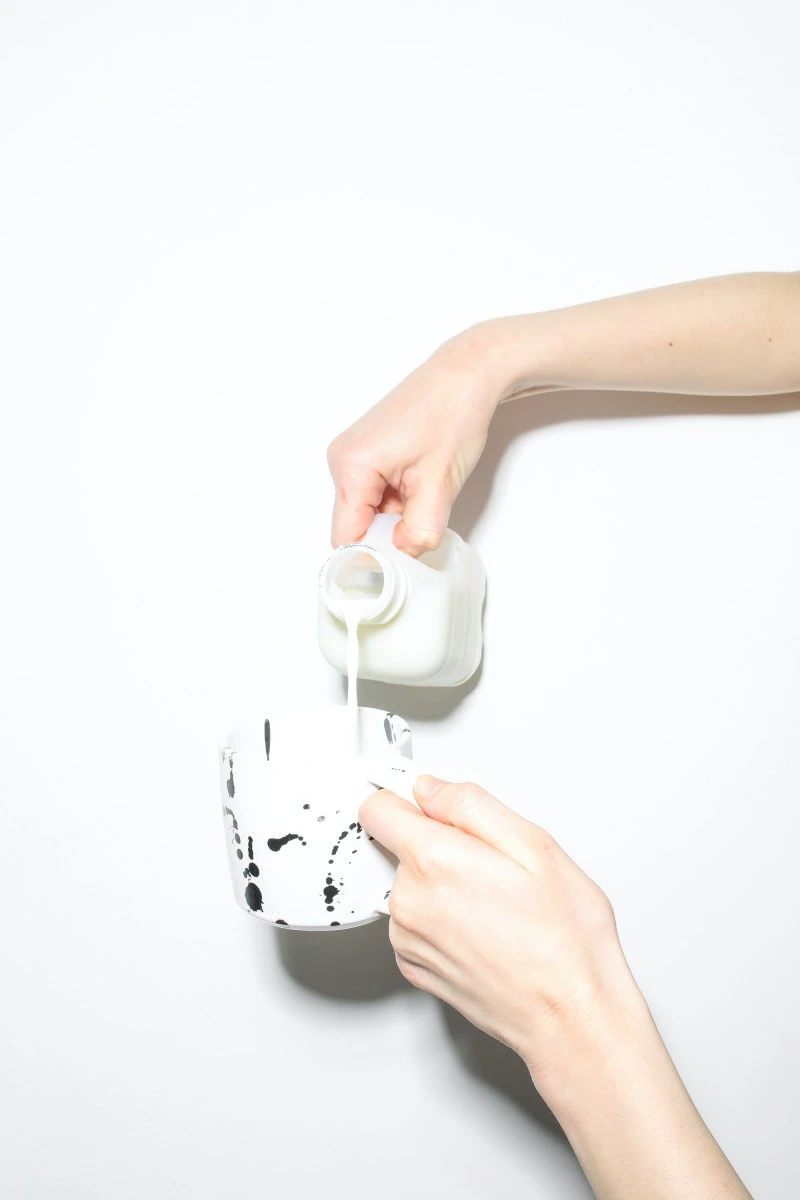
- Milk: You can freeze it, but it will separate. After thawing in the fridge, you’ll need to shake it like crazy or even hit it with an immersion blender to bring it back together. It’s best for cooking or baking afterward, not for drinking straight.
- Hard Cheeses: Things like cheddar or Parmesan get very crumbly after freezing. So, no nice slices for a cheeseboard, but they are perfect for grating into casseroles or sauces. A great tip is to grate them before you freeze them.
- Butter and Cream Cheese: These are freezer champions! Thanks to their high-fat content, they freeze and thaw almost perfectly. Just wrap them tightly.
Cooked Pasta, Rice, and Fried Foods
The problem: Freezing makes cooked pasta and rice mushy and weird. As for fried food, the crispy coating is the first casualty. Ice crystals form in the breading, and when you reheat it, that ice turns to steam, making everything soggy.
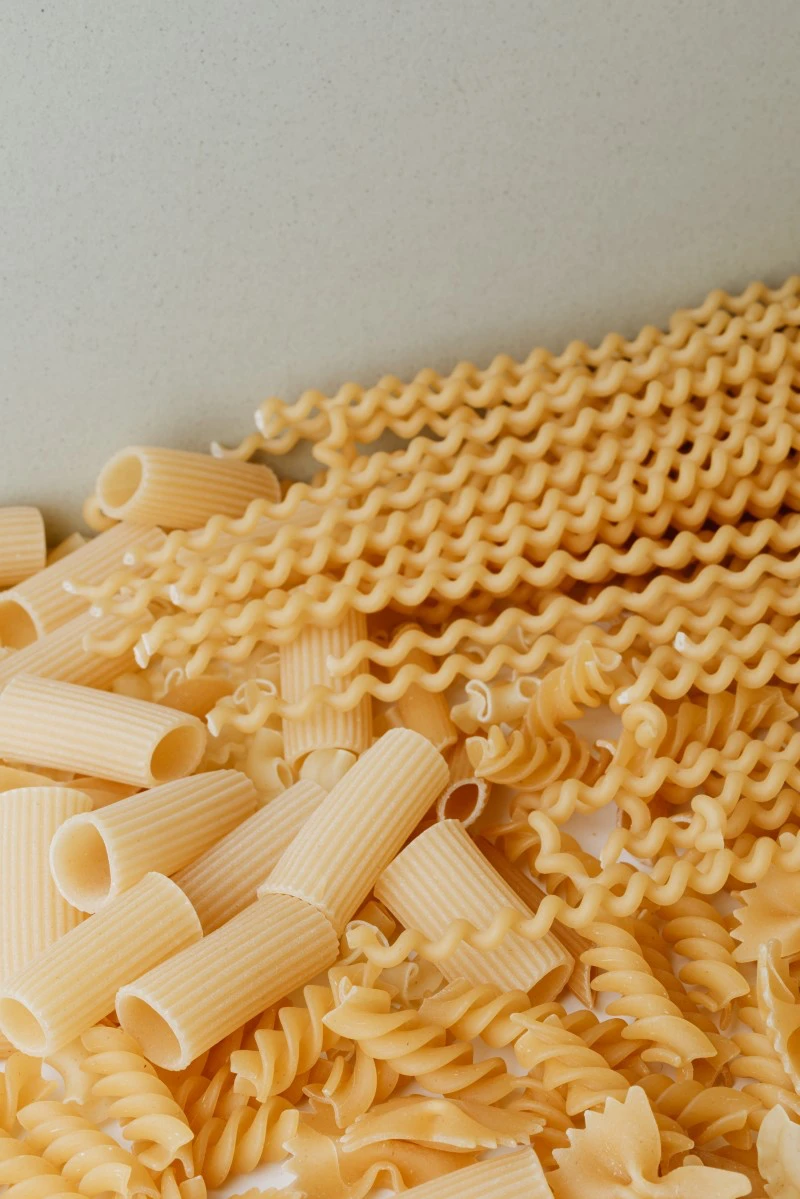
The fix: Ever notice frozen pasta meals are always in sauce? The sauce protects the pasta. If you must freeze plain pasta, undercook it significantly so it can finish cooking when you reheat. For fried foods, your only hope for reviving crispiness is high, dry heat. Use an oven or, even better, an air fryer. The microwave is your worst enemy here.
The “For Your Safety” No-Fly Zone
This isn’t just about quality—it’s about keeping your food safe to eat. No compromises here.
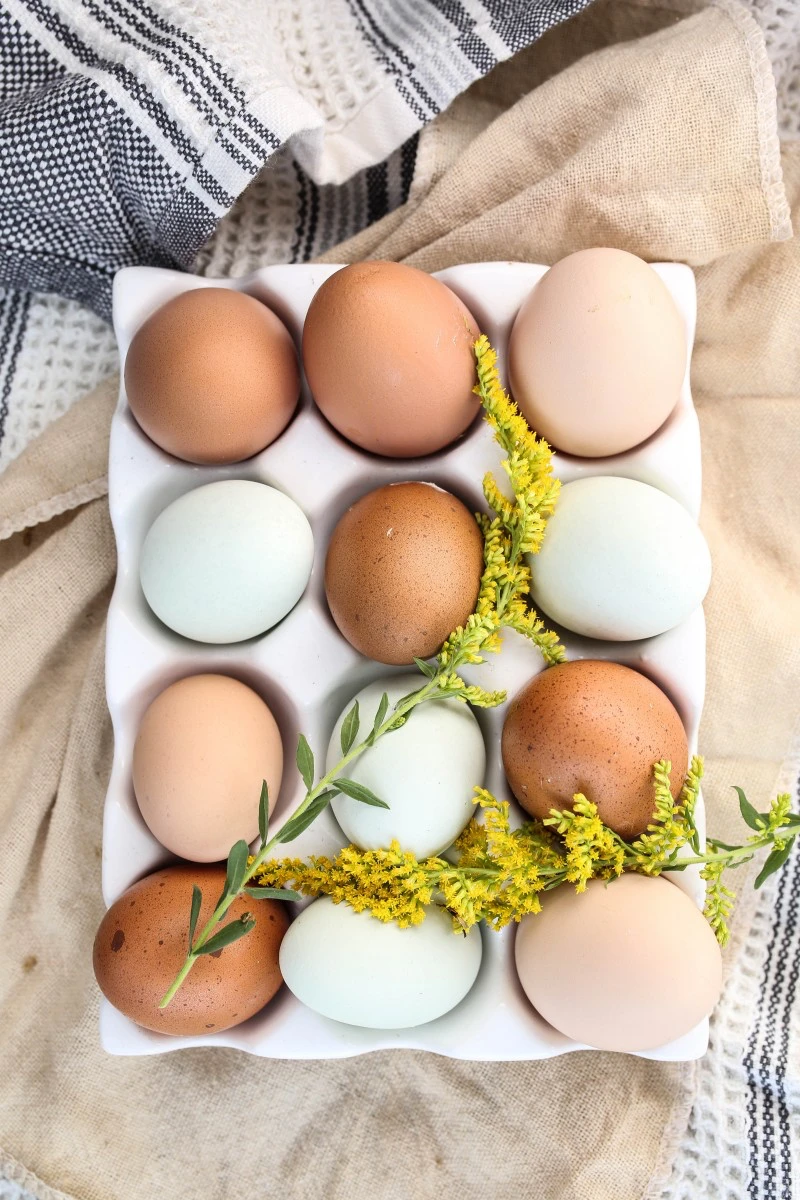
Eggs in Shells & Hard-Boiled Eggs
This is a hard and fast rule. Never freeze a raw egg in its shell. The liquid inside will expand and crack the shell, which is the egg’s natural barrier against bacteria. A cracked shell is an open invitation for germs.
Hard-boiled eggs are a textural nightmare. The whites become tough, watery, and rubbery. It’s just plain awful.
How to freeze eggs properly: Crack them! For whole eggs, whisk them gently (don’t add air) and freeze them in ice cube trays or small containers. For separated eggs, freeze whites and yolks apart. Oh yeah, a key trick for yolks: they can get weirdly thick and gelatinous. To prevent this, just whisk in a pinch of salt or a little sugar. A good ratio to remember is for every 4 egg yolks, mix in either 1/8 teaspoon of salt (for savory dishes) or 1 ½ teaspoons of sugar (for baking).

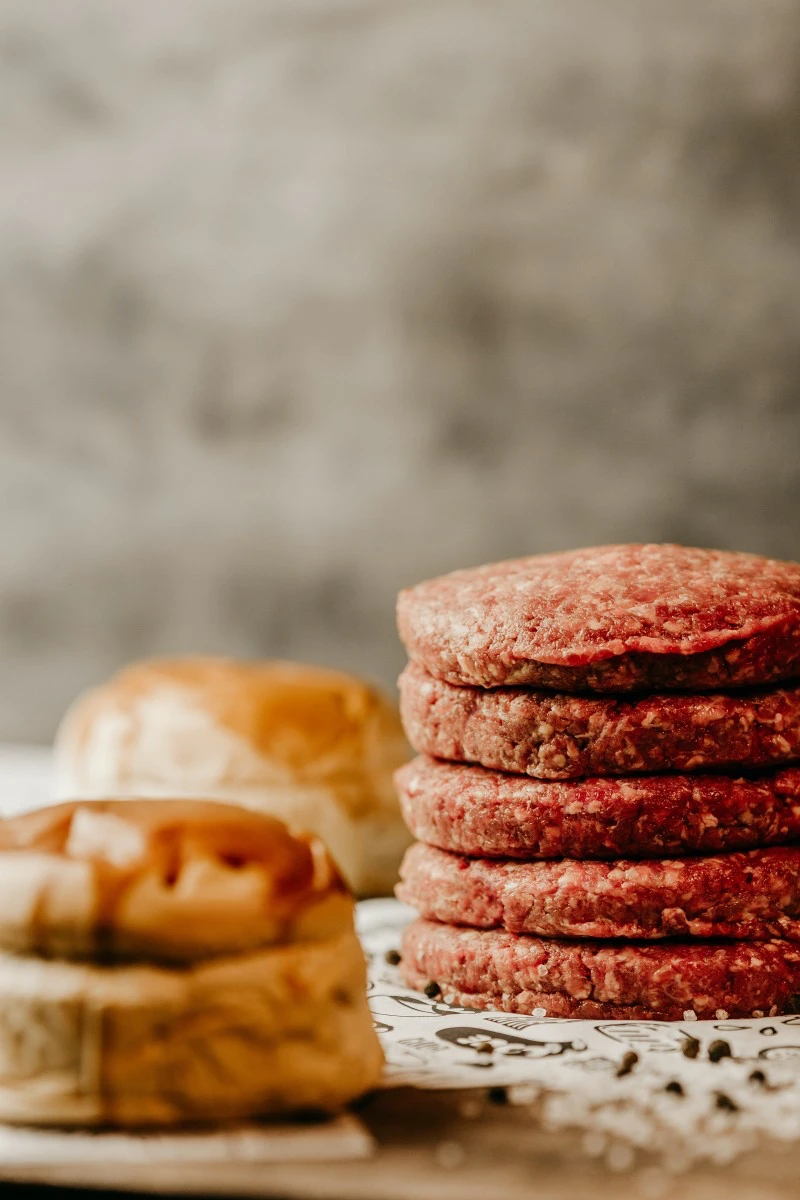
Meat or Fish That’s Already Been Thawed
This is a critical food safety rule. If you’ve thawed meat on the countertop (which you shouldn’t do anyway!), you absolutely cannot refreeze it. That’s because bacteria that were present before freezing can start multiplying once the meat enters the temperature ‘danger zone’ (above 40°F). Refreezing just pauses those bacteria; it doesn’t kill them. On top of that, refreezing meat a second time will make it dry, tough, and mealy. You’re just drawing out more and more moisture.
The one exception: If you thawed the meat safely in the refrigerator and it never went above 40°F, you can refreeze it, but be prepared for a serious drop in quality. Honestly, it’s better to just cook it and then freeze the cooked dish.
When Flavor is the First to Go
Some things are technically fine to freeze, but the process robs them of the very thing that makes them special: their flavor and aroma.

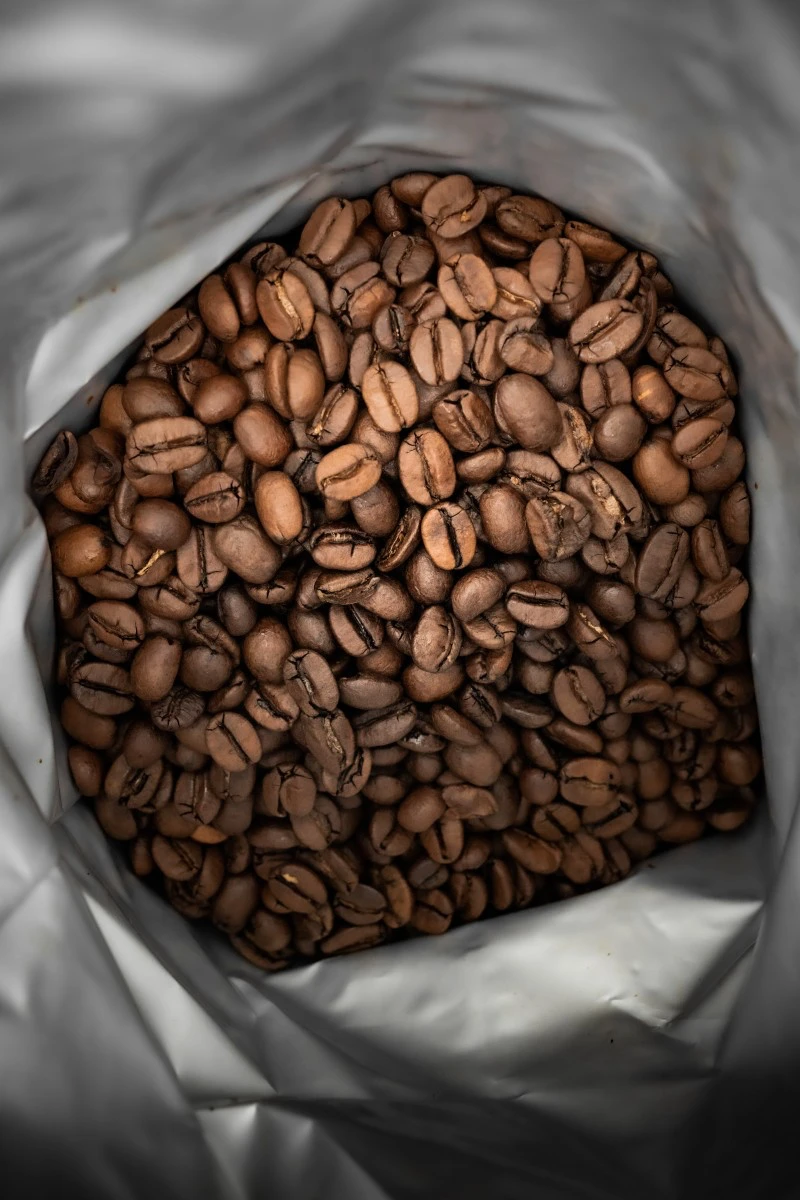
Coffee Beans
This is a huge debate, but here’s the professional take: don’t do it. Coffee beans are porous and absorb moisture and odors like a sponge. When you take a bag from the freezer into a warm room, condensation forms instantly. Moisture is the enemy of fresh coffee flavor. For very long-term storage, you can get away with freezing a completely unopened, vacuum-sealed bag. But once you open it, that’s it. It stays out. The best way to store coffee is in an airtight container in a cool, dark pantry.
Delicate Fresh Herbs
Examples: Basil, cilantro, parsley, mint.
Freezing these herbs whole is like freezing lettuce—they turn into a dark, slimy mess when thawed, with none of their fresh aroma. But there’s a fantastic pro method to save them!
Lesser-known trick: Make flavor bombs. Finely chop your herbs, pack them into an ice cube tray (about ¾ full), and top them with olive oil or water. Freeze them solid, then pop the cubes into a labeled freezer bag. Now you have perfect, pre-portioned pucks of flavor to drop right into a hot pan for a sauce or soup.
My Pro-Level Freezer Toolkit
Having the right gear makes all the difference. You don’t need much, but these items are non-negotiable for getting the best results.
- A good permanent marker. No guessing games.
- Masking tape or freezer tape. Why? It sticks well when cold but, crucially, peels off easily without leaving that awful, sticky residue all over your containers.
- Heavy-duty freezer bags. Don’t cheap out here. Get the thick ones, available at places like Costco or online. They’re much better at preventing freezer burn.
- A vacuum sealer. This is the single best investment for your freezer. A starter model can run you about $60-$100, but it will save you hundreds of dollars in ruined meat and fish over its lifetime by removing virtually all the air.
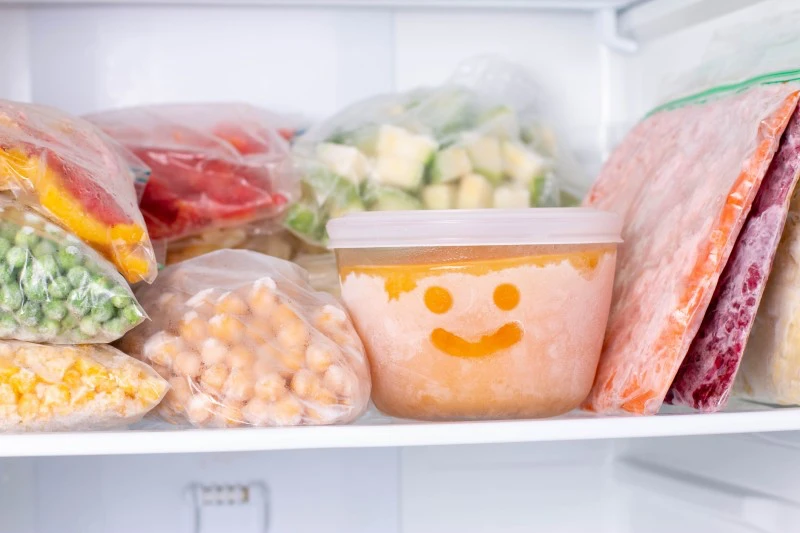
- Freezer-safe containers. Glass containers (like Pyrex) or quality BPA-free plastic work great. For soups and stocks, silicone trays (like Souper Cubes) that freeze perfect blocks are amazing.
Let’s Talk Baked Goods
Good news! Most baked goods freeze beautifully. Breads and unfrosted muffins are perfect. Let them cool completely, then wrap them tightly in plastic wrap, followed by a layer of foil or a freezer bag. You can thaw them on the counter or give them a quick toast. For a frosted cake, here’s the trick: place the whole cake, unwrapped, in the freezer until the frosting is frozen solid. Then you can wrap it tightly without smushing the decoration. To thaw, unwrap it first, then let it sit in the fridge.
The Art of the Thaw: Bringing Food Back to Life
Freezing is only half the battle; thawing correctly is just as important!
- For large items (roasts, whole chickens): The only truly safe way is in the refrigerator. It’s slow, but it keeps the meat out of the bacterial danger zone. Plan ahead—it can take a full day for every 5 pounds of meat.
- For smaller cuts of meat, soups, or stews: The fridge is still best. If you’re in a hurry, you can place the food (in a leak-proof bag) in a bowl of cold water, changing the water every 30 minutes. Never use hot water!
- Bread and Baked Goods: These can usually be thawed right on the countertop for an hour or two.
- Casseroles and Cooked Dishes: Ideally, thaw them in the fridge overnight. You can bake many from frozen, but you’ll need to add significant cooking time (often 50% longer) and keep it covered with foil for most of that time to prevent drying out.
Oops… Now What? Quick Fixes for Freezer Fails
Even the pros mess up. Here’s what to do when things go wrong.
- Help! My sour cream or yogurt separated after thawing. Don’t throw it out! Whisk it vigorously. It might not be great for eating plain, but it’s perfectly fine to use in a cooked dish like a soup, casserole, or marinade where the texture won’t be noticeable.
- My meat has grey, tough spots on it. Is it bad? That’s just freezer burn. It’s not unsafe, but it won’t taste great. You can trim the affected spots off before cooking. The rest of the meat might be a bit drier than usual, so it’s a good candidate for a stew or a braise.
A Quick Guide to Freezer Timelines
As a general rule, here’s how long you can expect things to last at peak quality in a good freezer:
- Soups, Stews, and Casseroles: 2-3 months
- Cooked Meat/Poultry: 2-6 months
- Ground Meat (raw): 3-4 months
- Steaks, Chops, Roasts (raw): 6-12 months
- Whole Chicken or Turkey (raw): 12 months
- Fish (raw): 3-8 months, depending on how fatty it is (leaner fish lasts longer)
- Bread and Baked Goods: Around 3 months
Remember to always label everything with the item and the date. Your future self will thank you.
Inspiration:
How do you freeze herbs without them turning into a brown, mushy mess?
The secret is fat. Water is the enemy when freezing delicate herbs, as it creates ice crystals that destroy their cell structure. By chopping herbs like rosemary, sage, or thyme and mixing them with a quality olive oil or melted butter before freezing in an ice cube tray, you protect them. The fat encapsulates the herbs, preventing freezer burn and locking in the aromatic oils. Just pop a cube into a hot pan to start a sauce or roast vegetables. Silicone trays are perfect for easily releasing these flavor bombs.
Nearly 40% of food in the United States is wasted, and improper storage is a significant contributor.
A vacuum sealer is one of the most effective tools against this type of waste in the home kitchen. While a good quality Ziploc freezer bag is fine for soups or short-term storage, a vacuum sealer like a FoodSaver V4400 removes the air—the primary cause of freezer burn on meats and fish. This simple step can extend the freezer life of a steak from about 6 months to 2-3 years, preserving its texture and flavor far more effectively than any other method.


