Kitchen Secrets from a Pro Chef: The Real Rules for a Safer Kitchen
I’ve spent more than two decades in professional kitchens. I started out as the clumsy apprentice who was always in the way, and now I run my own spot, teaching the next generation of cooks the ropes. And honestly, after all this time, the biggest lessons I’ve learned had nothing to do with fancy cooking techniques.
In this article
It was all about respect. Respect for your food, your space, and especially your tools. A kitchen is a wonderfully creative place, but let’s be real—it’s also packed with potential dangers. Not the dramatic, headline-grabbing kind, but the quiet risks that sneak up on you when you’re not paying attention.
This isn’t an article meant to scare you out of your own kitchen. Fear doesn’t make anyone a better cook; knowledge does. My goal is to share the practical, real-world habits we use on the line every single night. This is about building a foundation of good habits so they become second nature, turning your kitchen into a place that’s safer, more efficient, and way more fun to be in.
The Unseen Threats: What’s Really Growing in Your Kitchen
The biggest risks in any kitchen are the ones you can’t even see. We’re talking about bacteria like Salmonella, E. coli, and others that just love a warm, damp environment with a bit of food to snack on. Your kitchen can be a five-star resort for them if you’re not careful. In the pros, we have strict systems for this, but you don’t need a complicated manual at home. You just need to know where the trouble spots are.
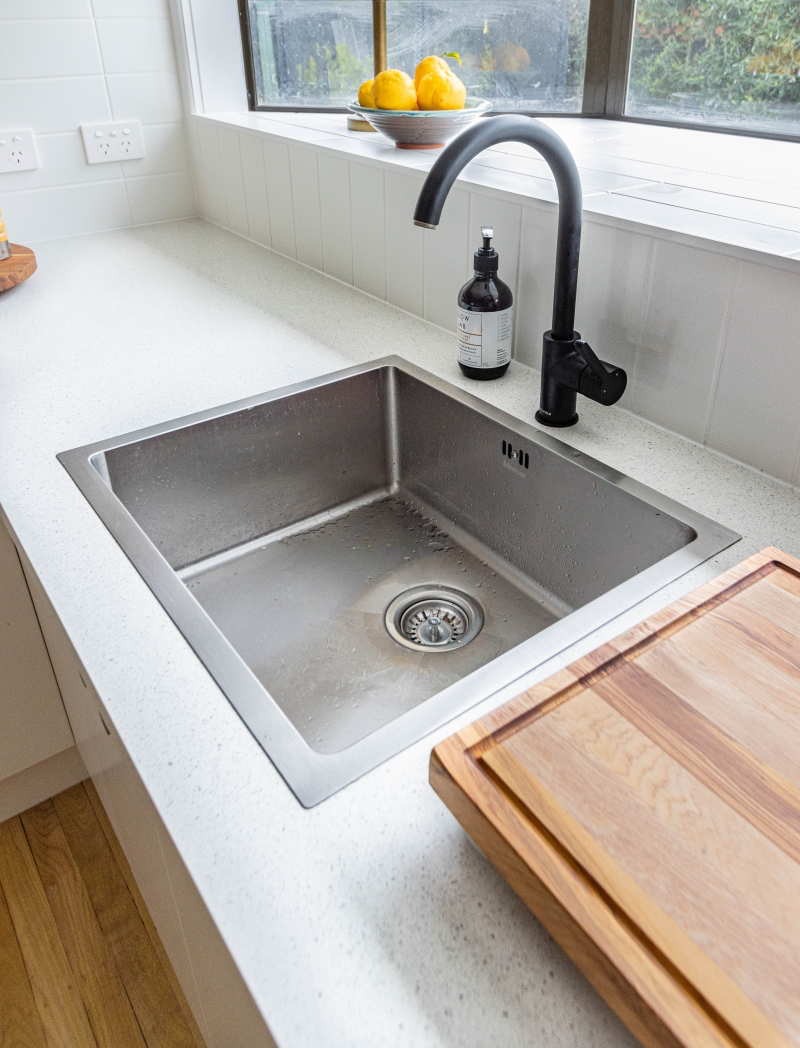
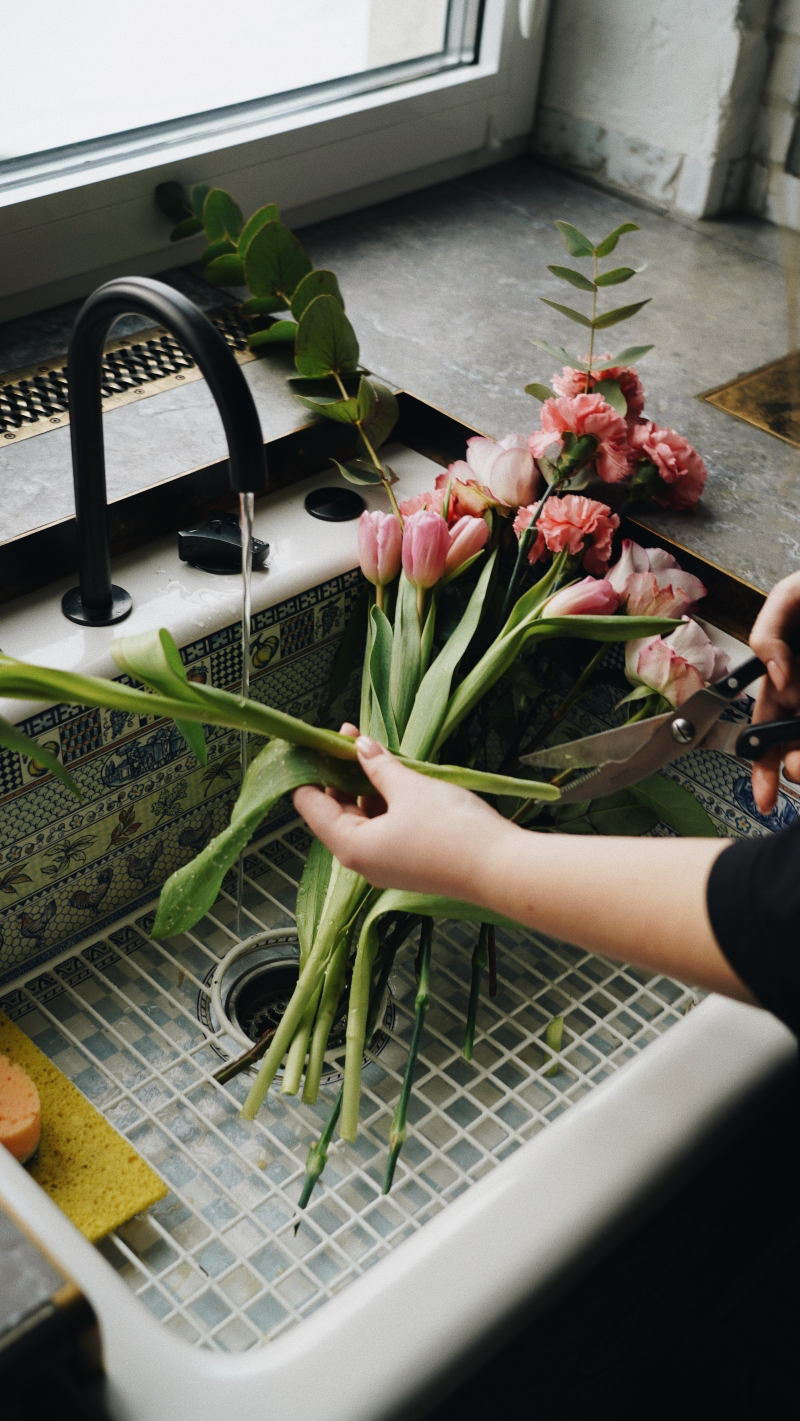
Your Sink Isn’t Just for Dishes
Let’s talk about the kitchen sink. It’s the Grand Central Station of contamination. You rinse raw chicken, wash gritty vegetables, and stack greasy plates in there. All of that activity leaves behind an invisible film of bacteria that can easily splash onto your countertops, clean dishes, or even your hands.
A health inspector once told me a story that has stuck with me forever: he swabbed a restaurant’s sink and the bacterial count was higher than the one on their toilet bowl. Yikes. Treat your sink with serious attention.
Here’s the pro cleaning method, adapted for home:
- Scrub: First, give the sink a good scrub with hot, soapy water to get rid of any visible gunk. A simple brush, like an OXO Good Grips one you can get for under $10, is perfect for getting into corners.
- Rinse: Rinse it all down with clean, hot water.
- Sanitize: Mix one tablespoon of plain, unscented household bleach into a gallon of water. Pour it around the sink, let it sit for about five minutes, and then rinse thoroughly. Do this every day or two. For the drain, pour a half-cup of baking soda down it, follow with a cup of white vinegar, let it fizz for ten minutes, then flush with boiling water.
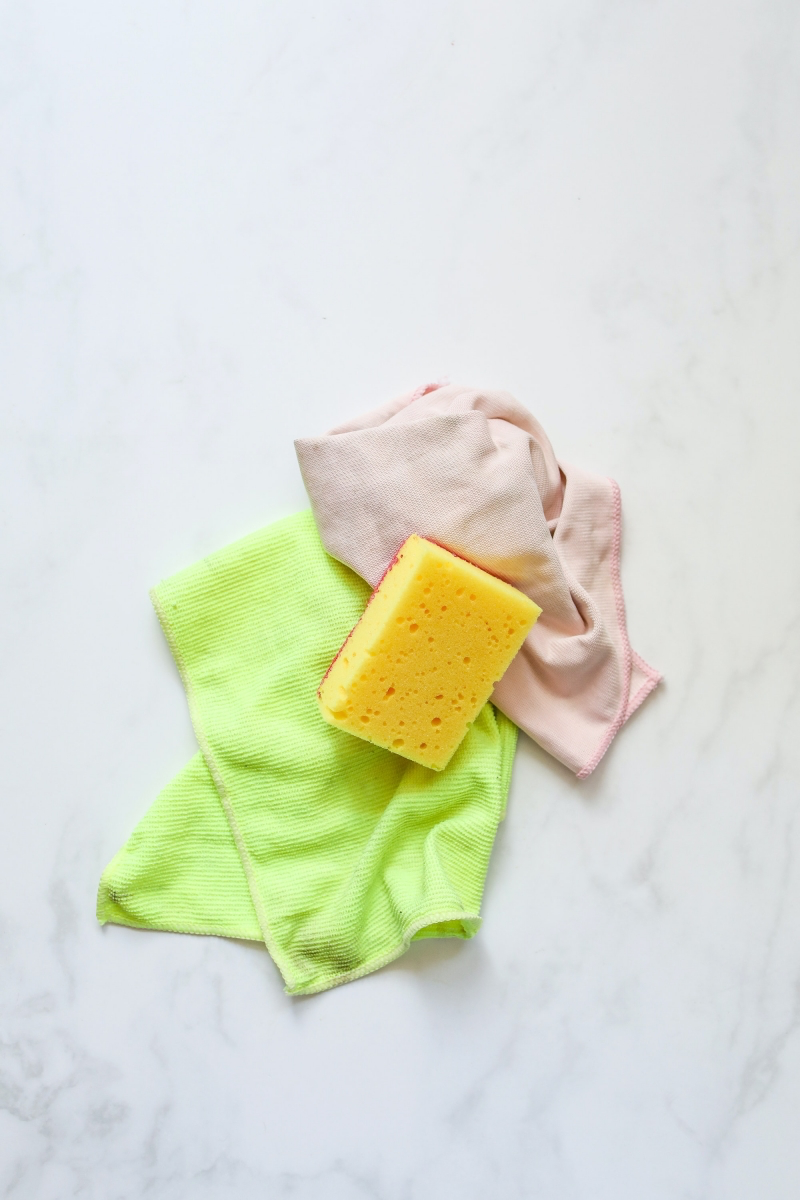
Why Chefs Are Wary of Kitchen Sponges
A classic kitchen sponge is basically a paradise for germs. It’s porous, it’s always wet, and it traps tiny food particles. It’s an incubator you then use to wipe down your counters. In fact, many health departments discourage restaurants from using them at all.
So, what’s the alternative? We generally lean on cotton cloths that can be tossed in a hot laundry load and nylon brushes that don’t hold onto water. Swedish dishcloths are another fantastic option—they’re super absorbent like a sponge but dry quickly and can be sanitized in the dishwasher or microwave. They usually cost about $15-$20 for a pack of 10 and last for months.
If you absolutely must use a sponge, you have to be militant about cleaning it. A completely saturated sponge (and I mean DRIPPING wet) can be microwaved on high for one to two minutes to steam-clean it. Heads up: Never, ever microwave a dry sponge, as it’s a serious fire hazard. You can also run it through the dishwasher on a heated dry cycle. And be ready to toss it. If it smells even slightly off, throw it out. That smell is the byproduct of a massive bacteria party. Replace it every week or two, no exceptions.

The Kitchen Towel Mix-Up
We use kitchen towels for everything, right? Drying hands, wiping up spills, grabbing a hot pan. But this is a classic way to spread germs. If you wipe your hands after handling raw meat and then use that same towel to dry a clean dish… you see the problem.
In my kitchen, we have a system. You can create a simple version at home. Have at least two types of towels: one is ONLY for drying your clean hands, and the other is a utility towel for everything else. As soon as a towel is used to wipe up something messy like raw chicken juice, it goes straight into the laundry hamper. Change out your kitchen towels every day. It sounds like a lot, but it’s one of the easiest ways to keep things clean.
Respect Your Tools: How to Handle Sharp and Powerful Gear
Kitchen tools are made to do a job—cut, chop, blend, and heat. That power is what makes them so useful, but it also means they demand your full attention. Almost every accident I’ve seen in a kitchen comes from either a poorly maintained tool or a moment of distraction.
A Sharp Knife Is a Safe Knife
I know it sounds completely backward, but it is the absolute truth. A sharp knife is predictable. It bites into the food with very little pressure and goes exactly where you guide it. A dull knife, on the other hand, is a menace. It will slide right off a tomato skin or onion, and because you’re pushing down so hard to make it cut, all that force gets redirected when it slips—often right into your other hand.
Quick tip: Learn the difference between honing and sharpening. Honing simply realigns the blade’s edge. You should do this with a honing steel almost every time you use your knife. Sharpening actually grinds away metal to create a new edge, and you only need to do this a few times a year. You can get it done professionally for about $5 to $15 per knife, which is well worth it.

And please, learn the “claw grip.” When you’re holding the food you’re about to cut, curl your fingertips inward, letting your knuckles stick out. You can then rest the flat side of the knife blade against your knuckles as you slice, keeping your fingertips safely tucked away. And never, ever put a good knife in the dishwasher. Wash it by hand, dry it immediately, and store it in a block or on a magnetic strip.
High-Power Appliances Deserve Your Full Attention
Meat grinders, high-speed blenders, and garbage disposals are built with powerful motors. They can’t tell the difference between a chunk of food and a finger.
For grinders and food processors, ALWAYS use the plastic pusher that comes with the machine. Never use your fingers to force food down the chute. It’s just not worth the risk. And when it’s time to clean, unplug the machine from the wall before you even think about touching the blades.

Now, for the garbage disposal. First rule: never put your hand in it. Not even if it’s off. If you drop something like a spoon inside, kill the power at the wall switch AND at your home’s breaker box to be extra safe. Then use tongs to get it out.
Lesser-known trick: If your disposal is jammed, you can often fix it yourself! Look at the very bottom of the unit under your sink. There should be a small, hexagonal hole. Use the Allen wrench that came with the disposal (or find one that fits) to manually crank the motor back and forth, which usually frees the jam. This can save you a $100-$200 service call to a plumber!
Beyond the Obvious: The Chemistry of Cookware and Air
Some kitchen risks are less about immediate injury and more about long-term exposure. Paying attention to what your cookware is made of is a pro-level move.
A Quick Word on Plastics
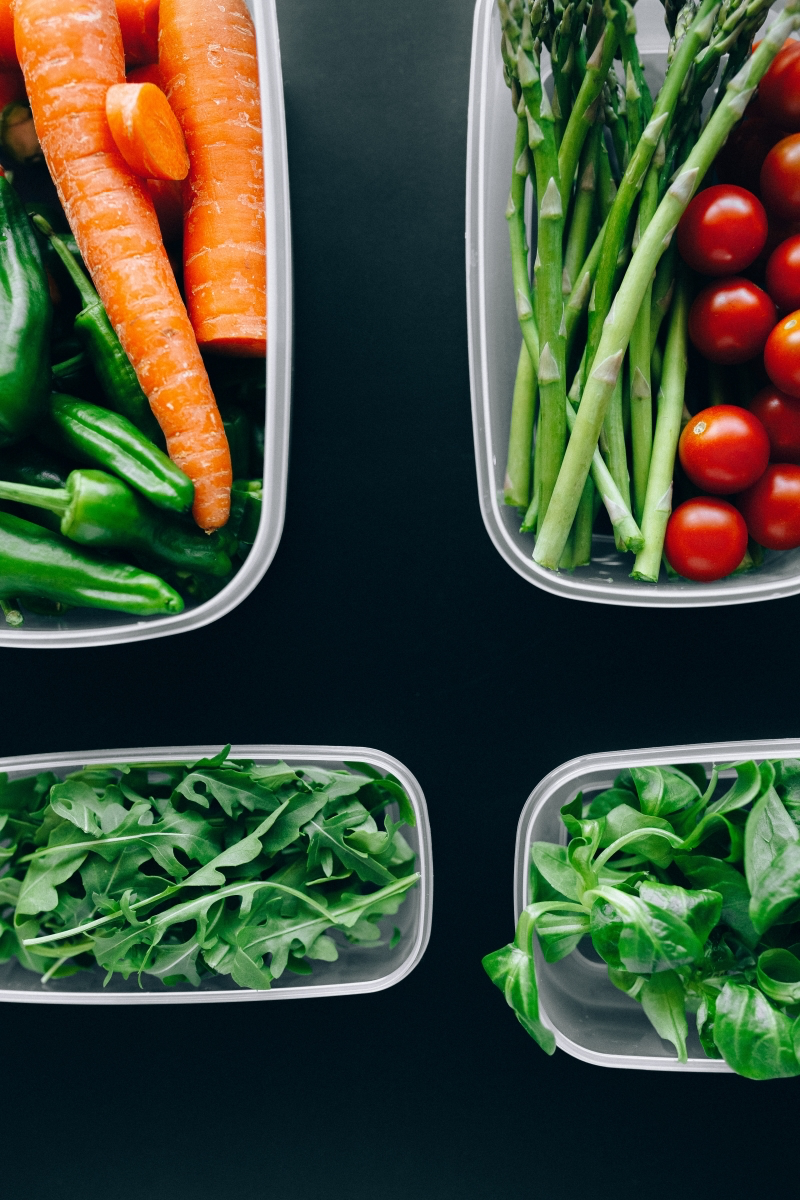
Plastic containers are handy, but some can leach chemicals into your food, especially when heated with fatty or acidic foods. For home use, I strongly recommend storing and reheating food in glass, ceramic, or stainless steel containers. Brands like Pyrex are perfect for this. If you do use plastic, keep it for cold storage and double-check that it’s labeled as microwave-safe—though honestly, I avoid microwaving in plastic altogether.
The Real Deal on Non-Stick Pans
Non-stick pans are great for delicate things like eggs or fish on low-to-medium heat. But when they get too hot (around 500°F), the coating can break down and release fumes you don’t want to breathe. This can happen fast if you leave a pan empty on a high-heat burner.
For high-heat searing, cast iron or stainless steel is the way to go. And if your non-stick pan has deep scratches where you can see the silver aluminum underneath? It’s time to toss it. No questions asked.

By the way, learning to use a well-seasoned cast-iron pan is a game-changer. A good one from a brand like Lodge is affordable (often under $30) and will last a lifetime. To clean it, just scrape out any food bits, wipe it with a paper towel, and maybe use a little hot water and a brush for stubborn stuff. Then, always dry it on a warm burner for a minute to prevent rust.
Let’s Clear the Air
A clean kitchen shouldn’t smell like fake pine or lavender; it should smell neutral. Those aerosol air fresheners just cover up odors by releasing other chemicals into your air. The best tool for air quality is your range hood. Use it! Make sure it vents to the outside and not just back into the room. And pop out the grease filter once a month to give it a good cleaning in hot, soapy water—a clogged filter is a fire hazard.

Gas and Electric: Handling the Invisible Power
We take gas and electricity for granted, but a little know-how goes a long way.
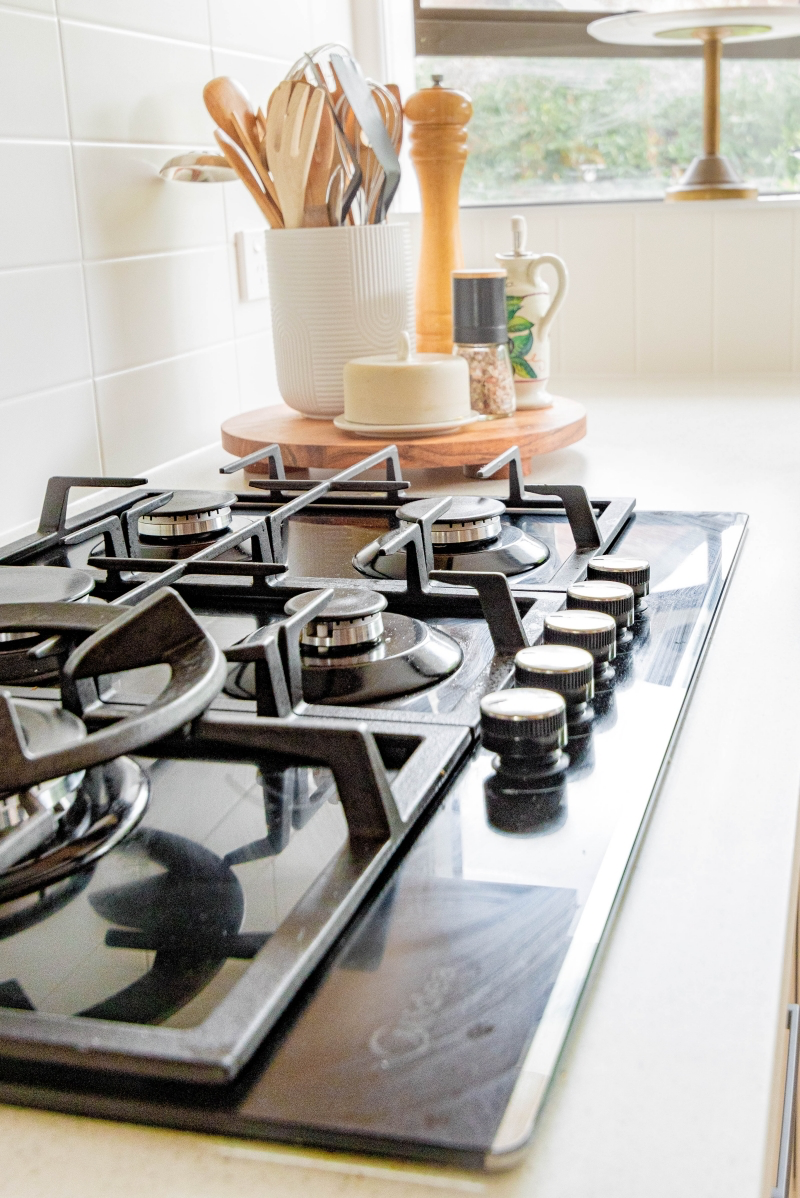
Working with a Gas Stove
You know that “rotten egg” smell of gas? That’s an additive. If you ever smell it, don’t touch any light switches or use your phone. Open the windows, get everyone out, and call your gas utility’s emergency line from a safe distance.
Here’s a pro tip: look at the flame on your burners. It should be a crisp blue with maybe a tiny yellow tip. If you see a big, lazy, yellow or orange flame, that’s a problem. It means the gas isn’t burning efficiently and could be producing carbon monoxide. This is a job for an appliance repair technician, not the gas company. And of course, make sure you have a working carbon monoxide detector near your kitchen.
Electrical Safety Is Non-Negotiable
Water and electricity are a deadly mix. That’s why modern kitchens have GFCI outlets near the sink. A Ground Fault Circuit Interrupter is designed to shut off the power in a split second if it detects a problem.
Your homework for today: Go find your GFCI outlets (they have the little “Test” and “Reset” buttons) and test them. Press “Test” to cut the power, then “Reset” to bring it back. Do this monthly. Keep cords away from water, never use a frayed cord, and don’t plug too many high-power appliances into one circuit.
Quick Wins for a Safer Kitchen Tonight
Look, you don’t have to overhaul your whole kitchen at once. True kitchen confidence comes from building small, smart habits. So here are three things you can do in the next 10 minutes to make your kitchen instantly safer:
- Test your GFCI outlets. Seriously, go do it right now. It takes 10 seconds.
- Throw out your smelly kitchen sponge. If it smells, it’s done. Order some Swedish dishcloths or a good brush as a replacement.
- Set up a two-towel system. Designate one clean towel just for drying your hands and use another for general utility tasks.
Building this awareness is what separates a novice from a pro. You’re not adding fear to your cooking; you’re adding control and skill. And that’s when you’re truly free to enjoy the heart of your home.