Your House Hates Winter. Here’s How to Win the Fight.
I’ve spent a lot of my life on job sites, and I can tell you a secret: winter is a home’s worst enemy. I’ve seen the aftermath—the burst pipes hidden in walls, the ugly water stains from ice-clogged gutters, and the mysterious, soul-crushing drafts that homeowners just can’t seem to trace. Those expensive emergency calls taught me that getting your home ready for the cold isn’t just a list of boring chores. It’s a strategy to protect your biggest investment from getting pummeled by moisture and ice.
In this article
Think of your house as one big system where everything is connected. A leaky window makes your furnace burn through cash. A poorly insulated attic can slowly wreck your roof. My goal here is to walk you through the process the pros use, looking at the whole picture to keep you warm, save you money, and prevent those frantic, middle-of-the-night repair calls.
Pressed for time? If you only have an hour, do these three things right now:
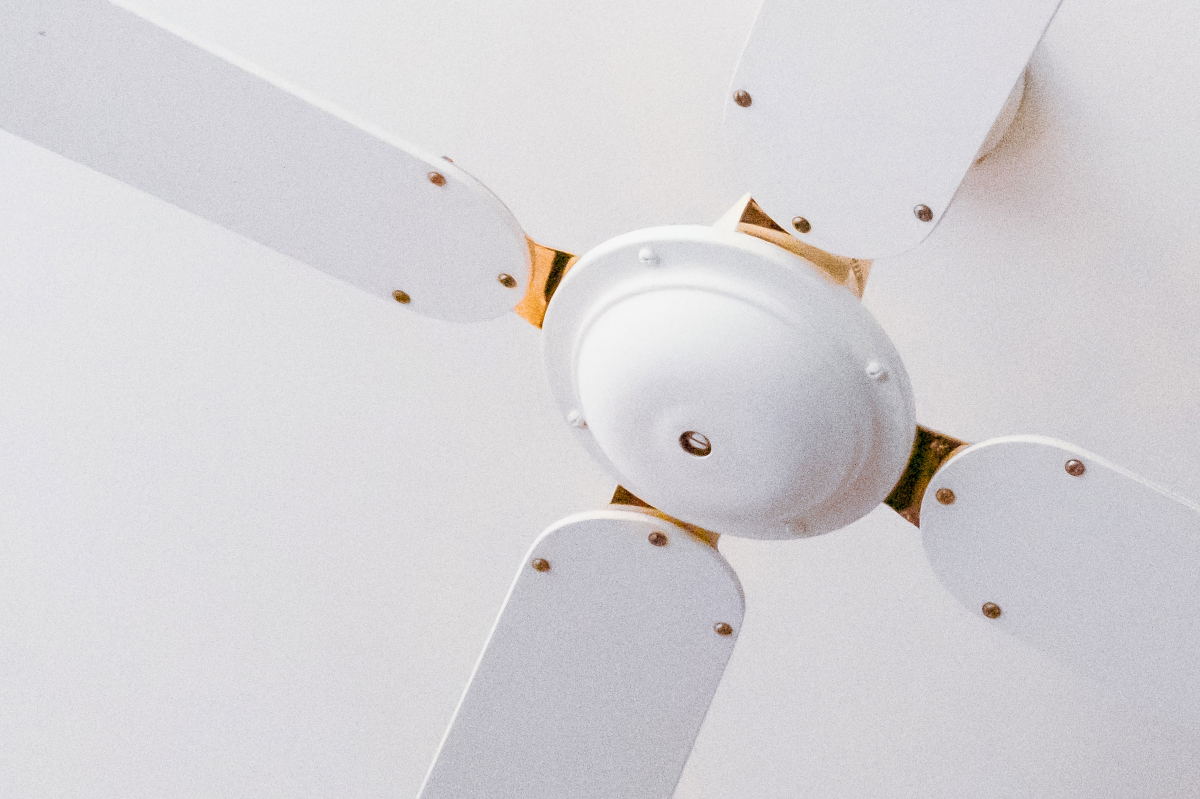
- Reverse your ceiling fans. A switch on the base of the fan will make it spin clockwise, gently pushing the warm air that’s pooled at the ceiling back down into the room. It’s free and surprisingly effective.
- Disconnect your garden hoses. Seriously, go do it now. If water freezes in the hose, it can expand back into your home’s pipes and crack them, leading to a flooded basement. It takes 30 seconds.
- Check your furnace filter. A clogged filter chokes your furnace, making it work harder and driving up your bill. If it’s grey and fuzzy, swap it for a new one.
Seal the Gaps: Your First and Best Line of Defense
The single most effective thing you can do to lower your heating bill is to stop air leaks. There’s no point in having a beast of a furnace if you’re just paying to heat the great outdoors. The outer shell of your house is what experts call the “building envelope,” and our first job is to make it as airtight as possible.
So, how do you find these invisible leaks? On a cold, windy day, close all your windows and doors, then turn on every exhaust fan you have—kitchen, bathrooms, the works. This creates a slight vacuum that pulls outside air in through all the cracks. Now you can play detective.
The classic trick is to use an incense stick or a smoke pen. Move it slowly around the edges of windows, doors, electrical outlets, and any spot where a pipe or wire punches through a wall. If the smoke wiggles or gets sucked in, you’ve found a leak. Oh yeah, no incense? No problem. Just wet the back of your hand. You’ll feel that cold air instantly.
Tackling Doors and Windows
For this project, you’ll want to have a few things handy: a good caulk gun, a utility knife, and a couple rolls of weatherstripping. Plan to spend an afternoon on this; it’s detailed work, but the payoff is huge.
First, check the weatherstripping around your exterior doors. If it’s cracked or flattened, pull it out and replace it. A new roll costs maybe $15 and just presses into a groove. Then, check the sweep at the bottom of the door. If you can see daylight, it needs to be adjusted or replaced. Sometimes, just tightening the screws on the door’s strike plate can pull it a little snugger against the frame.
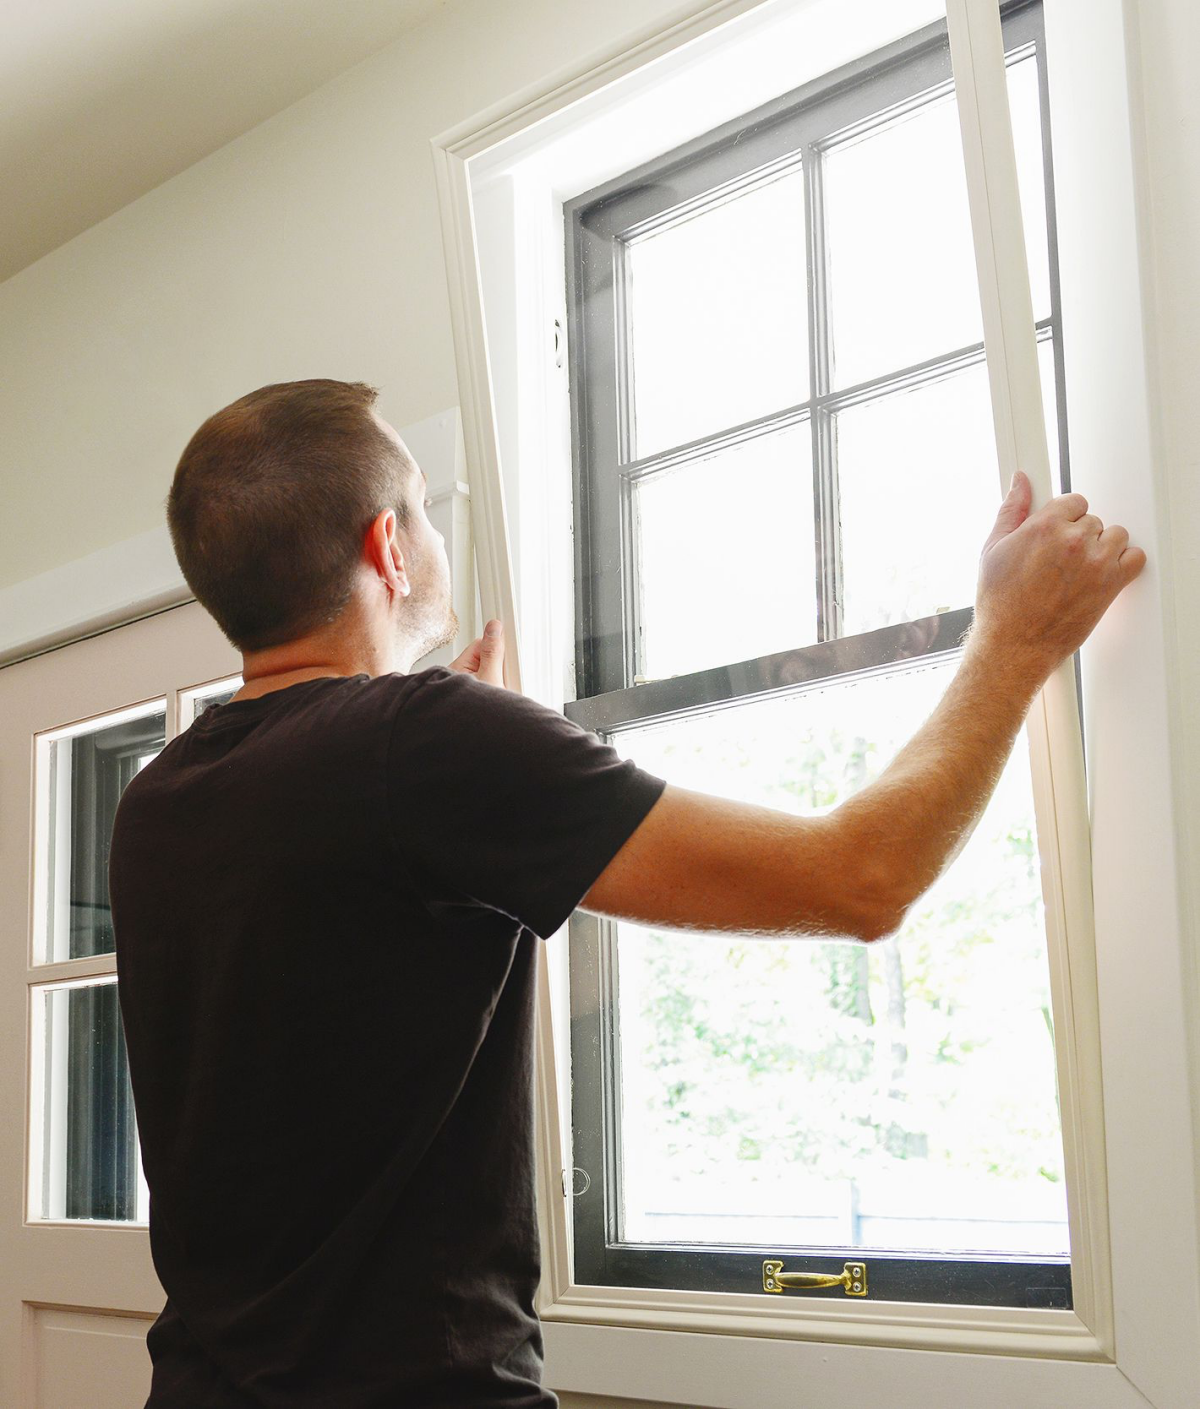
Windows are all about caulk. A common mistake is buying the wrong kind. The caulk aisle can be a nightmare, I know. Just look for a good-quality “paintable, siliconized acrylic latex.” DAP’s Alex Plus is a classic choice you can find anywhere for about $5 a tube. Use it to seal any gaps between the window frame and the wall. Quick tip: when you cut the tip of the caulk tube, start small! You can always make the hole bigger, but you can’t make it smaller, and a huge bead of caulk is a messy pain to clean up.
For old, really drafty windows, you can’t beat window insulation film. It’s a clear plastic sheet you tape to the inside of your window frame and shrink tight with a hair dryer. It creates a pocket of dead air that acts as an extra pane of glass. It’s not the prettiest look, but for about $20 a kit, it works wonders.
Heads up! As you seal your house, remember it still needs to breathe a little, especially if you have gas appliances like a furnace or water heater. A house that’s too tight can be a carbon monoxide (CO) risk. Make sure you have working CO detectors on every level and near bedrooms. This is absolutely non-negotiable.
Check the Engine Room: Your Heating System
I’m a builder, not an HVAC tech, and I know where my expertise ends. When it comes to the safety and function of your furnace, you should always call a licensed pro. An annual service call is some of the best money you can spend all year. Expect it to cost between $125 and $250—cheap insurance against a breakdown in January.
A pro will do critical safety checks, like inspecting the heat exchanger for cracks that could leak carbon monoxide. They’ll also clean the burners and blower motor to make sure the unit is running at peak efficiency, which saves you money. If you have a boiler system with radiators, ask them to show you how to bleed the air out of them. Trapped air keeps them from getting fully hot.
Between service calls, your main job is the furnace filter. A dirty filter is like trying to run a marathon while breathing through a straw. I check mine monthly and change it every 1-3 months during the heating season. Look for a filter with a MERV rating between 8 and 11. Anything higher can actually restrict airflow too much for some older systems.
Fighting Water and Ice Outside
Water is public enemy number one for a house, especially when it turns to ice. That stuff expands with incredible force, capable of cracking concrete and bursting pipes. Managing it is crucial.
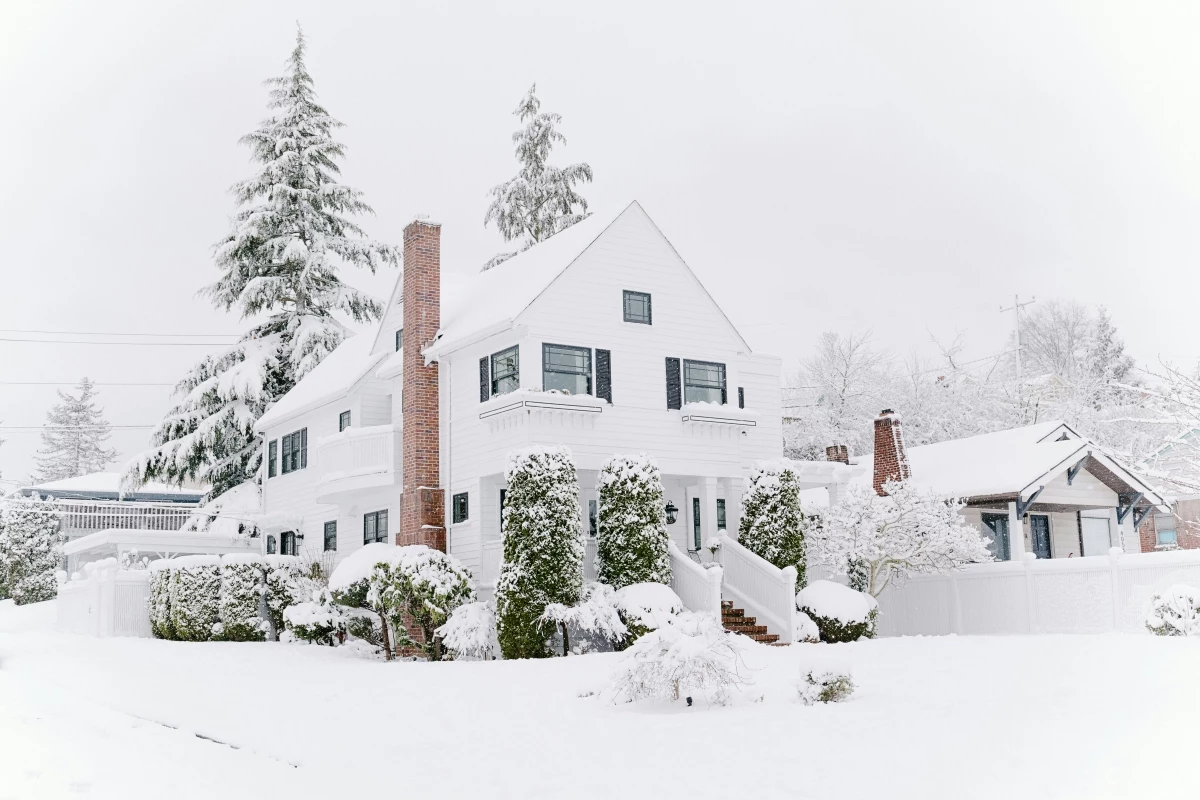
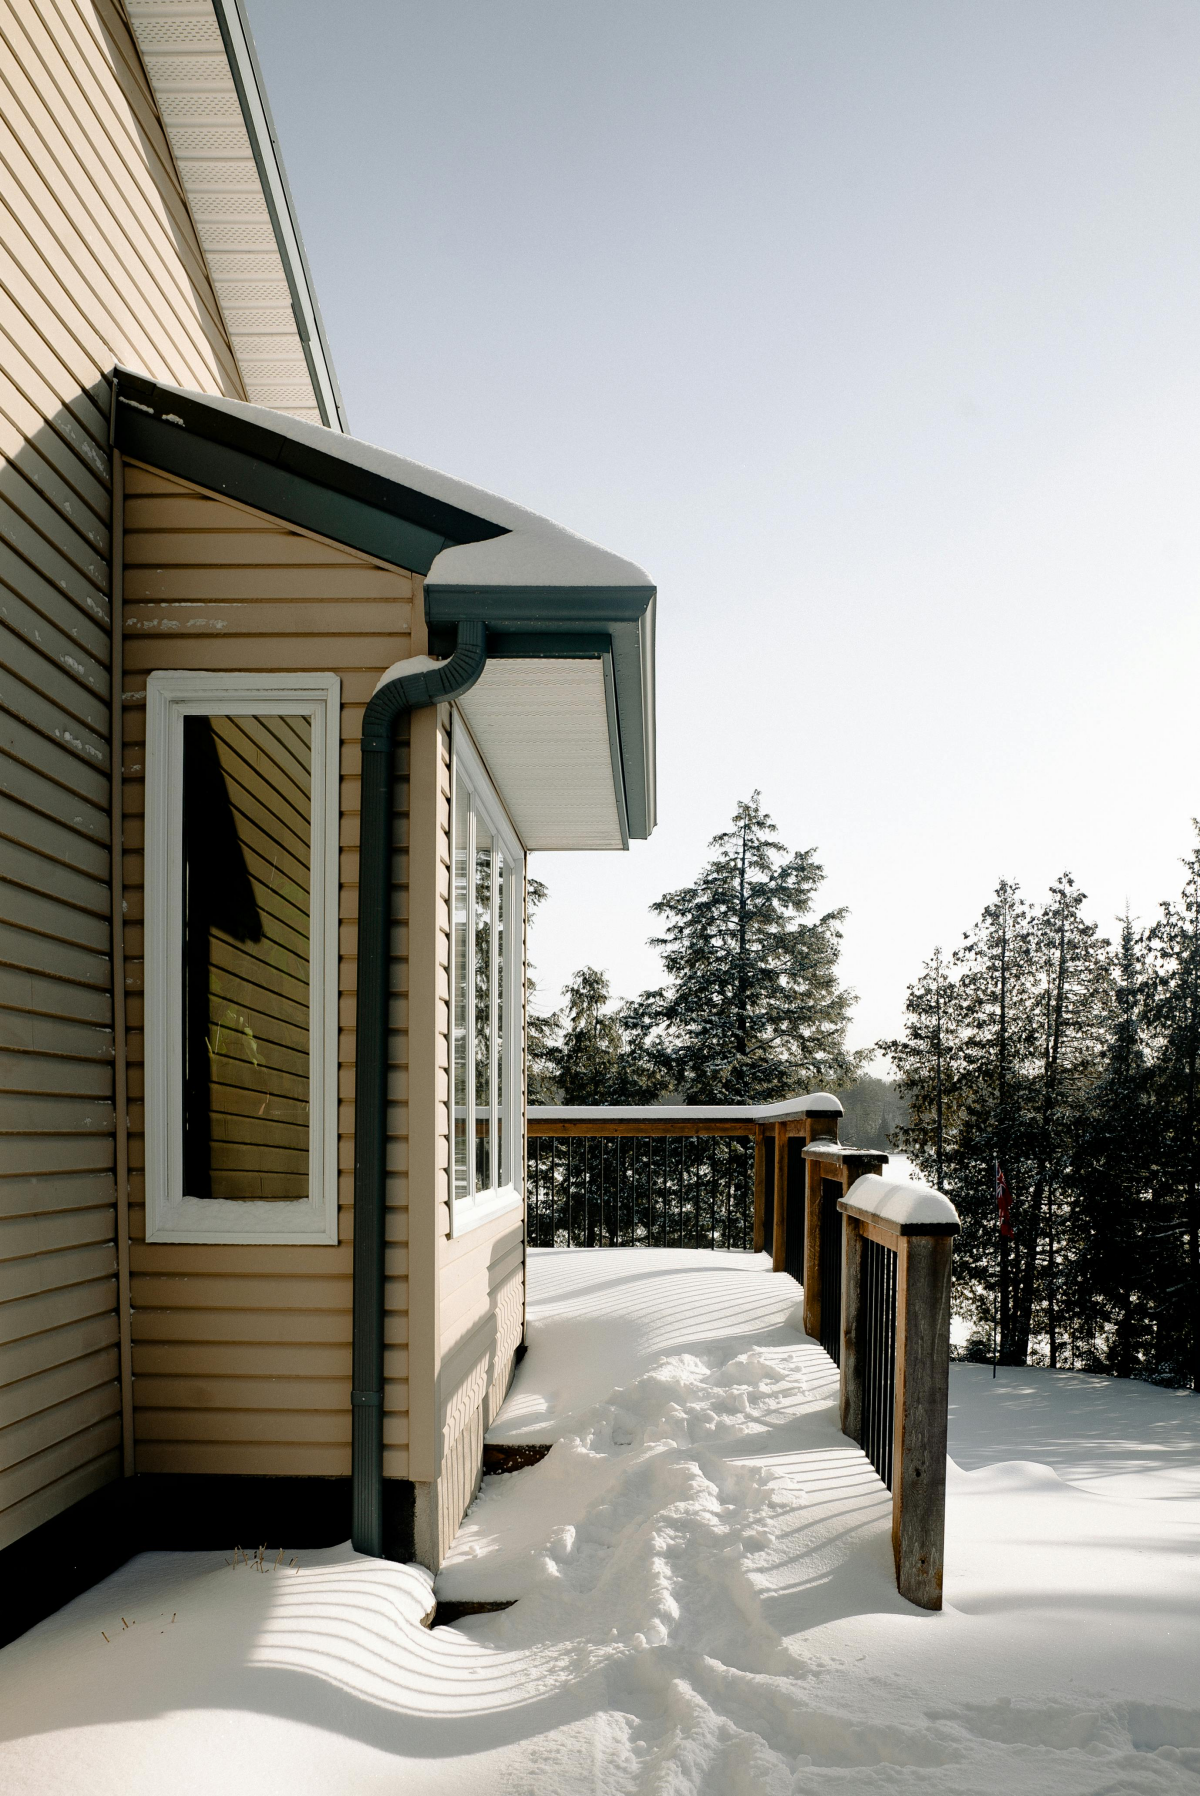
First up, gutters. Yes, you need to clean them out. Clogged gutters overflow, soaking the wood behind them and pouring water right next to your foundation. But in cold climates, the bigger threat is ice dams. This is a ridge of ice that forms at the edge of your roof, trapping melted snow behind it. That trapped water can then get forced under your shingles, causing major leaks.
People blame clogged gutters for ice dams, but that’s not the real cause. Ice dams are caused by a warm attic. Heat escaping from your living space melts the snow on your roof, which then runs down and refreezes at the cold edge. The permanent fix is better attic insulation and ventilation, which we’ll get to. For now, just know that clean gutters are step one.
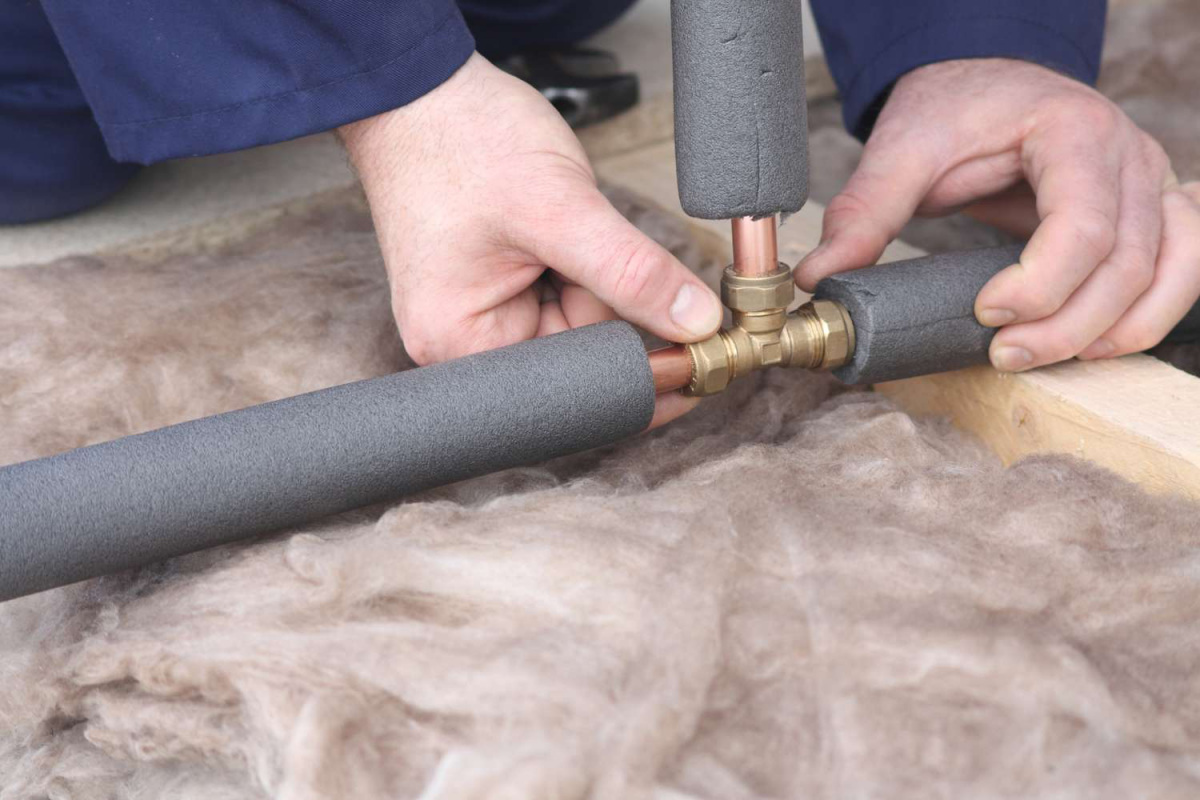
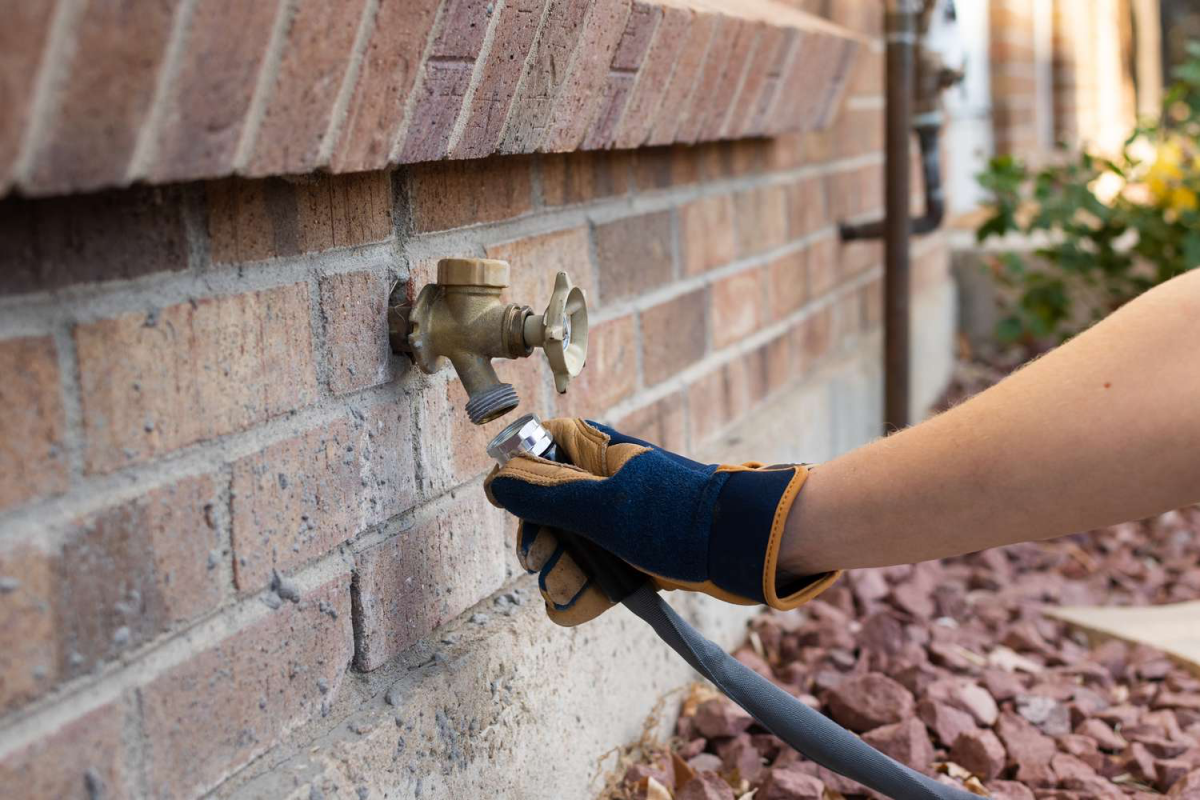
Next, protect your pipes. Start by disconnecting those garden hoses. Even on modern “frost-proof” faucets, a connected hose can trap water that freezes and breaks the fixture. If you have older faucets, you need to find the shut-off valve for it inside your house (usually in the basement or a crawlspace), turn it off, and then open the outside faucet to drain it completely. For a few bucks, you can buy a foam faucet cover for extra protection.

The Unseen Heroes: Insulation and Ventilation
Insulation is your home’s winter coat. Its effectiveness is measured in R-value—the higher, the better. For most cold climates, you want to see at least R-49 in your attic, which translates to about 16-18 inches of the fluffy stuff.
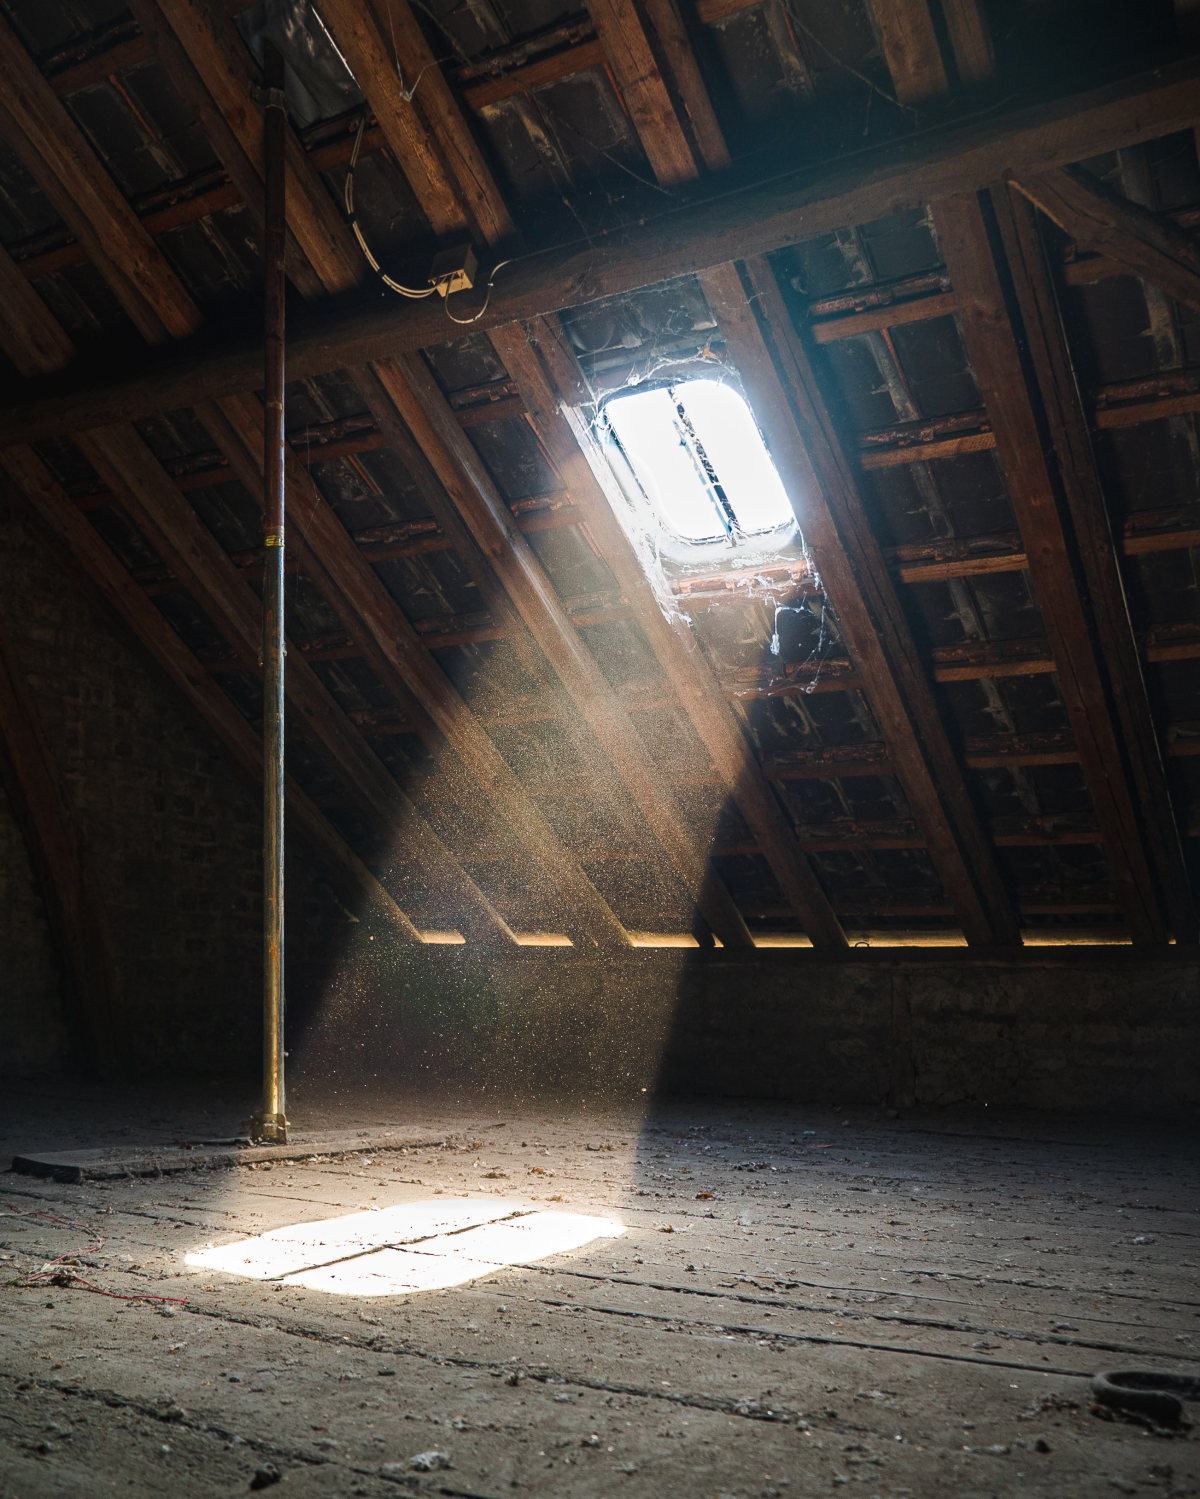
Pop your head into the attic. Can you see the tops of the wooden joists? If so, you don’t have enough insulation. Adding more is one of the most cost-effective upgrades you can make. When you’re at the hardware store, you’ll generally see three options, and no, you don’t need a fancy table to figure them out:
- Loose-fill (or blown-in) insulation is the fluffy stuff that comes in big bags. It’s great for attics because it fills in all the little nooks and crannies. You can rent a blower machine from a place like Home Depot and do it yourself in a weekend. It’s a messy job but very effective.
- Batt insulation comes in big pink or yellow rolls, like a blanket. It’s good for open walls or between joists, but it’s harder to get a perfect fit in an existing attic with lots of wiring and obstructions.
- Spray foam is the top-tier option. It has a very high R-value and seals air leaks perfectly. However, it’s not a DIY job—you need to hire a professional—and it is by far the most expensive option.
Just as important as insulation is ventilation. It seems weird to let cold air into your attic in winter, but it’s the key to preventing those ice dams. Vents under the eaves (soffits) let cool air in, and a vent at the peak of the roof lets it out. This constant airflow keeps the roof deck cold so snow doesn’t melt in the first place. When you’re adding insulation, be super careful not to block those soffit vents!

The Best-Kept Secret: The Rim Joist
One of the biggest sources of heat loss is a spot most people have never heard of: the rim joist. This is the wooden frame that sits on top of your concrete foundation. From your basement, it looks like a series of boxes between the ceiling joists along the outside walls. Insulating it can make a massive difference. Here’s a quick guide:
It’s a four-step process. First, measure the height and width of the joist bay. Second, cut a piece of rigid foam insulation board (usually about 2 inches thick) about 1/4 inch smaller than your measurements. Third, press the foam board into the bay. And fourth, use a can of spray foam (the kind for “gaps and cracks”) to seal all four edges. That’s it. You’ve just massively upgraded your home’s thermal boundary.
Final Checks and Emergency Prep
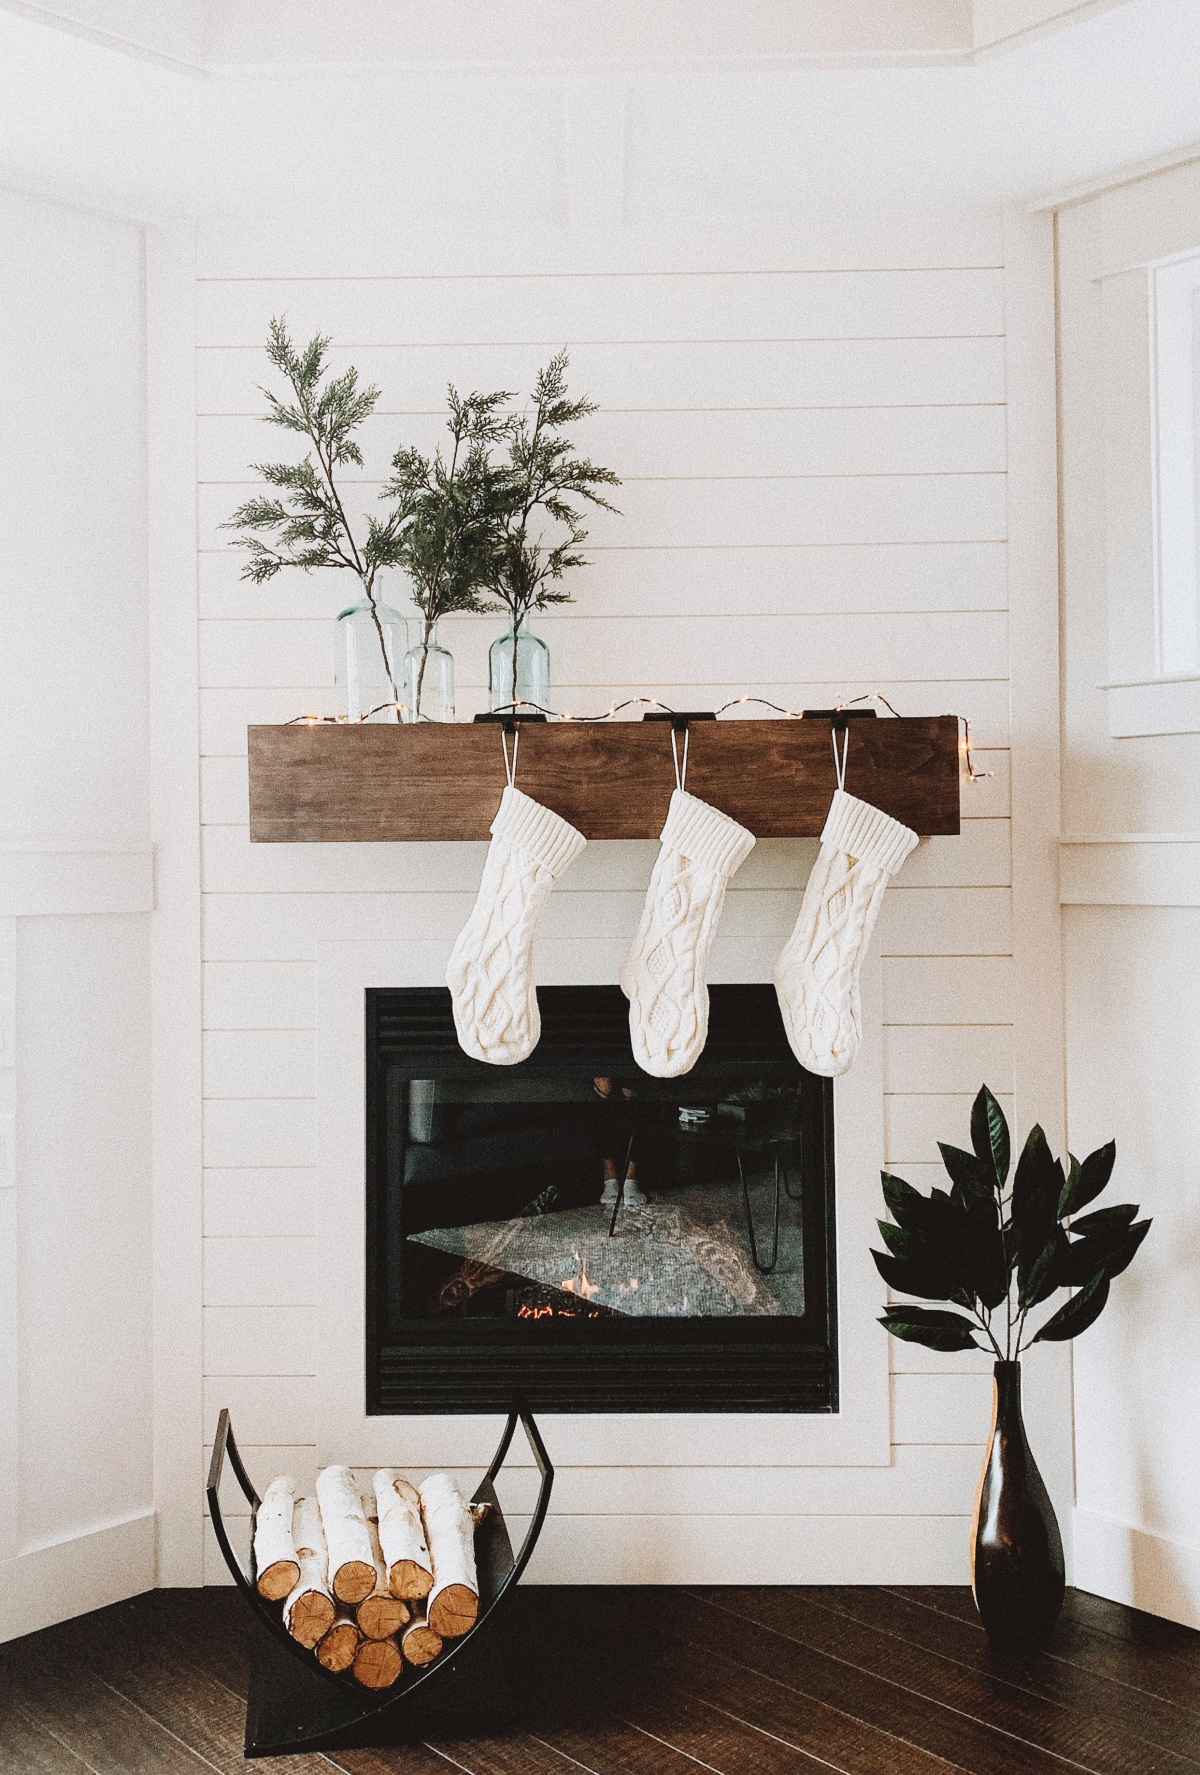
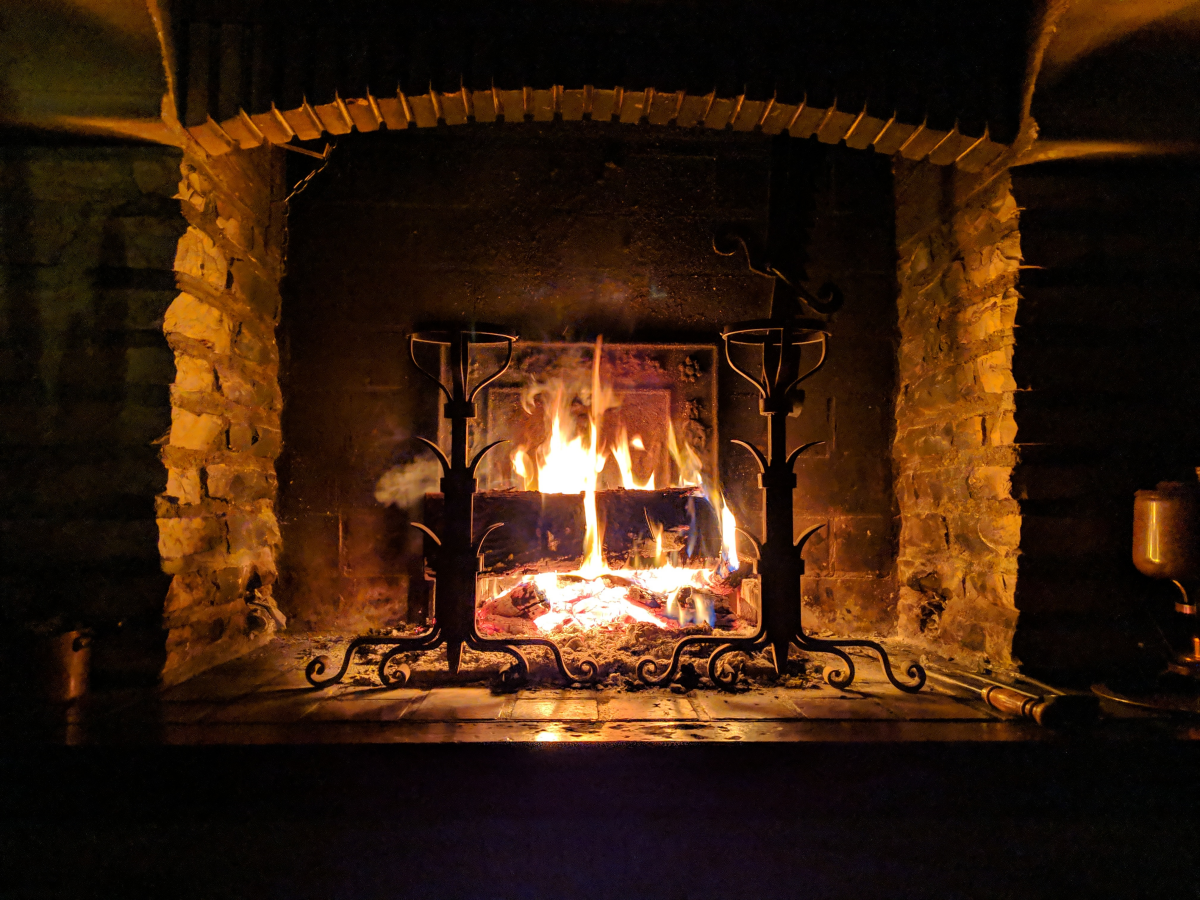
A few last things. If you have a fireplace, get the chimney inspected and cleaned by a certified pro every single year. The black, tarry stuff that builds up inside, creosote, is incredibly flammable. When you’re not using the fireplace, make sure the damper is closed tight. A leaky damper is just a big, expensive hole in your roof.
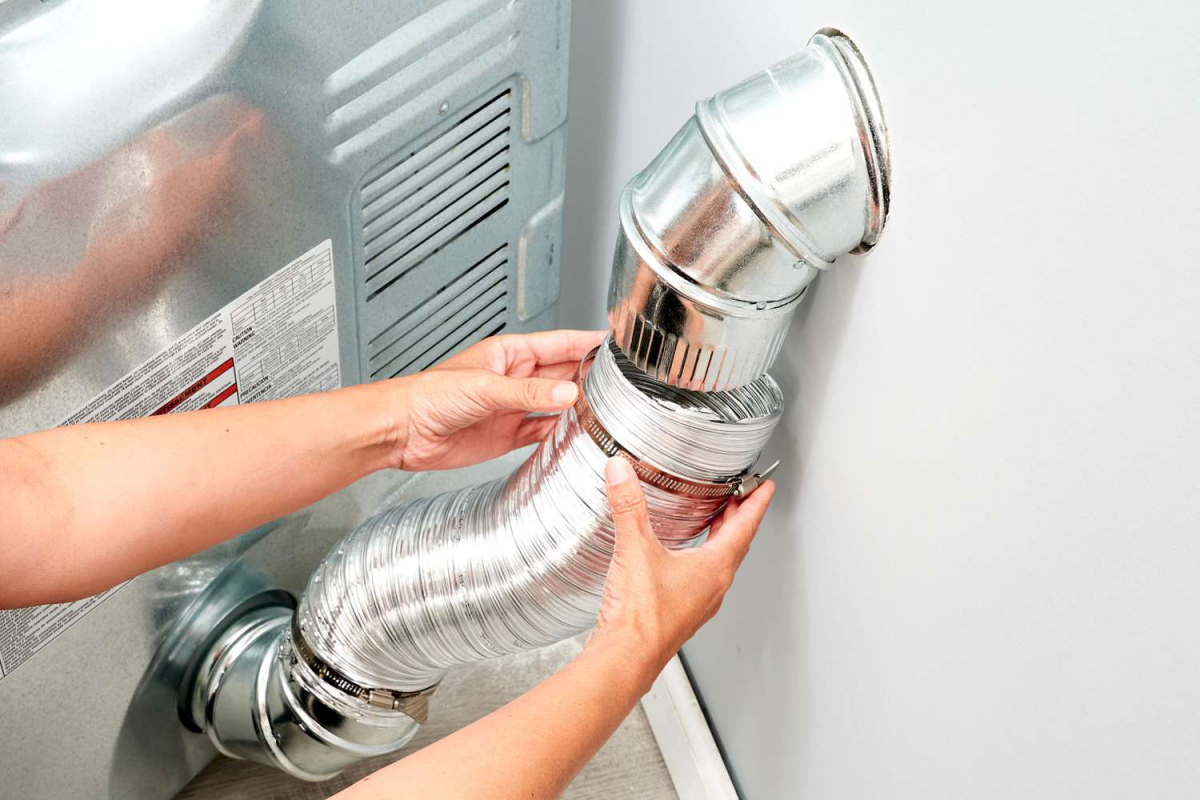
Also, clean your dryer vent. Not just the little lint trap, but the entire flexible tube that runs from the dryer to the outside of your house. Lint is a major fire hazard. You can get a brush kit that attaches to a drill for about $25 to clean out the whole run. Your dryer will work better, too.
Finally, be ready for a storm to knock out the power. Put together a simple kit with flashlights, batteries, a hand-crank radio, water, and some food that doesn’t need cooking. Having a few warm blankets handy is a no-brainer. If you own a generator, test it before you need it, and please, for the love of all that is holy, never, ever run it inside your house or garage. The carbon monoxide is a silent killer.
And that’s the professional method. It’s a complete approach that goes beyond a simple to-do list. When that first real blizzard hits, you can kick back and relax, knowing your home is a safe, efficient, and genuinely warm fortress against the cold.
Galerie d’inspiration

Is it really worth closing vents in unused rooms to save on heat?
It’s a tempting idea, but for most homes, the answer is a surprising no. Modern forced-air systems (HVAC) are designed to be balanced. Closing off vents can increase air pressure in your ductwork, causing leaks, reducing overall efficiency, and forcing your furnace to work harder. Instead of saving money, you might just be straining your system. The better strategy is to ensure the whole home is sealed, not just isolated rooms.
Nearly 25% of a home’s heat can be lost through an under-insulated attic.
That’s like leaving a window wide open all winter. Your home’s “hat” is its most critical barrier against the cold. Take a peek into your attic: if you can easily see the wooden floor joists, you likely need more insulation. Aim for a thick, uniform blanket of at least 12-15 inches of material like Owens Corning fiberglass or Greenfiber cellulose to keep the warmth where it belongs.

Option A: Window Insulation Film. These affordable plastic film kits, like a popular one from 3M, are applied to the inside of your window frame with double-sided tape and shrunk taut with a hairdryer. They create an insulating air gap that’s nearly invisible.
Option B: Thermal Curtains. Heavier, multi-layered drapes are designed with a thermal backing to block drafts and reduce heat transfer. They offer a significant style element along with insulation.
For pure, low-cost efficiency, the film is a winner. For a blend of aesthetics and function, thermal curtains are an excellent investment.
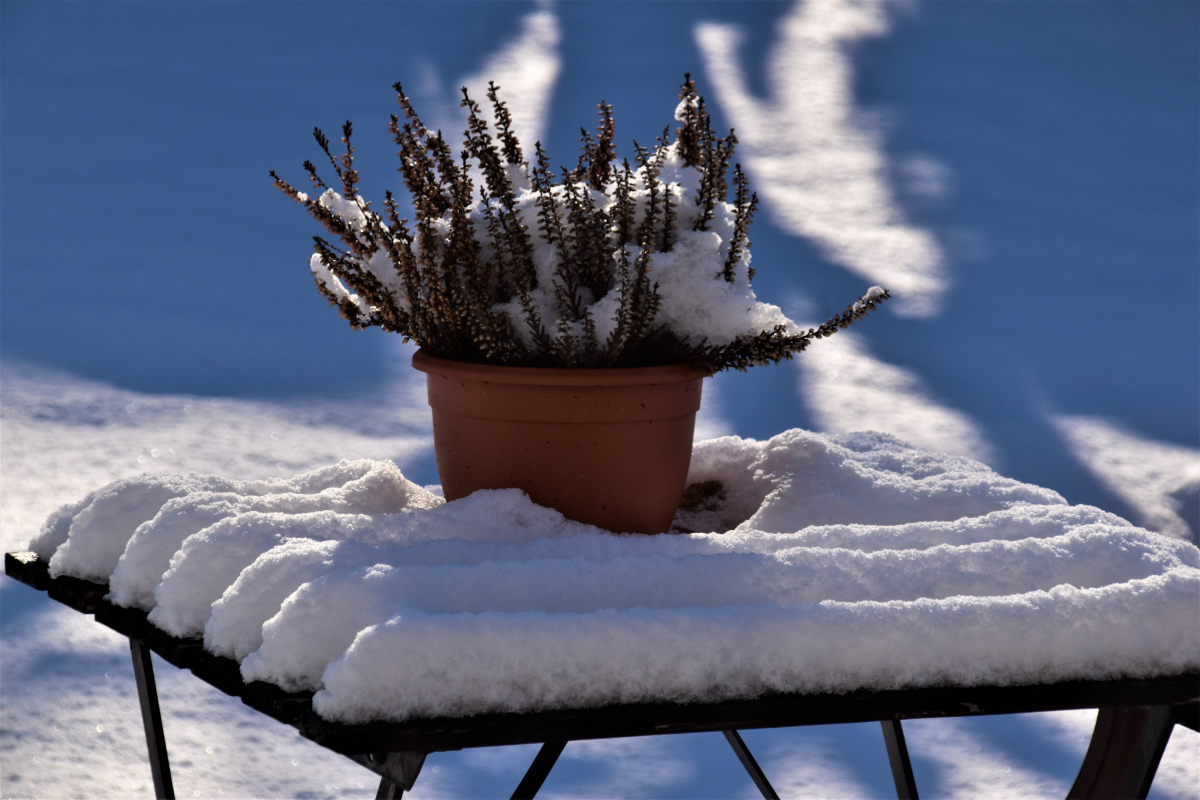
That ugly wall stain from an ice-clogged gutter is a sign of an “ice dam,” a ridge of ice at the edge of the roof that prevents melting snow from draining. Here’s how to fight back:
- Clear the way: Do a final gutter and downspout cleaning after the last leaves have fallen. Clogs are the primary cause of water backup.
- Cool your roof: Ensure your attic is well-ventilated and properly insulated. A warm attic melts snow from underneath, which then refreezes at the colder roof edge.
- Call in backup: For chronic problem spots, professionally installed heating cables like Frost King’s can be a roof-saver.

The Chimney Safety Institute of America states that creosote buildup is a leading cause of home heating fires.
The ultimate defense against a burst pipe: A smart water monitor. While you’re sealing drafts, consider installing a device like the Flo by Moen or Phyn Plus. These connect to your main water line to monitor flow and pressure. If they sense an unusual pattern—like a slow leak or a sudden burst—they can automatically shut off your water and send an alert to your phone. It’s a high-tech solution for one of winter’s most expensive disasters.
- Enjoy consistently hotter showers.
- Lower your monthly energy bill.
- Extend the life of one of your home’s most expensive appliances.
The secret? Draining your water heater. Once a year, drain a few gallons from the tank’s drain valve to flush out sediment. This mineral buildup insulates the water from the heating element, forcing it to work overtime and eventually fail. It’s a 15-minute task that pays off all year.
Don’t underestimate the power of a simple draft stopper, sometimes called a “door snake.” You can easily make one yourself by sewing a fabric tube and filling it with rice, dried beans, or even old socks. Placed at the bottom of a drafty door or on a leaky windowsill, it’s a tangible, budget-friendly way to block cold air from sneaking in. It’s a classic for a reason: it works.


