How to Deep Clean Your House Like a Pro (Without Losing Your Mind)
I’ve spent the better part of my life in the professional cleaning world, and I’ve seen it all. From chaotic family homes to pristine office buildings, the one constant is the look on a person’s face when the job is done right. It’s not just about things being tidy; it’s a feeling of calm, a sense of a healthy space, a total reset.
In this article
That’s what a good deep clean is all about. But most people look at the mountain of work ahead and feel exhausted before they even start. Sound familiar?
Forget those basic online checklists. A real deep clean is a systematic process that erases months of built-up dust and grime. It’s about genuinely improving your home’s air quality and bringing its surfaces back to life. So, let me walk you through the methods my crews and I have perfected over the years. This isn’t about working harder—it’s about working smarter.
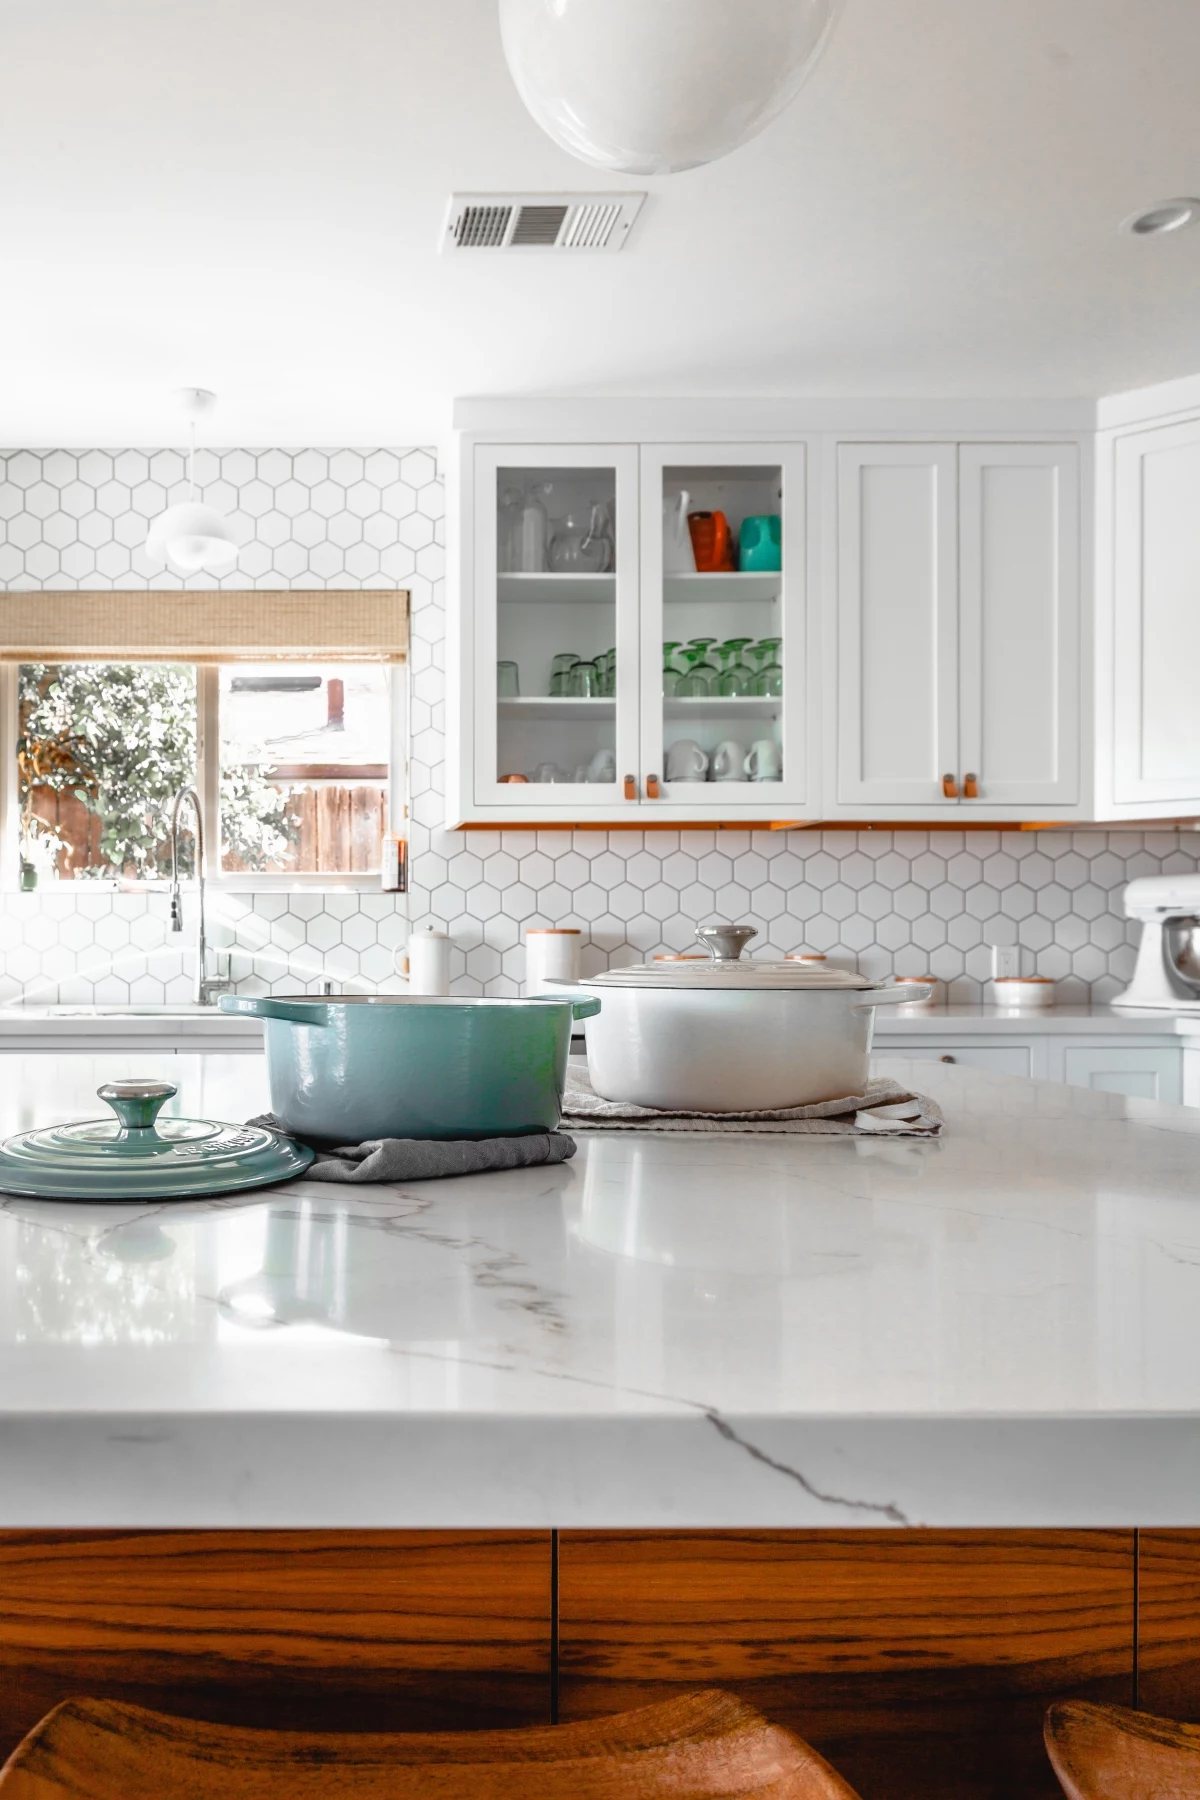
The Game Plan: Strategy Before Scrubbing
Before you even think about grabbing a spray bottle, you need a strategy. This is what separates the pros from the amateurs. We don’t just wipe things down; we approach cleaning as a problem to be solved. Thinking this way breaks an overwhelming task into a series of simple, manageable steps.
Top-Down is a Law, Not a Suggestion
The single most important rule is to work from top to bottom. This isn’t just some old-timey advice; it’s pure gravity. When you dust ceiling fans, light fixtures, or the tops of cabinets, all that dust, dander, and gunk has to go somewhere—and that somewhere is down.
If you clean your floors first, you’re just creating more work for yourself. You’ll have to clean them all over again. Always start high and end low. This one principle alone will save you hours of backtracking and frustration.

A Crash Course in Cleaning Chemistry
You don’t need a degree, but a basic grasp of cleaning chemistry will save you a ton of money and protect your home from damage. Cleaners are either acidic, neutral, or alkaline. Using the right one is everything.
- Acidic Cleaners (Low pH): Think vinegar-based solutions or specialized removers for mineral deposits. These are your champions against inorganic stuff like hard water stains, lime scale on shower doors, and rust. They work by literally dissolving the mineral bonds. Heads up, though! Acidic cleaners can be a disaster on natural stone. I’ll never forget seeing a homeowner use an acidic toilet bowl cleaner on their marble floor tiles. The etch marks were permanent. A very expensive lesson.
- Neutral Cleaners (pH around 7): These are your daily drivers. Gentle all-purpose cleaners are pH-neutral, making them safe for most surfaces, from sealed hardwood floors to stone countertops. They lift general dirt without risking damage to the finish.
- Alkaline Cleaners (High pH): These are the degreasers. Products like oven cleaner, ammonia, or even simple dish soap fall into this category. They are absolute powerhouses for breaking down organic materials like kitchen grease, fats, and oils. You wouldn’t use this on glass, but it’s essential for grimy kitchen cabinets.
A critical safety warning: Never, EVER mix different cleaners, especially anything with bleach and anything with ammonia. I once saw a rookie do this, and we had to evacuate the house and air it out for hours. It creates a seriously toxic gas. Always read the labels and rinse a surface completely before trying a different chemical.

Building Your Pro Cleaning Kit
The right tools make the job faster, safer, and give you much better results. You don’t need a truckload of gear, but investing in a few key items is a game-changer. You can build a fantastic kit for about $100-$150, which is a fraction of the $400-$800+ it might cost to hire a pro service for a 2,000 sq ft home.
Here’s what you’ll want to grab:
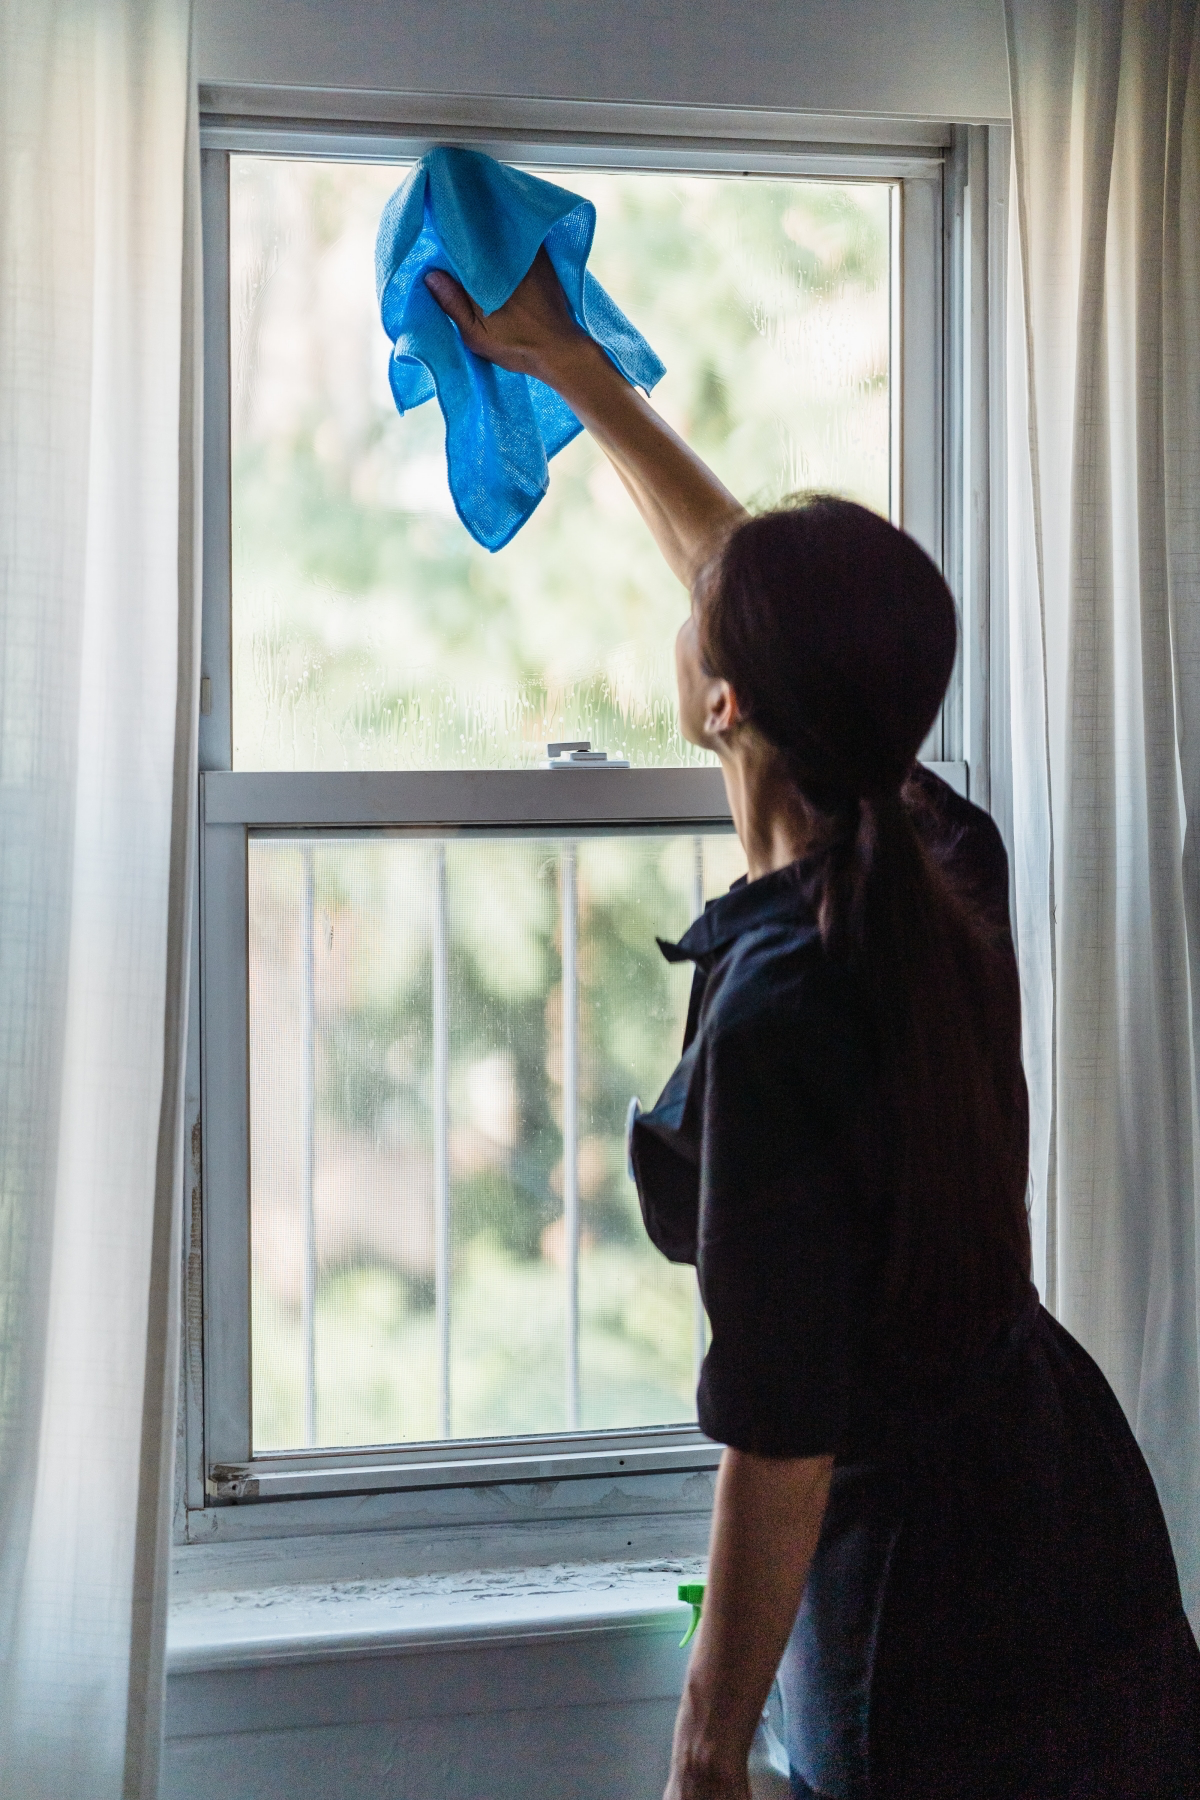
Microfiber Cloths: This is non-negotiable. They trap dust instead of just pushing it around. I recommend getting a multi-pack, which you can find for $15-$20 online or at stores like Home Depot. It’s smart to use a color-coded system to avoid cross-contamination—say, blue for glass, yellow for general surfaces, and red for bathrooms. You’ll want a few different types: a waffle-weave for streak-free glass, a plush one for dusting, and a general-purpose cloth for scrubbing.
An Extendable High-Duster: To safely reach ceiling corners, fans, and the tops of shelves without teetering on a chair. This is a must-have for safety and efficiency, and a good one will run you about $20-$30.

A Two-Bucket Mop System: This is a pro secret that makes a world of difference. One bucket holds your soapy cleaning solution, and the other holds clean rinse water. You mop a section, then rinse the dirty mop in the rinse water before putting it back in the clean solution. This stops you from just painting your floors with dirty water. The whole setup is usually under $40.
A Detail Brush Kit: You can get a dedicated set for about $10, but honestly, a few old toothbrushes and a stiff-bristled grout brush work just as well. These are essential for getting into window tracks, faucet bases, and grout lines.
A Good Vacuum with Attachments: If you can, get one with a HEPA filter. It traps fine dust and allergens instead of spitting them back into the air. The crevice tool, upholstery brush, and soft dusting brush will be your best friends.
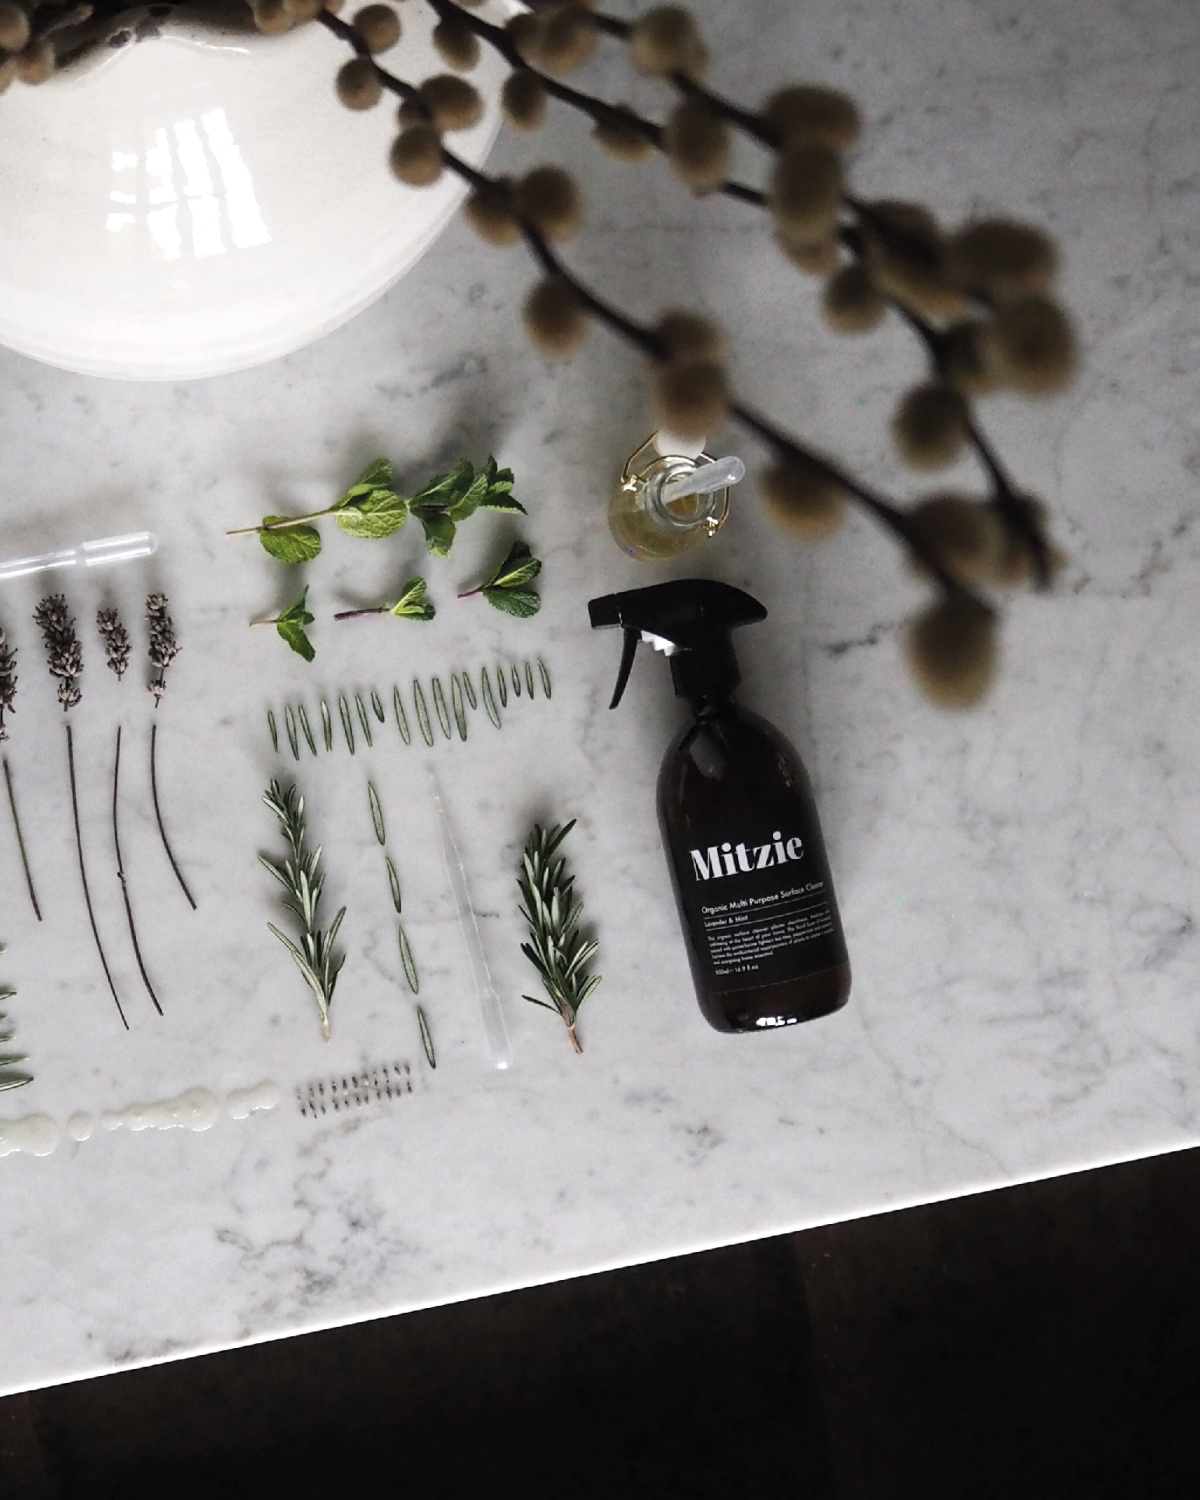
The Methodical Room-by-Room Attack
To avoid feeling overwhelmed, tackle one room at a time. This way, you see your progress, which is a huge motivator. For every single room, we follow a simple four-step rhythm: Declutter, Dry Clean, Wet Clean, and Floors. It’s a process that just plain works.
The Kitchen: Ground Zero
The kitchen is often the toughest room thanks to the combination of grease, food grime, and heavy foot traffic. Plan to spend a solid 2-3 hours here.
- Declutter & Prep: Get everything off the counters. Move the toaster, knife block, and fruit bowl into another room. This gives you a clear runway. While you’re at it, fill your sink with hot, soapy water and drop in your stove grates and oven vent filters to soak.
- Dry Clean (Top to Bottom): Grab that extension duster. Start with the ceiling corners and then get the tops of your cabinets. You will be shocked by the greasy dust that lives up there. Dust the light fixtures, then work your way down the cabinet faces and backsplash.
- Wet Clean (The Nitty-Gritty):
• Cabinets: Time for your alkaline degreaser. For a standard spray bottle, a mix of hot water and about a tablespoon of a concentrated degreaser like Krud Kutter or even just blue Dawn dish soap works wonders. Spray the cabinets, let it sit for 3-5 minutes (this “dwell time” is crucial for breaking down grease), then wipe clean with a microfiber cloth, moving with the wood grain.
• Appliances: Pull the fridge out from the wall. I know, it’s a pain, but this is a step you can’t skip. Unplug it and vacuum the condenser coils on the back. Clogged coils are a fire hazard and make your fridge work way harder, driving up your energy bill. For stainless steel, wipe with the grain using your degreaser, then come back with a clean, dry microfiber cloth to buff out streaks—that’s the secret to a perfect finish.
• Oven: Honestly, I advise clients to avoid the self-clean cycle. The extreme heat can fry the oven’s electronics. A quality fume-free oven cleaner, good ventilation, and some elbow grease are safer. Just follow the product’s safety instructions carefully.
• Sink & Disposal: After scrubbing the sink, give the garbage disposal some love. A lesser-known trick: toss a cup of ice cubes and some lemon or lime peels down the drain. Run cold water and turn it on. The ice sharpens the blades and scours the gunk off the walls, while the citrus makes it smell fresh. - Floors: Last step! Vacuum thoroughly, using your crevice tool along the baseboards and under the cabinet toe-kicks. Then, mop with your two-bucket system and a floor-appropriate cleaner.
The Bathroom: The Science Lab
Here, you’re fighting a two-front war against soap scum (which is oily) and hard water stains (which are mineral-based).
- Declutter & Prep: Clear everything off the vanity and out of the shower. Take down the shower curtain—most fabric ones can go in the washing machine with a couple of towels to help scrub them clean (check the tag first!).
- Dry Clean (Top to Bottom): Start with the exhaust fan cover. It’s usually caked with dust, which traps moisture and encourages mildew. If you’re comfortable, kill the power at the breaker, remove the cover, wash it, and carefully vacuum the fan itself.
- Wet Clean (The Details):
• Shower & Tub: Attack the soap scum first with an alkaline cleaner (a bathroom spray with a degreaser works). Rinse. Then, tackle any remaining hard water spots with an acidic cleaner (a vinegar spray is great for this). Remember to rinse completely between cleaners! And again, be careful with natural stone—use a pH-neutral cleaner on marble or travertine.
• Grout: For mildew stains on grout, a paste of hydrogen peroxide and baking soda can work wonders. Let it sit, then scrub with a grout brush. If you see widespread dark mold, that’s more than a cleaning issue—it could point to a bigger moisture problem, and it’s best to consult a mold remediation specialist. - Floors: Vacuum up all the hair and dust, then mop with a disinfectant floor cleaner, paying extra attention to the area around the toilet base.

Bedrooms & Living Areas: The Dust Zone
These rooms are all about dust management and improving air quality. The goal is a truly restful space.
- Declutter & Prep: Strip the beds. Clear off all surfaces. Move smaller furniture toward the center of the room so you can easily access the perimeter.
- Dry Clean (Top to Bottom): Dust ceilings, fans, and walls. A quick tip: a flat-head mop with a dry microfiber pad is an amazing tool for dusting walls quickly and thoroughly. Then dust all furniture, electronics, and decor. Use your vacuum’s soft brush attachment for lampshades.
- Wet Clean (The Details):
• Linens & Mattress: Wash all bedding. Pro tip: add a couple of clean tennis balls to the dryer with your pillows or duvet to help fluff them up. Vacuum the mattress itself with the upholstery tool to remove dead skin cells and dust mites.
• Upholstery: This is a caution zone. Before you clean any furniture, find the cleaning code tag, usually under a cushion. ‘W’ means water-based cleaner is okay. ‘S’ means solvent only. ‘X’ means vacuum only. Using water on an ‘S’ fabric can ruin it permanently. When in doubt, call a pro. It’s not worth the risk. - Floors: Vacuum everything. Use that crevice tool along every baseboard. Get under the bed and behind the dressers. Mop hard floors last.

Final Thoughts & Knowing Your Limits
Let’s be realistic. A true, full-house deep clean is a marathon, not a sprint. For an average-sized home, this is easily a 10-15 hour job, so plan for a full weekend.
But what if you don’t have a whole weekend? If you only have 90 minutes, focus on the biggest bang for your buck: deep clean the kitchen counters and the front of all your appliances, and give the bathroom a thorough scrub. It will make the whole house feel fresher instantly.
And part of being a pro is knowing when to call for help. For extensive mold, cleaning high cathedral ceilings, or handling delicate antique furniture, calling in a specialist is the smartest, safest move.
After all these years, the satisfaction of a job well done never gets old. The air feels lighter, the light hits surfaces differently, and the entire home feels reset. It’s hard work, no doubt. But the feeling of accomplishment is absolutely worth it.
Inspiration:
What’s the one tool that separates a pro’s toolkit from an amateur’s?
It’s often the quality of their cloths. While it seems minor, the material you use to wipe surfaces can make or break your cleaning efficiency. A high-quality microfiber cloth, for instance, isn’t just fabric; it’s a cleaning tool. The split fibers are designed to grab and hold onto dust and bacteria, often with just water. For glass and high-shine surfaces, a dedicated glass-polishing cloth like those from E-Cloth can leave a streak-free finish without any chemical sprays, unlike paper towels which leave lint behind. Investing in a set of specialized microfibers—one for dusting, one for glass, one for general scrubbing—radically reduces effort and product usage.


