Stop Ruining Your Blinds: A Pro’s Guide to Cleaning Every Type
Over the years, I’ve seen it all in home maintenance. But honestly, one of the most neglected spots in any house is the window blinds. They just hang there, quietly collecting a shocking amount of dust, kitchen grease, and allergens. Most people either ignore them until they’re practically gray or they go all-in with an aggressive scrub that ends up warping wood, fraying fabric, or snapping brittle plastic. I’ve been called in more times than I can count to fix the damage from a well-meaning but misguided cleaning attempt.
In this article
Here’s the thing: cleaning blinds correctly is less about brute force and more about knowing what material you’re dealing with. And this isn’t just about making things look nice. The gunk on your blinds is a nasty mix of skin cells, pollen, and pet dander. In the kitchen, that dust gets cemented on with a sticky film of cooking oil. This directly impacts your home’s air quality, which is a huge deal if anyone in your family has allergies or asthma.

My goal here is to walk you through the methods the pros use. These techniques are safe, super effective, and will protect your blinds for the long haul. We’re skipping the harsh chemicals and focusing on the right tool for the right job.
First Things First: What Are Your Blinds Actually Made Of?
Before you even think about grabbing a cloth, you have to know what you’re working with. Using a wood-cleaning method on vinyl won’t hurt, but using a vinyl-cleaning method on real wood can be a disaster. It’s the most common and costly mistake I see.
Can’t tell what you’ve got? Try this quick test:
- The Tap Test: Gently tap one of the slats with your knuckle. Does it make a solid, dense sound like real wood? Or is it a lighter, hollow, plasticky sound? That hollow sound means you’ve likely got vinyl or faux wood.
- The Visual Test: Look at the very end of a slat or where the cords pass through. Do you see a genuine wood grain pattern, even on the inside of the hole? Or is it just solid white or off-white plastic all the way through? Faux wood often has a printed grain on the surface, but the core material is PVC.
- The Weight Test: Real wood blinds are surprisingly heavy. Faux wood blinds are even heavier! Vinyl and aluminum are the lightest of the bunch. If you struggle to lift them, they’re probably not vinyl.

Your Pro Toolkit: Gear and Supplies
You really don’t need a truck full of fancy equipment. For almost every job, I rely on a few simple, high-quality items. Having the right tool makes the work faster, easier, and safer for your blinds.
Essential Gear:
- Microfiber Cloths: Don’t skimp here. Get a good-sized pack from a place like Costco or Amazon. Their split fibers are designed to grab and hold dust, not just push it around. You’ll want at least three: one for dusting, one for damp cleaning, and one for drying.
- Ostrich Feather Duster: I know, it sounds fancy. But a real ostrich feather duster, which will run you about $15 to $30, is a ‘buy it for life’ tool. The natural oils in the feathers actually hold onto dust. It’s miles better than the cheap $5 plastic dusters that just fling particles into the air.
- Vacuum with a Soft Brush Attachment: This is your best friend for a quick dusting of hard blinds and the primary tool for any kind of fabric shade. The key is to use the softest brush head you have to avoid scratching anything.
My Go-To Cleaning Solutions:
- The All-Purpose Mix: Forget fancy sprays. Just fill a bucket with lukewarm water and add about 1/2 teaspoon of a simple, pH-neutral dish soap (like original blue Dawn). Hot water can warp vinyl, so keep it mild. This is gentle enough for most jobs.
- For Real Wood: You need a dedicated wood cleaner. I recommend a quality, oil-based wood soap. A good recipe is one capful of a gentle wood soap in a small bucket with about a quart of warm water. Avoid all-purpose sprays at all costs—they can strip the finish right off.
The Quick Cleaning Cheat Sheet
Before we get into the nitty-gritty, here’s the game plan at a glance.
- Real Wood: The most delicate. DAMP-WIPE ONLY. Never, ever soak them. Use a proper wood soap solution and wipe dry immediately.
- Faux Wood / Composite: These are much more durable. You can use the damp cloth and mild soap method. Just don’t submerge the whole unit, because the headrail mechanism can rust.
- Vinyl & Aluminum: The workhorses. These can handle a deep clean. Taking them down for a full bath in the tub is the best way to get them sparkling clean.

Material-Specific Deep Cleaning Methods
When a dry dusting isn’t cutting it anymore, it’s time for a wet clean. This is where matching your method to the material is absolutely critical.
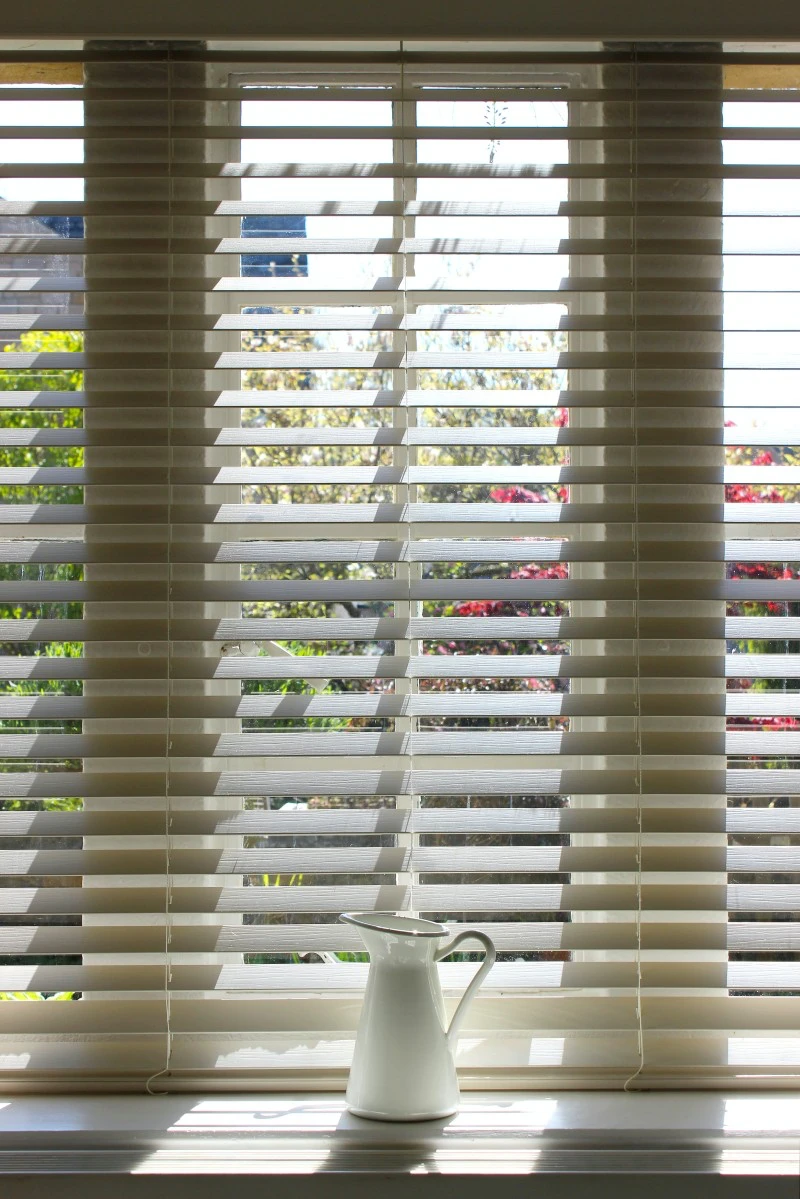
Aluminum and Vinyl Blinds (The Workhorses)
These are the most durable blinds out there and can handle a pretty intensive cleaning. They’re super common, but they can be bent or scratched if you’re not careful.
For a really deep clean on greasy or grimy blinds, I use the “Full Bath Method.” I’d recommend doing this once a year, especially for kitchen blinds.
- Take Them Down: Most blinds have a simple clip or locking tab on the mounting brackets. It’s usually easier with two people. Pop open the little door on each bracket to release the headrail.
- Prep the Tub: Lay an old towel or two in your bathtub. This is a pro tip people always skip, and it prevents the blind’s sharp corners from leaving long, ugly scratches on your tub’s surface.
- Give ’em a Soak: Fill the tub with a few inches of lukewarm water and your dish soap solution. Lay the blind in the tub and let it soak for about 30 minutes. This does most of the work for you by loosening all that grime.
- Wipe and Rinse: After the soak, use a microfiber cloth to wipe down each slat. The gunk should slide right off. Then, drain the soapy water and rinse the blind thoroughly with a handheld shower sprayer until all the soap residue is gone.
- The CRITICAL Drying Step: Never, ever hang a wet blind back up. The internal mechanisms will rust, and the cords can grow mildew. I once had a client who couldn’t figure out a musty smell in their office—it was the moldy cords inside their freshly-washed blinds. Hang the blind over a shower rod or a clothesline and let it air dry completely. This can take a few hours, but it’s worth it.
Real Wood and Faux Wood Blinds
This is where the most expensive mistakes happen. For real wood blinds, water is the enemy. I have to be crystal clear about this: never soak a real wood blind. You will cause the wood to swell, warp, and crack. It’s a guaranteed way to ruin them.
For Real Wood Blinds:
Start with a thorough dry dusting. For built-up grime, use your diluted wood soap solution. Dampen a microfiber cloth in the solution and wring it out until it is almost dry to the touch. Gently wipe each slat, and then immediately follow up with a second, completely dry microfiber cloth to buff away any remaining moisture. This cleans and conditions the wood at the same time.
For Faux Wood Blinds:
These are much more forgiving since they’re made of PVC. You can clean them with a damp cloth using the mild soap and water solution. They won’t warp. However, I still don’t recommend giving them a full bath, as the headrail often contains untreated metal parts that can rust over time. The damp-wipe method is safer and almost always sufficient.

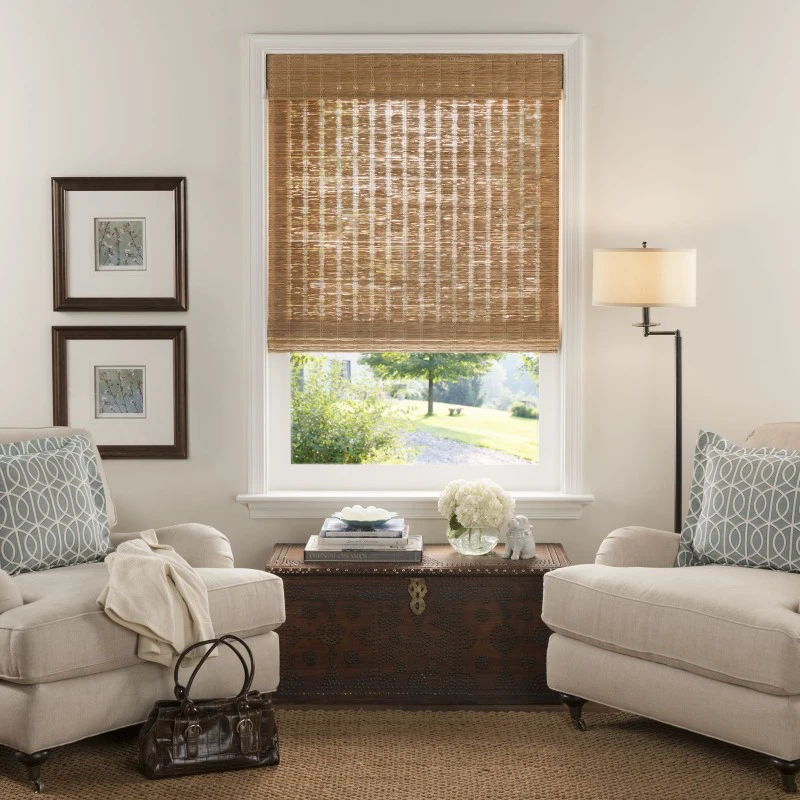
Fabric and Sheer Blinds
Think of those elegant, high-end sheer shades. You need to treat them like fine upholstery. Regular, gentle vacuuming with a soft brush attachment is the only routine cleaning you should be doing.
For a small spot, you can try dabbing it (don’t scrub!) with a clean cloth and a little seltzer water. The bubbles can sometimes help lift a fresh stain. For anything more serious, you need to call a professional. We use a method called ultrasonic cleaning, where the blind is submerged in a special tank and high-frequency sound waves gently dislodge dirt. Expect to pay around $25-$50 per blind for this service. If you’ve invested in expensive shades, it’s worth every penny every few years.
My Favorite Time-Saving Hack
Want to clean your horizontal blinds in half the time? Grab a pair of kitchen tongs!
Wrap a microfiber cloth around each arm of the tongs and secure them with rubber bands. Now you’ve got a tool that can clean both the top and bottom of a slat at the same time. Just clamp down gently and slide across. It works like a charm.

What About Vertical Blinds?
Vertical blinds, common on sliding glass doors, come in either vinyl or fabric. For the vinyl ones, you can wipe them down or even unclip each vane and wash it in the tub.
But for fabric vanes, I have a serious warning learned from a client’s costly mistake: NEVER put fabric vanes in a washing machine. They will come out a tangled, shrunken, frayed nightmare. They will be completely ruined.
Here’s the right way to do it:
- Carefully unclip each vane and remove the weight from the bottom.
- Fill a tub with cool water and a small amount of gentle, bleach-free detergent (like Woolite).
- Let the vanes soak for about an hour. No scrubbing.
- Drain the tub and rinse them thoroughly with a sprayer.
- And here’s the trick: Don’t put them in the dryer! Re-insert the weights and hang the damp vanes right back on the headrail. Gravity will pull them straight as they dry, getting rid of any wrinkles naturally.
When It’s Time to Call for Help
Look, even as a pro, I believe in knowing when a job is beyond a DIY fix. You should call for professional help if:
- You have very expensive or delicate blinds (like silk or linen).
- You see any signs of mold or mildew.
- A mechanism is broken or the cords are frayed.
- The blinds are heavily soiled from years of neglect, especially with nicotine or heavy grease.
- You simply don’t have the time or physical ability to do the job safely.
Oh, and one last thing. A quick but important note on safety: If you have older blinds with long, dangling cords, please be aware they are a serious safety hazard for children and pets. You can find cord safety kits at hardware stores or online, and most new products are now sold cordless. It’s a simple fix that can make a world of difference. Check out the Window Covering Safety Council’s website for more info. A little bit of regular, gentle care is always better than a rare, aggressive scrub down the road!
Inspiration:

- Effortlessly cleans both sides of a slat in a single swipe.
- Traps dust instead of sending it airborne.
The pro’s secret for quick touch-ups? A simple pair of kitchen tongs. Wrap a microfiber cloth around each arm, secure with rubber bands, and you’ve created the ultimate custom dusting tool for your venetian blinds. It’s surprisingly effective for weekly maintenance.

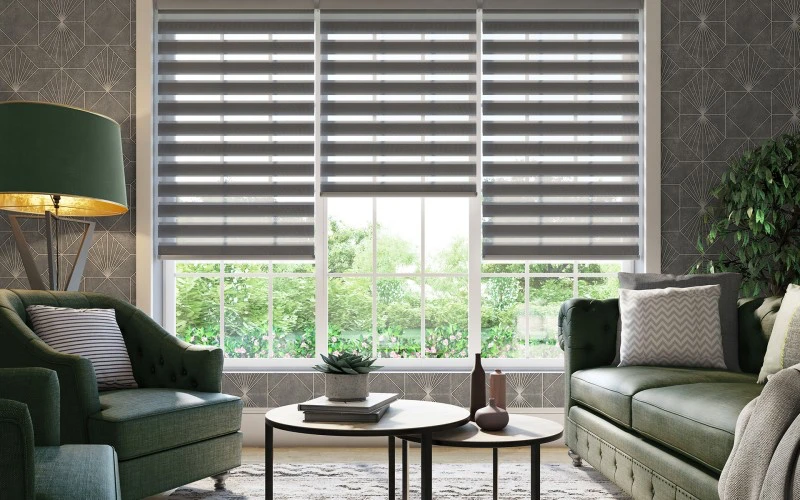
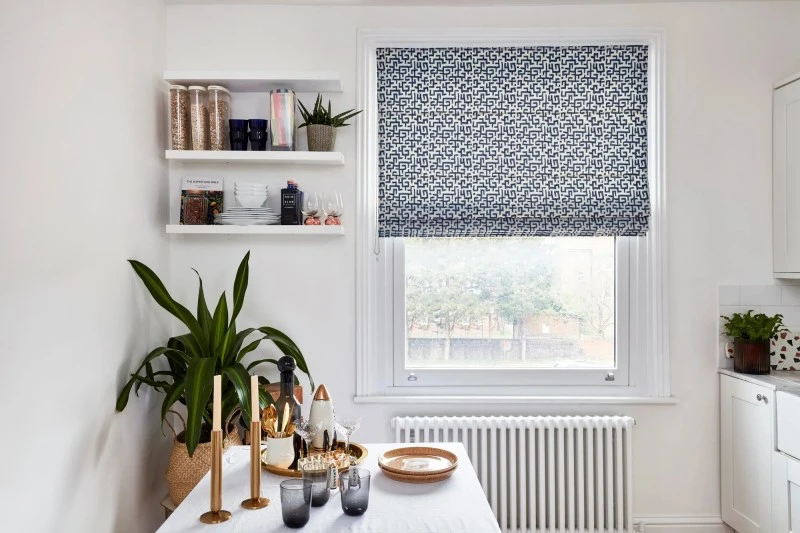
What about delicate fabric blinds, like Roman or cellular shades?
These require a gentler touch. Start by using your vacuum’s soft brush attachment on a low setting, moving in the direction of the fabric’s weave. For small stains, resist the urge to scrub. Instead, spot-treat with a clean white cloth dipped in a mild solution (a few drops of a pH-neutral soap like Woolite in cool, distilled water). Dab, don’t rub, and always test on an inconspicuous area first. The key is minimal moisture to prevent water rings and damage to internal structures.


