Your Patio Isn’t Ready for Summer Until You Do These 7 Things
Over the years, I’ve seen it a thousand times. The difference between a patio that gets a little use and one that becomes the heart of the home isn’t about throwing money at it. It’s about a smart, methodical prep process that starts when there’s still a chill in the air.
In this article
- 1. The First, Most Critical Step: A Structural Check-Up
- 2. Deep Cleaning Like a Pro (Without Wrecking Things)
- 3. Sealing and Staining for a Finish That Actually Lasts
- 4. Choosing Furniture That Survives the Outdoors
- 5. Managing Sun, Wind, and Rain
- 6. Lighting for Ambiance and Safety After Dark
- 7. Bringing It to Life with Container Gardening
- Galerie d’inspiration
So many people get caught off guard by that first perfect-weather weekend and end up scrambling. But the real pros know the work starts earlier. This isn’t just a guide to pretty decorating—this is the nitty-gritty checklist I’ve used on everything from high-rise balconies to sprawling backyard decks. It’s about making your space safe, durable, and truly ready for months of enjoyment.
1. The First, Most Critical Step: A Structural Check-Up
Before you even dream of planters or pillows, you have to play detective and check the bones of your space. Seriously, don’t skip this. I’ve been called in for way too many expensive, dangerous fixes that started as a tiny crack or a slight wobble someone decided to ignore.
Want a quick win you can do in 15 seconds? Go out to your deck right now and give the railing a firm shake. A solid railing shouldn’t budge. If it wobbles, you’ve just found your top priority.
For Patios & Ground-Level Spaces
Concrete and pavers look tough, but the freeze-thaw cycle of winter can be brutal. Water gets in tiny cracks, freezes, expands, and boom—you’ve got a bigger problem.
- Check for Cracks: A hairline crack is usually fine. But if you can slide a credit card into it, that’s a red flag for a deeper issue.
- Look for Sinking: Are any pavers or corners of the slab lower than the rest? This often points to bad drainage or soil washing away underneath. Pour a bucket of water on the surface. It needs to drain away from your house. If it pools or runs toward your foundation, you’ve got a grading issue that needs to be fixed to prevent serious water damage.

For Decks & Balconies
Okay, the stakes are literally higher here. Here’s my go-to inspection list:
- The Ledger Board: This is the big, important board that bolts the deck directly to your house. It holds half the deck’s weight! Look for water stains on your home’s siding right around it. Check that the bolts are tight and not rusted out. If you’re not sure what a healthy connection looks like, do a quick search for “deck ledger connection” to see examples of both good and bad installations.
- Posts & Footings: Go to the base of each support post. Is the wood soft or weirdly dark? Give it a gentle poke with a screwdriver. If it feels spongy, that’s rot.
- Railings & Stairs: We already did the shake test, right? Most building codes require railings to be a certain height (usually 36-42 inches), and for good reason. Check every single spindle. For stairs, pay close attention to the stringers—the sawtooth-shaped boards holding the steps up—especially where they touch the ground, as that’s a prime spot for rot.
A quick heads-up: If you find major rot, big cracks, or that wobbly railing, please don’t just patch it. Call a qualified carpenter or structural pro. A consultation might run you between $300 and $500, but that peace of mind is priceless compared to the cost of a collapse.

2. Deep Cleaning Like a Pro (Without Wrecking Things)
Once you know it’s safe, it’s time to clean. A real deep clean gets rid of the mold, mildew, and gunk that can actually eat away at surfaces. The tool of choice is usually a pressure washer, but man, I’ve seen some damage done with these. I once scarred a beautiful cedar deck in my early days by using the wrong tip—a mistake you only make once.
The secret is using the right pressure (PSI) for the right material:
- Softwoods (like Cedar or Pine): Stay below 1200 PSI. Any higher and you’ll get a fuzzy, splintery surface.
- Hardwoods (like Ipe or Teak): You can go up to 1500 PSI, but it’s rarely needed.
- Concrete & Hard Pavers: These can handle 2000-3000 PSI, but go easy near mortar joints or you’ll blast it right out.
- Composite Decking: Always check what the manufacturer recommends, but it’s usually under 1500 PSI to protect the plastic coating.
And technique is everything. Never, ever use the red 0-degree nozzle tip; it’s like a water laser. Stick with a 25-degree (green) or 40-degree (white) fan tip. Keep the wand moving in long, overlapping sweeps about a foot from the surface. For tough stains, use a dedicated cleaner before you wash. For general grime, a simple oxygen-based cleaner is great and won’t harm your plants. If you’re stripping off an old, failed stain, you’ll need a stronger chemical stripper.
Oh yeah, and the most important tip: let wood surfaces dry for at least 48 hours in good weather before you even think about staining. Be patient!
3. Sealing and Staining for a Finish That Actually Lasts
Now that your surface is clean and bone-dry, it’s time for protection. The right finish is a shield against UV rays and moisture—the two biggest enemies of any outdoor space.
For Wood Decks: Let’s Talk Stain
You’ve basically got three choices, and it’s a classic case of balancing looks, longevity, and effort.
- Transparent Sealers: These are clear coats with UV blockers. They look great because the wood grain is the star. The downside? You’ll likely be reapplying it every single year.
- Solid Stains: This is basically like paint. It completely covers the wood grain. It’s super durable, but it can peel over time. And trust me, stripping a solid stain is a massive, frustrating job you don’t want to do.
- Semi-Transparent Stains: This, in my opinion, is the sweet spot. It has color pigment for great UV protection but still lets the beautiful wood grain show through. Best of all, it fades gracefully instead of peeling, so re-coating is as simple as cleaning and applying a fresh coat. An oil-based formula is often the gold standard for penetration and durability.
A few common staining mistakes to avoid: Don’t stain in direct, hot sunlight—the stain will dry blotchy and uneven. And don’t glob it on! Two thin, even coats are always better than one thick, sticky coat that never seems to fully cure.
By the way, a typical shopping list for this project would include: a gallon of high-quality stain (around $40-$70), a bottle of deck cleaner ($20-$30), a staining pad on an extension pole (saves your back!), a paint tray, and some painter’s tape.
For Concrete Patios
Unsealed concrete is just a magnet for stains. After cleaning, applying a good sealer is a no-brainer. For most homes, a water-based acrylic sealer is perfect. It’s easy to roll on, gives the concrete a nice low-sheen finish, and makes cleaning up spills a breeze.
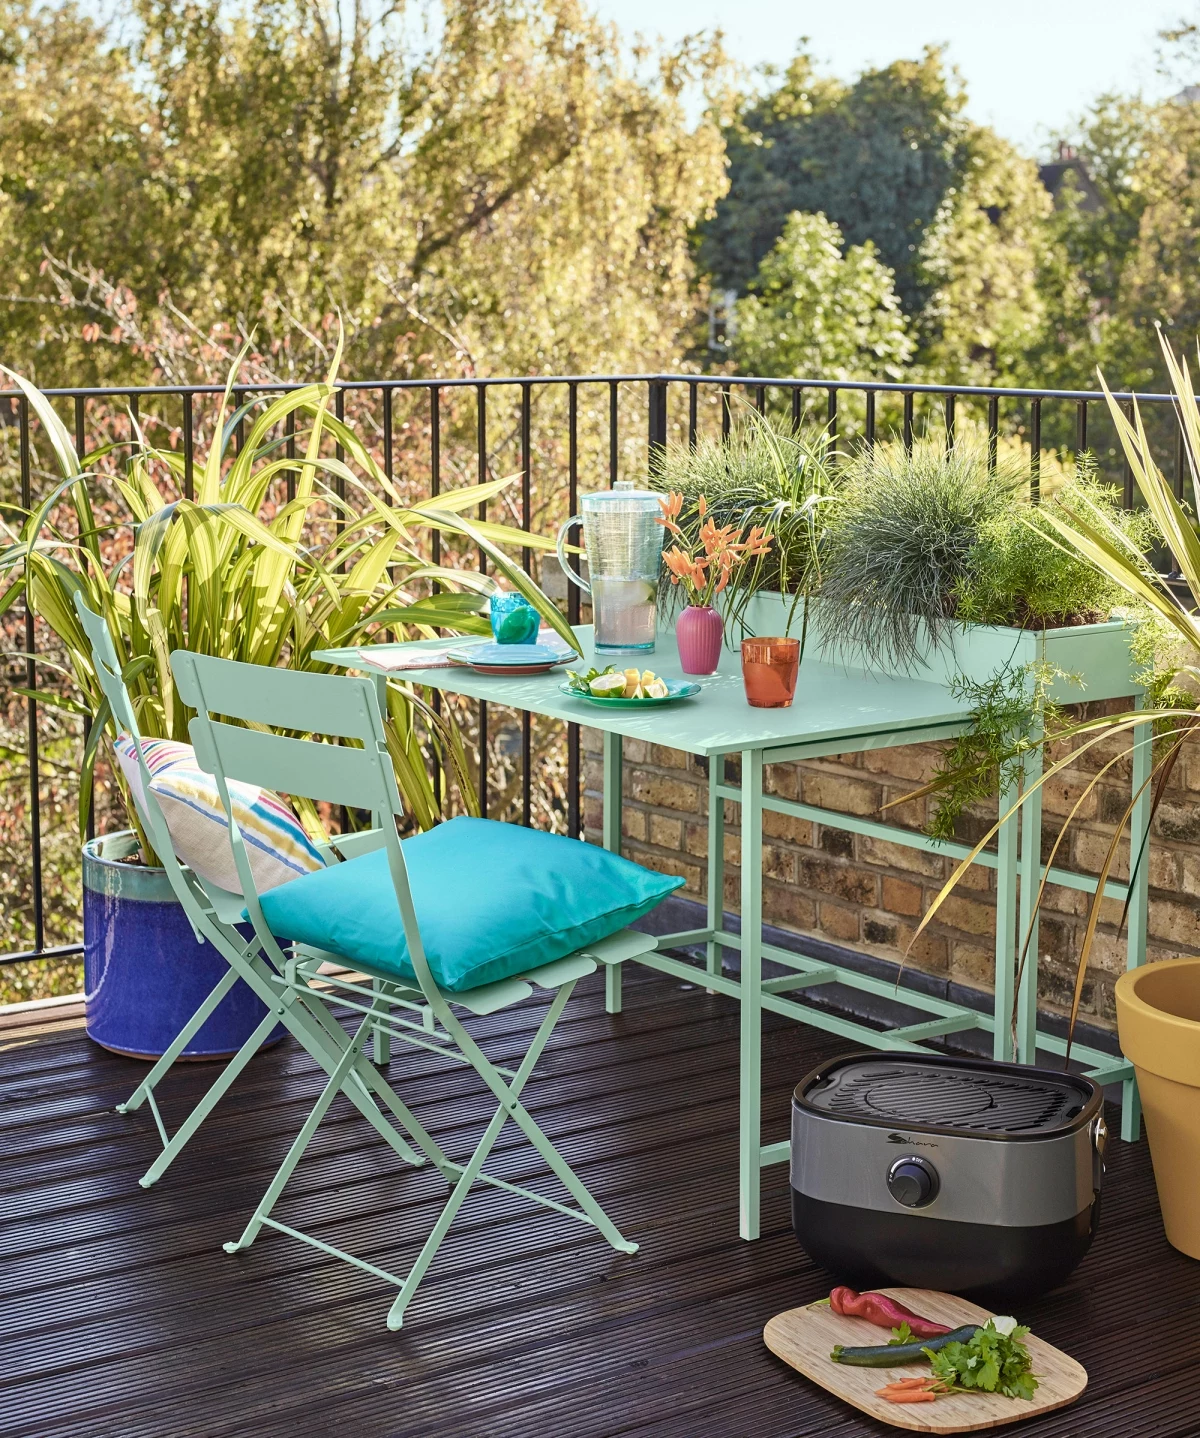
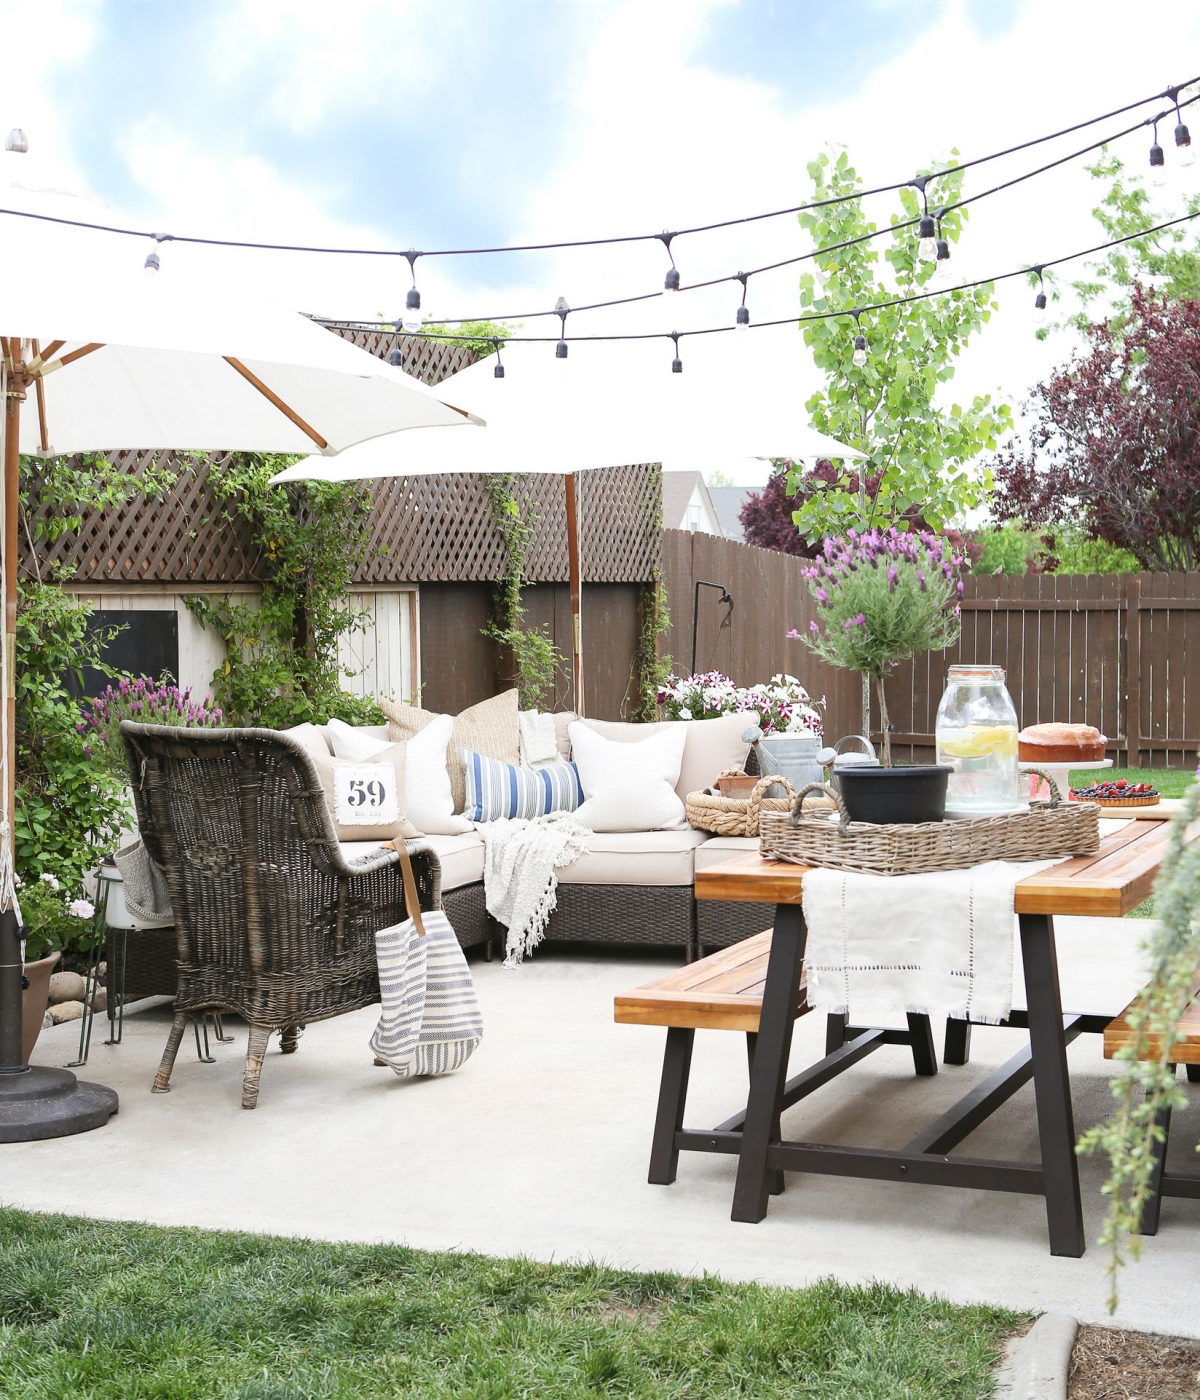
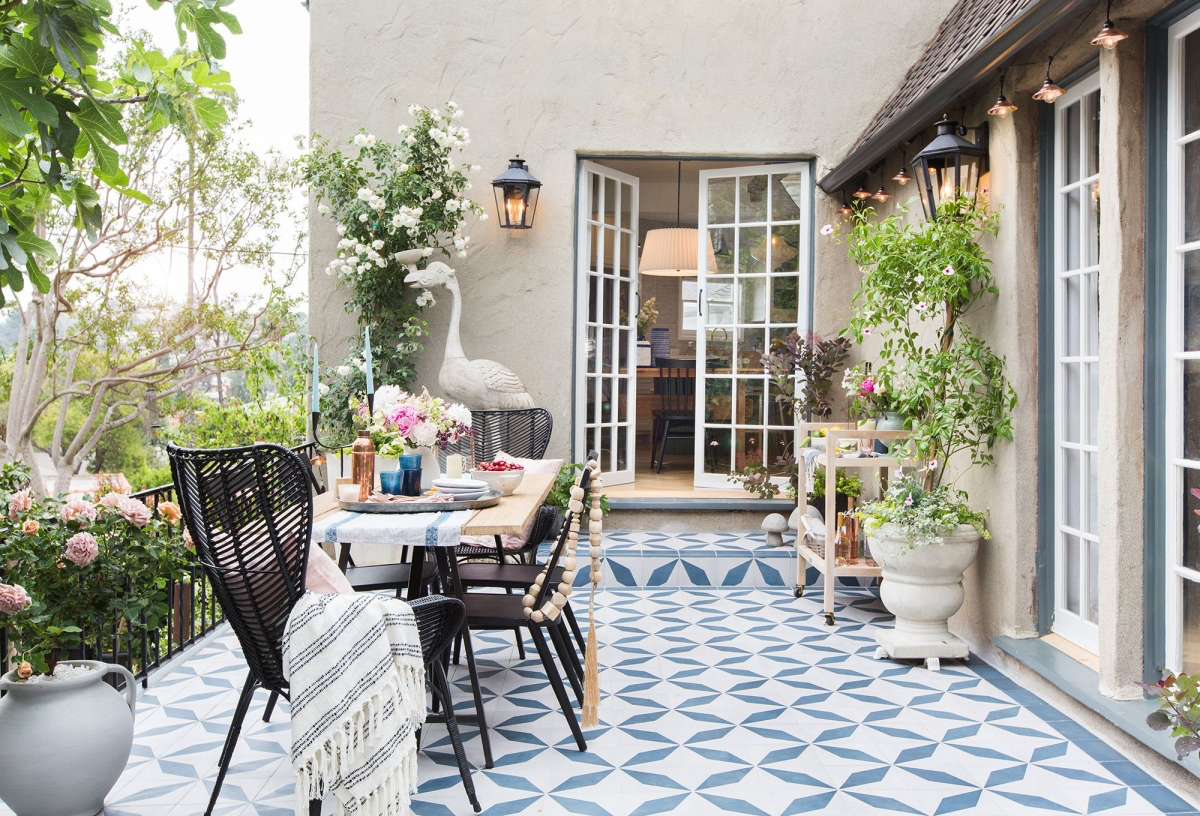
4. Choosing Furniture That Survives the Outdoors
I can’t tell you how many sad, ruined sofas I’ve seen that were dragged outside for the summer. Outdoor furniture is built differently for a reason!
- The Gold Standard (with a price tag): Teak and Ipe are dense tropical hardwoods that are naturally resistant to rot and bugs. They can last for decades. They’re a real investment, though. Expect a quality teak dining set to start around $2,000 and go up to $7,000 or more.
- The Smart, All-Around Choice: Powder-coated aluminum is fantastic. It’s lightweight (perfect for balconies), won’t rust, and the finish is tough. A decent aluminum seating set will typically run you between $800 and $3,000.
- The Modern Wicker: Don’t buy natural rattan for outdoor use; it will fall apart. You want all-weather wicker made from HDPE (a type of durable plastic) woven over an aluminum frame. It’s totally waterproof and UV-resistant.
- Fabrics That Don’t Fade: Look for cushions made from solution-dyed acrylics. Sunbrella is the best-known brand. The color is part of the fiber itself, not just printed on the surface, so it resists fading like nothing else.
Quick tip: Even the best furniture lasts longer if you cover it or store it in the off-season. Good, breathable covers are worth the money.

5. Managing Sun, Wind, and Rain
Your space is only useful if it’s comfortable. A cantilever (or offset) umbrella is way more versatile than a standard market umbrella. Make sure the base is HEAVY—at least 100 pounds for a typical 9-foot umbrella. Shade sails are stylish, but they need to be pulled incredibly tight from very secure anchor points to work properly.
If you’re considering a retractable awning, it’s worth splurging on a model with a wind sensor that automatically pulls it in during high winds. I’ve seen cheap awnings get ripped right off a house.
And for anyone on a balcony, always check with your condo association or building management before you attach anything to the building exterior. They have rules.
6. Lighting for Ambiance and Safety After Dark
Good lighting transforms a space at night. The pro standard is a low-voltage (12V) system. A transformer plugs into an outdoor outlet and steps down the power, making it much safer to work with.
If you’re doing a long run of lights, you might notice the ones at the end are dimmer. This is called “voltage drop.” To avoid it, you either need to use a thicker gauge wire or a transformer with multiple voltage taps that can boost the power. If that sounds like Greek to you, it’s best to hire an electrician or a landscape lighting pro.
For a festive vibe, you can’t beat string lights. Just be sure to buy commercial-grade ones with shatterproof bulbs and hang them from a steel guide wire so they don’t sag or put stress on the connections.
7. Bringing It to Life with Container Gardening
Plants are the final touch. But container gardening is its own world. The number one mistake? Using soil from your garden in a pot. It’s too heavy and will suffocate the roots. Always buy a quality potting mix designed for containers.
And your pot MUST have a drainage hole. No exceptions. If it doesn’t, it’s a decorative holder, not a home for a living plant.
Finally, choose plants for your actual conditions. Is your balcony a wind tunnel? Is your patio a scorching hot-spot? Be honest about your light and climate. A quick search for your “USDA Plant Hardiness Zone” will tell you what plants naturally survive in your specific region, which is a huge head start.
Taking the time to go through these steps is so rewarding. You’re not just sprucing up a patio; you’re building a safe, durable, and welcoming outdoor room that will pay you back all season long.
Galerie d’inspiration

What’s the right way to deep clean my patio surface without damaging it?
The answer depends entirely on your patio’s material. For unsealed concrete or tough pavers with years of grime, a gas-powered pressure washer (like a model from Simpson or Generac) is a powerful ally. However, that same force can splinter a wood deck or etch composite boards. For wood, vinyl, or painted surfaces, an electric pressure washer from a brand like Ryobi or Greenworks offers more control. Always start with the widest fan tip and test on an inconspicuous area first.
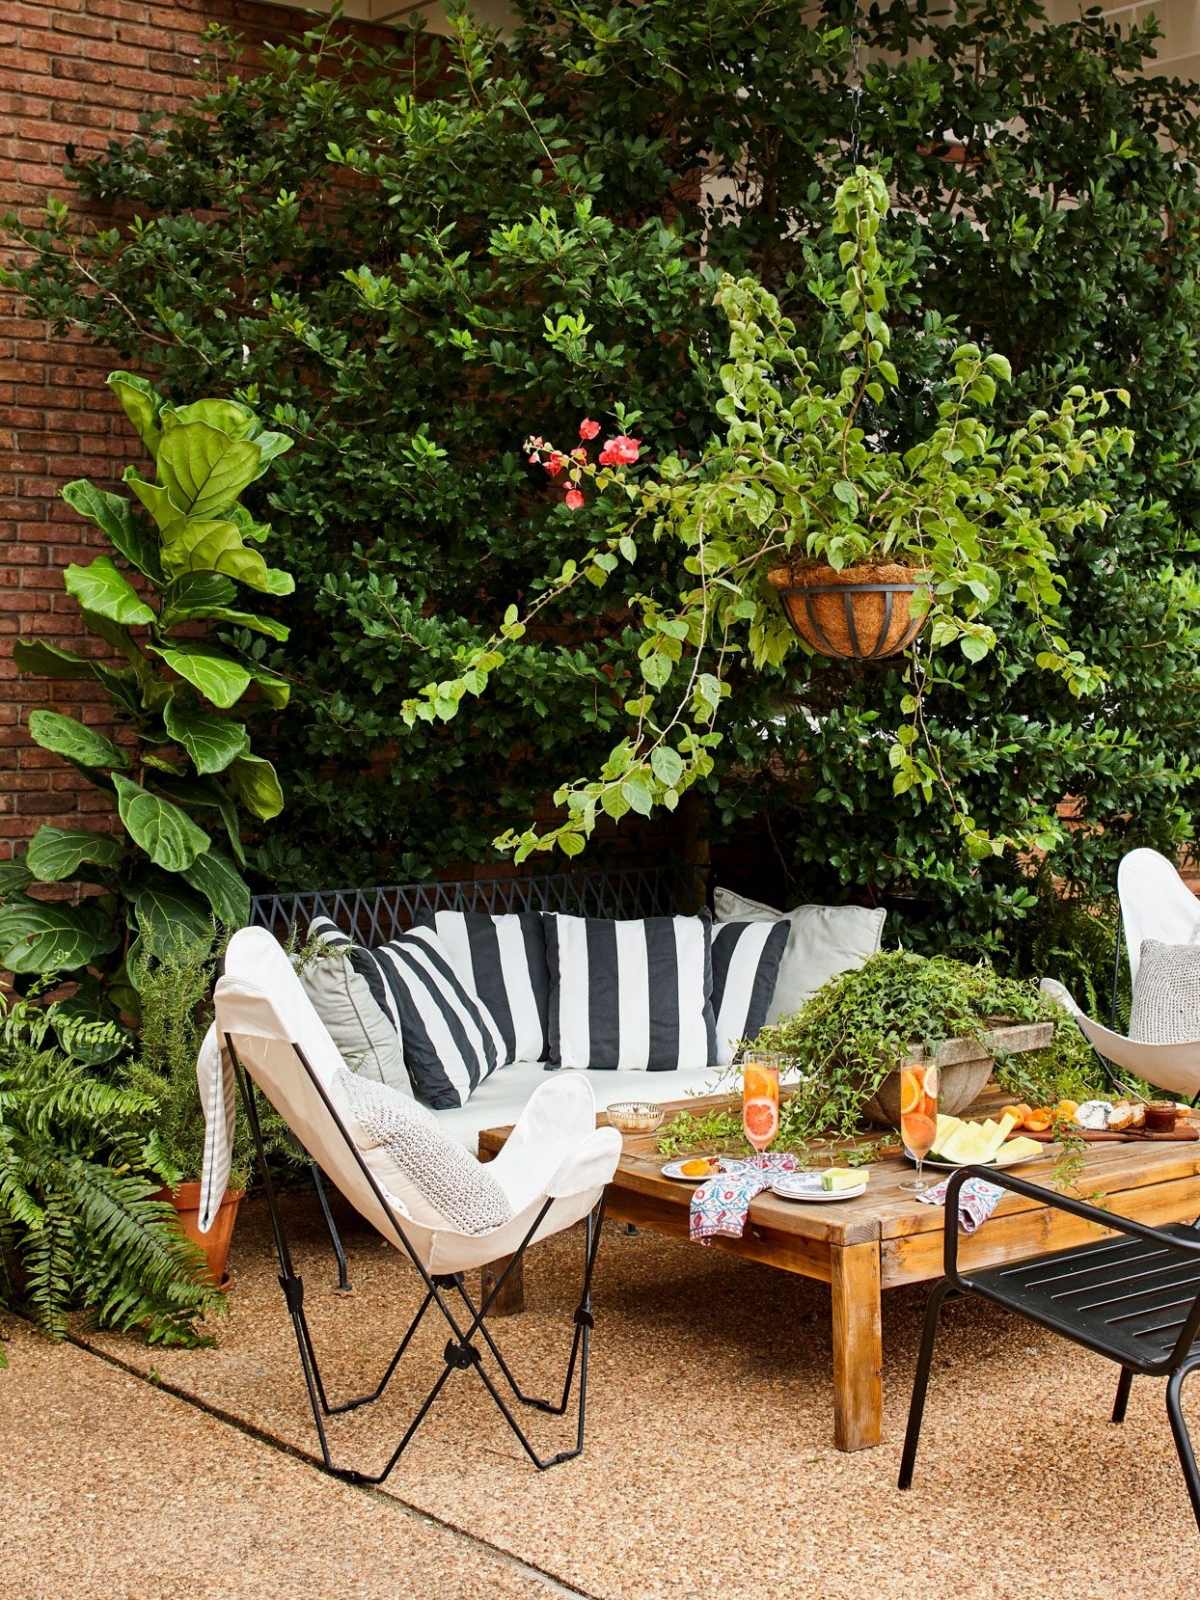
A well-chosen outdoor rug does more than add color; it defines a living space where one didn’t exist before.
Think of it as the foundation for your outdoor room. It anchors your furniture, preventing that ‘floating’ look, and adds a layer of comfort underfoot. For high-traffic areas exposed to the elements, look for rugs made from polypropylene, like those from Fab Habitat or Ruggable’s outdoor collection. They are specifically designed to resist mildew, fading, and are easily cleaned with just a hose, making them a practical and stylish upgrade for any patio.


