Finally Conquer Your Junk Drawer (And Keep It That Way)
We all have one. That one drawer, usually in the kitchen or a hallway table, that’s basically a black hole for random stuff. It’s a chaotic jumble of rubber bands, old keys, takeout menus, and batteries that might be dead. We call it the “junk drawer,” and honestly, that name sets it up for failure from the start.
In this article
But let’s be real, these drawers exist for a good reason. We need a handy spot for small, useful items that don’t have another logical home. The problem isn’t the drawer itself; it’s how we treat it. It becomes the place for things we don’t want to make a decision about. Out of sight, out of mind… until you’re desperately hunting for a tiny screwdriver or a book of stamps.
So, let’s change our thinking. We’re going to transform this drawer of chaos into something genuinely useful. From now on, it’s your Utility Drawer, your Action Station, or your Command Center. This isn’t just about tidying up. It’s about creating a system that saves you time and frustration. The whole project should take about 60 to 90 minutes, and I promise, it’s one of the most satisfying organizing jobs you’ll ever do.
So, How Did It Get This Bad?
Before we dive in, it helps to know why these drawers turn into a mess. It’s not just you being disorganized; there are some real forces at play here. Understanding them is the key to creating a system that actually lasts.
First off, every item in that drawer is basically a postponed decision. “Where does this spare key go?” “Will I ever use this Allen key again?” Instead of answering, we toss it in the drawer to deal with “later.” The drawer becomes a physical inbox for our mental clutter. The fuller it gets, the more overwhelming it feels, and our brains just get tired of dealing with it. It’s easier to just shut the drawer and walk away.
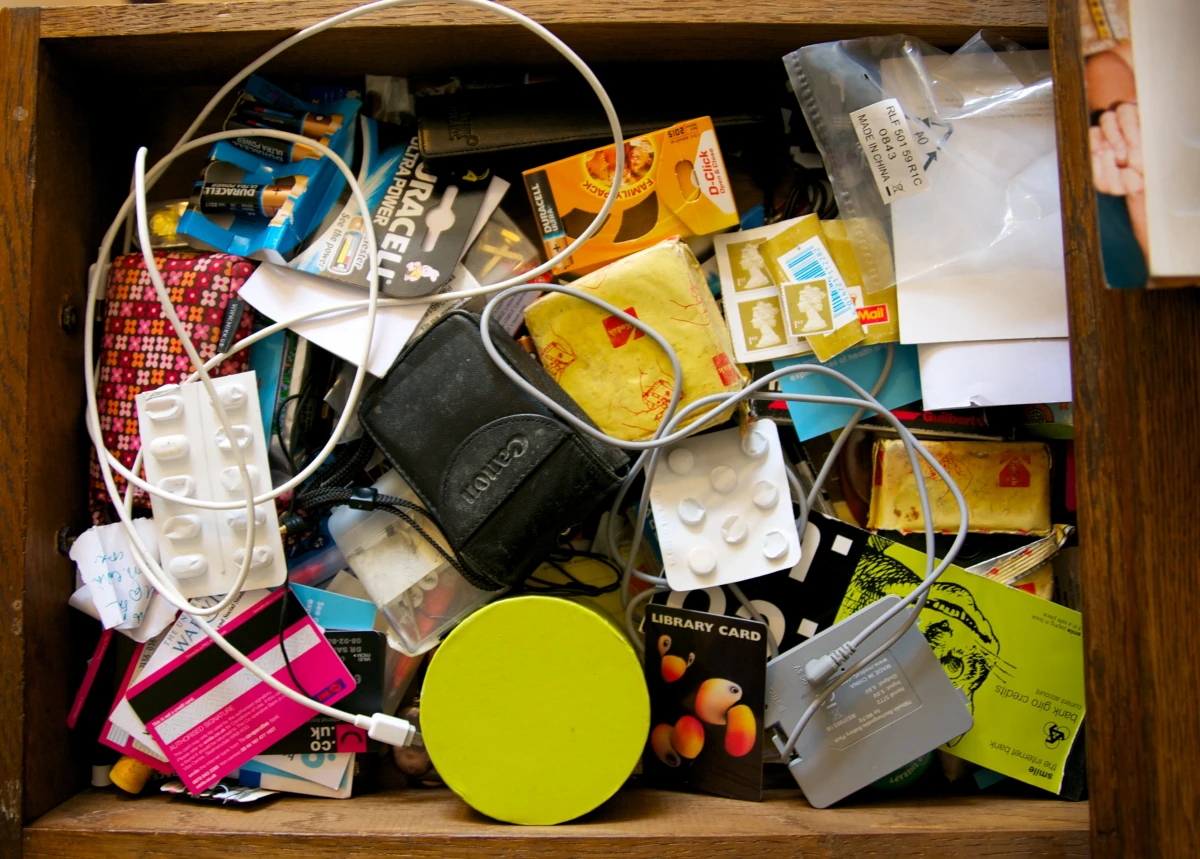
And then there’s the physics of it all. As you open and close the drawer, things naturally settle in the most unhelpful way possible. Small, heavy things like paper clips and screws sink to the bottom. Long, tangly things like rubber bands and charging cords weave themselves into a nest. And big, flat things like menus and mail float on top, hiding the mess below. Rummaging around is a losing battle against gravity and chaos. You have to start fresh.
The Full Reset: The Only Way to Truly Fix It
A lot of people try to organize the drawer by just picking through it. From my experience, that’s a mistake. You can’t fix the system from within; you have to start from zero. I call this the “Full Reset,” and it’s non-negotiable for a lasting fix.
Heads up: If you’re feeling completely overwhelmed and only have five minutes, here’s a quick win. Open the drawer, grab an obvious piece of trash (like an old receipt or a dried-up pen), and throw it away. Then find one item that belongs somewhere else—like a screw that goes to the garage—and put it there. It won’t fix the drawer, but it’s a start!
For the real deal, first, prep your workspace. Find a clear table or a patch of floor and lay down an old towel or some newspaper. Then, grab four boxes or shopping bags and label them: KEEP (for this drawer only), RELOCATE, TRASH, and DONATE.

Empty and Clean Everything
Now, if you can, take the drawer completely out of the cabinet. Dump everything onto your towel. EVERYTHING. Shake it out to get every last crumb and paper clip.
With the drawer empty, give it a good cleaning. Vacuum out the dust, then wipe it down. For wood, use a damp cloth with a wood-safe cleaner and dry it right away. For laminate or metal, any all-purpose cleaner will do. If there’s old, peeling liner paper, now’s the time to rip it out. (A quick tip: a hairdryer can soften the old adhesive and make it easier to peel.) A clean drawer feels like a fresh start—it reinforces the idea that this is a valuable space now, not a dumping ground.
The Sorting Method That Actually Works
Okay, with everything laid out, you can see what you’re up against. Now we sort, using those four boxes. Go item by item and make a quick decision. Do not, I repeat, DO NOT create a “maybe” pile. A maybe pile is just a new, smaller junk drawer.

A rule I tell everyone: If you’re stuck on a “maybe,” ask yourself two questions. Have I used this in the last year? And does it cost less than $20 to replace? If you haven’t needed it and it’s cheap to buy again, it’s probably time to let it go.
Safety First: A Critical Warning
Junk drawers can hide some genuinely hazardous stuff. Please be careful here.
- Batteries: This is my biggest warning. Loose batteries, especially 9-volt ones, are a serious fire hazard. If a metal object like a paperclip touches both terminals, it can short circuit, heat up, and start a fire. Always put a piece of tape (electrical or masking) over the terminals of 9-volt batteries. It’s a good idea to tape button-cell batteries, too. And remember to recycle them at a proper facility—check your local hardware store or city waste program.
- Sharp Objects: Put loose pushpins, razor blades, or needles into a hard-sided container like an old mint tin or pill bottle. Tape it shut and label it “SHARPS” before you toss it. This protects sanitation workers.
- Old Meds: Never just throw pills in the trash or flush them. Take them to a pharmacy or police station that has a medication take-back program.
The Most Important Boxes: Relocate and Keep
Your TRASH box should fill up pretty fast with broken pens, expired coupons, and mystery keys. But your RELOCATE box is the real key to success. Most of the stuff in your junk drawer isn’t junk; it just belongs somewhere else. Be disciplined! Extra pens go to the desk, screws go to the toolbox, stamps go with the stationery.
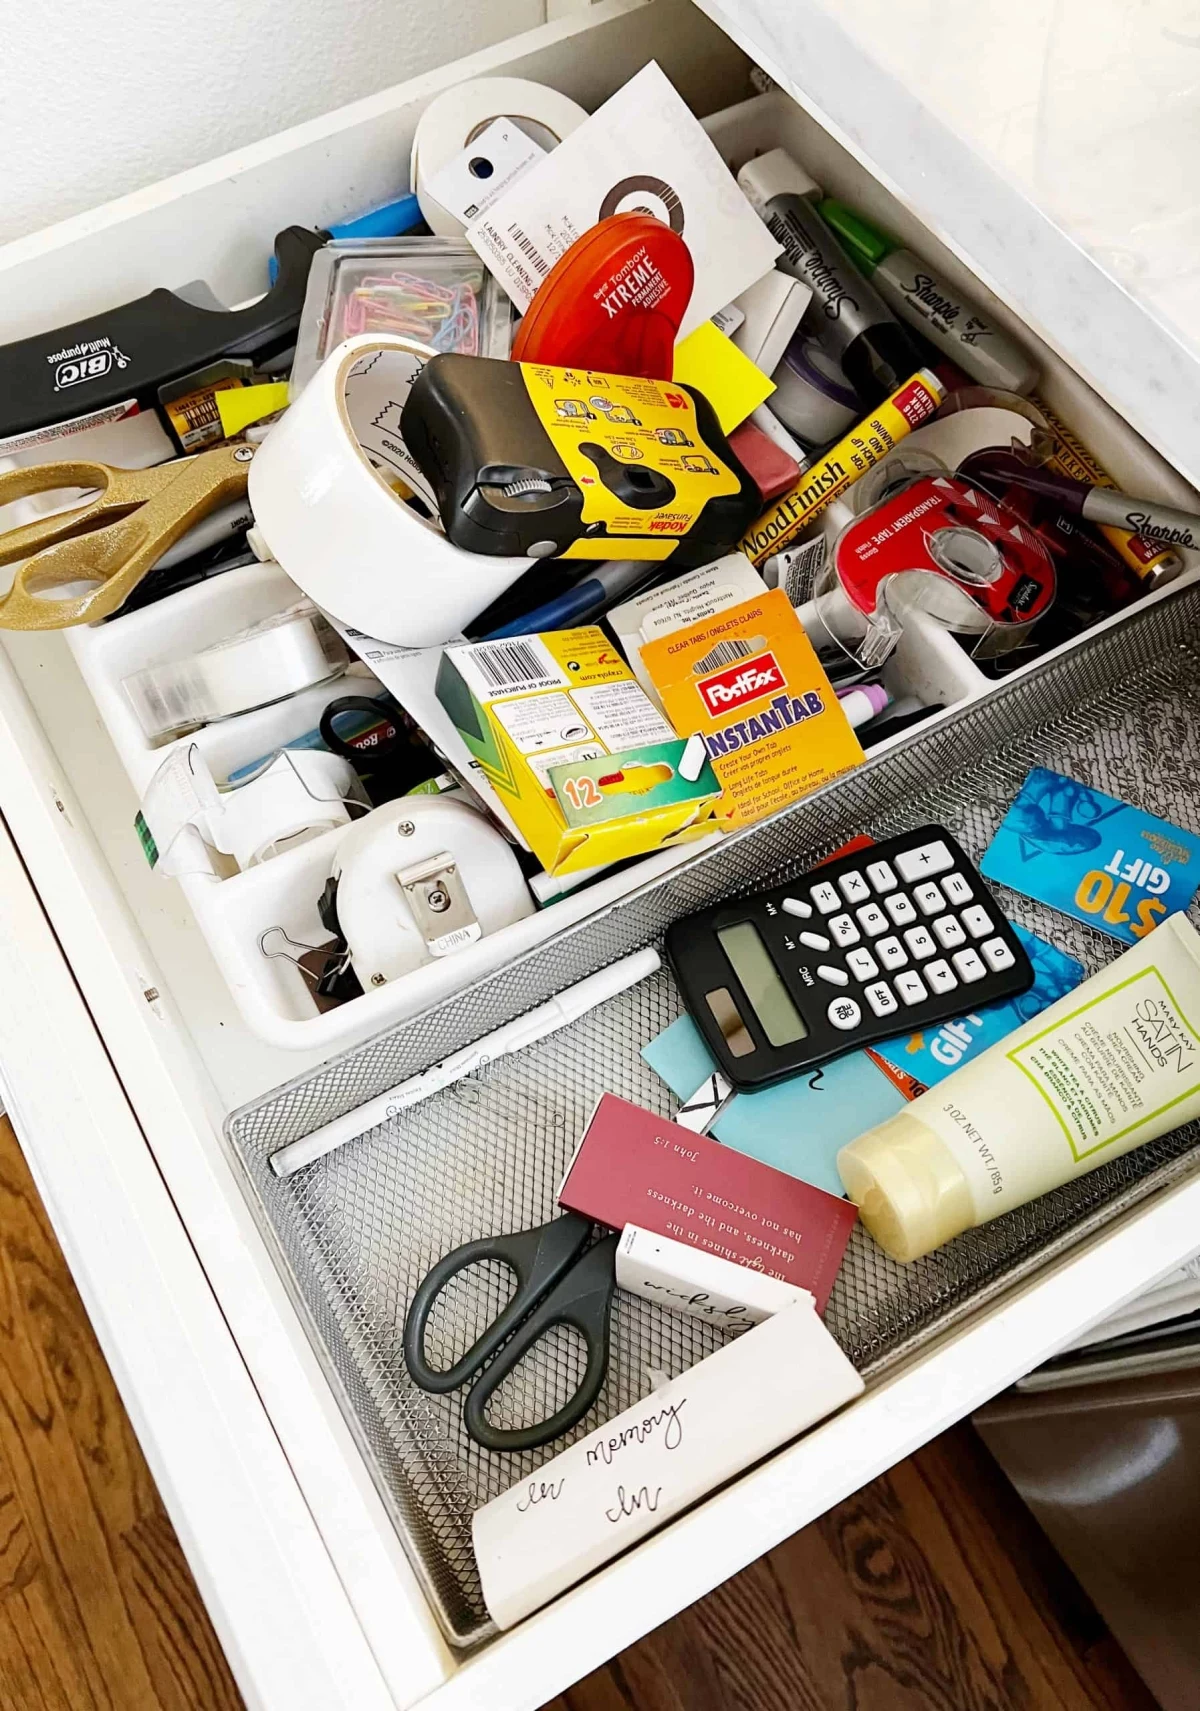
After sorting, you’ll have a surprisingly small pile left in the KEEP category. These are the true utility items. It’s the difference between a drawer that looks like this:
BEFORE: A tangled web of rubber bands, mystery keys, 3 dead AA batteries, and a crusty tube of glue.
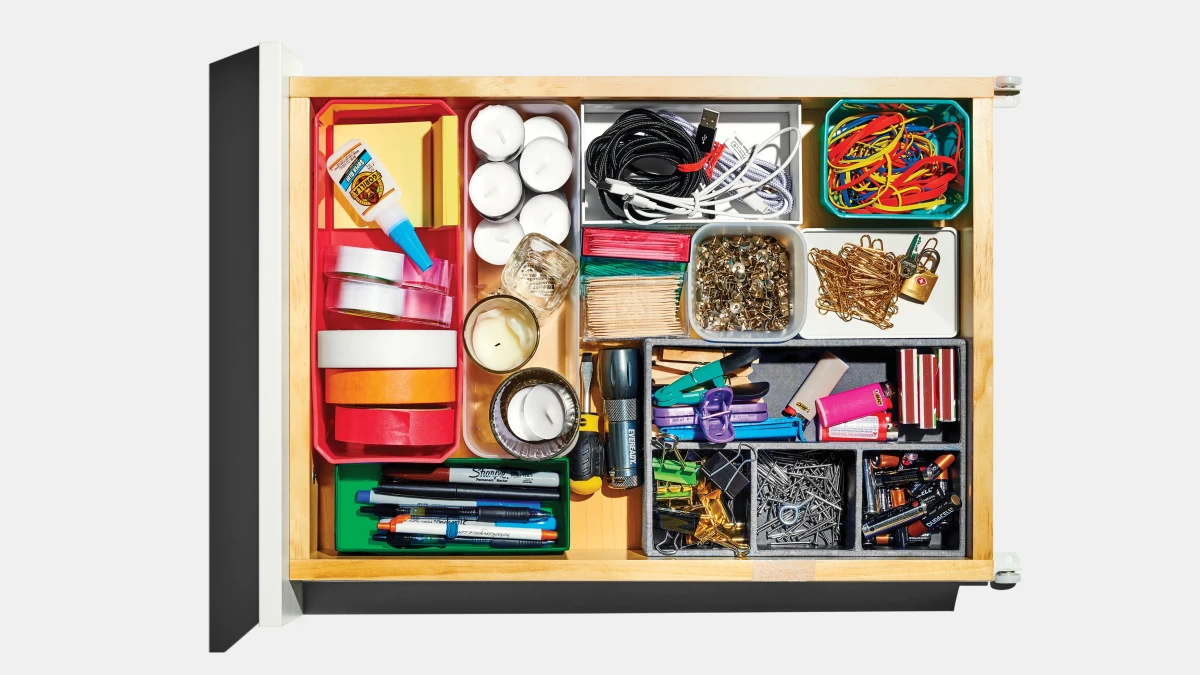
…and one that looks like this:
AFTER: A ‘Quick-Fix Station’ with a multi-tool, fresh batteries (terminals taped!), scissors, and a notepad, all in their own compartments.
Once you’re done sorting, take action immediately. Throw out the trash, put the donate box in your car, and walk around the house putting every single item from the RELOCATE box in its proper home. Don’t skip this step!
Building a Drawer That Actually Stays Organized
Now for the fun part: designing your new system. First, give the drawer a mission. Is it a Command Center for keys and mail? A Quick-Fix Station with tools and batteries? Or a Household Supply hub with tape and candles? Defining its job helps you decide what belongs in the future.
Choose Your Organizers Wisely
An empty drawer is an invitation for chaos to return. Dividers are essential. But before you buy anything, measure the inside of your drawer—width, depth, and height. Nothing is more frustrating than organizers that don’t fit.
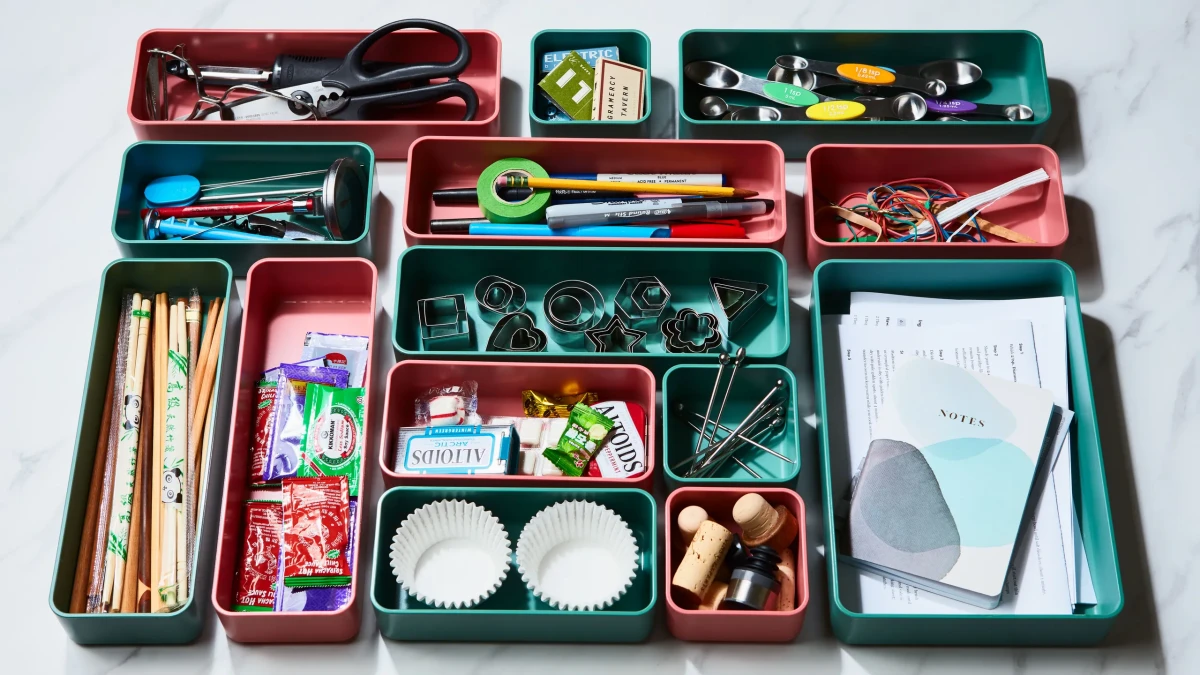
Here’s a quick rundown of your options:
- Plastic/Acrylic Trays: These are my go-to. They’re easy to clean, relatively cheap, and you can mix and match sizes like a puzzle. You can find great modular trays at places like Target, Amazon, or The Container Store. Expect to pay around $15 to $30 for a good set. The main pros are that they’re waterproof and you can see everything in the clear ones. The only con is they can feel a bit less high-end.
- Bamboo/Wood Organizers: These look gorgeous and feel very sturdy and premium. However, they tend to be a bit pricier, maybe $25 to $40 for a set, and they can stain if a pen or glue leaks.
- DIY & Repurposed: The best price is free! You can use old phone boxes, mint tins, or even silicone muffin liners. Muffin liners are fantastic for small things that roll around. The pros are obvious—it’s free and customizable. The downside is they might be less durable or look a bit cobbled together.
By the way, if you have a really deep drawer, look for stackable organizers! It’s a game-changer for using that vertical space. Just keep the less-used stuff in the bottom tier.
Create Zones for Easy Access
Arrange your organizers in the drawer based on how often you use things. The stuff you grab daily (like keys or a pen) goes right at the front. Things you use weekly (scissors, tape) go in the middle. And items for infrequent tasks (like a picture-hanging kit) go in the back. Simple, but it makes a huge difference.
Keeping It Organized for Good
So how do you stop it from reverting back to chaos? A couple of final tricks.
First, here’s a pro tip I swear by: use a label maker (or just tape and a pen) to label the bottom of each compartment. When you take the scissors out, you’ll see the empty, labeled spot. It’s a powerful psychological nudge to put it back where it belongs. It also helps everyone else in the house learn the system.
And finally, no system is perfect forever. Schedule a quick, 15-minute “drawer edit” twice a year. Just take a quick look: Has anything crept in that doesn’t belong? Are you running low on tape? It’s a simple tune-up that keeps your hard work from going to waste.
That’s it! You’ve taken a pocket of frustration and turned it into a corner of your home that is genuinely helpful. The goal isn’t a picture-perfect drawer; it’s a functional one that serves you. It’s no longer the junk drawer. It’s your Utility Drawer, and it’s ready for action.


