Stop Guessing: Real-World Tips for Boosting Your Curb Appeal
After walking up to thousands of homes in my career, you start to see things differently. You can literally read a house’s story from the street, spotting the difference between a home that’s truly loved and one that’s just, well, lived in. That first impression—what everyone calls curb appeal—isn’t just a buzzword for selling your house. It’s the handshake your home gives to the world. It says a lot about its health and the pride of the people inside.
In this article
- First Things First: See Your Home Like a Pro
- The Biggest Bang for Your Buck: A Deep Clean & Smart Repairs
- Don’t Neglect the Groundwork: Driveways & Walkways
- The Face of Your Home: Doors, Windows, and Trim
- The Living Frame: Smart Landscaping
- It’s All in the Details: Lighting, Mailboxes & More
- Putting It All Together
- Inspirational Gallery with Photos
A lot of articles will give you a quick, generic checklist: plant flowers, paint the door. And sure, that’s a start. But it’s a bit like putting a new tie on a worn-out suit. Real, lasting curb appeal comes from a much deeper place. It’s about making smart, durable choices that work with your home’s structure and materials, not just slapping on cosmetic fixes. Whether you plan to sell next month or stay put for the next 20 years, these are the principles that build real value and create a home you’re genuinely proud to walk up to every single day.

First Things First: See Your Home Like a Pro
Before you even think about buying a can of paint or a single flower, you need to do an honest assessment. It’s funny how we get used to our own homes, right? We completely stop seeing the cracked paver, the peeling paint on the window trim, or how the bushes have totally ambushed the front walkway. You need to look at your house like a stranger would.
Here’s a trick I swear by: grab a notepad and your phone’s camera. Photos are amazing because they flatten the image and make flaws jump out in a way our eyes just skim over. Seriously, try it.
Start at the curb and do a slow walk-around. What’s the gut feeling? Does it look balanced? Look at the roofline for any sagging spots or the chimney for cracked mortar. Then, walk to the end of your driveway and look again. From here you can really see the condition of the driveway, the garage door, and the lawn. Finally, walk up your own front path as if you were a guest. Examine the porch, the front door, the hardware, and the lights. Take notes and pictures of everything. Don’t get discouraged; think of this as your roadmap to success.

This is exactly how a professional diagnostic process starts. We’re looking for the root cause of an issue, not just the symptom. For example, that peeling patch of paint under a window might not be a paint problem at all—it’s probably a water problem from a leaky sill. Understanding that difference is the key to a fix that actually lasts.
The Biggest Bang for Your Buck: A Deep Clean & Smart Repairs
Honestly, the single most effective and affordable thing you can do for your home’s exterior is give it a thorough cleaning. Dirt, mildew, and grime make a house look tired and neglected. But this is more than just aesthetics; it’s preventative maintenance. Getting that green gunk off your siding can actually extend the life of your paint job by years.
Power Washing: It’s More About Skill Than Power
A power washer is an incredible tool, but I’ve seen it cause thousands of dollars in damage in the wrong hands. It’s so easy to force water behind vinyl siding (hello, mold!) or etch brick so badly it needs professional restoration. The goal is to clean, not blast.
Heads up! Renting a power washer is pretty affordable, maybe $75 for the day. But if you have a two-story home or you’re just nervous about causing damage, hiring a pro for around $300-$500 is money well spent. Here are a few quick tips if you DIY:
- Pressure Matters: For vinyl or wood siding, you rarely need more than 1,200 to 1,500 PSI. For tougher stuff like brick or concrete, you can go higher, but always start low and test in a hidden spot.
- Use the Right Nozzle: A 25-degree (green) or 40-degree (white) tip gives you a wider, gentler spray perfect for siding. The 0-degree (red) tip is for stripping paint, NOT for your house.
- Technique is Everything: Keep the nozzle moving in a sweeping motion, about a foot away from the surface. And always, always spray siding at a downward angle. Pointing it upwards forces water behind the panels, which is a recipe for disaster.
Gutters, Windows, and Walkways
Clean your gutters! Clogged gutters cause water to overflow, which can rot your fascia boards and even damage your foundation. This is a safety-first job, though. If you’re using a ladder, make sure it’s sturdy and on solid ground. If your roof is high or steep, just hire someone. It’s a small price to pay to avoid a serious injury.
For windows, the pro secret is ridiculously simple: a good squeegee. Forget all those fancy sprays. All you need is a bucket of cool water with a few drops of dish soap. The real trick? Wipe the squeegee blade with a clean, dry microfiber cloth after every single pass. That’s what prevents streaks.
Don’t Neglect the Groundwork: Driveways & Walkways
Your driveway and walkways take up a huge amount of visual real estate. A cracked, stained driveway can make an otherwise beautiful home look shabby.
Concrete Care and Repair
Concrete is tough, but the freeze-thaw cycle in colder climates is its mortal enemy. The key is to seal small cracks with a flexible polyurethane sealant before they become huge problems. Sealing your concrete driveway every few years is one of the best investments you can make. A 5-gallon bucket of quality penetrating sealer costs about $40 and covers around 400 square feet. So for most driveways, you’re all-in for under $100 in materials and a weekend of work. Just clean the surface thoroughly, let it dry completely, and apply it with a roller.
Asphalt Maintenance
Asphalt needs a bit more love because sun and oxygen make it brittle over time. That’s where sealcoating comes in. But timing is critical—you need at least two straight days with temperatures above 50°F for it to cure properly. Applying it in the wrong weather is a total waste of money. Be wary of contractors who just spray on a thin black layer. A proper job involves deep cleaning, patching, and applying a thick, even coat that should last 3-4 years.
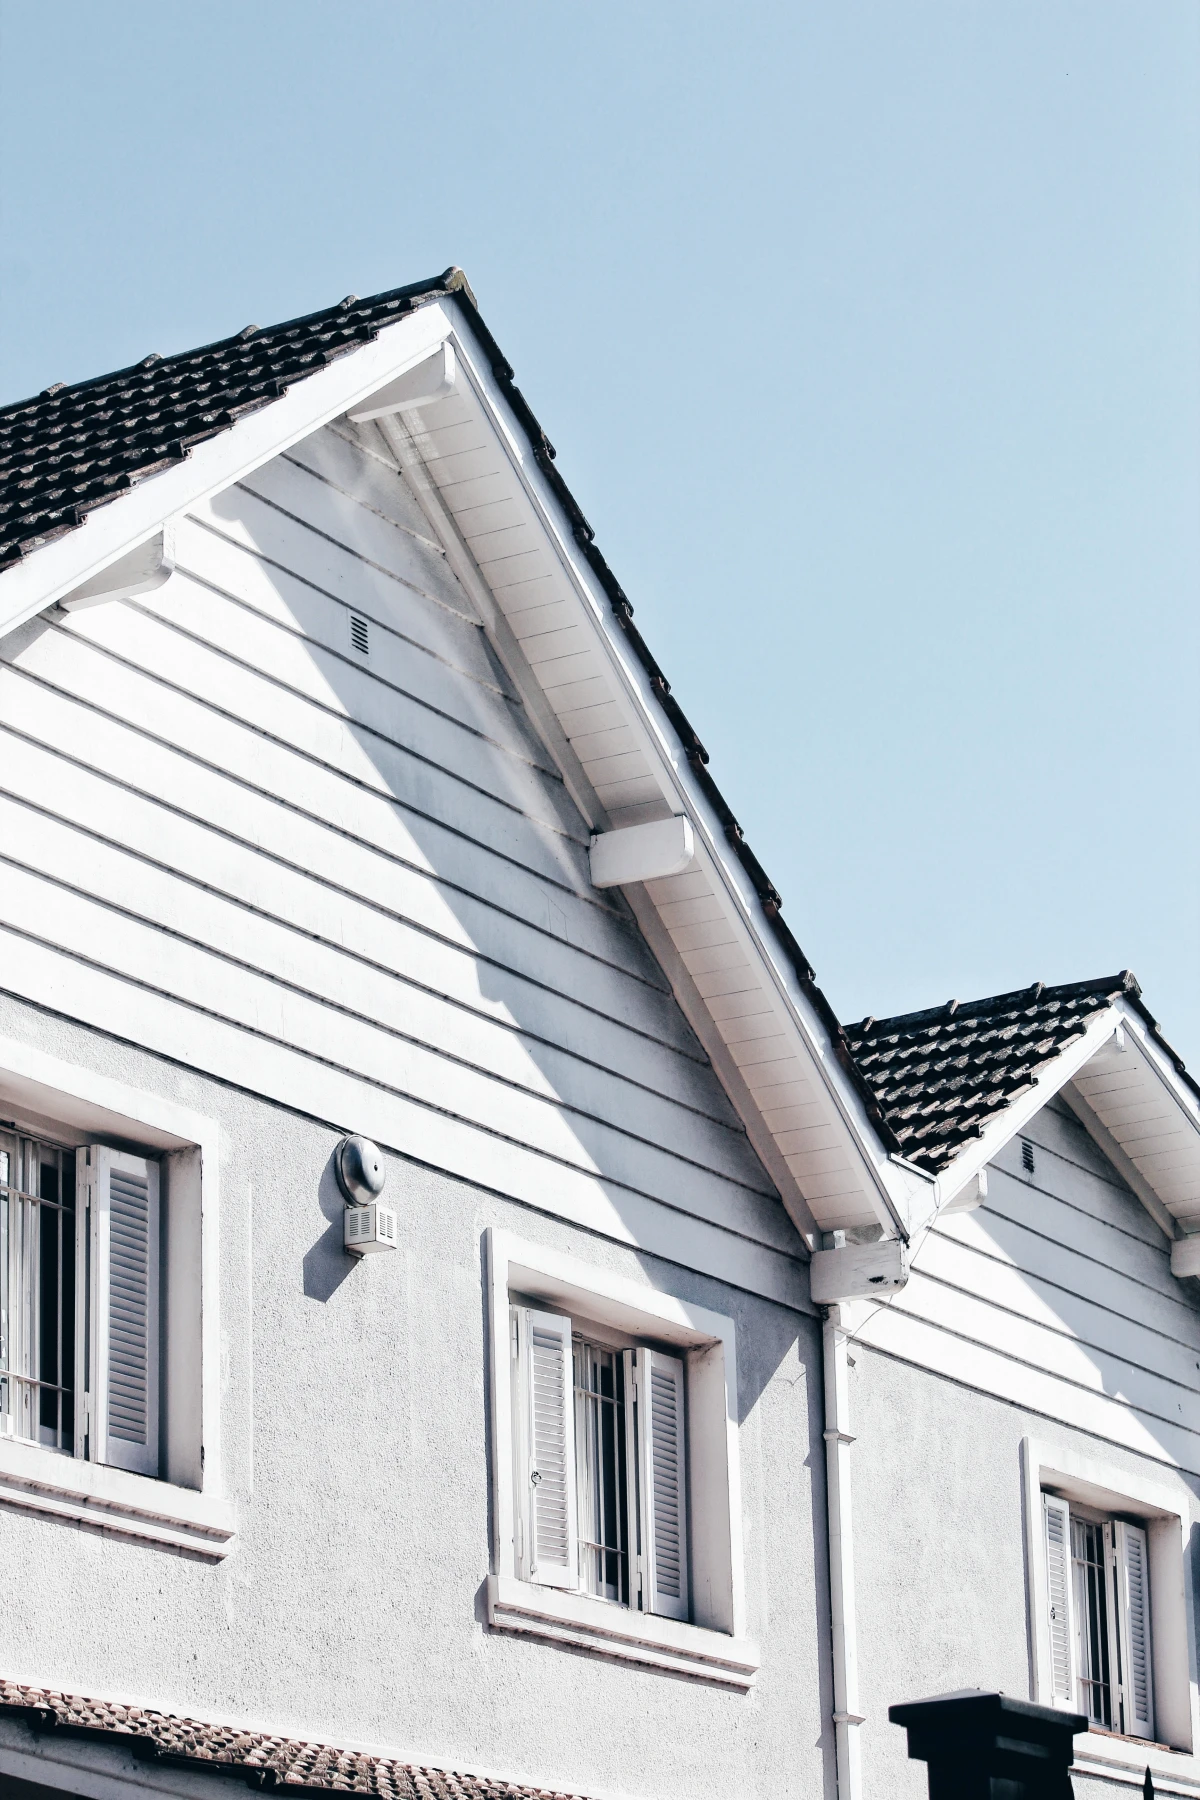
The Face of Your Home: Doors, Windows, and Trim
Your front door is the absolute focal point of your house. If you can only afford one major upgrade, this is often the best place to put your money.
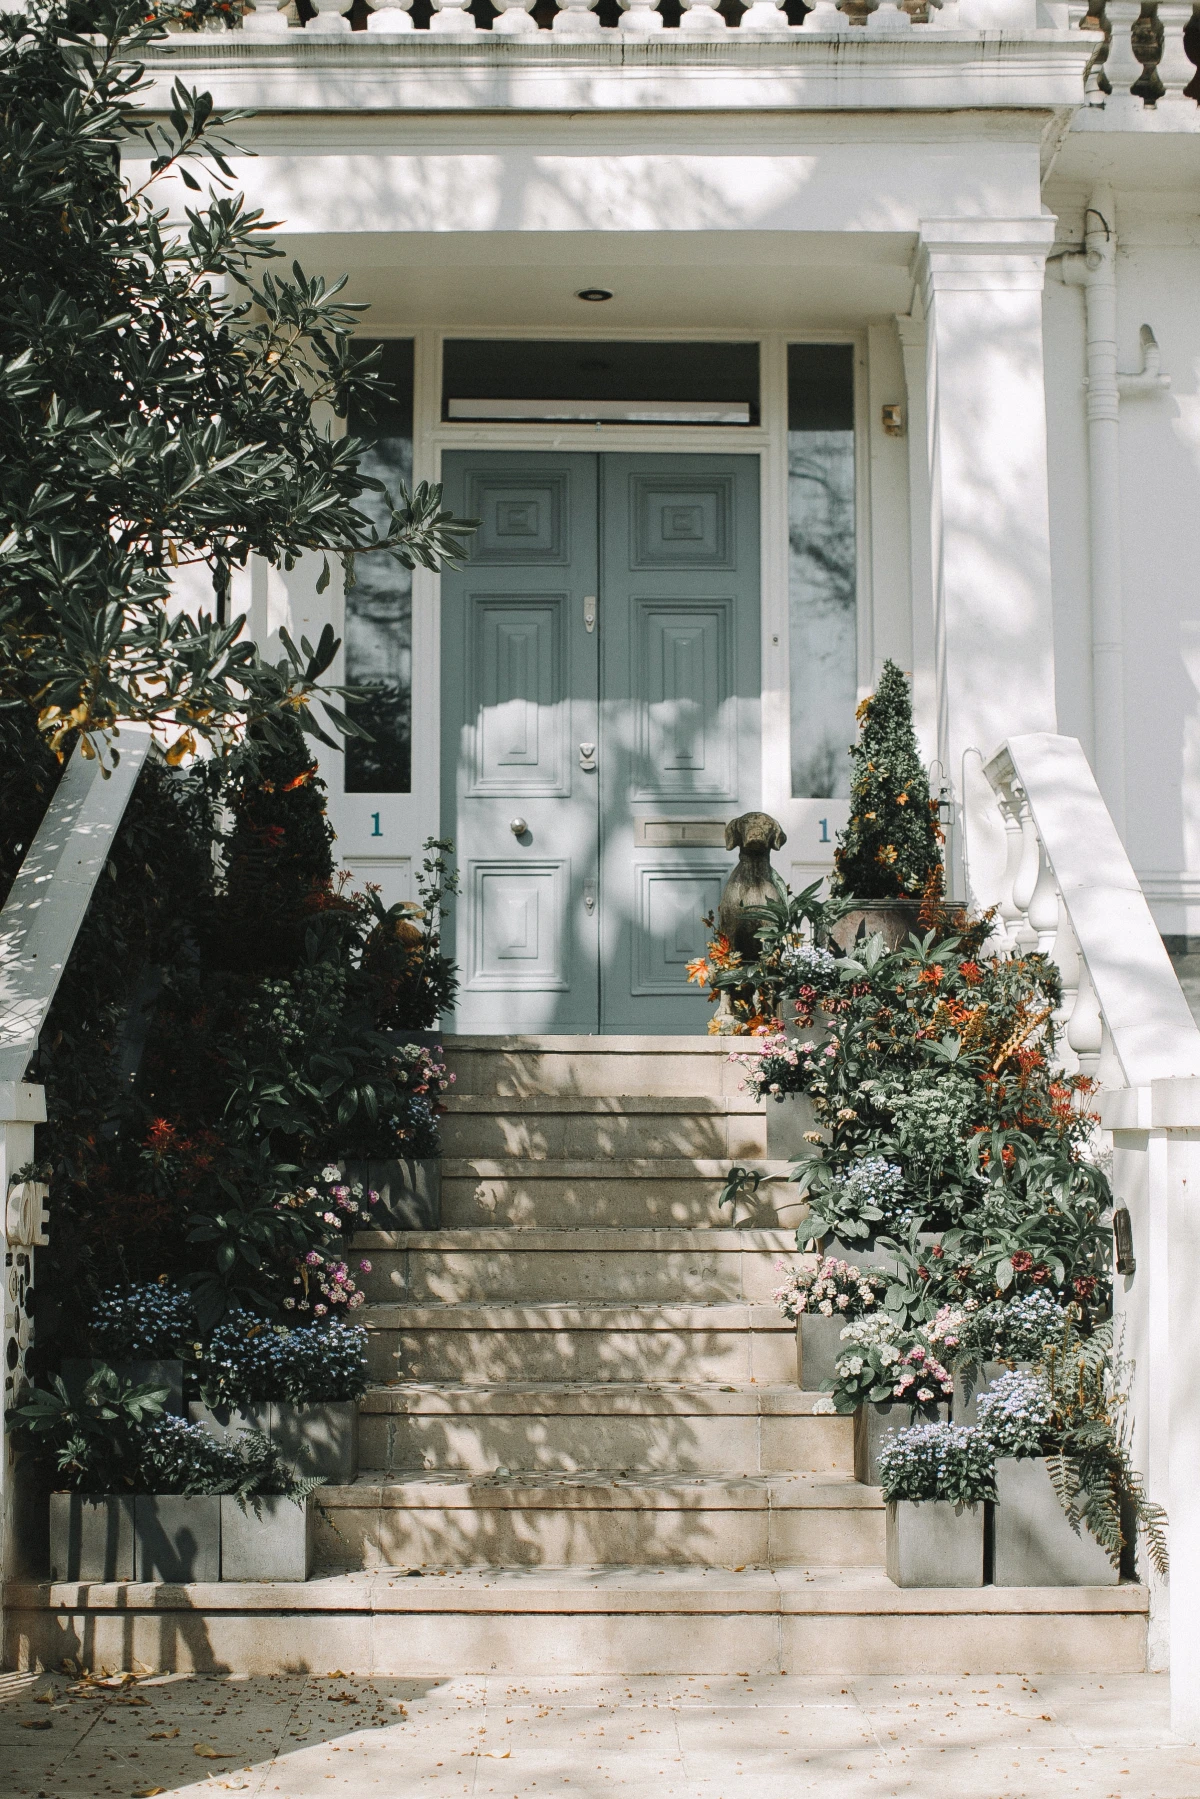
The Front Door Transformation
A fresh coat of paint can work wonders, but proper prep is everything. A common mistake is skimping on this part. You have to sand the old finish, clean it, and use a good primer. For a door, a satin or semi-gloss finish is best because it’s durable and easy to wipe down.

Here’s your weekend shopping list for a pro-level finish: sandpaper ($5), a tack cloth ($3), a can of quality exterior primer ($20), and a quart of premium semi-gloss exterior paint ($30-$40). For around $60, you get a massive transformation.
And don’t forget the hardware! Upgrading the handle set, kick plate, and house numbers is a high-impact project. You can find a really solid, stylish handle set for between $80 and $150 at any big box store. It’s a steal for the impact it makes.
Quick tip: I once saw a homeowner paint their door a bright yellow that looked great on the tiny paint swatch but looked like a giant, screaming banana on the actual house. Always, always buy a small sample pot first. Paint a large piece of cardboard and tape it to your door. Look at it in the morning, noon, and evening light before you commit!
Windows: The Eyes of the House
New windows are a huge expense, there’s no sugarcoating it. When I say huge, be prepared for professional window replacement to run anywhere from $700 to over $2,000 per window, depending on the material and labor in your area. If you’re choosing new ones, look for the ENERGY STAR label and pay attention to the U-factor (measures heat loss, lower is better) and the SHGC (measures heat gain, which you want to be low in hot climates).
If new windows aren’t in the budget, don’t worry. Focus on the trim. Scrape, sand, prime, and paint any peeling sections. Re-caulking the seams is a small job with a big payoff in both looks and energy efficiency.
The Living Frame: Smart Landscaping
Landscaping is what frames your house and connects it to the property. The biggest mistake people make is planting shrubs that will get way too big, eventually blocking windows and trapping moisture against the siding.
A good rule of thumb is to leave at least 2-3 feet of space between a fully-grown shrub and your foundation. This allows for air to circulate and prevents a whole host of problems. Think in layers: evergreens for a year-round backdrop, perennials for seasonal color, and annuals in front for a pop.
And please, talk to your local nursery about native plants! They are adapted to your soil and climate, which means less watering, less fertilizer, and way less work for you. A fresh 2- to 3-inch layer of organic mulch like shredded bark is the final touch. It makes everything look tidy, suppresses weeds, and keeps the soil healthy. Just make sure to keep it from touching the base of your house.

It’s All in the Details: Lighting, Mailboxes & More
Once the big jobs are done, it’s the little details that really elevate a home. By the way, if you’re looking for some quick, high-impact wins that won’t break the bank, this is the area to focus on. For under $200, you can often pull off a few of these:
- A new mailbox and matching house numbers. It’s a small change that instantly makes a home look more intentional and cared-for.
- Two large planters with seasonal flowers. Placed on either side of your front door, they add color, life, and symmetry.
- An upgraded porch light fixture. Get rid of that cheap, builder-grade fixture. The scale is key here—a porch light should be about one-quarter to one-third the height of your front door to look properly balanced. Look for solid brass or powder-coated aluminum for durability.
A critical safety note: If you are not 100% confident working with electricity, please hire an electrician to change the light fixture. It’s a fast and relatively inexpensive job for a pro, and your safety is not the place to cut corners.
Putting It All Together
Lasting curb appeal doesn’t come from one frantic weekend of work. It’s the result of a smart plan and consistent care. Start with that honest assessment, tackle the cleaning and repairs first, and then move on to the fun upgrades. Over the years, I’ve learned that a well-cared-for home just feels different. It seems to stand a little straighter. This isn’t just about property values; it’s about the deep satisfaction you get from being a good steward of the place you call home.
Inspirational Gallery with Photos
The Front Door Finish: A high-gloss paint finish on your front door does more than just shine; it signals quality and attention to detail. While matte finishes are trendy indoors, a gloss finish is more durable against the elements and much easier to wipe clean. Consider Benjamin Moore’s Grand Entrance line, specifically designed for high-traffic exterior doors, for a truly resilient and luxurious look.
A study by the National Association of Realtors found that projects like new siding, a new garage door, and a new front door consistently have a high return on investment, often recouping over 90% of their cost at resale.
This isn’t just about spending money; it’s about investing in the structural and visual integrity of your home’s most prominent features. These high-impact upgrades are what appraisers and savvy buyers notice first, translating directly to perceived value.
Does exterior lighting really make that much of a difference?
Absolutely, and it’s about more than just a single porch light. Think in layers. First, safety lighting for paths and stairs. Second, ambient light to wash the facade or highlight an architectural feature. Third, a welcoming beacon at the entry. Using low-voltage LED options from brands like Volt Lighting allows for a sophisticated scheme without a shocking electricity bill. It transforms your home from a dark shape into a warm, inviting presence after sundown.
- A vibrant, weed-free lawn that frames the home.
- Symmetrical planters that create a sense of elegant balance.
- Pristine, sparkling windows that let light pour in and out.
The secret to achieving this polished look? Consistency. It’s the regular, small maintenance tasks—edging the lawn weekly, cleaning windows seasonally, and watering planters daily—that collectively create a powerful and effortless-looking first impression.
House Numbers That Count: Don’t treat your house numbers as an afterthought. They are a key design element. For a modern home, consider sleek, backlit stainless steel numbers. For a Craftsman or traditional house, oil-rubbed bronze numbers from a brand like Emtek or Schlage offer classic appeal. The rule of thumb: they should be at least four inches tall and in a color that contrasts sharply with your siding for maximum visibility from the street.
The ‘Thriller, Filler, Spiller’ method is a classic for a reason. It’s a foolproof formula for creating stunning container gardens that add life to your entryway.
When planning your front yard landscaping, think beyond just flowers. Your goal should be year-round interest. Here’s a simple strategy for structure:
- Evergreen Shrubs: Boxwoods or yews provide a green foundation that looks great even in winter.
- Perennials: Coneflowers, hostas, and daylilies return each year, adding color and texture.
- Ornamental Grasses: Varieties like ‘Karl Foerster’ add movement and a modern, airy feel.
Concrete Pavers: Highly versatile and available in countless shapes and colors. They offer a custom look but require a solid, well-compacted base to prevent shifting and weed growth.
Stamped Concrete: A lower-cost alternative that mimics the look of stone or brick. It’s faster to install but can be prone to cracking over time and repairs are more difficult to conceal.
For longevity and repairability, pavers are often the superior long-term investment.
One of the most common mistakes is choosing exterior light fixtures that are too small. A fixture that looks appropriately sized in the store can seem comically tiny once installed next to your front door or garage. As a general guideline, entry lights should be about one-third the height of the door. Go bigger than you think you need to create a balanced, intentional look.


