Your Washing Machine Stinks. Here’s the Pro-Level Fix.
I’ve spent years servicing home appliances, and I can’t tell you how many times I’ve walked into a laundry room to tackle the exact same problem. The call might be about a weird noise, but the real issue is a washer that’s started making clothes smell worse. It’s that funky, musty odor that just won’t quit, and the homeowner is always baffled. How can a machine that uses soap and water every day get so… gross?
In this article
It’s a great question, and the answer is simple: your washer is a dark, damp place. It’s basically the perfect environment for mold, mildew, and bacteria to set up shop. When you add in soap residue, gooey fabric softener, and hard water minerals, you’ve got a recipe for a smelly disaster. And honestly, it’s more than just a bad smell. All that gunk can trap dirt, make your machine less efficient, and even lead to expensive repairs down the line.
So, cleaning your washer isn’t just a spring-cleaning chore; it’s critical maintenance. I’m going to walk you through the deep-cleaning process the pros use—the one that tackles the hidden gunk you can’t see. Think of it as a factory reset for your hardest-working appliance.
First, Let’s Get Ready
Before we dive in, let’s set some expectations. The hands-on cleaning part of this will probably take you about 90 minutes, not counting the time the washer is running its cleaning cycles. It’s a perfect weekend project.
Go ahead and gather your tools. Having everything in one place makes this so much smoother. You’ll need:
- A few microfiber cloths (they grab gunk way better than paper towels)
- A shallow pan or a baking sheet with a rim
- An old towel or two you don’t mind getting dirty
- A small bucket or bowl
- A bottle brush or an old detail brush (a soft-bristled one is best)
- Your choice of cleaner (we’ll get to the options in a minute!)
So, What’s Actually Going On In There?
To really defeat the grime, you have to understand what it is. The number one culprit behind that classic washer smell is something called biofilm. It’s a slimy, sticky layer of bacteria that feeds on leftover detergent and fabric softener. Because modern high-efficiency (HE) machines use way less water, that residue doesn’t always rinse away completely. It builds up in the outer tub, the drain lines, and especially in the rubber door seal of a front-loader. That grey or black slime? It’s a thriving colony of bacteria. Yuck.
On top of that, you might be fighting hard water. Not sure if you have it? Quick tip: Look at your faucets and shower door. If you see chalky white spots that are tough to clean, you likely have hard water. These minerals (calcium and magnesium) build up as limescale inside your washer, creating a rough surface that gives biofilm and soap scum the perfect place to cling.

Heads up! The design of your machine matters. Front-loaders are famous for odor because water pools in the folds of that big rubber door gasket. Top-loaders are usually better about this since the lid isn’t airtight, but the newer HE models without the tall central agitator have their own secret. A waxy, gross buildup can form on the underside of the wash plate at the bottom of the tub, completely out of sight.
The Deep Clean: A Step-by-Step Guide
Alright, let’s do this. First things first: unplug your washing machine. It’s a simple step that prevents any accidents. I also recommend laying an old towel down in front of the machine, especially if you have a front-loader. Trust me, some water will probably spill.
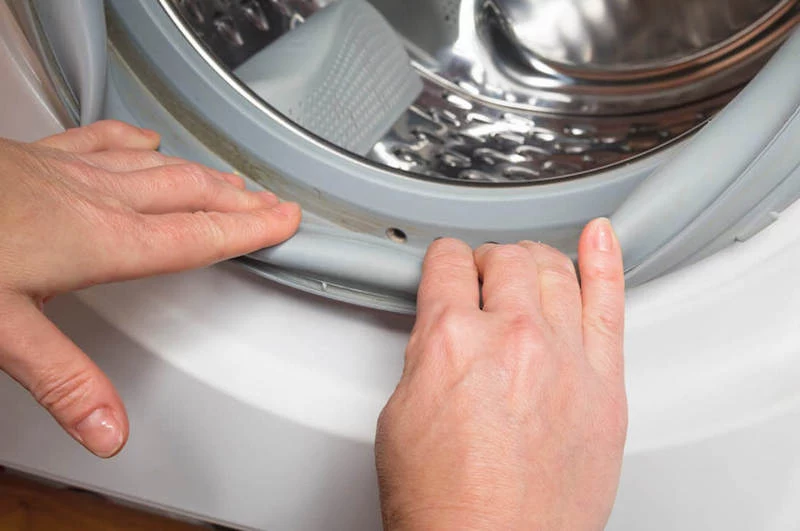
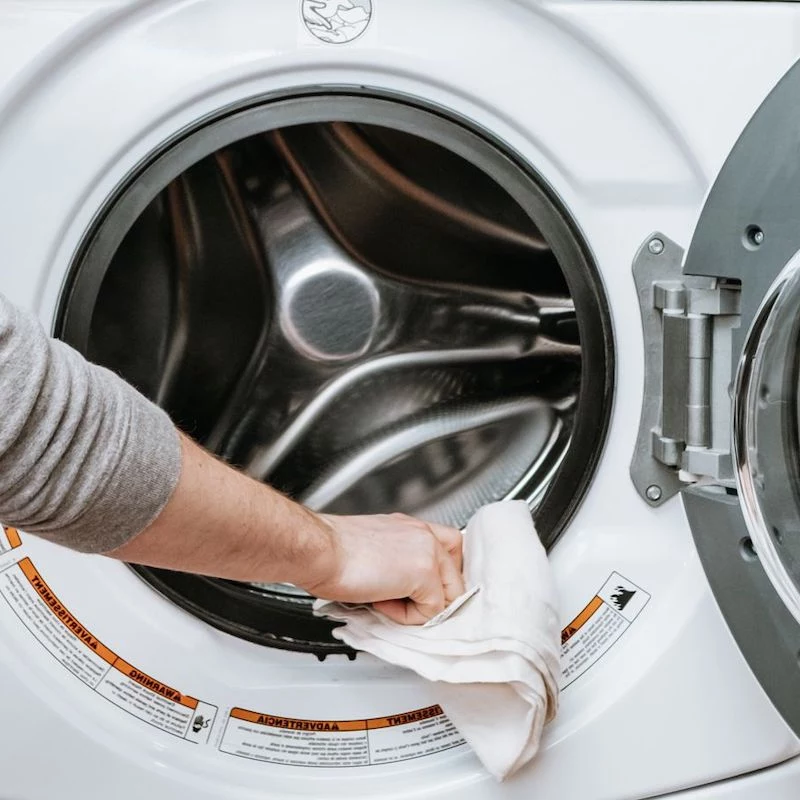
Step 1: The Door Gasket (Front-Loaders Only)
This is ground zero for smells in a front-load washer. You need to be thorough. Gently pull back the fold of the rubber seal. I guarantee you’ll find a lovely collection of black gunk, hair, and maybe even a coin or two. This is that biofilm we were talking about.

Use a microfiber cloth dipped in warm, soapy water to wipe this channel out completely. For stubborn spots, a soft-bristled brush works wonders. If you see a lot of mold, a mix of one part white vinegar to four parts water can help. Let it sit for five minutes, then wipe it clean. A word of caution: avoid using straight bleach, as it can damage the rubber over time. When you’re done, wipe the whole gasket dry with a clean cloth. This is key to stopping mold from coming right back.
Step 2: The Dispenser Drawer
This drawer is a magnet for caked-on detergent and fabric softener. Most drawers have a little plastic tab you can press to release them. Pull the whole thing out and take it to the sink. Soak all the parts in warm, soapy water for about 15 minutes, then use a bottle brush to scrub every single nook and cranny. Before you put it back, peek inside the cavity where the drawer goes. Use your cloth to clean that out, too—it’s often just as grimy.
Step 3: The Drain Pump Filter (The Hidden Gem)
This is the step most people skip, but it’s one of the most important. This filter catches all the stuff you forget in your pockets. Oh, and a quick note for top-loader owners: most of your machines don’t have an accessible filter, so this is mainly a task for the front-loader crowd.
You’ll find it behind a small door on the bottom front corner of your machine. Put your shallow pan and towel underneath it. Open the little door and you’ll see a round cap and maybe a small rubber drain hose. Use that hose first! I learned this lesson the hard way years ago and ended up with a small flood. Pull out the hose, uncap it, and let the water drain into your pan.
Once it’s empty, you can unscrew the main filter cap (turn it counter-clockwise). It might be on there tight. Quick tip: If it won’t budge, try wrapping a towel around it for better grip or gently using a pair of channel-lock pliers. Don’t go full-on Hulk mode, or you might crack the plastic. Pull the filter out and clean all the lint, hair, and maybe even a lost dollar coin off of it. Wipe out the inside of the housing and screw the filter back on securely. You’re done!
Step 4: The Internal Cleanse
Now it’s time to clean the parts you can’t reach. You have a few choices for what to use, and honestly, there’s no single “best” one—it depends on your situation.
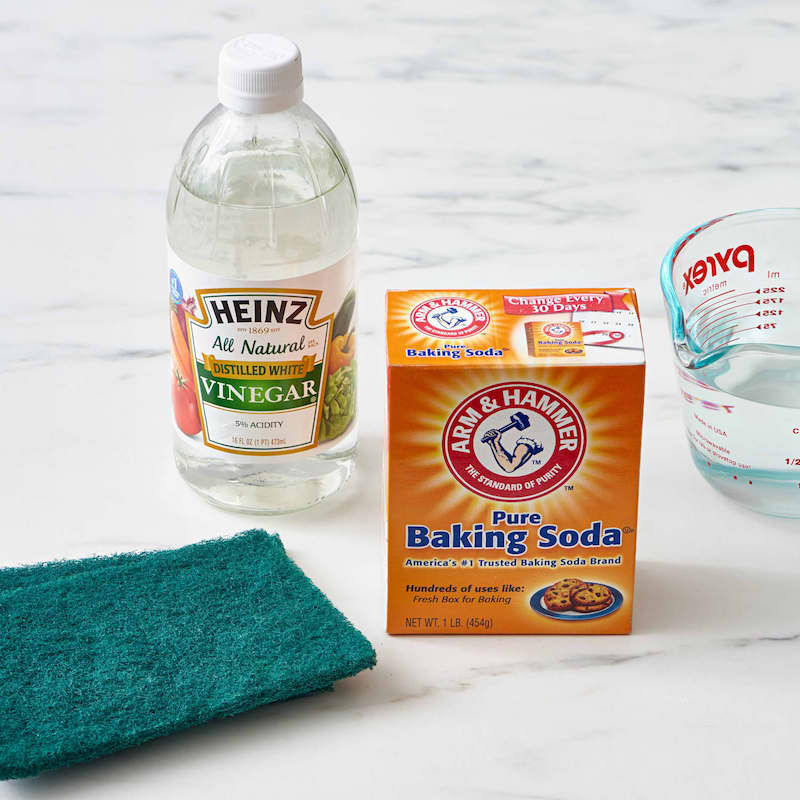
- The DIY Route: White Vinegar & Baking Soda. This is the classic, budget-friendly option. Vinegar helps dissolve minerals, and baking soda scrubs and deodorizes. It’s cheap—a big jug of vinegar is maybe $4. However, some manufacturers warn that using vinegar too often can be tough on rubber seals over the long haul. It’s a great choice for a first-time deep clean on a really neglected machine.
- The Pro-Recommended Route: Dedicated Washer Cleaners. Products like Affresh or Tide Washing Machine Cleaner are specifically made for this. They’re pH-balanced to be safe on all parts and contain ingredients that are fantastic at breaking down soap scum. A box of Affresh tablets will run you about $12 for a six-month supply at Target or online. For regular maintenance, this is my go-to recommendation.
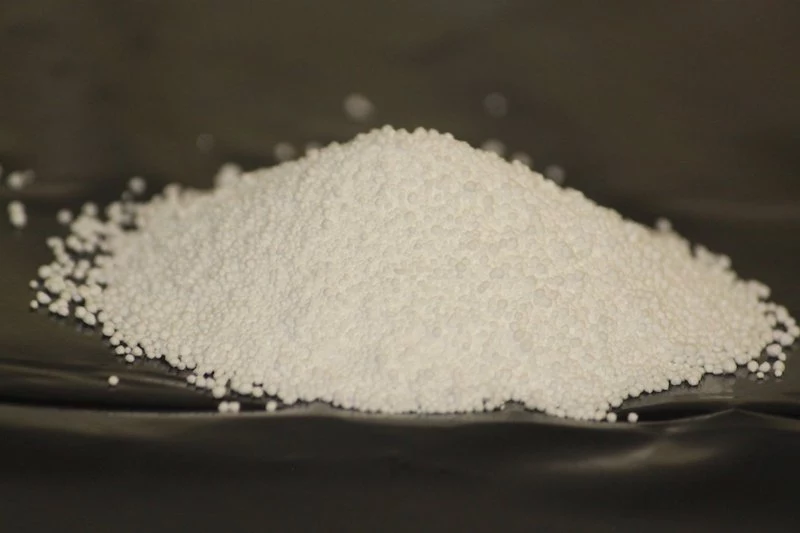
- The Power-Scrub Route: Oxygen Bleach. This refers to powders like OxiClean. When it hits water, it releases oxygen that just obliterates biofilm. It’s a powerful but safe option. You’ll want to use about a half-cup to a full cup of the powder. BIG WARNING: Never, ever mix chlorine bleach with other cleaners, especially vinegar. It creates toxic gas. Stick to one method at a time.
Run the cleaner you chose on your machine’s special “Tub Clean” or “Clean Washer” cycle. These cycles are designed to use the hottest water and specific tumbling actions to get the cleaner everywhere. Just follow the directions on the package or, for the DIY method, add the vinegar to the dispenser and the baking soda directly to the drum for a second cycle. After it’s all done, leave the door open to air it out.

Keeping Your Machine Fresh: The 5-Minute Habit
You don’t want to do that deep clean every month. The real secret to a fresh washer is forming a few simple habits. This is what I tell all my clients.
- Use Less Soap. Seriously. This is the most important rule. Only use HE-marked detergent and use the amount on the label. More soap doesn’t mean cleaner clothes—it just means more residue for mold to eat.
- Leave the Door Open. When you’re done with laundry for the day, leave the door of your front-loader ajar. This lets air circulate and dry everything out, which is the #1 way to stop mold growth.
- Wipe the Gasket. For front-loader owners, it takes 30 seconds to give the door seal a quick wipe with a dry cloth. This tiny step makes a huge difference.
- Do a Monthly Maintenance Clean. Once a month, run a cleaning cycle with a dedicated tablet or a half-cup of oxygen bleach. This prevents the major buildup that forced you to do this deep clean in the first place. You should only need to do this full deep-clean process once or twice a year if you keep up with the monthly cleanses.
And that’s it! A little effort now pays you back with every single load of fresh, clean-smelling laundry. It protects your machine and saves you from frustrating (and expensive) repairs.
So, here’s your mission, should you choose to accept it: clean out your pump filter this weekend. I dare you! You will not believe what you find. Let me know the weirdest thing you discover—I’m always collecting stories.
Inspirational Gallery

But the smell is gone, so I’m done, right?
Not so fast. The deep clean tackles the existing biofilm, but preventing its return is the real secret to a fresh-smelling laundry room. The key is fighting moisture. After your last load of the day, wipe down the rubber door seal (especially on front-loaders) with a dry cloth and leave the washer door slightly ajar. This simple, two-second habit allows air to circulate, drying out the drum and gasket, making it a much less inviting home for mildew.
More than 80% of laundry soils are invisible, consisting of body oils and sweat that bacteria love to feed on.
This is why using the right detergent—and the right amount—is crucial. High-efficiency (HE) machines are designed for low-sudsing detergents like Tide HE Turbo Clean or Persil ProClean. Using too much soap, or a non-HE formula, leaves behind a sticky residue that traps this invisible grime and builds up the smelly biofilm your deep clean just removed. Always follow the measurement lines on the cap for your load size.


