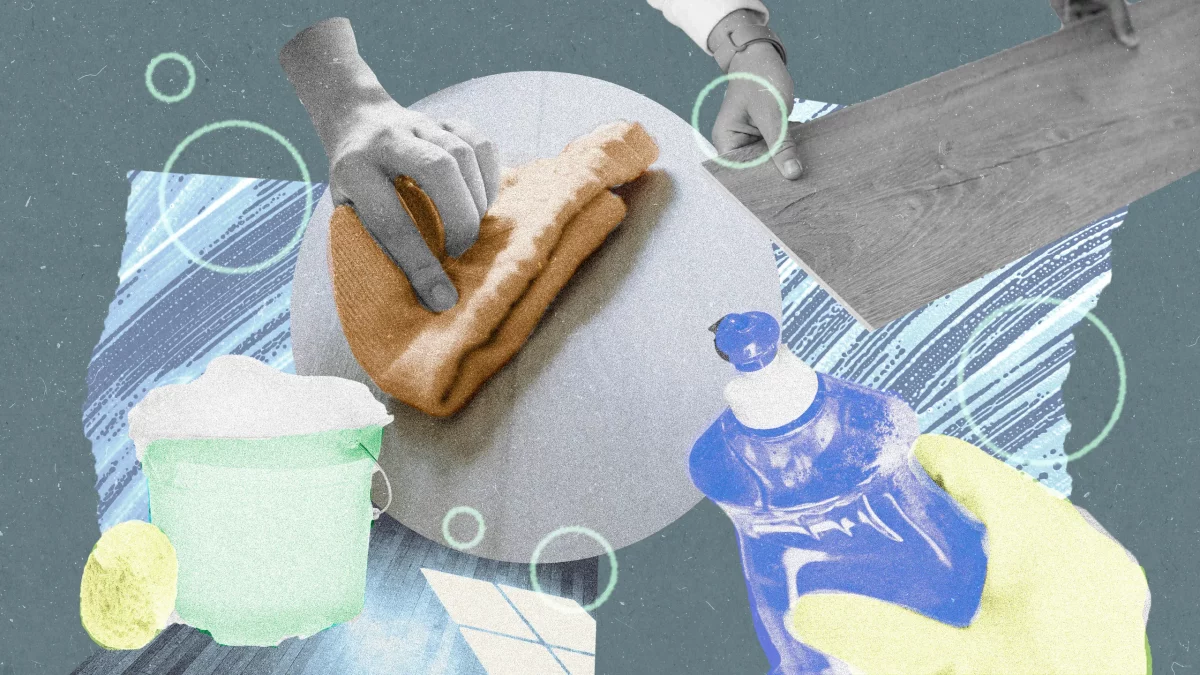
Confessions of a Floor Pro: Stop Ruining Your Floors with These Common Mistakes
I’ve been in the floor care business for a long time, and let me tell you, I’ve seen things that would make you cry. I once got a frantic call from a homeowner who had just tried to clean their stunning new marble entryway. They used a popular, heavy-duty bathroom cleaner, figuring that “clean is clean,” right? Wrong. They ended up with dull, permanent etch marks all over the tiles. That little chemistry experiment turned into an $800 lesson from a restoration specialist like me. A $20 bottle of the right stuff could have saved them all that grief.
In this article
- The Two Golden Rules of Floor Cleaning
- First Things First: Know Your Enemy (Dirt!)
- A Quick Word on Steam Mops
- Let’s Talk Chemistry (Don’t Worry, It’s Easy)
- How to Clean Wood and Laminate Floors
- How to Clean Resilient Floors (Vinyl & Linoleum)
- How to Clean Tile and Grout
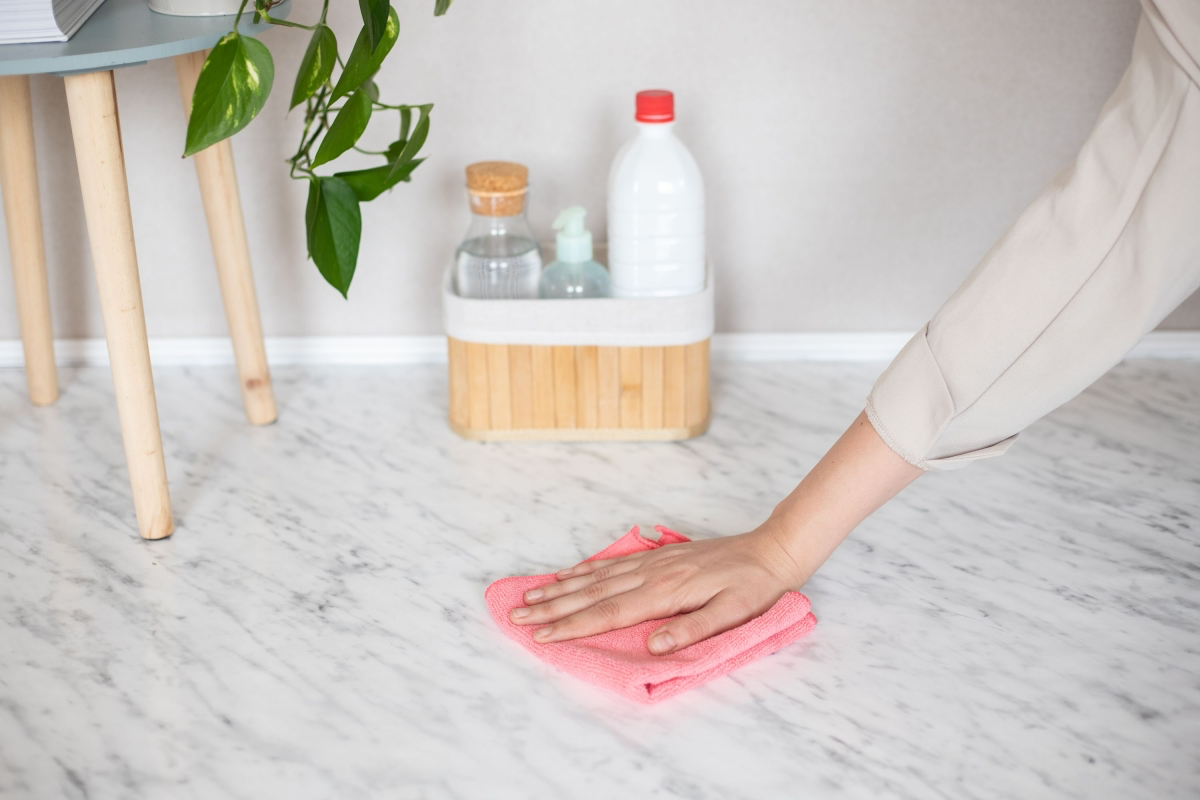
- How to Clean Natural Stone Floors (The High-Stakes Zone) Okay, this is where you need to pay close attention. As I mentioned with that poor homeowner’s marble, mistakes here are often permanent. Marble, Travertine, & Limestone The golden rule for these stones is pH-neutral cleaners ONLY. Anything acidic will etch the surface. Because these stones are also quite soft, frequent dust mopping is your best defense against scratches from grit. When you mop, use the “damp mop” method just like for hardwood floors, and always use a cleaner specifically labeled as safe for stone. After mopping, it’s a great idea to buff the floor dry with a clean microfiber towel to prevent water spots. Granite & Slate Granite is much tougher and more resistant to acid than marble, but you should still use a pH-neutral cleaner to protect the sealer that’s on the stone. You can test your sealer by putting a small puddle of water on the stone in an out-of-the-way spot. If the stone darkens as the water soaks in after a few minutes, it’s time to reseal. My Final Thoughts
- Inspirational Gallery
That’s exactly why I’m writing this. Not to sell you anything, but to share what I’ve learned from thousands of hours on my knees, saving floors from good intentions gone bad. Your floor is the single largest surface in your home. Treating it right isn’t just about making it look nice; it’s about protecting a massive investment.
The Two Golden Rules of Floor Cleaning
If you’re in a hurry, just remember these two things. Honestly, getting this right solves 80% of common floor damage I see.
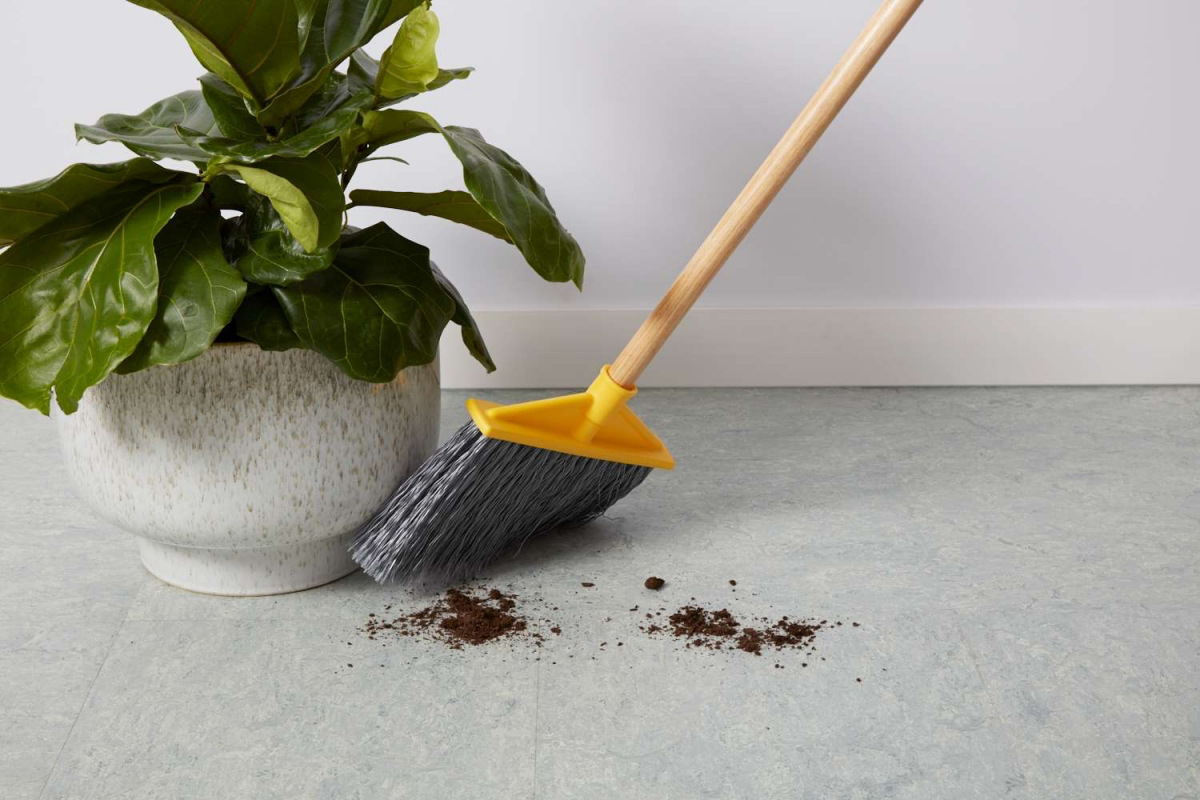
- ALWAYS get the dry dirt up first. Mopping a gritty floor is like scrubbing it with wet sandpaper. You must vacuum or sweep before a single drop of water touches the floor.
- NEVER use vinegar on wood or natural stone. It’s an acid, and it will slowly eat away at your floor’s finish or the stone itself. It’s one of the most common—and destructive—DIY cleaning myths out there.
First Things First: Know Your Enemy (Dirt!)
Before you even think about mopping, you have to get rid of the dry stuff. In my world, we see dirt in two forms: dry and oily. Dry soil is all the dust, sand, pet hair, and crumbs. Oily soil is kitchen grease, tracked-in grime, and oils from skin. You absolutely have to remove them in that order.
Think about it: if you take a wet mop and start pushing tiny bits of sand and grit around, you’re literally grinding them into your floor’s finish. Over time, this creates thousands of microscopic scratches that make your beautiful floor look dull and tired. I tell every new apprentice that 80% of the gunk on any floor is dry. Get that up first, and the mopping part becomes way easier and, more importantly, safer for the floor.
A good vacuum is your best friend here. But—and this is a big but—if it has a spinning beater bar with stiff bristles (made for carpets), it can scratch the heck out of wood, laminate, and even some vinyl floors. You need a vacuum with a dedicated hard floor head with soft bristles, or a model where you can turn the beater bar completely off. A canister vac with a soft brush attachment is my top pick. A nice little bonus is a HEPA filter, which traps all that fine dust instead of just blowing it back into the air.
A Quick Word on Steam Mops
Ah, the steam mop. People love these things, but in the pro world, we see them as tiny little trouble-makers. The problem is that they force hot moisture deep into places it should never go. For laminate and wood floors, this is a disaster waiting to happen. The steam can get into the seams between planks, causing the delicate core of the laminate to swell and the wood to warp. It might look great at first, but over time, you could be causing irreversible damage. Even on some vinyl and tile, excessive steam can weaken the adhesives or damage the grout sealer. To be frank, I just don’t recommend them.
Let’s Talk Chemistry (Don’t Worry, It’s Easy)
Okay, with all the dry dirt gone, we can finally talk about mopping. This is where most people grab whatever they have under the sink. To me, that’s like playing Russian roulette with your floor. The most important factor is the cleaner’s pH, which is just a scale of how acidic or alkaline it is.
- Acidic (below pH 7): Think vinegar or lemon juice. Great for breaking down mineral stuff like hard water stains.
- Neutral (pH 7): This is where pure water lives. It’s the safe zone for most floors.
- Alkaline (above pH 7): Things like ammonia and most degreasers fall here. They are fantastic at cutting through oil and grease.
This is SO important for natural stone. Marble, travertine, and limestone are made of calcium carbonate. When an acid touches them, it literally dissolves a tiny layer of the stone. This is called etching, and it’s not a stain—it’s physical damage that can only be fixed by having a pro mechanically re-polish the stone. It’s a painstaking and expensive process.
And by the way, a quick safety reminder I drill into every person I train: Never, EVER mix different cleaning chemicals. The classic deadly combo is bleach and ammonia, which creates toxic gas. Just stick to one product and use it as directed.
How to Clean Wood and Laminate Floors
These two look alike, but they’re completely different beasts. Confusing them can lead to a world of hurt for your floors.
Real Hardwood Floors (with a Polyurethane Finish)
Most modern wood floors are sealed with polyurethane, which is basically a tough plastic coating. Your job is to clean the coating, not the wood itself. The #1 enemy here is water. If it sneaks between the boards, it can cause the wood to swell, cup, and warp.
Not sure if you have this finish? It’s easy to check. In a hidden corner, place a single drop of water on the floor. If it beads up and sits on the surface, you’ve got a sealed finish like polyurethane. If it soaks in after a few minutes and darkens the wood, you have a penetrating oil or wax finish, which requires a totally different cleaning method.
The Pro Technique for Polyurethane:
- Vacuum First: Get all that grit up with a soft brush head.
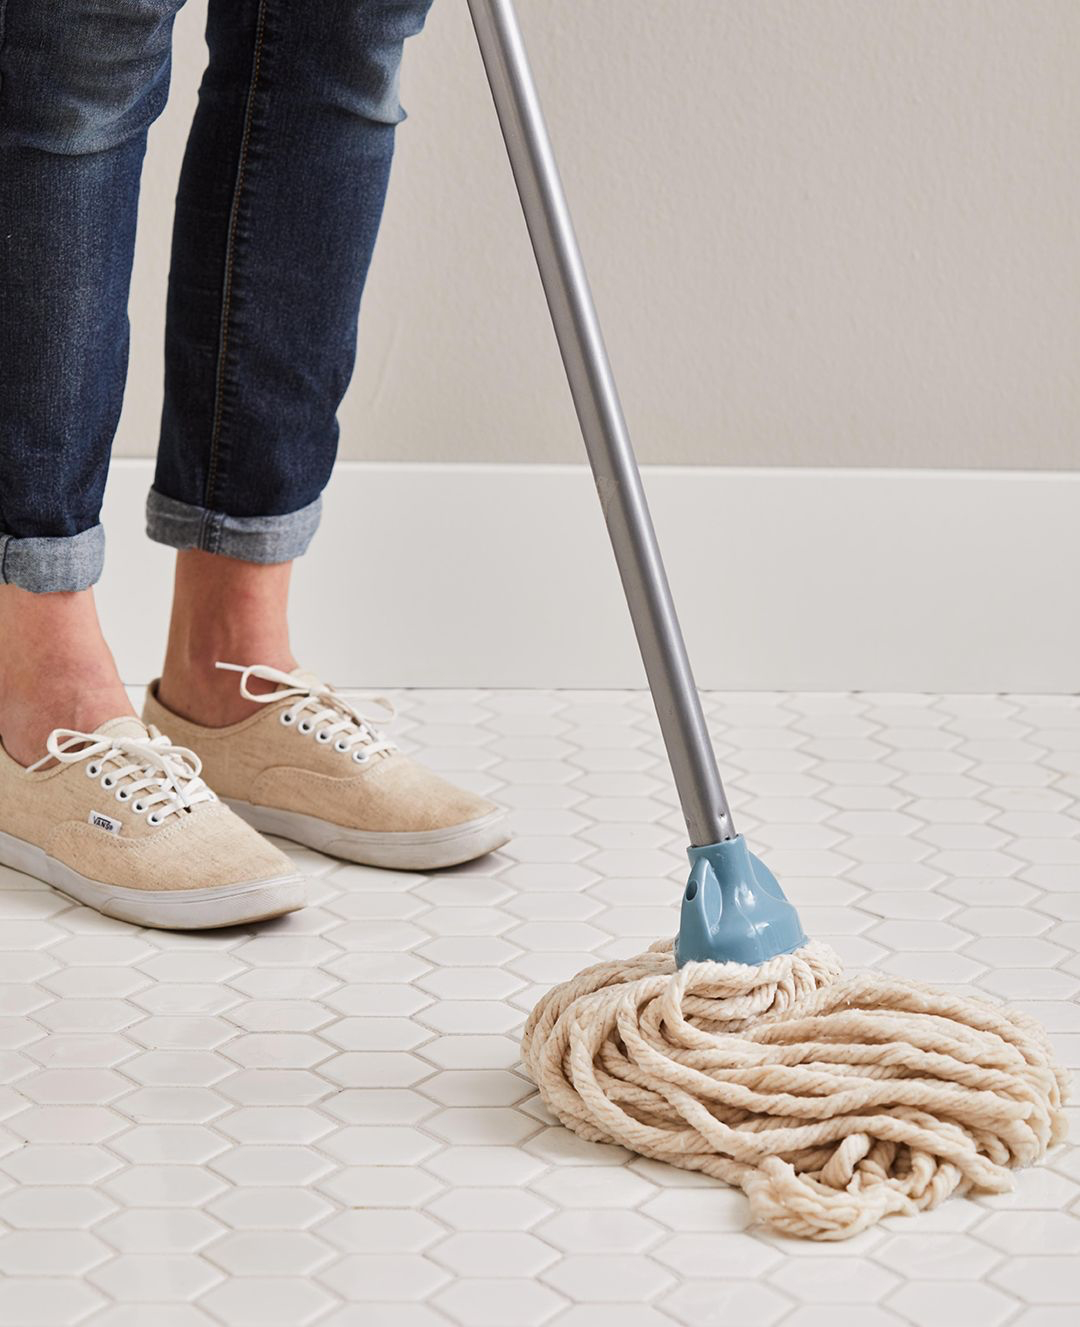
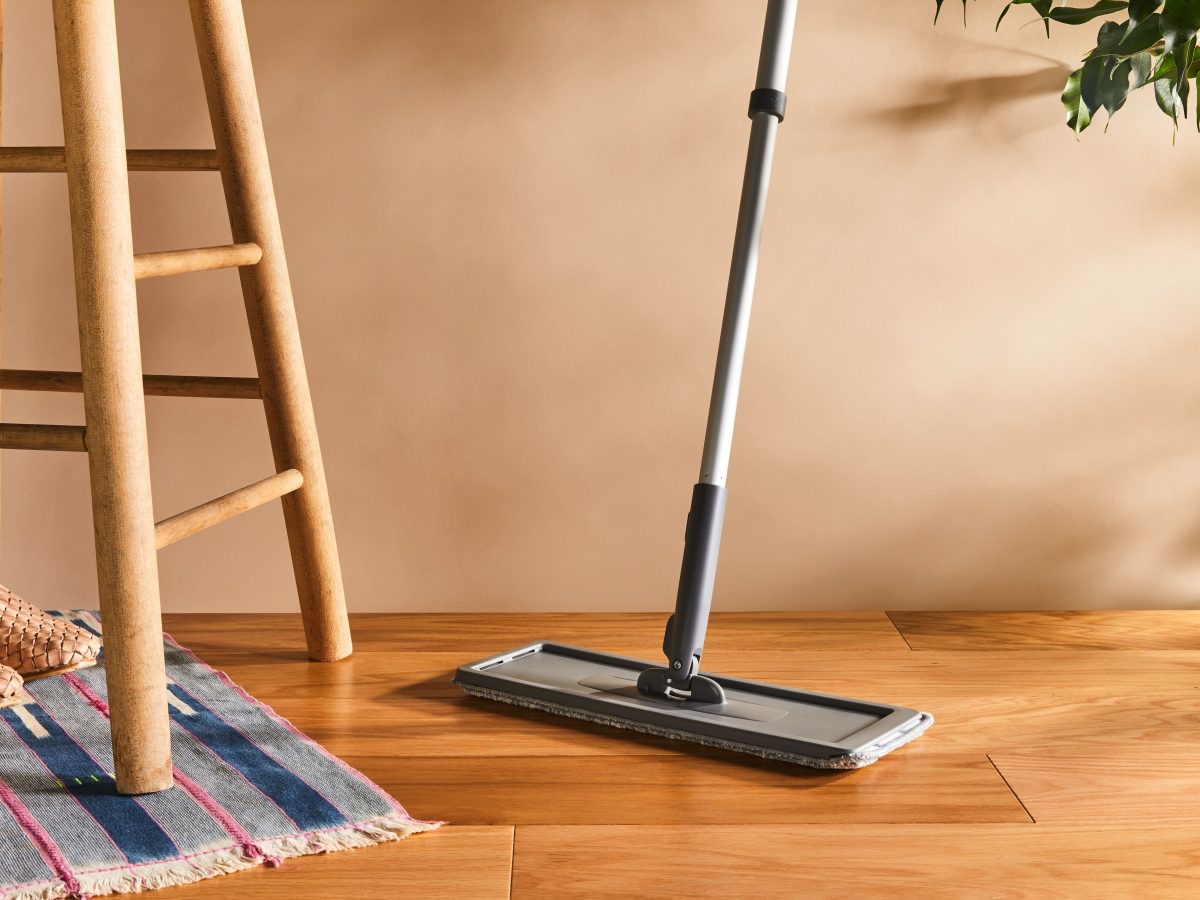
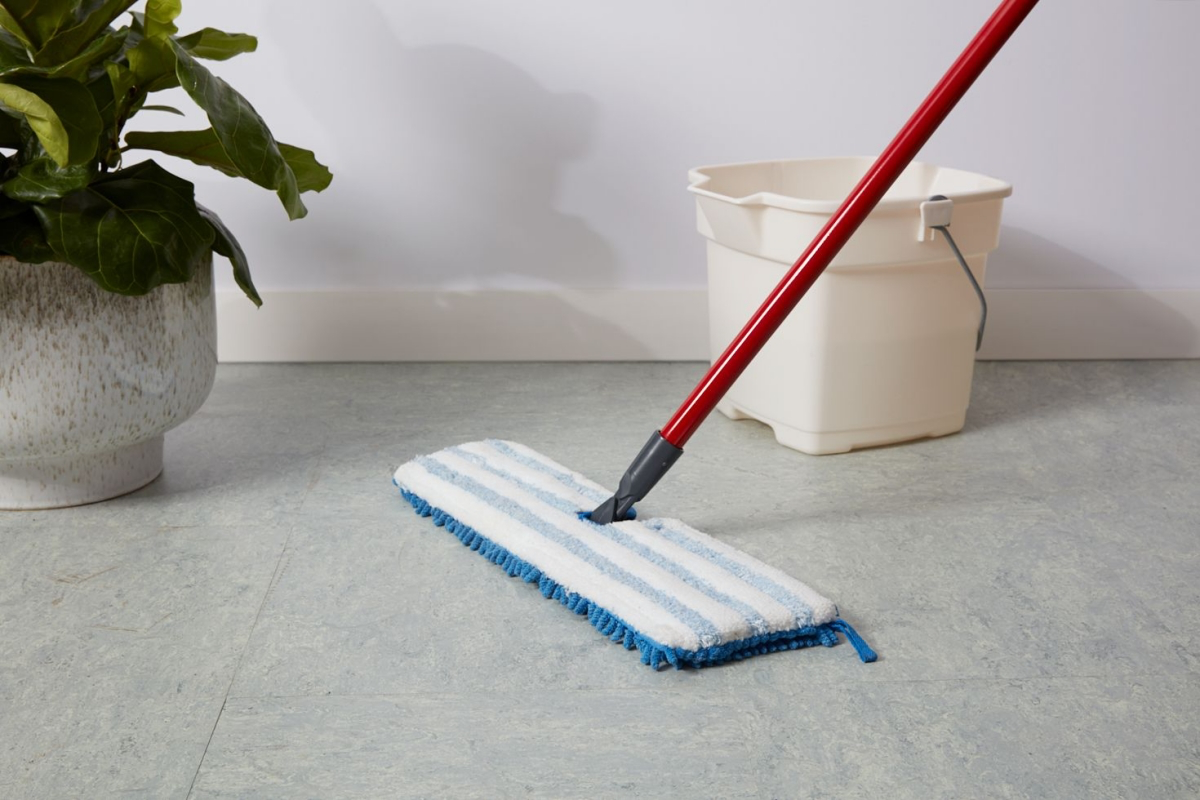
- Master the “Damp Mop”: This is key. A damp mop is not a wet mop. I teach my crew to use a flat microfiber mop system (a good one will run you $25-$40, but it’s worth every penny). Dip the pad in your cleaning solution, then wring it out until it’s almost dry to the touch. Seriously, wring it out twice. No water should drip from it.
- Choose the Right Cleaner: Grab a pH-neutral cleaner made specifically for wood. You can’t go wrong with something like Bona Hardwood Floor Cleaner (available at most big box stores and even supermarkets) or Zep Neutral pH Floor Cleaner. They clean effectively without leaving a residue. Please avoid products that promise to “add shine”—they often contain waxy buildup that will eventually turn your floors into a cloudy, sticky mess.
- Mop Smart: Start in the corner farthest from the door and work your way out. Mop with the grain of the wood in a smooth motion. On a big floor, plan on using two or three clean microfiber pads to avoid spreading dirt around.
Laminate Floors: The Look of Wood, The Soul of Cardboard
With laminate, you’re cleaning a tough plastic top layer, but you’re protecting a core made of high-density fiberboard (HDF). Think of it as super-compressed, fancy cardboard. If water gets into the seams, that core will suck it up like a sponge and swell. The plank edges will push up, creating what we call “peaking.” This damage is permanent. The only fix is replacing the planks.
The Pro Technique for Laminate:
The method here is almost the same as for hardwood, but you need to be even more paranoid about water. A flat microfiber mop is non-negotiable. Instead of dipping the pad, I recommend lightly misting the cleaner directly onto the mop pad itself, or spraying a small 4×4 foot section of the floor at a time. The floor should be dry to the touch within 30-60 seconds. If it’s staying wet longer, you’re using way too much liquid.
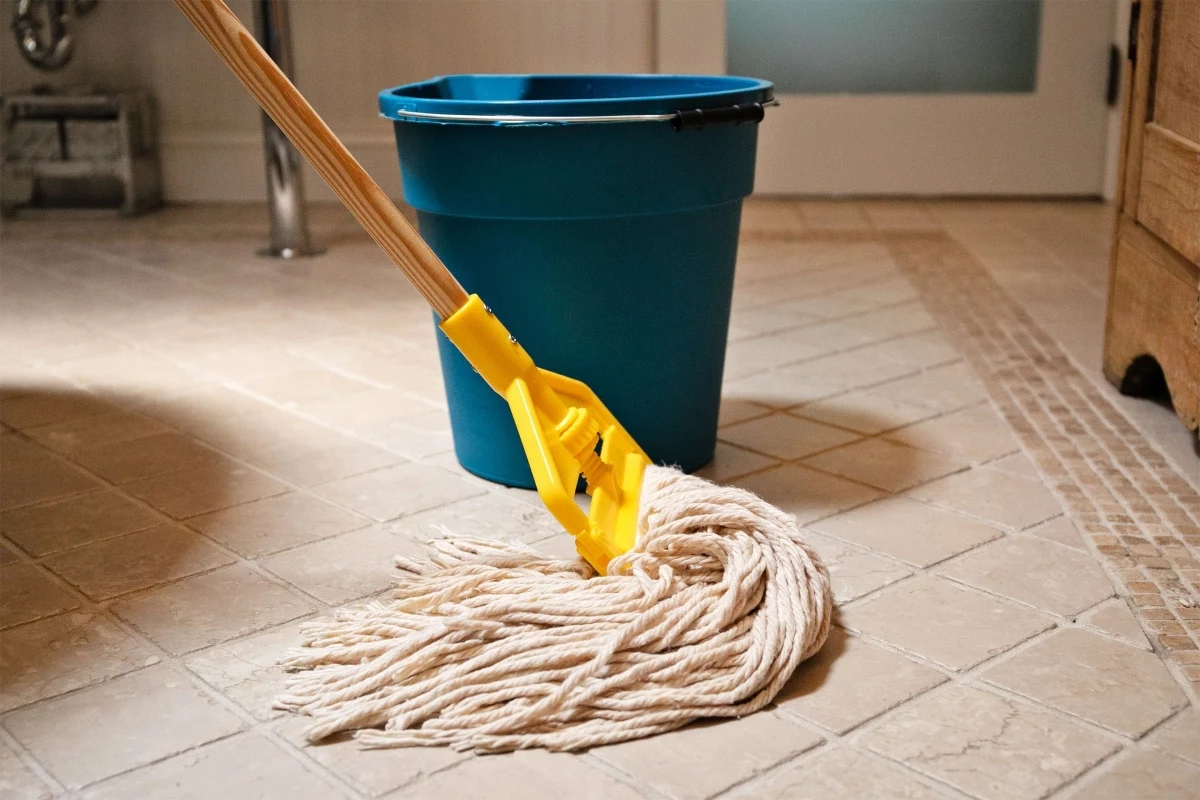
How to Clean Resilient Floors (Vinyl & Linoleum)
This category covers floors with a bit of spring in their step. Vinyl and linoleum are the most common, and they look similar, but they need slightly different care.
Quick Tip: Vinyl or Linoleum?
An old-timer taught me this trick. (Heads up! Seriously, only do this if you own the place and in a spot no one will ever see, like deep inside a closet. You are technically melting your floor a tiny bit.) Heat the end of a paper clip with a lighter for a couple of seconds and press it into the floor. Vinyl, a plastic, will melt. Linoleum, made from natural linseed oil, will just get a little scorch mark. It’s a handy trick if you’re not sure what you’re dealing with in an older home.
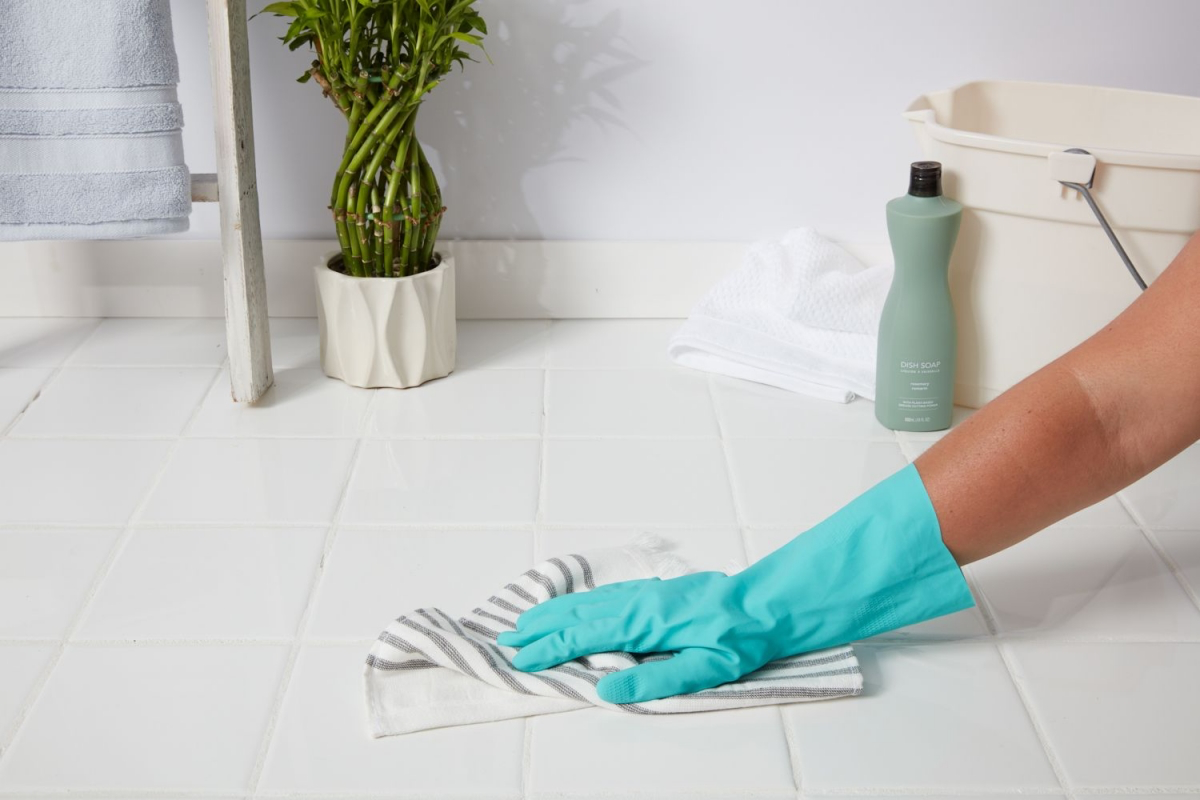
Caring for Vinyl Floors (LVT, LVP, Sheet)
Modern luxury vinyl plank (LVP) and tile (LVT) are amazing. They’re basically waterproof from the top down and super durable. For cleaning these, I love the two-bucket method. It sounds fussy, but it’s a game-changer. You’ll need two buckets, which you can get for about $5 each at Home Depot.
Fill one bucket with your cleaning solution (a pH-neutral or slightly alkaline cleaner works great) and the other with clean rinse water. Dip your mop in the solution, wring it out, and clean a section. Now, BEFORE you get more cleaner, rinse the dirty mop in the rinse water bucket and wring it out completely. Then go back to the solution. This keeps you from just painting the floor with dirty water. You will be horrified and amazed at how filthy that rinse water gets.
Caring for Linoleum Floors
True linoleum is a fantastic natural product, but it has an Achilles’ heel: high-pH (alkaline) cleaners. Harsh degreasers or anything with ammonia will damage the surface and can cause it to turn yellow over time. Stick strictly to pH-neutral cleaners and the two-bucket method, and you’ll be golden.
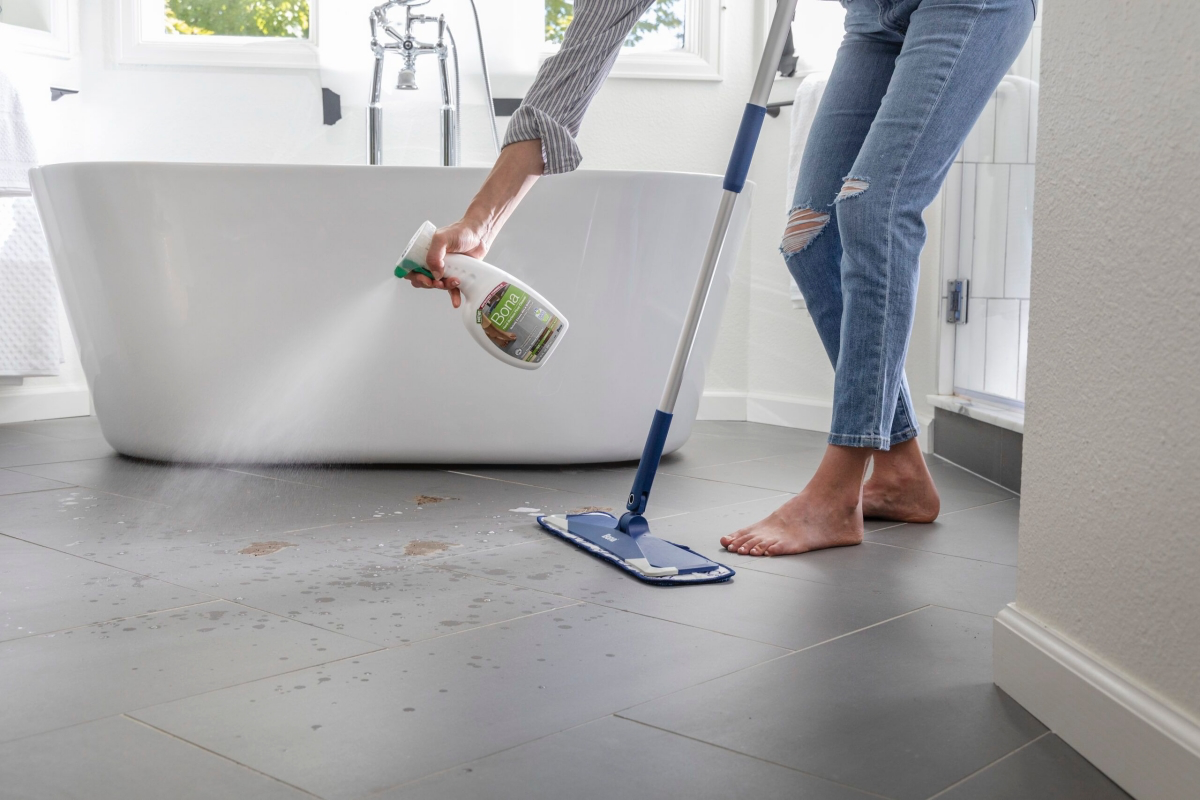
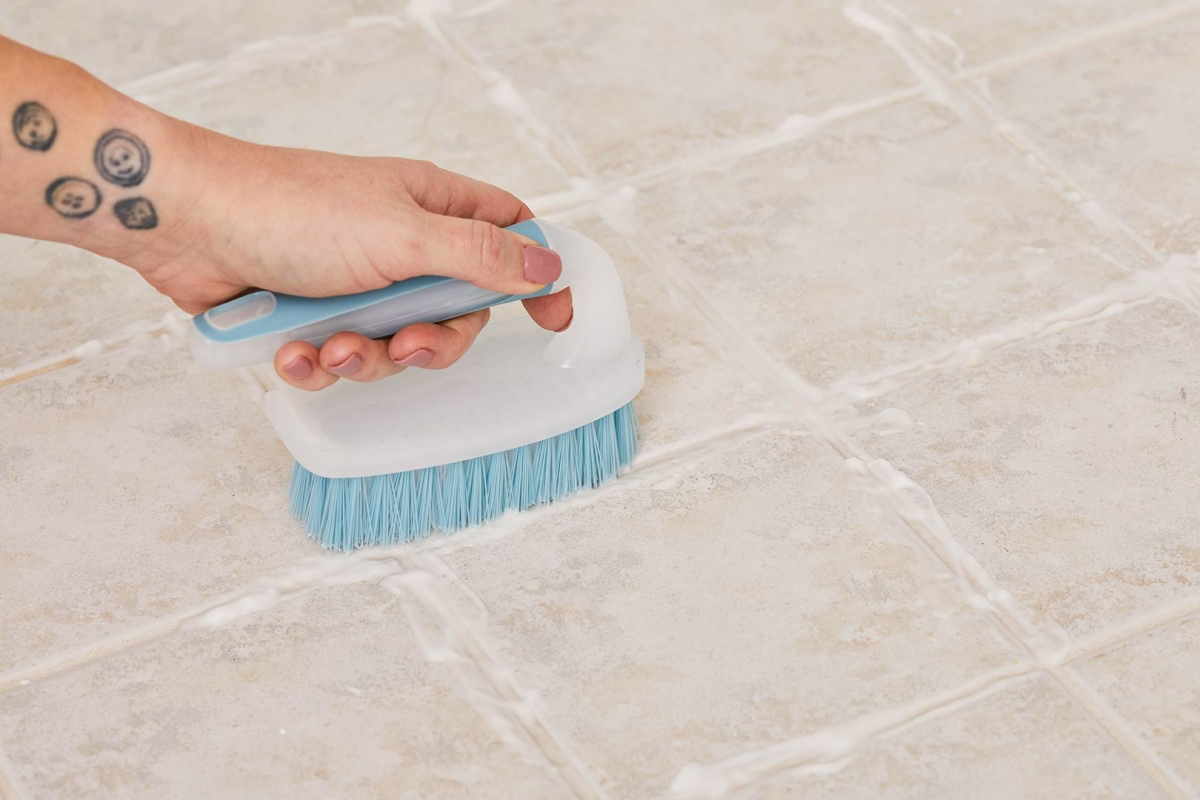
How to Clean Tile and Grout
Porcelain and ceramic tile floors are true workhorses. The tile itself is a breeze to clean, but the grout… well, that’s where the dirt loves to hide. Grout is porous concrete, and it’s a magnet for dirty mop water.
The Secret to Truly Clean Grout
I see people scrubbing their grout lines on a dirty floor all the time. All you’re doing is pushing more grime into the grout! Here’s the right way:
- Clean the Tile Surface First: Give the whole floor a good mopping to get rid of the surface-level dirt.
- Bring in the Grout Cleaner: For deep cleaning, you’ll want a dedicated, alkaline-based grout cleaner. Spray it directly on the grout lines and let it sit for 5-10 minutes. This “dwell time” lets the chemicals do the heavy lifting.
- Time to Agitate: Now, scrub those lines with a stiff grout brush (an old toothbrush is too soft; spend the $8 on a real grout brush at a hardware store). You’ll see the grime practically bubble up.
- Rinse, Rinse, Rinse: This is the most crucial step. You have to get all that loosened gunk and cleaner off the floor. The best way is to use a wet-dry shop vac to suck the dirty slurry right out of the grout lines. If you don’t have one, use a mop and clean water, changing your water constantly.
Pro Tip: Seal Your Grout!
Once your grout is perfectly clean and has had at least 24-48 hours to dry completely, you should seal it. This is a step many builders skip, but it’s essential. A good impregnating sealer soaks into the grout and fills up all the little pores. Dirt can still get on it, but it can’t get in it, making future cleaning a thousand times easier. This is how you get grout that looks brand new for years. Here’s a quick guide:
- Get a good sealer: Look for a quality impregnating sealer like Aqua Mix Sealer’s Choice Gold or 511 Impregnator at a tile or hardware store.
- Apply carefully: Use a small craft brush or an applicator bottle to apply the sealer only to the grout lines. Try to keep it off the face of the tile.
- Let it soak: Let the sealer penetrate for about 5-10 minutes (always check the instructions on the bottle).
- Wipe the excess: Before it dries, use a clean, dry microfiber cloth to wipe any excess sealer off the surface of the tiles. If you let it dry on the tile, it can leave a hazy film that’s a pain to remove.
How to Clean Natural Stone Floors (The High-Stakes Zone)
Okay, this is where you need to pay close attention. As I mentioned with that poor homeowner’s marble, mistakes here are often permanent.
Marble, Travertine, & Limestone
The golden rule for these stones is pH-neutral cleaners ONLY. Anything acidic will etch the surface. Because these stones are also quite soft, frequent dust mopping is your best defense against scratches from grit. When you mop, use the “damp mop” method just like for hardwood floors, and always use a cleaner specifically labeled as safe for stone. After mopping, it’s a great idea to buff the floor dry with a clean microfiber towel to prevent water spots.
Granite & Slate
Granite is much tougher and more resistant to acid than marble, but you should still use a pH-neutral cleaner to protect the sealer that’s on the stone. You can test your sealer by putting a small puddle of water on the stone in an out-of-the-way spot. If the stone darkens as the water soaks in after a few minutes, it’s time to reseal.
My Final Thoughts
Taking care of your floors isn’t one simple job; it’s a system. It starts with knowing what material you’re standing on, using the right tools in the right order (dry first!), and picking a cleaner that helps, not hurts. It takes a little more thought, for sure. But when you do it right, you’re not just cleaning for today—you’re preserving the beauty and value of your home for a long, long time. And remember, knowing when a problem is too big for you is the smartest move of all. For deep scratches or etches, call a certified pro. It’s what we’re here for.
Inspirational Gallery
Steam Mop (e.g., Bissell PowerFresh): Excellent for sanitizing durable, sealed surfaces like ceramic tile and vinyl. The high heat kills germs without chemicals.
Microfiber Mop (e.g., Bona Hardwood Floor Mop): The professional’s choice for water-sensitive floors like hardwood, laminate, and cork. It offers maximum control over moisture, picking up dust and grime with minimal liquid.
For wood floors, a microfiber mop is almost always the safer, superior choice to prevent water damage.
A hidden floor killer: Your vacuum’s beater bar. The spinning, bristled brush is fantastic for pulling dirt from carpets, but on hardwood, laminate, or vinyl, it can cause scratches and wear down the finish. Always use the
According to the Institute of Inspection, Cleaning and Restoration Certification (IICRC), up to 40 pounds of dust can accumulate in a six-room home every year.
This isn’t just unsightly; it’s abrasive grit. Every footstep grinds this dust into your floor’s finish. This single fact underscores why the pros are so obsessed with frequent vacuuming and sweeping—it’s not just cleaning, it’s preventative maintenance.
My laminate floor looks hazy and dull. Is there any hope short of replacing it?
Absolutely. That haze is often a buildup from the wrong cleaners or hard water minerals. Before trying anything drastic, perform a ‘reset’ clean. Mix a few drops of pH-neutral cleaner into a gallon of distilled water. Damp-mop with a microfiber pad, then immediately buff dry with a second, clean pad to prevent streaks. If the dullness persists, it might be time for a specialized product. A laminate restorer like Rejuvenate All Floors Restorer can fill in micro-scratches and apply a new, uniform finish, often bringing back that factory-fresh look in a single afternoon.
There’s a subtle but profound difference between living with an oiled wood floor versus a polyurethane-sealed one. A floor finished with a penetrating oil like Rubio Monocoat or WOCA feels warmer and more organic underfoot; you’re walking on the actual wood, not a plastic film. It exudes a faint, natural scent and can be spot-repaired, allowing the floor to develop a rich patina over time—a living surface that tells a story.
- A damp rug left on a hardwood floor can trap moisture, causing dark stains and finish damage.
- Potted plants can be a secret menace. A small leak or condensation from the saucer can create permanent water rings.
- Drips from hair dye or harsh acne medication in the bathroom can instantly bleach or stain vinyl and even etch stone tile.
- They trap up to 85% of incoming dirt and moisture before it ever touches your floor.
- They dramatically reduce scratching and wear in high-traffic zones like entryways.
- They cut your cleaning time significantly.
The unsung hero of floor preservation? A high-quality doormat system, both outside and inside the door. Look for durable, bi-level mats like those from WaterHog.
The right felt pad on a chair leg reduces friction by over 90%.
It sounds simple, but this is your number one defense against scratches. Skip the cheap, adhesive-backed felt circles that fall off in a week. Invest in tap-in felt glides or quality, thick pads like GorillaPads for furniture that moves often. It’s a tiny investment that prevents thousands of micro-scratches over the life of your floor.
What about robotic mops? Once a novelty, models like the iRobot Braava jet m6 are now serious contenders in floor maintenance. They won’t replace a deep scrub for caked-on grime, but for daily upkeep on hard floors, they’re a revelation. By running a light, damp-mopping cycle every day, they prevent the daily accumulation of dust and light spills from ever becoming a bigger problem. It’s the ultimate expression of
The rule of thumb for cleaning solutions is simple: if you can’t identify the floor material with 100% certainty, use the gentlest method possible. That means a pH-neutral cleaner. Brands like Dr. Bronner’s Sal Suds Biodegradable Cleaner are incredibly versatile and, when heavily diluted, are safe on almost any sealed surface, from tile to sealed wood. When in doubt, go neutral.
According to the Institute of Inspection, Cleaning and Restoration Certification (IICRC), up to 40 pounds of dust can accumulate in a six-room home every year.
The right felt pad on a chair leg reduces friction by over 90%.


