The Pro’s Guide to Cleaning Baseboards (So They Actually Stay Clean)
When I was learning the ropes in the painting and finishing trade, my mentor taught me a lesson I’ve never forgotten. The true sign of a well-finished room isn’t the walls—it’s the details. And the most overlooked detail? The baseboards (or skirting boards, depending on where you’re from).
In this article
It’s so true. You can have the cleanest room in the world, but if the baseboards are dusty and scuffed, the whole space just feels… off. This isn’t just about looks, either. That buildup of dust and grime can mess with your home’s air quality and even hide things like scuffs or early signs of pests. Taking care of them is about preserving the quality of your home. So, let’s walk through the exact methods the pros use, covering the right tools and techniques for whatever kind of baseboards you have.
First, Know What You’re Working With
Before you even think about grabbing a sponge, you have to know what your baseboards are made of. Seriously, using the wrong cleaner can lead to permanent damage, and I’ve seen my fair share of swollen or discolored boards from well-intentioned cleaning attempts. A quick inspection saves a world of hurt.
Common Baseboard Materials:
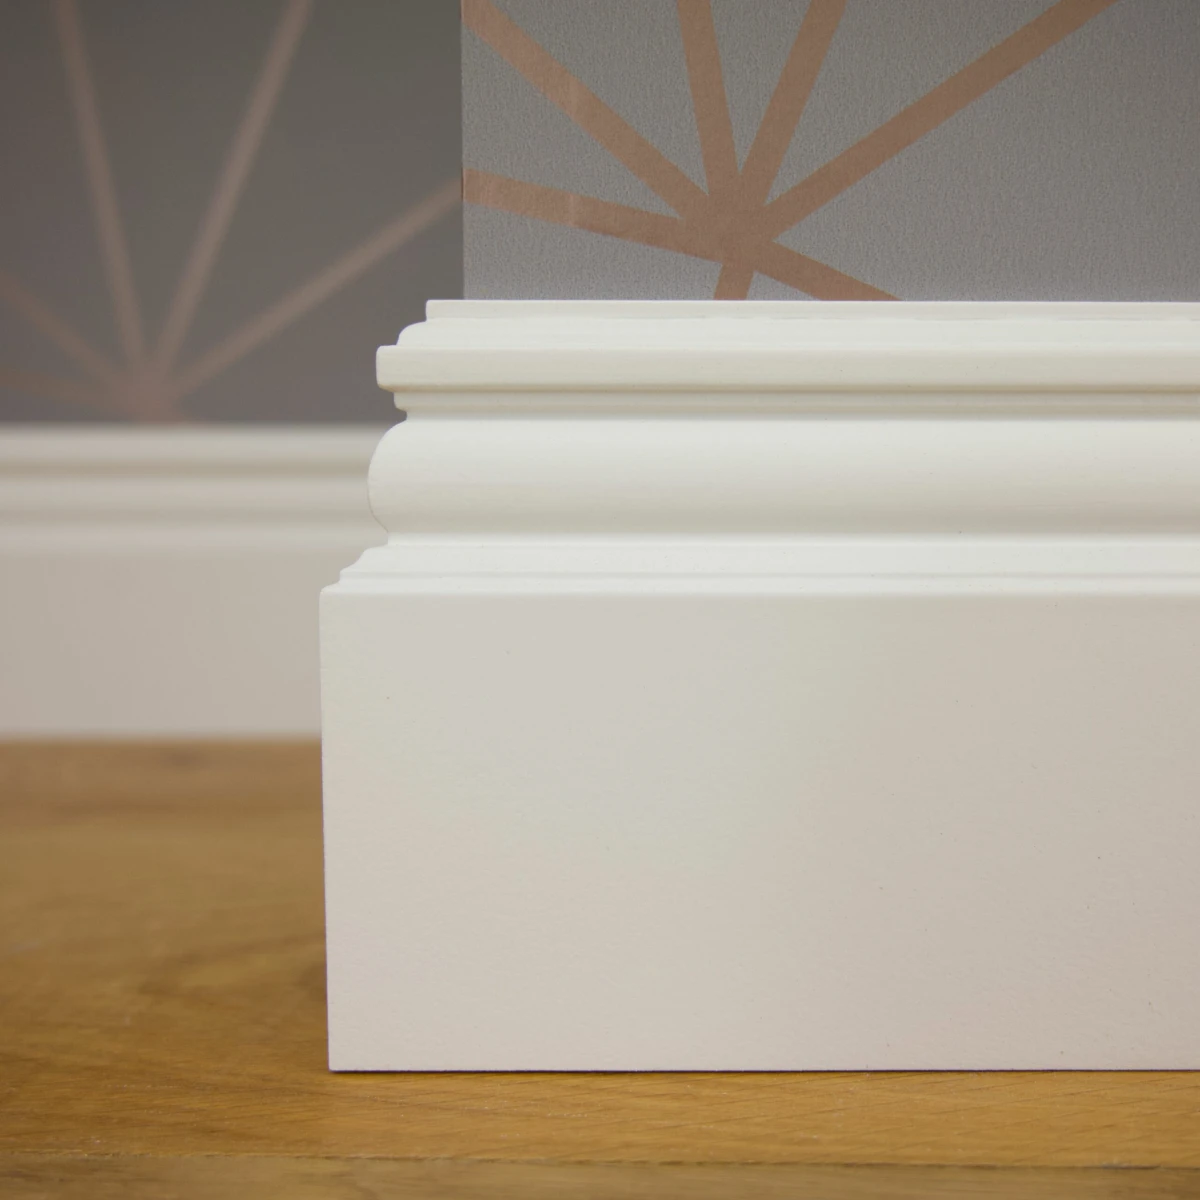
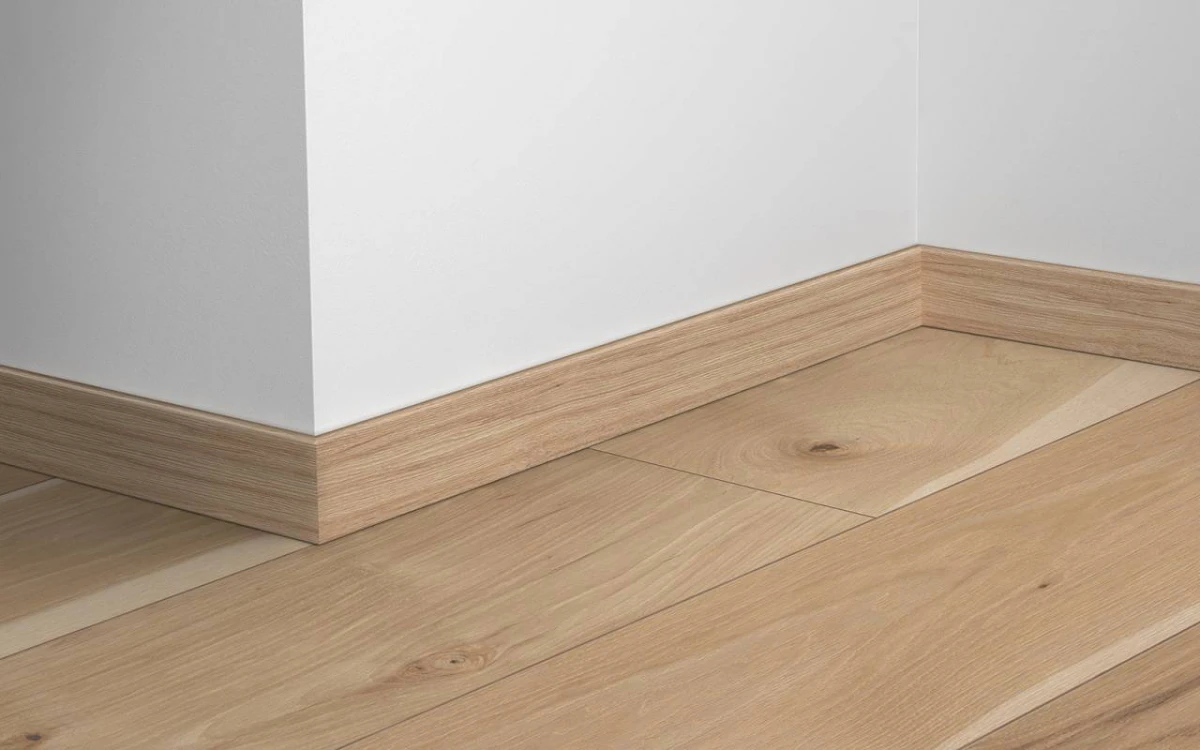
- Solid Wood: Often found in traditional or high-end homes, materials like pine or oak are super durable. Their main weakness is too much water, which can damage both the wood and its finish.
- MDF (Medium-Density Fiberboard): This is probably the most common material in modern homes. It’s an engineered product that takes paint beautifully. But, and this is a big but, it’s like a sponge. If water gets past the paint barrier, MDF will swell up and it’s game over. It can’t be fixed; it has to be replaced.
- PVC (Plastic): You’ll see this waterproof wonder in places like bathrooms, basements, and laundry rooms. It’s a breeze to clean but can get scratched or gouged more easily than wood or MDF.
And what about the paint? You’re actually cleaning the paint finish, which is the protective shield. Most are painted with a durable latex or acrylic paint in a semi-gloss sheen because it’s smooth and easy to wipe. Older homes might have oil-based paint, which is very hard but can be sensitive to harsh chemical cleaners.
Quick tip: Not sure what kind of paint you have? Find a hidden spot and rub it with a cotton ball dipped in a little rubbing alcohol. If paint color comes off, it’s latex. If not, it’s likely oil-based. Always, always test your cleaning solution on a small spot first!
The Professional’s Shopping List
Forget all those gimmicky gadgets you see online. A few quality basics are all you really need. Here’s what you should have ready, along with what you can expect to pay.
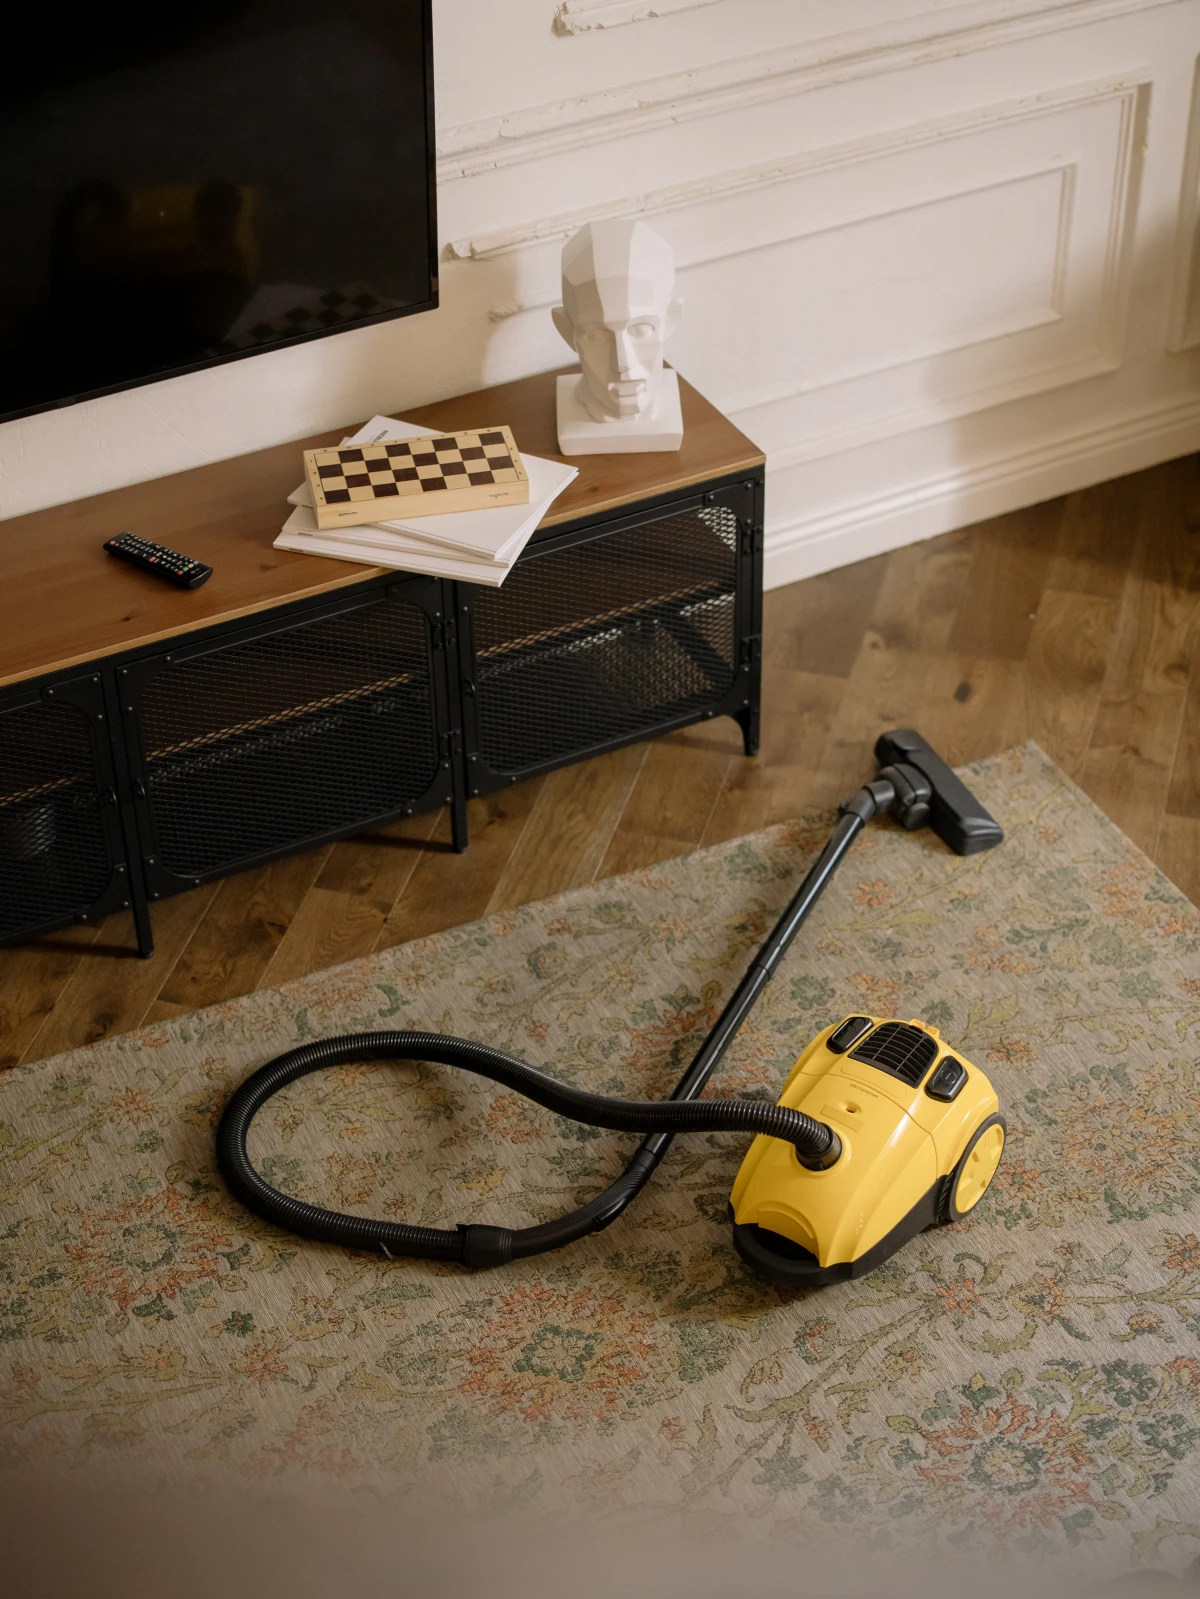
- A Vacuum with a Soft Brush Attachment: This is your number one tool. If it has a HEPA filter, even better—it traps dust instead of just blowing it around. The brush attachment itself is usually $15-$30 if you need a replacement.
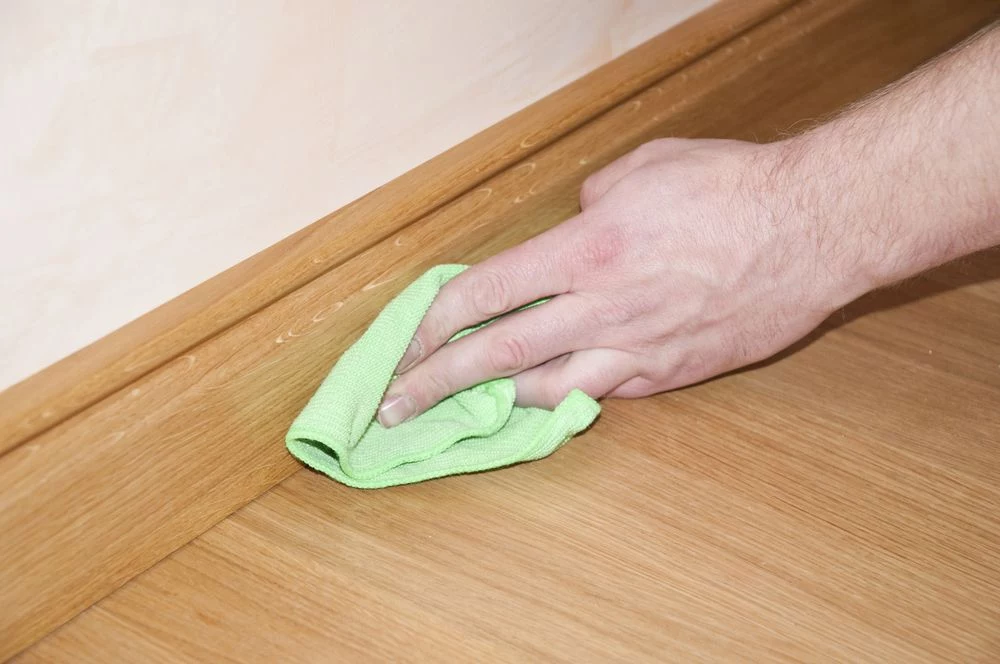
- Microfiber Cloths: Don’t use old cotton rags; they just push dirt around. Microfiber grabs and holds dust. I’d grab a 10 or 12-pack, which usually costs around $15. You’ll want at least three per room (one for washing, one for rinsing, one for drying).
- A Soft Brush or Toothbrush: A cheap 2-inch paintbrush or a new toothbrush is perfect for flicking dust out of detailed corners.
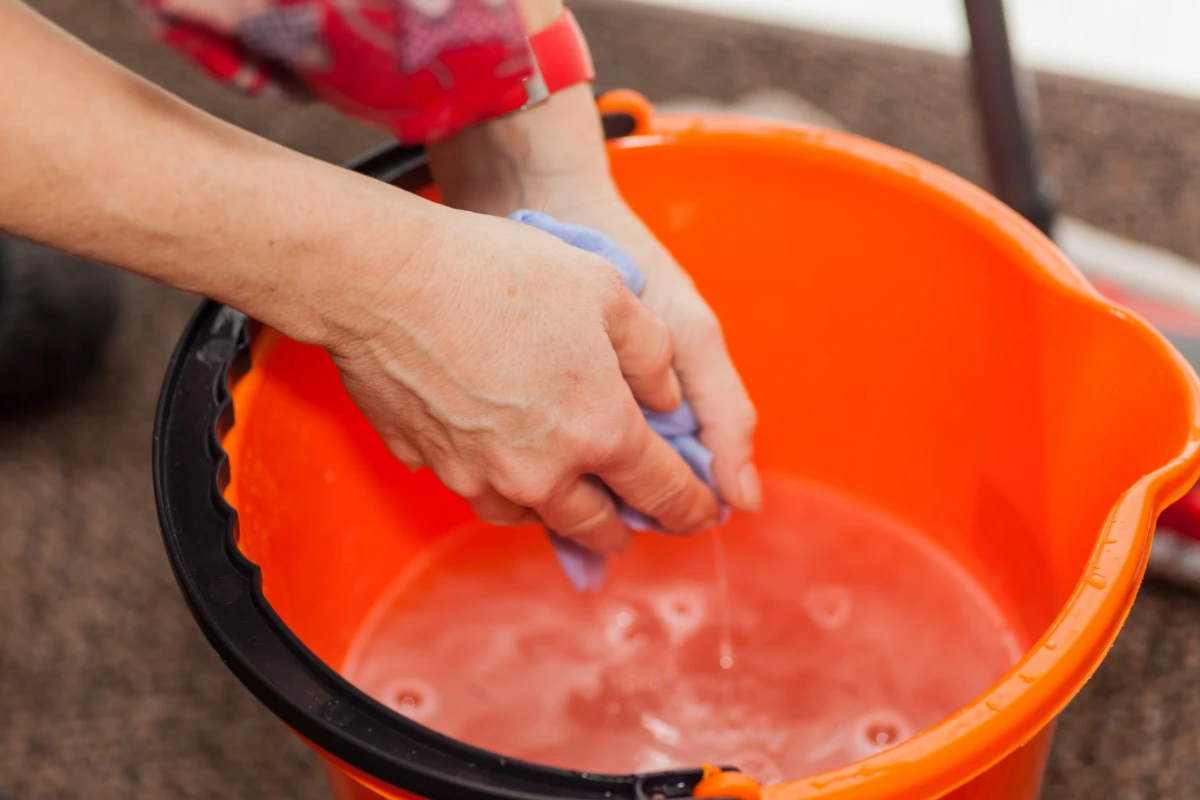
- Two Buckets: The two-bucket method is a non-negotiable rule for pros. One for your cleaning solution, one for clean rinse water. This stops you from just wiping dirty water back onto your baseboards.
- Good Knee Pads: This isn’t about being soft; it’s about being smart. You’ll be on the floor for a while. Decent knee pads run between $20 and $40 at any hardware store. Don’t cheap out—your body will thank you.
Which Cleaner Should You Actually Use?
This is where people get overwhelmed, but it’s simpler than you think. You have three main options, from gentle to more targeted.
- For 90% of Jobs (The Go-To): Mild Dish Soap. Honestly, a gallon of warm water with a small squirt of basic dish soap is the safest and most effective cleaner for almost any painted surface. It’s a gentle degreaser that gets the job done without risk.
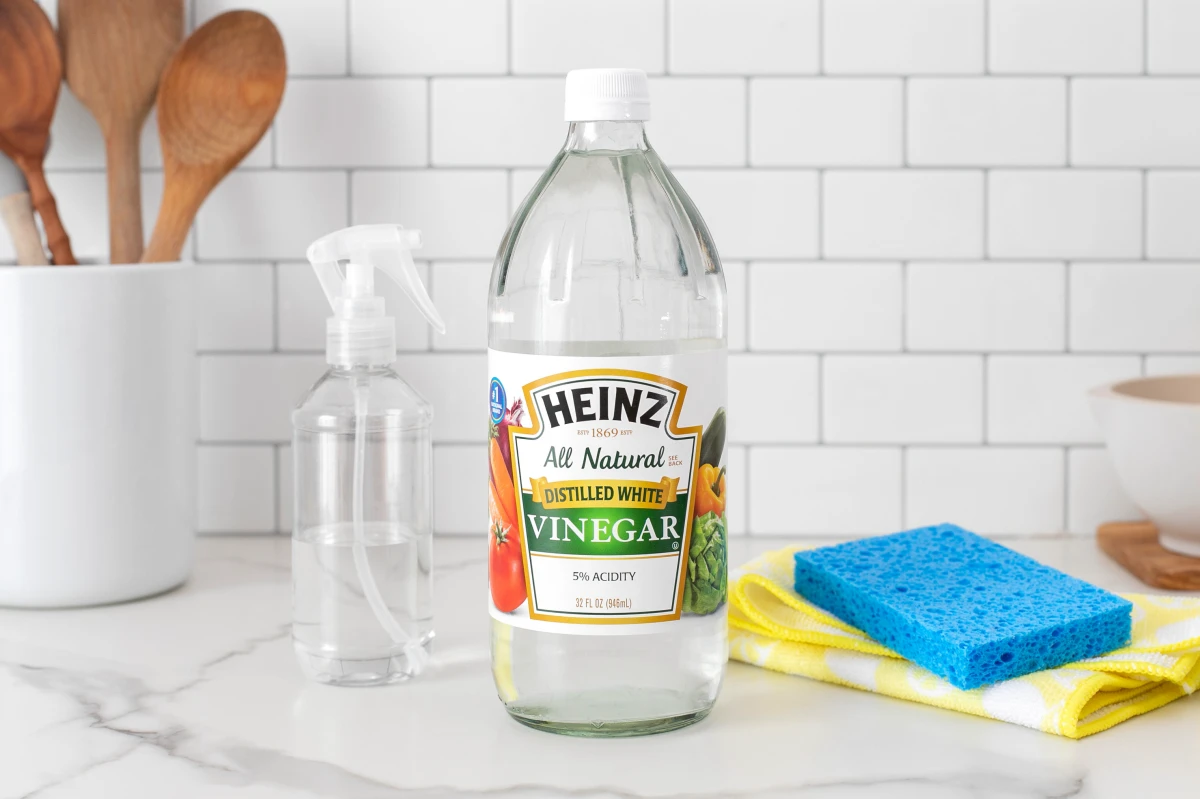
- For Tougher Grime: White Vinegar Solution. If you’re dealing with a little more buildup, a mix of one part white vinegar to four parts warm water works wonders. The mild acidity cuts through grime without harming the paint.
- For Scuff Marks (With a Big Warning): Melamine Sponges. You know them as Magic Erasers. They can work miracles on scuffs, but you have to be SO careful. These sponges are a micro-abrasive, like ultra-fine sandpaper. I once saw a client rub one spot so hard they created a dull patch that was way more noticeable than the original scuff. Rub very, very gently, and always test it somewhere hidden first.
The Step-by-Step Deep Clean Method
Alright, let’s get to it. For a first-time deep clean, plan for about 45-60 minutes for an average-sized room (like 12×15 feet). Follow these steps in order for a perfect finish.
Step 1: Prep the Area
Move any furniture a couple of feet away from the walls. If you’re doing a really deep clean on sensitive floors like hardwood, it’s smart to lay down a towel or drop cloth to catch any drips.
Step 2: Dry Dusting First (The Critical Step)
Never, ever apply water to a dusty baseboard—you’ll just make a frustrating, muddy paste. Start with your vacuum’s soft brush attachment and run it along the top edge and face of the boards. Use your small paintbrush or toothbrush to flick dust out of the corners and crevices, then vacuum it right up.
Step 3: The Wash
Mix your cleaning solution (a teaspoon of dish soap in a gallon of warm water is perfect). Dip a microfiber cloth in, and then wring it out until it’s just damp, not dripping wet. This is especially important for MDF! Wipe down a 5 or 6-foot section at a time with gentle, even pressure.
Step 4: The Rinse
This is the step everyone skips, but it’s vital. Dip a fresh, clean cloth in your second bucket of plain rinse water, wring it out completely, and wipe down the section you just washed. This removes any soap residue, which can become sticky over time and actually attract more dust.
Step 5: The Final Dry
Take a third, totally dry microfiber cloth and wipe the rinsed section dry. This prevents water spots and ensures no moisture sneaks into any seams. Now, move to the next 5-foot section and repeat the wash-rinse-dry process. Easy.
Heads Up! A Crucial Safety Warning on Lead Paint
Okay, let’s pause for a really important safety check. If your home was built before the late 1970s, you have to assume the paint could contain lead. This isn’t a suggestion; it’s a serious health protocol. Lead dust is incredibly toxic, especially for kids.
Before you do any aggressive cleaning or scrubbing, you need to test for it. You can buy an EPA-approved lead test kit for about $10 at any hardware store like Home Depot or Lowe’s. If the test comes back positive, do NOT do any abrasive cleaning. A gentle wipe-down is okay, but any work that could disturb the paint (like scuff removal) needs to be handled by a certified professional. No exceptions. It’s about your family’s health.
How to Keep Your Baseboards Clean Longer
You just put in all that work, so let’s make it last. Here are a few tricks to extend the time between deep cleans.
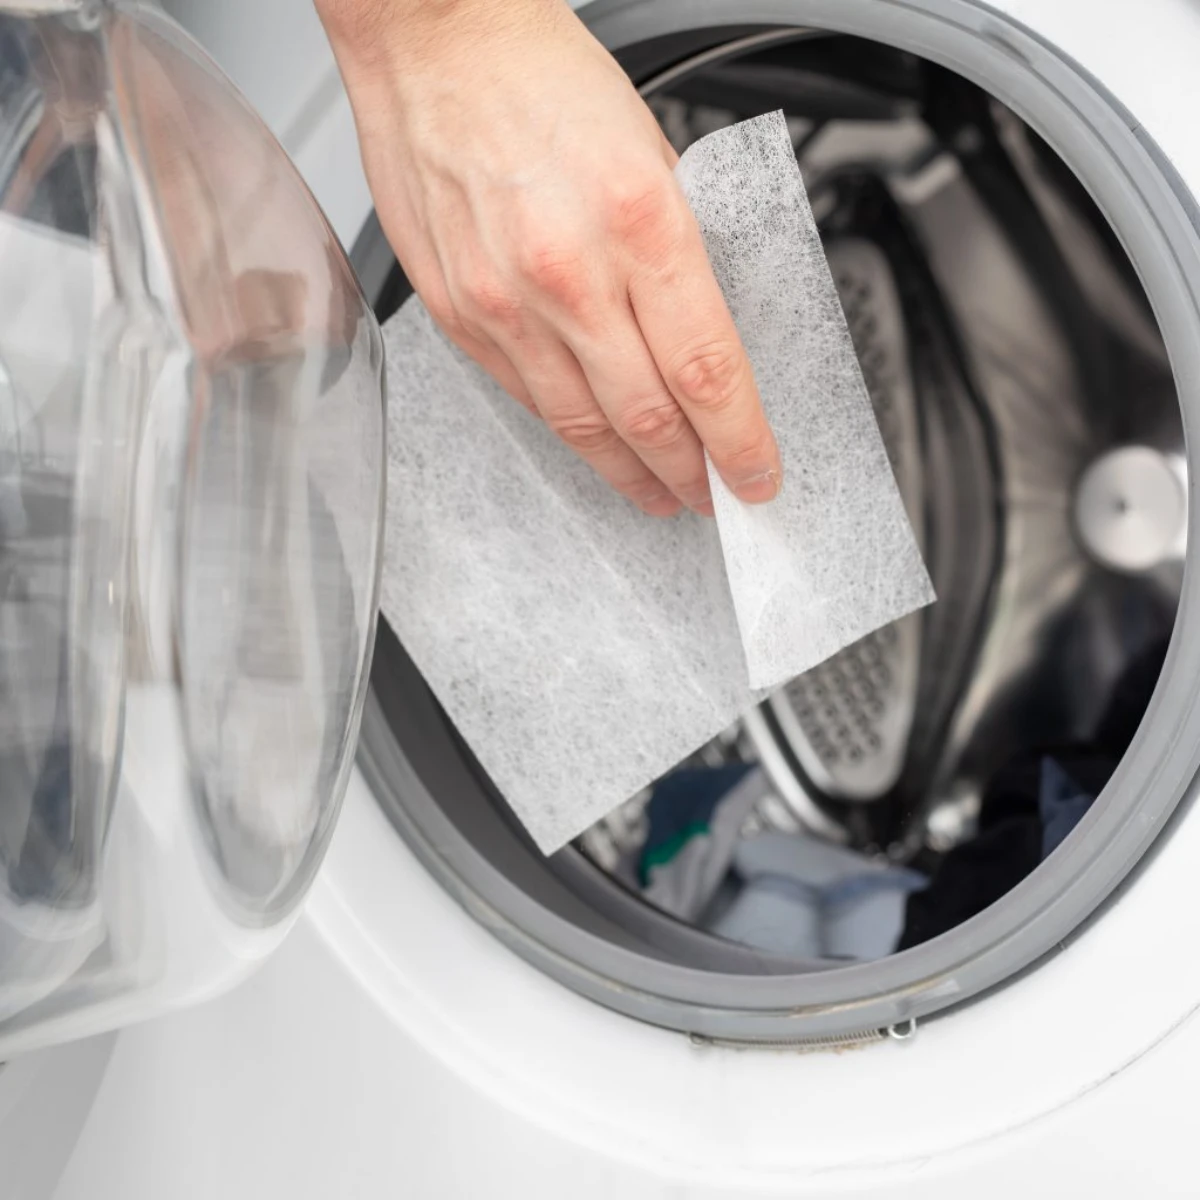
- The Dryer Sheet Trick: I was skeptical about this one, but it works. After your baseboards are clean and dry, wipe them down with a new dryer sheet. It leaves behind an invisible coating that repels dust. It’s a game-changer.
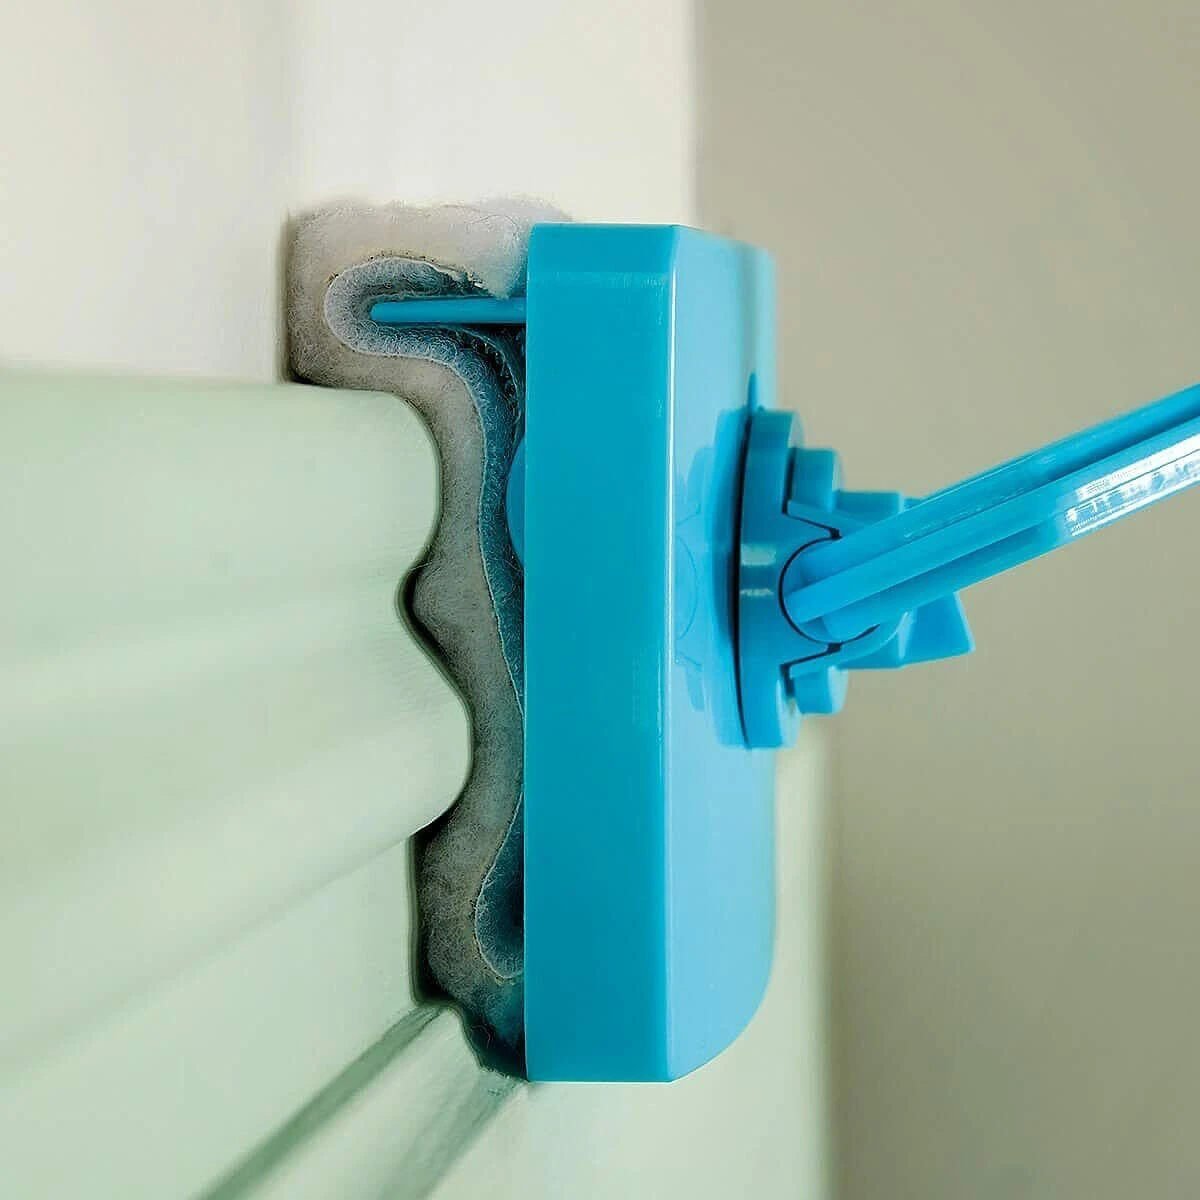
- The 5-Minute Maintenance Clean: Don’t wait for heavy buildup. Once every week or two, do a quick pass. The easiest way? Wrap a microfiber cloth around a long-handled duster (like a Swiffer) and secure it with rubber bands. You can dust all the baseboards in your house in minutes without ever getting on your knees.
- Check Your HVAC Filter: A lot of that dust comes from your air. Using a high-quality furnace filter and changing it regularly drastically cuts down on airborne dust. Good for your baseboards, even better for your lungs.
By the way, if you find that your baseboards are swollen from water damage or have deep gouges, that’s a job for a carpenter or painter to replace or repair. Knowing your limits is part of doing the job right!
Your Quick-Reference Checklist:
- Prep: Move furniture, lay down a towel.
- Dry Dust: Vacuum with a soft brush, use a small brush for corners.
- Wash: Use a damp (not wet!) cloth with a mild soap solution. Work in sections.
- Rinse: Wipe with a clean, damp cloth to remove soap residue.
- Dry: Buff dry with a third, clean cloth to prevent spots.
And that’s it! It’s a bit of elbow grease, but taking the time to do it right transforms a room. It’s the kind of detail that makes a house feel like a well-cared-for home.
Galerie d’inspiration
The Pro’s Secret for Dust-Free Baseboards: Once your baseboards are sparkling clean and completely dry, grab a new dryer sheet (any brand like Bounce or Snuggle works). Gently wipe it along the top edge and face of the baseboard. The anti-static properties in the sheet create an invisible barrier that actively repels dust, pet hair, and lint, significantly extending the time between cleanings. It’s a simple, inexpensive trick that makes a world of difference in maintaining that just-cleaned look.


