Stop Ruining Your Hardwood Floors: An Installer’s Real-Talk Guide
I’ve spent a good chunk of my life on my knees, but not for the reasons you might think. I install hardwood floors. For years, I’ve seen it all—from stunning layouts in new builds to tricky repairs in old homes. And through all that work, one thing has become painfully obvious: most people are accidentally destroying their beautiful, expensive prefinished hardwood floors.
In this article
It’s not really your fault. You get some questionable advice from a blog, a well-meaning neighbor chimes in, and suddenly you’re using the wrong stuff, the wrong way. You’re slowly dulling the finish, creating a hazy mess, and setting yourself up for a huge refinishing bill down the road.
So, my goal here is simple. I want to give you the practical, no-fluff knowledge I’ve picked up from being on the front lines. This isn’t about miracle products. It’s about understanding what you’re standing on and using straightforward methods to protect it. Let’s get into the fundamentals that pros use and the common mistakes I see every single week.
First, What Are You Actually Cleaning?
Before you even think about cleaning, you need to know what a “prefinished” floor actually is. Unlike old-school hardwood that was installed raw and then finished on-site, this stuff comes out of the box ready to live on. The secret sauce is the factory finish.
In a controlled factory setting, each plank gets bombarded with multiple coats of a super-tough urethane finish. This finish is often cured with UV light, making it incredibly hard. But here’s the real magic: most quality floors have aluminum oxide embedded in those top coats. Yes, the same stuff that makes sandpaper abrasive. By mixing these microscopic, diamond-hard particles into the finish, manufacturers create an invisible shield—a “wear layer” that’s ridiculously resistant to scuffs and scratches.
A finish applied in your home, by comparison, is good, but it just can’t compete with that factory-cured hardness. Your entire cleaning strategy, from this moment on, boils down to one simple goal: protecting that invisible shield.
The two biggest enemies of this shield are grit and water. Grit (tiny bits of dirt and sand) acts like sandpaper when you walk on it, grinding thousands of micro-scratches into your finish until it looks dull. And water is just as bad. Wood naturally soaks up moisture. When water sneaks between the boards, it can make the wood swell, warp, or even turn black. Game over.
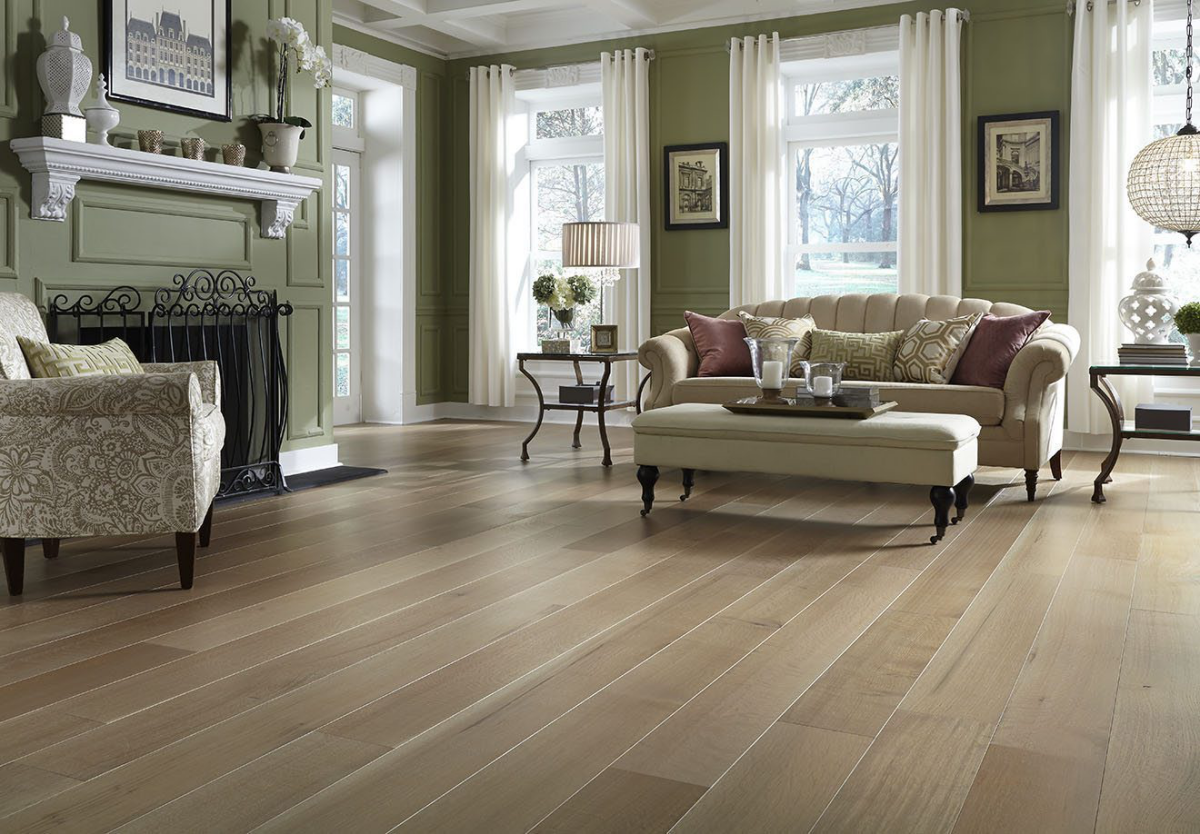
The Simple Routine That Keeps Floors Looking New
Forget aggressive, once-a-month scrubbing. Gentle, consistent cleaning is where it’s at. This is the two-part system I teach all my clients.
Daily Task: Get the Grit Off
The most important thing you can do for your floor is a daily dry clean. The whole point is to remove that abrasive grit before it does damage. Your absolute best tool for this is a flat-head microfiber mop. A good one with an 18-inch-or-wider head makes the job quick and easy. The microfiber pads use static electricity to grab dust and hair instead of just pushing it around like a traditional broom.
Speaking of which, please… just toss the broom. The bristles can be too stiff, and they’re notorious for flicking tiny, hard particles across the floor, which can cause scratches. A vacuum is okay, but you have to be careful.
ACTIONABLE TIP FOR TODAY: Go find your vacuum. See that spinning brush on the bottom, the one designed to fluff up carpets? That’s called a beater bar, and it will slowly beat the life out of your floor’s finish. Find the button that turns it off for hard surfaces. If it doesn’t have one, don’t use it on your wood floors. It takes five seconds and will literally save your finish.
By the way, what about robot vacuums? Most modern ones are generally safe, as their spinning brushes are often softer. Just double-check that your model doesn’t have aggressive, stiff bristles. If it does, see if you can use it without the main brush roller. It’s worth a quick google search for your specific model.
Weekly Clean: The Right Way to Mop
Once a week (or more in high-traffic spots), you’ll need to do a slightly deeper clean. This is where the real damage happens. Let me be blunt: you should never, ever wet-mop or steam-clean a hardwood floor. I can’t say this enough. Pouring water on the floor is the fastest way to ruin it. And steam cleaners are even worse—they force hot moisture deep into the seams, which can make the finish literally peel off the wood.
The correct method is a damp mop. And I mean BARELY damp.
Your Beginner’s Hardwood Care Kit:
- A good microfiber mop system. Expect to pay $20 to $40 for a solid one.
- Extra microfiber pads. A 3-pack is usually around $15. You’ll want to swap them out as they get dirty.
- A pH-neutral hardwood floor cleaner. A big 32oz bottle of a good brand like Bona will run you about $12 at Target, Home Depot, or online, and it will last for months. It’s a no-brainer.
- Quality felt furniture pads. A multi-pack costs about $10 and is the best investment you’ll ever make.
Cleaners to AVOID Like the Plague:
- Vinegar and Water: This is the biggest myth out there. Vinegar is an acid. Even when diluted, it will slowly eat away at your urethane finish over the years, making it dull. The damage is gradual, which is why people think it’s safe. It isn’t.
- Oil Soaps: These products leave an oily residue that actually attracts more dirt and makes your floor slick. Worse, that film can prevent a new coat of finish from ever sticking in the future. I once had to tell a homeowner that their years of weekly “cleaning” with oil soap meant their only option for fixing their dull, grimy floor was a full $5,000 sanding job. They were heartbroken. Don’t let that be you.
- Ammonia or All-Purpose Cleaners: Way too harsh. They can strip the finish right off, leaving your wood exposed.
Help! I Already Used the Wrong Stuff. Now What?
Okay, take a breath. If you’ve been using oil soap or a polish that leaves a film, the first step is to stop. Immediately. The goal is to try and strip that residue off. You can look for a professional-grade floor residue remover from a specialty flooring supplier online. Test it in a small, hidden area first, like inside a closet. If that doesn’t work, your best bet is to call a flooring pro for an assessment before you do anything else.
The Professional Damp-Mop Technique:
- First, always dry mop or vacuum to get the loose grit off.
- Lightly mist a small 4×6 foot section of the floor with your pH-neutral cleaner. Don’t spray the whole room.
- Wipe the misted section with a clean, dry microfiber pad, going with the grain of the wood.
- The floor should have a faint sheen that disappears completely in 30-60 seconds. If it’s wet longer than that, you’re using too much liquid.
- Once your mop pad looks dirty, slap a clean one on. Don’t just smear dirt around.
Oh, and for that annoying gunk that gets stuck in the little grooves (the bevels) between boards? Here’s a lesser-known trick: take an old credit card, wrap a clean microfiber cloth around it, and gently run it through the groove. It pops the gunk right out without using excess water.
Dealing with Life’s Little Accidents
Spills and scuffs will happen. Acting fast is what separates a minor cleanup from a permanent stain.

- Spills: Speed is everything. Blot immediately with a clean cloth, starting from the outside of the spill and working your way in. Don’t wipe—that just spreads the mess.
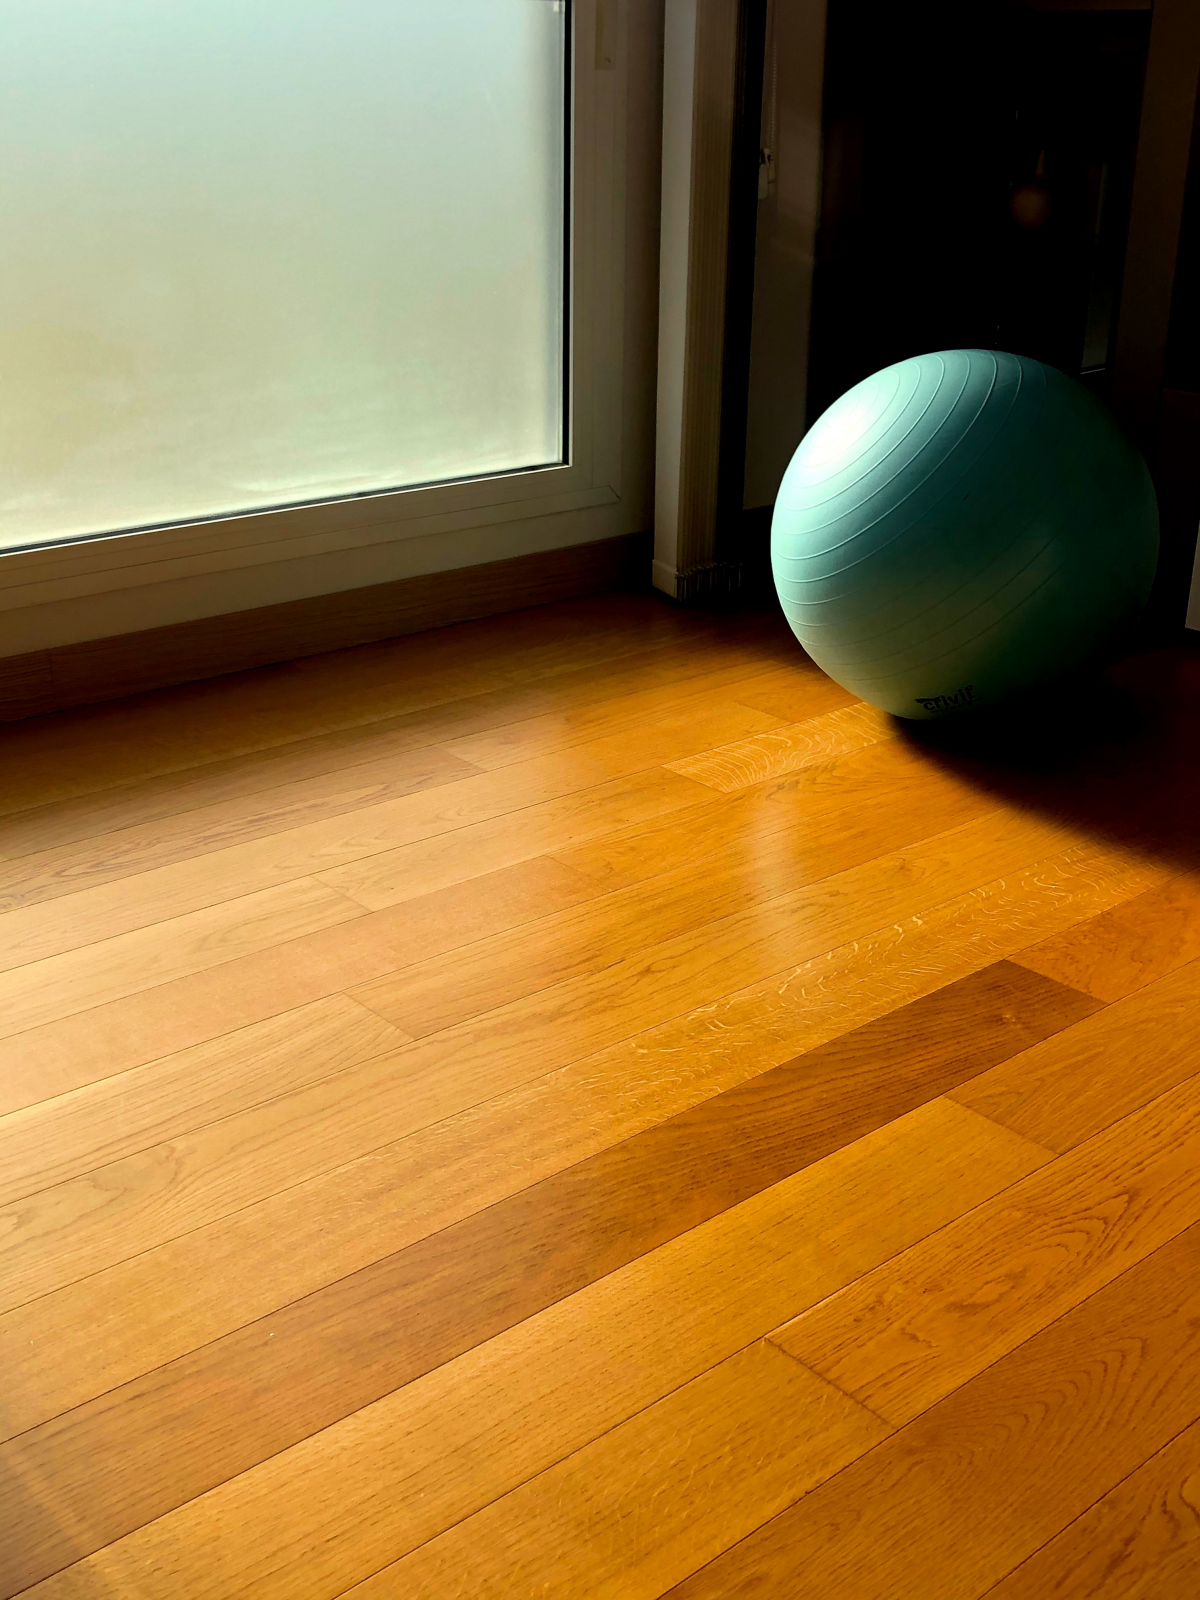
- Scuff Marks: For black shoe marks, try rubbing them with a dry microfiber cloth or even a clean tennis ball. A little friction is usually all it takes.
- Sticky Stuff: For dried soda or tape goo, spray your approved cleaner on a cloth (not the floor) and let it sit on the spot for a minute to soften the residue before rubbing it away.
- Pet Accidents: This is the big one. Pet urine contains acids that can burn right through the finish and stain the wood itself. Clean it up immediately. After blotting, you might need a special enzymatic pet stain cleaner, but you MUST test it in a closet first to make sure it doesn’t discolor your finish. Honestly, sometimes a dark stain is unavoidable, and the only real fix is to have a pro replace the damaged boards.

Prevention Is Always Cheaper Than a Cure
The easiest way to keep your floor looking great is to stop damage before it happens. Seriously.
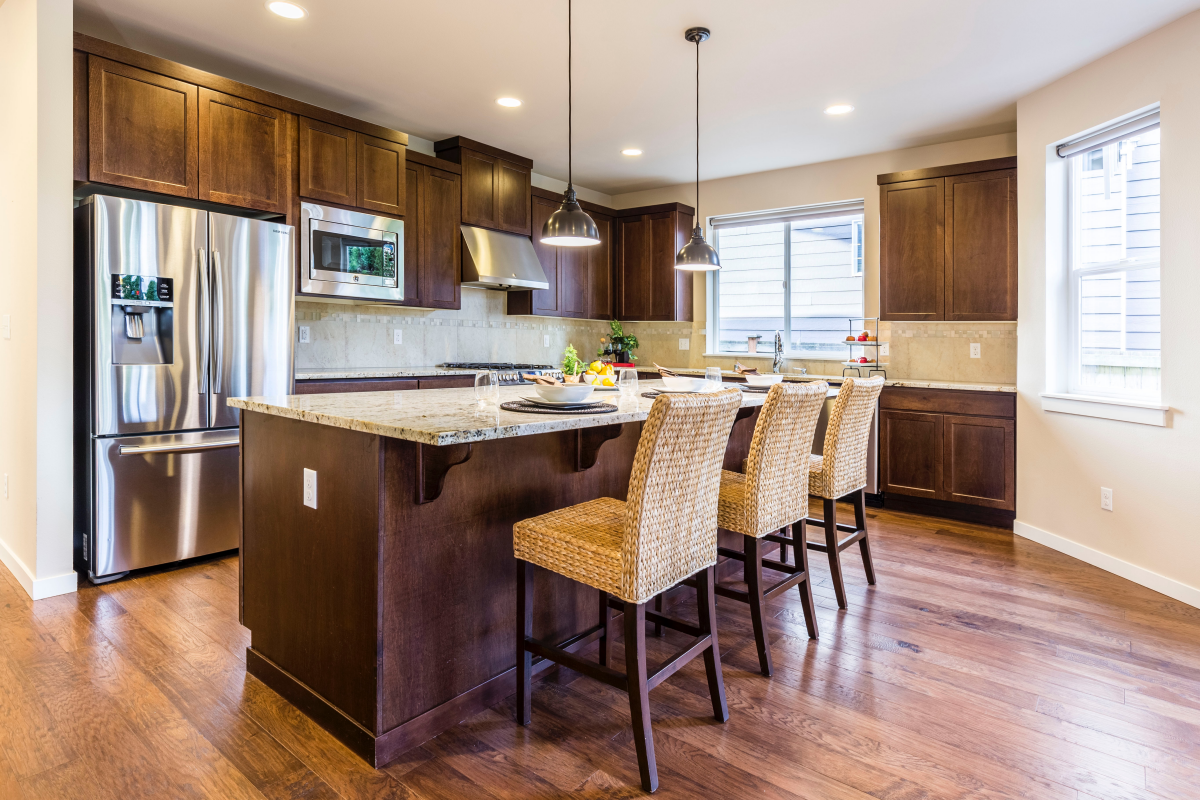
- Felt Pads Are Non-Negotiable: Every single leg of every piece of furniture needs a quality felt pad. Check them every few months to make sure they haven’t worn down or collected grit. For kitchen and dining chairs, use the thick, heavy-duty adhesive ones; they last way longer.
- Use Entry Mats: A good mat at every door can trap 80% of the dirt before it ever touches your floor. I recommend a two-mat system: a coarse one outside to scrape off big debris, and a soft, absorbent one inside to catch fine grit and moisture.
- Watch Your Rugs: Be careful with rugs that have solid rubber or latex backings. They can trap moisture and humidity, which can discolor your floor’s finish over time. Look for rugs with a natural fiber backing or use a separate, approved rug pad that’s designed for urethane-finished floors.
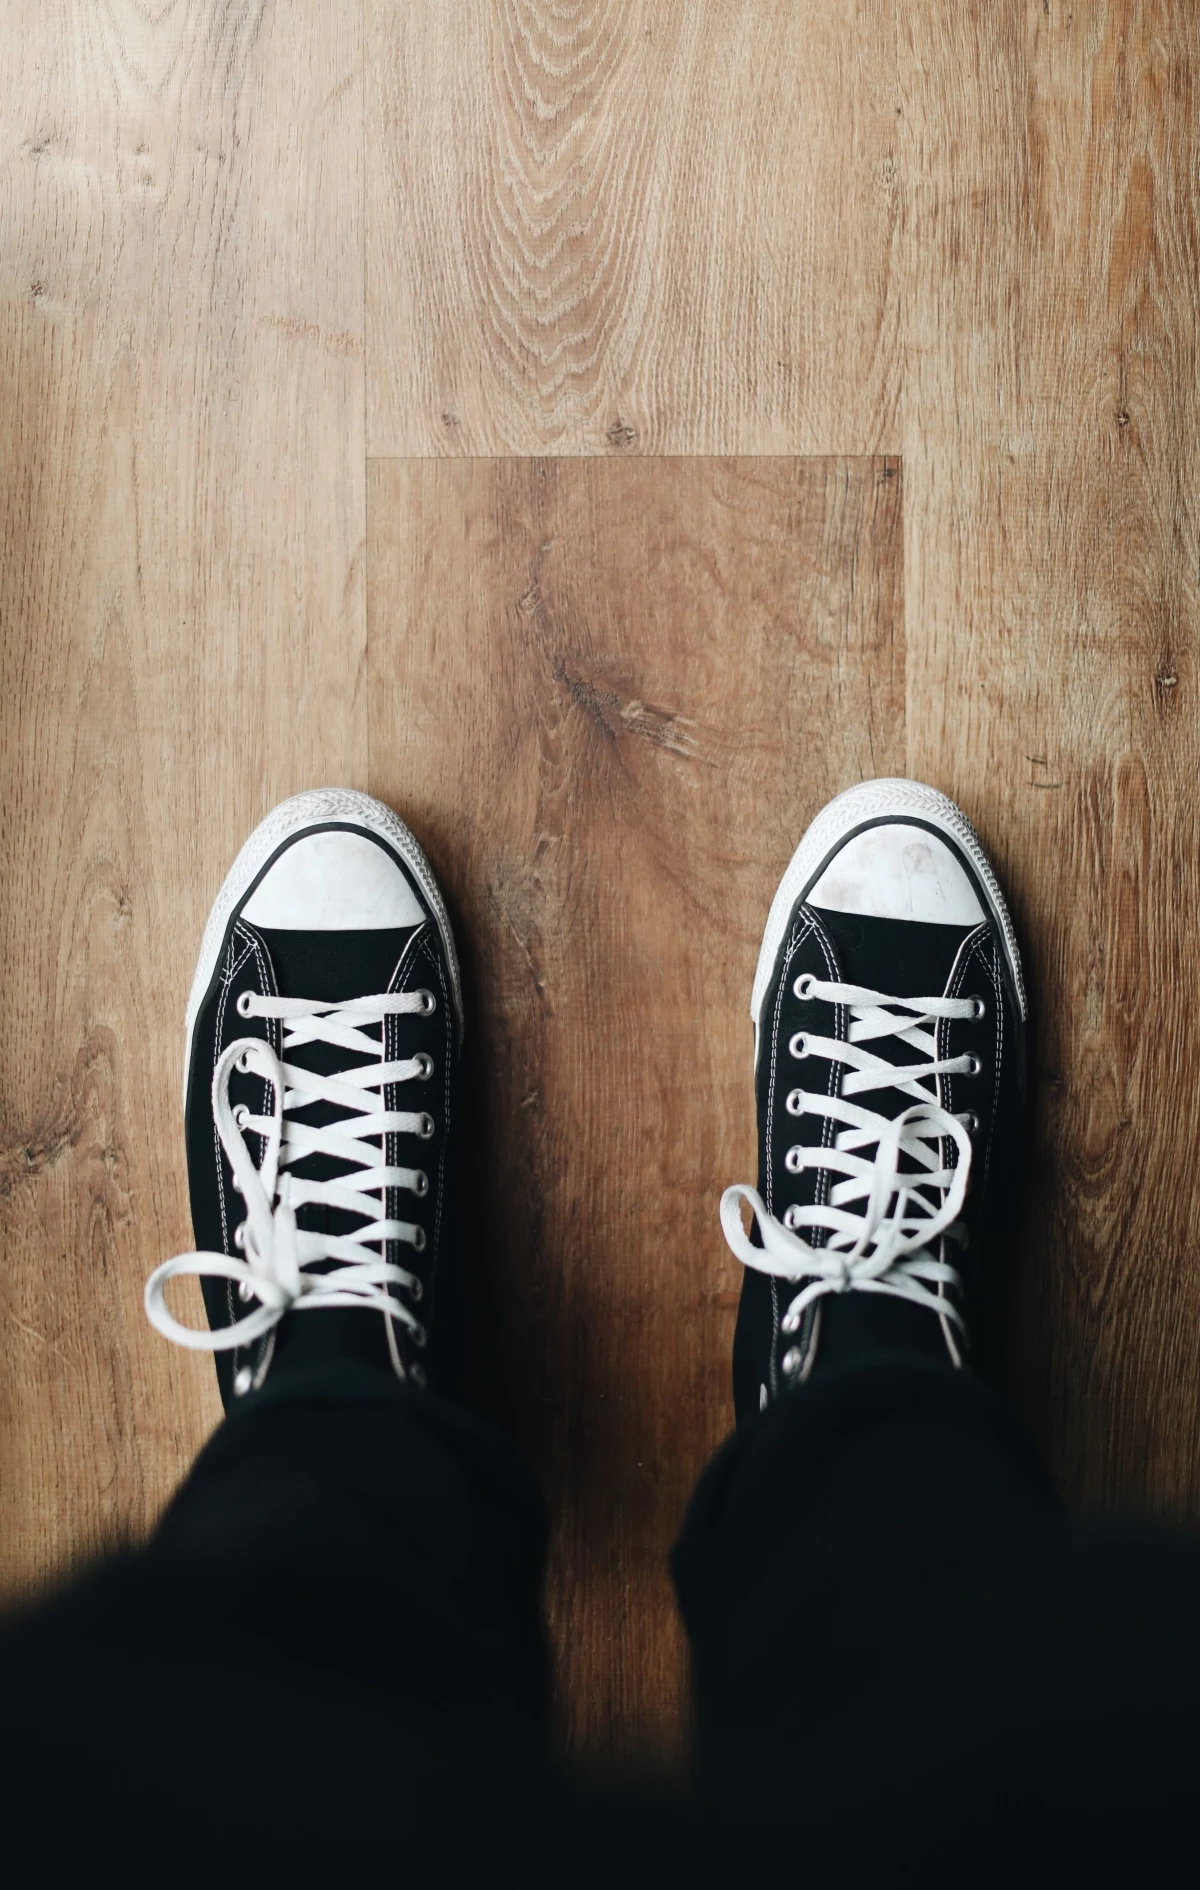
- A “No High Heels” Rule: A stiletto heel can exert thousands of pounds of pressure per square inch, easily denting even hard woods like oak. Making your home a no-heels zone will prevent countless little dents.
Advanced Care: When Cleaning Isn’t Enough
After many years, even a well-cared-for floor will start to look a little tired. You have two main options to bring it back to life, and it’s critical to know the difference.
Option 1: Polishing (The Temporary DIY Fix)
A floor polish is a product you can apply yourself to fill in micro-scratches and temporarily boost the shine. It can be a quick facelift for a dull floor. However, I tell my clients to be cautious. These polishes can build up, create a haze, and—most importantly—may prevent you from getting a professional recoat later. If you go this route, use a polish from the same brand as your cleaner and follow the directions to the letter.
Option 2: A Screen and Recoat (The Pro-Level Refresh)
This is a professional process and the best way to renew your floor. A pro uses a machine with a buffer pad to lightly abrade (or “screen”) your existing finish. This doesn’t sand it off; it just creates a texture for a new coat of commercial-grade urethane to grip onto. It restores the protective layer and brings back that original sheen.
Here’s the best part: a professional recoat typically costs around $1.50 to $2.50 per square foot. That’s a fraction of the $5 to $7+ per square foot you’d pay for a full, dusty, and disruptive sanding and refinishing job.
But there’s a catch. You can only recoat a floor if the original finish is just dull, not worn through to bare wood. If you wait too long, this money-saving option is off the table. This is why all that daily and weekly care is so incredibly important—it preserves your option to do an affordable recoat years down the line.
When to Finally Call a Professional
DIY care is for maintenance. Repairs are a different ballgame. It’s time to call in a certified pro if you see:
- Deep scratches or gouges that have gone through the finish to the bare wood.
- Any signs of water damage, like boards that are warped, cupped, or buckling.
- Dark stains that won’t come up.
- Patches in high-traffic areas where the finish is completely gone.
- Or if you think your floor is ready for that screen and recoat.
Trying to fix these big issues yourself often makes them worse (and more expensive). Your hardwood floors are a huge asset to your home. They don’t need complicated care, just the right care. A little bit of prevention and the right cleaning routine will keep them looking beautiful for a lifetime.


