Why Your Mirrors Are Always Streaky (And How to Finally Fix It for Good)
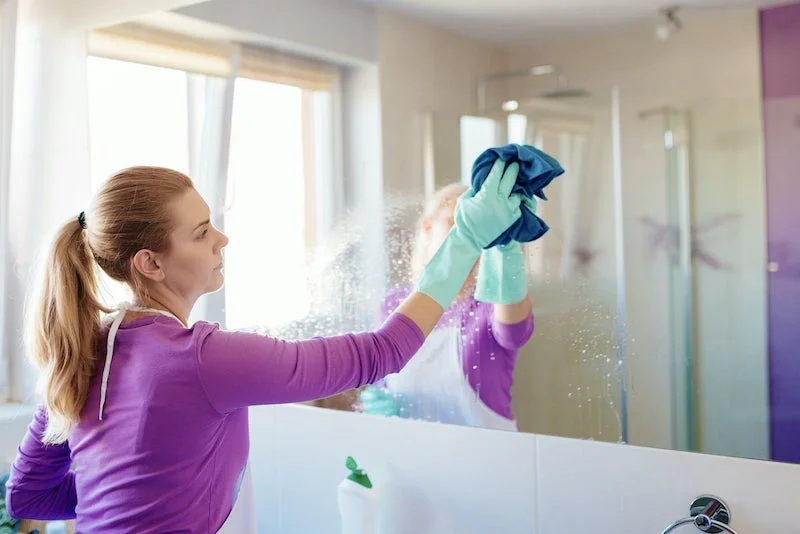
Let’s be real: is there anything more frustrating than spending time cleaning a mirror, only to have the light catch it just right and reveal a streaky, hazy disaster? It makes you feel like all that effort was for nothing. I’ve seen this exact problem countless times, from giant windows on commercial buildings to the vanity mirrors in homes just like yours.
In this article
The good news is, getting that perfectly clear, flawless finish isn’t some secret magic trick. Forget the weird online hacks with potatoes or special teas—those usually leave behind starchy, sticky gunk that’s even tougher to clean off. The real secret is a craft, a combination of the right tools, a solid technique, and a little bit of science.
I’m going to walk you through the exact methods the pros use. This isn’t just about what to do, but why it works. Once you get this down, you’ll be able to tackle any glass surface with total confidence.
First, Let’s Understand Why Streaks Happen
Before you can beat the streaks, you have to know your enemy. A streak is just a tiny bit of residue left on the glass after the water has evaporated. Light hits that residue and scatters, which is what creates that cloudy, lined look. The entire goal is to leave absolutely nothing behind. It usually comes down to one of three culprits.
1. Your Cleaning Solution is the Problem. This is the biggest offender, honestly. Most of us just grab that blue stuff from the grocery store. The problem is, many commercial cleaners are packed with soaps, scents, and dyes to make them smell good. Those additives are the first things to leave a film behind.
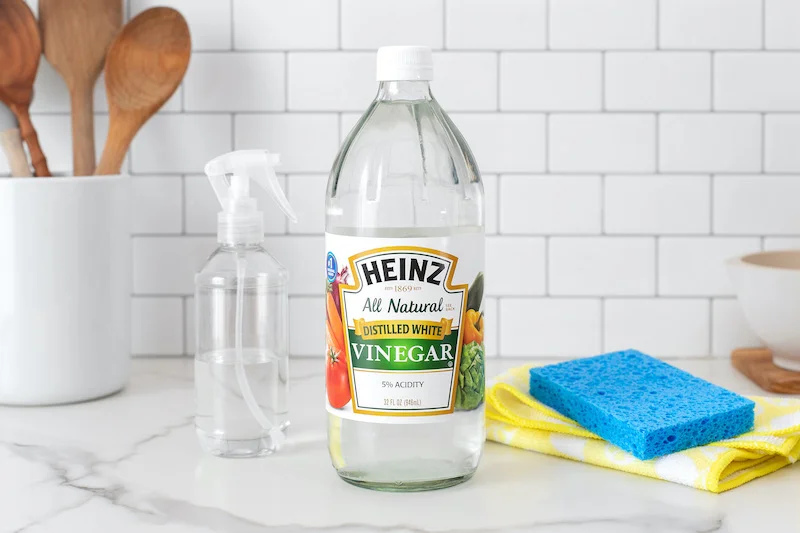
Oh, and if you mix your own cleaner with regular tap water, you’re introducing a whole new problem: minerals. Hard water is full of things like calcium and magnesium. When the water dries, the minerals stay put, creating that faint, foggy layer. A quick story: I once helped a hotel that was baffled by its cloudy bathroom mirrors. They were using a good cleaning concentrate, but mixing it with the local hard water. The moment they switched to distilled water, the problem vanished.

2. Your Tools are Dirty or Wrong. The cloth you use is just as important as the liquid. Using a dirty or ineffective tool is a guaranteed way to get streaks. Paper towels, for example, are a terrible choice. They’re full of lint and binders that break down and leave a trail of fibers all over the glass. A bigger issue? Contaminated cloths. If you wash your cleaning rags with fabric softener, you’re basically wiping a thin layer of oil and wax directly onto the mirror. The same goes for using a cloth you just used to dust a table—you’re just smearing grime around.
3. Your Wiping Technique is Flawed. How you wipe makes all the difference. Wiping in circles is a common habit, but all it does is push dirt from one spot to another. And never, ever clean a mirror that’s in direct sunlight or is warm to the touch. The heat makes your cleaning solution evaporate almost instantly, leaving all the dirt and dissolved solids behind before you can wipe them away.

Got Old Buildup? Here’s How to Hit ‘Reset’
By the way, if your mirror is already hazy from years of using those waxy store-bought cleaners, you need to strip that old film off first. You can’t just clean over it.
It’s simple: mix a 50/50 solution of isopropyl alcohol and distilled water in a spray bottle. Spray the mirror down and let it sit for a minute. The alcohol is a solvent and will start to break down that old, stubborn residue. Then, take a clean microfiber cloth and give it a really good scrub. You might even need to do this twice. This gives you a truly clean slate to work with.
The Pro’s Toolkit: What You Actually Need
A professional’s toolkit is surprisingly simple and affordable. We don’t use gimmicks, just stuff that’s proven to work. For a one-time investment of around $40, you can have a kit that will last you for years and save you tons of frustration.
Your Pro-Level Starter Kit:
- A Good 32oz Spray Bottle: about $3 at any hardware store.
- A Gallon of Distilled Water: a must-have, and it’s only about $1.50 at the grocery store.
- 70% Isopropyl Alcohol: around $3 for a bottle that will last ages.
- High-Quality Glass Microfiber Cloths (Pack of 3): Look to spend $10-$15. These are different from fluffy dusting cloths; they have a tight, flat weave.
- A 10-inch or 12-inch Squeegee: A quality one from a janitorial supply brand will run you $15-$25. This is a game-changer for larger mirrors.
Choosing Your Cleaning Solution
You’ve got two great paths here: make your own (which is what most of us do) or buy a true professional-grade cleaner.
The DIY Pro Mix (The Best Bet): It’s cheap, you control the ingredients, and it works perfectly. In your spray bottle, mix:
- One part Distilled Water. This is non-negotiable. Pure water evaporates without leaving any mineral spots behind.
- One part 70% Isopropyl Alcohol. This cuts through grease and oils (like from hairspray or fingerprints) and helps the solution evaporate evenly.
- Optional: 1 drop of quality dish soap. For a full 32-ounce bottle, you only need ONE drop. The soap helps lift heavy grime, but any more than that will cause streaks.
Professional Cleaners (The Convenient Option): If you’d rather buy something, skip the consumer brands. Go to a janitorial supply store or look online for “ammonia-free” and “non-filming” glass cleaners. They cost a bit more, maybe $8-$12 for a can, but they’re formulated without the dyes and soaps that cause problems.
The Right Tools for the Job
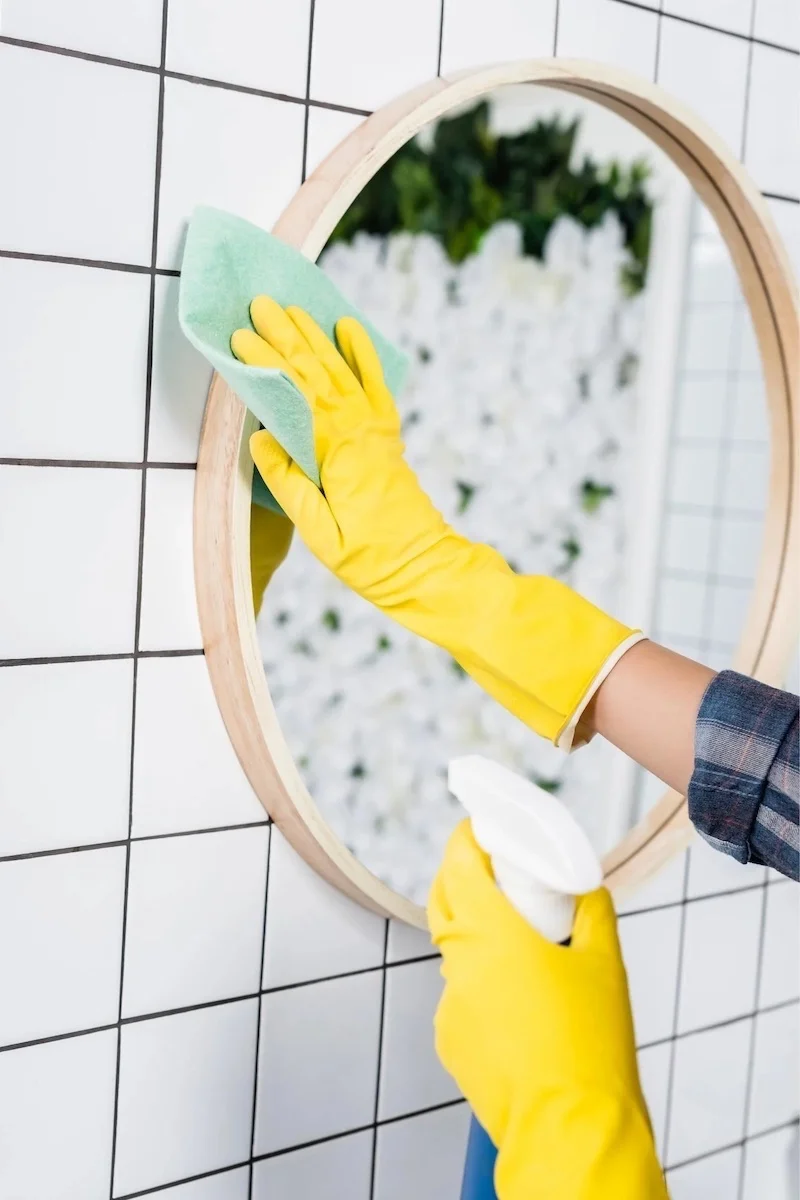
Microfiber for Glass: This is the modern standard. Look for cloths with a GSM (grams per square meter) rating over 300. They have a tight, flat weave designed specifically for glass. Have at least two on hand—one for cleaning, one for polishing. It makes all the difference.
A Squeegee: For big mirrors, nothing is faster or more effective. A 10 or 12-inch model is perfect for most homes. Don’t cheap out here! The most critical part is the rubber blade. A sharp, high-quality blade is what gives you that perfect finish. A quick tip: if your squeegee starts leaving fine lines, run your fingernail gently along the rubber edge. If you feel any nicks or dings, it’s time to replace the blade. New blades are cheap, usually just a few bucks.
The Core Technique: Step-by-Step to a Perfect Finish
With the right gear, it’s all about technique. Here are the two methods we rely on every day.
Method 1: The Two-Towel Method (For Any Mirror)
This is your go-to for almost any situation. It’s easy to master and works on mirrors of all sizes.
Step 1: Prep. Got toothpaste splatters or hairspray buildup? Spot-clean those first with a separate cloth. Don’t try to do it all in one go.
Step 2: Apply Solution. Lightly mist the top of the mirror. Don’t soak it! Too much liquid can seep behind the frame and damage the silvering over time.
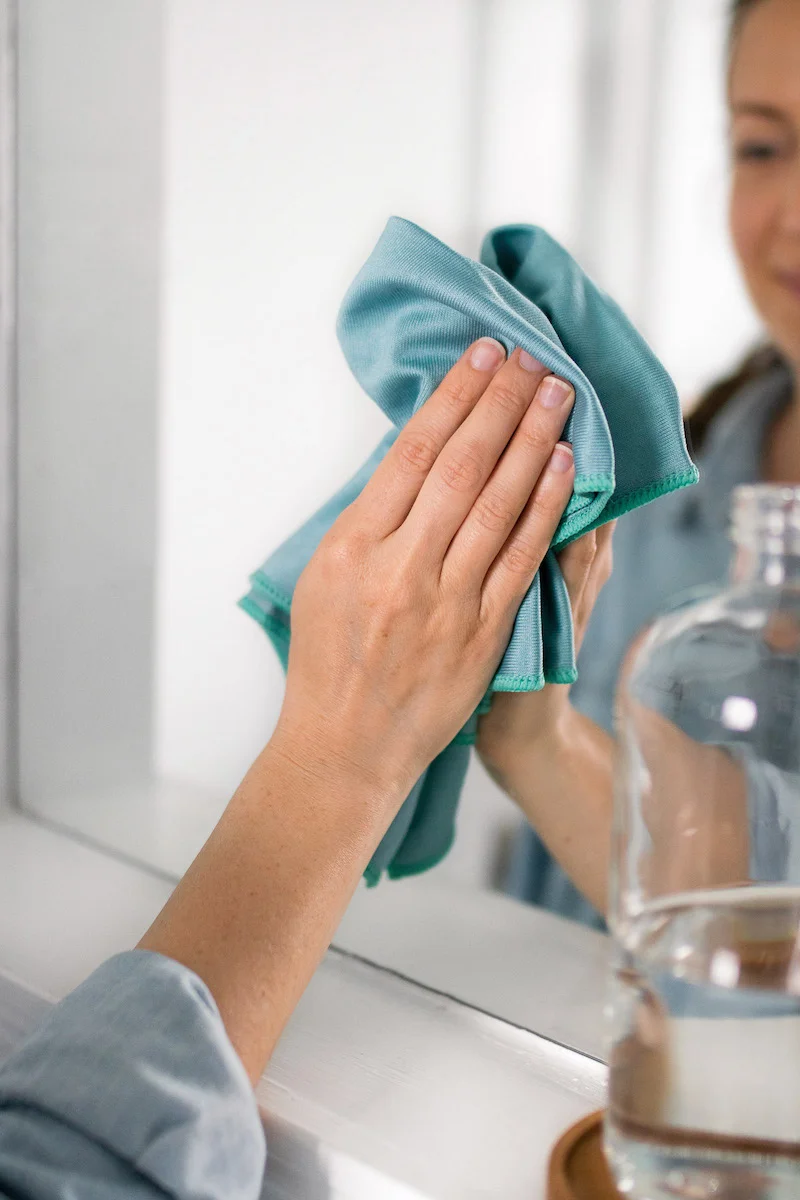
Step 3: The Cleaning Wipe. Fold your first microfiber cloth (the “wet” cloth) into quarters. Start at the top left and wipe in an S-pattern (left-to-right, drop down, right-to-left). This pattern ensures you’re lifting dirt off the mirror, not just pushing it around.
Step 4: The Polishing Wipe. Immediately, before it air-dries, take your second, completely dry cloth (the “polishing” cloth). Fold it into quarters and wipe the mirror dry using the exact same S-pattern. Your goal is to absorb every last bit of moisture. You’ll feel the cloth start to glide effortlessly—that’s how you know it’s working.
Method 2: The Squeegee Method (For Large Mirrors)
For big vanity or wall mirrors, a squeegee is your best friend. It’s incredibly fast.
Step 1: Wet the Surface. Apply your solution generously so the squeegee can glide smoothly.
Step 2: Create a Dry Edge. With a microfiber cloth, wipe a one-inch dry strip down the side of the mirror. This gives your squeegee a clean place to start.
Step 3: The First Pull. Place your squeegee at the top, overlapping the dry strip by half an inch. Hold it at a slight angle and pull straight down in one smooth motion. Don’t stop halfway!
Step 4: WIPE THE BLADE. This is the step everyone forgets, and it’s the most important. After every single pull, wipe the rubber blade clean with your cloth. If you don’t, you’ll drag a dirty line of water across the glass on your next pass.
Step 5: Overlap and Repeat. Place the squeegee at the top for your next pull, overlapping the previous stroke by about an inch. Repeat until the whole mirror is done.
Step 6: Final Touch-Up. Use a corner of your dry cloth to wipe any remaining water from the edges.
A Quick Word on Caring For Your Tools
You invested in good microfiber cloths, so let’s keep them working like new. Wash them separately in warm water with a small amount of simple, dye-free detergent. NEVER use fabric softener or bleach—it will clog the fibers and ruin them for cleaning glass. Tumble dry on low or no heat, or even better, just let them air dry. This simple habit keeps them super absorbent and effective.
When to Call a Pro
Look, you can handle 99% of the glass in your home with these techniques. But there are times when it makes sense to call a professional. This includes massive or hard-to-reach mirrors (like in a two-story foyer) or mirrors with actual damage like deep scratches or desilvering. A pro has the specialized equipment and, more importantly, the insurance for those high-risk jobs. Knowing your limits is just plain smart.

At the end of the day, cleaning a mirror until it’s perfectly clear is a small but deeply satisfying task. It’s about applying a simple craft and seeing an immediate, perfect result. With this knowledge, you’re not just wiping glass anymore—you’re finishing it like a pro.
Inspiration:
Ever wonder why the bathroom mirror seems to develop a stubborn film, no matter how well you clean it?
It’s likely not your cleaning technique, but invisible buildup. Aerosols from hairspray, perfumes, and even fine powders from makeup create a sticky, resinous layer. Water-based cleaners struggle to break this down, often just smearing it around. The pro-tip? A pre-clean. Before your usual routine, take a cotton pad with a bit of isopropyl alcohol (rubbing alcohol) and wipe down the mirror. You’ll be amazed at what it lifts off. This quick step dissolves the stubborn residue, leaving a pristine surface ready for a final, streak-free polish.


