The Real-Deal Guide to Cleaning Your Polyester Couch (Without Wrecking It)
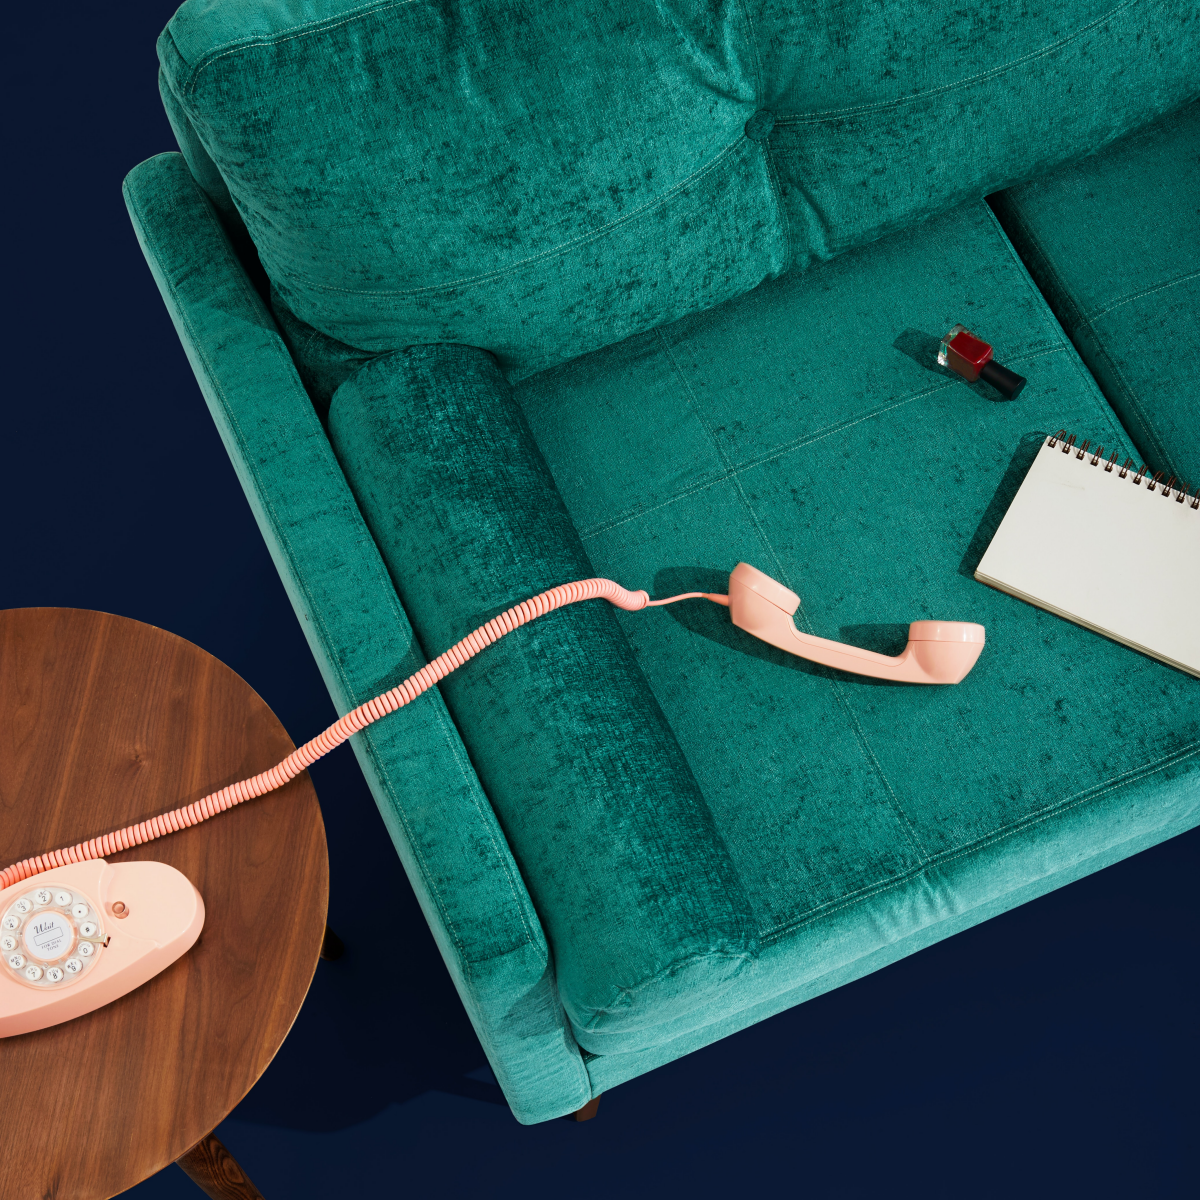
I’ve spent the better part of my career cleaning upholstery, and let me tell you, polyester has had quite a glow-up. It used to be the straightforward, budget-friendly fabric, but now it’s showing up in high-end homes looking like velvet, suede, and even silk. I’ve cleaned everything from a family sectional that has survived countless movie nights to sleek, modern pieces. And the biggest lesson I’ve learned is that not all polyester is created equal. How you clean it is everything.
In this article
Honestly, most DIY cleaning disasters I see come from one simple mistake: treating all polyester the same. This isn’t about some miracle spray you saw online. This is the methodical, professional approach that actually works and, more importantly, keeps you from permanently damaging your furniture. Let’s walk through it.
First Things First: Become a Detective and Find That Tag
Before a single drop of cleaner touches your couch, you have to find the manufacturer’s cleaning tag. Seriously, do not skip this step. It’s usually hiding under the cushions, stapled to the deck, or tucked along a seam somewhere on the frame. This little tag is your instruction manual, and ignoring it is a recipe for disaster.
You’ll find one of these codes on the tag:
- W: Water-Based Cleaner. Hooray! This is the most common and the easiest for DIY cleaning. It means water and gentle, water-based soaps are safe to use.
- S: Solvent-Based Cleaner Only. This is a big red flag for DIY. It means you must use a water-free dry-cleaning solvent. If you use water on an ‘S’ code fabric, you’re practically guaranteed to get ugly water rings, browning, or even shrinkage.
- W/S: Water or Solvent. You have options, but for a home project, I always recommend starting with the water-based (‘W’) method first. It’s just safer.
- X: Vacuum Only. Do not use any liquid. Period. Even water can cause stains and ruin the fibers. Your only tools here are a vacuum and a soft brush.
I once got a frantic call from a client who tried to clean a small food spill on their gorgeous microsuede sofa with a store-bought upholstery cleaner. That little spot ballooned into a massive, dark water ring that permanently changed the fabric’s texture. The couch had an ‘S’ code. It was a costly mistake that could have been avoided by checking the tag.

Help! I Can’t Find the Cleaning Tag!
Okay, this happens more often than you’d think. If you’ve searched every nook and cranny and come up empty, you’re in a tricky spot. The safest bet is to proceed as if you have the most sensitive fabric possible. Find a completely hidden area—I’m talking about the fabric on the back of the frame, inside a zipper seam, or on a flap on the underside. Dab a tiny bit of distilled water (not tap water!) on a Q-tip and gently press it onto that hidden spot. Hold a white cloth on it for a minute. If you see any color transfer or if the spot looks weird after it dries, treat it as an ‘X’ code (vacuum only) and call a pro for a deep clean.
Gathering Your Cleaning Arsenal
You don’t need a professional’s van full of gear, but the right tools will make this job a hundred times easier and safer. Here’s what to get for a ‘W’ or ‘W/S’ code couch.

Your Shopping List:
- A good vacuum with a crevice tool and a soft-bristled upholstery attachment.
- Several clean, white microfiber cloths. White is non-negotiable—it shows you if you’re lifting dirt or accidentally pulling dye from the fabric. You can get a pack for $10-$15.
- A soft upholstery brush. This will run you about $10. In a pinch, a new, clean, soft-bristled shoe brush can work too.
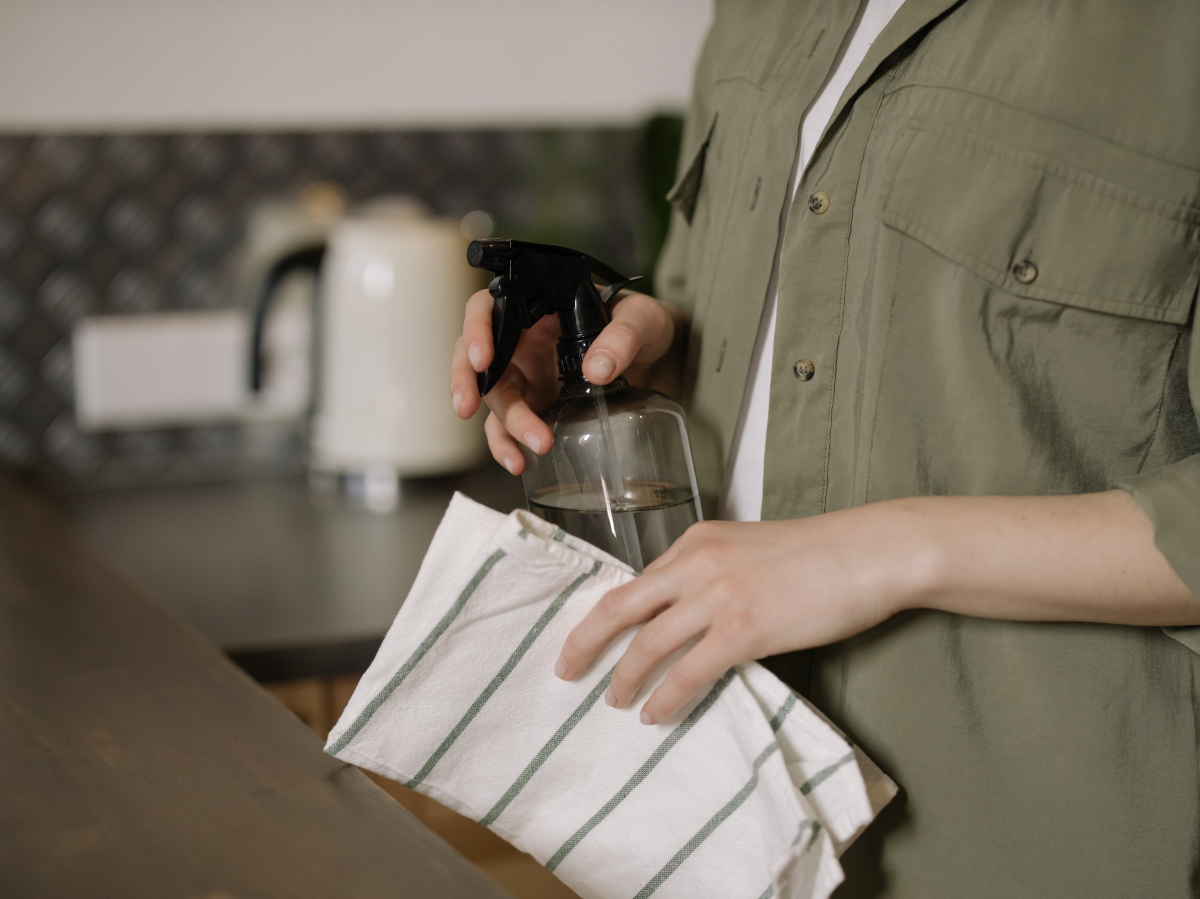
- Two spray bottles, clearly labeled for your cleaning solution and your rinse water.
Safe & Simple DIY Cleaning Mixes:
- For General Cleaning: Mix 1 teaspoon of clear, unscented dish soap into 2 cups of distilled water. Don’t use colorful soaps, as their dyes can bleed. And yes, distilled water is important! The minerals in regular tap water can leave a chalky film on your fabric after it dries.
- For Deodorizing & Light Stains: A simple 50/50 mix of white vinegar and distilled water works wonders. It helps break down minor stains and zaps odors. The vinegar smell completely vanishes as it dries, I promise.
Oh, and what about that portable carpet cleaner you have, like a Bissell Little Green? Yes, you can use it! They are fantastic for the final rinse and extraction step. The big warning here is that it’s very easy to over-wet the fabric with these machines if you’re not careful. Use the spray trigger sparingly and focus on using the machine’s powerful suction to pull the water back out.

The Pro’s Step-by-Step Cleaning Method
This is the system. Follow it in order, and you’ll avoid the most common pitfalls.
Step 1: The All-Important Dry Soil Removal
I can’t stress this enough: about 80% of the gunk in your couch is dry stuff like dust, pet dander, crumbs, and sand. If you add liquid before getting this out, you’re just making mud. Start with your crevice tool and go deep into every single seam. Then, switch to the soft brush attachment and vacuum every square inch of fabric with slow, overlapping strokes. Take your time. A thorough vacuuming can dramatically improve the look of your couch all by itself.
Step 2: Pre-Testing (Don’t You Dare Skip This)
Pick that hidden spot we talked about earlier. Apply a tiny bit of your cleaning solution with a white cloth, wait about 10 minutes, then blot it firmly with a dry part of the cloth. Look for any color transfer on the cloth or any changes to the fabric’s color or texture. If it looks good, you’re cleared for takeoff.
Step 3: Pre-Treating Nasty Spots
Tackle individual stains before you clean the whole thing. For a greasy pizza spot, use your soap solution. For a coffee drip, the vinegar solution is a good first try. Apply the cleaner sparingly and use your soft brush or a cloth to gently work it in from the outside of the stain toward the middle. This stops it from spreading. Let it sit for 5-10 minutes.
Heads up for pet owners: For pet urine, you need to bring in the big guns. Regular cleaners won’t cut it. You need an enzymatic cleaner, which you can find at any pet store. These cleaners release enzymes that literally eat the odor-causing bacteria. For this to work, you often need to saturate the spot so the cleaner can reach the cushion foam underneath—just follow the product’s directions carefully.
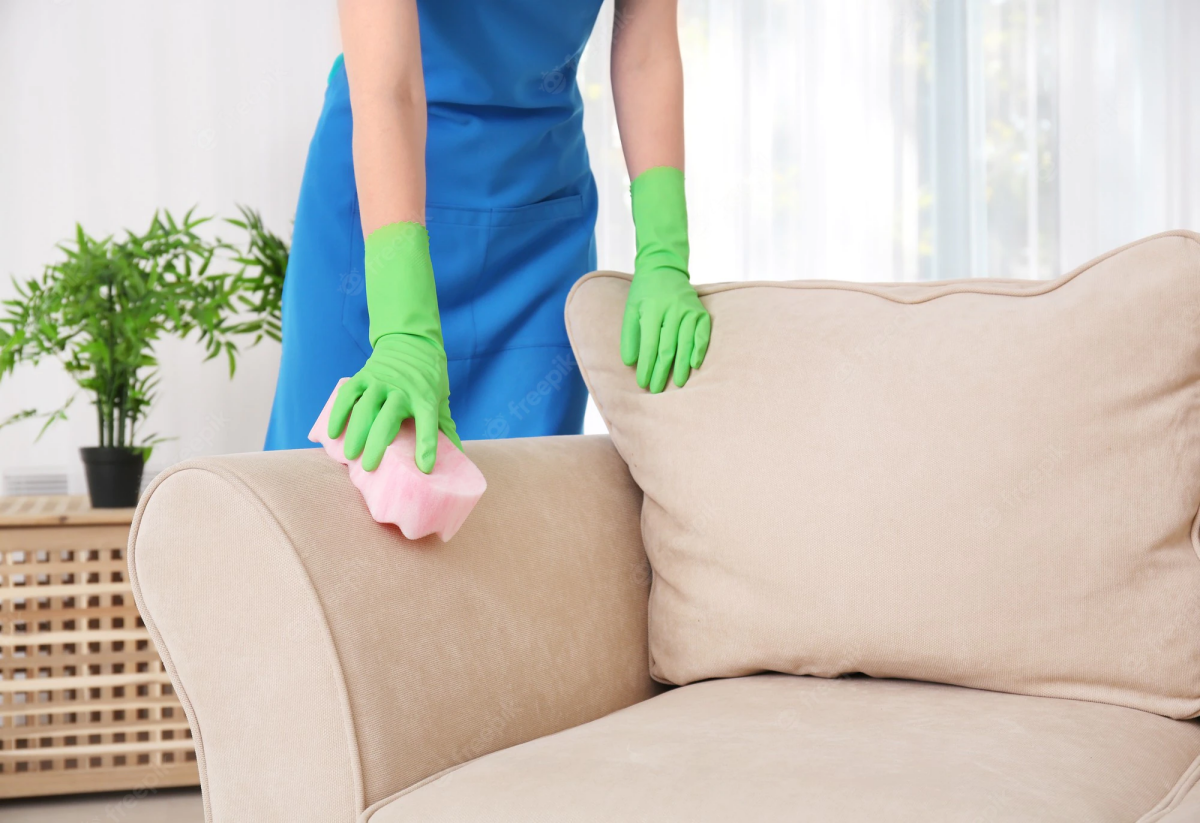
Step 4: The Main Event (Spray, Agitate, Blot)
The key here is control. You want to clean the fabric, not the stuffing. Work in small, manageable sections, like one cushion or one armrest at a time.

- Spray: Lightly mist the section with your cleaning solution. It should be evenly damp, like morning dew, not soaking wet.
- Agitate: Immediately use your soft brush to gently scrub the area in light, overlapping circles. This breaks the bond between the dirt and the fibers.
- Blot: Take a clean, dry microfiber cloth and press down firmly to soak up the dirty solution. Keep folding your cloth to a clean, dry section and repeat until it comes up mostly dry.
Step 5: The Rinse (The Step Everyone Skips)
This is the secret to a professional finish. Leftover soap residue is sticky and will attract new dirt, making your couch look dingy again in no time. Fill a clean spray bottle with plain distilled water. Lightly mist the section you just cleaned, and then blot it thoroughly with a fresh, dry microfiber cloth. You’ll be amazed at how much more dirt comes out.

Drying, Grooming, and Troubleshooting
Proper drying is just as critical as the cleaning itself. To speed things up and prevent problems, aim fans directly at the couch and open some windows for a cross-breeze. A dehumidifier is a huge help, especially in humid climates. The couch should feel dry to the touch in 2-4 hours but give it a full 12 hours before anyone sits on it. Whatever you do, don’t use a hairdryer—the concentrated heat can damage the fibers.
By the way, if you have a polyester velvet or microsuede, the fibers (called the ‘nap’) can look matted after cleaning. While it’s still slightly damp, just take your dry upholstery brush and gently brush the nap in one uniform direction to restore that soft, velvety look.
Oops! A Quick Fix-It Guide
Sometimes, even with the best intentions, things can go a little sideways. Don’t panic.
- If you see water rings or browning… This is called “wicking.” It means dirt from deep inside the padding was pulled to the surface as it dried. The fix, ironically, is more water. Using a spray bottle of distilled water, you need to re-dampen the entire cushion or section from seam to seam. This eliminates the hard edge. Then, focus on drying it as fast as possible with fans.
- If the fabric feels stiff or crunchy… That’s just leftover soap residue. You probably skipped or rushed the rinse step. No big deal. Just go back over the area: lightly mist with plain distilled water and blot thoroughly with a clean, dry towel. Repeat until the crunchiness is gone.
Keeping It Clean & When to Call for Backup
Want a quick win? The single best thing you can do for your couch is a “5-Minute Refresh.” When you don’t have time for a full clean, just do Step 1. A deep, thorough vacuuming of every crevice and surface makes a massive difference you can see and feel immediately.
For long-term protection, you can use a fabric protector spray. I’ve seen good results with products like Scotchgard for Upholstery. It creates an invisible shield that helps repel spills, giving you more time to clean them up. Just be sure to test it in a hidden spot first!
So, is a DIY clean worth it? For a ‘W’ code couch with general dirt, absolutely. You can get all the supplies you need for under $40. On the other hand, hiring a certified professional will likely cost between $150 and $300 for a standard sofa, depending on where you live and its condition. The trade-off is clear: you save money doing it yourself, but you invest your own time and assume a bit of risk. A pro costs more but offers expertise, powerful equipment, and peace of mind.
You should seriously consider calling a pro if:
- Your couch has that dreaded ‘S’ or ‘X’ code.
- You’re dealing with a massive, set-in stain.
- You already tried to clean a spot and made it worse.
- The piece has huge sentimental or monetary value.
A true professional will always inspect the couch, identify the fabric, and explain their plan before they start. At the end of the day, respecting the fabric is the key. Do that, and your couch will look great for years to come.
Galerie d’inspiration


What about those lingering smells from pets or last night’s takeout?
Before you reach for a perfumed fabric spray that just masks the odor, try this professional trick. After vacuuming, lightly sprinkle baking soda over the entire couch. Let it sit for at least an hour (or even overnight if you can) to absorb the unwanted smells. Then, thoroughly vacuum it up using your upholstery brush attachment. It neutralizes odors at the source without adding chemicals or risking a stain on a sensitive ‘S’ or ‘X’ code fabric.

Pilling—those tiny, fuzzy balls—is caused by friction on the fabric, not necessarily by age or quality. It’s most common on high-traffic areas like cushions and armrests.
Resist the urge to pull them off, which can damage the weave. The most effective weapon in your arsenal is an electric fabric shaver. A good quality one, like the Gleener Ultimate Fuzz Remover or a Conair Fabric Defuzzer, will safely shear off the pills without snagging the threads underneath, instantly making your couch look new again.
For a ‘W’ or ‘W/S’ code couch, your cleaning solution is key. While many commercial cleaners work, a simple and effective DIY mix can be made with items you already have. Here’s a tried-and-true recipe:
- Mix two cups of distilled water (it prevents mineral deposits and water spots).
- Add one tablespoon of a clear, gentle dish soap, like Dawn Free & Clear.
- Add one tablespoon of white vinegar, a natural cleaning agent.
Always test on a hidden spot first! Apply with a white microfiber cloth, blot gently, and never oversaturate the fabric.


