Your Leather Couch Is Begging for Help: Here’s How to Clean It Right
Over the years, I’ve seen it all when it comes to furniture. I’ve been called in to look at leather couches that have been the heart of a home for generations, and I’ve seen brand-new ones nearly ruined by well-meaning but totally wrong cleaning attempts. The one thing I hear constantly is, “But I thought leather was tough!” And it is, but it’s not invincible. At the end of the day, leather is a natural material—it’s skin. And just like skin, it needs a specific kind of care to age well.
In this article
So many of us buy a leather sofa for its durability and timeless style. We’ve all heard how it gets better with age, which is true… to a point. A well-maintained sofa develops a gorgeous patina, that soft sheen and gentle wear that tells a story. A neglected one? It just looks dirty, cracked, and tired. The difference is all about proper, consistent maintenance. This isn’t about aggressive scrubbing once a year; it’s about understanding what you’re working with.
This guide is the exact process I’ve used and taught for years. It’s not about quick hacks, but about respecting the material. We’ll get into how to figure out what kind of leather you have, the tools you actually need, and the methods that will keep your investment looking its best for a very long time.
First Things First: Know Your Leather
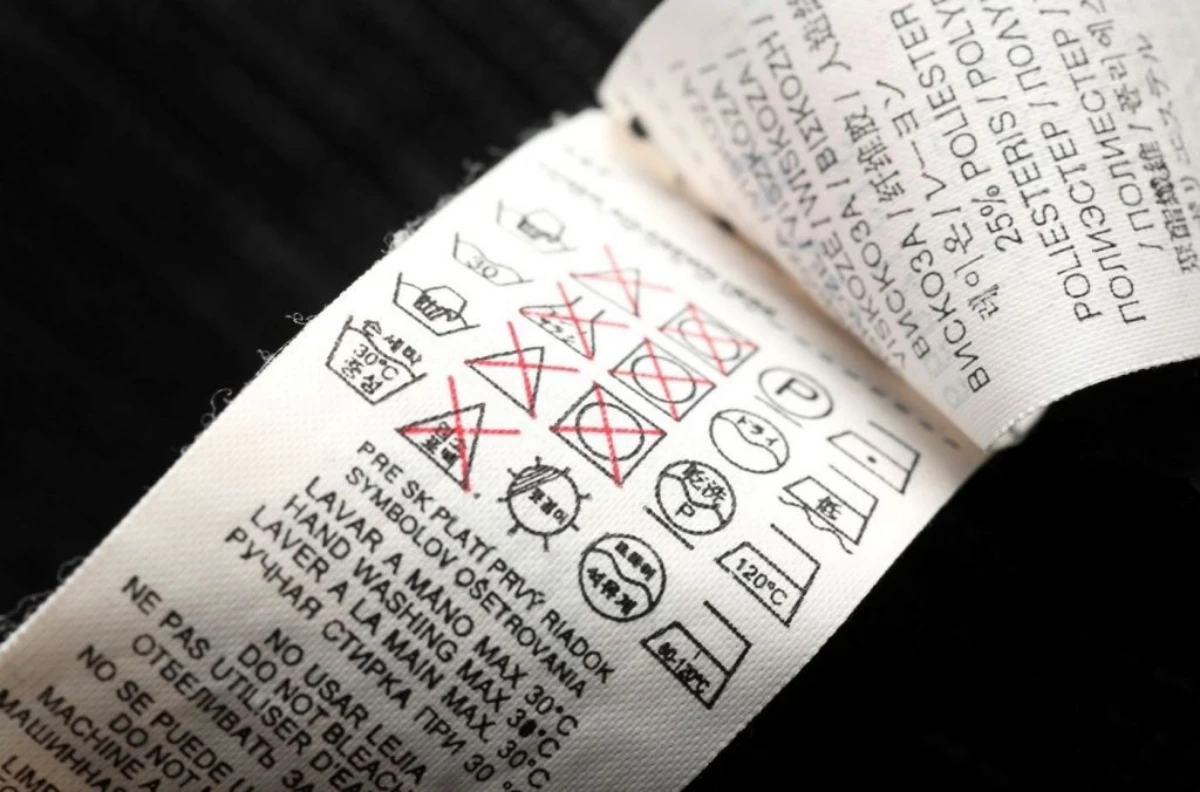
Before a single drop of cleaner touches your couch, you absolutely have to know what kind of leather you’re dealing with. Honestly, this is the most critical step, and it’s where most people go wrong. The little tag on your furniture might give you a hint, but those cleaning codes (like W, S, or X) are often way too generic.
Seriously, go find a hidden spot on your couch right now—under a cushion or on the frame—and do this simple test. I’ll wait. It’s that important.
Just place a single drop of clean water on the surface:
- If the water soaks in immediately and darkens the leather, you have aniline (or unprotected) leather. This is the most natural, buttery-soft type. It’s also incredibly porous and stains if you so much as look at it wrong. It’s beautiful, but not the best choice for homes with kids or pets.
- If the drop sits on the surface for a minute or two before it starts to slowly soak in, you probably have semi-aniline leather. This is a great middle-ground option. It has a very thin protective coating that gives you a little time to clean up spills without masking the natural grain.
- If the water drop beads up and stays there indefinitely, you have pigmented (or protected) leather. This is the most common and durable type used for family furniture. It’s coated with a flexible, pigmented finish that offers excellent protection against stains and fading. It feels a bit cooler and less soft than the others.
Understanding this difference is everything. Using a water-based cleaner on aniline leather can create a massive stain, while using the wrong product on pigmented leather can strip its protective coat, leading to peeling down the road.
Heads Up! A Quick Word on “Bonded Leather”
Oh yeah, and then there’s bonded leather. A lot of people have it and think it’s the real deal, but it’s not. It’s basically a composite material made from leather scraps and fibers bonded together with polyurethane onto a backing. If your “leather” furniture is peeling or flaking in big patches, you likely have bonded leather. Unfortunately, the methods in this guide won’t fix that, as the problem is the material itself failing, not a lack of conditioning.
The Pro’s Shopping List: What You Actually Need
I’ve seen people use dish soap, window cleaner, and even those magic eraser sponges on leather. Please, don’t do this. They can cause permanent damage. Here’s what the pros rely on, and it won’t break the bank.
- High-Quality Microfiber Cloths: You need at least three—one for cleaning, one for rinsing, and one for buffing. Good ones grab dirt without being abrasive. You can get a solid pack for about $10-$15.
- Soft-Bristled Brush: A small horsehair brush is perfect for getting dirt out of the seams and grain without scratching the finish. Don’t use a stiff nylon brush! This will set you back about $10.
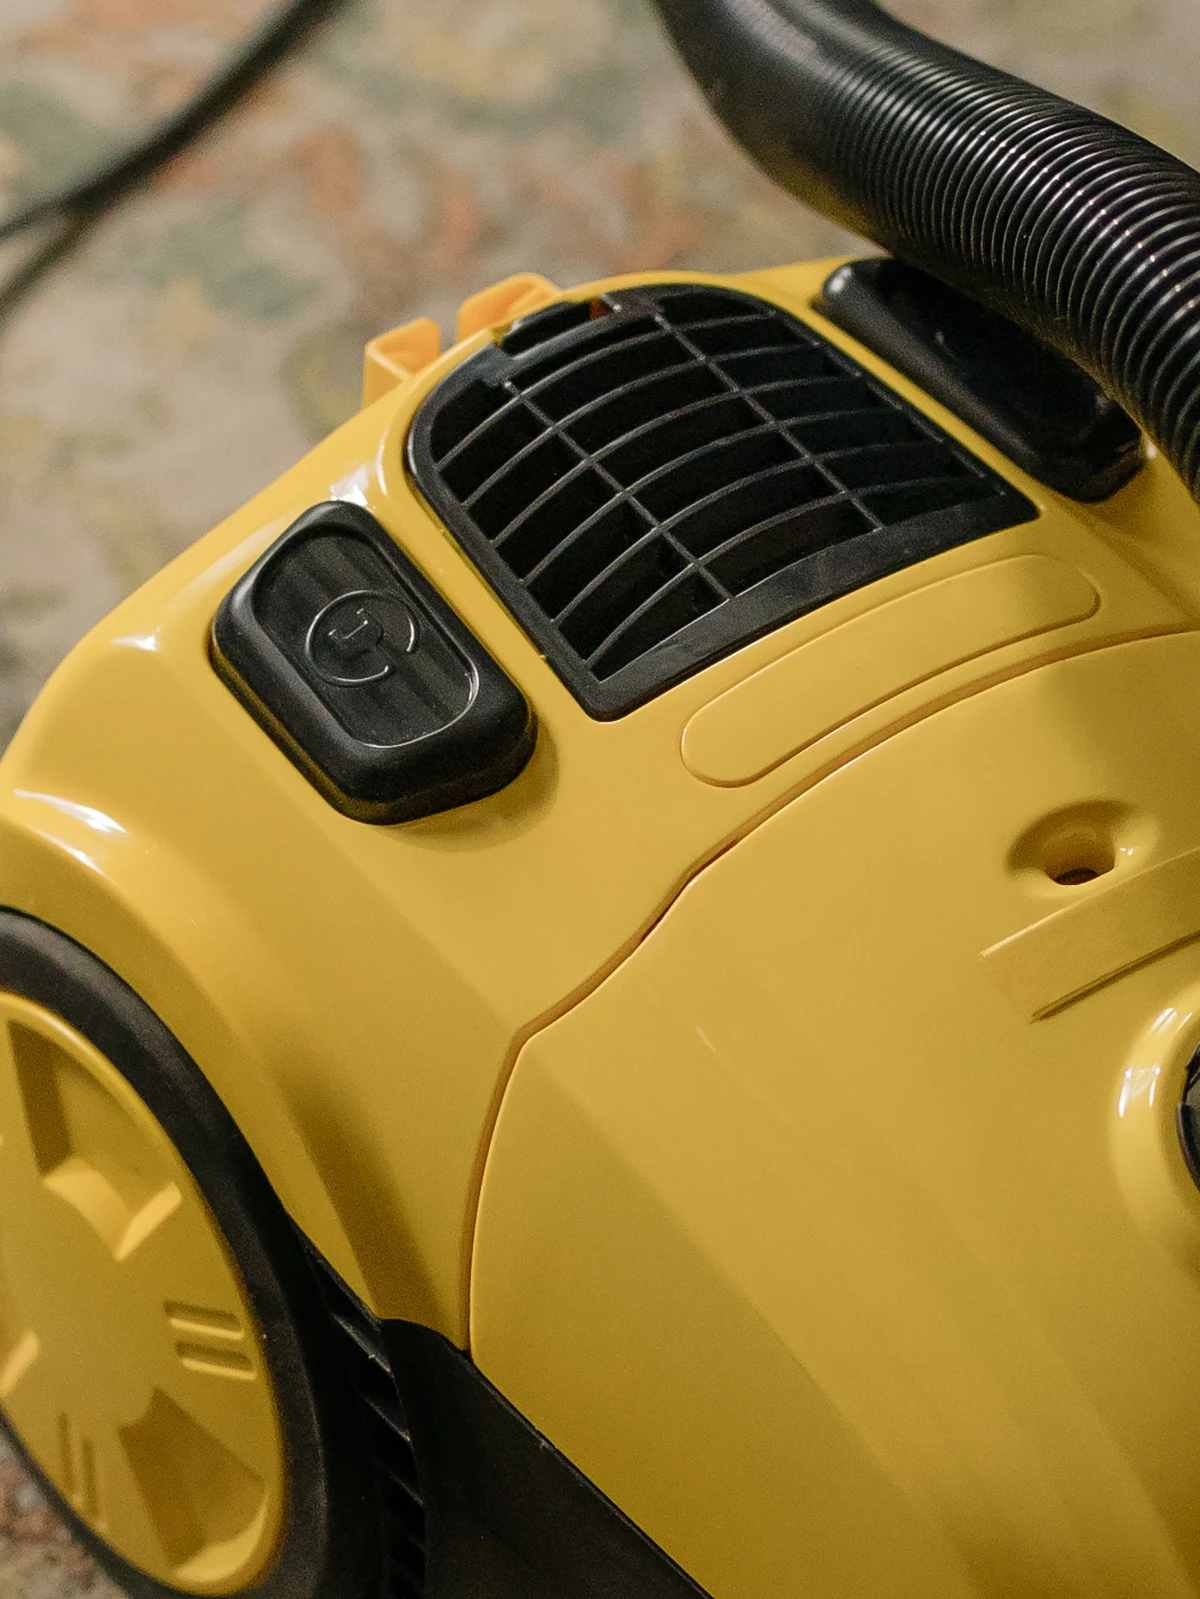
- Vacuum with a Soft Brush Attachment: Essential for pulling up dust and crumbs without scuffing the surface. That hard plastic crevice tool is for seams only.
- pH-Neutral Leather Cleaner: This is non-negotiable. Leather’s natural pH is acidic, and alkaline cleaners (like most household sprays) strip its natural oils, making it brittle. I’ve had consistently good results with brands like Lexol, Leather Honey, or Chemical Guys. You can find them online or in auto-detailing shops for $15-$25 a bottle.
- A Good Leather Conditioner: This isn’t just for shine; it rehydrates the leather. Avoid products with silicone or petroleum, which just create a greasy seal. Instead, look for conditioners with natural oils or lanolin-based creams that actually nourish the hide. Expect to spend another $15-$25.
- Distilled Water: Always use distilled water for mixing or rinsing. Tap water contains minerals that can leave chalky white spots, especially on dark leather. A gallon is only a couple of bucks.
So, all in, you’re looking at an investment of around $50 to $75 for a complete toolkit. A pretty small price to pay to protect a sofa that probably cost a few thousand, right?
The Deep Cleaning Method: A Step-by-Step Guide
For a standard three-seater sofa, plan on giving yourself a good 90 minutes. Rushing is how mistakes happen. You’ll want to do this kind of deep clean once or twice a year, depending on how much use it gets.
Step 1: The Dry Dust-Off
First, take off all the cushions. Use your vacuum’s crevice tool to get into every single nook and cranny. You’ll be amazed at what you find. Then, switch to the soft brush attachment and go over every surface—cushions, frame, back, and sides. If you skip this, you’ll just be grinding that loose dirt into the leather when you start cleaning. No thanks.
Step 2: The Critical Spot Test
I can’t stress this enough: always test your cleaner first. Pick a hidden spot, like on the back near the floor. Apply a small amount of cleaner to a cloth, gently rub it on, and let it dry completely. If there’s no color change or damage, you’re good to go. If you see any weird reaction, stop. You’ve either got the wrong product or very sensitive leather.
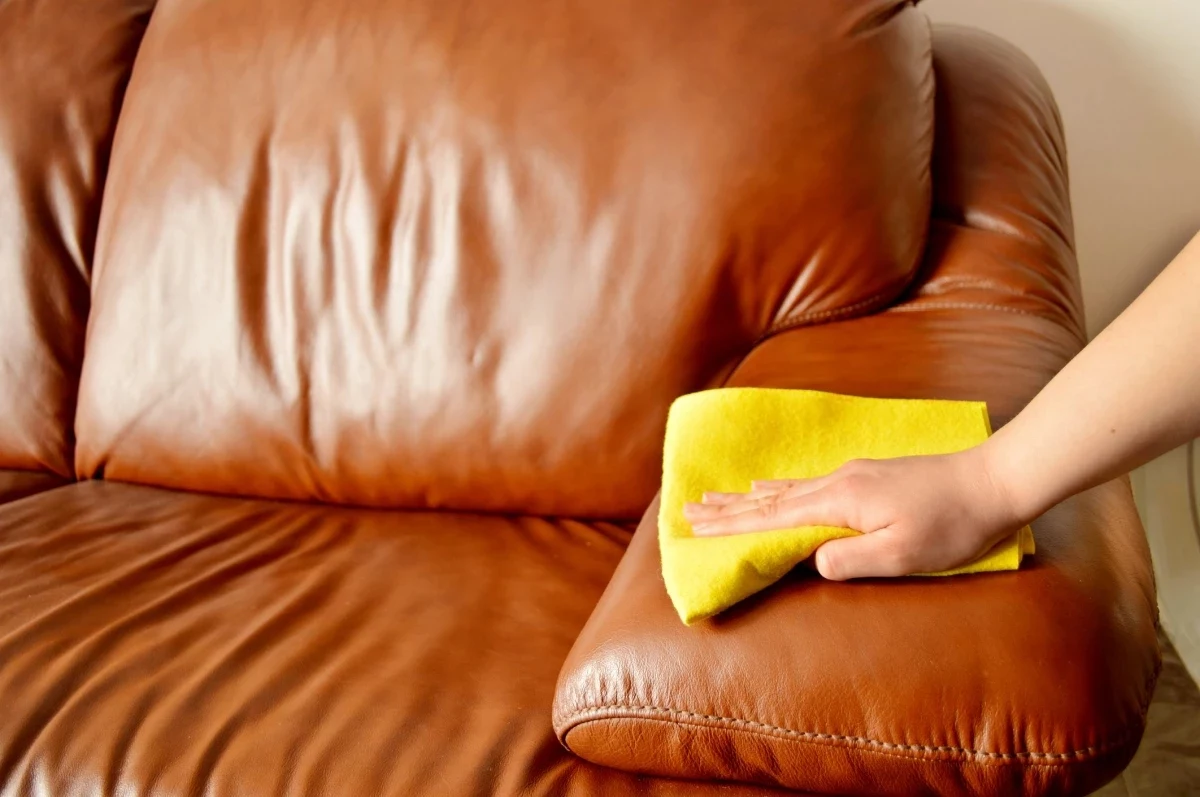
Step 3: The Clean, Rinse, Buff Method
Work in small, manageable sections, about two-foot by two-foot. My method is to always work from top to bottom.
- Apply & Clean: Lightly spray the cleaner onto your first microfiber cloth (never directly on the sofa!). Gently wipe the section in overlapping circles. If the leather is textured, use your soft brush to work the cleaner into the grain. Don’t scrub; let the product do the work.
- Rinse Wipe: Immediately take your second cloth, dampen it with distilled water, and wring it out well. Wipe the section you just cleaned to remove any cleaner residue. This prevents that sticky, hazy film.
- Dry & Buff: With your third, totally dry cloth, buff the area dry. This prevents water spots and brings up a nice, natural sheen.
Just repeat this process—clean, rinse, buff—section by section until the whole piece is done. Consistency is key for a uniform look.

Oops… How to Handle Common Spills and Stains
Patience is your best friend here. Going at a stain aggressively will almost always damage the finish and make things worse.
- Grease and Oil Stains: Common from food or even hair products. Blot any excess with a paper towel (don’t rub!). Then, cover the stain with a generous pile of cornstarch or talcum powder. Let it sit for at least four hours, or even overnight. The powder will slowly pull the oil out. Vacuum it off with the soft brush. You might need to do this a few times.
- Ink Stains: Ink is a nightmare. On protected (pigmented) leather, a specialized leather ink remover stick can sometimes work if you catch it fast. A cotton swab lightly dampened with isopropyl alcohol is a last-ditch effort, but it’s risky because alcohol can strip the finish and color. Always test it first! On unprotected aniline leather, an ink stain is pretty much a job for a professional.
- Light Pet Scratches: For those minor surface scratches from a cat’s claws, a good conditioner can sometimes work wonders. By rehydrating the leather, it can plump up the fibers and make the scratch much less noticeable. For deep gouges where the hide is cut? That’s a pro job, don’t try to fill it yourself.
- General Spills (Wine, Coffee): Blot, don’t wipe! Use a dry cloth to absorb as much as you can, working from the outside of the spill inward. On protected leather, this and a quick wipe with a damp cloth is often enough. On unprotected leather, you’re likely to get a dark spot no matter what.

The Final Step: Conditioning to Protect Your Investment
After a deep clean, the leather is clean but also a little stripped of its natural oils. Conditioning puts that moisture and protection back, keeping the hide flexible and preventing cracks. Think of it as moisturizer for your furniture.
Wait a few hours after cleaning to make sure the leather is fully dry. Put a coin-sized amount of conditioner on a soft cloth and work it into the leather in light, circular motions. A thin, even coat is all you need—oversaturating will just make it feel sticky.
Let it sit and soak in for about an hour. Then, take a final clean, dry cloth and give the whole couch a gentle buff. This removes any excess product and leaves a beautiful, healthy luster, not a greasy shine.
Know When to Call in the Pros
Even with perfect care, some things are just beyond a DIY fix. It’s important to know when to put the cloth down and call a specialist.
Reach out to a professional for:
- Cuts, rips, or punctures.
- Widespread color loss from sun-fading.
- Peeling or flaking (a sign of bonded leather failure).
- Large, set-in stains on delicate aniline leather.
A pro restoration service might seem expensive—you can probably expect a quote anywhere from $200 to $500 or more, depending on the job. But when you compare that to the cost of replacing a quality sofa, it’s often a smart move. With a little bit of knowledge and consistent care, your leather furniture can truly serve your family beautifully for decades.
Galerie d’inspiration


My dog loves our leather couch as much as I do, but I’m worried about claws and odors. Any hope?
Absolutely. For minor surface scratches, a good quality leather conditioner like Leather Honey can often diminish their appearance by restoring moisture. For deeper marks, don’t panic. A specialized leather color balm kit, such as those from Furniture Clinic, can work wonders. As for pet odors, first wipe the area with a solution of equal parts water and white vinegar (on protected leather only!), then follow up with a proper leather cleaner. The key is to address issues promptly and always finish with a conditioner to keep the material supple and resilient.

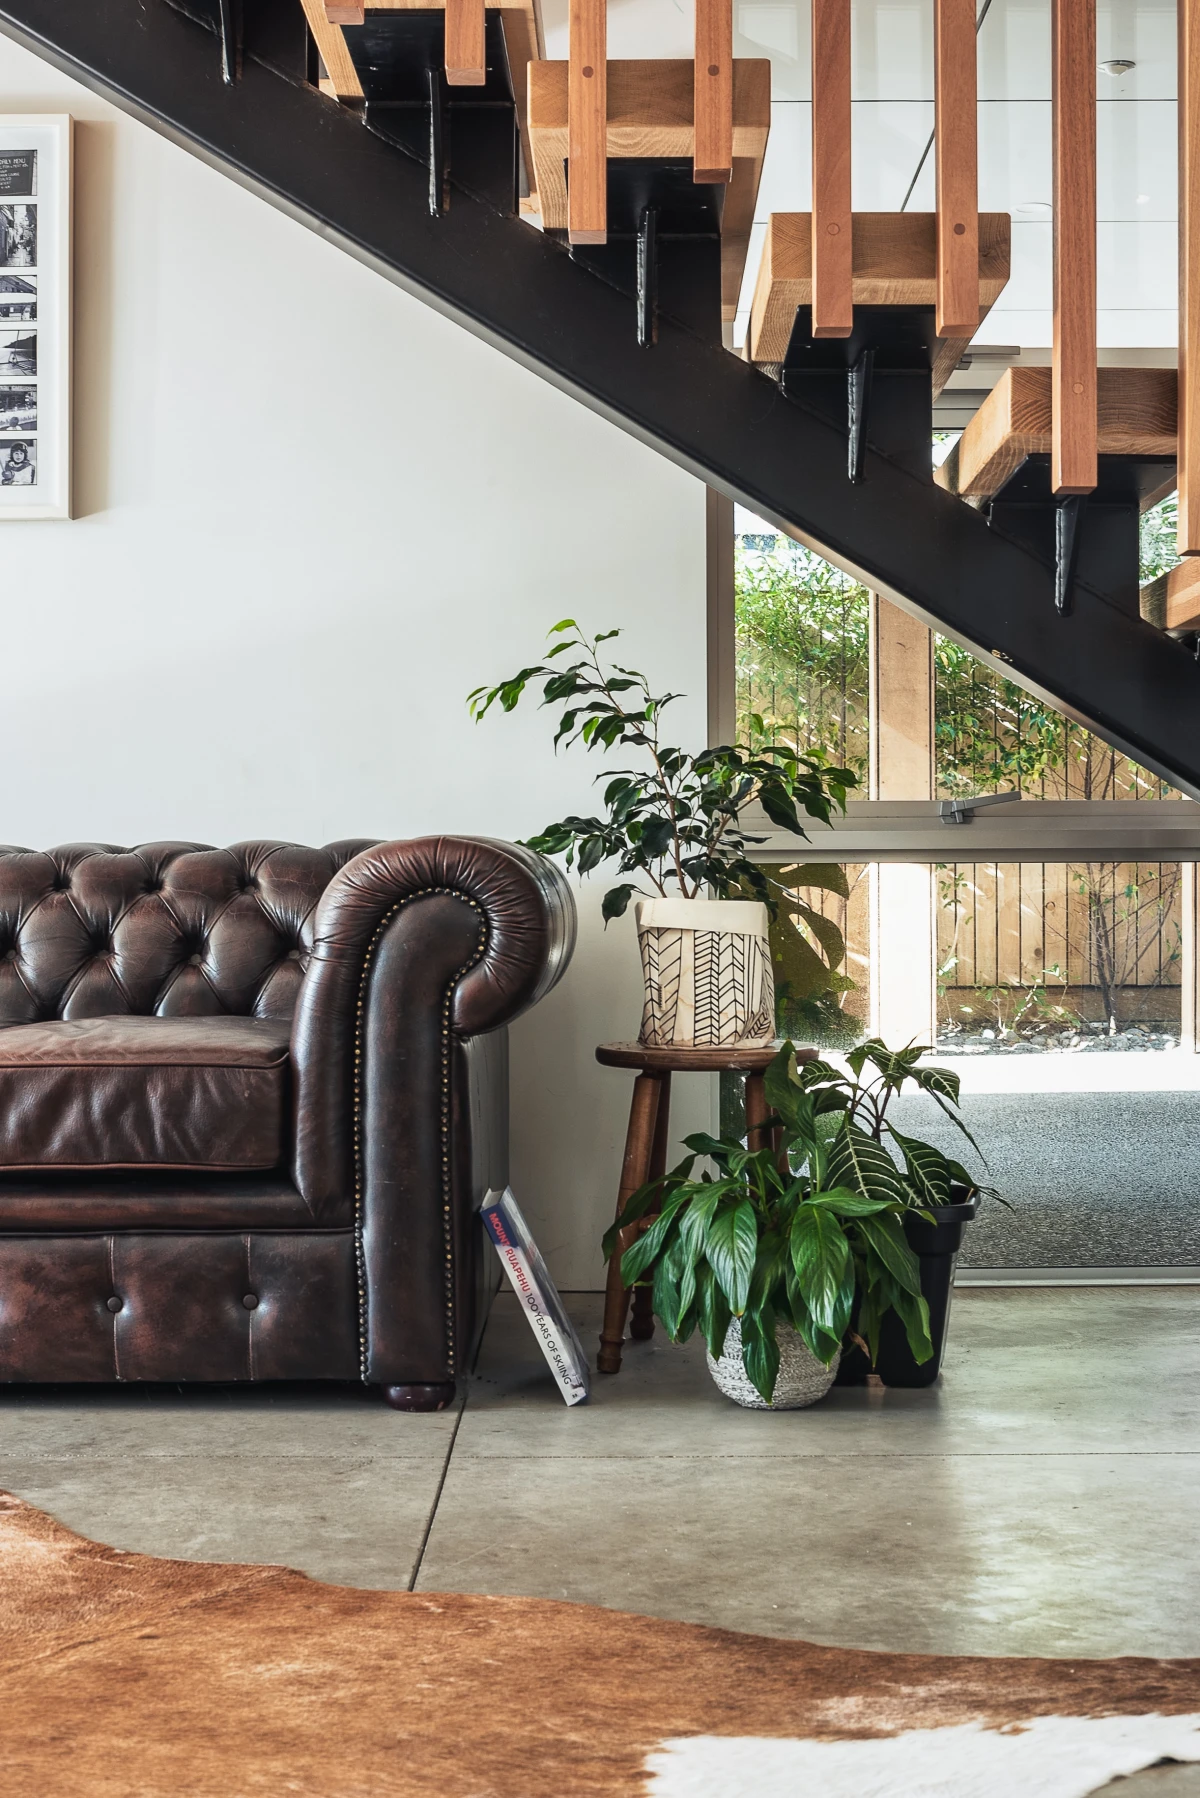
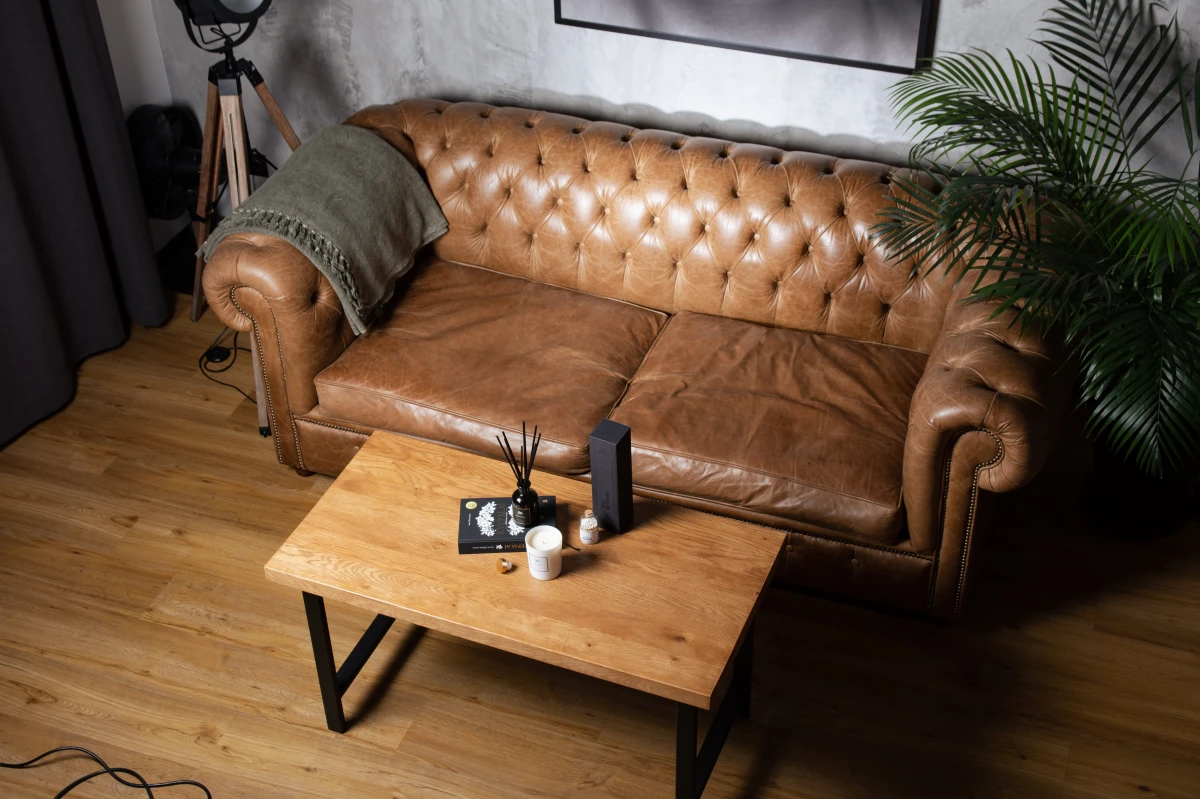
A classic leather sofa is a powerful design anchor. To prevent it from overwhelming the room, play with contrasting textures and colors.
- Soften Up: Juxtapose the sleek leather with soft materials. Think velvet cushions, a chunky knit throw, or a faux fur rug.
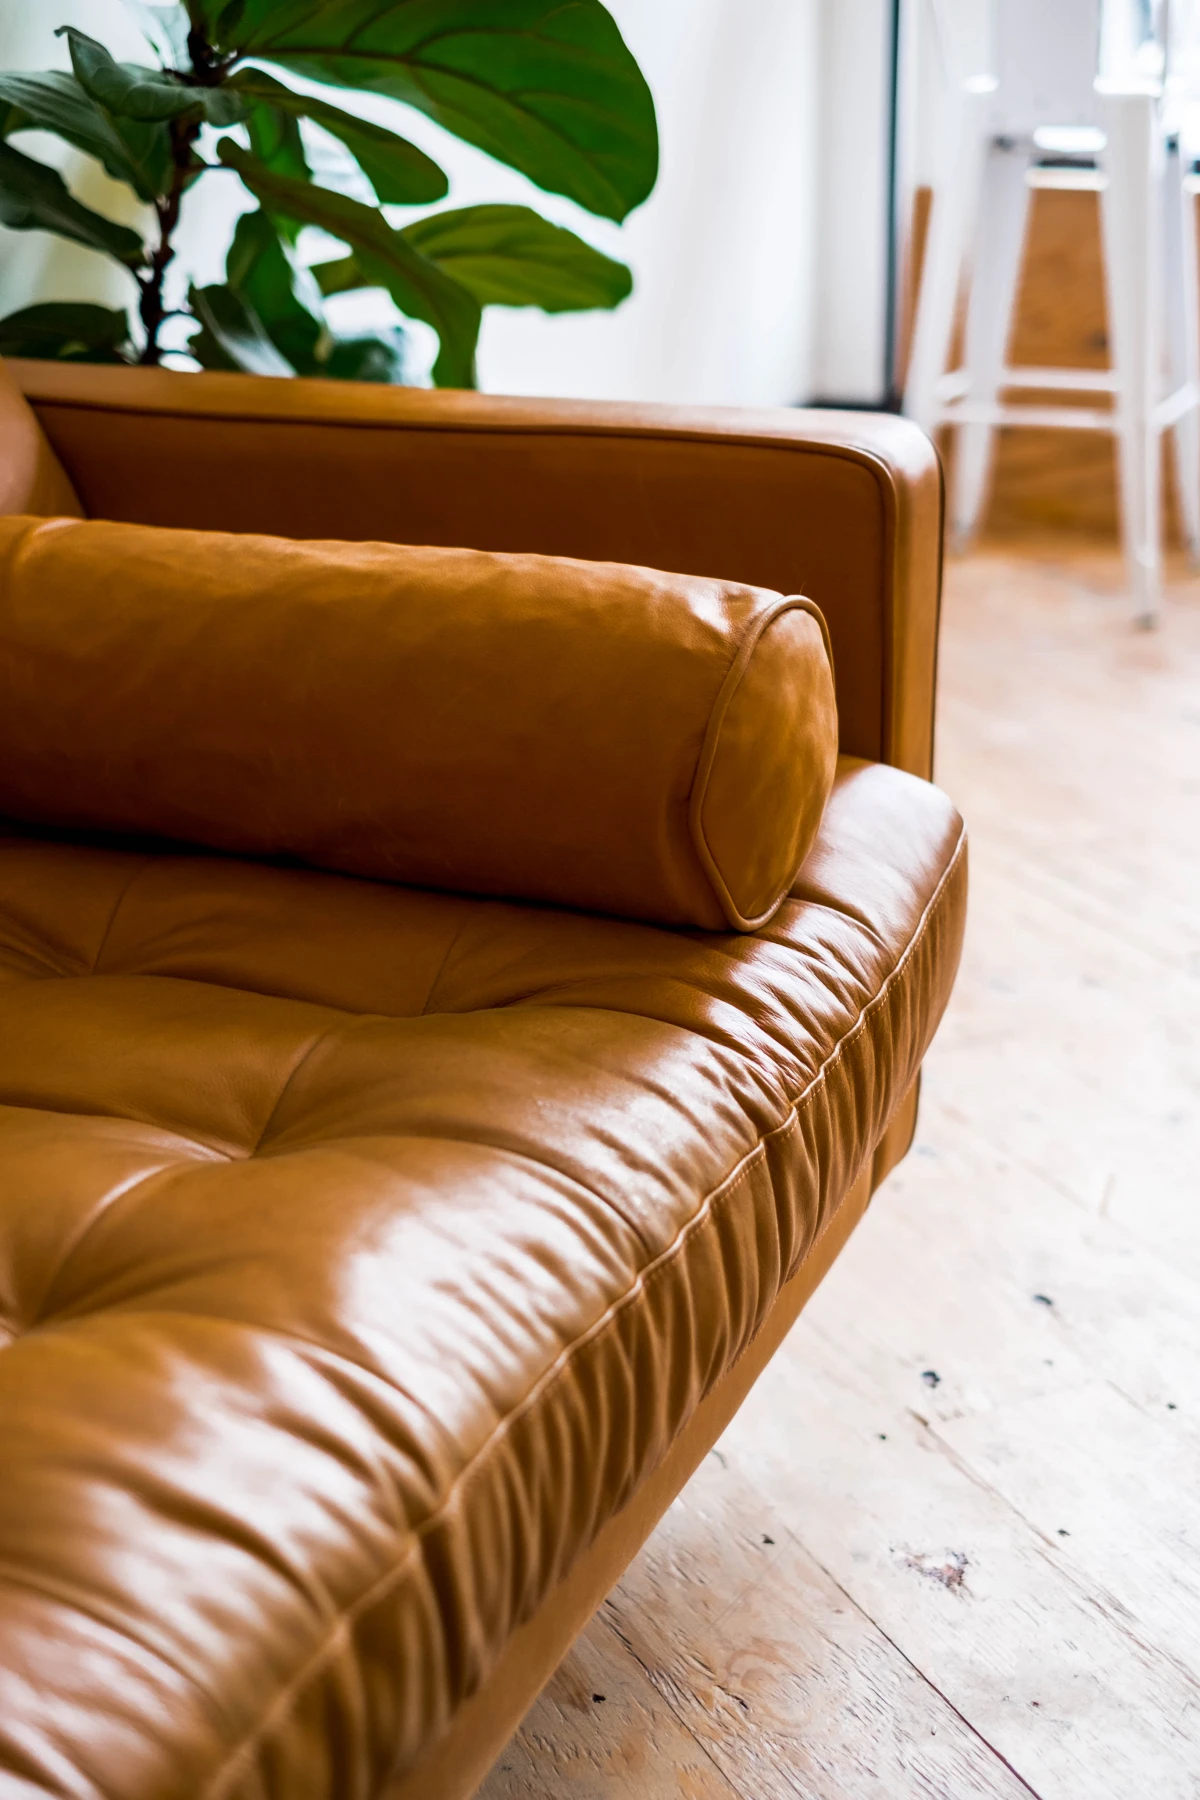
- Go Green: Position a large, leafy plant like a Fiddle Leaf Fig or a Monstera nearby. The organic shape and vibrant green create a stunning natural contrast.
- Warm the Floor: A vintage-style rug, perhaps a Persian or a geometric Kilim, can ground the sofa and add a layer of warmth and pattern.
More than any spill or stain, direct sunlight is the number one cause of irreversible damage to leather furniture.
It’s a silent destroyer. UV rays act like a constant drain, slowly pulling the natural oils and moisture out of the hide. This leads to dramatic fading—especially on darker aniline leathers—and eventually causes the surface to become brittle and crack. If possible, position your sofa away from south-facing windows or invest in sheer curtains or UV-filtering window film to diffuse the harshest rays. Think of it as sunscreen for your biggest furniture investment.


