The Unsexy Home Upgrades That Actually Pay Off: A Builder’s Inside Guide
After spending my fair share of time on job sites, I’ve seen homeowners pour everything they have into the big, splashy projects. We spend months obsessing over the perfect kitchen island or the dreamiest master bath. But you know what I’ve learned? It’s the small, often-ignored details that truly make a house feel solid and work well for the long haul. These aren’t the glamorous changes you see on home reno shows. These are the foundational upgrades that separate a house that just looks good from a home that is good.
In this article
It’s totally understandable to focus on the pretty finishes. But my job has always been to look a little deeper, at the stuff that prevents headaches down the road. It’s the difference between a paint job that starts peeling in a year and one that looks fresh for a decade. It’s choosing a window that actually lowers your energy bills instead of one that just fills a hole in the wall. So, think of this as the advice I’d give my own family—the real talk about where to put your money for the best return, not in dollars, but in genuine quality of life.

1. It’s Not Just Paint—It’s Armor for Your Walls
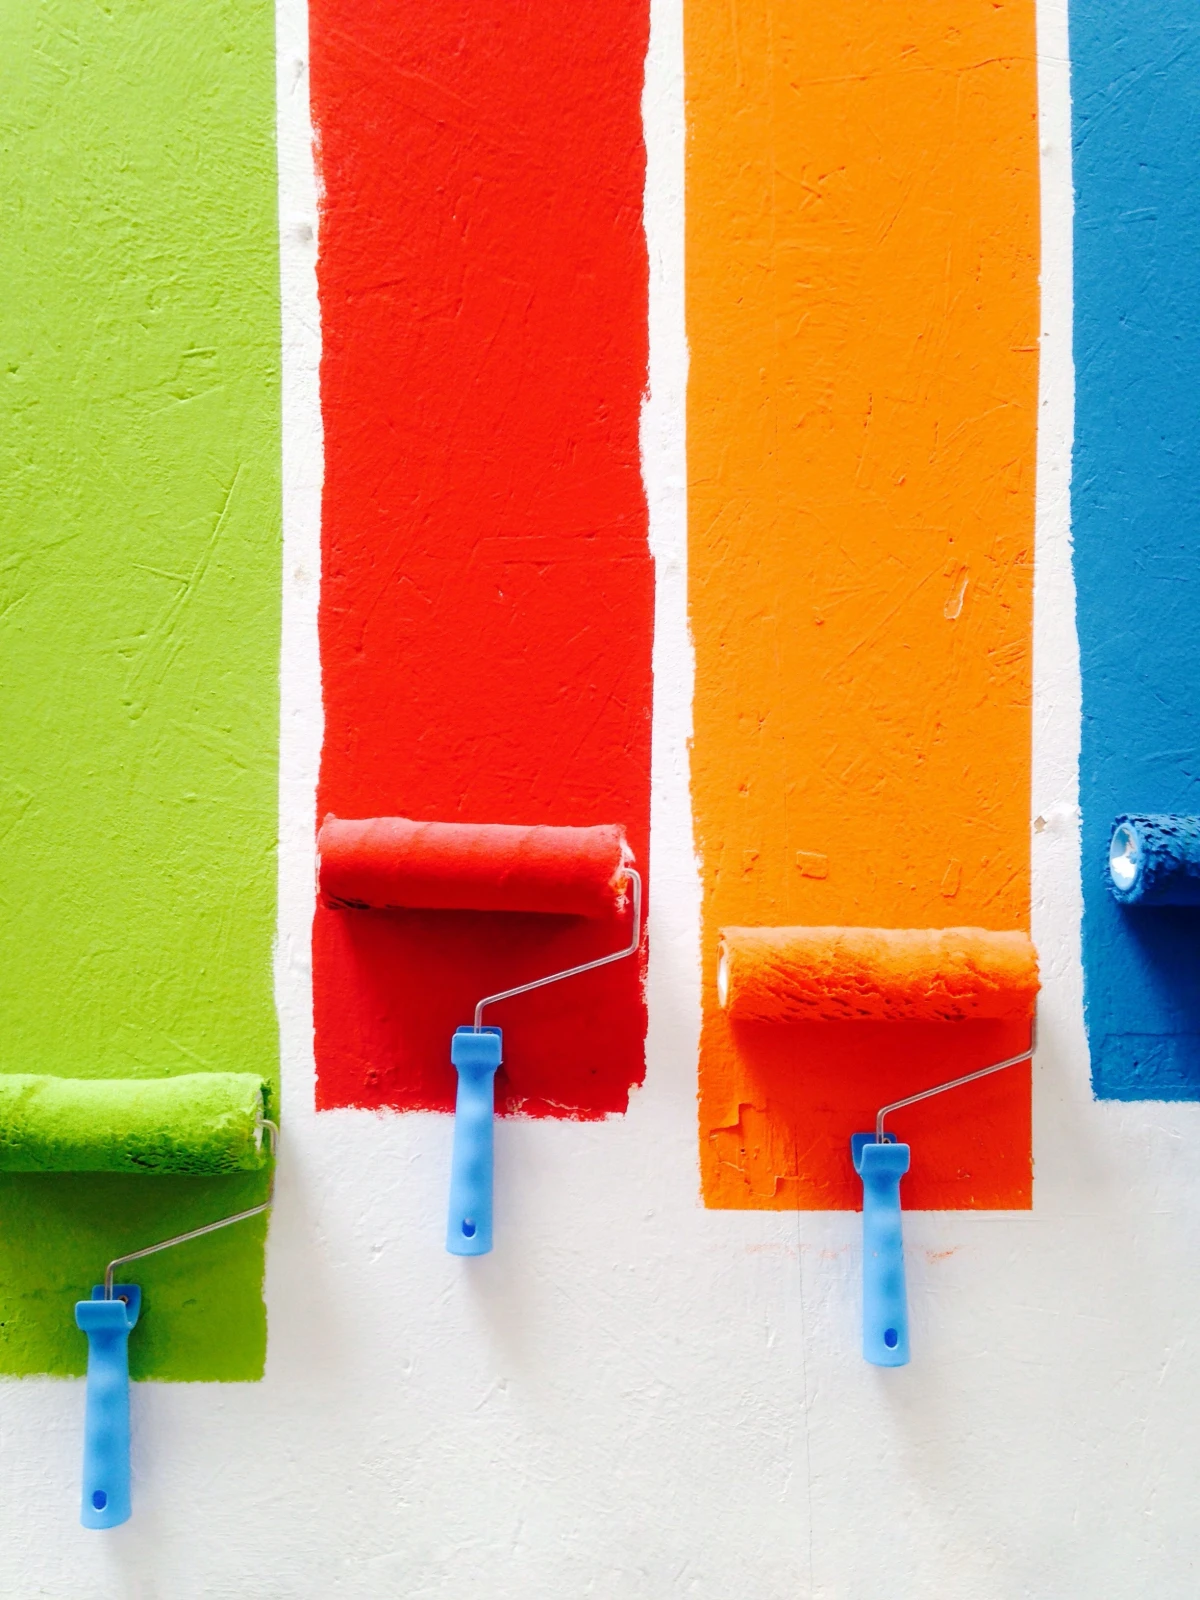
Most folks see painting as a simple cosmetic fix. You see a scuff, you roll on some color, done. But from a professional’s viewpoint, paint is a protective coating first and a color second. Its primary job is to shield whatever is underneath—be it drywall or wood—from moisture, dings, and daily wear. Honestly, a great paint job is about 80% preparation and only 20% actually putting the paint on the wall. This is exactly where most DIY projects go wrong.
Paint doesn’t just sit there; it needs to form a solid bond with the surface. For that to happen, the wall has to be perfectly clean, dry, and stable. Grease from fingerprints, leftover dust, or even cleaning residue can stop the paint from sticking properly. That’s why a brand-new coat of paint can sometimes bubble or peel off in sheets. It’s not bad paint; it’s a failed bond.

Imagine your living room wall. Before, you just roll a new coat of paint over the old one. In six months, you start to see old stains bleeding through, and there are weird shiny and dull spots where the paint didn’t absorb evenly. Now, picture this: you spend three hours prepping—cleaning, lightly sanding, and priming. The new paint job looks absolutely flawless, the color is rich and even, and it’s going to stay that way for the next seven years. That’s the power of prep.
The Pro’s Prep Routine You Can Steal
When my crew preps a room, we don’t cut corners. It’s about doing it right once.
- Real Cleaning: We don’t just use a damp rag. For kitchens or walls in a smoker’s home, you need a serious degreaser. Standard TSP (trisodium phosphate) is the old-school choice, but you can find great, safer modern options like Krud Kutter or Dirtex at any hardware store for under $10 a bottle. The key is to rinse the wall with clean water afterward so no residue is left behind.
- Sanding & Repair: This is non-negotiable. For a simple repaint, a light scuff-sand with 150-grit sandpaper knocks down the gloss and gives the new paint something to grip. When you patch a hole, feather the joint compound out way further than you think you need to. You should be able to run your hand over it with your eyes closed and not feel a thing.
- The Magic of Primer: Primer is not just thin paint; it’s a problem-solver. For covering tough water stains or wood knots that bleed through, a shellac-based primer like Zinsser B-I-N is your best friend. For fresh drywall, you need a dedicated PVA primer to seal the porous paper and mud so your topcoat doesn’t look blotchy. Using the right primer is the most important step, period.
- Flawless Application: When rolling, always keep a “wet edge,” meaning you overlap your last stroke before it has a chance to dry. This prevents those ugly “lap marks.” And please, invest in a good brush. A cheap, $3 plastic-bristle brush will give you a sloppy, frustrating experience. Spend the $15 on a quality angled sash brush from a brand like Purdy or Wooster. It holds more paint, gives you a razor-sharp line when cutting in, and will last for years if you clean it properly.
Heads up on safety! If your home was built before the late 1970s, you have to assume there’s lead paint. Scraping or sanding this stuff creates toxic dust that’s incredibly dangerous, especially for kids. This is one of those times where hiring a certified pro isn’t just a good idea—it’s essential for your family’s safety.
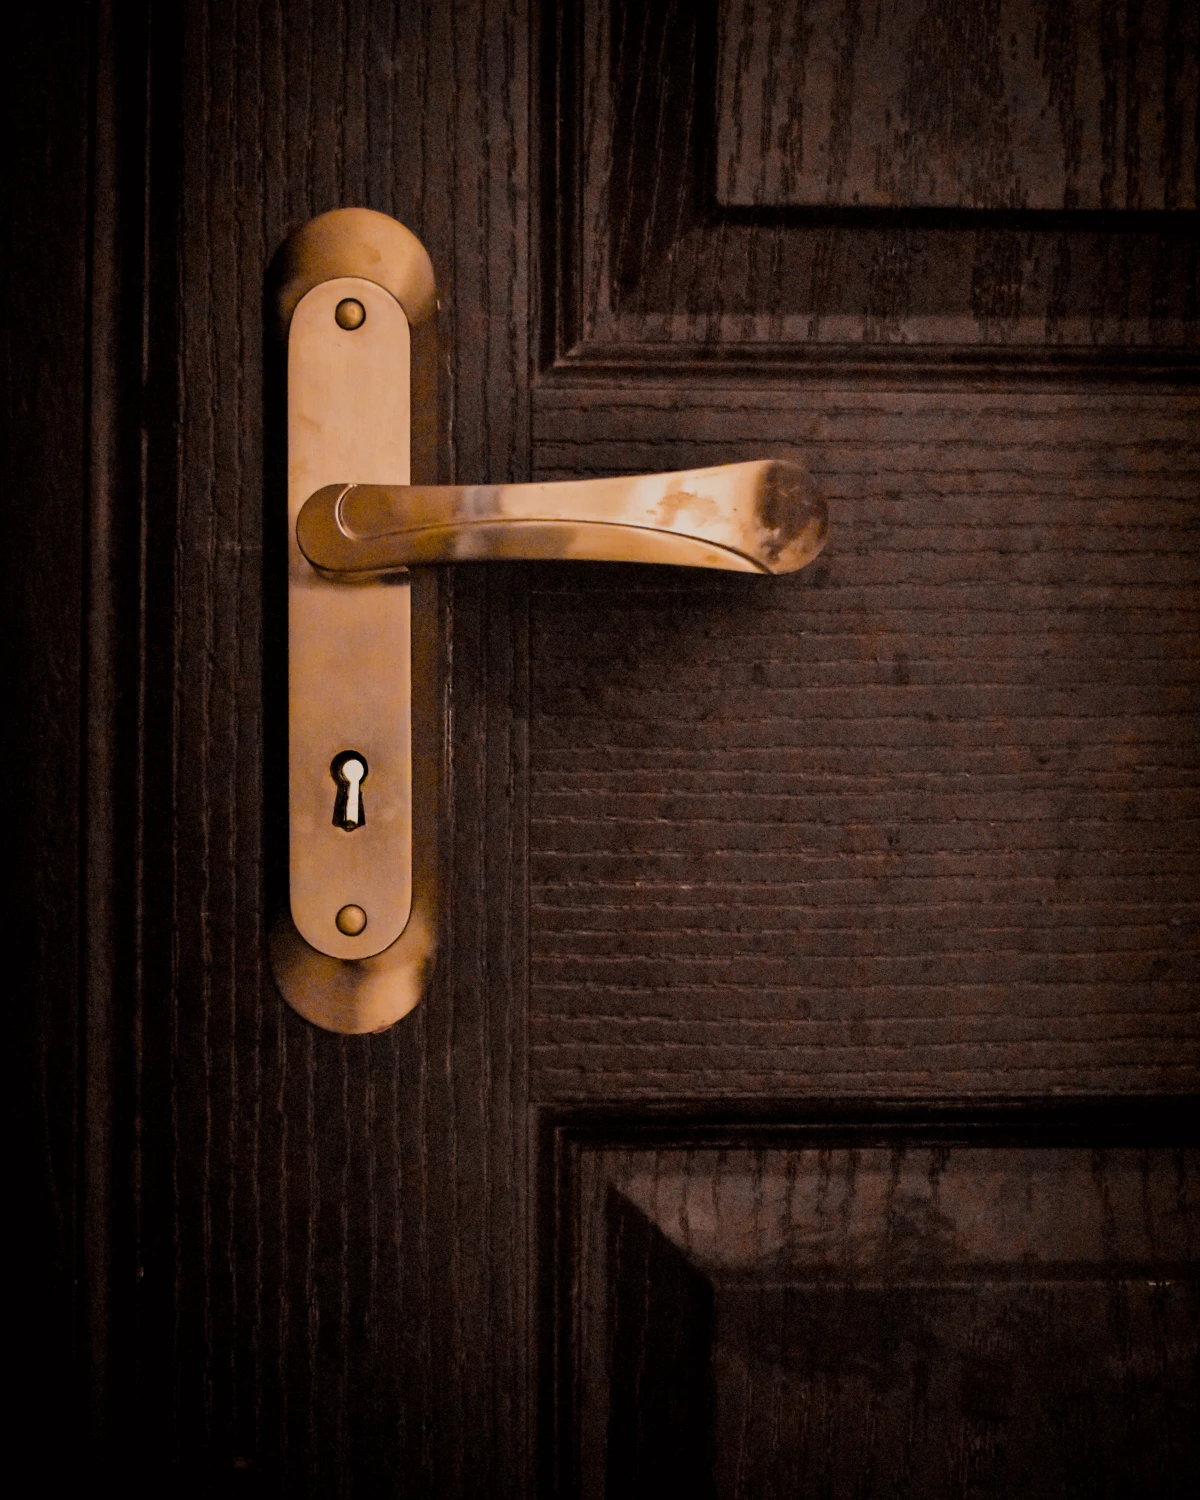
2. Hardware & Fixtures: The Functional Jewelry of Your Home
Swapping out cabinet pulls and doorknobs might seem like a tiny detail, but think about it: these are the parts of your home you touch every single day. Good hardware feels solid and satisfying in your hand. It operates smoothly. Bad hardware feels flimsy, looks cheap after a few months, and eventually just breaks. This upgrade is less about looks and more about improving the daily tactile experience of living in your space.
Materials Make All the Difference
When you’re shopping, the base metal is what determines how long the hardware will last.
- Solid Brass: This is the gold standard. It’s heavy, won’t corrode, and feels substantial. It costs more, but it’s a buy-it-for-life kind of purchase.
- Stainless Steel: Perfect for modern homes and a champ in wet environments like kitchens and baths. It’s tough and resists rust like a pro.
- Zinc Alloy: This is what most budget hardware is made of. A big-box store cabinet pull for $3 is likely zinc. It’s fine for a closet you rarely open, but for your main kitchen drawers, it can feel light and cheap. A solid brass or stainless steel pull you’ll love using every day is probably closer to the $20-$40 range, but you’ll feel the difference. You can find amazing high-quality options online at places like Rejuvenation or Build.com.
Pro Installation Tricks for a Perfect Finish
A common DIY mistake is forgetting to measure the distance between the screw holes on your old cabinet pulls! If your new ones don’t match, you’re suddenly stuck filling and painting over the old holes. Always measure first.
By the way, here’s a 5-minute trick we use on every job to make sure all the handles are perfectly level: make a simple drilling jig. Just grab a small scrap of wood, measure and drill two holes in it at the exact spacing of your new hardware, and clamp it onto each drawer front to guide your drill bit. Perfect alignment, every time.
Oh, and one more thing—for doors, always consider lever-style handles instead of round knobs. They’re a game-changer for anyone with arthritis or even just their hands full of groceries. It’s a small change that makes a home vastly more accessible.
Quick Win for This Weekend: Feeling overwhelmed? Go to Home Depot or Lowe’s and buy ONE nice, solid lever handle for the door you use the most (like the one from the garage). It’ll cost you around $40 and take 20 minutes to install. You’ll immediately feel the difference in quality and it might just inspire you to do more.
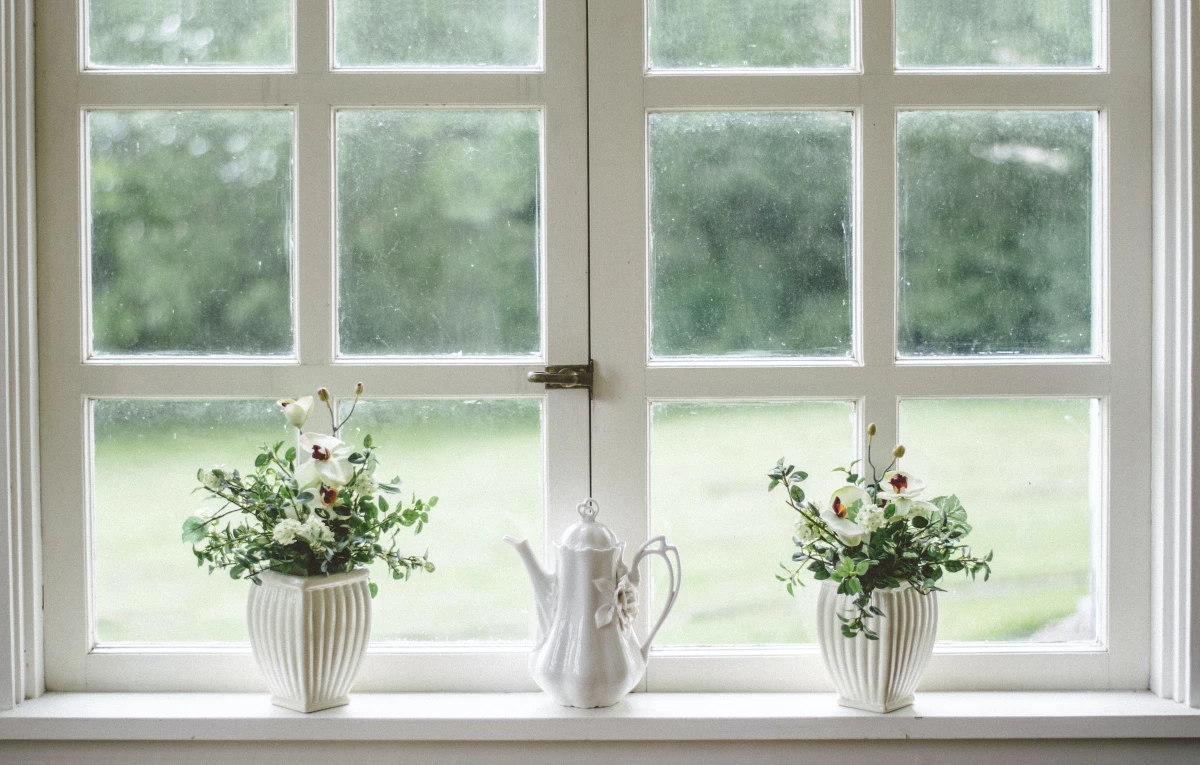
3. Windows: They’re More Than Just a Pretty View
Okay, of all the upgrades on this list, new windows are easily the biggest investment. They are also one of the most impactful. Old, single-pane, or leaky windows are basically giant energy holes in your house. Upgrading them makes your home more comfortable, quieter, and can seriously lower your heating and cooling bills. But you have to know what you’re buying.
Modern double- or triple-pane windows are filled with an inert gas, like argon or krypton, between the panes. These gases are way denser than air and act as an incredible insulator against heat and cold. The low-emissivity (or Low-E) coatings applied to the glass are invisible metallic layers that reflect heat, keeping it outside in the summer and inside in the winter.
What to Look for: Frames and Costs
The frame material is just as important as the glass. Here’s the breakdown:
- Vinyl: This is the most popular and budget-friendly option. It offers great insulation and is zero-maintenance, which is a huge plus. A single, professionally installed vinyl window can run you anywhere from $800 to $1,200.
- Wood: The classic choice. Wood looks beautiful and is a natural insulator, but it requires regular maintenance (painting or staining) to prevent rot. It’s a premium option, often costing $1,500 or more per window.
- Fiberglass: This is the powerhouse. Fiberglass is incredibly strong, so the frames can be thinner, allowing for more glass and a better view. It expands and contracts very little, making it super durable, and it’s paintable. It’s often the most expensive, sometimes topping $2,000 per window, but it’s built to last.
A Serious Warning: Do Not DIY Your Windows
I can’t stress this enough: window installation is one area where you should not try to save a buck by doing it yourself. The risk is just too high. A window isn’t just placed in a hole; it has to be integrated into the home’s water-resistive barrier with a complex series of flashing tapes and sealants.
If you get this wrong—and it’s very easy to get wrong—water can sneak in behind your siding and silently rot the structure of your walls for years. By the time you see a stain inside, you could be looking at a ten-thousand-dollar repair job. Plus, installing it yourself will immediately void the window’s warranty. This is a job for a qualified pro, no exceptions.
Inspiration:

The Department of Energy estimates that a staggering 90% of homes in the U.S. are under-insulated.
That number isn’t just about feeling a draft in winter; it’s money seeping through your walls and ceiling. Before you even think about a high-efficiency furnace, check your attic. Upgrading from sparse, old fiberglass to a thick blanket of mineral wool, like Rockwool, does more than just lower your energy bills. It acts as a powerful sound barrier, reduces the risk of ice dams in winter, and is naturally fire-resistant. It’s the invisible shield that makes your expensive heating and cooling systems actually work efficiently, creating a consistently comfortable home year-round.


