Don’t Let Your Hot Tub Crack This Winter: The Pro’s Guide to a Perfect Shutdown
I’ve been working as a spa tech for a long, long time. And in that time, I’ve seen just about every mistake you can imagine when it comes to closing a hot tub for the winter. Honestly, the worst calls I get are in the dead of January, heading out to look at a spa with a shell cracked like an egg. The cause is always the same: a tiny bit of water left in the wrong place.
In this article
- Why a Full Shutdown is Your Best Bet
- The Enemy: Expanding Ice
- Step 1: Flush Those Pipes Before Draining
- Step 2: The Power-Down and Full Drain
- Step 3: The Pro’s Secret Weapon—The Shop-Vac
- Step 4: The Final Insurance—A Splash of Antifreeze
- Final Touches: Filters and Cover
- The Bottom Line: DIY vs. Calling a Pro
- Galerie d’inspiration
A repair bill for that kind of damage can easily run into the thousands. We’re talking about a bill that can sometimes cost more than the hot tub is even worth. That is a tough, tough conversation to have with a homeowner.
So, let’s be clear: properly winterizing your hot tub isn’t just another chore on the list. It’s your insurance policy. It’s the single most important bit of maintenance you’ll do all year if you live anywhere that gets freezing temperatures. When you do it right, you protect your plumbing, your pumps, and the expensive acrylic shell of the tub itself. Doing it wrong is a gamble against basic physics, and trust me, physics always wins.
Why a Full Shutdown is Your Best Bet
You’ve basically got two options for your tub in the winter. You can either do a complete shutdown, which we’re about to walk through step-by-step, or use a low-power “hibernation” mode. That hibernation mode works okay in milder climates, but it carries a huge risk—if the power goes out during a deep freeze, you could be looking at a catastrophic failure.
For most people, a professional-style shutdown is the only way to get real peace of mind. This guide isn’t about shortcuts. It’s about the exact, methodical process the pros use to make sure a hot tub survives the winter without a single problem. I’ll explain the ‘why’ behind every step, drawing from years of fixing other people’s mistakes.
The Enemy: Expanding Ice
Before we even touch the tub, you need to understand what we’re up against. The enemy here is water’s weird ability to expand. When water turns to ice, its volume puffs up by about 9%. That might not sound like a lot, but the force it generates is massive—we’re talking over 30,000 pounds per square inch (psi). For perspective, the PVC pipes in your hot tub are only rated for about 100-200 psi.
Ever forget a can of soda in the freezer? It doesn’t just bulge; it explodes. That exact same force is what happens inside every pipe, jet, pump, and manifold in your spa. A small pocket of trapped water will freeze, expand, and crack whatever is holding it. I’ve seen thick PVC manifolds split wide open and heavy-duty pump housings fractured into pieces. The most heartbreaking damage, though, is to the acrylic shell itself when water freezes behind a jet and causes cracks that are often impossible to fix perfectly.
Understanding this incredible force is everything. It’s why we can’t just drain the tub and throw the cover on. Our real mission is to get every last drop of water out of the system. That’s the core principle of winterization.
Step 1: Flush Those Pipes Before Draining
So many people skip this, but it’s a standard first step for any pro. Before you drain the water, you’ve got to clean the plumbing from the inside out. Over months of use, your spa’s pipes build up a nasty layer of grime and oils called biofilm. If you just drain the tub, that gunk stays put, hardens over the winter, and causes all sorts of water quality headaches in the spring.
To stop this, grab a dedicated plumbing cleaner. Look for products like “Ah-Some” or “Spa Marvel Cleanser” at your local spa store or online. A bottle will usually run you about $20 and is well worth it.
Here’s what you do:
- First, make sure your water is at the normal operating level, covering all the jets.
- Next, and this is important, pull your filters out before adding the cleaner. The whole point is to dislodge gunk, and you don’t want to immediately ruin your filters by clogging them with it.
- Pour the cleaner directly into the water, following the bottle’s instructions.
- Now, turn on all your pumps to high speed and let them rip for at least 30 minutes. I usually let them go for a full hour, just to be thorough. Make sure you open all the air controls and cycle through any diverter valves to force the cleaning solution through every single pipe. You’ll probably see some gross foam and flecks appear. Don’t panic—that’s a good sign! It means the stuff is working.

Step 2: The Power-Down and Full Drain
Okay, with the lines now sparkling clean, it’s time to get the water out. Safety is paramount here. We’re dealing with water and high-voltage electricity, a combo that demands respect.
Heads up! Kill the Power First
Before one drop of water is drained, you must kill all power to the hot tub. A professionally installed tub should have two shut-offs. First, find the big GFCI breaker for the hot tub in your home’s main electrical panel and flip it to ‘OFF’. Second, there should be an external disconnect box near the tub. Open that box and either pull out the disconnect block or flip its breaker to ‘OFF’. Always use both. This isn’t optional. It prevents the heater or pumps from accidentally turning on while dry, which can cause an instant meltdown.
Draining the Tub the Fast Way
Your hot tub has a built-in drain, but to be frank, it’s painfully slow and almost always leaves an inch or two of water in the bottom. Pros almost never use it. The best tool for the job is a small submersible utility pump. You can grab a decent 1/4 HP model at any hardware store for about $60. It’s a great investment that will drain your tub in 20-30 minutes instead of three hours.
Step 3: The Pro’s Secret Weapon—The Shop-Vac
This is it. This is the single most important step that separates a proper winterization from a future disaster. Simply draining the tub leaves gallons of water hiding in the plumbing lines. We need to force it out.
Your best friend here is a standard shop-vac. The key is to set it to BLOW, not suck. Take the hose and jam it into the opening for your filter canister. You might need to wrap a towel around the hose to create a good seal. Now, turn it on!
Go around the tub and watch as water and air sputter out of every single jet. Let it run for a good 10-15 minutes. If you have diverter valves that change which jets are active, you need to slowly rotate them through all their positions to make sure you’re clearing out every separate plumbing loop. Don’t stop until only air is misting out of the jets. Oh yeah, don’t forget to get any waterfall features, too!
While you’re at it, open the access panel and locate your pumps. They’ll have drain plugs on them. Loosen those to let the last bit of water out of the pump housings themselves. A little water here can easily crack a pump.
Step 4: The Final Insurance—A Splash of Antifreeze
Once you’re confident the lines are blown dry, it’s time for one final layer of protection. We’re talking about antifreeze. But—and this is CRITICAL—you must use the pink, non-toxic RV/Marine antifreeze. NEVER use automotive antifreeze, which is highly toxic and will ruin your spa’s components.
You don’t need a ton. A gallon or two, which costs about $5-$8 per gallon, is plenty. Using a funnel, pour a little bit of the pink antifreeze down into the filter canister opening and into each of the main jet orifices you can reach. This displaces any tiny, stubborn water droplets that might be hiding, giving you total peace of mind.
Final Touches: Filters and Cover
What about the filters you took out earlier? Don’t just toss them in the garage. Spray them down thoroughly with a filter cleaning solution, rinse them completely, and let them dry 100%. Store them indoors for the winter to keep them from getting musty or damaged by freezing temps.
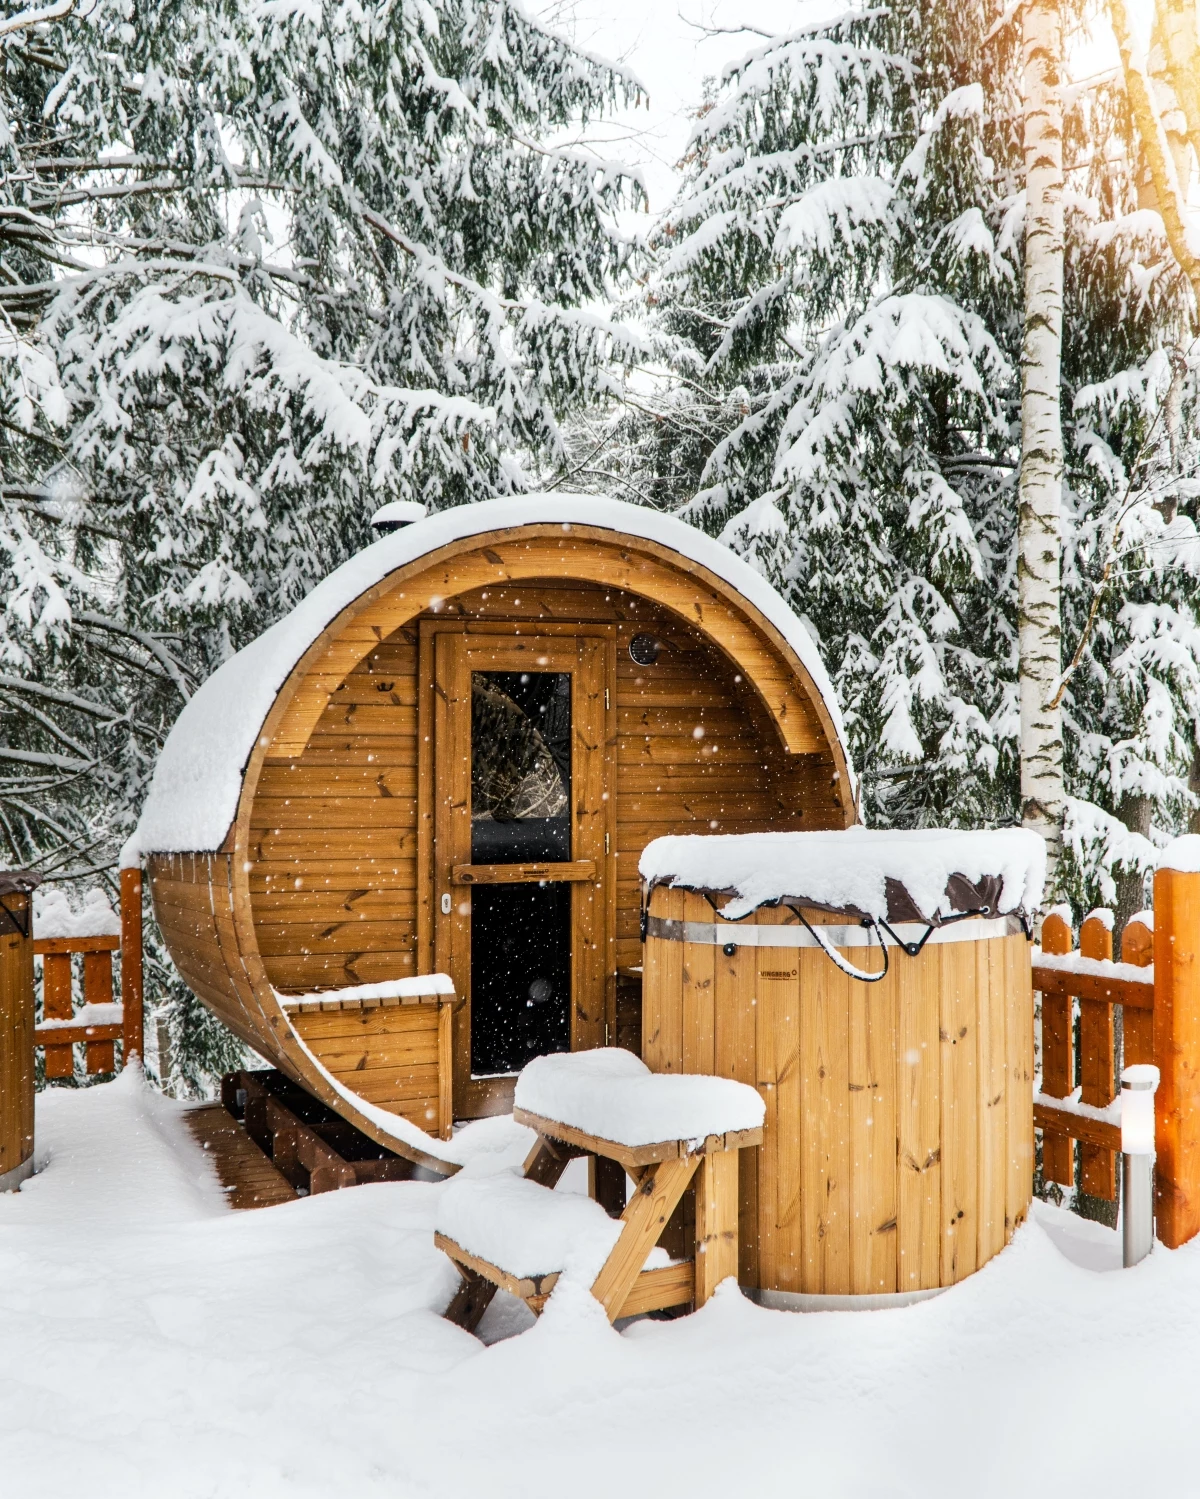
Finally, wipe down the inside of the tub shell with a soft towel to get it completely dry. Close and lock down your hot tub cover, making sure the straps are tight to prevent it from blowing off in a winter storm. Some people even place a large piece of plywood on top of the cover to help distribute the weight of any heavy snow.
The Bottom Line: DIY vs. Calling a Pro
So, can you do this yourself? Absolutely. Here’s the breakdown:
- DIY Cost: You’re looking at around $100 in initial supplies if you need to buy a submersible pump, plus the cost of chemicals (about $25 for the flush and antifreeze). After the first year, it’s just the cost of the chemicals.
- Pro Service Cost: Expect to pay a professional anywhere from $250 to $400 for a winterization service.
From my experience, the whole process will take you 2-3 hours your first time, and probably under 2 hours once you get the hang of it. You’re trading a bit of your time for significant savings, but you have to be thorough. If you’re not confident about the electrical work or don’t want to risk missing a step, there’s absolutely no shame in calling in a pro. It’s cheaper than a new hot tub!

Galerie d’inspiration
A cubic foot of heavy, wet snow can weigh over 20 pounds.
That means a typical 8×8 foot hot tub cover under just one foot of dense, slushy snow is trying to support over 1,200 pounds – the weight of a grand piano. This immense load can easily crack the internal foam core or snap the central hinge, rendering your primary insulation useless. Beyond just shutting down the plumbing, protect your investment by regularly clearing snow off the cover with a broom, never a shovel. For an extra layer of defense, consider a vinyl
Professional Winterization: A technician arrives with specialized equipment, like high-powered blowers, to force every last drop of water from the lines—something a standard shop-vac can’t always do. This offers maximum peace of mind, especially for complex spas with multiple pumps or air blowers. Expect to pay between $250 and $450 for this service.
Meticulous DIY: This route saves you money but requires time and diligence. The key is following a detailed checklist and never cutting corners. Your wet/dry shop-vac is your best friend for clearing jets and plumbing, but you must be methodical to avoid leaving a pocket of water that could freeze and crack a manifold.
For first-time owners or those short on time, the professional option is a wise investment. For the confident DIYer, it’s a perfectly manageable, money-saving task.


