The Right Way to Clean Wooden Blinds (Without Warping or Wrecking Them)
I’ve spent years in the high-end restoration and cleaning business, and if there’s one thing that causes more quiet frustration than anything else, it’s wooden blinds. They look absolutely stunning when you first install them, but over time they collect this stubborn film of dust, kitchen grease, and just… life. It can feel impossible to clean them without spending an entire Saturday on a single window.
In this article
- First Things First: Are Your Blinds Real Wood or Faux-Wood?
- Why Real Wood is So Fussy
- Your Go-To Toolkit: What to Buy and What to Skip
- The Two Levels of Cleaning: The Quick Dust and The Deep Clean
- Troubleshooting Tough Spots and Sticky Grime
- A Critical Note on Safety
- When to Just Call a Pro
- Galerie d’inspiration
Honestly, I’ve seen the aftermath of good intentions gone wrong. We’re talking warped slats from too much water, stripped finishes from harsh chemicals, and snapped cords from aggressive handling. The secret isn’t some magic spray; it’s about understanding what you’re actually cleaning. Wood isn’t plastic. It breathes and reacts to everything, and once you get that, the right way to clean it becomes obvious.
First Things First: Are Your Blinds Real Wood or Faux-Wood?
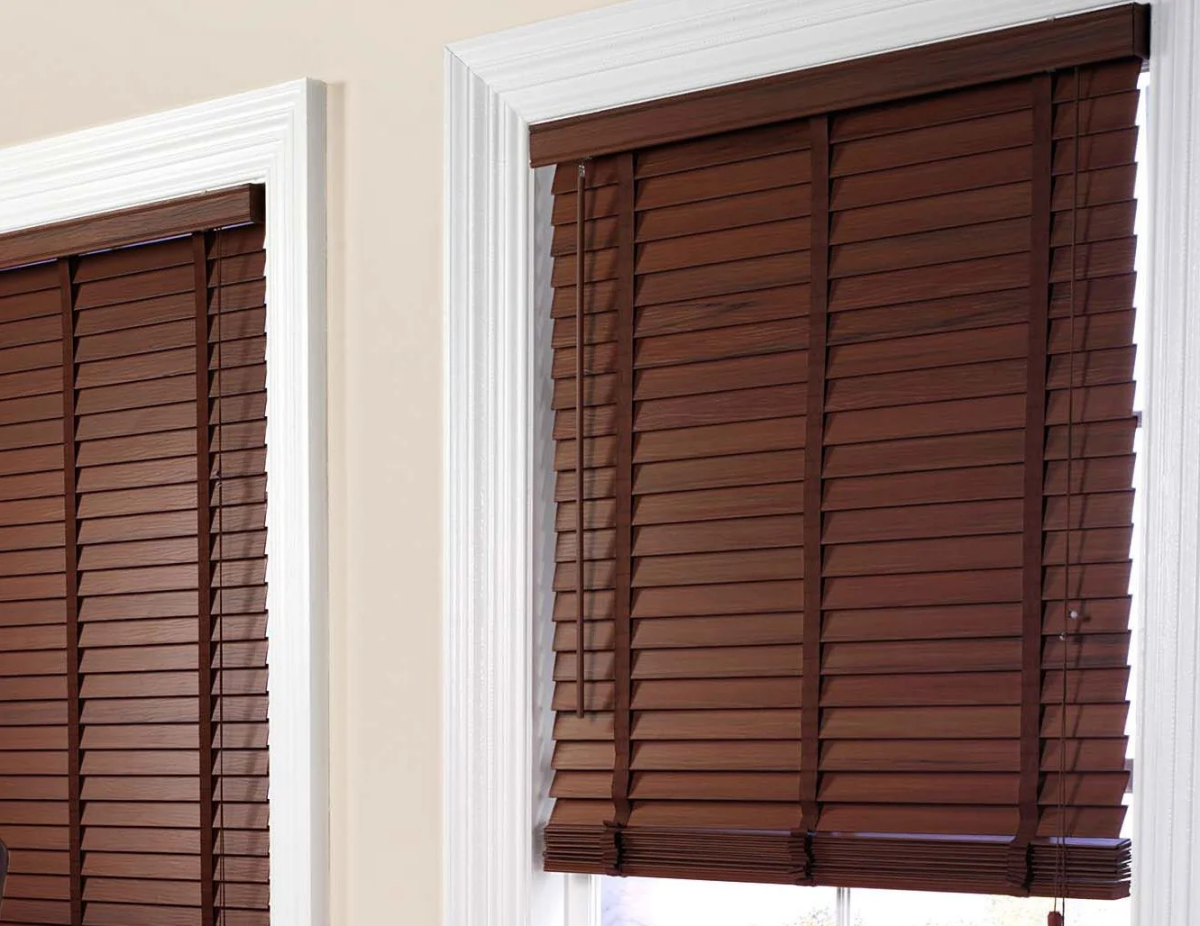
Before you even think about cleaning, you need to know what you’re working with. A ton of blinds out there are faux-wood, and while they look similar, the cleaning rules are different (and way more forgiving). Faux-wood can handle more moisture and tougher cleaners, but if you treat real wood that way, you’re asking for trouble.
Here’s a quick way to tell the difference:
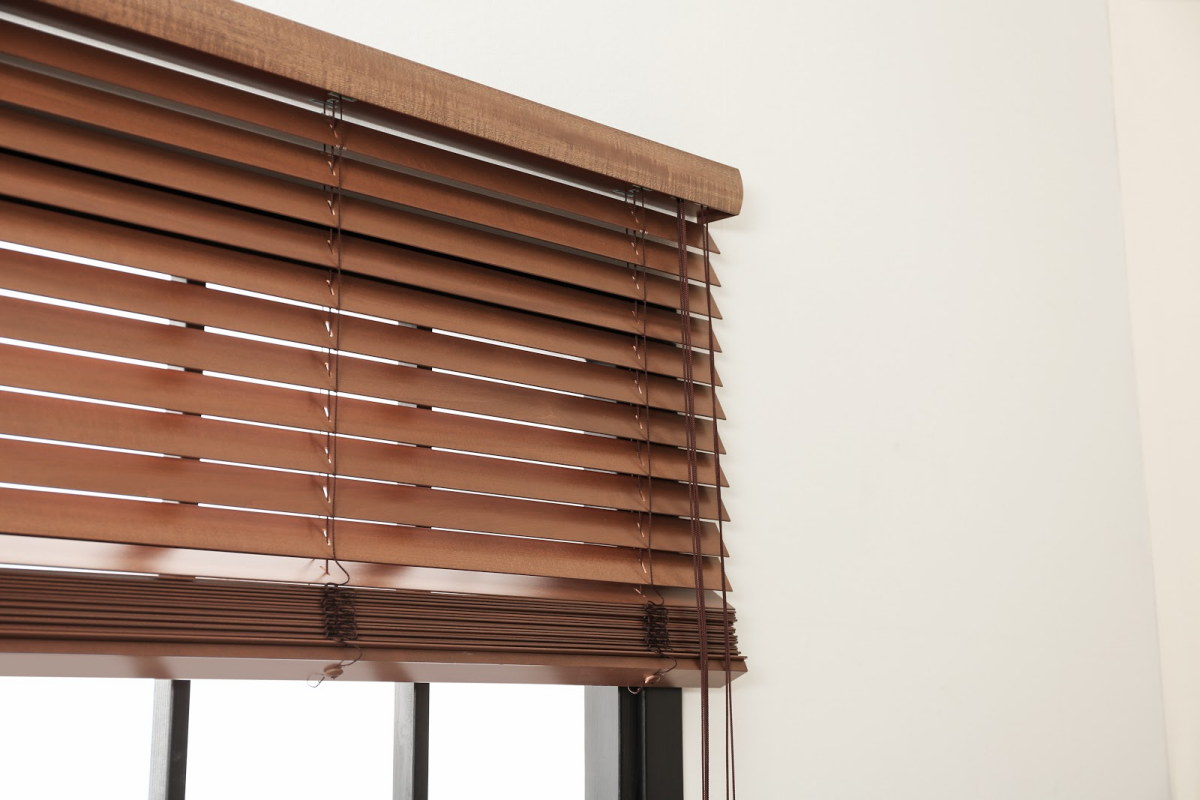
- Check the Slat Ends: Look at the very end of a slat or where the cord holes are. On real wood, you’ll see the actual grain—the lines and patterns of the wood. Faux-wood will look like a solid, uniform composite material, kind of like plastic.
- Feel the Weight: Real wood slats are surprisingly lightweight. Basswood, a common choice, is very light. Faux-wood slats are denser and feel heavier, almost a bit rubbery or plastic-y.
If you’ve got faux-wood, you can be a little more liberal with a damp cloth and a gentle all-purpose cleaner. But if you’ve confirmed you have the real deal, read on. The rest of this is for you.
Why Real Wood is So Fussy
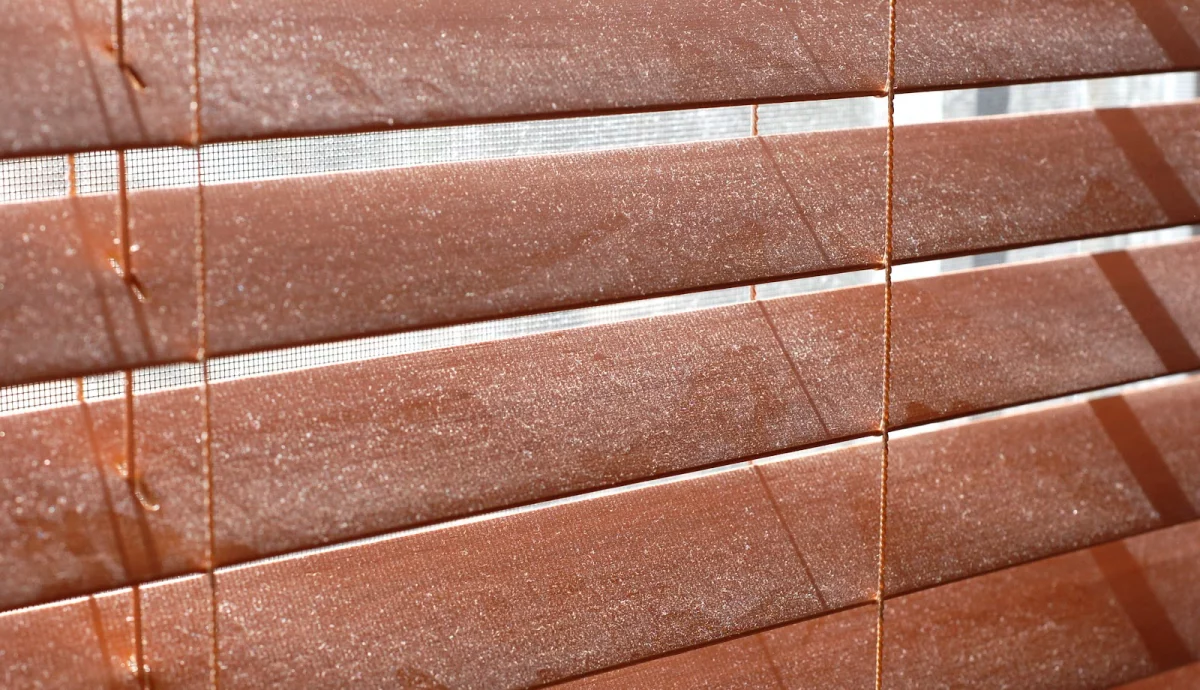
So, what’s the big deal with real wood? It all comes down to one key property: wood is porous and absorbs moisture from the air. When it takes on too much water, the fibers swell, and your beautiful, flat slats can start to warp, twist, or cup. This is why you’ll hear me say it again and again: water is the enemy of your wooden blinds.
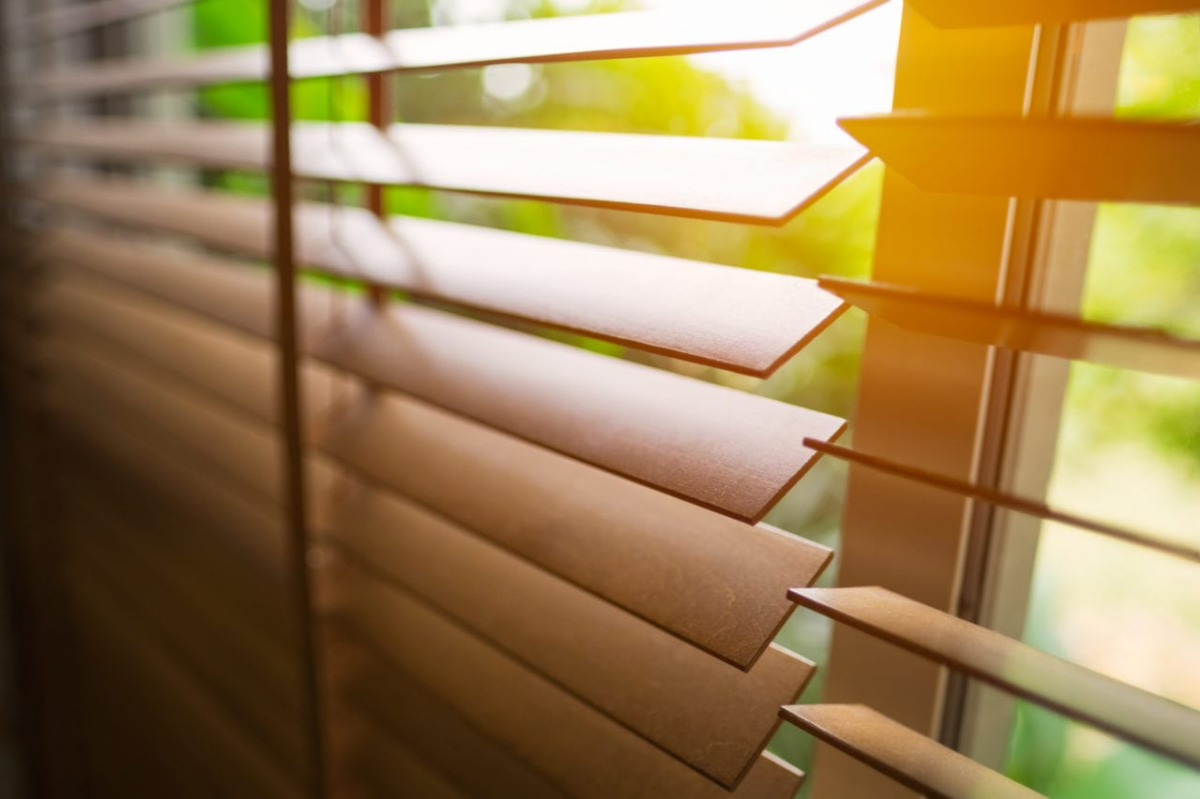
The good news is that your blinds have a protective finish—either a stain with a clear topcoat or a solid paint. This finish is your first line of defense, and your real job is to clean the finish without damaging it. Harsh chemicals can dissolve it, and abrasive scrubbers will scratch it, creating tiny openings for moisture to seep in and ruin the wood from the inside out.
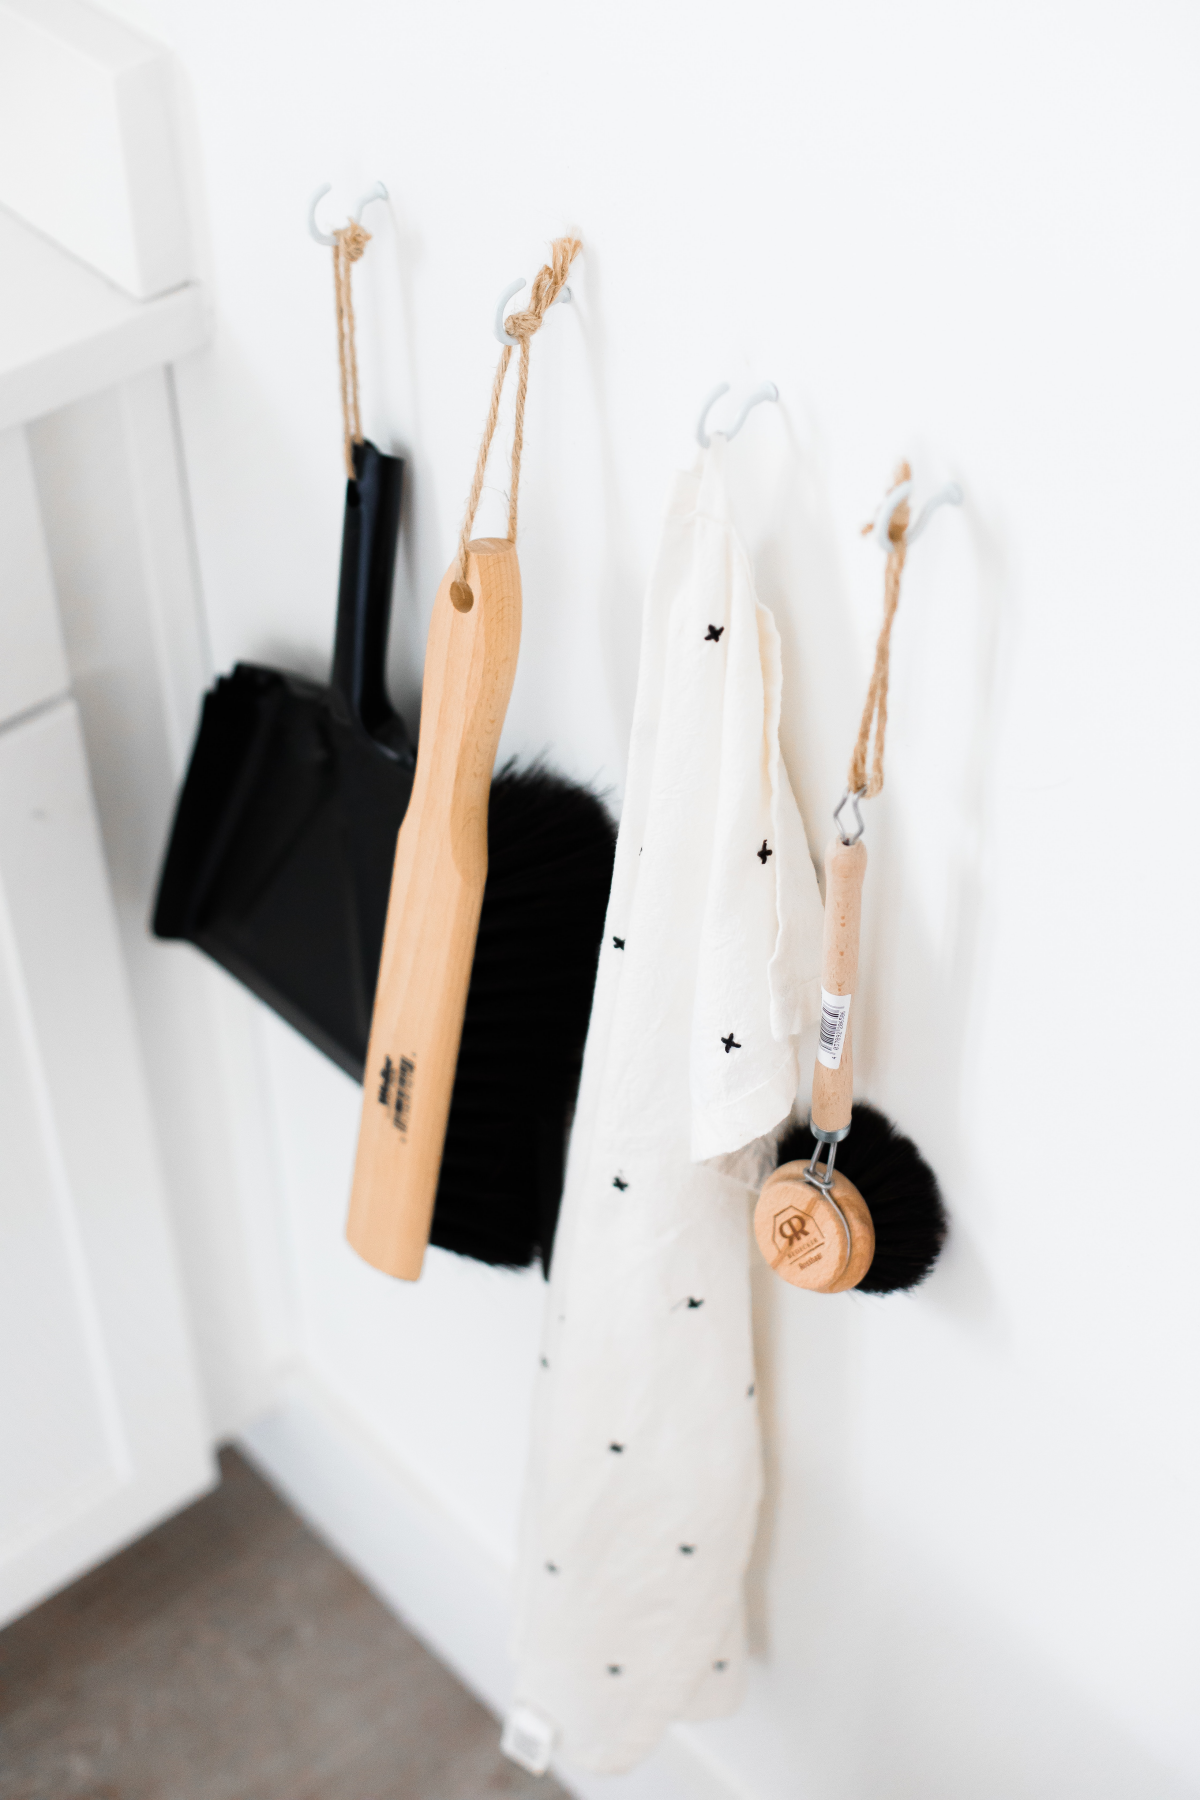
Your Go-To Toolkit: What to Buy and What to Skip
You can’t do a good job with junk tools. Forget the old t-shirts that just push dust around. Investing a small amount in the right gear makes this job faster, better, and safer for your blinds. Here’s my shopping list.
- High-Quality Microfiber Cloths: This is non-negotiable. The split fibers grab and hold dust. A pack of 10-12 good ones from a brand like The Rag Company will run you about $15 to $25 on Amazon or at an auto parts store. Don’t buy the cheap dollar-store version; they don’t work.
- A Lamb’s Wool Duster: Specifically, one with “fingers” that can slide between the slats. The natural lanolin in the wool is fantastic for attracting dust. Expect to pay $20 to $35 for a quality one. Heads up: the cheap synthetic feather dusters are completely useless.
- Vacuum with a Soft Brush Attachment: The horsehair bristles are perfect for dislodging dust without scratching anything. Just make sure the bristles aren’t worn down to the hard plastic nub.
- Gentle, pH-Neutral Soap: A few drops of a simple, clear dish soap without heavy degreasers or lotions is perfect. Some people swear by oil soaps, but I use them with extreme caution. If you must, dilute it heavily (like a teaspoon in a gallon of water) because it can leave a streaky residue.
The Two Levels of Cleaning: The Quick Dust and The Deep Clean
I break blind maintenance into two jobs. If you keep up with the first one, you’ll rarely have to suffer through the second.
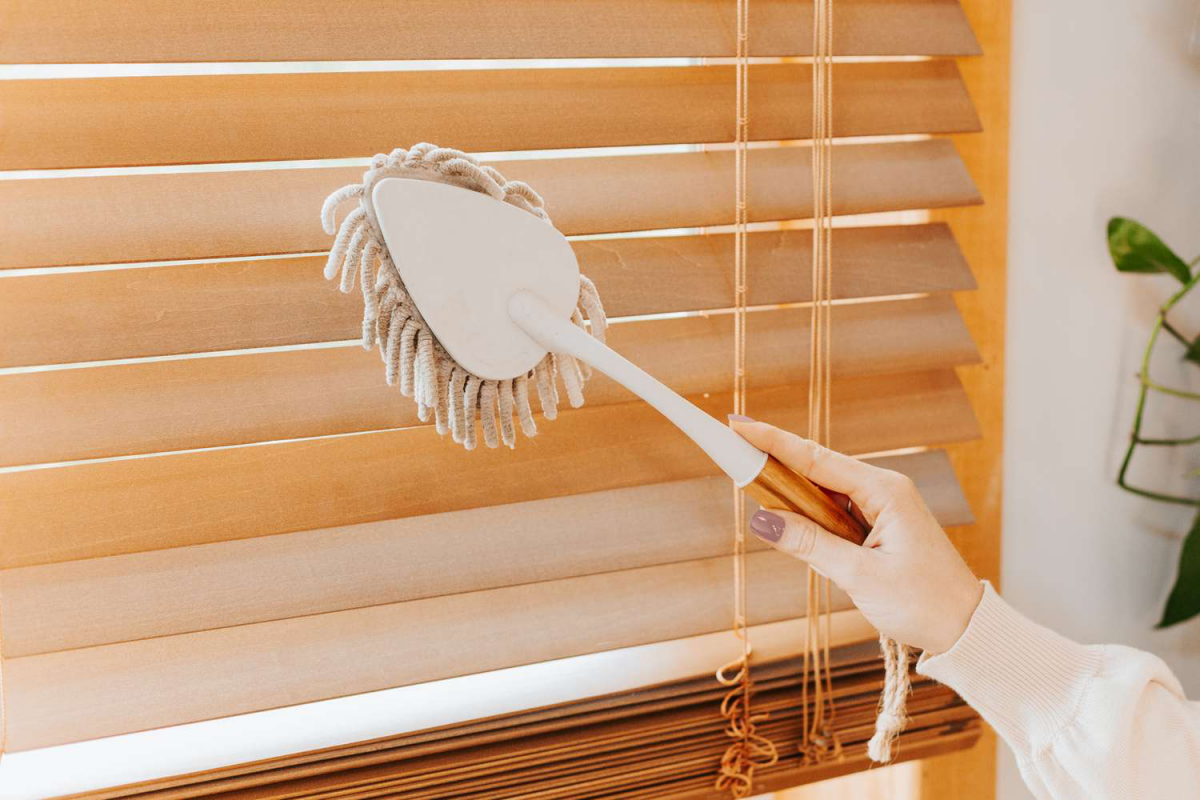
Level 1: The Weekly 5-Minute Dusting
This is your preventative maintenance. Do it weekly, and it’ll stop dust from combining with ambient moisture to become that tough, grimy film.
Just tilt the blinds all the way down, and wipe each slat with your dry microfiber cloth from the center outwards. This pushes the dust off the slat instead of into the cords. Then, tilt them all the way up and do the other side. It’s that simple.
Got 5 minutes right now? Go do one blind. Set a timer. See how fast it is and how good it looks. Now you have no excuse!
Level 2: The Seasonal Deep Clean
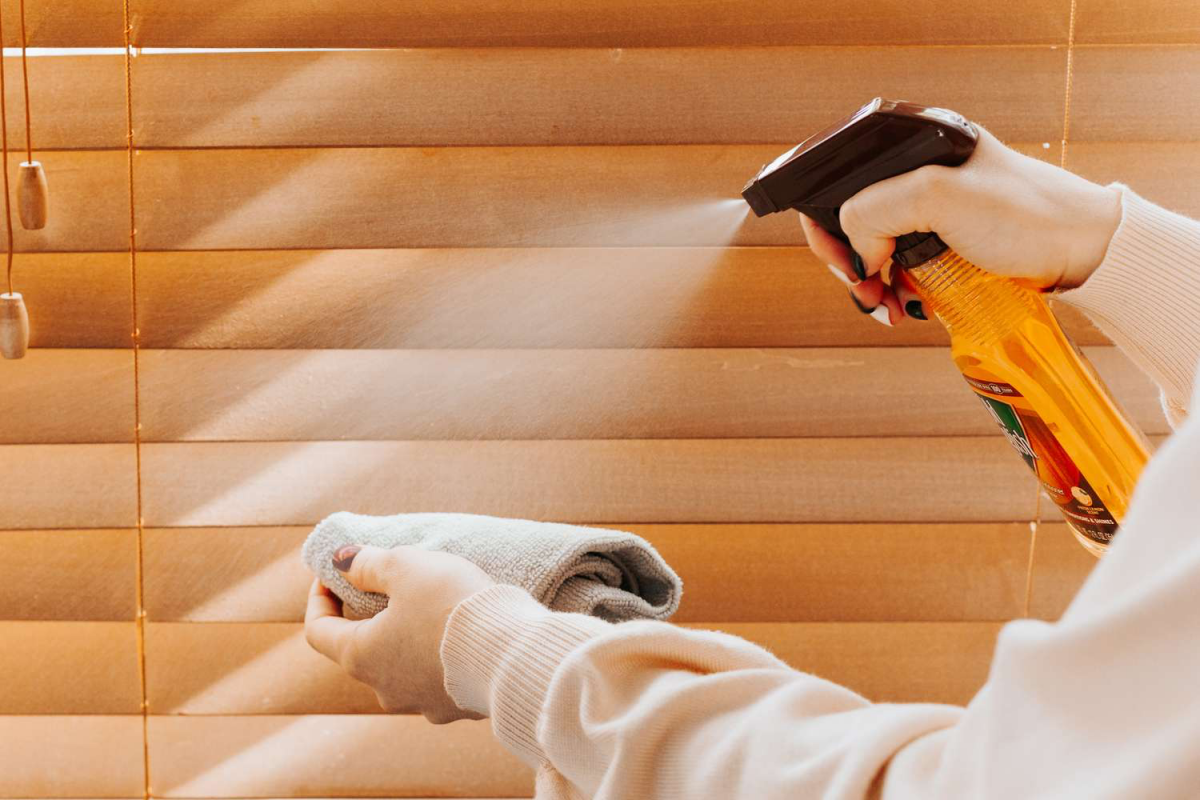
This is for when dusting just isn’t cutting it anymore, especially in kitchens or bathrooms. Plan for about an hour for a standard window—rushing is how you break things. My foolproof method is the Two-Cloth System. It gets things clean without soaking the wood.
- Prep First: Give the blinds a complete dusting. No sense in turning dry dust into wet mud. Then, mix your cleaning solution: a quart of lukewarm water with just one or two drops of your pH-neutral soap. You shouldn’t see any suds.
- The Two Cloths: Get one microfiber cloth damp in the solution and wring it out until it’s nearly dry. If you can squeeze a single drop out of it, it’s too wet. Have a second, completely dry microfiber cloth ready to go.
- Wipe and Chase: Close the blinds. Wipe one slat with the damp cloth. Immediately—and I mean immediately—follow it with the dry “chaser” cloth. The goal is to leave zero visible moisture behind.
- Work Top-Down: Continue this damp-wipe-dry-chase process slat by slat, from the top to the bottom. Then, reverse the tilt and do the other side.
Quick Tip to Speed Things Up: If you find the cloth method tedious, try using a pair of microfiber mitts. Wear the damp one on one hand and the dry one on the other. You can grab each slat and wipe it clean in a single motion. It’s a game-changer.

Troubleshooting Tough Spots and Sticky Grime
Sometimes you’re dealing with more than just dust. Before you try anything aggressive, always test your method on a hidden spot, like the back of the bottom-most slat.
For Greasy Kitchen Grime…
That sticky, yellow film on kitchen blinds is a mix of dust and airborne cooking oils. Your basic soap solution might not be enough. You can try adding a few more drops of soap, but if it’s really bad, a heavily diluted citrus-based degreaser (like 10 parts water to 1 part degreaser) can work. But be careful! I once saw a client use a powerful kitchen spray that instantly stripped the shiny finish off their espresso-stained blinds. It was an expensive mistake. Always start with the gentlest method first.
For Ink or Marker Stains…
Dab the spot with a cotton swab dipped in rubbing alcohol. Don’t rub, or you’ll spread the stain. The alcohol can dull the finish, so use it sparingly and only on the mark itself.

For Mold or Mildew Spots…
These little black or green dots are common in bathrooms. Mix one part white vinegar with four parts water. Use your two-cloth method to apply it and dry it immediately. The vinegar kills the spores.
A Critical Note on Safety
Okay, this is important. Please don’t stand on a wobbly chair to reach your blinds. Get a solid step stool.
But the biggest safety issue is corded blinds. Older styles with long, dangling cords are a serious hazard for kids and pets. Modern safety standards have mostly eliminated these, but if you have older blinds, you need to fix them. You can buy cord cleats for under $10 at any hardware store or online. They let you wrap the excess cord up high and out of reach. It is the easiest and cheapest insurance policy for your family’s safety.
When to Just Call a Pro
Look, there’s no shame in calling for backup. If a cord is broken, the tilting mechanism is stripped, or you’re facing widespread mold or nicotine stains, a professional is your best bet. They have tools like ultrasonic cleaning tanks that can work wonders.

By the way, professional ultrasonic cleaning usually costs between $25 and $50 per blind, depending on the size and how dirty it is. When you compare that to the cost of replacing a blind you accidentally damaged, sometimes it’s the smarter financial move.
Caring for wooden blinds is a bit of a commitment, but they add so much character to a room. With the right approach, you can keep them looking brand new for years to come.
Galerie d’inspiration
The forgotten component: The Cords. Dust and grime don’t just settle on the slats; they embed into the lift cords and ladders, making them look dingy. To clean them, use a clean, white microfiber cloth lightly dampened with a solution of water and a drop of gentle dish soap. Pinch the cloth around the cord and run it down its length. For fabric ladder tapes, use a soft-bristled toothbrush and the same solution, blotting gently to avoid soaking the material.

Over 70% of dust in the home is composed of shed skin cells and fabric fibers. On wooden blinds, this combines with airborne oils to create a sticky film that regular dusting can’t remove.
This is why a simple feather duster often just moves the problem around. For a true clean, you need a tool that grips, like a microfiber cloth or a dedicated blind duster, combined with a wood-safe cleaning agent to break down that stubborn, oily bond.
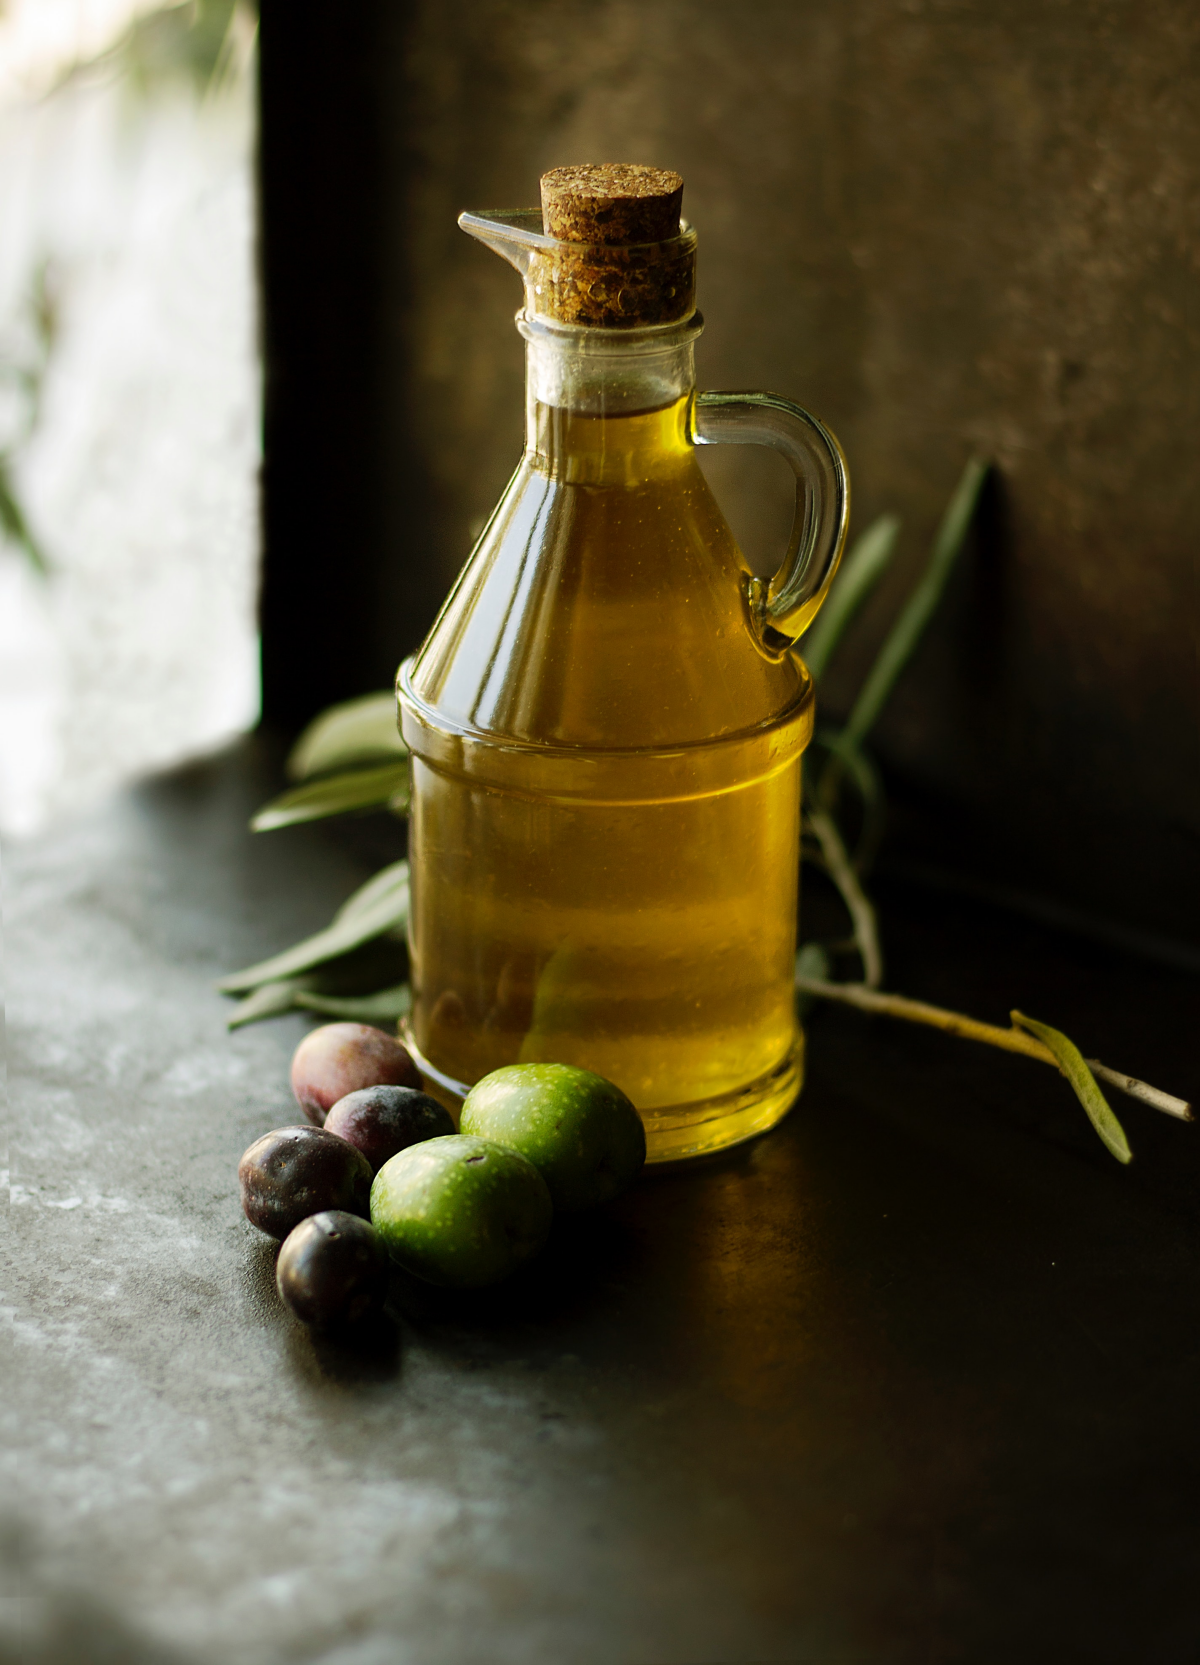
What about a natural, conditioning clean?
You can create your own gentle wood conditioning cleaner. In a spray bottle, mix one cup of distilled water with two tablespoons of olive oil and one tablespoon of white vinegar. The key is to shake it vigorously before every single spray to emulsify the mixture. Lightly mist a clean microfiber cloth (never spray directly on the blinds!) and wipe one slat at a time. The vinegar helps cut through grease, while the oil offers a touch of conditioning. Always follow up with a dry cloth to remove any excess moisture immediately.
- Eliminates static cling that attracts more dust.
- Naturally gentle on delicate finishes and stains.
- Reaches into tight corners where cloths can’t.
The secret? A genuine lambswool duster. Its natural lanolin and fine fibers create an electrostatic charge that doesn’t just push dust away, but actually lifts and holds it, making it the perfect tool for weekly maintenance.
Matte Finish vs. Gloss Finish: A high-gloss polyurethane finish is sealed and more forgiving; you can buff it slightly for shine. A matte or oiled finish, however, is more porous. Using the wrong cleaner can strip its subtle luster. For these, stick to a nearly-dry cloth and, once a year, consider a specialized product like Howard Feed-N-Wax to restore the wood’s natural depth without making it artificially shiny.


