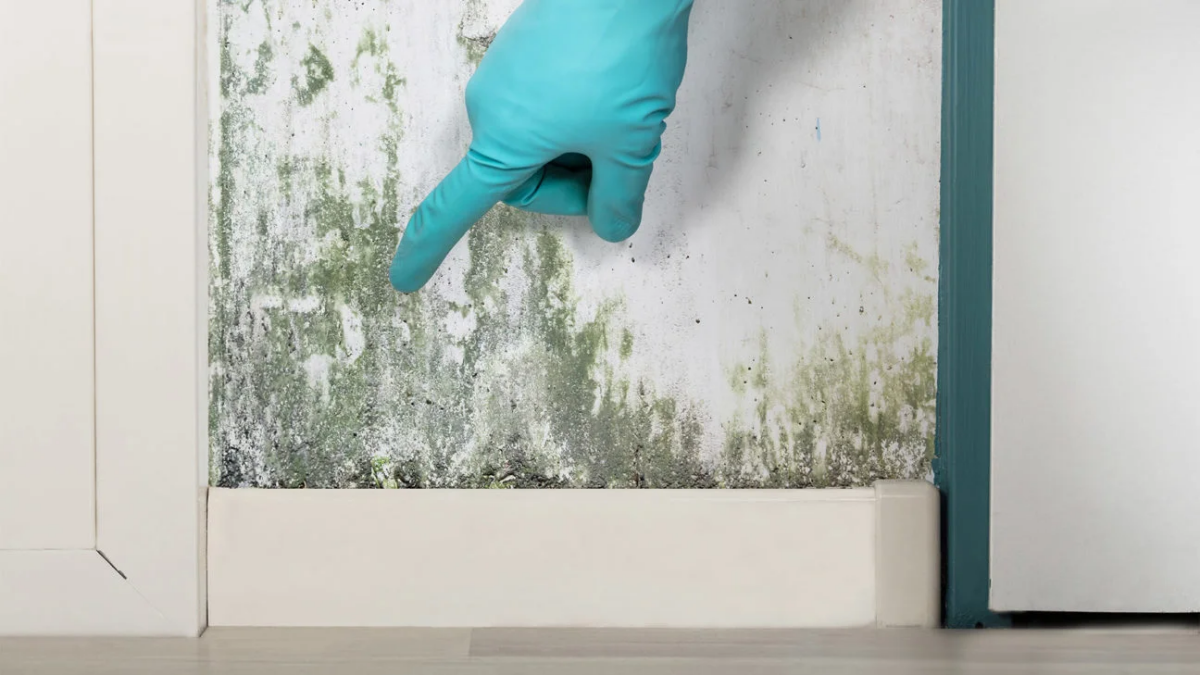
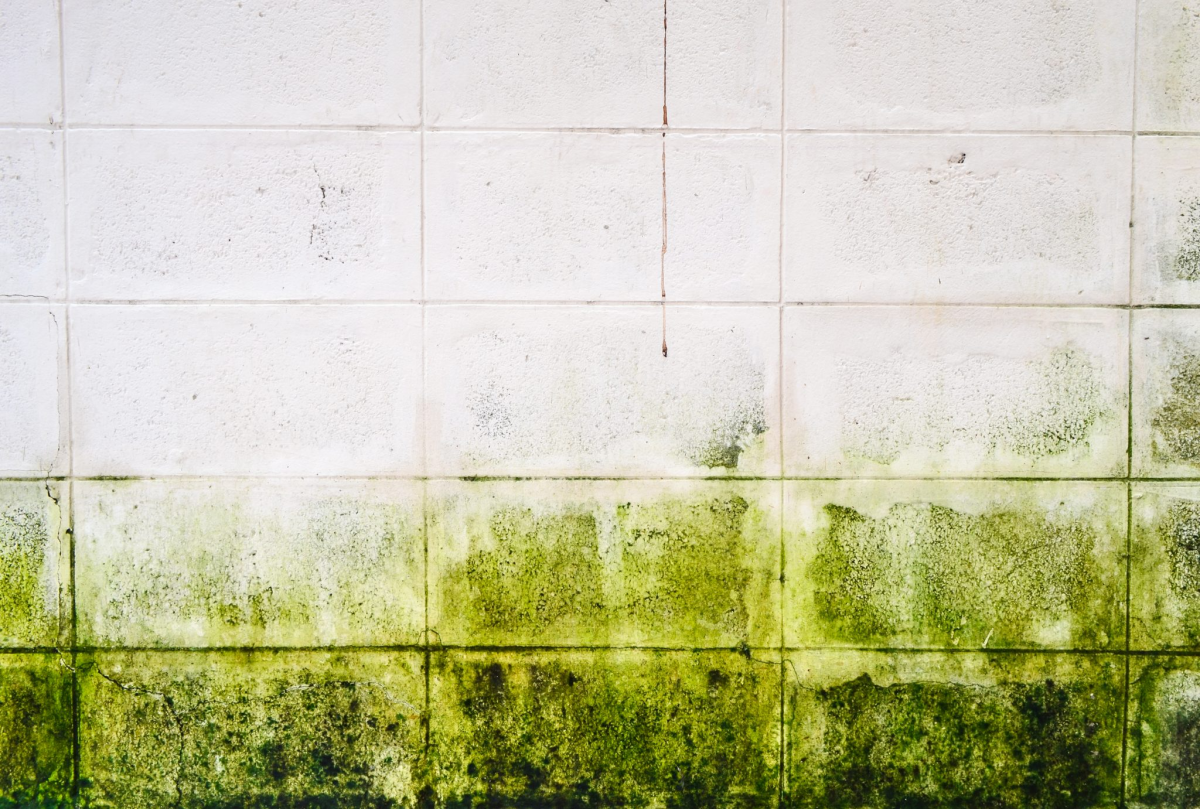
Found Green Mold on Your Wall? Here’s What You Actually Need to Do
So, you found it. That patch of fuzzy green stuff hiding in a closet or creeping up behind the bathroom vanity. If you’re like most people, your first reaction is a mix of disgust and panic, followed by grabbing the nearest bottle of bleach and a scrub brush.
In this article
I get it. I’ve been in the remediation business for a long time, and the calls I get often start after that first DIY attempt fails. A few weeks after a good scrubbing, the mold is back, and sometimes it’s even worse. A small, manageable spot has suddenly become a much bigger headache. My goal here is to walk you through what I’ve learned from years spent in damp basements, musty attics, and humid crawlspaces. I want you to know how to handle small issues safely and, just as importantly, how to spot a problem that’s way bigger than it looks.
This isn’t about scaring you into a big bill. It’s about giving you a practical game plan. Mold is everywhere in nature; the trouble begins when it sets up camp inside your house. We’re not just going to talk about cleaning the green you can see—we’re going to figure out how to fix the conditions that let it grow in the first place. Honestly, that’s the only way to win this fight for good.
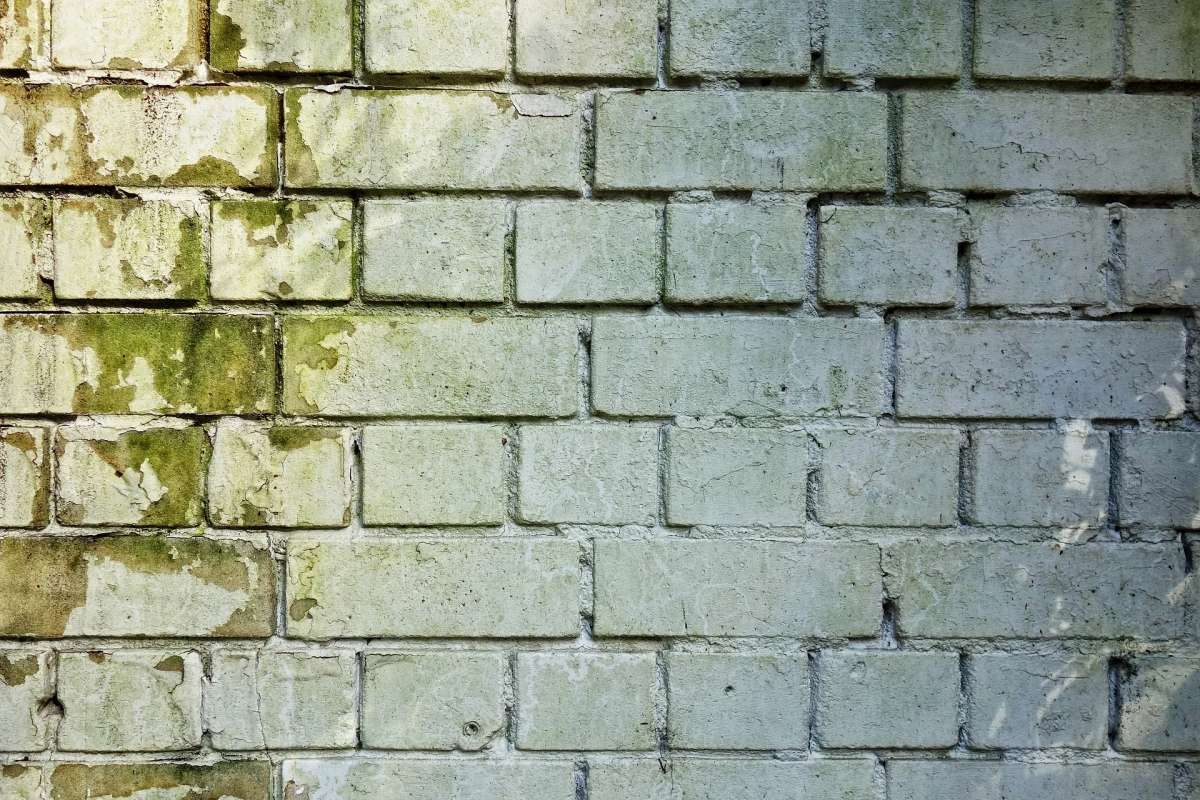
First off, What Exactly is ‘Green Mold’?
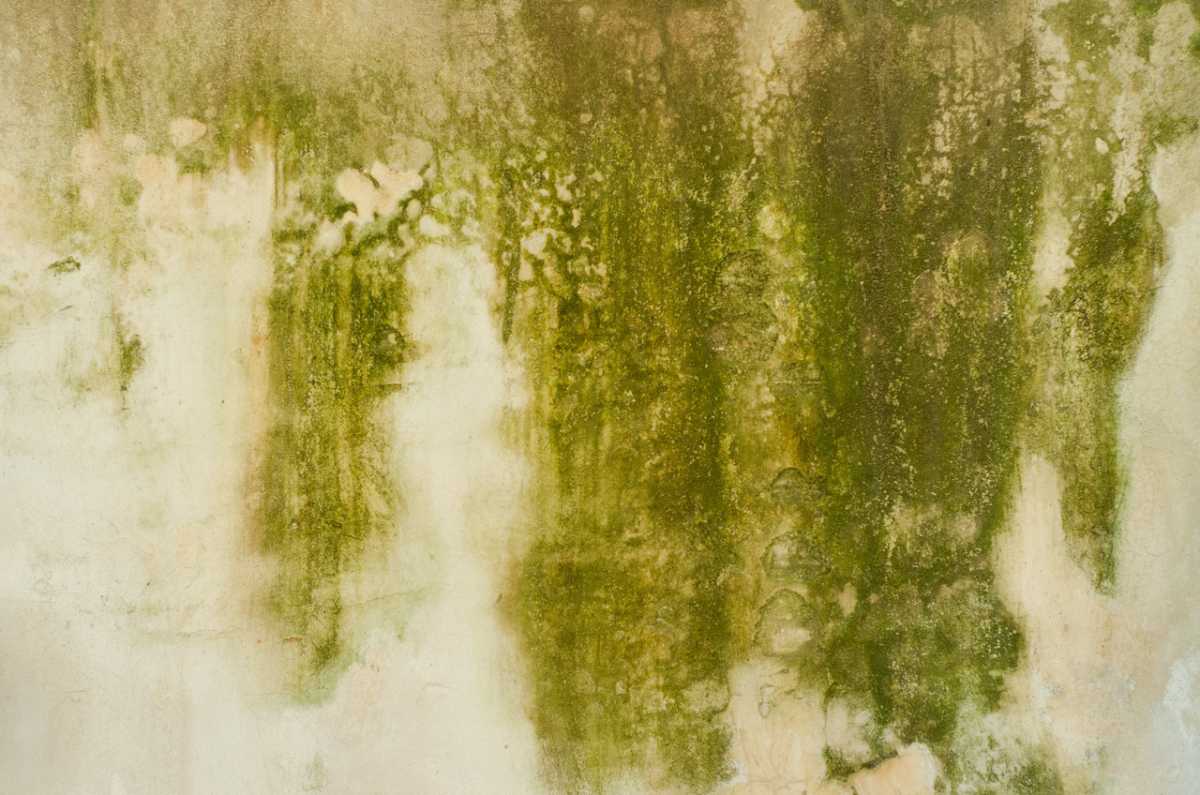
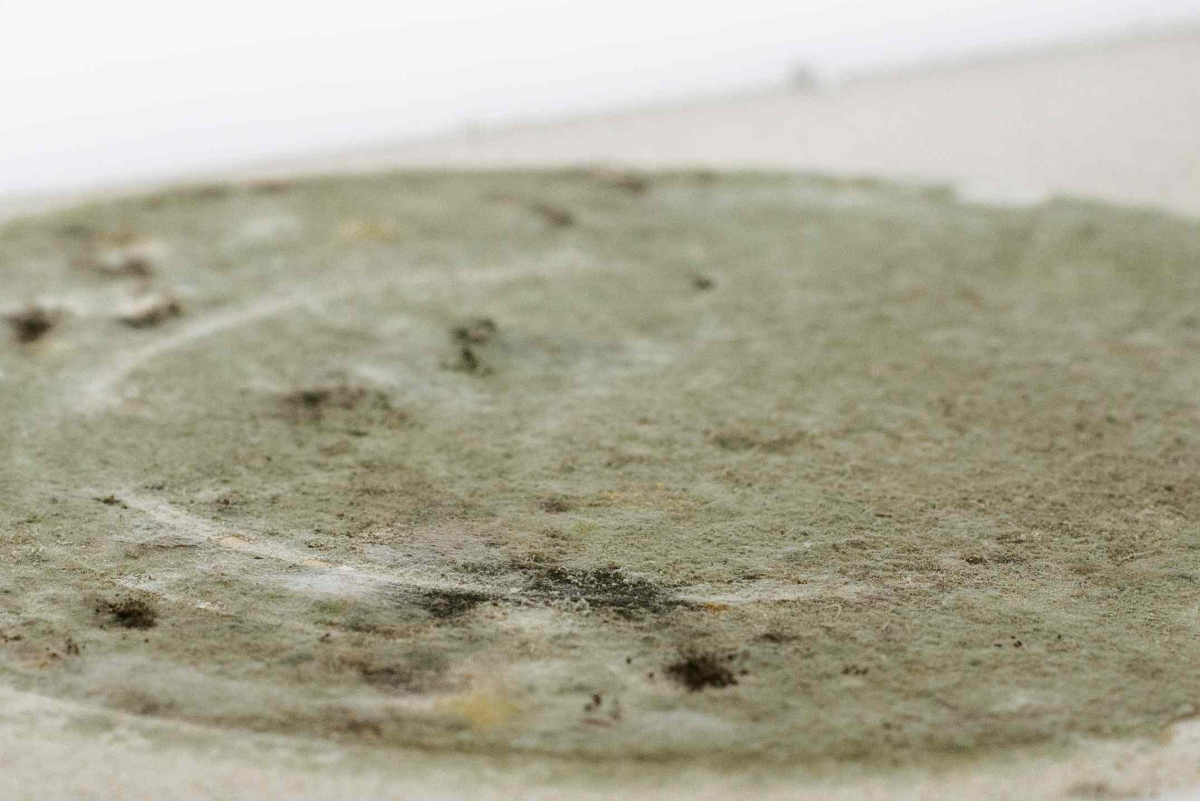
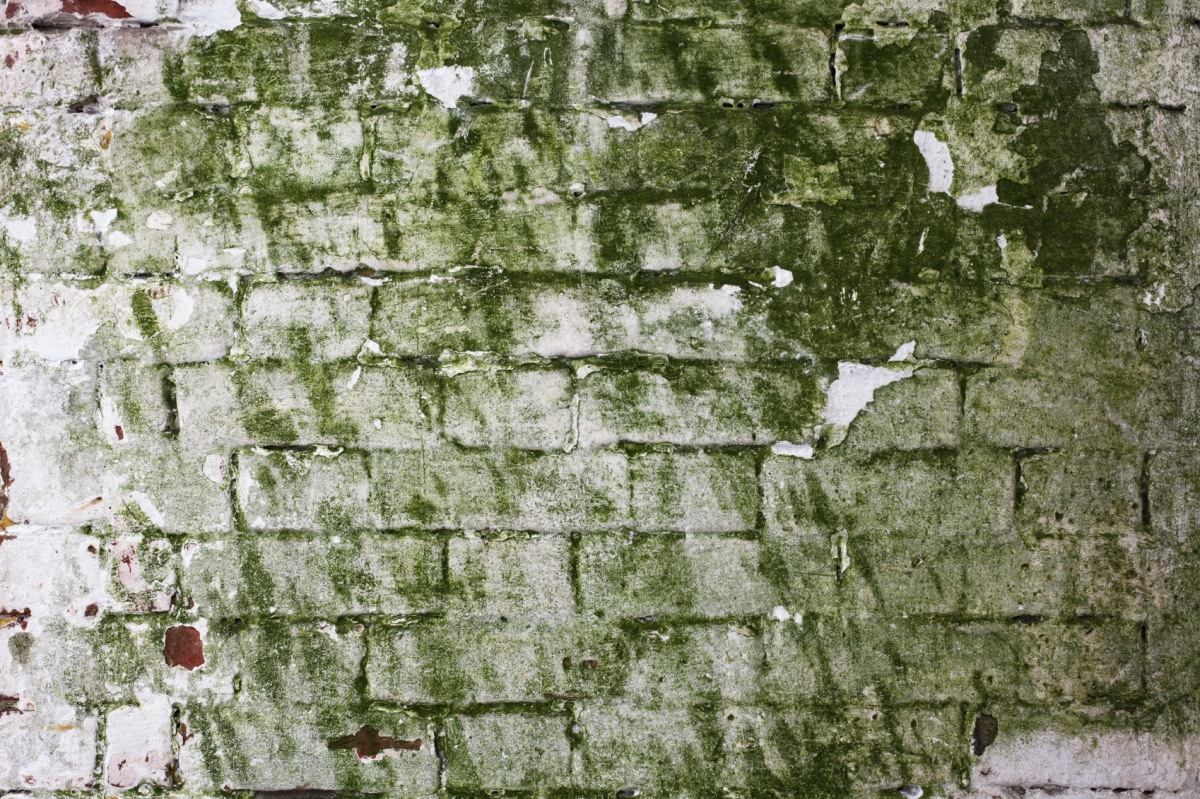
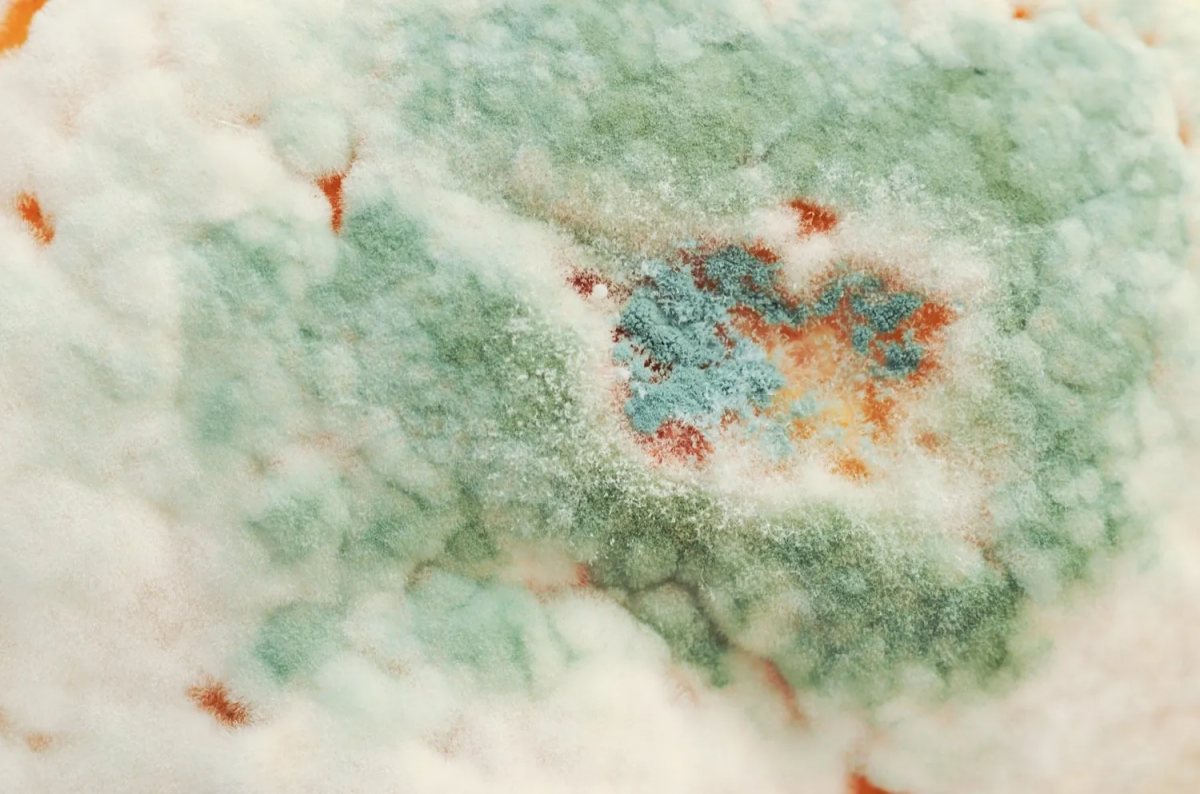
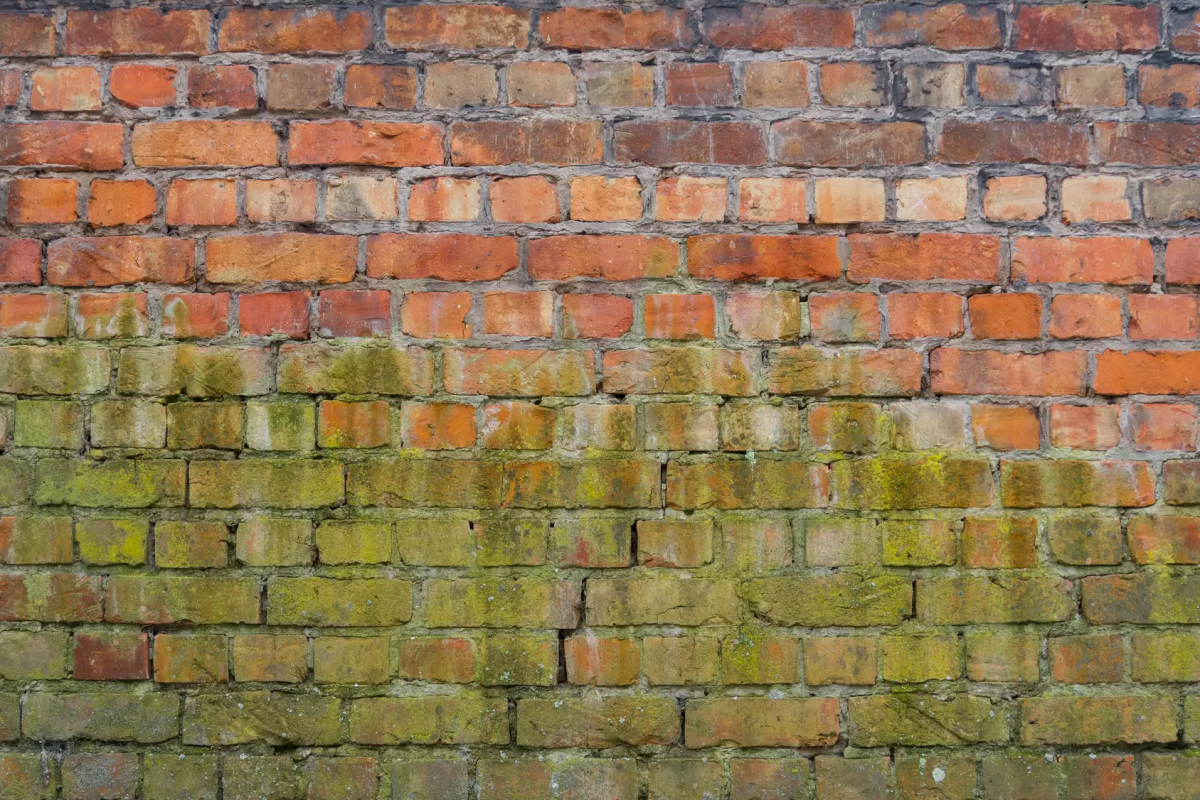
Here’s a little secret: “green mold” isn’t a specific thing. It’s more of a blanket term for any type of fungus that happens to look green. It could be one of several common indoor molds, but to be frank, the exact species doesn’t really matter to you as a homeowner. What matters is that you have unwanted growth in your home.
All indoor mold growth should be treated with the same caution. The color can be a bit misleading, too. It might start out as light green and darken to brown or even black as it matures. So, don’t get too hung up on what shade it is. The plan of attack is always the same: find the water source, stop the water, and get the mold out safely.
Why Your House is a Perfect Home for Mold
Mold only needs three things to thrive, and your home generously provides two of them without even trying. Think of it as the mold triangle: food, the right temperature, and water.

1. Food: Mold is not a picky eater. It happily munches on organic materials, and in a house, that’s pretty much everything—the paper on your drywall, the wood studs inside the walls, dust bunnies, carpet backing, you name it. Your home is a 24/7 buffet.
2. Temperature: Most molds love the same temperatures we do, typically anything between 60 and 80 degrees Fahrenheit. Since we like to keep our homes in that cozy range, it’s the perfect climate for them to grow.
3. Water: This is the key. This is the one part of the triangle you can actually control. Without a source of moisture, mold simply cannot grow. Every single mold job I’ve ever worked on boiled down to a water problem. Sometimes it’s obvious, like a leaky pipe. But more often, it’s a sneaky, slow moisture source like condensation on windows or high humidity (anything over 60%) that lets mold get a foothold.
So, when you spot mold, your first question should never be, “What chemical can I use to kill this?” It should always be, “Where is the water coming from?” That’s the core of all professional remediation.
How the Pros Tackle a Mold Problem
When my team shows up, we don’t just start spraying and scrubbing. There’s a system we follow to make sure the job is done right and, most importantly, safely. You can even use a simplified version of this for small jobs yourself.
Step 1: The Investigation
First, we play detective. We look at the visible growth, sure, but we’re far more interested in what we can’t see. My most trusted tool is a moisture meter, which you can pick up at a hardware store for about $30 to $50. A pin-type meter lets you stick two small probes into drywall or wood to get a precise moisture reading. Quick tip: For drywall, a reading under 16% is generally considered dry. If my meter is screaming at 30% or higher, I know that material is soaked and has to be removed, even if it feels dry to the touch.
We also look for other clues—peeling paint, warped baseboards, or that classic musty smell. These all point to hidden moisture. Sometimes we’ll use a thermal camera, which shows temperature differences. A wet spot behind a wall is usually cooler, so it helps us pinpoint a leak without tearing everything apart.
Step 2: Containment (This is a BIG Deal)
This is the step most DIYers skip, and it’s incredibly risky. When you scrub or tear out moldy material, you release millions of tiny spores into the air. These can travel through your HVAC system and start new mold colonies all over your house. It’s a classic rookie mistake.
I’ll never forget a job where a homeowner tried to rip out a moldy wall himself. He turned a $1,000 closet fix into a $10,000 whole-house decontamination because spores went everywhere. That’s why we always build a containment “bubble” first, using heavy plastic sheeting to seal off the room. Then, we use an air scrubber with a HEPA filter to create negative pressure, ensuring all those disturbed spores get captured instead of becoming a house-wide problem.

Step 3: Removal and Cleaning
Our goal is removal, not killing. Even dead mold spores can cause allergic reactions, so you have to get them out. We start by carefully vacuuming the surfaces with a HEPA-filtered vacuum to remove loose spores.
How we clean depends entirely on the surface:
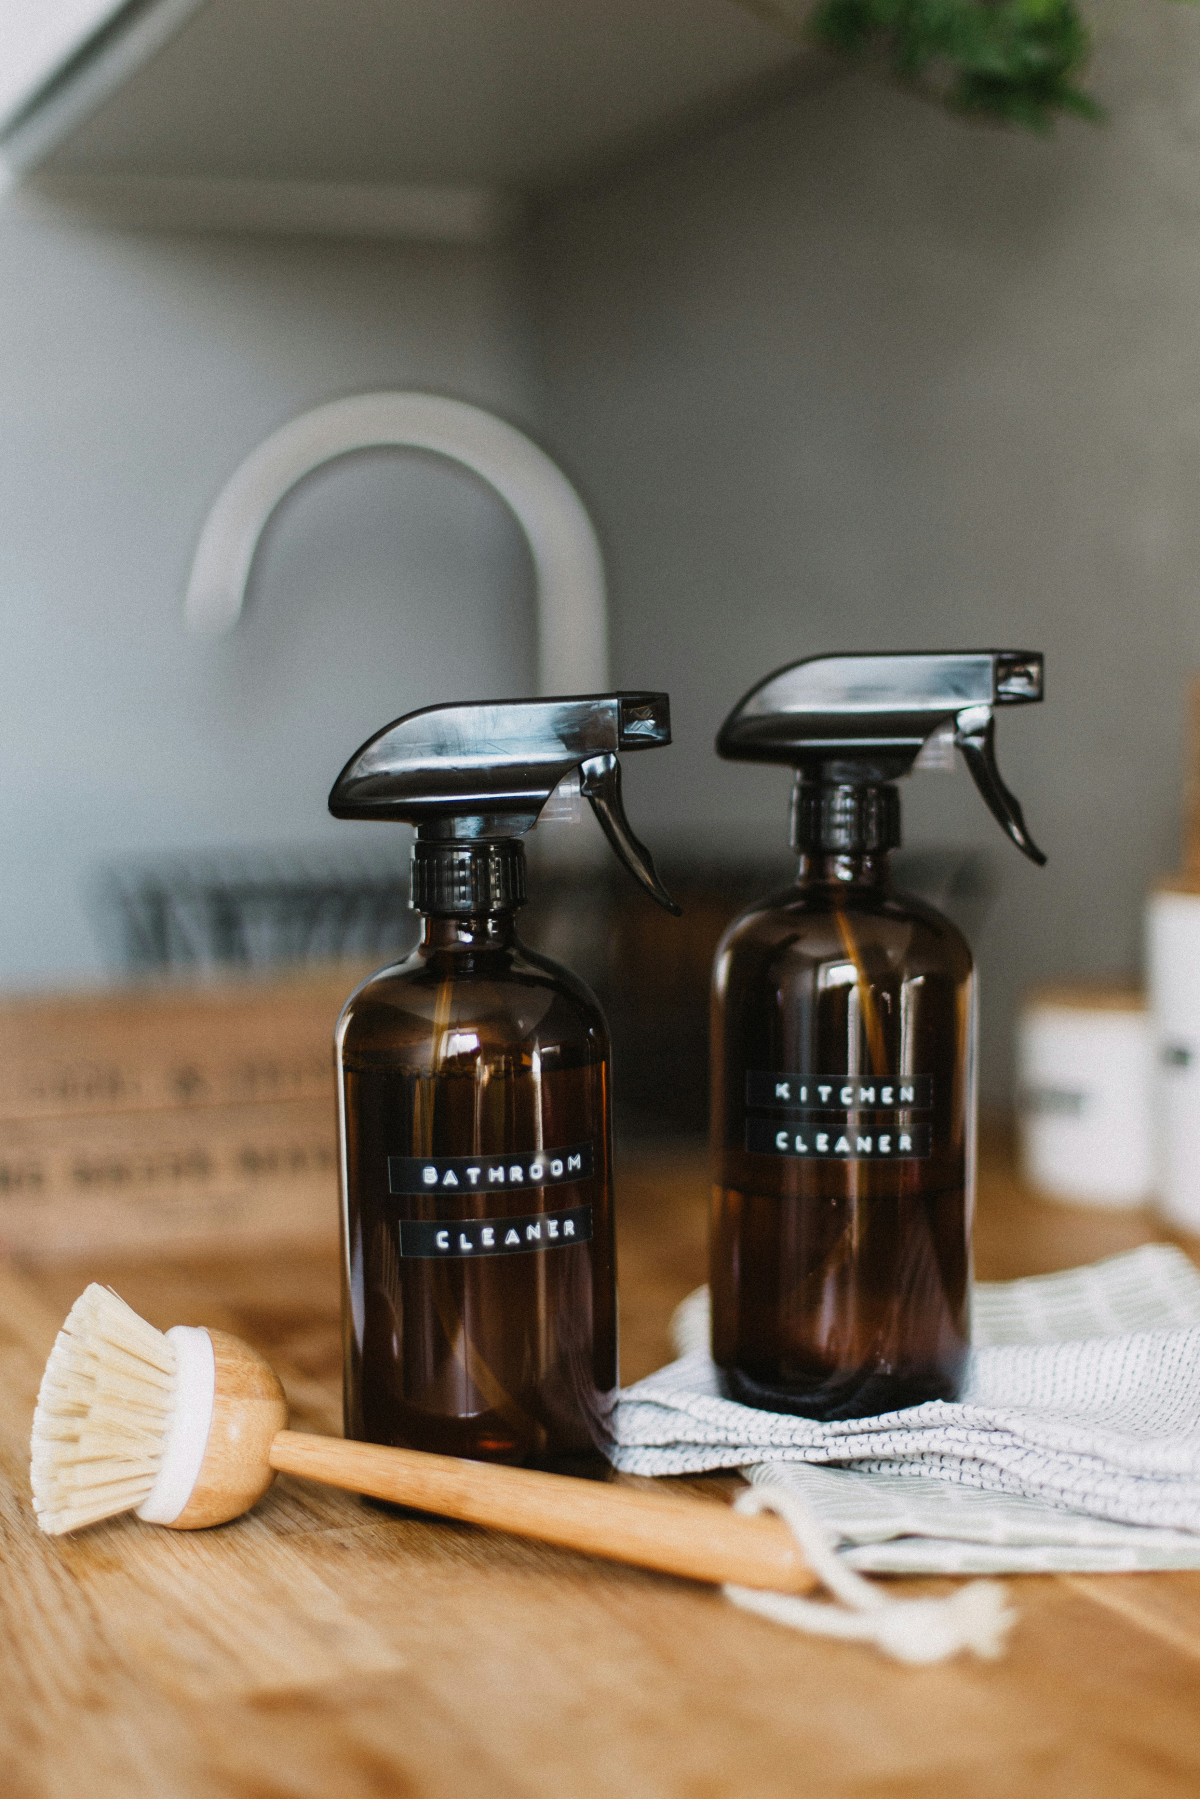
- Non-Porous Surfaces (like glass, metal, tile): These are easy. We clean them with a simple cleaning solution—a few drops of regular dish soap in water works great—and a rag. Wipe it down, let it dry, and you’re done.
- Semi-Porous Surfaces (like concrete or bare wood): These are tougher. They often require wire brushing or sanding along with cleaning.
- Porous Surfaces (drywall, insulation, carpet): This is a hard rule: if mold is growing on these, they must be removed and thrown away. There’s no effective way to clean them. The mold has root-like structures that grow deep inside, and just cleaning the surface is like trimming the leaves off a weed. We carefully cut out the affected material, bag it up inside the containment area, and dispose of it.
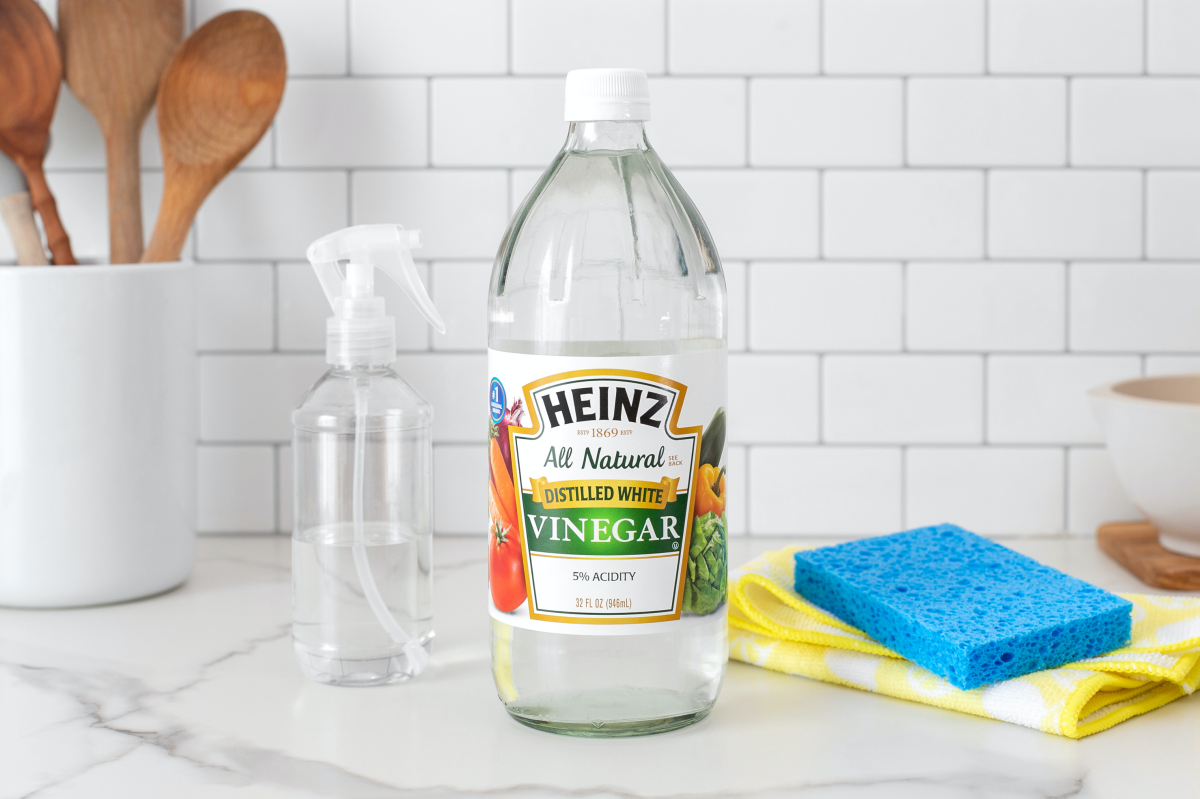
A quick word on bleach… just don’t. Especially not on anything porous like drywall. The chlorine in bleach kills surface mold but evaporates quickly, leaving the water behind to soak into the material and feed the roots you missed. I’ve seen it cause major mold blooms inside walls. A simple solution of equal parts white vinegar and water is a much better choice for DIY cleaning on harder surfaces.
When to DIY and When to Call for Help
It’s crucial to be realistic about what you can handle. Tackling a big mold problem without the right gear and knowledge can make you sick and spread the problem, costing you way more in the long run.
Your Guide to Safe DIY Mold Cleaning
As a general rule, you can probably handle a mold problem yourself if the total area is less than 10 square feet (that’s about a 3×3 foot patch) and it’s not the result of sewage or major flooding.
If that sounds like your situation, here’s your DIY shopping list. You can get everything you need for under $20 at any big-box hardware store:
- N95 Respirator Mask: Absolutely non-negotiable. About $3.
- Safety Goggles: The kind that seal around your eyes. About $5.
- Long Rubber Gloves: About $4.
- Spray Bottle: For your cleaning solution. About $2.
- White Vinegar: A household staple. About $3.
Once you have your gear, turn off your HVAC system, seal the room as best you can, and fix the water leak first! Then, spray the moldy area with your vinegar solution, let it sit for an hour, and scrub it away. Make sure you dry the area completely with fans afterward. If the smell or stain persists, it’s time to call in a pro.
When You Absolutely Need to Call a Professional
Deciding between DIY and hiring a pro often comes down to cost, time, and risk. A small DIY job might cost you $20 and an afternoon. Hiring a pro for that same small job could run between $500 and $1,500, but you’re paying for safety and peace of mind. For a larger issue, like a whole attic or crawlspace, you could be looking at $3,000 to $7,000+.
You should always hire a certified pro if:
- The moldy area is larger than 10 square feet.
- You suspect mold is in your HVAC ducts (e.g., a musty smell comes from the vents).
- You can smell mold but can’t find it (it’s likely hidden in a wall or ceiling).
- The growth was caused by contaminated water, like a sewage backup.
- Someone in your home has a compromised immune system or severe asthma.
Heads up! Red Flags When Hiring a Pro:
- Beware of scare tactics. If a contractor’s main sales pitch is centered on the dangers of “toxic black mold,” be wary. A true professional focuses on solving the moisture problem and removing all mold safely, regardless of color or type.
- Avoid anyone who suggests just “fogging” or “encapsulating” (painting over) the mold. This is a shortcut that doesn’t work. The mold must be physically removed, and the water source must be fixed.
- Ask for credentials. Look for a contractor with formal certifications in mold remediation. It shows they’ve been properly trained on industry-standard safety protocols.
Final Thoughts on Your Health and Safety
Your safety is priority number one. Mold affects everyone differently—some people get a stuffy nose, while others can have severe allergic reactions or asthma attacks. Because of this, please take precautions seriously.
That safety gear I mentioned? I never, ever enter a contaminated space without it, and you shouldn’t either. A few dollars for an N95 mask and goggles is a tiny price to pay to protect your lungs and eyes from inhaling a cloud of spores. And if you think your health has been affected by mold, please see a doctor. I’m an expert in fixing buildings, not people. Your health is not worth the risk of a DIY shortcut.
Galerie d’inspiration

Here’s the problem with bleach: While it might kill surface mold on non-porous materials like tile, it can’t penetrate porous surfaces like drywall or wood to kill the mold’s ‘roots’ (mycelia). The water in the bleach solution can actually feed the remaining mold, encouraging it to grow back stronger. A better DIY solution for small, non-porous areas is a simple mix of white vinegar or a dedicated antimicrobial cleaner like Concrobium Mold Control.

Ever wonder why professionals show up looking like they’re entering a biohazard zone?
It’s all about containment and safety. Those N95 or P100 respirators prevent them from inhaling microscopic mold spores, which can cause serious respiratory issues. The disposable coveralls, often made by brands like DuPont Tyvek, prevent spores from contaminating their clothing and being carried to other parts of your home. Goggles protect their eyes from both spores and cleaning agents. This level of protection is crucial because disturbing a mold colony can release millions of spores into the air instantly.
Under ideal conditions, a patch of mold can begin to grow on a damp surface within just 24 to 48 hours.
This rapid growth is why acting fast after a water leak, flood, or even a minor spill is so critical. It’s not about what you see in a week; it’s about the invisible colony that establishes itself in the first two days. By the time you spot visible green fuzz, the problem is already well underway.
Sometimes, your nose knows before your eyes do. That persistent earthy, musty smell, often described as being like damp soil or rotting leaves, is a tell-tale sign of hidden mold. These odors are caused by Microbial Volatile Organic Compounds (MVOCs), which are gases produced by the mold as it grows and digests material. If a room smells damp even when it feels dry, trust your instincts and start investigating.
Your best long-term defense against mold is controlling indoor humidity. The goal is to keep it consistently between 30% and 50%.
- Use exhaust fans in kitchens and bathrooms, running them for 30 minutes after you cook or shower.
- In chronically damp areas like basements, a good dehumidifier is non-negotiable. Look for models like the Frigidaire FFAD5033W1 that have a continuous drain option.
- A simple, inexpensive tool called a hygrometer can help you monitor humidity levels in different rooms.
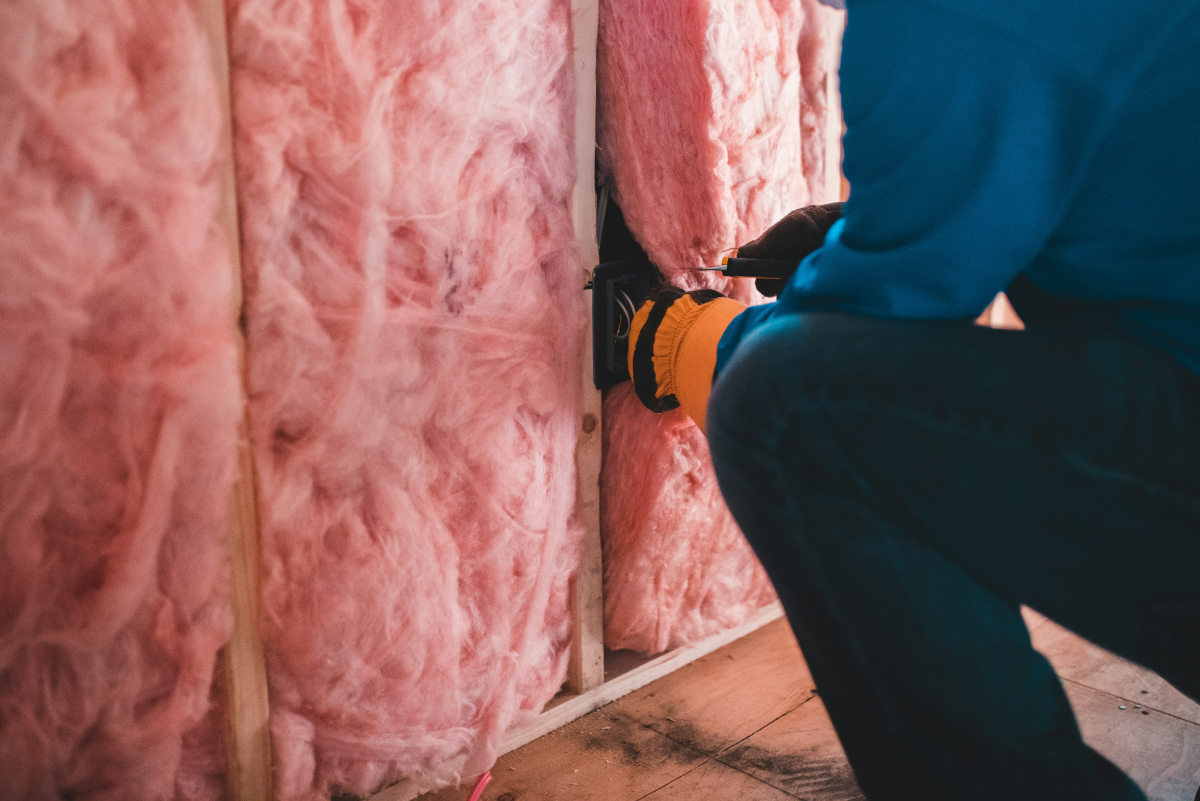
- Inside wall cavities behind vapor barriers.
- Underneath vinyl flooring or carpeting, especially if a spill wasn’t dried completely.
- On the back of wallpaper, where moisture gets trapped.
- Within the ductwork of your HVAC system, spreading spores every time it runs.
Think you’ve found it all? Check these common hiding spots.
DIY Mold Test Kits: These are cheap and can confirm the presence of mold spores. However, since spores are everywhere, they almost always show a positive result, causing unnecessary panic without identifying the location or severity of the problem.
Professional Assessment: An inspector uses moisture meters and thermal imaging to find the hidden water source and the full extent of the growth. They can tell you if the mold is a contained issue or a systemic problem.
For a true diagnosis and an actionable plan, a professional assessment is always the more reliable choice.
After remediation, don’t just rebuild—rebuild smarter. Instead of standard drywall in moisture-prone areas, ask your contractor about using paperless drywall or specific products like USG Sheetrock Brand Mold Tough® Gypsum Panels. For bathroom and basement walls, cement board provides an inorganic backing for tiles that offers no food source for mold to consume, helping you break the cycle for good.


