Thinking About an Epoxy Floor? Read This Before You Spend a Dime
So, You Want One of Those Glossy Garage Floors…
After spending years deep in the world of concrete coatings and epoxy floors, I’ve seen just about everything. I’m talking about everything from pristine showroom finishes to disastrous, peeling messes. And the biggest lesson I’ve learned is that a beautiful, long-lasting epoxy floor has very little to do with picking a pretty color. It’s all about chemistry, physics, and a whole lot of tough, smart work. This isn’t just a layer of paint; it’s a complete flooring system.
In this article
- So, You Want One of Those Glossy Garage Floors…
- The Science Behind a Rock-Solid Bond
- Pro Techniques for a Flawless Finish
- Which Epoxy System is Right for You?
- Okay, How Long Does This Actually Take?
- How to Keep Your New Floor Looking Amazing (Care & Cleaning)
- A Realistic Look at What This Costs
- Final Thoughts & What to Ask an Installer
- Galerie d’inspiration
It’s easy to see a slick floor in a neighbor’s garage and think it’s a simple roll-on project you can knock out in a weekend. Honestly, the DIY kits you find at big-box hardware stores set a lot of people up for failure. A true, professional-grade epoxy floor is a multi-step chemical process that literally fuses with the concrete, creating a brand-new, incredibly resilient surface. We’re talking about floors tough enough to handle forklifts but stunning enough for a design studio.
This guide is the real deal, built on hands-on experience. I’m going to share the stuff I teach my own crew—the science, the hard-learned lessons, and the honest truth about what it really takes to get a floor that lasts.
The Science Behind a Rock-Solid Bond
Ever wonder why some epoxy floors last for ages and others start peeling up within a year? It all comes down to science. An epoxy system is usually two parts: a resin (Part A) and a hardener (Part B). When you mix them, a chemical reaction called polymerization kicks off. The molecules start linking together into super-strong, cross-linked chains. This process creates heat, and the window of time you have to work with the mix before it gets too hard is called its “pot life.”
But how does it stick? Epoxy forms two kinds of bonds with concrete. The most important one is mechanical. Concrete looks smooth, but it’s actually porous, with countless tiny peaks and valleys. When we prep the surface by grinding it, we open up these pores. The liquid epoxy flows into this rough profile and, as it hardens, it grabs on like millions of microscopic anchors. This is exactly why surface prep is the make-or-break step of the entire job.
The #1 Enemy of Epoxy: Moisture
Concrete is basically a hard sponge. It can pull moisture vapor from the ground right through it. If you trap that moisture under a non-breathable coating like epoxy, you’re asking for trouble. The pressure builds and builds until it literally pushes the coating right off the slab, causing those ugly bubbles and peeling.
Before any pro job, we have to test for moisture. Here’s a quick test you can do yourself. Go try this right now: tape an 18×18 inch square of plastic sheeting to your concrete floor on all four sides. Leave it for a full 24 hours. If you come back and see condensation or dark, damp concrete underneath, you’ve got a moisture issue. You just saved yourself thousands on a failed floor! Let me know what you find. Professionals use more advanced tools like digital moisture meters, but that plastic sheet test is a surprisingly reliable red flag. If moisture is high, a special moisture-mitigating primer is an absolute must, which can add $1.50 to $2.50 per square foot to the job cost.
Pro Techniques for a Flawless Finish
I’ll never forget an early job where I got the mix ratio just slightly off. The floor stayed tacky for a week. It was a nightmare. I had to pay my own crew to strip the entire thing and start over from scratch. You only make that kind of expensive mistake once! It taught me that the difference between a DIY-looking job and a professional one comes down to two things: relentless preparation and high-quality materials.
Step 1: Surface Prep is Everything (Seriously)
Your garage floor is not ready for epoxy. Even if it’s brand new. The surface has to be profiled, meaning it needs to be opened up to feel something like 80-grit sandpaper. This is something you simply cannot achieve with an acid etch kit. Acid etching is messy, unpredictable, and often doesn’t even touch the dense, hard-troweled surface of most garage floors.

The pros only use mechanical preparation. The king of this process is a planetary diamond grinder. These heavy machines use diamond-studded discs to shave off the weak top layer of concrete, removing any sealers or contaminants. This is connected to a massive, HEPA-filtered dust extractor to keep the air safe. To be blunt, without this equipment, you can’t properly prep a floor.
Quick Tip: People often wonder why pro jobs cost what they do. Here’s a peek at what’s on the truck for the prep stage alone:
- Planetary Diamond Grinder: These can cost anywhere from $5,000 to over $15,000.
- Industrial HEPA Dust Extractor: Another $3,000 – $8,000.
- Hand Grinders & Diamond Tooling: At least another $1,000+.
This gear is why we can achieve a perfect surface profile, which is the foundation of the entire system.
Step 2: The All-Important Primer Coat
The primer is the anchor. It’s a thinner, lower-viscosity epoxy made to soak deep into the newly opened pores of the concrete. This seals the slab, prevents bubbles from air escaping the concrete (called outgassing), and creates that bulletproof bond for the next layers. If a floor has moisture issues, this is where that special moisture-blocking primer goes down.
Step 3: The Body Coat & The Fun Part
This is the layer that gives you your color and real thickness. We use a 100% solids epoxy, which means nothing evaporates—what you put down is the thickness you get. We pour it in ribbons and spread it with a notched squeegee.
For flake or quartz floors, this is where the magic happens. After spreading the body coat, we immediately broadcast decorative vinyl flakes or colored sand into the wet epoxy until it can’t hold any more. This is called a “full broadcast to rejection.” It’s not just for looks; this technique creates a much stronger, thicker, and more slip-resistant floor. Just sprinkling on a few flakes like you see in some kits offers zero structural benefit.
Step 4: The Protective Top Coat
After the body coat has cured (usually 12-24 hours), we scrape the floor to knock down any loose or standing-up flakes, then vacuum like crazy. The top coat is the sacrificial wear layer. It’s what takes the abuse from tires, tools, and UV rays.

Heads up! While you can use an epoxy top coat, a two-part polyaspartic urethane is a much better choice. It’s more scratch-resistant, more chemical-resistant, and most importantly, it’s UV stable. Standard epoxy will yellow or “amber” over time when exposed to sunlight. That polyaspartic top coat is what keeps a floor looking great for years, especially near garage doors or windows.
Which Epoxy System is Right for You?
Not all epoxy is created equal. We choose a system based on what the floor will be used for, the budget, and the desired look.
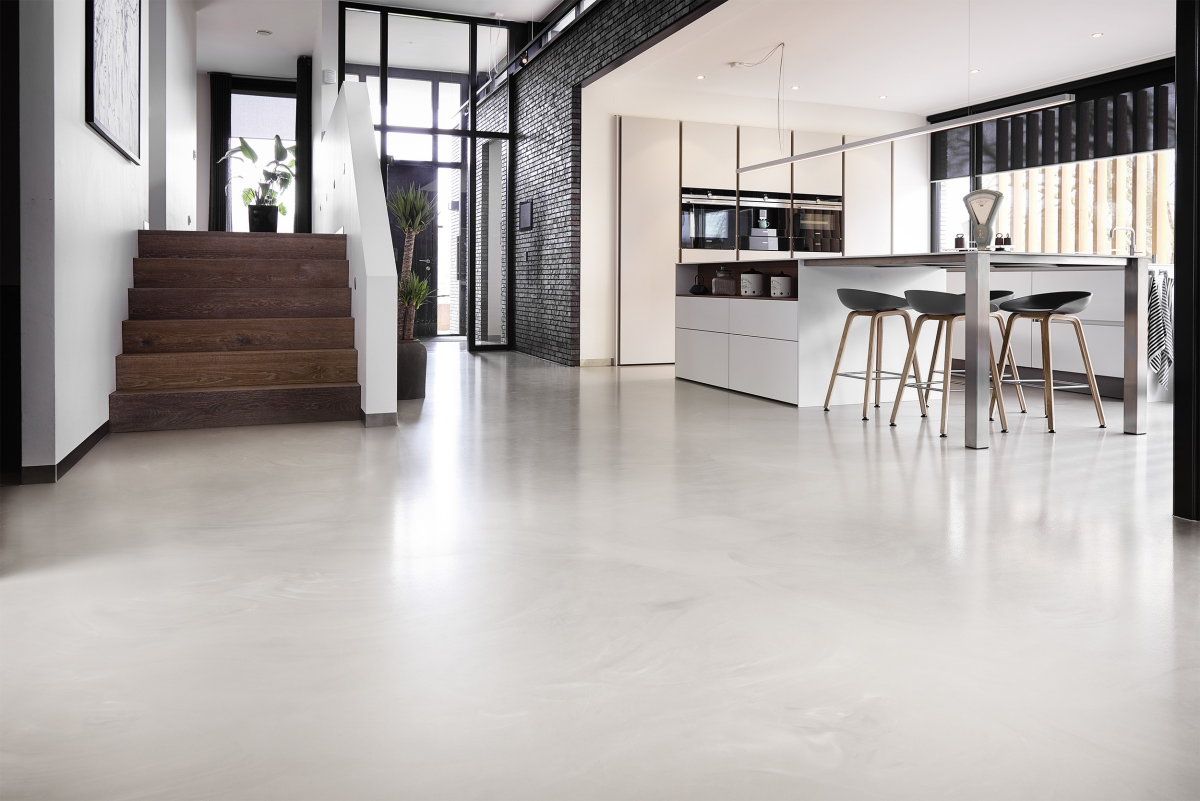
- Solid Color Systems: This is your classic, straightforward option. A primer, a colored body coat, and a clear top coat. It’s perfect for workshops, basements, or any space where you just need a clean, durable, and seamless surface. Think of it as the reliable workhorse. For durability, it’s a solid 3/5, and in terms of cost, it’s the most budget-friendly, let’s call it $$.
- Flake Systems: This is the most popular choice for a reason, especially for garages and commercial spaces. The full flake broadcast creates amazing texture and hides minor imperfections in the concrete below. It’s a super thick system that’s tough as nails. Durability-wise, it’s a 4.5/5, with a mid-range cost of $$$.
- Quartz Systems: Think of this as the flake system’s tougher older brother. Instead of vinyl flakes, we use colored quartz sand. These floors are ridiculously durable and naturally slip-resistant, making them ideal for commercial kitchens, vet clinics, or locker rooms. They have immense compressive strength. This is a 5/5 for durability and comes in at a higher price point, around $$$$.
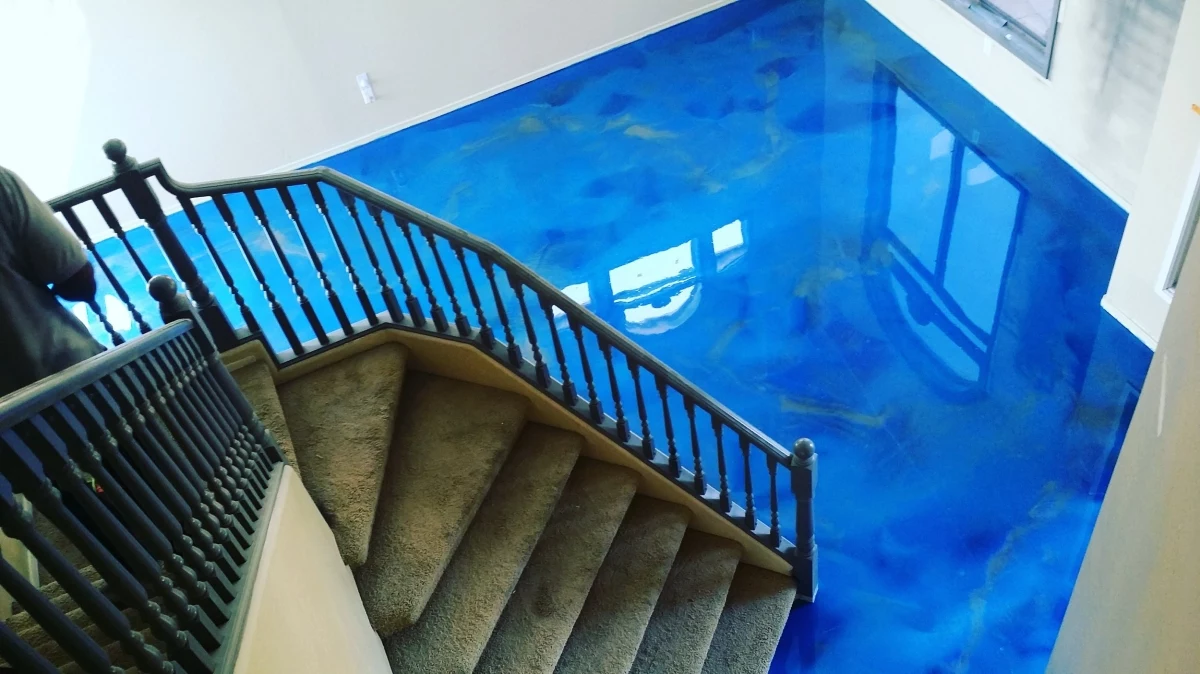
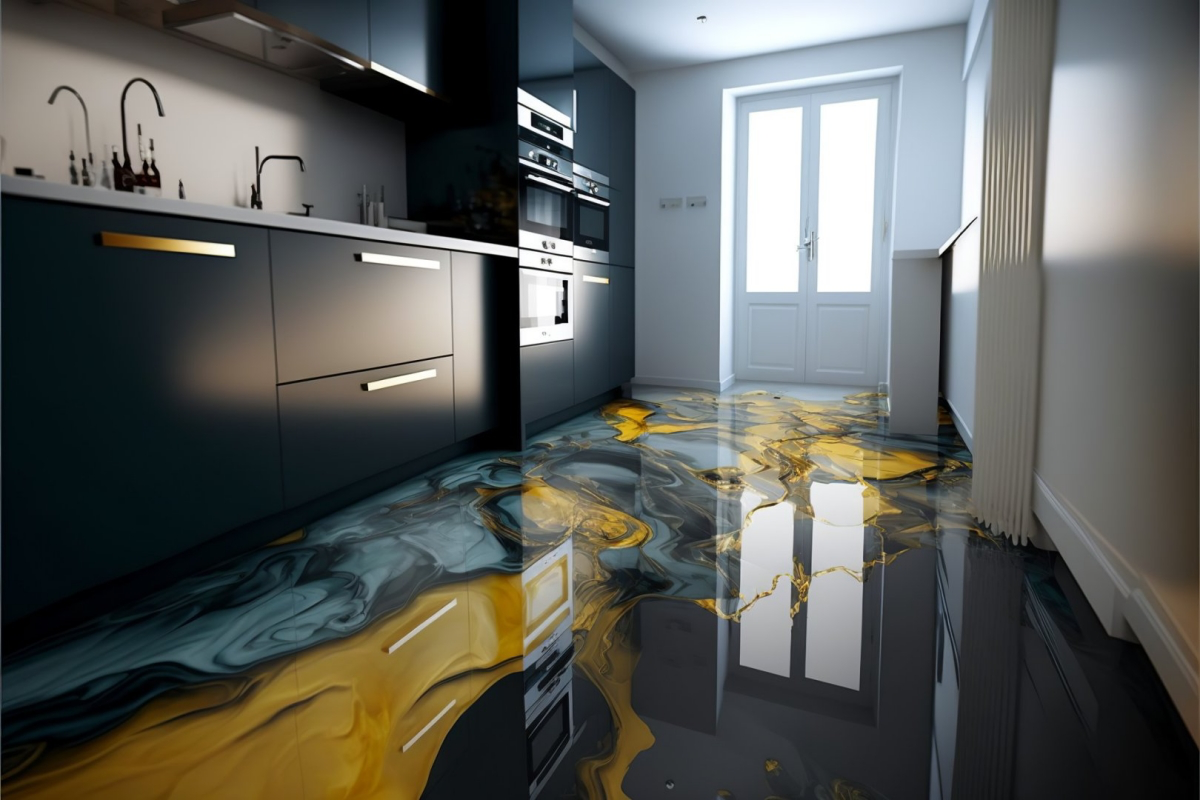
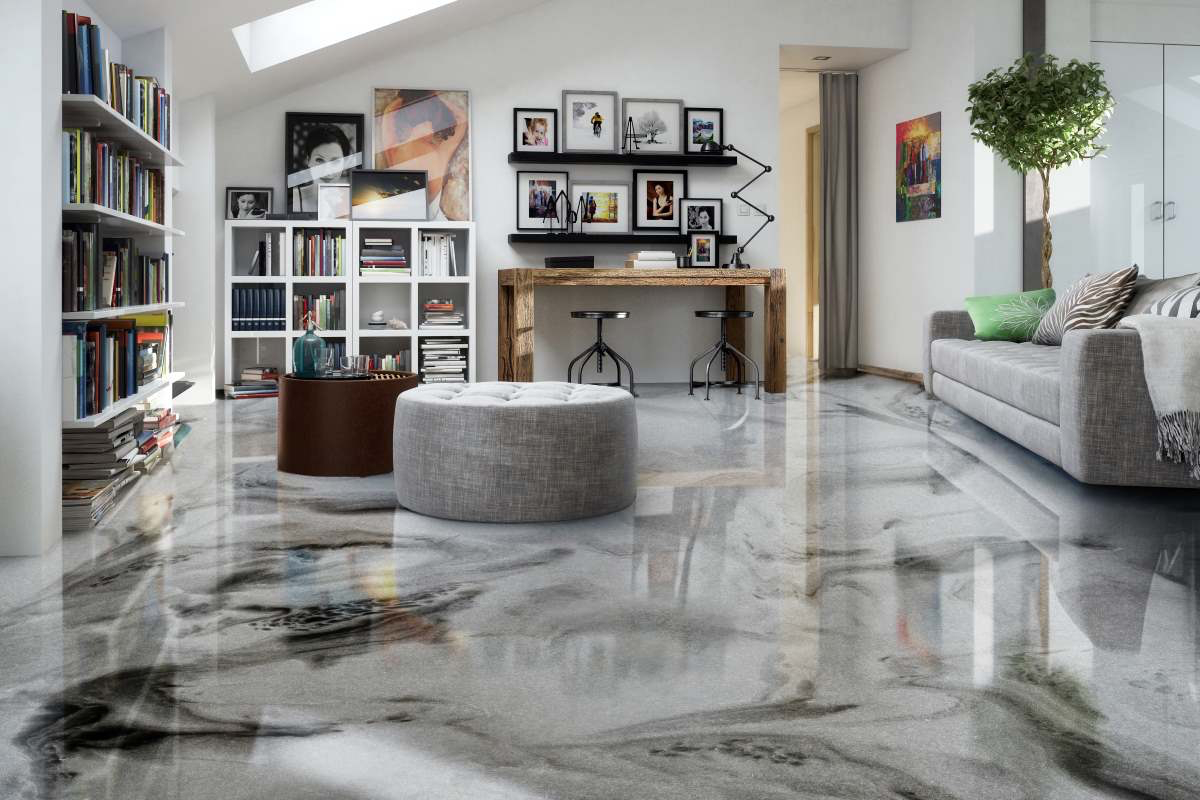
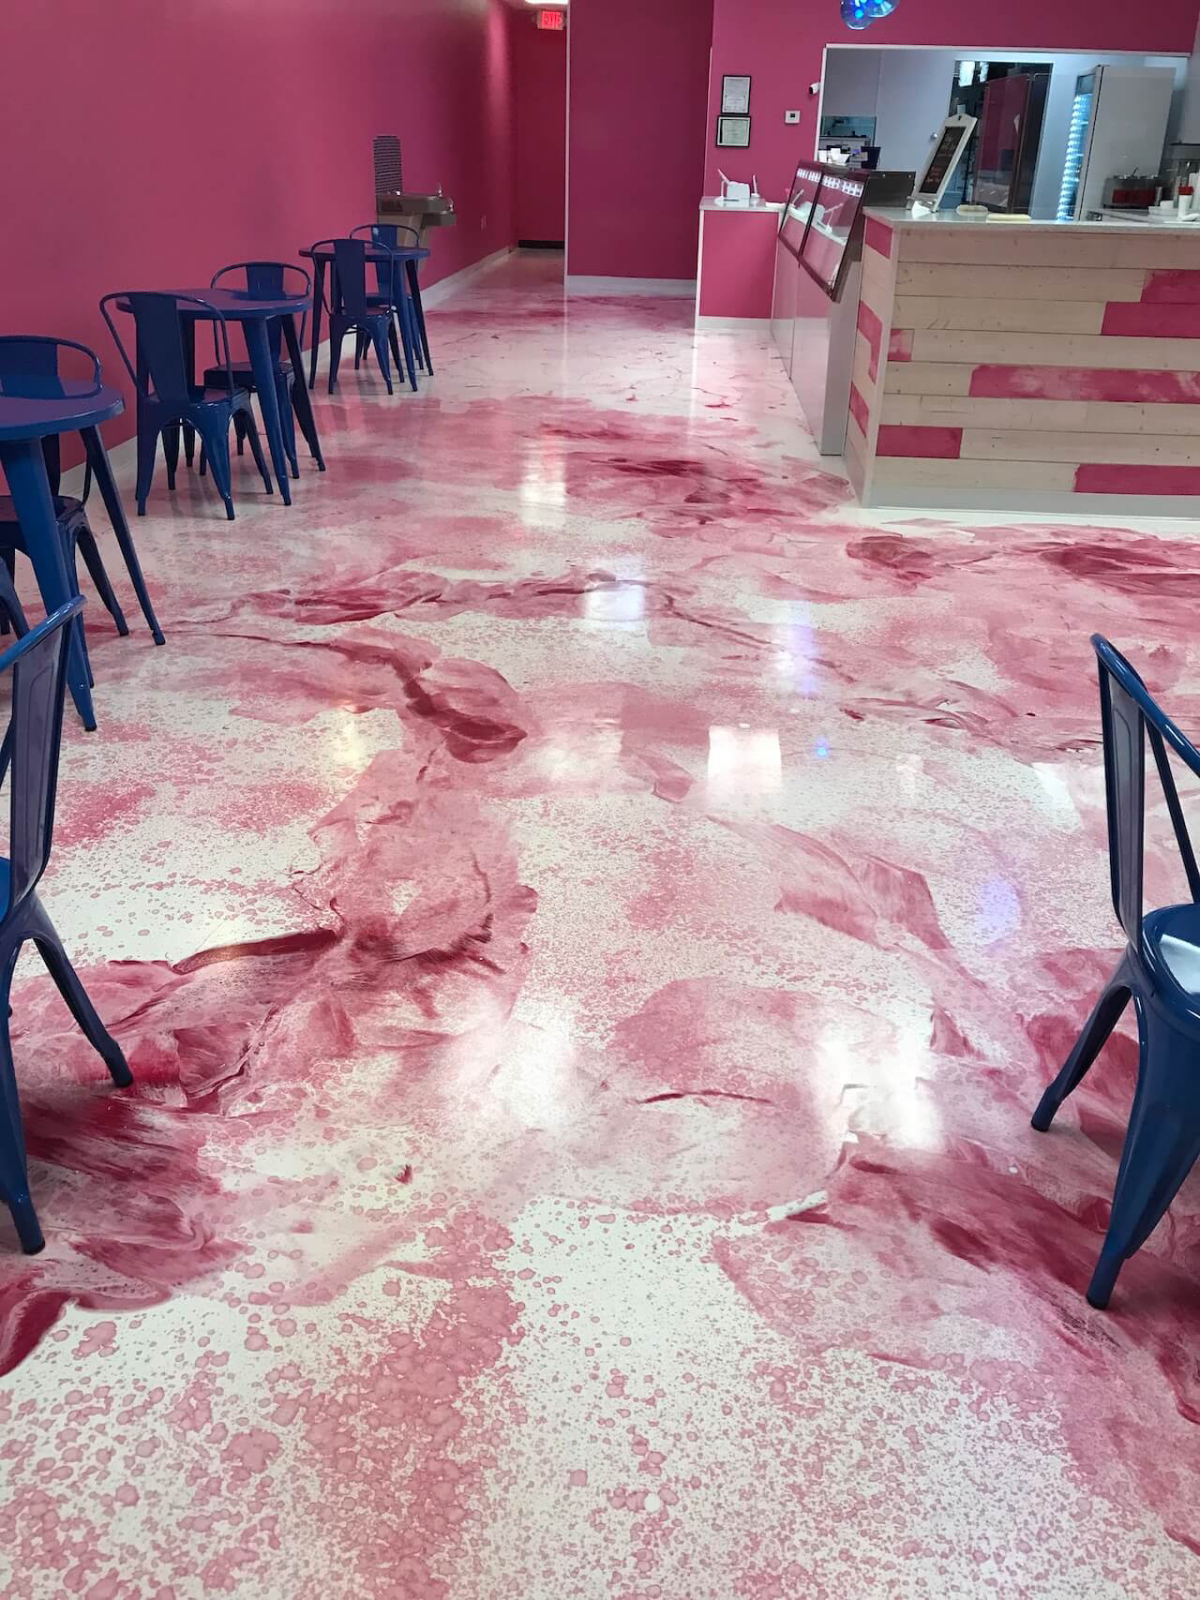
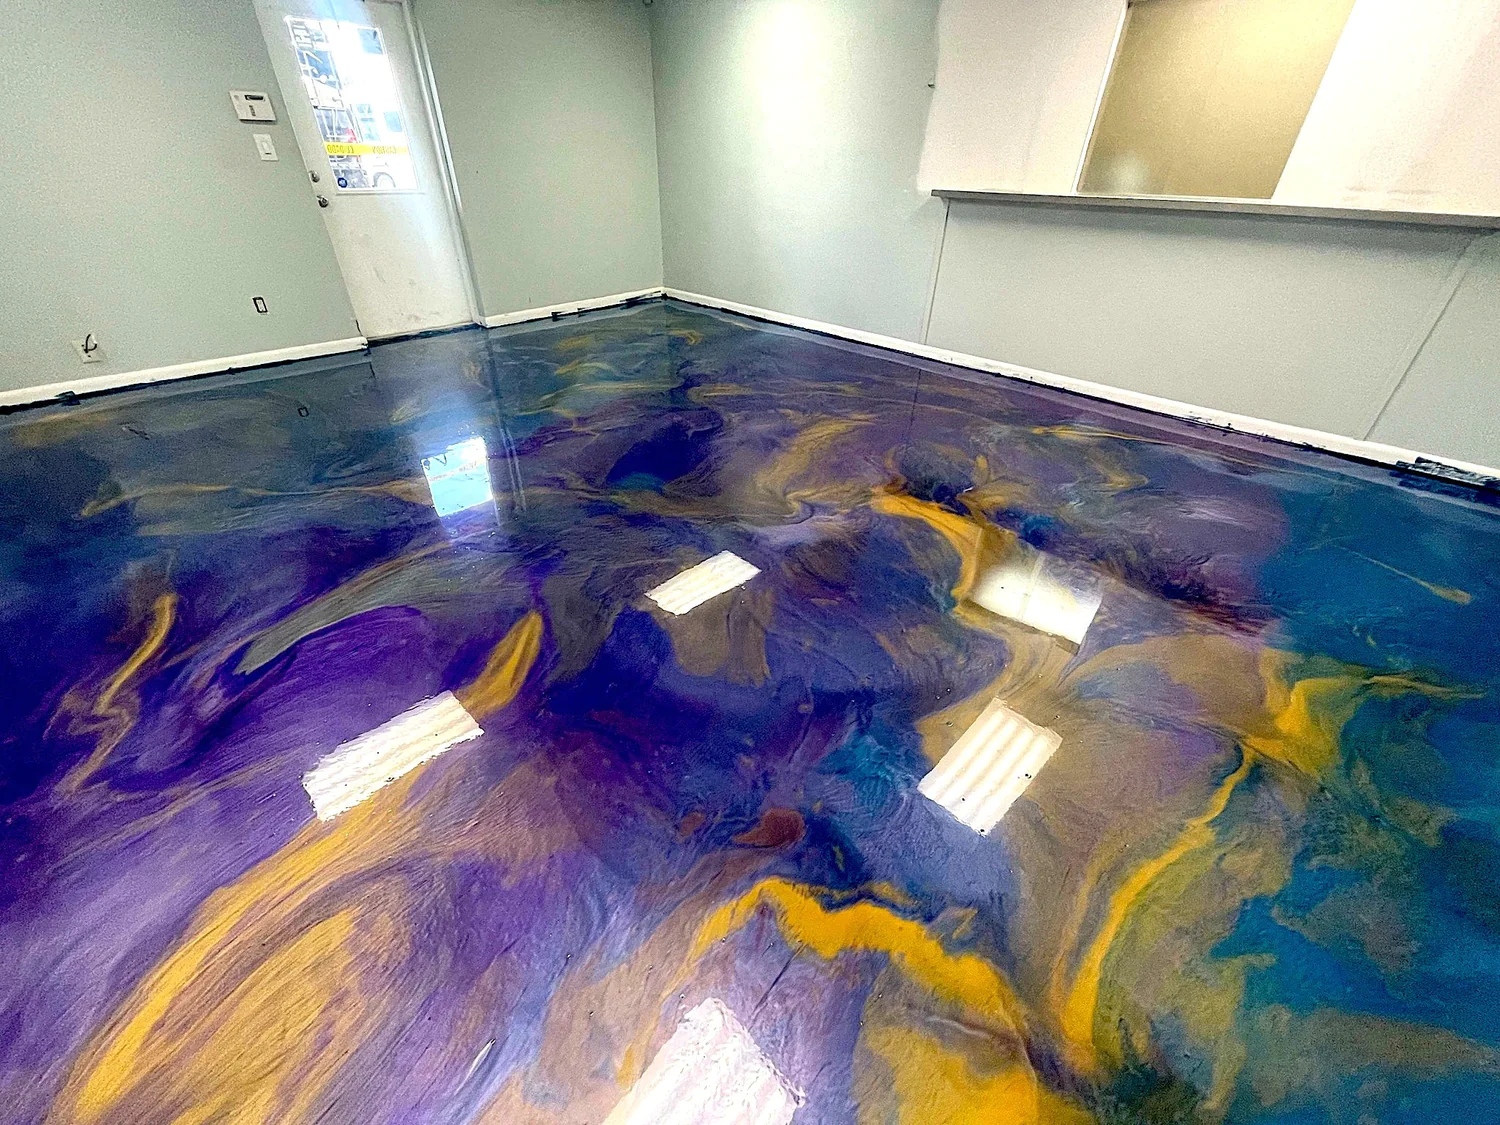
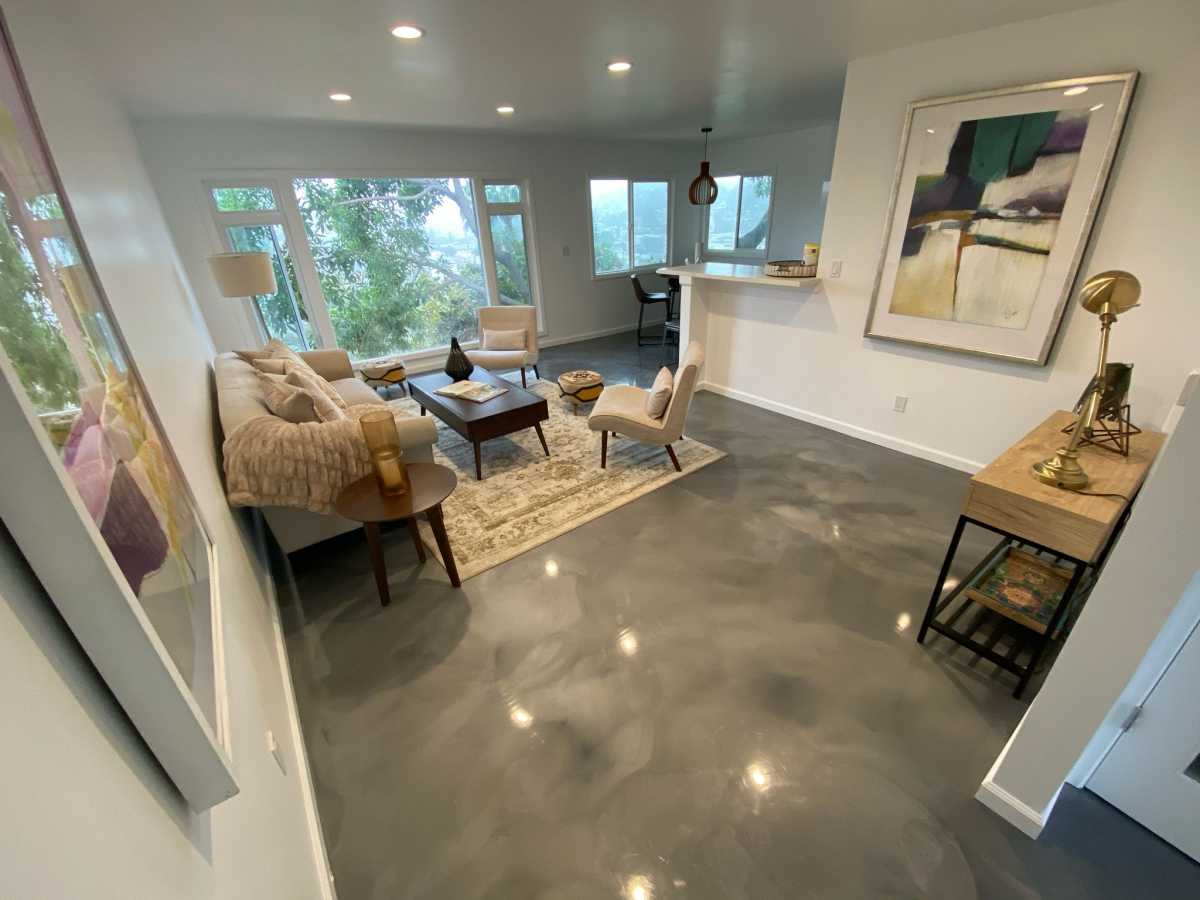
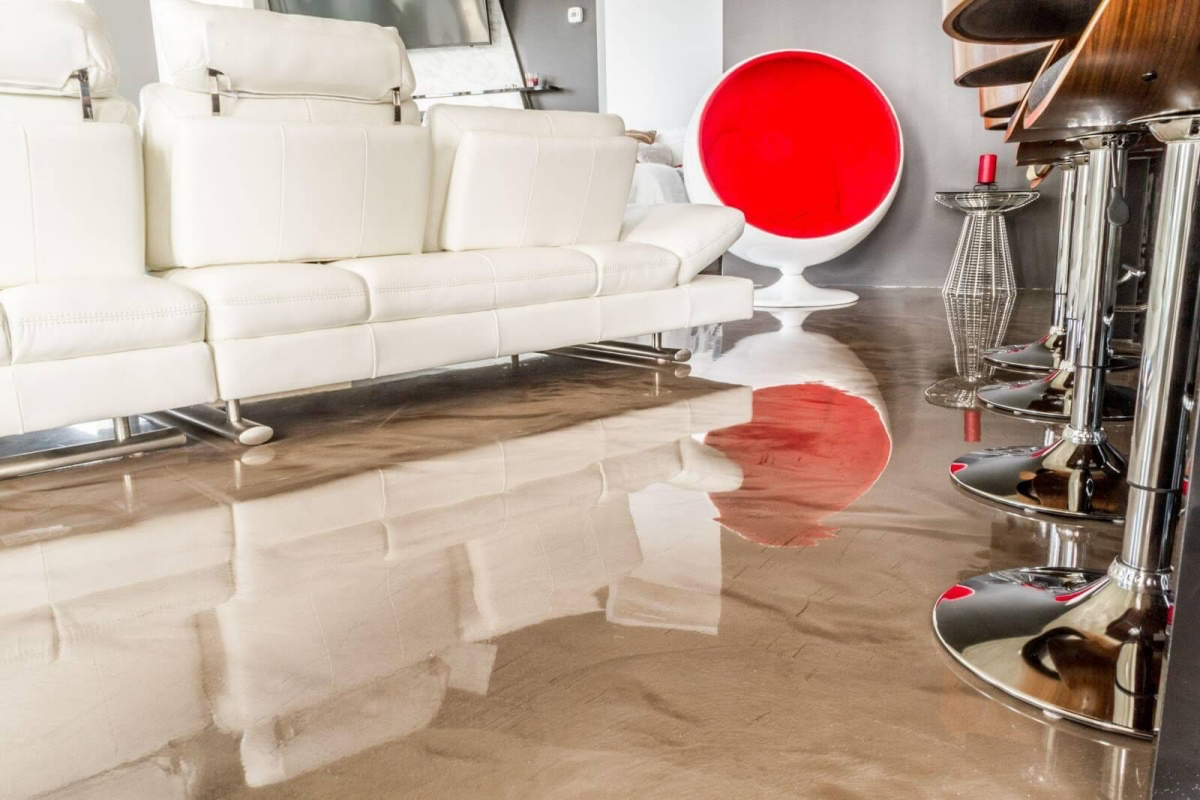
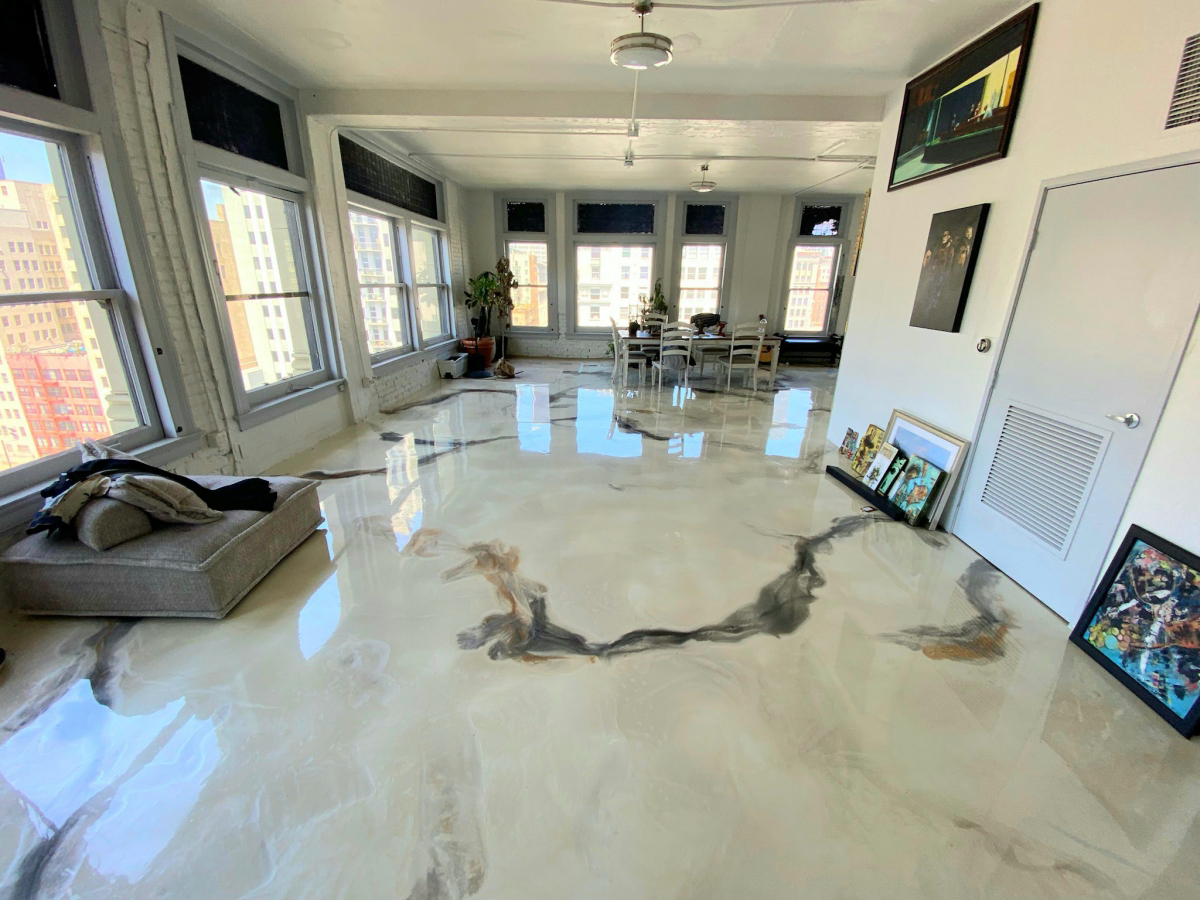
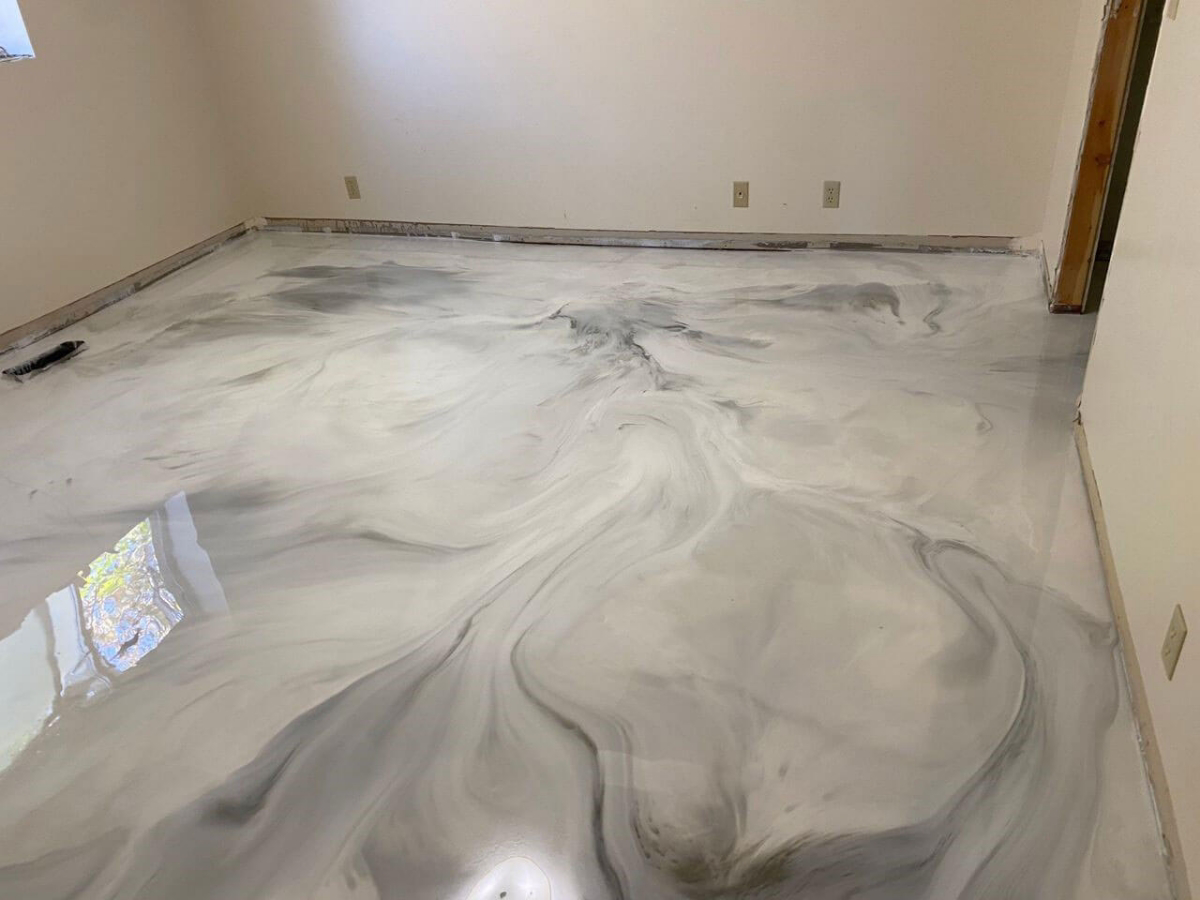
- Metallic Systems: This is where the artistry comes in. We use a clear epoxy mixed with special metallic pigments, then pour and manipulate it with rollers, squeegees, or even solvents to create stunning, 3D-looking swirls and flows. No two floors are ever the same. I remember one job where we used a leaf blower on a low setting from ten feet away to create these insane, wispy, cloud-like effects. They are showstoppers for high-end spaces but require a perfectly flat floor and a skilled hand. Durability is around 3/5 (they can scratch), and they are often the most expensive at $$$$+.
Okay, How Long Does This Actually Take?
This is a huge question people have: how long will my garage be out of commission? Forget the one-day-floor promises you might see advertised; that’s often a recipe for cutting corners. For a typical two-car garage (around 400-500 sq ft), here’s a realistic professional schedule:
- Day 1: The Grind (6-8 hours). This whole day is dedicated to surface preparation. Grinding, fixing cracks, and meticulous vacuuming. This is the most important and labor-intensive day.
- Day 2: The Build (3-4 hours). We apply the primer coat. After it’s tacky, we apply the main body coat and broadcast the flakes or quartz. Then we leave it to cure overnight.
- Day 3: The Finish (2-3 hours). We scrape and vacuum the excess flakes, then apply the final clear polyaspartic top coat.
After that, the clock starts. You can typically walk on it in socks after 24 hours. You can move light things back in after 48-72 hours. But don’t even think about parking a car on it for a full 7 days. The floor needs that time to fully cure and achieve maximum hardness.
How to Keep Your New Floor Looking Amazing (Care & Cleaning)
You’ve invested in a great floor, so don’t ruin it with the wrong cleaner! Taking care of it is actually pretty simple.
- For regular dust and dirt, a microfiber dust mop is your best friend. It picks up everything without scratching.
- For deeper cleaning, use a pH-neutral cleaner. You can find these at most janitorial supply stores or online. Just mix with water according to the directions and use a standard mop.
- AVOID THIS: Never use soap-based cleaners (like Pine-Sol or Fabuloso). They leave behind a hazy film that builds up over time and ruins the gloss. Also, avoid citrus-based cleaners or vinegar, as their acidity can dull the finish over the long term.
A Realistic Look at What This Costs
A professional epoxy floor isn’t cheap because it’s a labor-intensive process using high-performance chemicals. You can generally expect to pay a professional between $7 and $15 per square foot. So, a standard 400 sq ft two-car garage could run anywhere from $2,800 to $6,000+, depending on the system you choose and the condition of your concrete.
Be very, VERY wary of quotes that come in much lower. A low price almost always means corners are being cut—usually on surface prep or by using cheaper, water-based materials that are little more than a glorified paint.
Final Thoughts & What to Ask an Installer
An epoxy floor system, when done right, is one of the best investments you can make for your space. But it’s a trade that requires specialized knowledge, expensive equipment, and a deep respect for the materials. If you’re thinking about hiring a pro, here are the top questions you should ask to weed out the amateurs.
My Top 5 Questions to Ask Any Epoxy Installer:
- How, specifically, will you prepare my concrete floor? (The only right answer involves mechanical diamond grinding).
- What moisture test will you perform before starting? (If they say none, run away).
- What is the exact chemical you’re using for the top coat, and is it UV stable? (You want to hear “polyaspartic” or another UV-stable urethane).
- How thick will the final system be in mils? (A full flake system should be 30-35 mils thick).
- How long until I can park my car on it? (If they say anything less than 5-7 days, they’re not letting it cure properly).
Their answers will tell you everything you need to know about the quality of the floor you’re about to pay for.
Galerie d’inspiration
Worried about “hot tire pickup”?
It’s a common fear: driving into your garage and having hot tires soften and peel up your new floor. The truth is, this problem almost exclusively plagues thin, water-based DIY kits. A professionally installed, 100% solids epoxy floor forms a chemical bond with the concrete that is far stronger and more heat-resistant. The heat from your tires won’t be enough to delaminate a properly prepped and applied industrial-grade system. If you see peeling, it’s a failure of the product or preparation, not a fundamental flaw of quality epoxy itself.
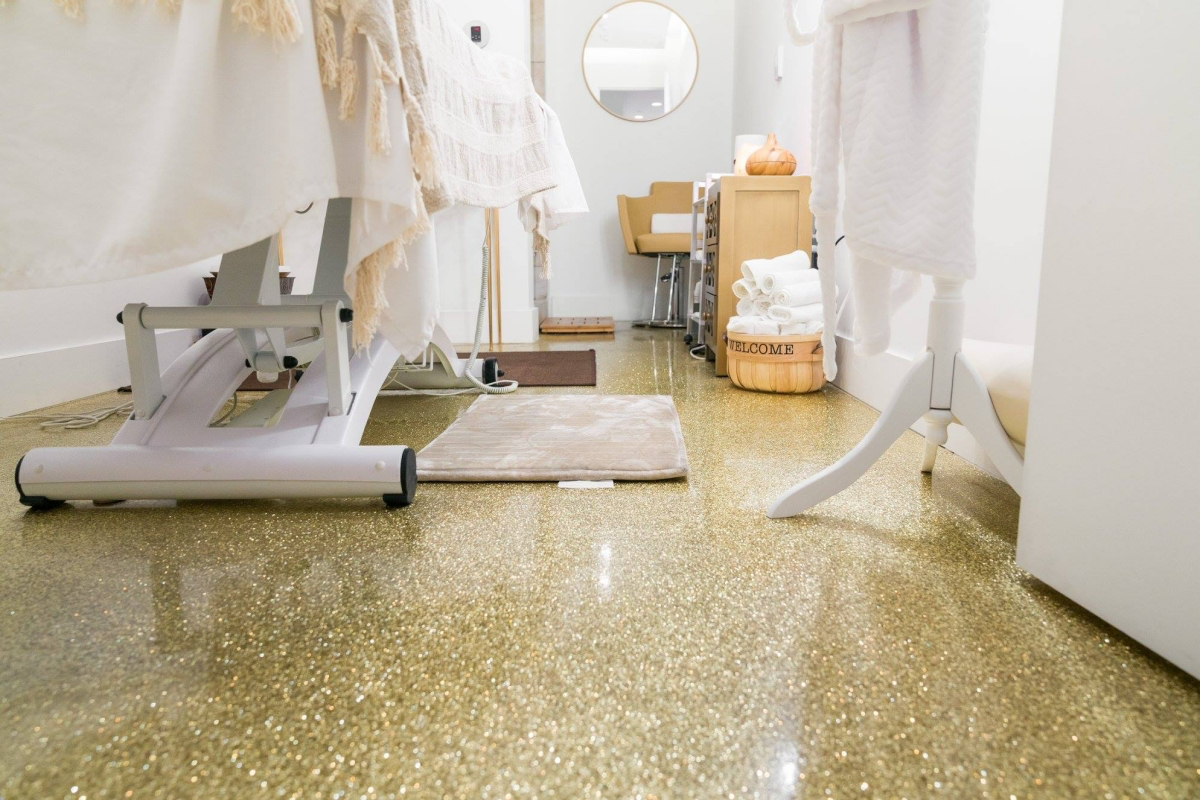
The sleek, solid-color floor is a classic, but the true artistry of epoxy lies in its decorative potential. You’re not just choosing a color; you’re designing a surface.
- Vinyl Flakes: Often called “chips,” these are broadcast over the wet epoxy and sealed in with a clear topcoat. They add texture, hide imperfections, and create a granite-like appearance. Systems like those from Torginol offer endless color combinations.
- Metallic Pigments: These special, nano-sized pigments are mixed into the epoxy to create a flowing, three-dimensional, pearlescent look. No two metallic floors are ever identical, making them a true piece of functional art.
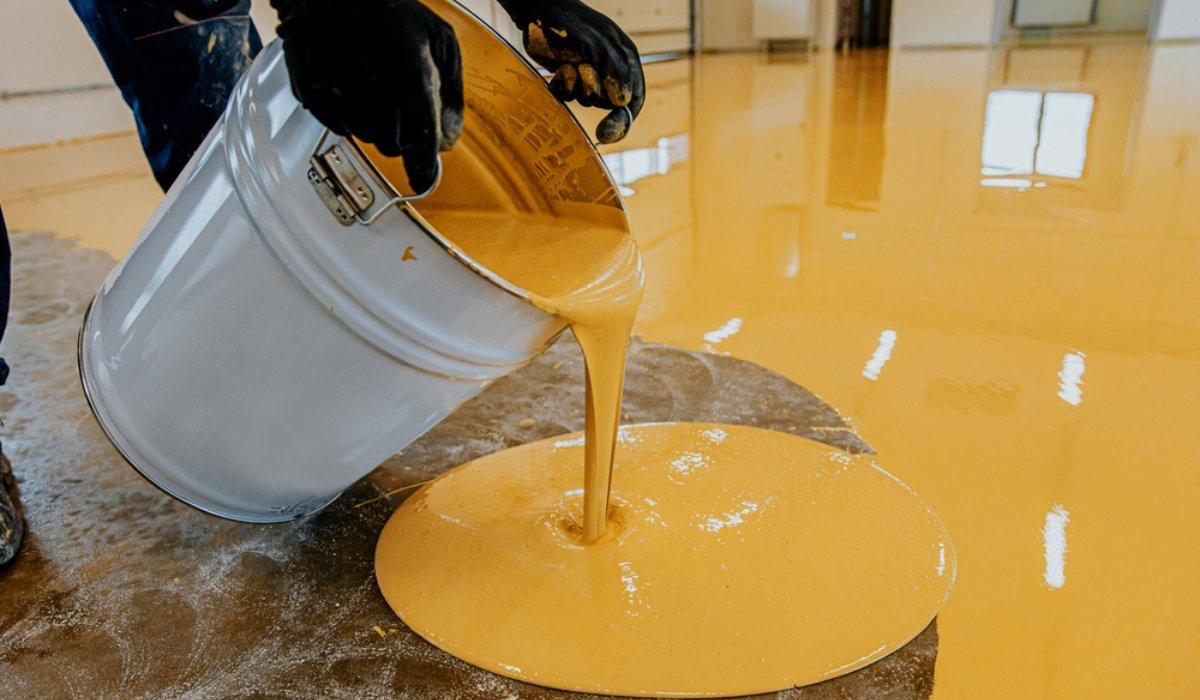
Did you know? “100% solids” epoxy contains virtually no solvents or Volatile Organic Compounds (VOCs) that evaporate as it cures.
This is crucial for interior projects like basements or kitchens. While cheaper, solvent-based epoxies release harsh fumes, 100% solids systems, like those from Sika or Sherwin-Williams’ industrial lines, are significantly lower in odor and safer for indoor air quality. They also result in a thicker, more durable final film, as nothing is lost to evaporation. Always ask your installer about the solids content of the product they plan to use.
Epoxy Base Coat: The workhorse. It offers a thick build, excellent adhesion, and a longer working time, which is ideal for creating complex designs. Its main weakness is a lack of UV stability, meaning it can yellow over time with direct sun exposure.
Polyaspartic Topcoat: The high-performance shield. It cures incredibly fast, remains flexible, and is completely UV stable—it will not yellow. It provides superior scratch and chemical resistance.
Many professionals now use the best of both worlds: a 100% solids epoxy base coat for build and strength, followed by a polyaspartic clear coat for a durable, non-yellowing finish. It’s the ultimate hybrid system for a garage that truly lasts.


