Your Guide to Painting a Flawless Blue Front Door That Actually Lasts
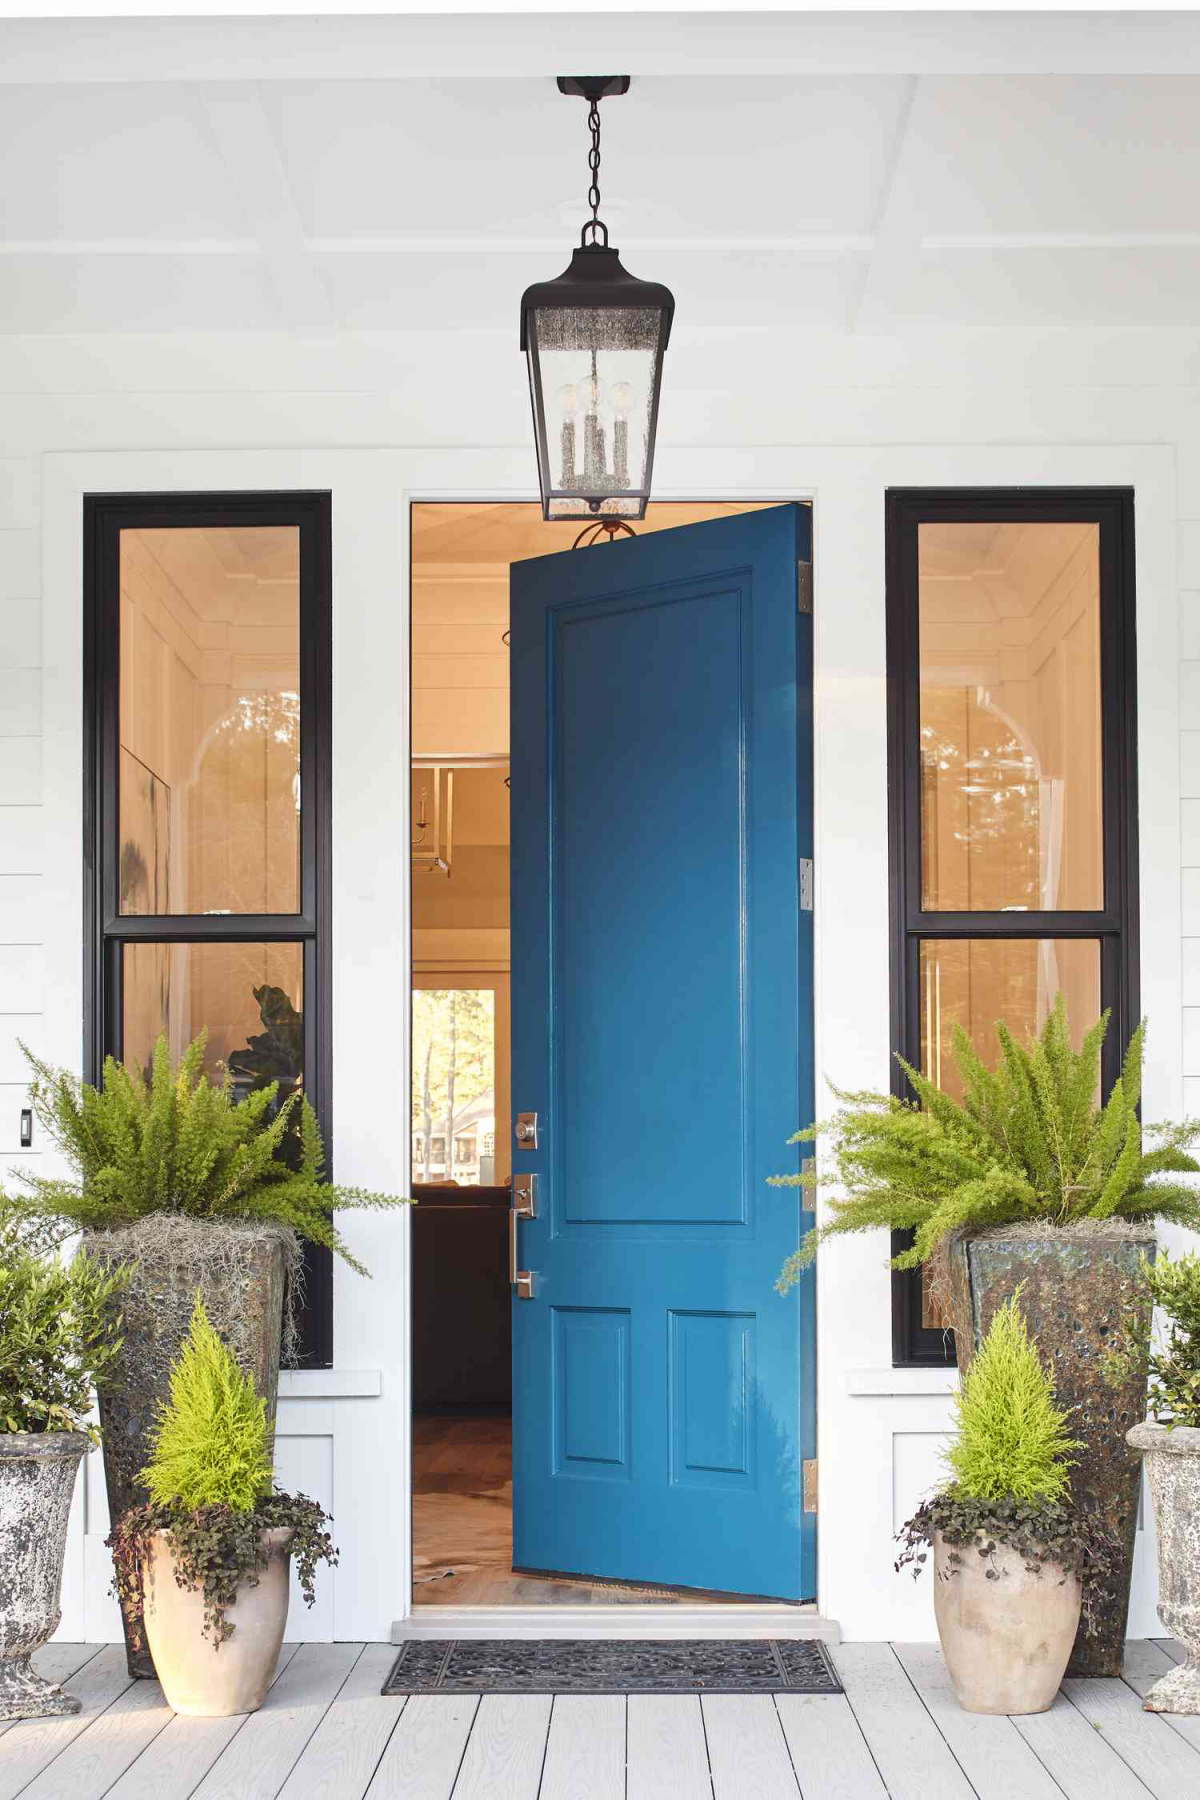
I’ve been slinging paint for a long time, on everything from brand-new builds to classic old homes. But if you ask me, the single most important paint job on any house is the front door. It’s the handshake of the home, the one thing everyone sees up close. A bad finish just screams amateur, but a great one? It makes the whole house look better.
In this article
And it seems like everyone wants a blue front door these days. I get it. Blue can be anything you want it to be—calm and welcoming or bold and dramatic. But getting that perfect, durable finish is about more than just finding a color you like. The real secret is understanding the door itself, the paint you’re using, and the world it has to live in.
Honestly, I’ve seen gorgeous navy doors turn into a faded, chalky disaster in just a couple of years because the wrong paint was used on a sun-drenched entrance. I’ve also watched folks burn a whole weekend on a door, only to have it peel a few months later because they skipped the most critical step. So, this isn’t about fleeting trends. This is about doing the job right, so it holds up for years to come.
First, Let’s Talk Science (Don’t Worry, It’s Easy)
Before you even dream about colors, you need to know what you’re up against. A front door takes a beating from weather, sun, and daily use. That means your paint choice is a technical decision first and a decorative one second.
Why LRV is a Big Deal for Your Door
Ever notice that little number on the back of a paint swatch? That’s the Light Reflectance Value, or LRV, and it’s on a scale from 0 (think absolute black) to 100 (pure white). It tells you how much light—and more importantly, heat—a color absorbs.
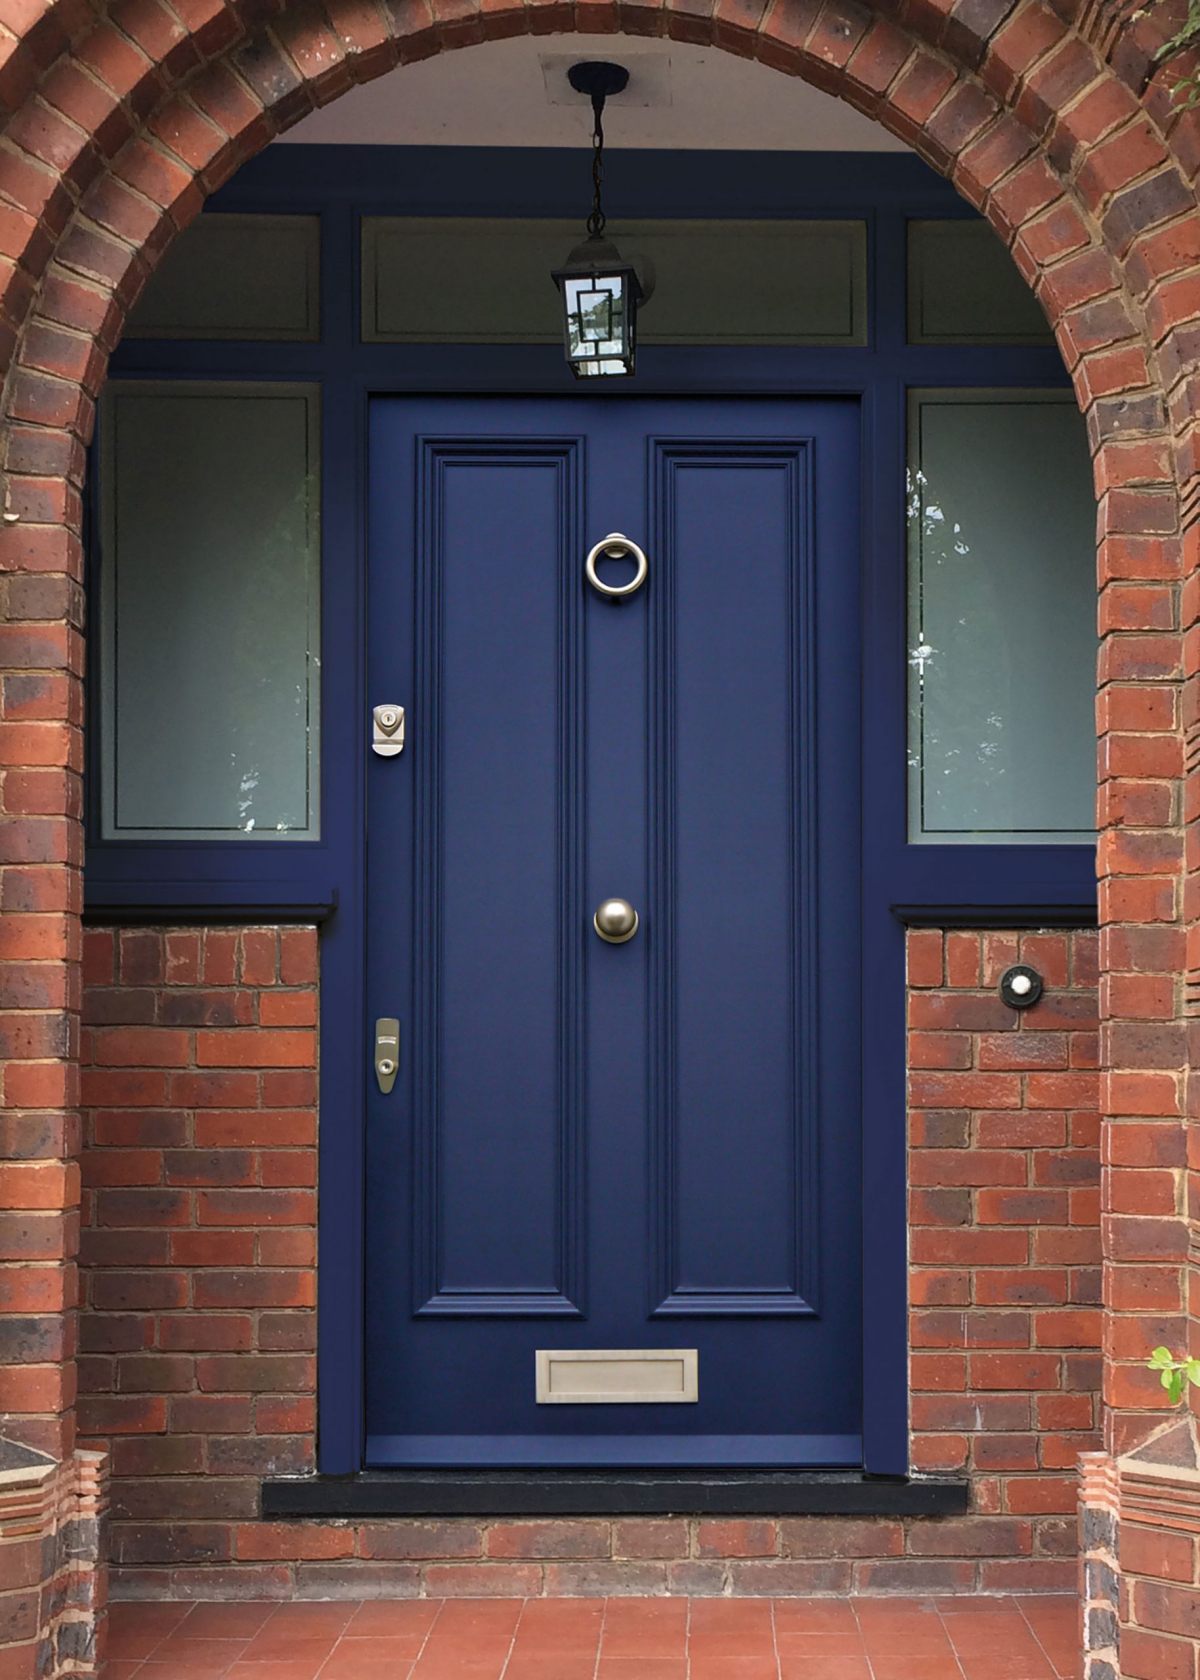
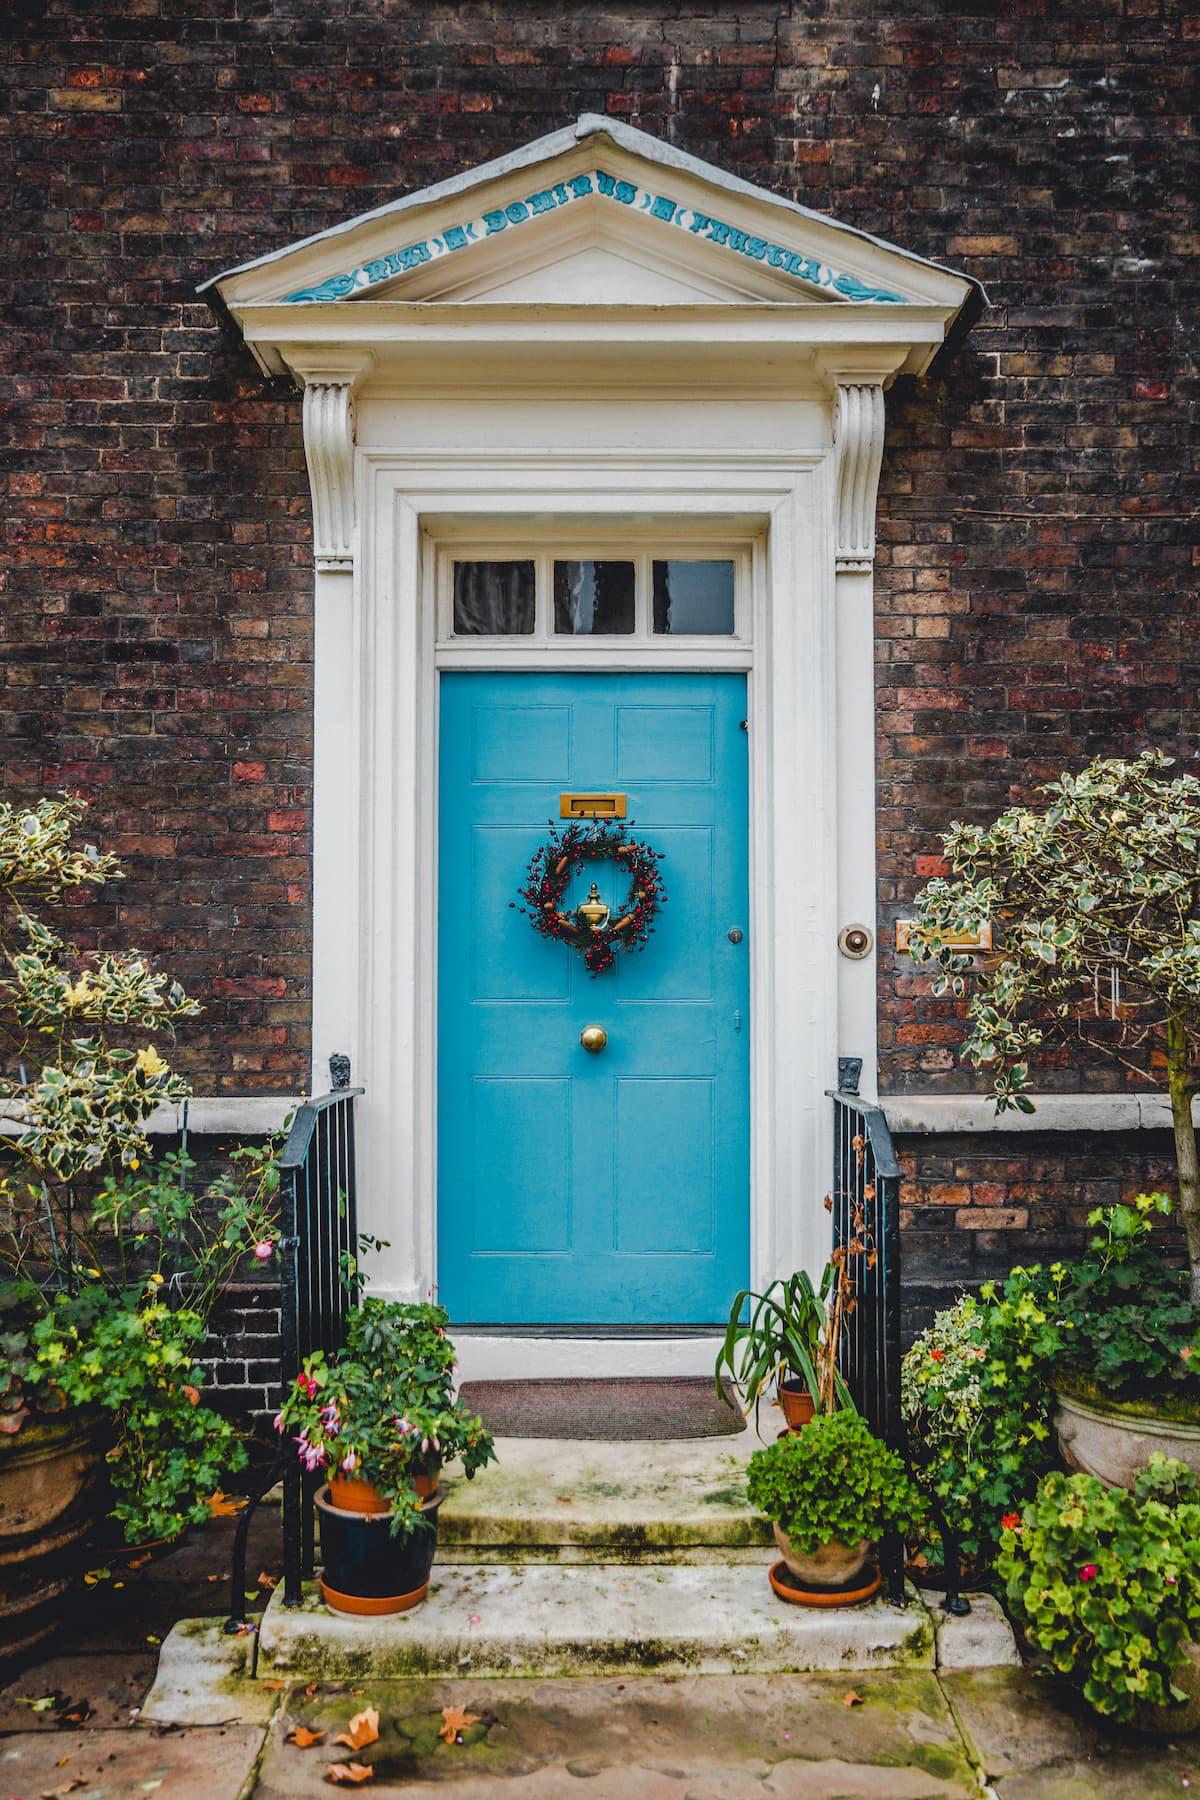
This is a game-changer for a front door. A deep, dark navy blue might have an LRV of around 5 to 8. It’s going to soak up a ton of heat. Compare that to a light sky blue with an LRV of 65, which will reflect most of it. Why does this matter? On a wood door, that intense heat can literally bake the moisture out of the wood, stressing the joints and causing cracks. On a fiberglass or steel door, especially one facing the sun, that heat can cause the door to warp, bubble, or even come apart.
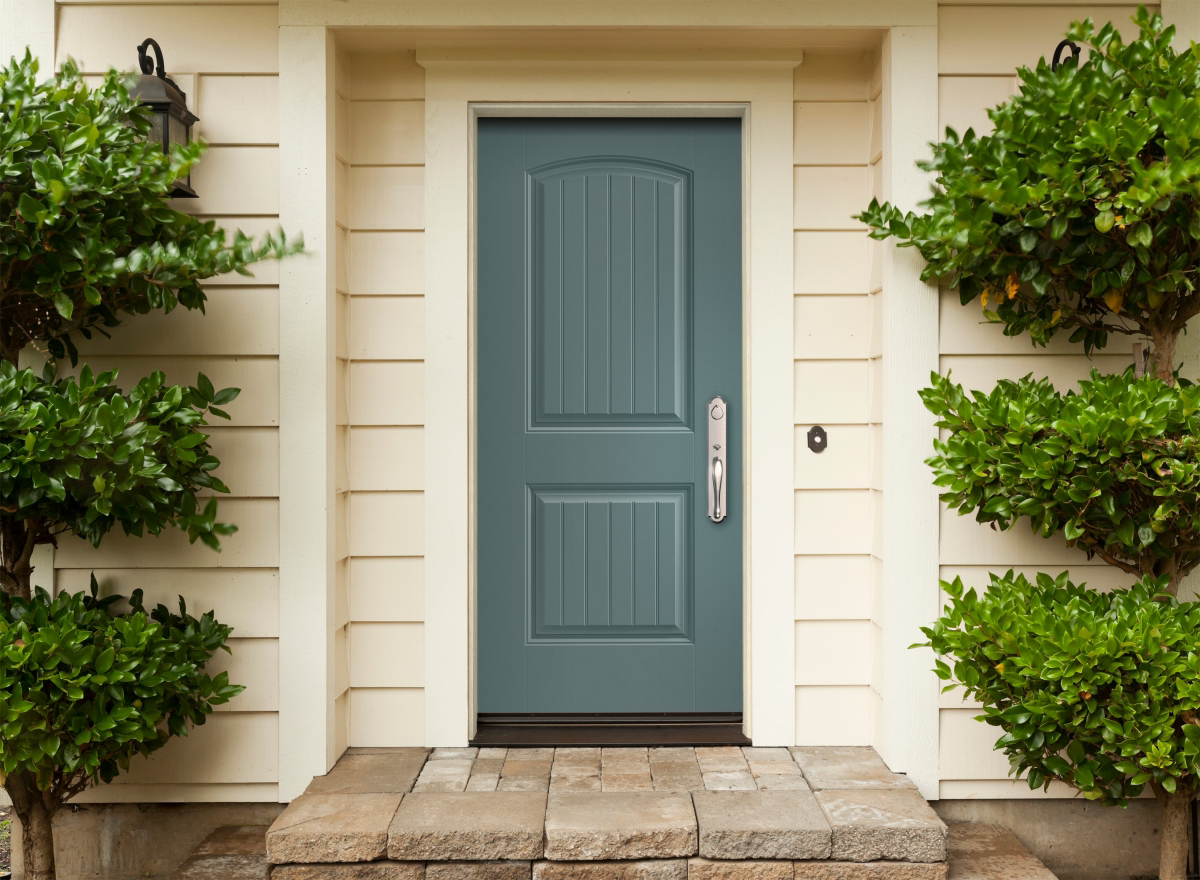
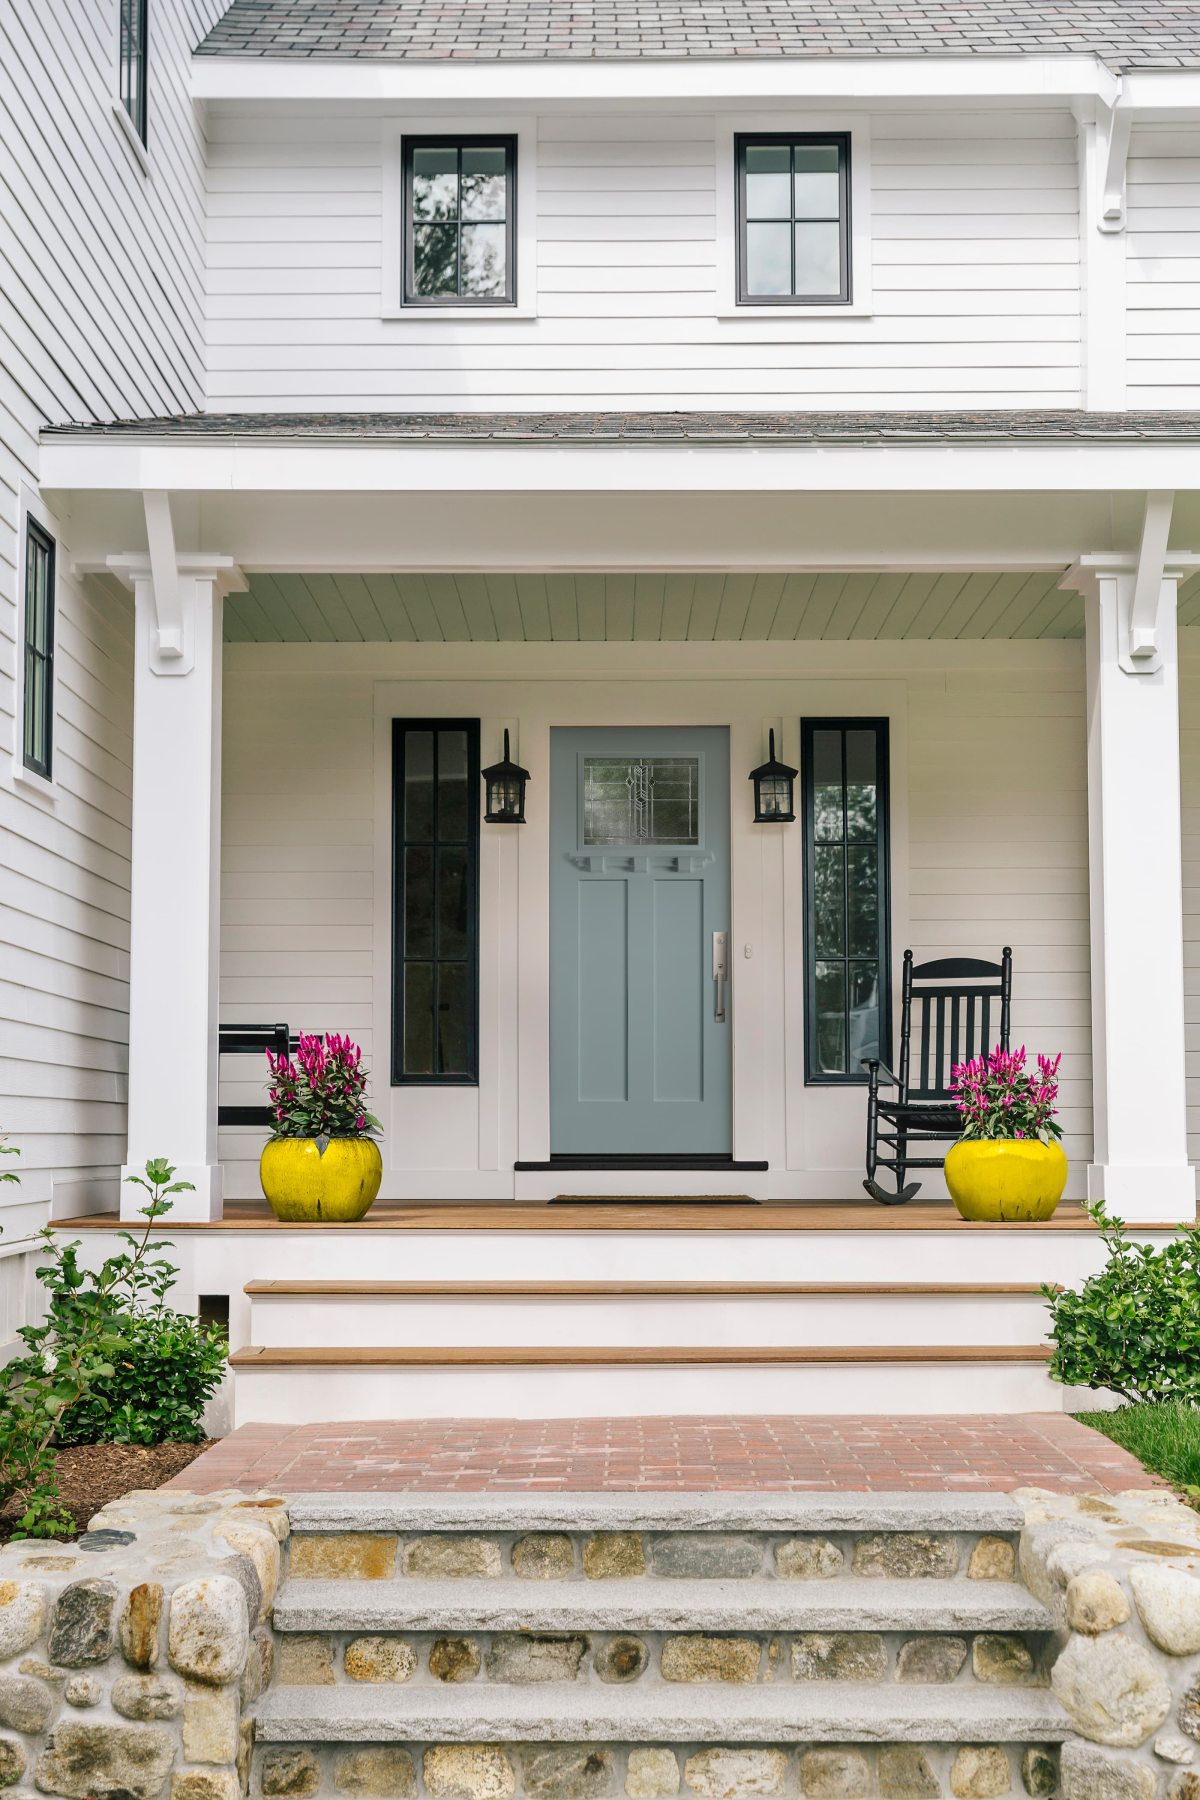
I had a client once who was dead set on a nearly black blue for their west-facing fiberglass door. A quick check of the door’s warranty showed it would be voided by any color with an LRV below 25. We had a serious chat, and they ended up with a beautiful medium slate blue (with an LRV around 30) that gave them the dramatic look they wanted without risking a thousand-dollar door. So, heads up: always check the door manufacturer’s recommendations for dark colors.
Choosing Your Paint: The Modern vs. Traditional Showdown
Next up is the paint itself. For an exterior door, you’re basically choosing between a top-tier acrylic latex and a water-based alkyd enamel. The old-school oil paints are mostly a thing of the past, and for good reason.
Modern water-based alkyd or urethane-modified acrylics are what most pros use today. The big paint brands have lines that offer the best of both worlds. They have the flexibility to expand and contract with the door as the temperature changes, which is huge for preventing cracking and peeling. They also hold their color incredibly well against UV rays. The best part? They level out to a super-smooth, hard finish that mimics old-school oil paint, but with easy soap-and-water cleanup and much less odor.
On the other hand, you have traditional oil-based alkyd enamels. Some old-timers swear by them because they create an unmatched, glass-like finish. But honestly, the downsides are significant. They have a strong smell (high VOCs), require mineral spirits for cleanup, and tend to get brittle and crack over time. They also yellow, which is a real problem for lighter shades of blue. Given the amazing quality of modern water-based enamels, there’s very little reason to go with oil anymore.
The Pro’s Game Plan: A Flawless Finish is 90% Prep
Here’s the unfiltered truth: rushing the prep work is the #1 mistake people make. A perfect paint job requires a perfectly clean, smooth, and primed surface. This is a weekend project, by the way, not a quick Saturday morning task. Plan accordingly!
Step 1: Your Door-Painting Toolkit
Before you start, get your gear in order. Nothing’s worse than having to run to the store mid-project. Here’s my typical shopping list:
- High-quality primer: 1 quart should do it. ($20-$30)
- Exterior enamel paint: 1 quart of a good water-based alkyd is perfect. ($25-$40)
- A great brush: Don’t cheap out here. A good 2.5-inch angled brush is your best friend. ($15)
- Mini foam rollers: A small pack for the flat areas. ($10)
- Sandpaper: Get a pack with both 120-grit and 220-grit.
- Cleaning supplies: A TSP substitute or a good degreaser.
- Painter’s tape, a tack cloth, and plastic bags for hardware.
All in, you’re probably looking at around $100-$150 for top-notch materials. Compare that to hiring a pro, which could run you anywhere from $400 to $800, and you can see the value in doing it right yourself.
Step 2: The Setup (And a Pro Trick)
First, you have to decide: paint the door in place or take it off the hinges? I always, always recommend taking it off. It lets you lay it flat on sawhorses, which is the key to avoiding drips and getting that factory-smooth finish. It also lets you properly seal the top and bottom edges, which is crucial for preventing moisture damage.
Put all your hinge screws, doorknob parts, and other hardware in labeled bags. You’ll thank me later. Then, cover the open doorway with a heavy plastic sheet or a spare piece of plywood to keep the bugs out.
Here’s a lesser-known trick: drive two long screws into the top edge of the door and two into the bottom. These act as handles and legs. You can rest the door on the sawhorses using the screws, paint one entire side, and then use the screws to immediately flip it over and paint the other side without waiting for it to dry or smudging your work. It’s a game-changer.
Step 3: Deep Cleaning and Stripping
Your door is way dirtier than you think. It’s covered in hand oils, pollen, and road grime. It has to be spotless. Scrub the whole thing down with a TSP substitute, getting into every corner. Rinse it well with clean water and let it dry completely—we’re talking a few hours at least.
If the old paint is cracking or peeling badly, you’ve got to strip it. A heat gun and a scraper are my go-to. It’s less messy than chemical strippers, but either way, work in a well-ventilated area. Oh, and if your house is older, you MUST test for lead paint. A simple kit from the hardware store is cheap and necessary. If it’s positive, you either need to follow strict lead-safe procedures or, frankly, hire a certified pro. Don’t mess with lead.
Step 4: The Perfect Surface—Sanding and Priming
Even if you didn’t strip the door, you have to sand it. Sanding roughs up the surface just enough for the new paint to get a solid grip. I usually start with a 120-grit paper to knock down any bumps and smooth out old brush marks, then do a final pass with a fine 220-grit for a silky feel. Wipe away all the dust with a tack cloth.
Now, primer. Do not skip this. Primer seals the door, hides stains, and—most importantly—ensures the color of your blue paint looks true and even. One solid coat of a quality exterior primer is all you need.
Let’s Paint! The Fun Part
With all that prep done, you’re finally ready for the color. The key here is thin, even coats.
The Pro’s Painting Sequence
For a paneled door, there’s a system to avoid ugly brush marks and get a clean look. Think of the door in pieces and always paint away from the corners and toward the wet edge you just painted.
- The Panels: Using your angled brush, first paint the decorative molded edges inside the panels. Then, switch to a mini foam roller to paint the flat part of the panels for a super smooth finish.
- The Rails: Next, paint the horizontal cross-pieces (the rails).
- The Stiles: Finally, paint the long vertical pieces on the sides (the stiles).
This order of operations makes sure any overlaps happen on the larger, flat areas, where they’re less noticeable.
Patience is a Virtue: Coats and Curing
Two thin coats of your blue paint are far better than one thick, gloppy one. Let the first coat dry completely before applying the second—check the can, but this is usually 4 to 6 hours. After your final coat, let the door cure for as long as you possibly can before re-installing the hardware and hanging it back up. I recommend at least 24-48 hours. The paint may feel dry to the touch sooner, but it’s still soft and can easily get nicked or damaged.
What If I Can’t Take the Door Off?
Sometimes, it’s just not practical to remove the door. If that’s your situation, you can still get a great result. Meticulously tape off the hinges and hardware with painter’s tape. Use a drop cloth to protect your floor. You’ll need to work carefully to avoid drips, and you’ll have to paint the door in sections, leaving it slightly ajar while it dries so it doesn’t stick to the frame. It’s trickier, but definitely doable.
And there you have it. It’s a bit of work, sure, but when you step back and see that beautiful, professionally finished blue door, you’ll know it was worth every second.
Galerie d’inspiration
Satin Finish: Offers a subtle, low-sheen glow that hides minor imperfections well. It’s a sophisticated and modern choice, but can be slightly less resistant to scuffs than its shinier counterpart.
Semi-Gloss Finish: This is the classic, professional choice. It provides a noticeable shine, is incredibly durable and easy to clean, making it ideal for a high-traffic area like a front door. For most projects, semi-gloss provides the best combination of looks and longevity.
- A perfectly smooth, factory-like finish.
- No visible brush strokes on flat panels.
- Even coverage without drips or pooling.
The secret? A 4-inch high-density foam roller. Use a quality brush for the intricate molding and bevels, but switch to a mini foam roller for all the flat sections. It distributes paint thinly and evenly for a flawless result.
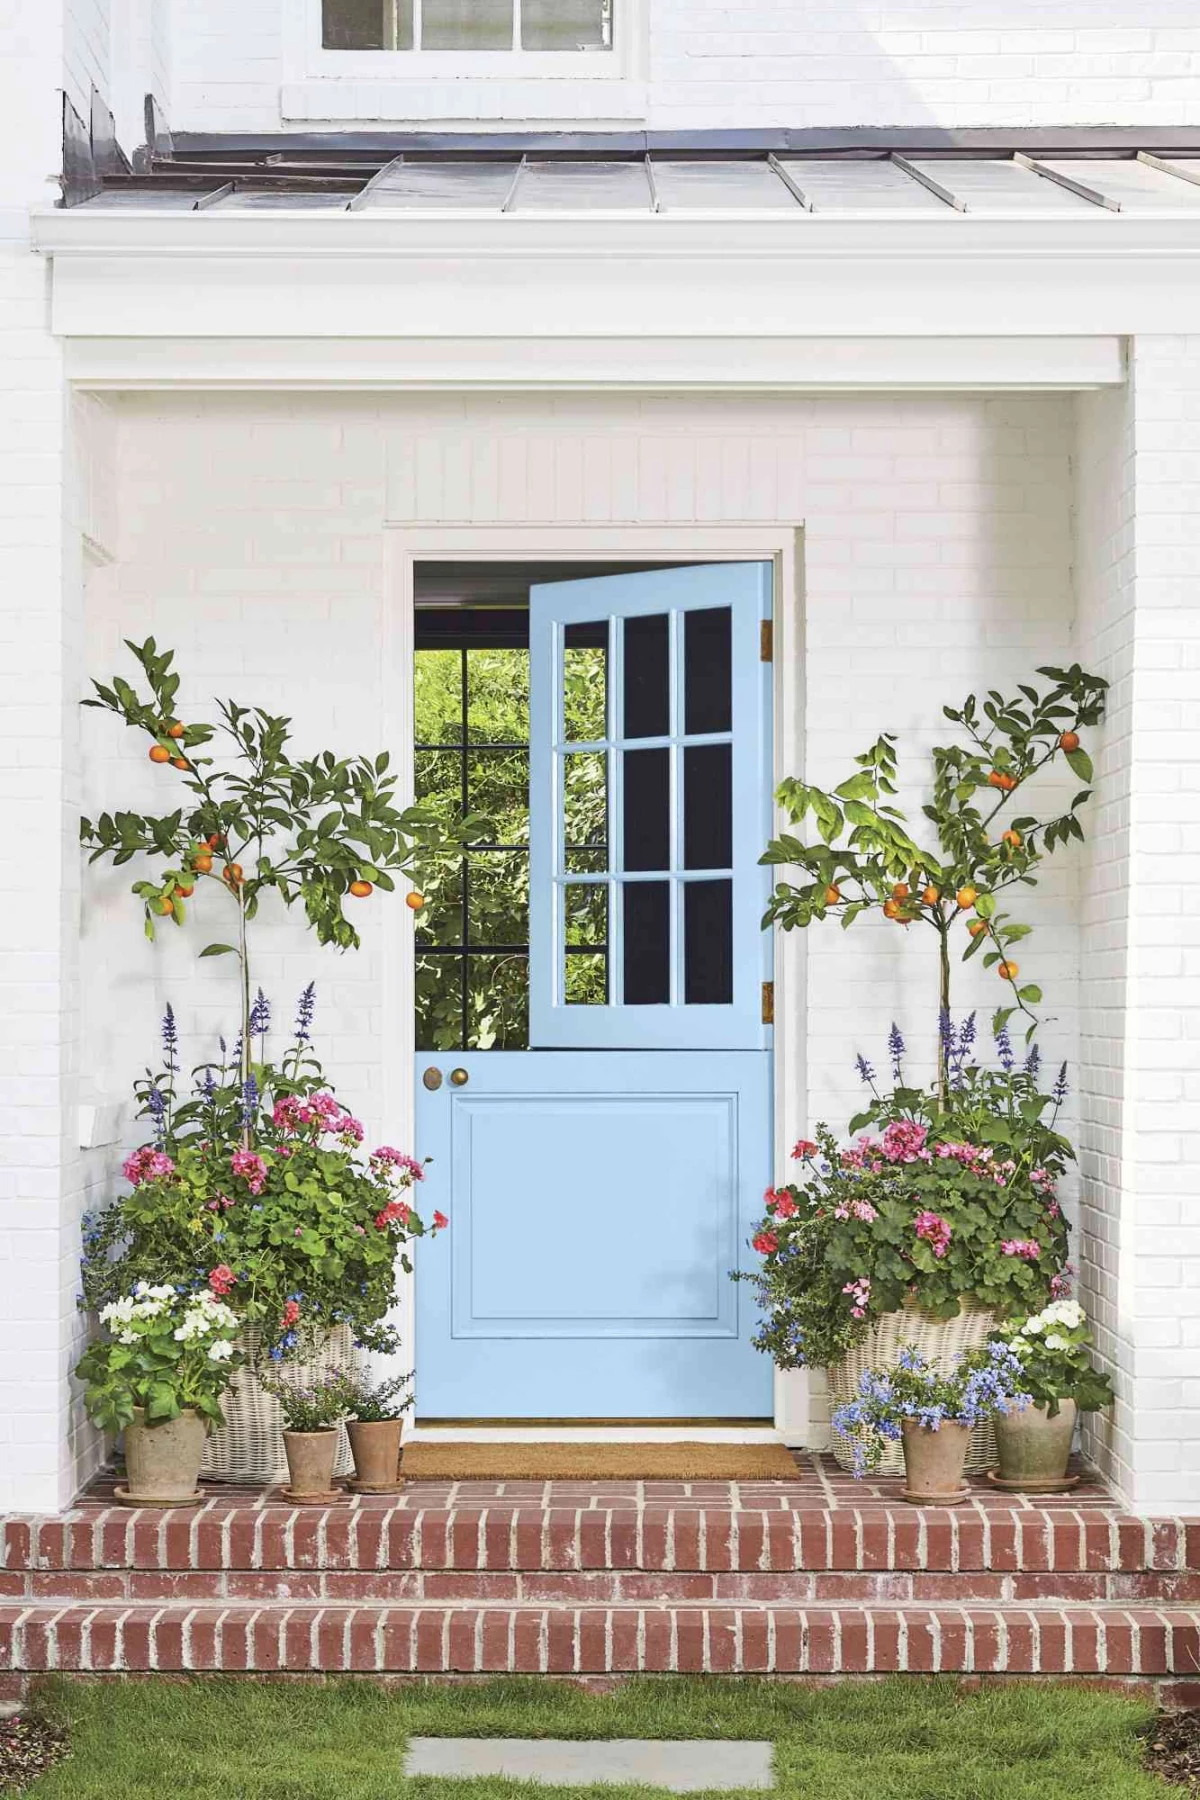
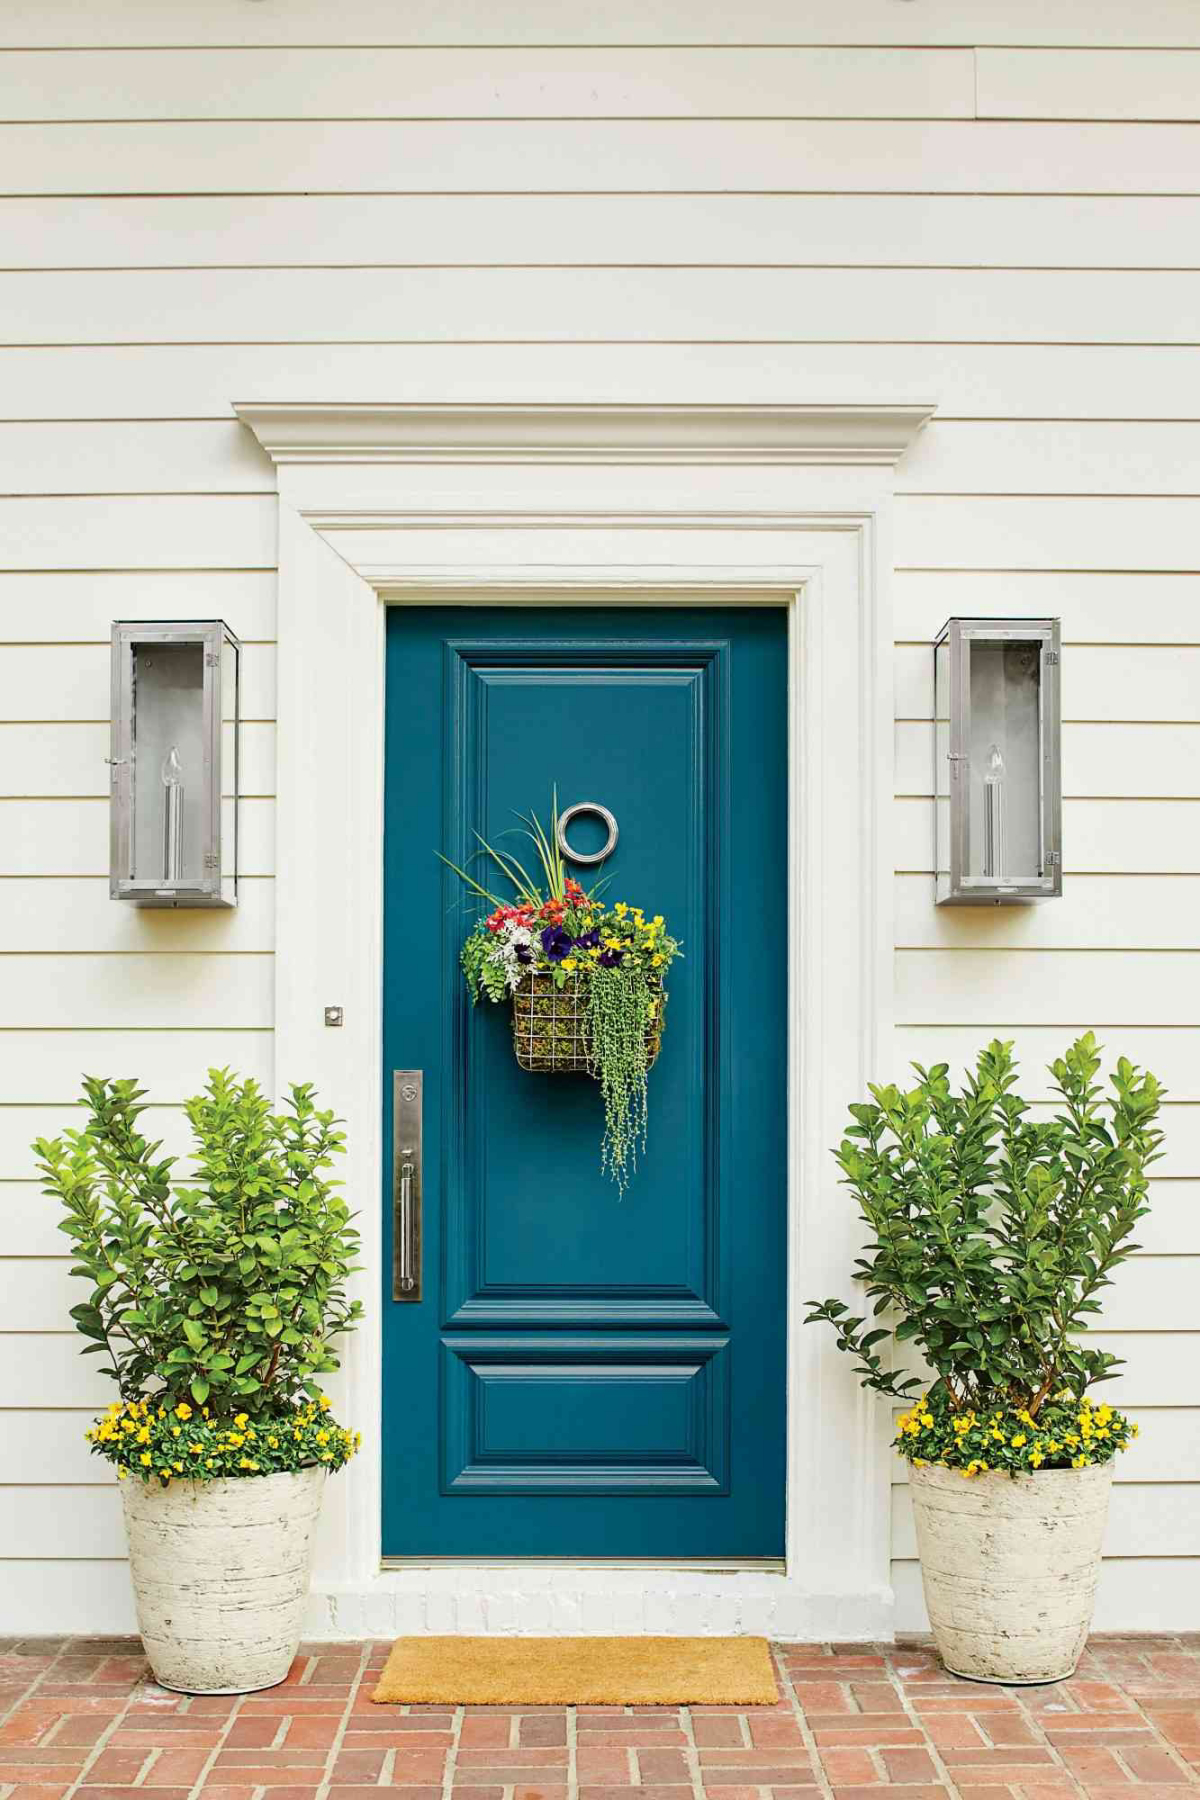
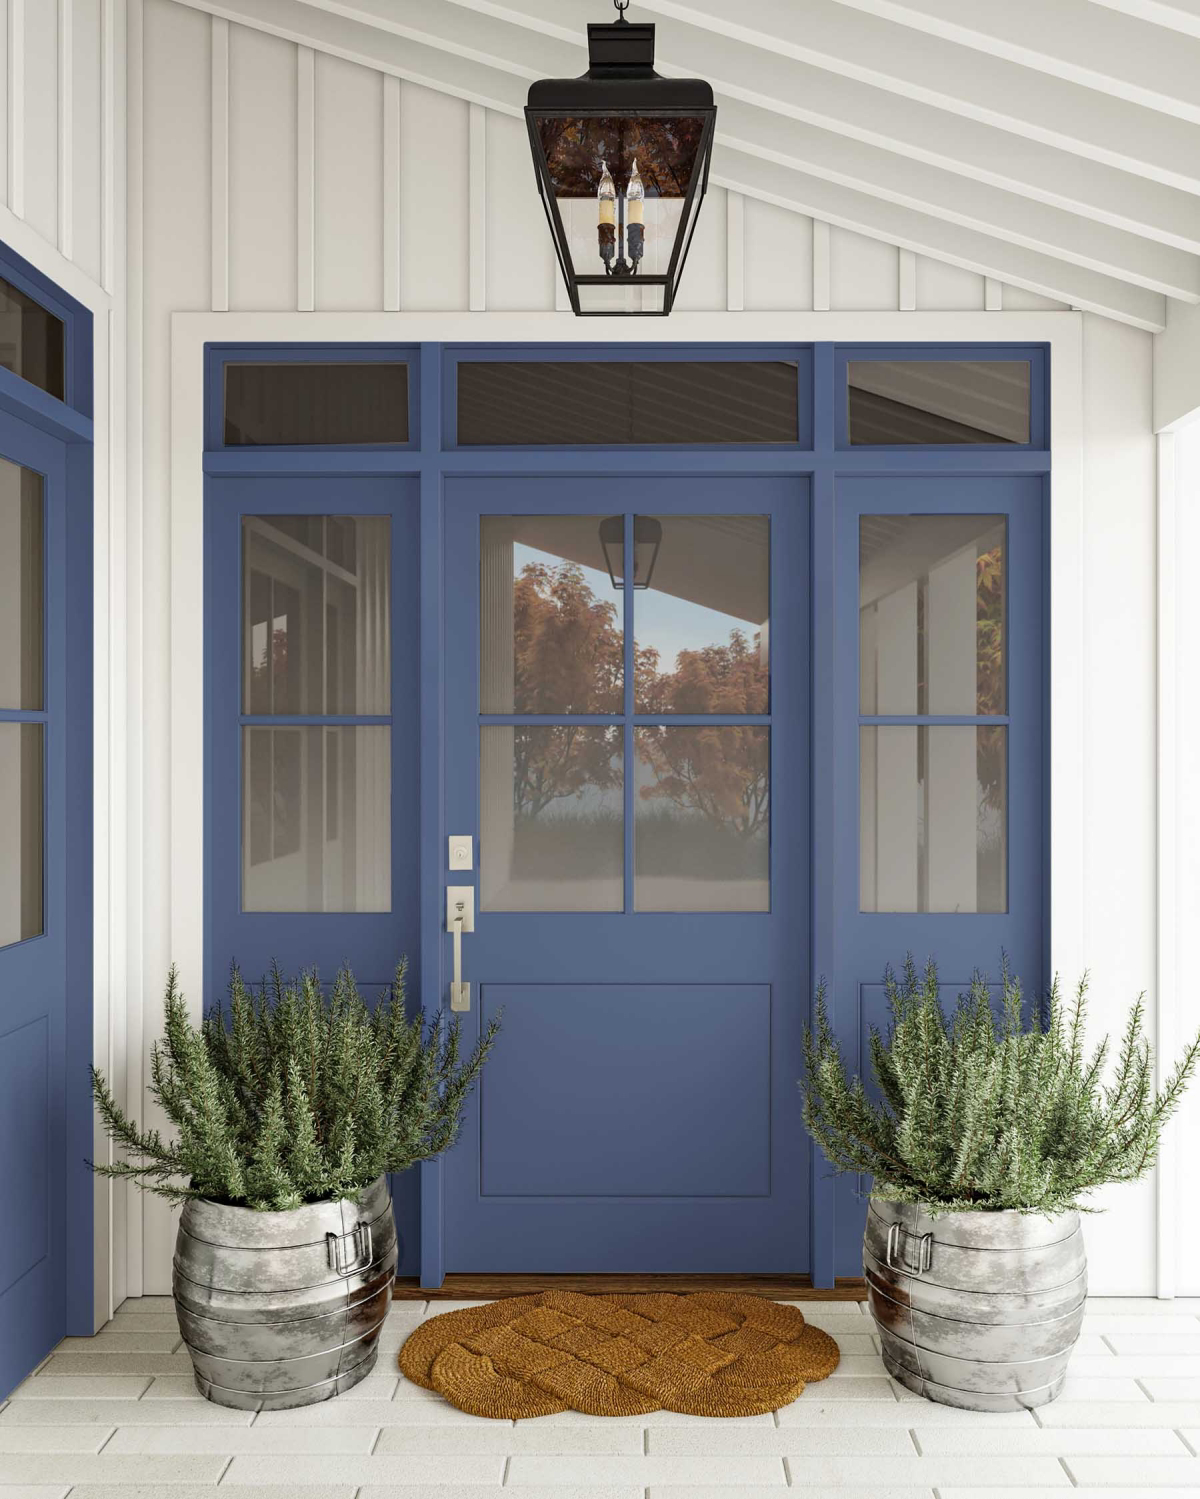
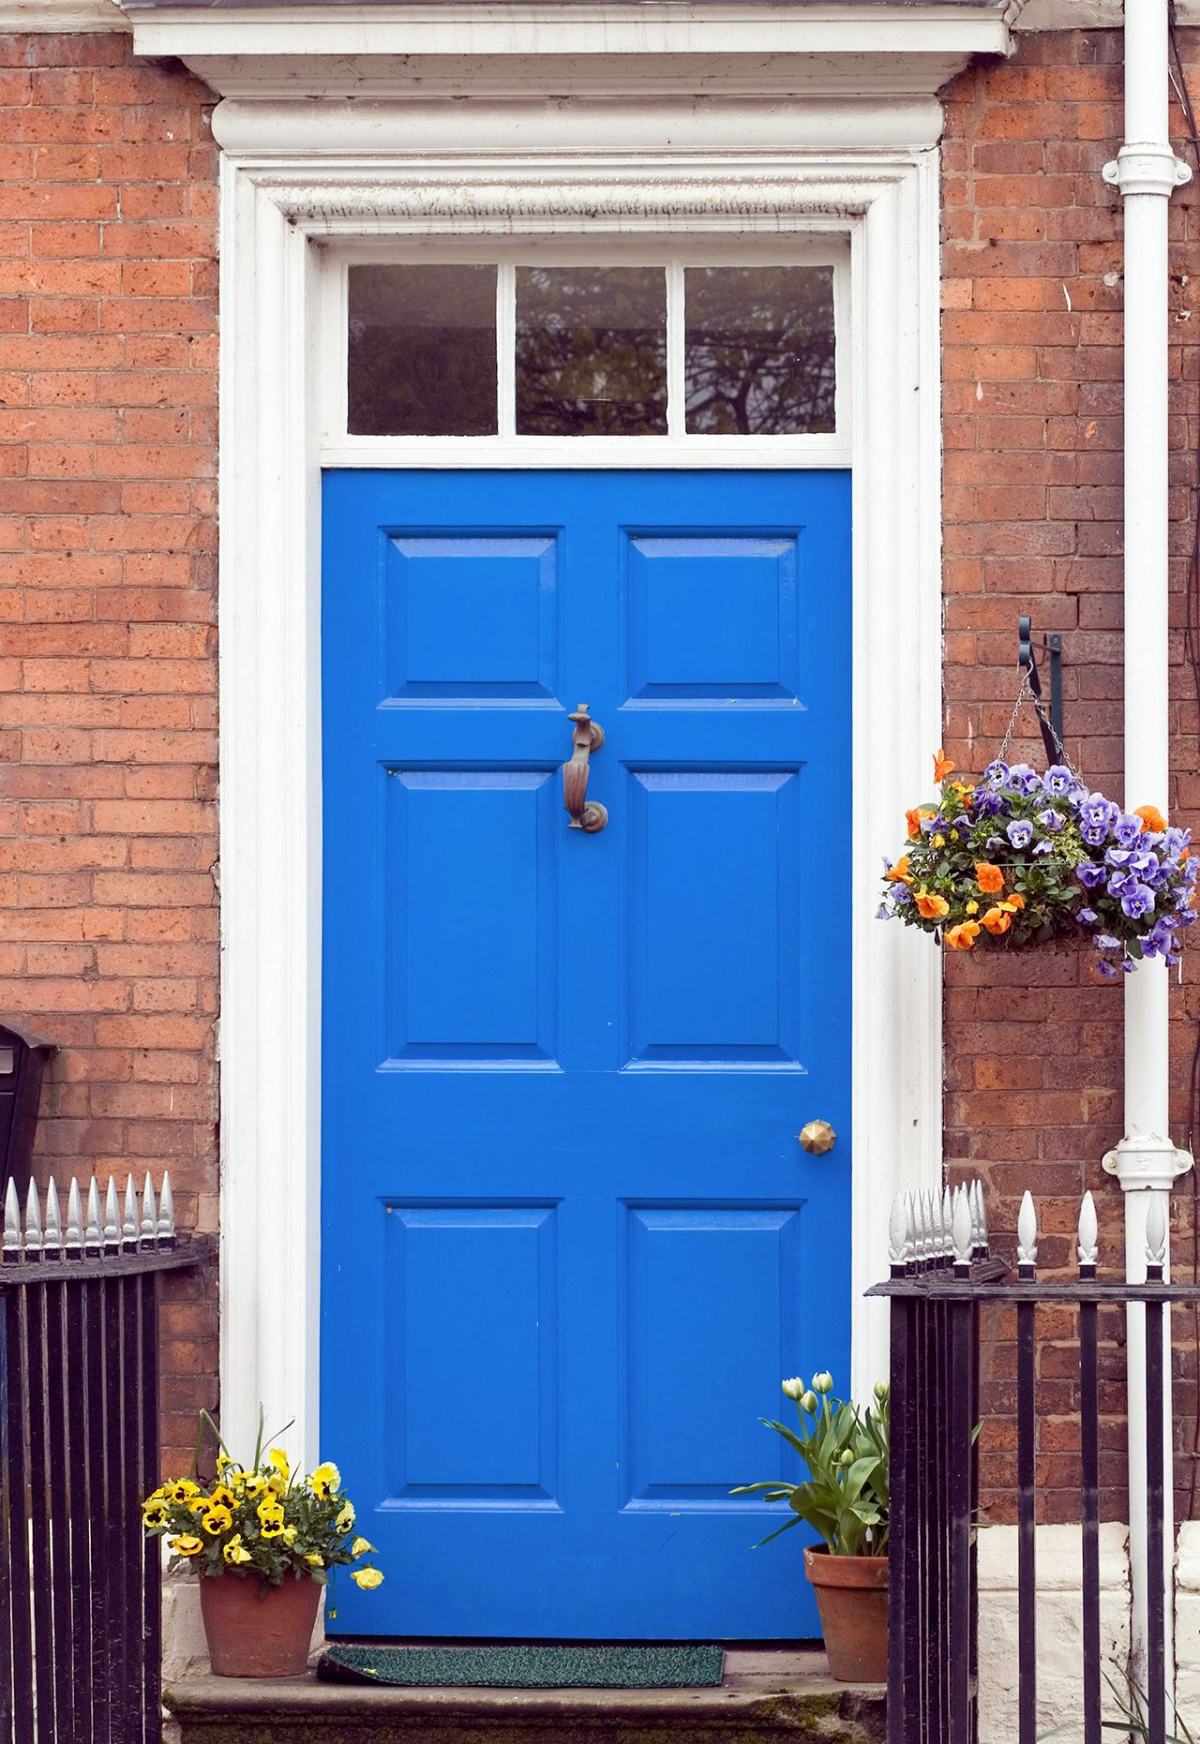
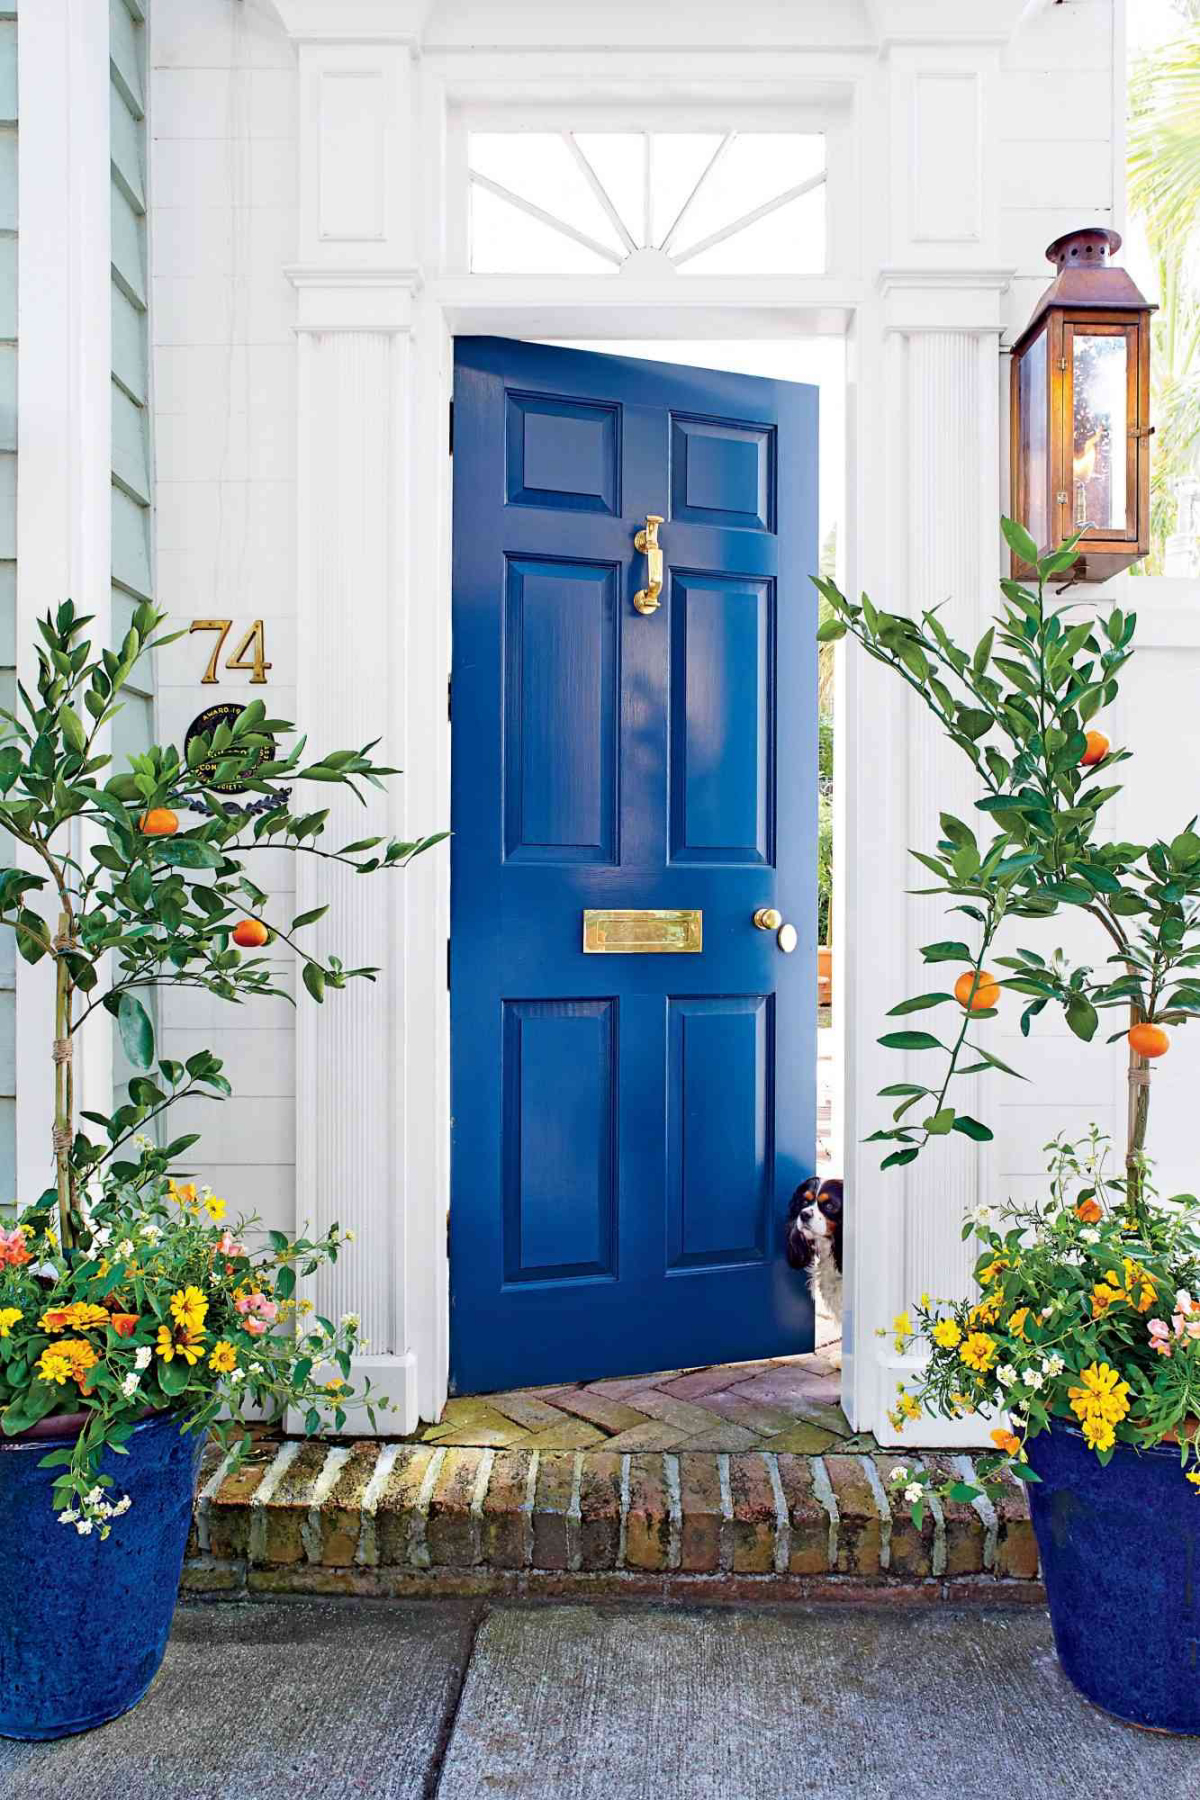
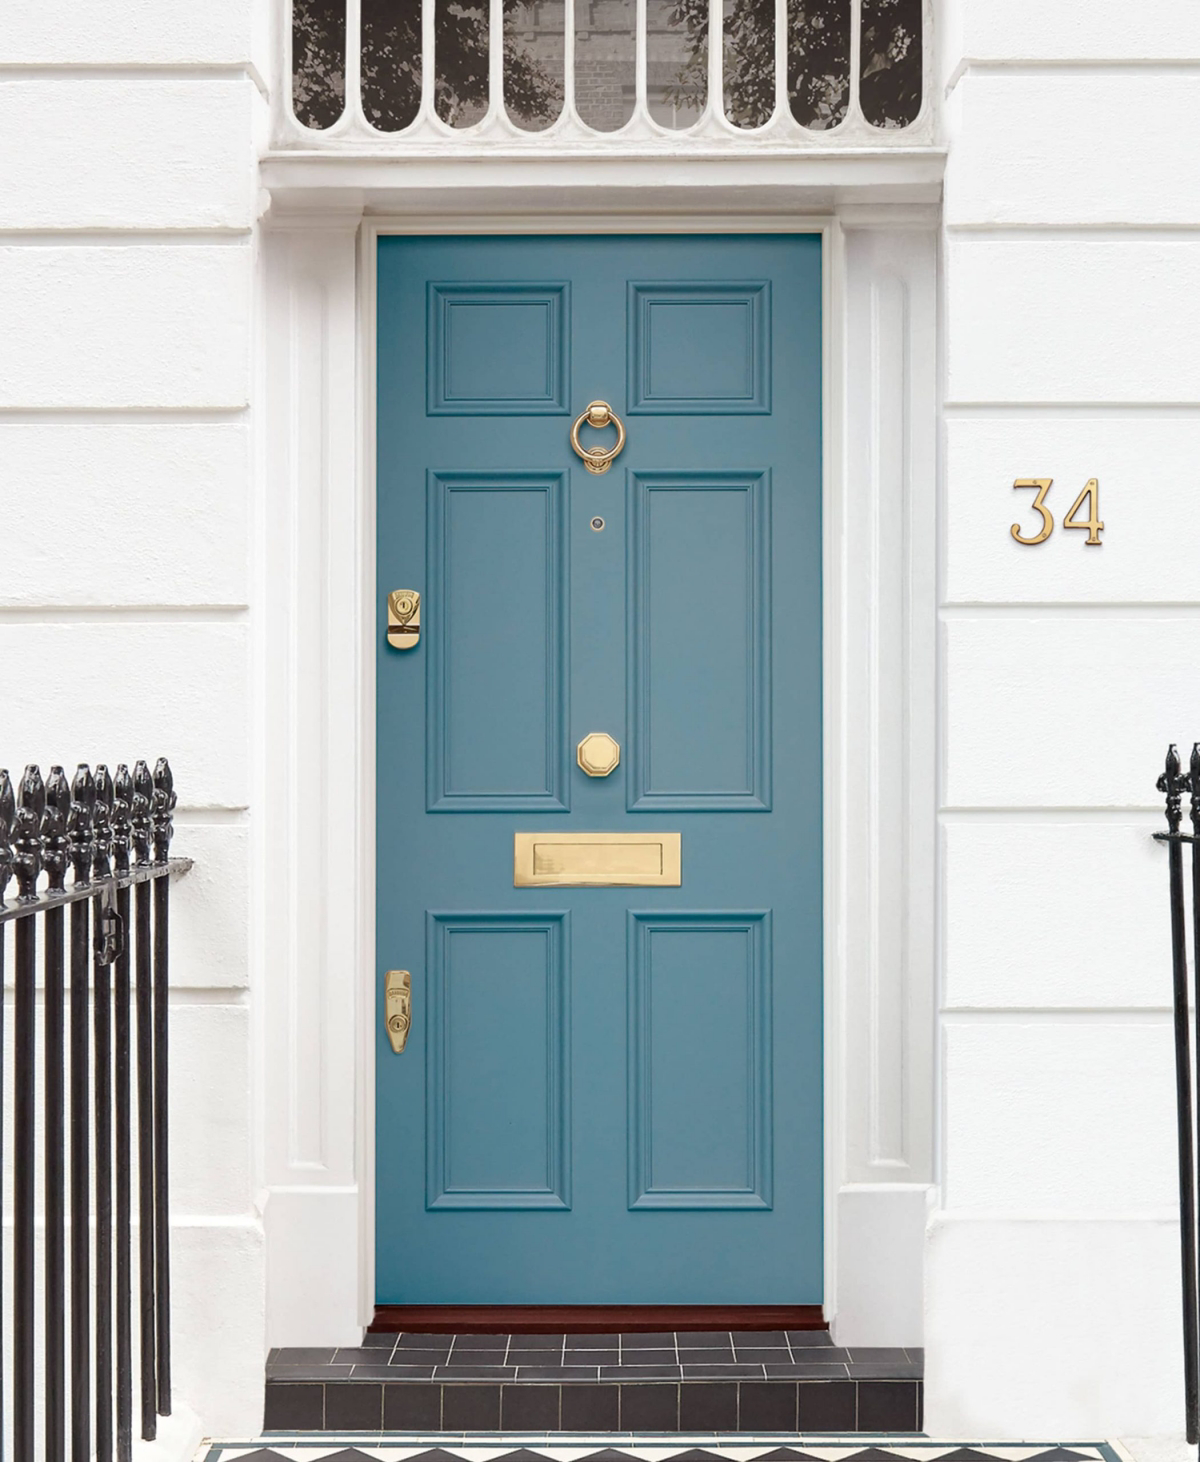
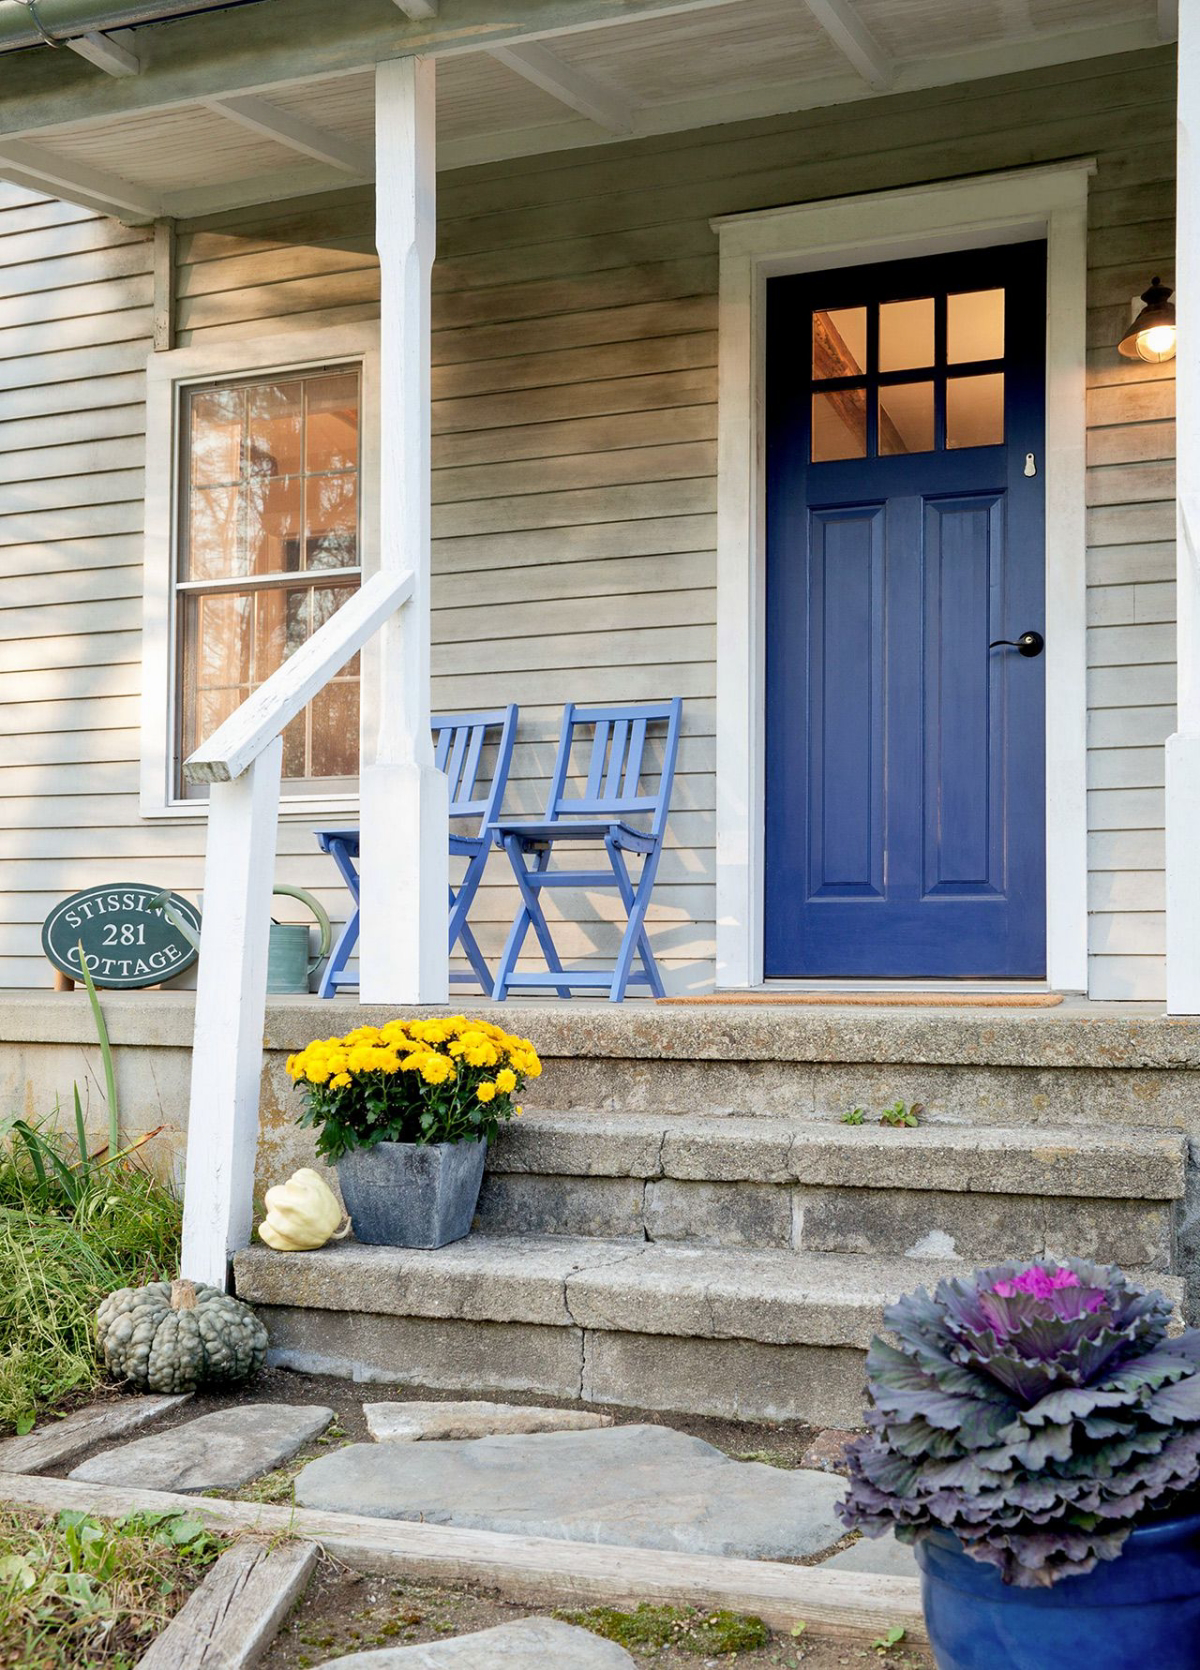
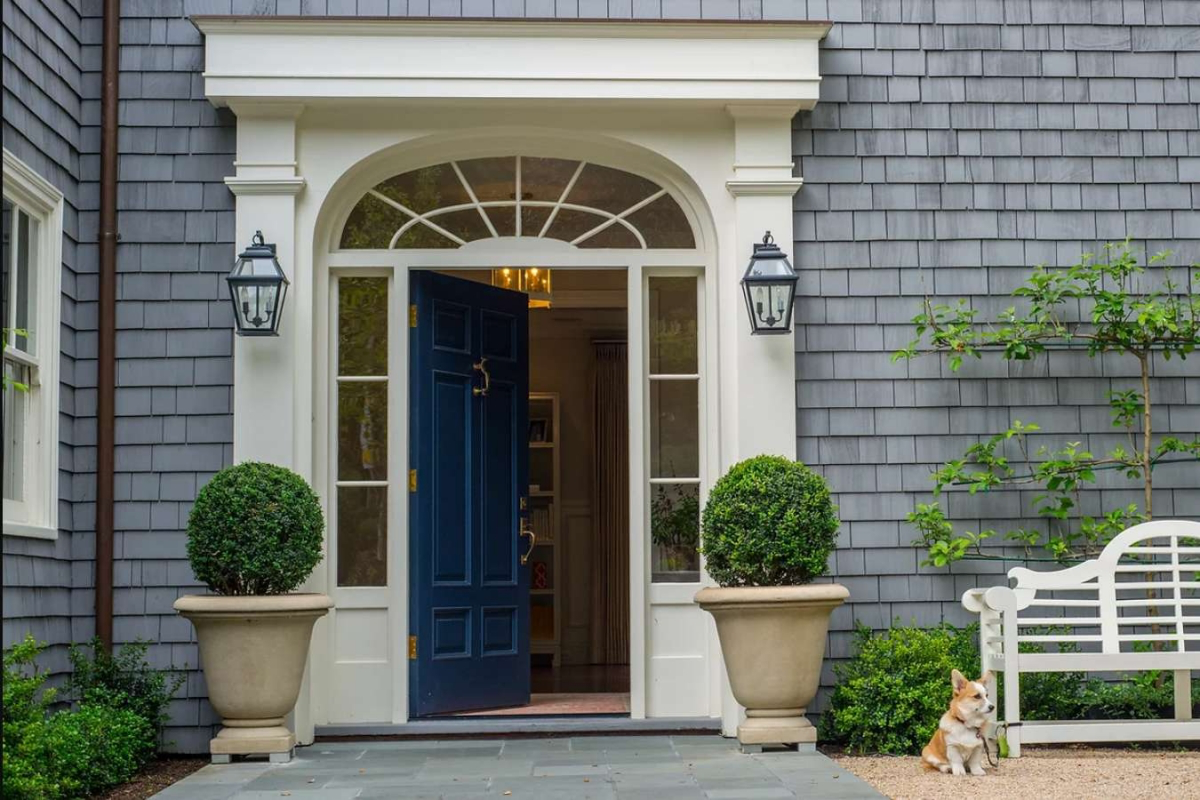
Choosing the right blue is all about context. For a classic red brick home, a deep, regal navy like Sherwin-Williams’ ‘Naval’ creates a timeless, stately look. On a home with crisp white siding, a brighter, more welcoming shade like Behr’s ‘Jean Jacket Blue’ can provide a cheerful, coastal pop of color without overwhelming the facade.

Did you know? The intense UV rays that fade dark colors are most powerful between 10 a.m. and 4 p.m.
This is why a west or south-facing door with a dark blue paint needs a superior product. Look for paints with specific UV-inhibitors, like Benjamin Moore’s Aura line, which uses proprietary Color Lock Technology to prevent fading and keep your bold blue looking fresh for years, even in direct sun.

What’s the best time of year to paint my front door?
Aim for a day with low humidity and moderate temperatures, ideally between 50°F and 85°F (10°C to 29°C). Avoid painting in direct, hot sunlight, which can cause the paint to dry too quickly, leaving brush marks and bubbles. An overcast spring or fall day is perfect. This gives the paint ample time to level out and cure properly for that durable, smooth finish.
The one step you can’t afford to skip: Primer. This is especially true if you’re making a drastic color change (like from white to navy) or painting a raw wood or metal door. Using a high-quality bonding primer like Zinsser Bulls Eye 1-2-3 ensures your topcoat adheres properly and provides a uniform base for the true blue color to shine, preventing peeling and blotchiness down the road.
For a truly professional look, don’t forget the hardware. Removing the handle, lock, knocker, and house numbers before you start painting is a must. Taping around them is faster but almost always results in messy edges or paint on the hardware itself. Taking ten extra minutes to remove them ensures crisp, clean lines and a finish that looks like it came from the factory.
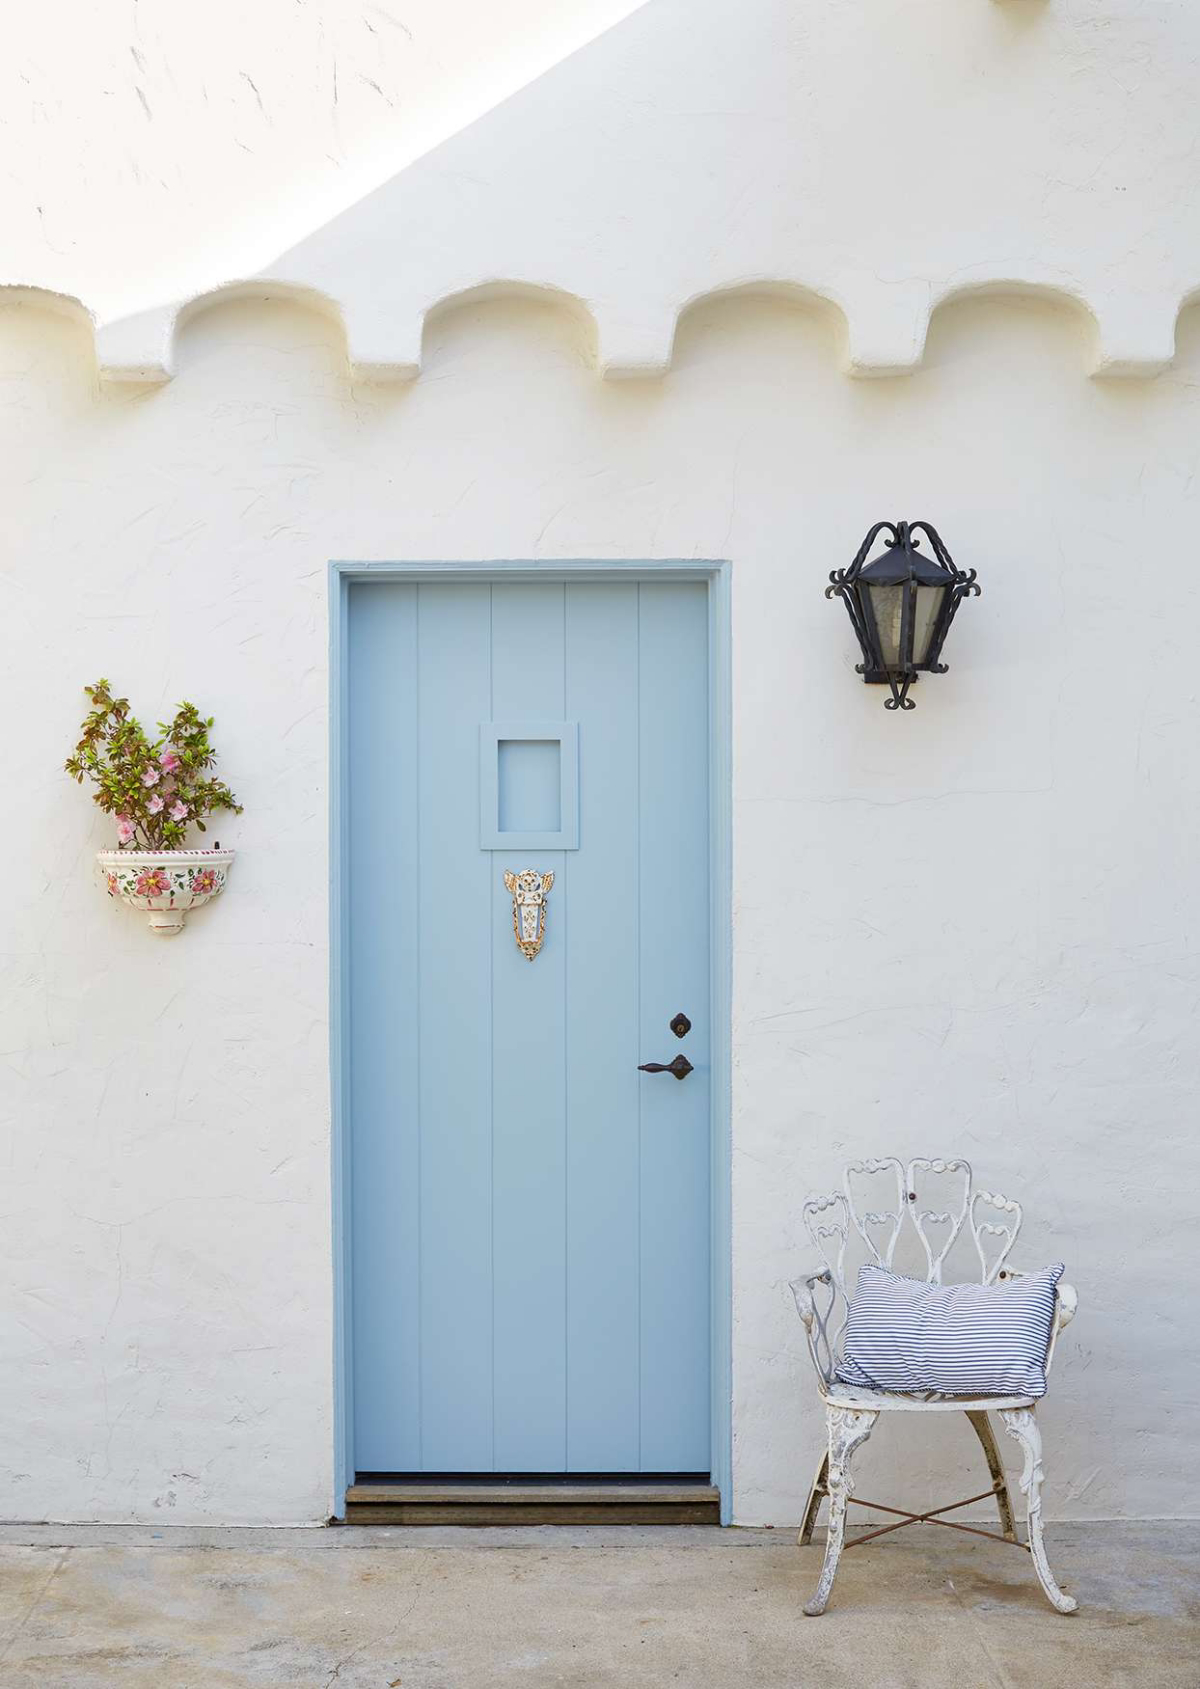
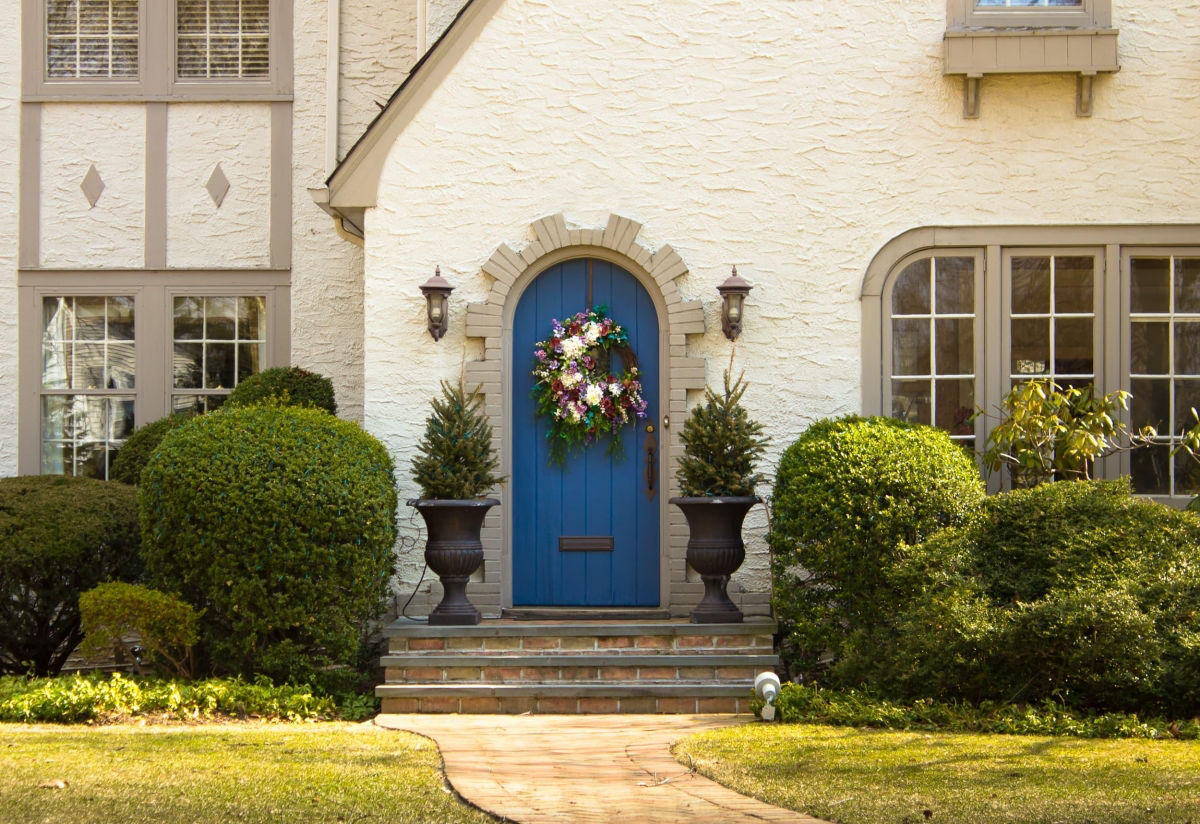
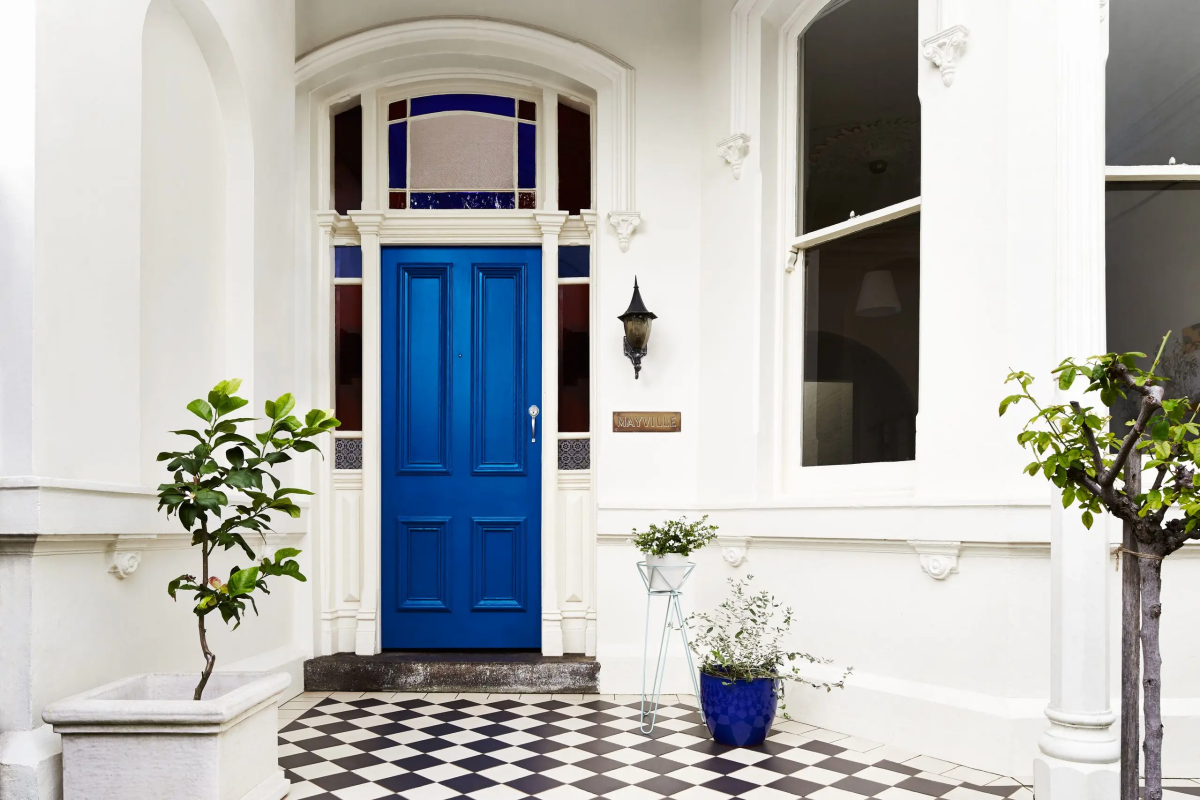
In the Greek islands, like Santorini, blue doors are traditionally painted that color to ward off evil spirits.
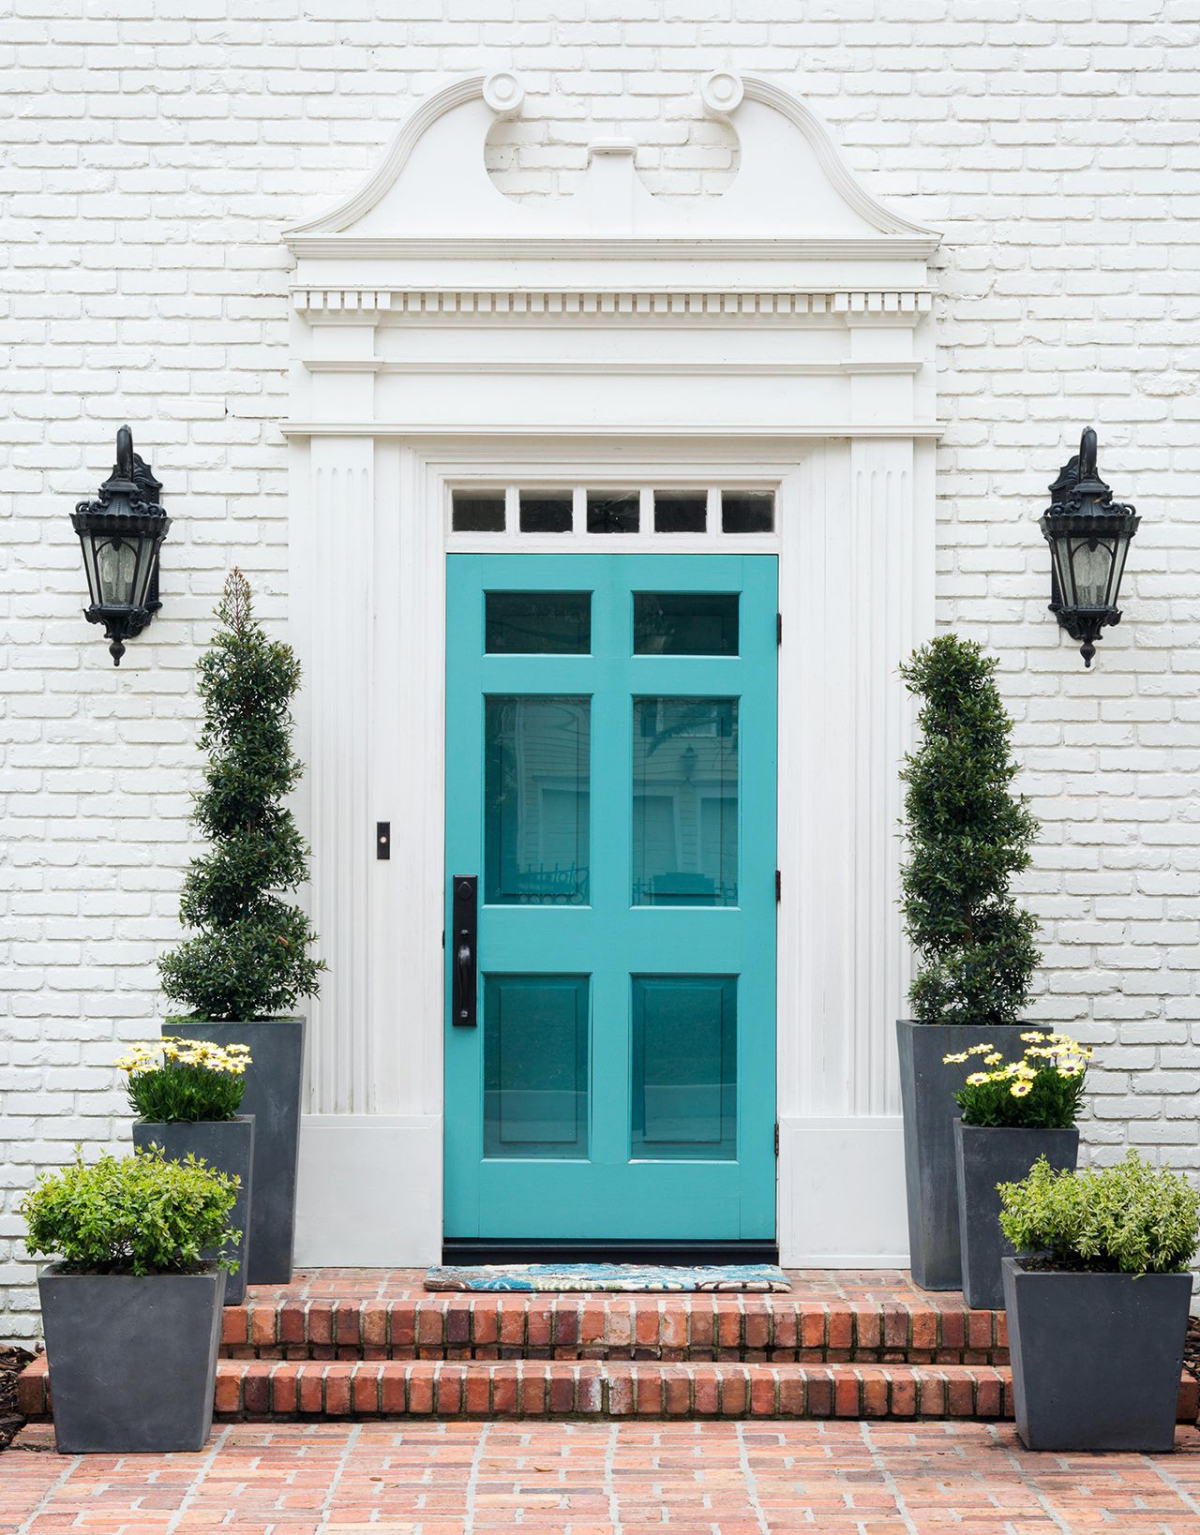
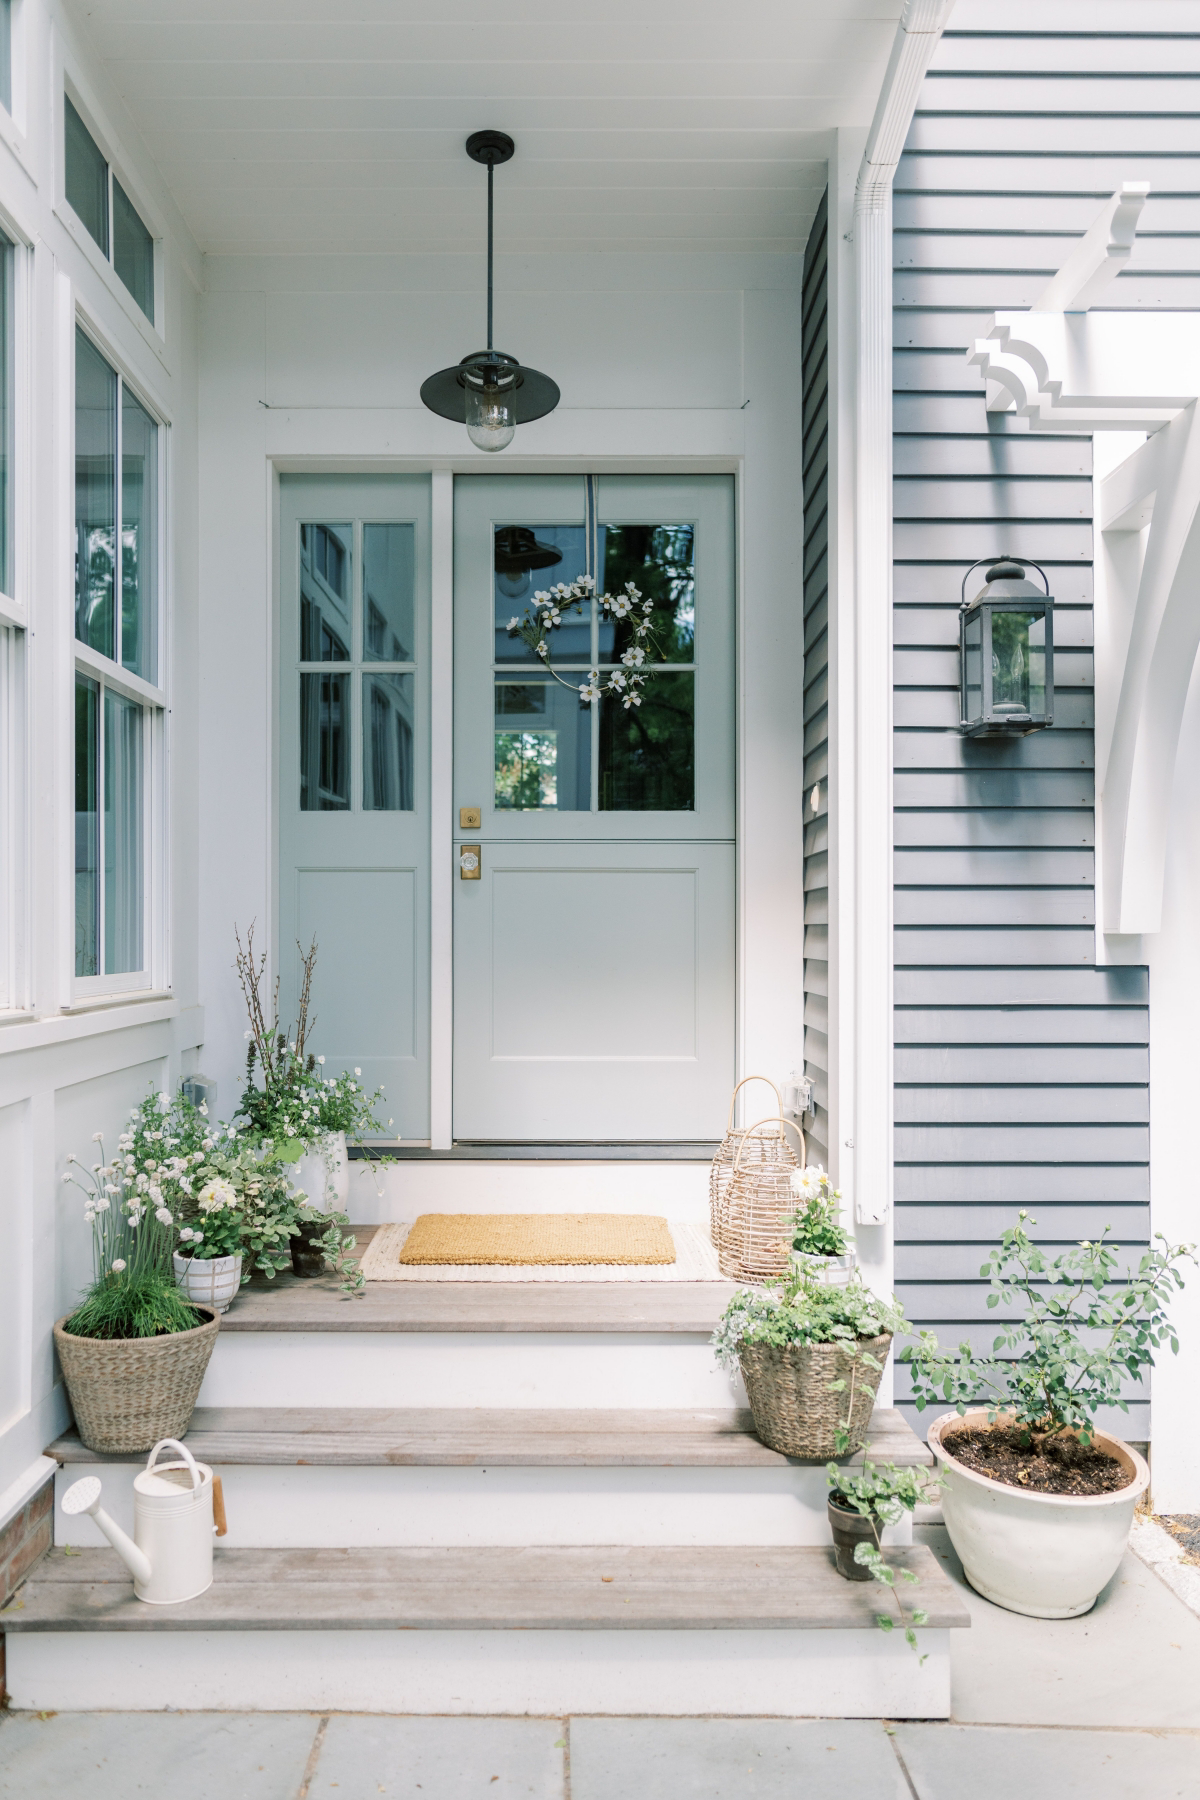
Think about the feeling you want your entrance to evoke. A soft, hazy light blue like ‘Krypton’ by Sherwin-Williams creates a sense of calm and serenity, suggesting a peaceful, airy home. In contrast, a deep, saturated teal like Farrow & Ball’s ‘Vardo’ is dramatic and confident, signaling a home filled with creativity and personality.
- Wait at least 24-48 hours before re-installing hardware and closing the door completely.
- Give the paint a full 30 days to cure before attempting any vigorous cleaning.
- For the first wash, use only a soft cloth with mild soap and water.
- Avoid pressure washers or abrasive scrubbers, which can damage the new finish.
When choosing your final color, never trust the paint chip alone. Buy a sample pot and paint a large piece of cardboard or foam board. Place it outside your door and observe it at different times of day—in the bright morning sun, in the afternoon shade, and under your porch light at night. A blue that looks perfect in the store can appear completely different in its real-world environment.


