Secrets from a Pro: The Grimy Spots You’re Probably Missing
When I first got into the cleaning business, I thought a great job just meant making floors shine and countertops sparkle. Boy, was I wrong. My first few clients and a very patient mentor taught me that the true measure of a clean home is in the details. It’s the spots you don’t always see but can definitely feel or, worse, smell.
In this article
A home can look tidy, but if the air feels heavy or there’s a weird musty scent you can’t place, the job isn’t finished. Honestly, the most important work happens in the hidden corners and systems of a house. These are the places that trap dust, allergens, and gunk, which directly impacts how healthy your home feels. This isn’t just about tidying; it’s about making your home a healthier place to breathe. Let’s walk through these spots, and I’ll share the no-nonsense methods my team and I swear by.

What’s Really Lurking in the Dust?
Before we start scrubbing, you should know what you’re up against. That dust on your bookshelf is only a fraction of the story. Hidden grime is a nasty cocktail of dead skin cells, pet dander, pollen, and tiny soil particles tracked in from outside. In the kitchen, it gets mixed with a fine layer of cooking grease. In the bathroom, it teams up with soap scum and moisture, which is basically a welcome mat for mold.
The biggest worry, though, is the microscopic stuff, often called PM2.5. These are super-fine particles from cooking, burning candles, or even outdoor pollution that sneaks inside. They are so small they can get deep into your lungs. These particles love to cling to dusty surfaces like baseboards and then get shot all over your house by your HVAC system. So, when we clean these hidden areas, we’re not just making things look pretty—we’re literally removing pollutants from your air.
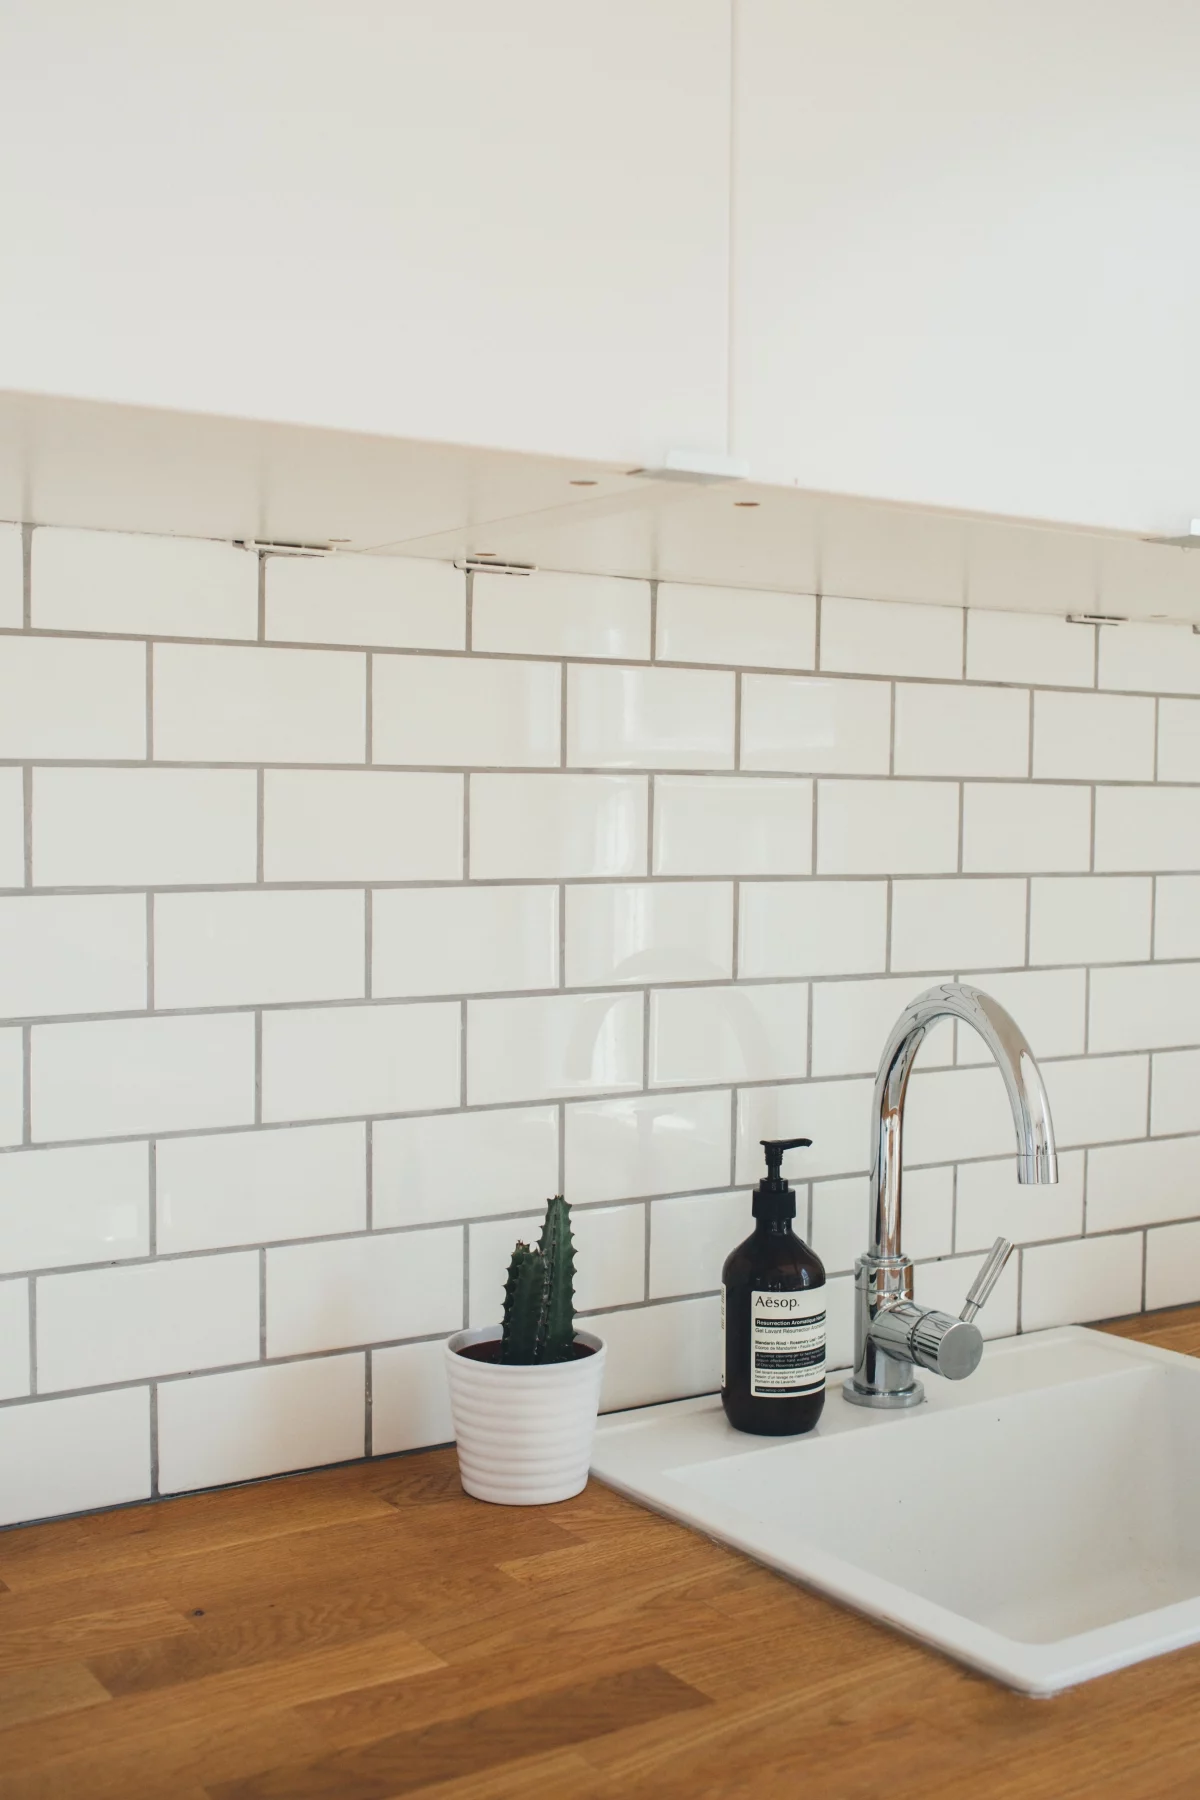
Grout: The Tell-All of a Dirty Bathroom
Grout is the first thing I look at in a new client’s home. Because it’s porous, it soaks up everything and tells a story. Discolored grout isn’t just an eyesore; it’s a billboard for soap scum, hard water minerals, and mildew.
That common advice to use vinegar and a toothbrush? It’s okay for light grime, but for years of buildup, you need to bring in the bigger guns.
What You’ll Need:
Before you start, gather your supplies. This will make the job go so much smoother. Plan on getting a stiff grout brush (around $10 at any hardware store), a good cleaner ($15-$25), and grout sealer ($20). Don’t skip the sealer!
Choosing the Right Cleaner
This is where the pros separate themselves. It’s all about picking the right tool for the job. For grout, that means understanding a little chemistry:
- Alkaline Cleaners: Think of these as powerful degreasers. They’re amazing at dissolving body oils, soap scum, and greasy kitchen gunk. Most products labeled “heavy-duty” or “deep clean” for tile are alkaline. For a specific brand, look for something like Zep Grout Cleaner & Brightener at Home Depot. This is my go-to for most bathroom jobs.
- Acidic Cleaners: These are for mineral deposits. If you have hard water, you’ll see those chalky white stains on your grout. An acidic cleaner is what dissolves them. But—and this is a big one—I have to give you a major warning.
Heads up! I’ll never forget a costly mistake I made early in my career. I used an acidic cleaner on a client’s beautiful natural stone shower without testing it first. It permanently etched the surface, and it was an expensive lesson to learn. NEVER use acid on natural stone like marble, travertine, or limestone. Stick to ceramic and porcelain tile only, and always, ALWAYS test in a hidden spot first.
The Step-by-Step Method
Here’s the process I teach every new person on my team. Plan for about 1-2 hours for a typical bathroom.
- Test First. Find a spot behind the toilet or under a vanity. Apply a little cleaner, scrub, rinse, and let it dry completely to make sure it doesn’t discolor your grout.
- Apply and Wait. Put the cleaner on the grout lines and let it sit for 5-10 minutes. Don’t skip this! This is when the chemicals are doing the heavy lifting for you.
- Scrub. Now it’s time for some elbow grease. Use a stiff grout brush to agitate the grout lines. You’ll see the dirt lift into a gross-looking dark slurry. That’s a good sign!
- Remove the Gunk. This is the most important step. Don’t just rinse the floor, or you’ll be smearing dirty water everywhere. The best way is to use a wet-dry vac to suck it all up. If you don’t have one, use a sponge and two buckets: one for clean rinse water and one to wring the dirty sponge into.
- Rinse and Dry. Mop the floor with clean, hot water to neutralize any leftover chemicals. Then, use old towels or a fan to get it bone dry. You can’t judge the final color until it’s completely dry.
- Seal It Up. Cleaning grout and not sealing it is like washing your car and not waxing it. A good penetrating sealer creates a barrier against future stains and makes cleaning way easier. We do this 24 hours after a deep clean. You should plan to reseal high-traffic areas every 1-2 years. It’s essential.

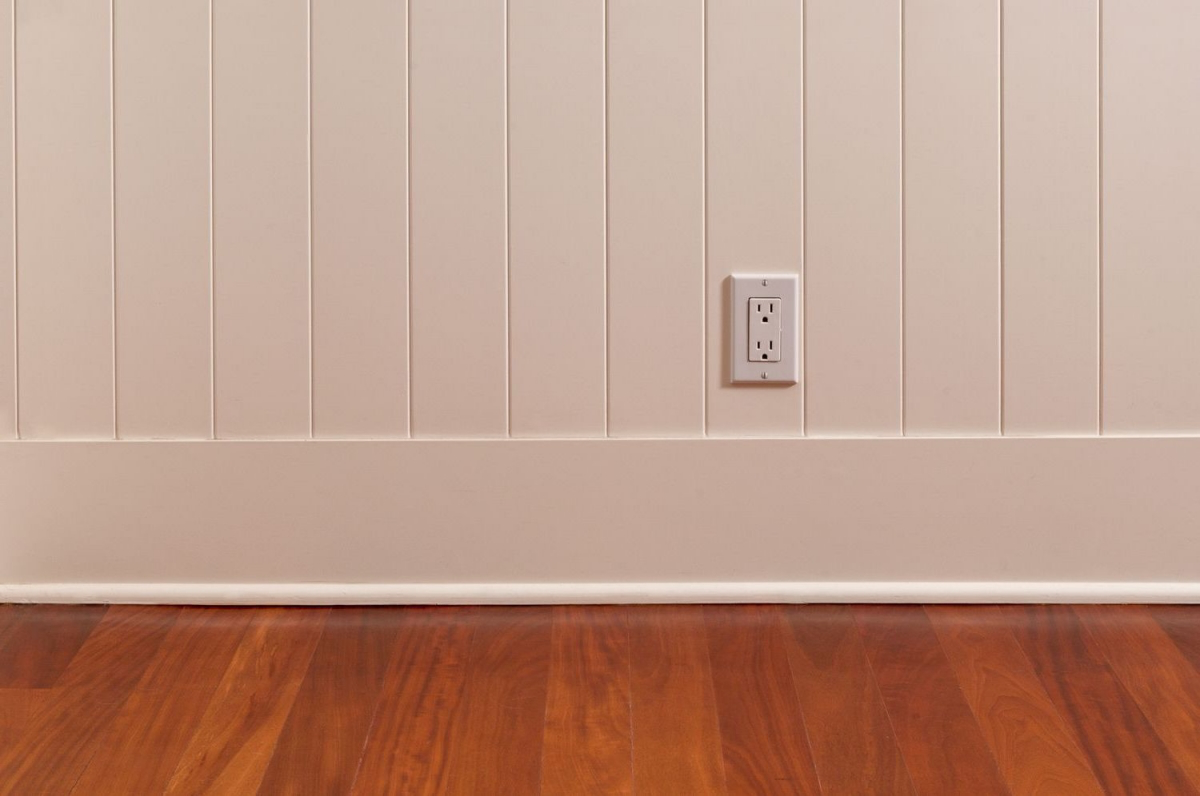
Baseboards: The Dust Gutters of Your Home
It’s so easy to ignore baseboards, but they’re magnets for dust and pet hair. Air circulates along the walls, dumping all that floating debris right on that little ledge. Cleaning them is a quick win that makes a room feel finished.
What You’ll Need: You probably have this stuff already. Grab two small buckets, a bit of gentle dish soap, a couple of microfiber cloths, and a melamine foam sponge (like a Mr. Clean Magic Eraser) for scuffs. This job should only take about 30 minutes for an average room.
The Right Way to Do It
- Dry Dust First. Always vacuum the loose dust off with a brush attachment before you get them wet. Wiping wet dust just makes mud.
- Use the Two-Bucket Method. Fill one bucket with warm water and a tiny squirt of dish soap. Fill the other with clean rinse water.
- Wipe, Rinse, Repeat. Dip a microfiber cloth in the soapy water, wring it out well, and wipe a section. Then, rinse the cloth in the clean water bucket before going back to the soap. This stops you from spreading dirt around.
- Erase Scuffs. For those stubborn black scuff marks from shoes, a damp melamine sponge works wonders. Use it gently, as it’s a mild abrasive and can dull a paint finish if you go too hard.
By the way, if you have MDF baseboards, be super careful with water. They can swell up if they get too wet, so just use a barely damp cloth.
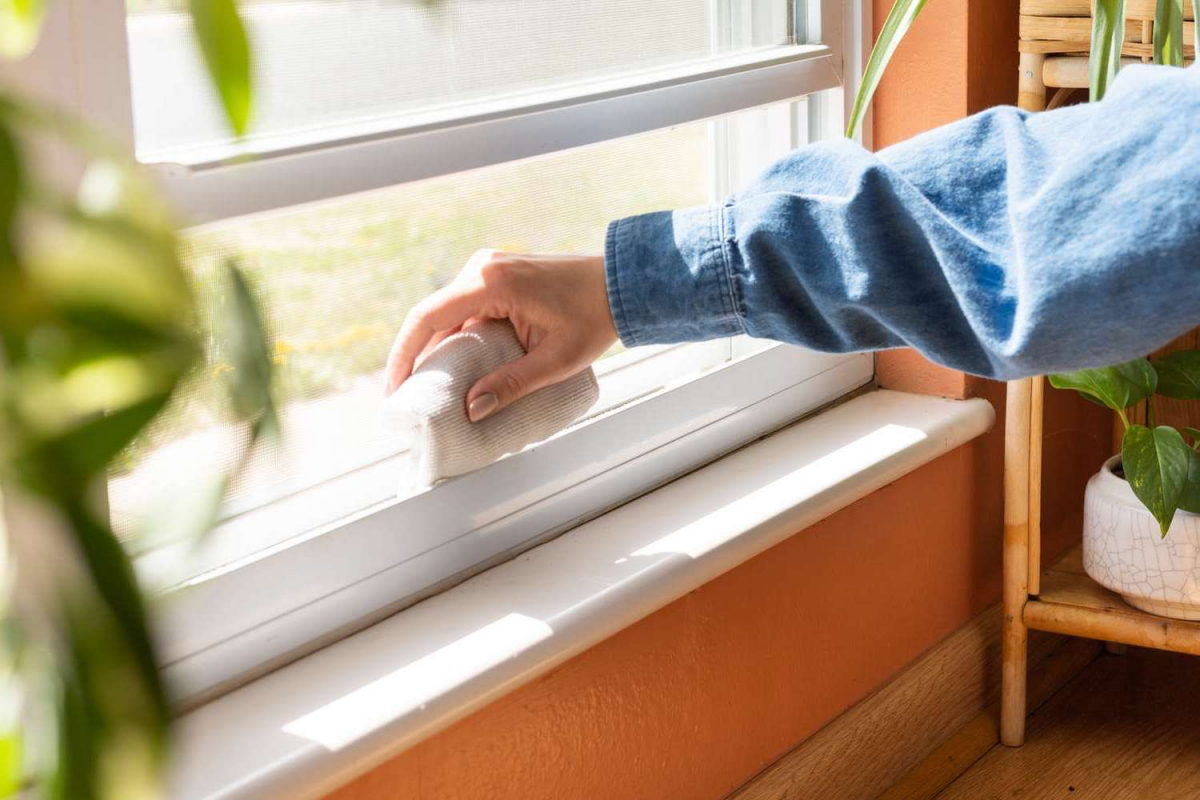
Window Tracks: Your Home’s Grimy First Defense
Window tracks are disgusting. We find everything in there: dirt, pollen, dead bugs, you name it. When condensation forms, all that stuff turns to sludge and can clog the weep holes—the little slots that let water drain out. Clogged weep holes can cause water to leak into your walls, leading to rot. No, thank you.
Cleaning Tracks Systematically
- Start Dry. Open the window and use your vacuum’s crevice tool to suck up all the loose junk.
- Brush the Corners. Use a stiff, dry brush (an old toothbrush is perfect) to loosen the packed-in grime in the corners, then vacuum again.
- Clean with Control. Spray a little all-purpose cleaner onto a microfiber cloth, not into the track itself. Wrap the cloth around a putty knife to get into those tight channels.
- Clear the Weep Holes. Find the little slots on the outside of the track and gently clear them with a pipe cleaner or a zip tie.
Quick safety note: In older homes with original wooden windows, there’s a chance of lead paint. If you see paint that looks like it’s cracking or flaking, do not scrape or sand it. Seriously. That’s a job for a certified lead abatement professional.
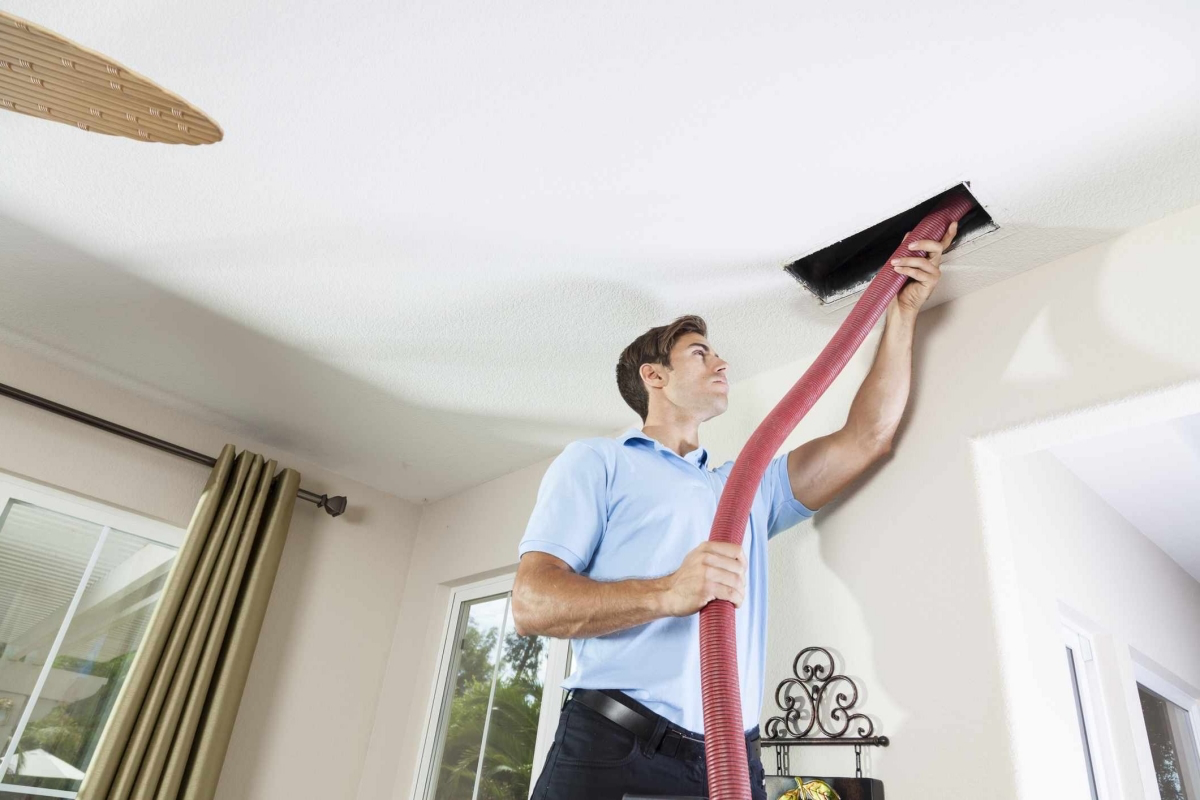
Air Vents & Ducts: The Lungs of Your Home
This is probably the most misunderstood part of home cleaning. Cleaning your vent covers is an easy DIY task. Cleaning the ducts themselves is a job for a pro. Period.
Cleaning Vent Covers (The Easy DIY Part)
A few times a year, give your vent grilles a good wash. Turn off your HVAC system, unscrew the covers, and wash them in the sink with warm, soapy water. While they’re off, use your vacuum’s brush to clean inside the duct opening as far as you can comfortably reach. Let the covers dry completely before you screw them back on.
Duct Cleaning (The Professional Part)
I can’t stress this enough: do not try to clean your own air ducts with a shop vac. I’ve seen it tried, and all it does is stir up debris deep in the system, which then blows all over your house. It can make your air quality worse.
A professional duct cleaning is a serious operation. We hook up a massive vacuum to your main ductwork to create negative pressure, then use long, rotating brushes to scrub the inside of the ducts, pulling all the dislodged gunk straight out of your house. Be ready for a real, certified job to cost between $450 and $1,000 for an average-sized home. If a company quotes you $99, run. They’re doing a worthless “blow and go” service. To find a reputable company, check the National Air Duct Cleaners Association (NADCA) website—they have a tool to find certified pros in your area.
Feeling Overwhelmed? Start with These 5-Minute Wins
Okay, I know that was a lot. Deep cleaning can feel like a marathon. So if you’re short on time, start with a few of these quick tasks that offer a huge payoff.
- The Pillowcase Fan Trick. Got dusty ceiling fans? Slide an old pillowcase over one blade at a time and pull it back slowly. All the dust gets trapped inside instead of falling on your face and furniture. Takes two minutes.
- Behind the Fridge. Pull your refrigerator out once a year. You’ll be horrified and amazed. Vacuum the floor and, most importantly, vacuum the condenser coils on the back. This helps the fridge run more efficiently and can even extend its life.
- Light Switch Wipe-Down. Think about how many times a day these are touched. A quick wipe with a disinfectant cloth is one of the most satisfying and impactful cleaning tasks you can do.
The Takeaway
A truly clean home is an ongoing process, not a one-time project. You don’t need to do all of this every weekend. But if you tackle one area a month—grout one month, window tracks the next—it becomes totally manageable. My work has taught me that cleaning is really a form of preventative care for your home and your family. By paying attention to these forgotten spots, you’re not just tidying up; you’re taking care of the space that takes care of you.
Inspirational Gallery with Photos
What’s that funky smell coming from the dishwasher, even after a cycle?
It’s likely trapped food particles and grease buildup in the filter and spray arms. Most people don’t realize the filter at the bottom of the dishwasher needs to be removed and cleaned monthly. Pull it out, rinse it under hot water, and use a small brush to scrub away any gunk. For a full reset, run an empty cycle on the hottest setting with a specialized cleaner like Glisten or a bowl of white vinegar on the top rack.
The U.S. Environmental Protection Agency (EPA) reports that indoor levels of many pollutants may be 2 to 5 times higher than outdoor levels.
This is precisely why dusting shouldn’t stop at visible surfaces. Those pollutants settle on soft materials too. Once a season, take down curtains and launder them according to their care tag. For non-washable window treatments and lampshades, use your vacuum’s upholstery attachment to lift away the invisible buildup of allergens and fine dust.
- Removes up to 99% of bacteria with just water.
- Traps dust without leaving behind lint or streaks.
- Withstands hundreds of washes without losing effectiveness.
The secret? Not all microfiber is created equal. Investing in a high-quality, densely woven cloth like those from E-Cloth or Microfiber Wholesale makes a world of difference compared to cheap multi-packs. The finer fibers grab more grime instead of just pushing it around.
The greasy, sticky film on top of your kitchen cabinets is a magnet for dust and airborne particles. Don’t tackle this with just soap and water. A powerful degreaser is your best friend here. Spray a product like Krud Kutter Original Cleaner/Degreaser, let it sit for a minute to dissolve the grime, and then wipe it away with a damp cloth. For prevention, lay down sheets of wax paper that you can simply replace every six months.
Standard Microfiber Cloth: Inexpensive and widely available. It cleans well, but the lower-quality weave can sometimes leave lint behind and may require cleaning agents to be fully effective.
Split-Weave High-Density Microfiber: More expensive upfront. Its fibers are specifically designed to hook and trap microscopic particles, dust, and bacteria, often needing only water to clean surfaces effectively. The durability is also significantly higher.
For high-grime areas like kitchens and bathrooms, the investment in split-weave microfiber pays for itself in cleaning power and longevity.
Don’t forget the machine that cleans your clothes. Your washing machine is a prime spot for mildew and soap scum buildup, which can leave your laundry smelling less than fresh. Here’s a quick monthly refresh:
- Wipe down the rubber gasket seal on front-loaders, pulling it back to clean inside the folds.
- Remove and rinse the detergent dispenser drawer.
- Run an empty hot cycle with a washing machine cleaner tablet (like Affresh) or two cups of white vinegar to descale and deodorize the drum.
A single gram of dust can contain up to 1,000 dust mites and 250,000 allergenic fecal pellets.
The most frequently touched items in a home are often the dirtiest. A study found that TV remotes and light switches are major hotspots for bacteria. These are simple to clean but almost always overlooked. Just moisten a microfiber cloth with a 50/50 solution of isopropyl alcohol and water, wring it out well, and wipe them down weekly. It takes 30 seconds but eliminates a major source of germs.
For keeping drains flowing freely without harsh chemicals, this simple trick is a great monthly maintenance routine. It helps break down minor soap scum and deodorizes at the same time.
- Pour half a cup of baking soda down the drain.
- Follow it with half a cup of white vinegar.
- Let it fizz and work its magic for 15-20 minutes, then flush thoroughly with very hot water.
Important: This is for maintenance, not for clearing fully blocked drains, which may require a plumber’s snake.
Your home’s heating and cooling system breathes dust in and out. The metal fins inside radiators and floor vents are notorious for trapping thick layers of dust and pet hair, which then get blown back into your air. A long, flexible radiator brush is an essential tool to dislodge this gunk. Use it before you vacuum the floors to catch all the fallout.


